Search the Community
Showing results for tags 'taillight'.
Found 4 results
-
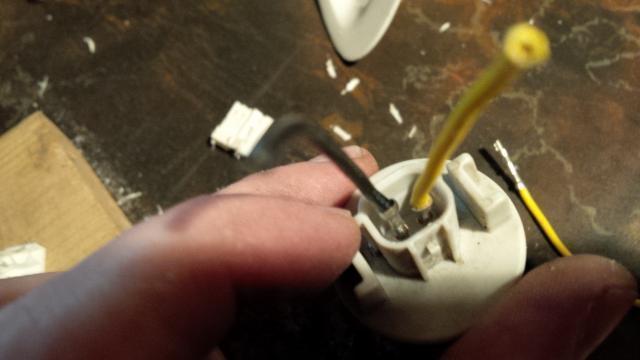
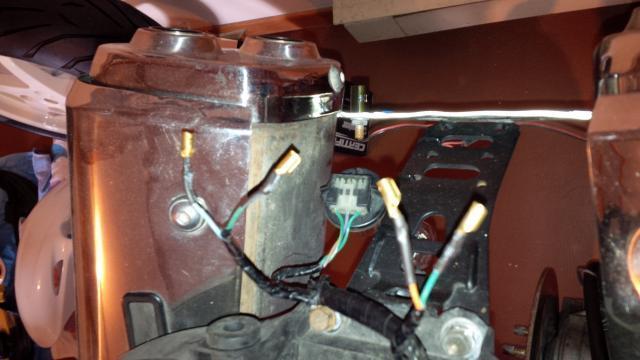
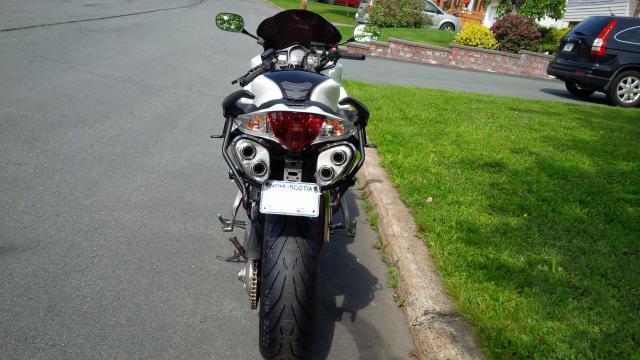
My '02 VFR was crying for a new taillight that wasn't ugly old amber... here's how I did it. 1. Buy the replacement taillight. I actually bought an OEM '06 unit (smoked lens), it looked good... but I also bought a clear lens aftermarket unit on eBay which looks much better! 2. The '06+ have different turn signal bulb sockets... so your '02 bulb sockets will not fit in the updated taillight. Yes you can probably Dremel it, but make your life easy and buy the two replacement signal bulb sockets from the dealer or online. 3. So we have the taillight, and the turn signal bulb sockets... how do we get the '02 wiring to attach to these? The connectors are different (of course). There are a few threads on here about this, but I didn't see any that detailed it step by step right to the finish - so here goes. The '06+ style socket has two little stake connectors - save yourself a trip to Radio Shack, and go dig out your old computer from your closet. Fine a connector that has similar-sized units and get the connectors out! Personally I can never figure out the little release tabs, so I default back to my Dremel. Straight from the computer... Wires with appropriate-sized stake connectors. Test fit. Heatshrinked, with bullet connectors on one end for ease of install. Will do the same to the actual bike wiring. Didnt have clear silicone on hand, so I used RTV to 'lock' the crimp connectors on. Just fill in the void, it will dry and seal them in place. Success! Get at the tail signal light wiring - cut out the old connectors, and (in my case) use bullet connectors. 4. Insert signal bulb sockets into new taillight, attach bullet connectors. The wires are NOT polarity-sensitive, just hook them up. 5. Ride off into the sun with your updated rear end!

-
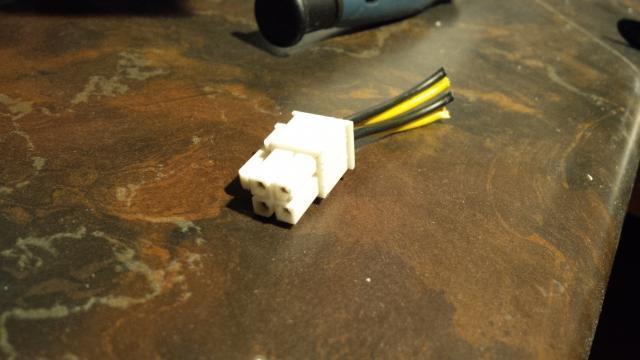
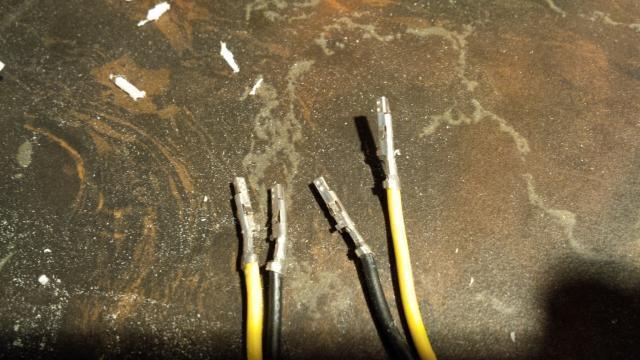
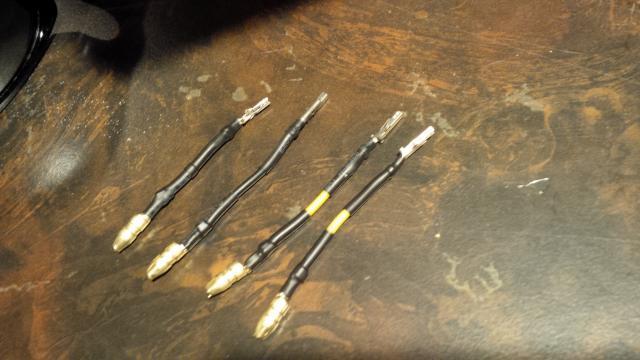
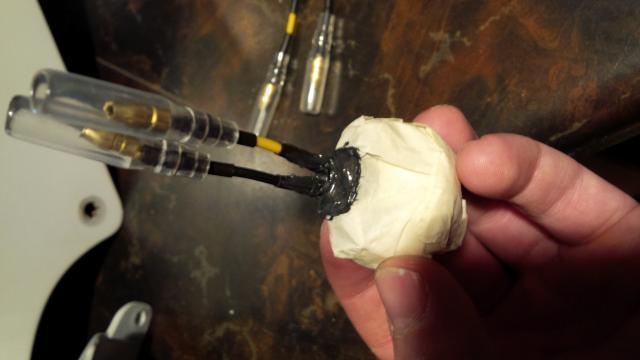
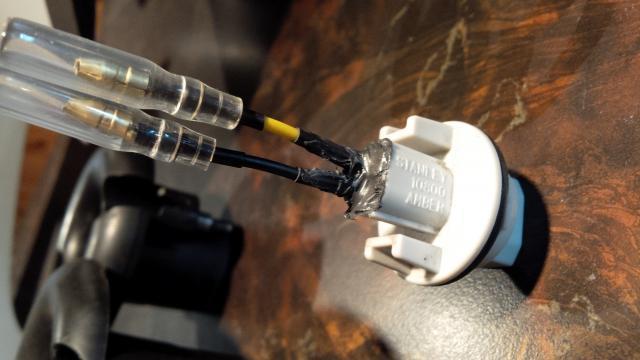
Hi All, Awhile back, I installed a Denali split sound bomb and added some additional running lights. In order to get switched on power for the relays, I tapped into the positive tail light wire (brown/black wire). I cut the wire, added some connectors with an extra post, and then connected the relays to the post. Shortly afterwards, of course, I found that there is a 3 prong connector just a little ways up the wire from where I had cut (DOH!). Being that I still have some more electrical accessories that I'm planning on adding (extra brake light and maybe some driving lights), I'm going to do what I would have done from the get go if I had just done a little more planning/researching (so I wouldn't have had to permanently modify/damage OEM wiring). I got some Sumitomo connectors from this website: http://www.cycleterminal.com/hx-series.html and am going to add an extra section of wiring with easy access posts. Note that there are two versions of this connector - one with a wide "snap lock" and one with a narrow one - I ordered the wide one. Here is the connector (just following the wiring from the tail light towards the gas tank): Here is the new section I'm going to put in: FWIW, I've never been a fan of the snap lock style splice connectors - I've always felt that using those would sever a few of the strands of the wire I was tapping into. So, if you're OCD/quirky/stupid about that like me, adding a fresh section of wiring might be a reasonable alternative...
-
So, after seeing a few recommendations for superbrightleds.com, I decided to give them a shot at replacing my sucky 7443 dual-intensity incandescent taillight bulbs. The OEM replacements aren't hard to find, but lately the Sylvania version has been burning out on me nearly weekly. I find that more annoying than expensive, but still, I have better things to do than pop my seat off and change bulbs. After the last bulb burned out, I decided to nip this crap in the bud and look at LED options. Superbrightleds.com has several that will fit our 7443 wedge-base socket, but I decided to go with the biggest and baddest, at about $25 each: These are red 45-LED SMT devices that put light out in pretty much all directions. Remember to use the same color as your lens (trying to be clever and shine a white LED through a red LED means you get washed-out, pink brake lights.) Superbrightleds shipped fast and I have no complaints whatsoever. I tried installing the bulbs yesterday, but found that the fact that the LED unit is about 1/4" longer and not rounded like the glass bulb creates problems with the bottom socket. I futzed with it for about 10 minutes and just could not get it in, so I figured I would have to at least loosen the rear cowl to make some room. I ended up doing the cowlectomy this evening and it takes all of 10 minutes in itself. It's really 8 bolts in two hex sizes. No big deal. I got both LEDs installed and to my eye, they are every bit as bright as the OEM bulbs. More importantly, they are dramatically faster in their illumination; so much so that it is undoubtedly safer to some degree. Overall, I'm happy with the setup and the service I got. If I don't have to jack with these for a few years, I'll be real, real pleased. Here's a quick vid; LED on top, half-spent incandescent on bottom: http://www.youtube.com/watch?v=FgCEh24EGdo
-
So, I wasn't a fan of the yellow/orange color of the front and rear turn signals. Solution? Grab some VHT Night Shades and tint them a bit. *Just a word of caution. when they say a light coat, they mean a LIGHT coat. You can always sand between coats. Here are the results: Not fantastic, but it brings the color scheme of the bike more together, and for about $13.