Search the Community
Showing results for tags 'jamie daugherty'.
Found 2 results
-
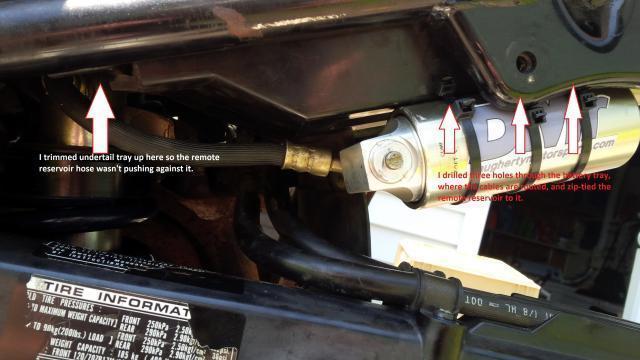
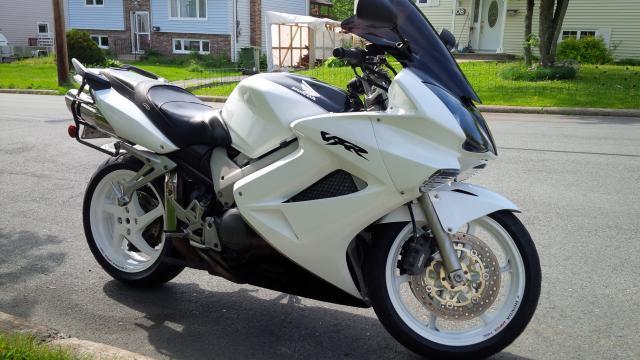
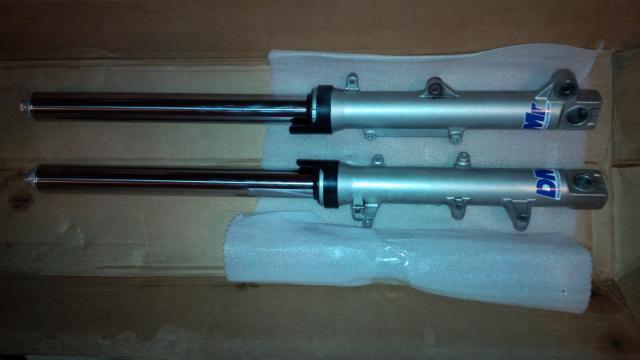
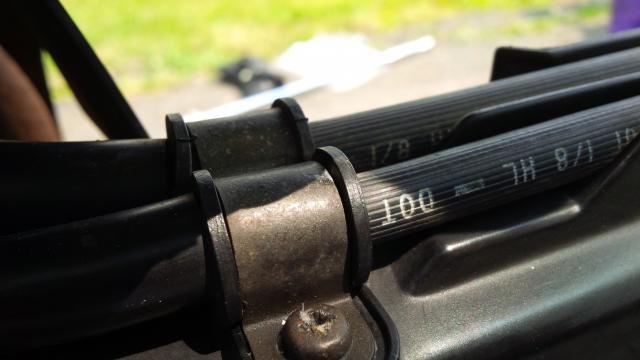
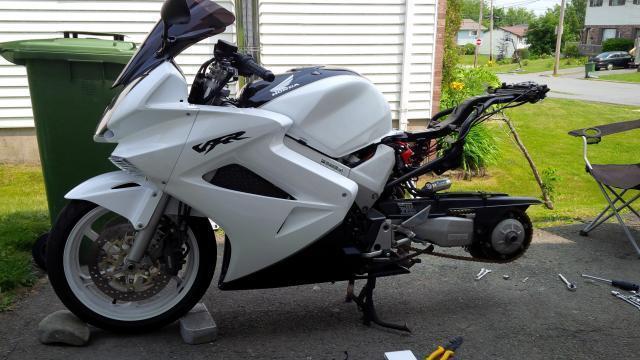
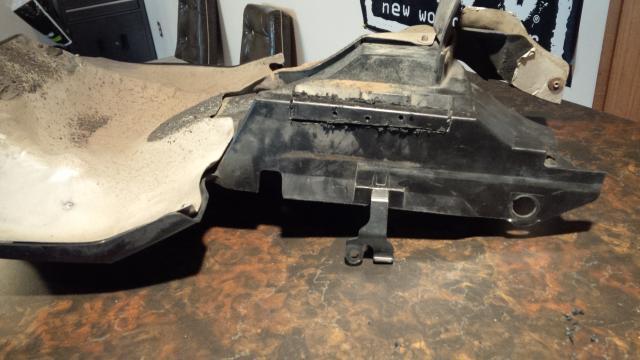
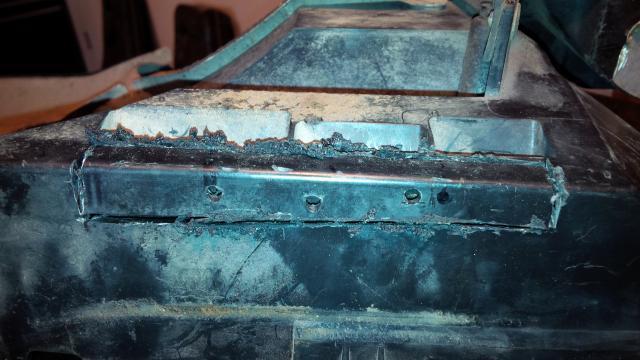
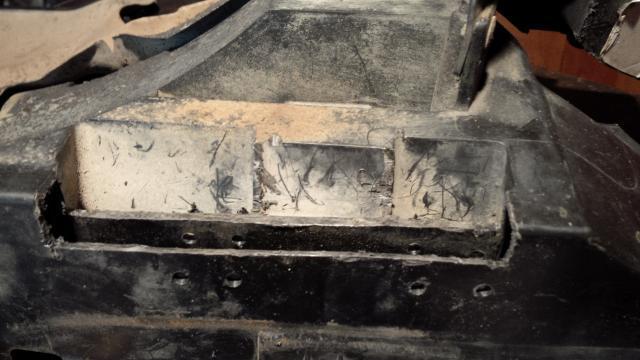
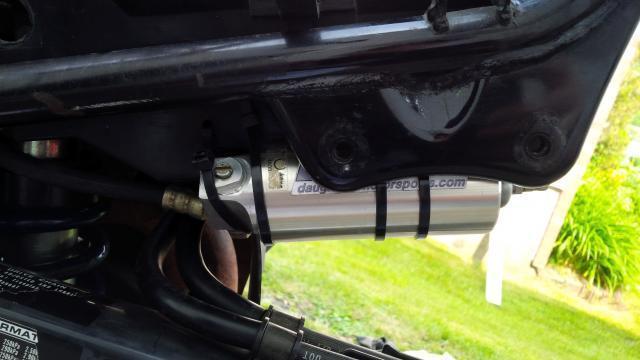
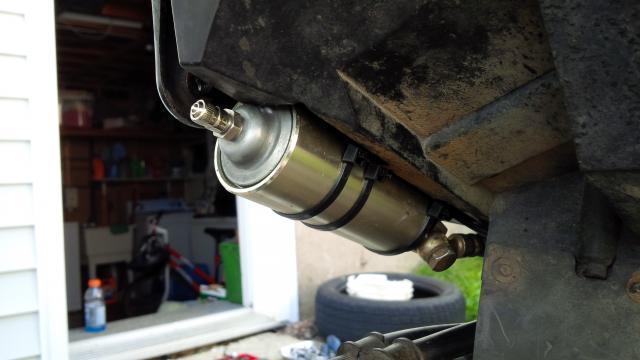
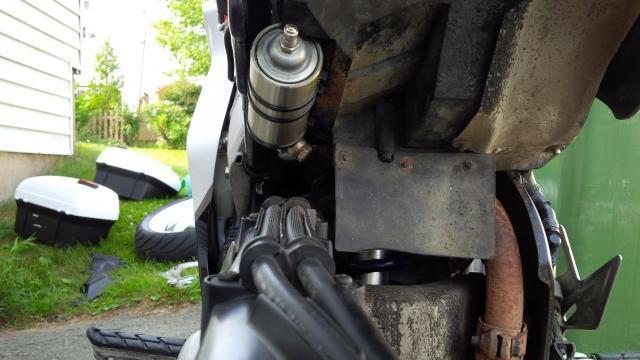
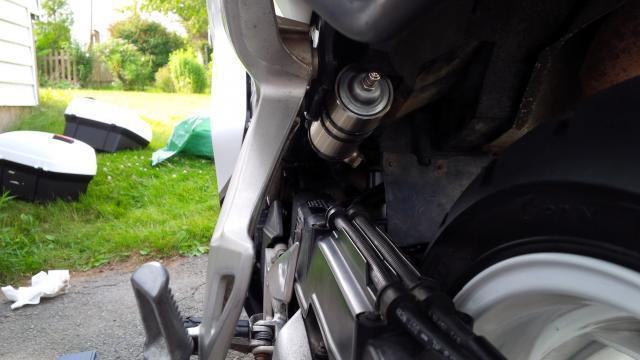
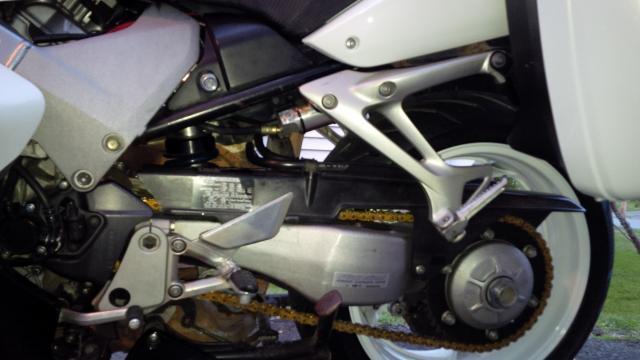
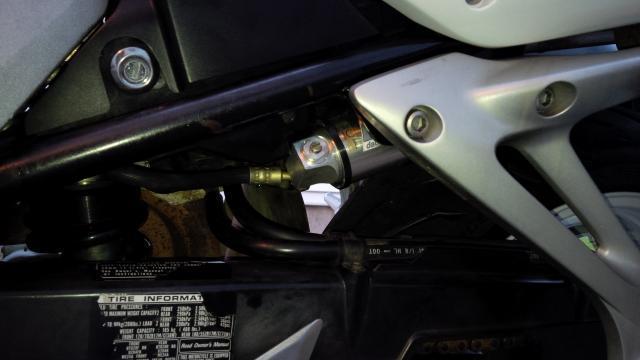
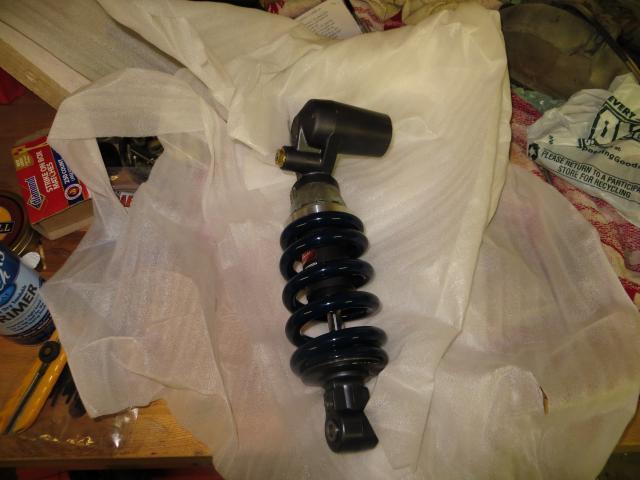
Just had my first ride with the new Jamie Daugherty setup... I bought his CBR600F4 w/mount for the rear, and the fully adjustable front cartridge kit for the forks. I did not want to learn fork internals, so I shipped him my OEM units for him to install the cartridge kit in (plug and play for me). I am very satisfied with the pricing, service, and shipping - I would absolutely recommend his work to anyone. Install notes: FRONT: Get Jamie to install the cartridge kit in your forks, drink beer. Bolt forks back into place - use your service manual! I raised my forks 10mm in the triples REAR: You WILL need to take off the exhaust and undertail tray. Get over it. I didn't want to, and I ended up with a scratched up shock and then had to remove that stuff anyway. Leave the top mount loose so you can angle it as you push the shock into position, then torque mount bolt once its standing in its new home. I trimmed the undertail tray front left corner ahead of the clip, to allow the remote reservoir hose to sit comfortably. I drilled 3 holes through the battery tray to zip-tie the remote reservoir. Works great 1-up, 2-up it is slightly rubbing so I will continue to tweak. Ride report: Wow! It seems that everyone who has upgraded their suspension says it is the best money you can spend - but having only ridden my VFR and Ninja 500, I don't have the experience to know what a good suspension feels like. Now I understand - the ride is slightly more stiff, but you can feel the suspension working to absorb all imperfections on the road and keep the bike planted, and going into corners you have 100% confidence and control. VERY happy so far, it truly feels like a new bike, and more importantly it feels like how the bike should have come from the factory. Update: This install worked fine for 1-up, but for 2-up riding the remote reservoir was juuuust slightly contacting the brake line/chainguard bracket. It probably wasn't a big deal, but a brake line isn't something I want to play around with. I decided to tear down the rear again, take out the undertail tray, and trim the area above where the res was currently mounted so it could sit up higher. If you look closely at the right side of the bracket, you can just see where the res was contacting. Tore down the rear: Undertail tray with the initial cut outline: (I did the whole cut with a Dremel and then cleaned up with a utility knife) Cutting has begun: Cutting complete: Reinstalled and mounted: Removed the front zip tie for a cleaner look, and sealed the strap hole with RTV Complete! Happy to have the install fully completed to my satisfaction - and the bike feels better than ever!

-
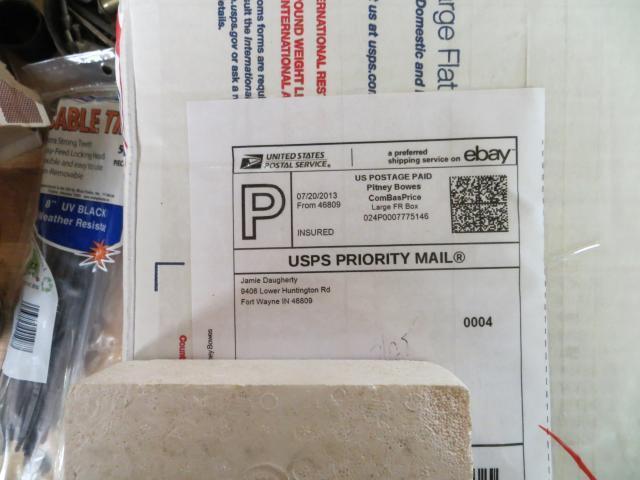
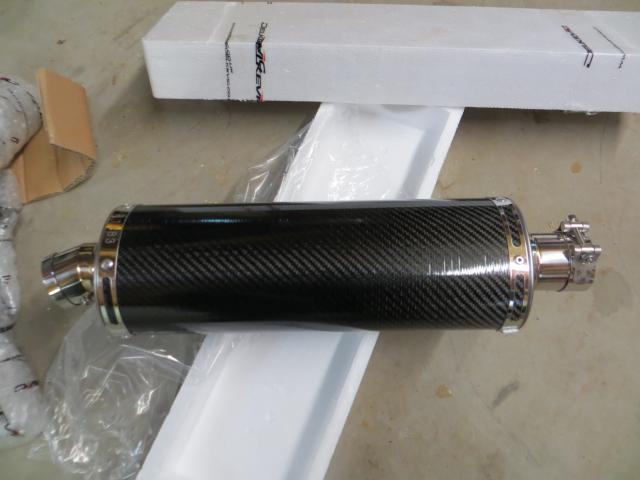
Look what came in the mail today! From some dude in Indiana... And so it can sound and look as good as it handles! And the end result. I'd like to give a big thanks to Jamie for the great service and super quick turnaround. Now I had previously done the 929 conversion and have race tech 0.95kg springs in the front. But seeing as I am the better part of 250lbs I knew the setup was less than ideal. As I was riding down to go get the shock trying to pay particular attention to how my bike handled, I was anxious to find out if I would really notice "that much" of a difference from what I was currently running? So I set to the task of swapping out the shock and installing the Delkevic high mount. within an hour I was listening to the sweet rumble of my new 14" carbon pipe(spud out). And then I went for a ride, the only word to describe the new handling characteristics..."PLANTED" during my shakedown ride I found myself looking down at the speedometer thinking F&%K!!! this is quick!! Pretty much the best money I've ever spent on the bike. what a difference! Thanks again Jamie. Yeah the muffler is cool too. :) Jess