


KevCarver
-
Posts
2,462 -
Joined
-
Days Won
26
Content Type
Forums
Profiles
Gallery
Blogs
Downloads
Events
Posts posted by KevCarver
-
-
Keith, shoot me your email. PM or email: kperham986 at hotmail
-
Kevin is doing a great job on his, might have to steal his VFR1200 clip on idea.
+1, his topic is on my watch list too.
Ha, the 1200 clip ons idea has been my only original thought so far! And I wasn't alone in it, just first to get some to try out. ;)
-
Did you use any high temp gasket sealer on the plates?
Nope. Since I left the reed valves in, I figured I wouldn't need it. I did take the reeds themselves out as the screw protruded a bit and these plates are flat, not recessed on the underside.
Since the reed 'carriers' have gaskets, and they weren't cracked or brittle, I didn't use any sealant.
Oh jeeze! Leaving the reed valves and Dubious Chinese Knockoff Levers? Just an accident waiting to happen, my friend! Big fiery explosive accident! :laughing6-hehe:
-
Did you use any high temp gasket sealer on the plates?
-
They do fit! We used my set to see what would happen.
-
I think it's possible you're making it more difficult than it needs to be. But then, what do I know? lol
In any case, I'm expecting a pair of VFR 1200 clip ons to arrive this week. Let me know if you'd like to see how they fit.
-
Yeah my rear is a little higher, I am back from the show in Orlando and looking to gather some parts....SP1 Lower and upper? What do you think after measuring it with me Kevin?
Seems like it will work.
Also I was wrong about handlebar diameters. Of course they are the same L-R!
I stuck some SP-1 stock bars on mine, but swapped L-R and flipped.
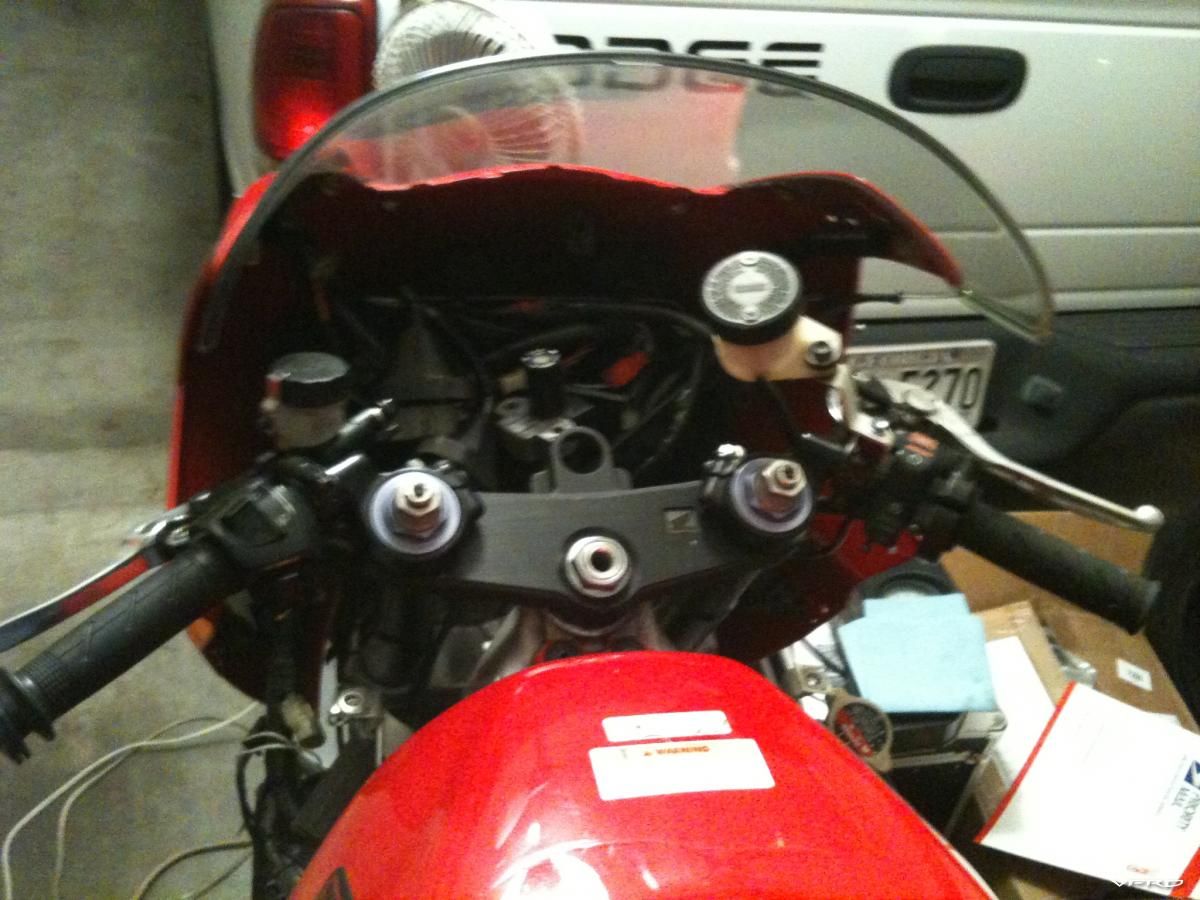
controls.JPG
-
My work stand is a repurposed clothing rack from a department store. So it has to do double duty! :biggrin:
Beats hanging it from the garage door track... (cough, cough, cornercarver!)
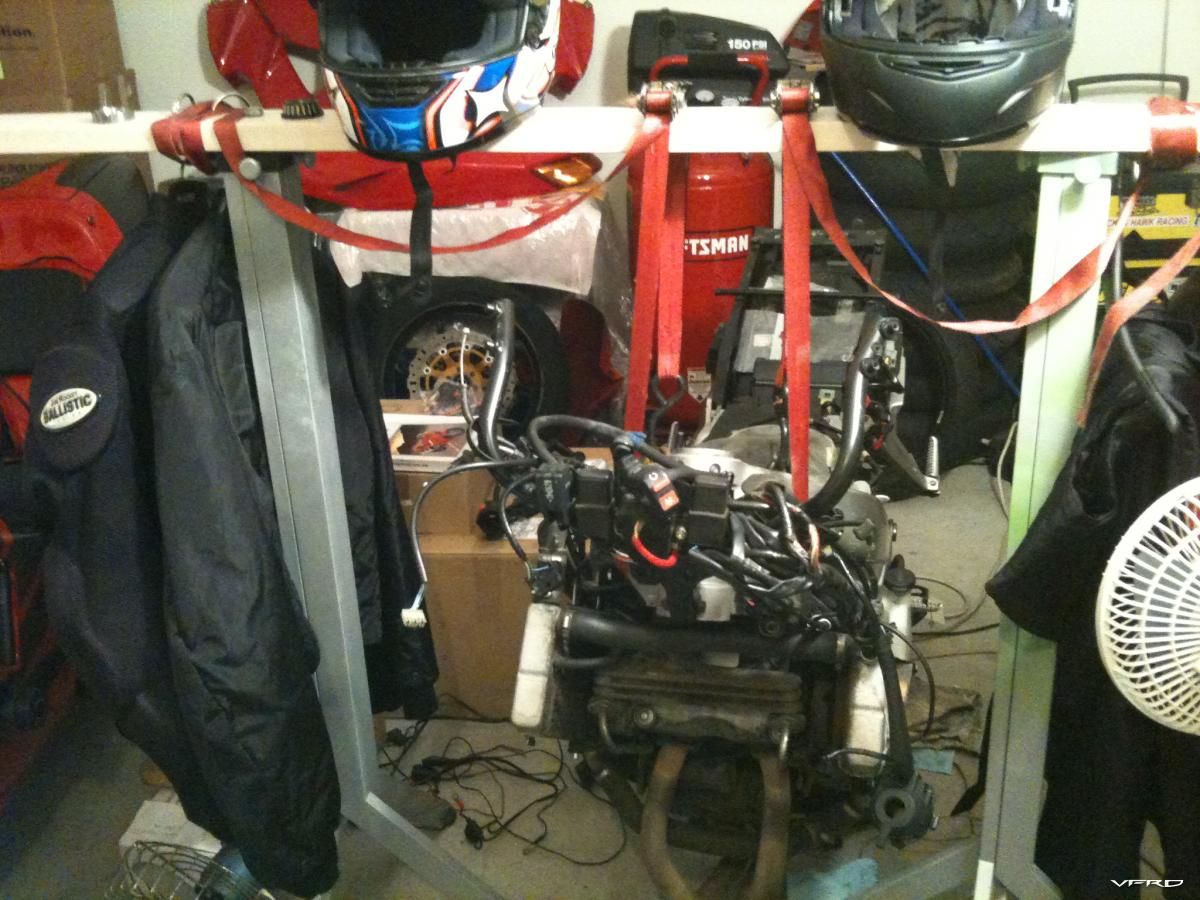
Work Stand.jpg
Here's my original stator:
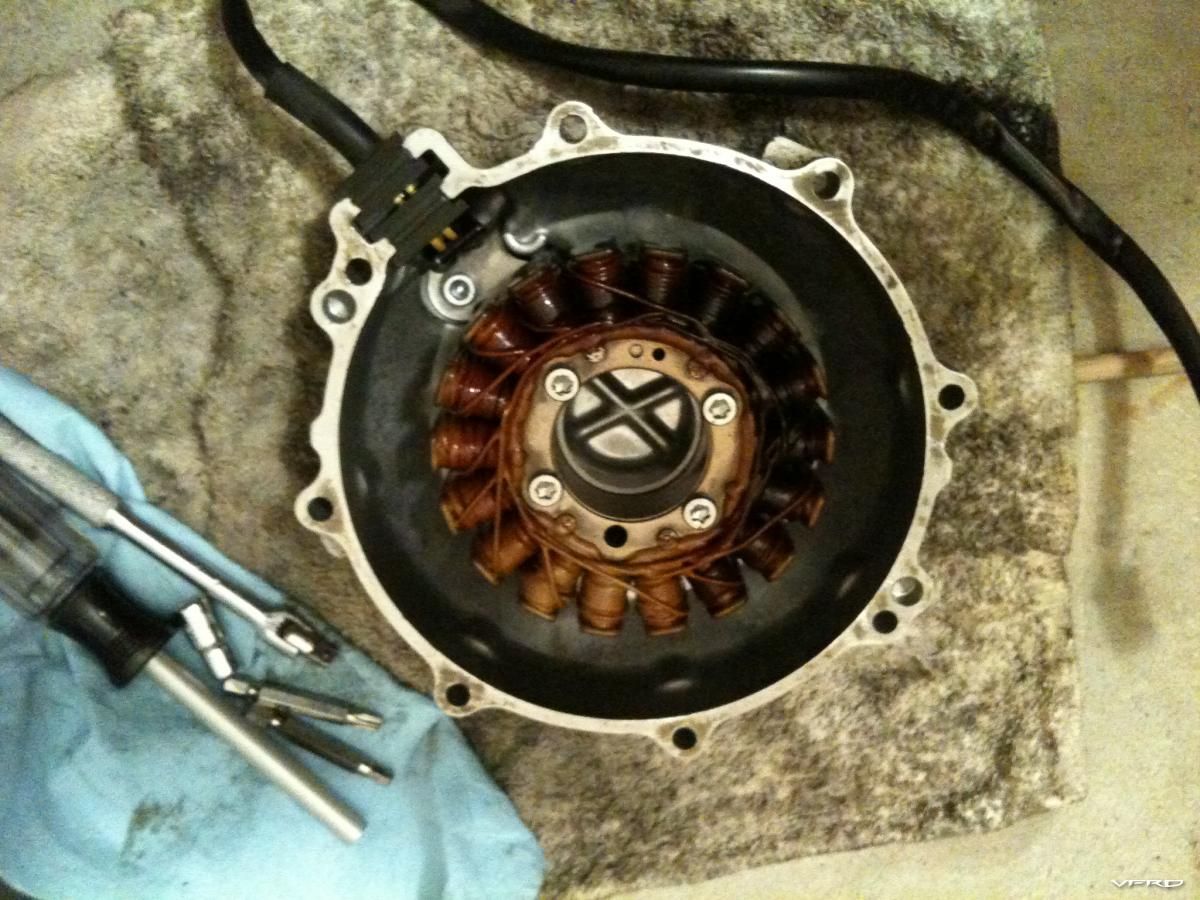
Original Stator.jpg
Some years ago I got a used stator from Fetter (wera910), and it didn't look quite as toasty as the original so I put it in. (He also gave me the cover and rotor from his)
Now it is quite a bit browner than the original it replaced
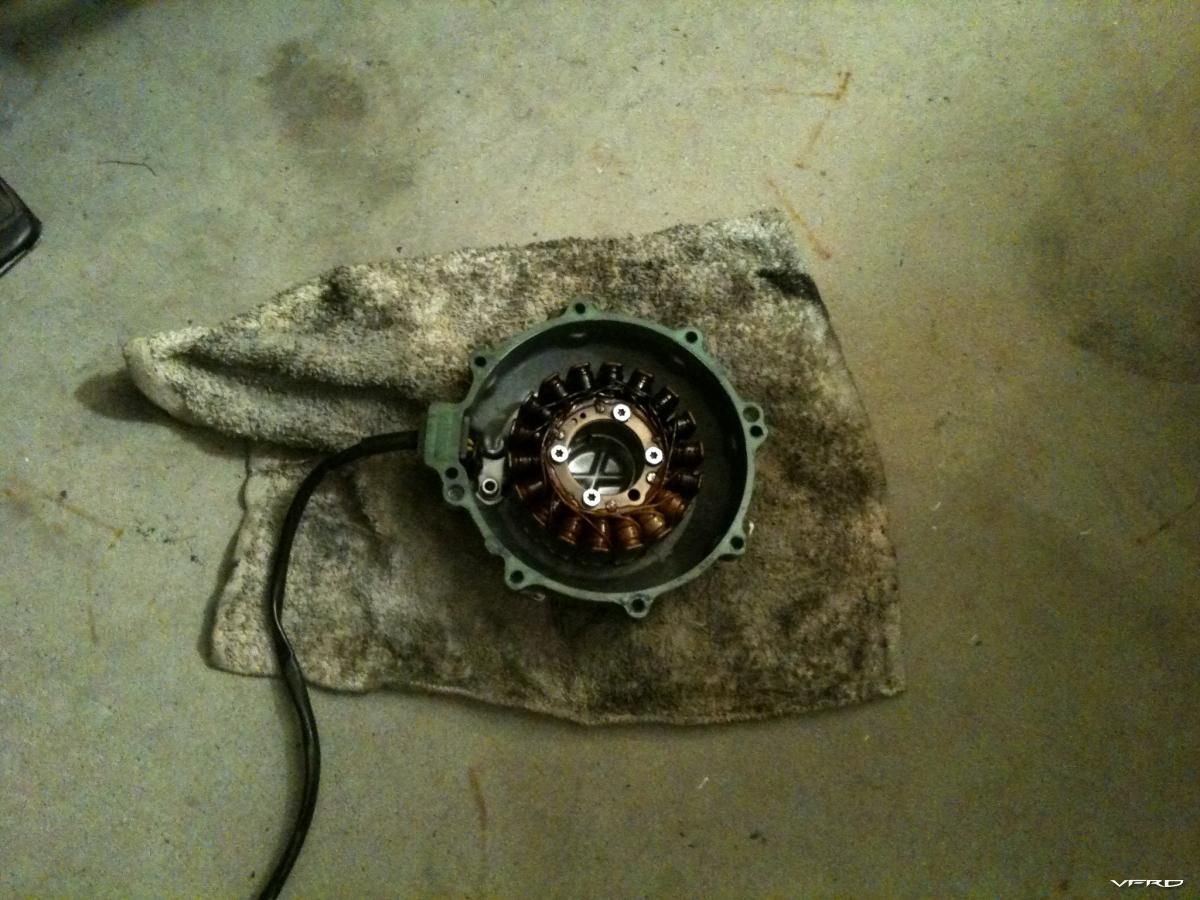
Replaced Stator.jpg
Just got a new Rick's Stator from Tightwad. Back in my original cover for installation:
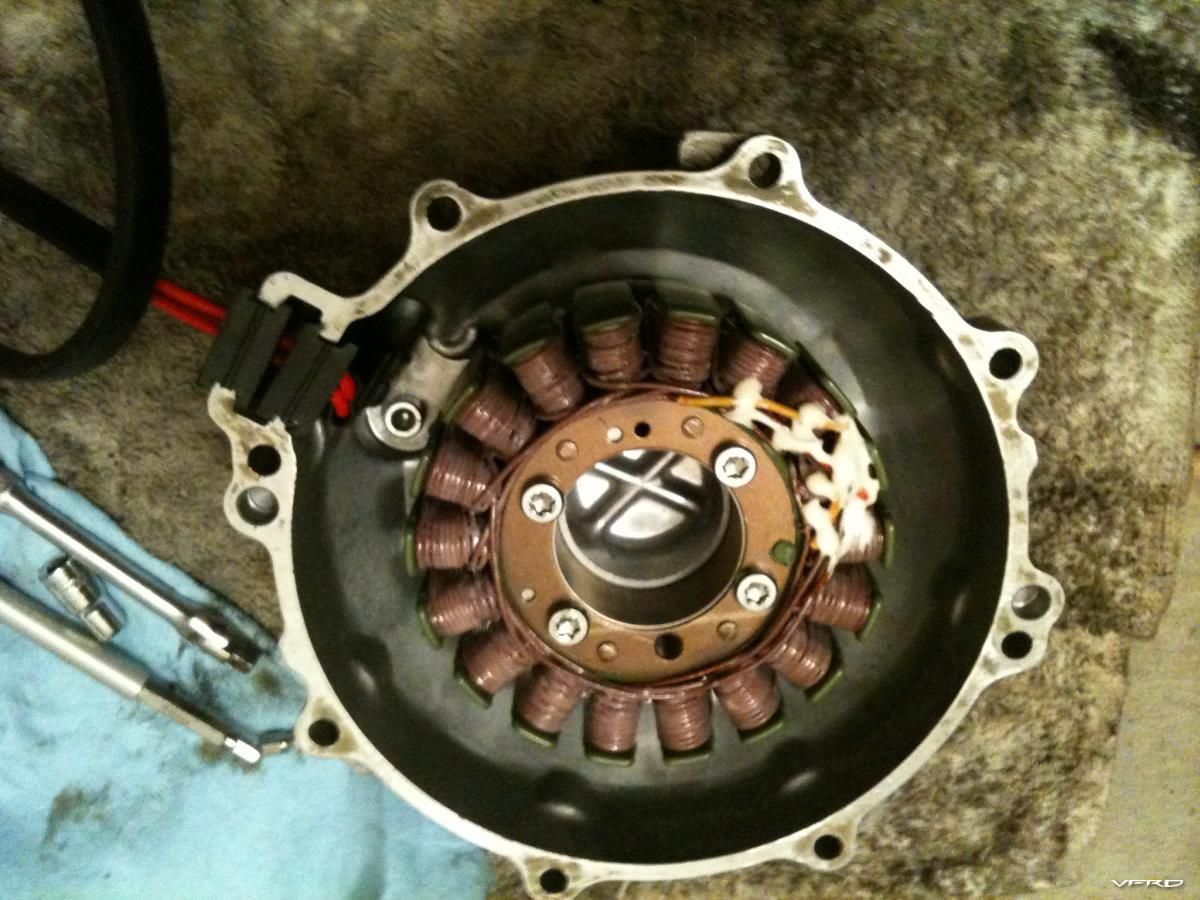
Ricks Stator.jpg
I'm fabricationally challenged, so in order to mount my FH012 R/R with the mount holes 90` off I used the plate that came with the previous replacement to make a bracket.
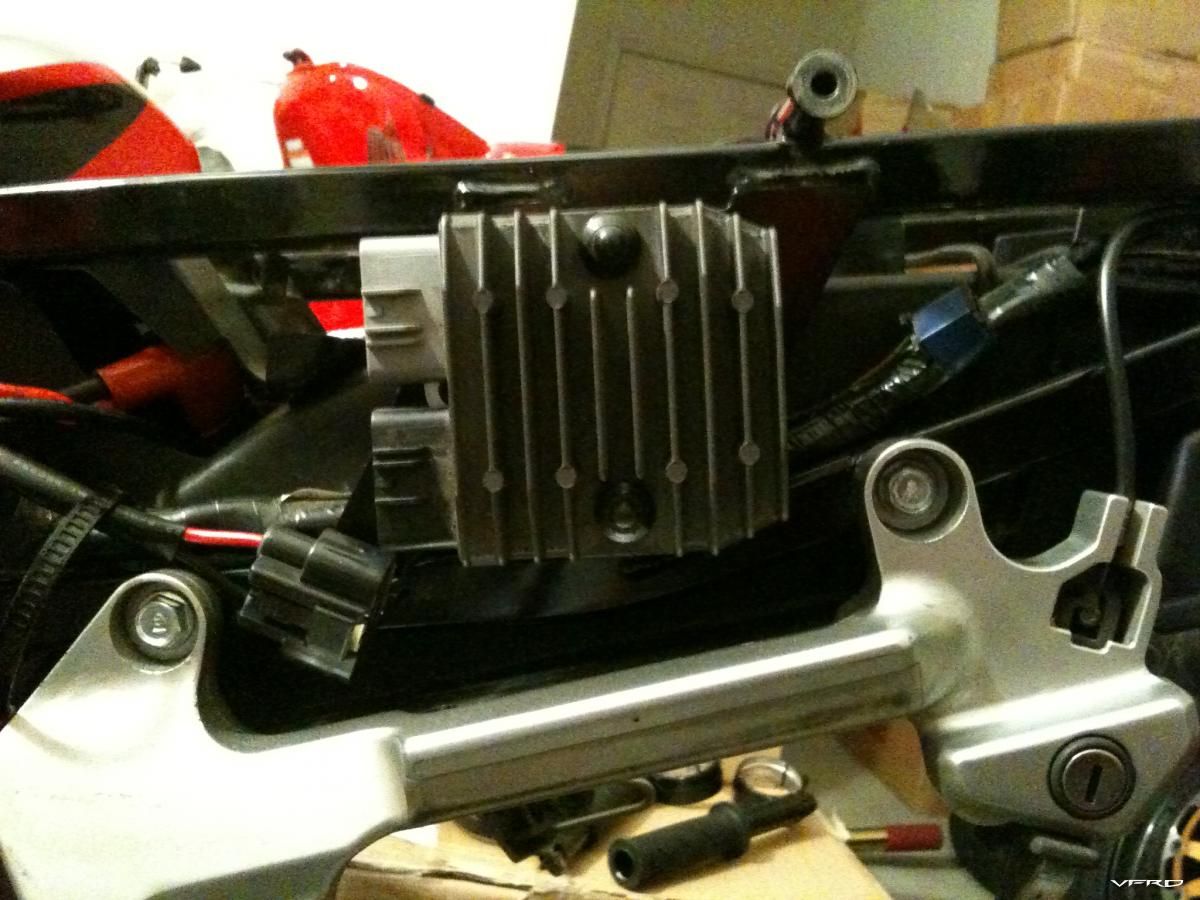
New RR.jpg
I spaced it off the plate to allow room for the bolts that mount it to the frame, and spaced if off the frame for the R/R bolts:
New RR from above.jpg
Here's where you tell me that the R/R must be mounted flat to the rear frame to transfer heat away and keep it cool. Keep in mind the R/R came from an R1, and apparently Yamaha mounts the R/R to a plastic plate. Plus it is raised off this piece.
Here's how it arrived to me
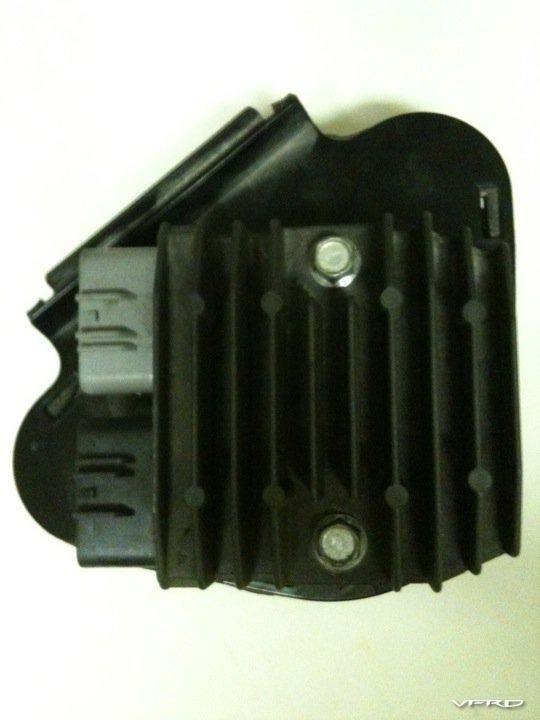
FH012.jpg
Not a great pic, but that background piece is the plastic plate
New wiring in place, mocked up:
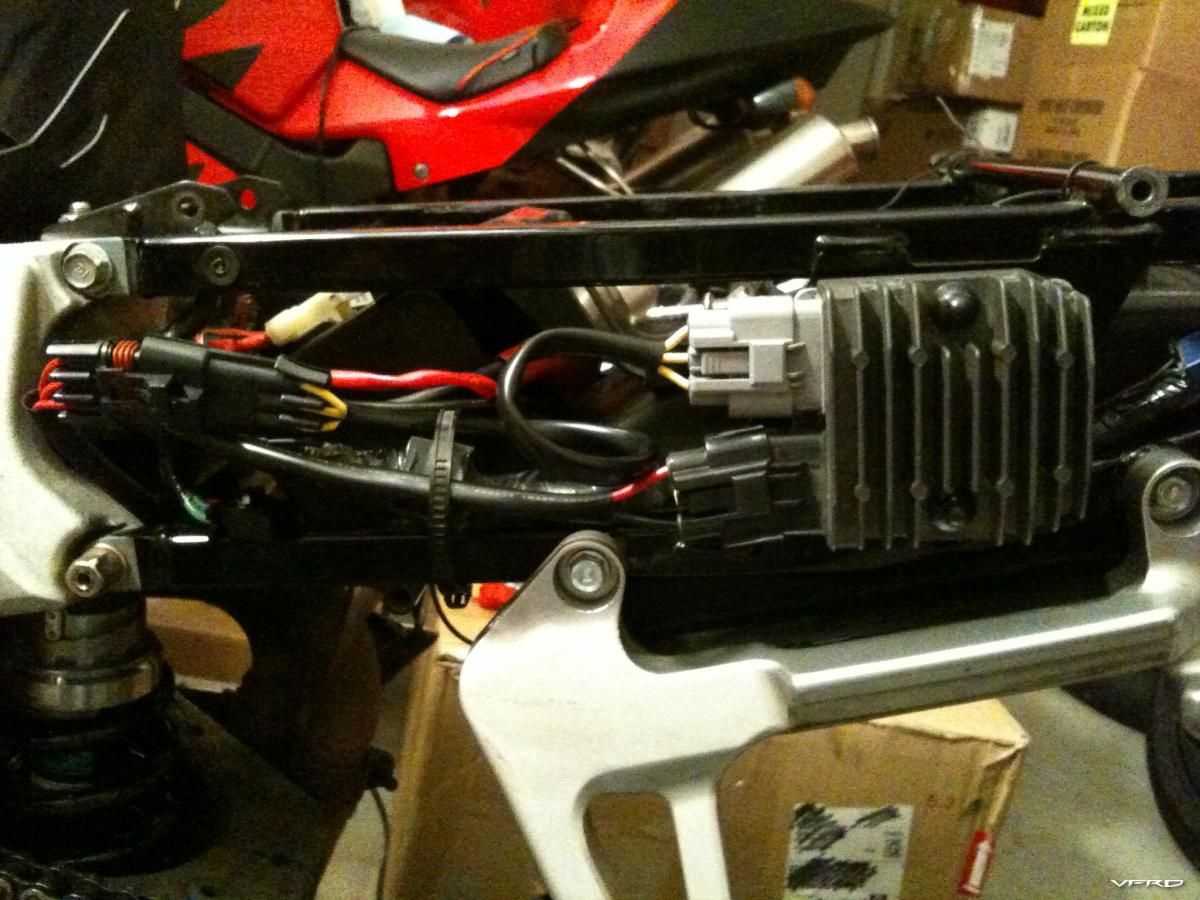
New RR wired.jpg
Aside from all that. I got the rear fender cleaned up and back in place, new valve shims arrived and installed, front head cover finally replaced, and new plugs in. The stator coming off should be the final part that needed to be removed. All work moving forward will be installation! :cheerleader:
Todays list:
New air filter is ready to re-instal the airbox, calipers are clean and ready for new seals and pads, new caliper bolts arrived for the freshly cleaned mounting brackets (Thanks to Kostrizter for the brackets!), need some cleaning up of the old steering stops on the SP-1 steering stem, then make some new stops and instal bearings. Hopefully get forks and front upper fairing on to mock up my hand controls to see what clearance issues I may have. Hopefully none using VFR 1200 stock clip ons (Thanks to MSGTR for those!)
-
New (used) Fox shock from vfr781, revalved and resprung by Jamie D
Sending my forks to Jamie to be resprung, reshimmed and revalved.
Replacing spark plugs, air cleaner and steering head bearings
She's all torn down now, will get built back up over the next 3-4 weeks.

What's that thing on the right side of the pic? Has wheels and says Honda on it, but I don't recognize it! :laughing6-hehe:
-
Keith, it just hit me why you got your wheel out with the high mount muffler so easy compared to mine. Your shock is taller! D'oh!
Need to shim mine now, anyway...
-
Not great news... :mad:
Thanks for reporting.
-
Here's the Concours 14 controls. Not exactly what I was hoping to see. Might still fit your forks with the ZX lower, but not the direction you were thinking...
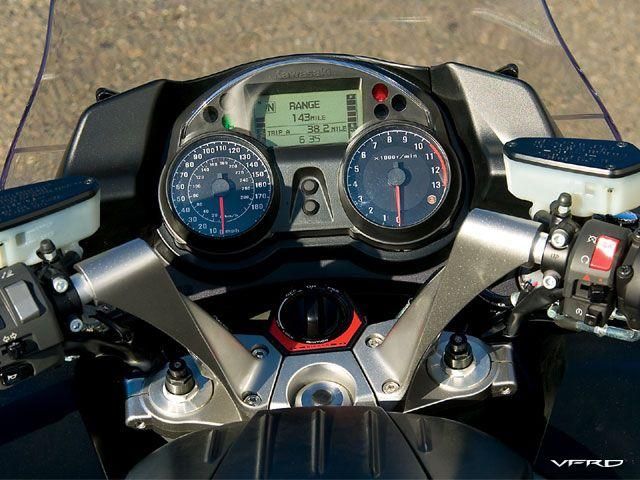
122_0711_34_z+kawasaki_concours_14+gauges.jpg
-
Just ordered spark plugs! :cheerleader:
-
New Stator and fuse block arrived Monday!
Bearings were waiting for me today when I got home.
Still waiting on Ron Ayers parts...
Going to have to get back working on this thing pretty soon.
-
I've seen some sweet OZ wheels on RC51's! Those are a bit bright though...
You have my number? Four oh four, three oh nine, twenty eighty-two.
-
-
It took me riding a well sorted SP1 to commit to the swap, myself. I have been dissatisfied with the stock brakes for years, so that's why I didn't go with just an internal change. Thought I wanted radials, but when it came down to it I was just interested in the look of it. Love my stock RC51 brakes with stainless lines. They are fantastic!
Keith, have you seen the new Marvic Duc wheel? I think it's pretty bad ass! I'll try to find a pic in a little bit. (Linky)
Should be free on Sat.
-
Hey, I got a pair of stands you can borrow if you want.
-
Maybe Concours triples would be more relaxed, more VFR like?
By the way, I have SP1 triples and a 954 upper in hand if you want to take a look at them. (and bent up 636 triple)
-
The dreaded Paralysis of Analysis.
Just get a CBR929/954 or RC51 SP-1 lower and a CBR929/954 upper and forget about it.
Do you know the clamp diameters on the ZX forks? Honda seems fairly standardized at 54 lower and 50 upper, but as I posted earlier my old 636 USD were 52/50.
Again, need to have them in hand before going forward, I think..
-
Kevin,
It's yours. I have it on the shelf, will trade you for your highmount or you can buy it back. I know I will regret it when I am looking for panniers but you did me right before.
come see it or let me when you can meet.
Thanks Keith! :beer:
I'm paying for other parts at the moment... Could be a few weeks.
-
Oh, and I need a muffler that will fit under my new (to me) GIVI Wingrack.
Sure wish I knew somebody close by with a Staintune low mount they would sell back to me... :huh:
-
Ordered a Rick's Stator and a fuse block from Tightwad on Thursday.
Ordered new bearings for the SP1 Stem on Friday.
Ordered a bunch of various bits from Ron Ayers today. (Including caliper seals and mounting bolts)
Today I put the shims and cams back in, but when I re-checked the clearances I found that I sanded two of my valve shims too thin. So I ordered new replacements. When those and the stator come in they should be final parts I need to remove from the bike! Everything moving forward is installation.
Still need to fit the front end together and test control fitment.
Still have no hydraulic lines on the bike! 0/4
-
If the RC51 SP 1 stem will go in, that means that a stock VFR stem will go in as well. Larger ID stem hole in the top triple can be easily solved with a custom bushing.
I'd like to know what the offset of the Kawi triples is. (centerline of stem to centerline of fork bores)
Oh, right. I forget about the stock stem cause it is welded in. But seeing Luigi's post, I guess it isn't so tough to seperate.
I stuck the SP1 top clamp on the bottom 636 (stem removed) and the fork holes didn't quite line up. Then I remembered the different diameters. It really looked like, if my stuff wasn't so bent up, they would fit together.
2010-11 Winter Mods/Maintenance Thread
in Modifications
Posted
Finally finalized the wiring in the tail:
R/R bolted in tight, clicked in all the connectors: