


KevCarver
-
Posts
2,462 -
Joined
-
Days Won
26
Content Type
Forums
Profiles
Gallery
Blogs
Downloads
Events
Posts posted by KevCarver
-
-
9 hours ago, Sweeper said:
For best price on any Honda parts call Keith at Mason City Honda in Mason City, Iowa. He gives a 15% discount to VFRD members. What he doesn't have in stock, he can get in two days from a regional depot and have it in the mail to you.
Yep! Just tell him you're with VFRD.
-
Looks like the way my ‘99 came. Small crash pushed the edge of the fairing into the sticker and tore it a little. Eventually I peeled it off and it’s on my toolbox.
-
Thanks to Rivcyko!
-
 1
1
-
 1
1
-
-
I think he’s asking about the muffler gasket not exhaust port gaskets. Usually when I see multiple #s the bottom one is the only one that is orderable. My Staintune doesn’t need one, so I haven’t bothered with it for a while now.
I just looked at Ron Ayers fiche and only see one listed; #7.
Doesn’t the new header have a larger diameter outlet? I thought people were saying the Staintune would have to be stretched.
-
1
-
-
If I had to guess I would say all North American ‘00-‘01 would work. I’m thinking ‘98-‘99 are different due to O2 sensors at least.
Always good to look up part#s on parts fiche to see if they change.
-
1
-
-
My ‘99 had 20,500 miles when I bought it in 2003 and I doubled that in the first year. It’s at over 103k now.
You won’t need a clutch. I replaced mine at over 70k and the difference between new and old was minimal. I only did it cause I was in there already and doing a bunch of other work. I could give you my old clutch pack and you wouldn’t find any difference to whichever you get.
-
3 hours ago, Dutchy said:
An 8 spoker is lighter than a 4th gen OEM. Not by much but I lost the images on them on the scales.
I weighed my 8 spoke and it's about 1/2 pound lighter than 5th and 6th 5 spoke. Also lighter than the 1st Gen CB1000R, IIRC.
-
Nice!
-
1
-
-
All of my bikes are V4s.
-
Definitely clear as mud.
Definitely first time I've heard this recommended.
Definitely the female leads on the 30a fuse were getting loose and arcing, causing burn marks on the fuse and the housing to get brown.
I love to learn!
-
No?
I’ve had my R/R wired directly to the battery through a 30a fuse on the +. I recently revised that setup to a 30a breaker and saw that the other (stock) 30a fuse was getting toasty so I replaced it with another 30a breaker.
I’ve not ever heard anyone recommend removing the 30a fuse. Am I not understanding this correctly?
-
22 minutes ago, dude said:
Sweet Nice job !!!!
Thanks dude!
-
I’ve got one too! I think they redesigned them and now you don’t need to trim the aluminum tab on the bottom of the pan.
-
On 8/3/2019 at 11:17 AM, TheLimey said:
Very nice. I take it these adaptors aren't compatible with 6th Gens?
Sorry, I don't know. Seems likely, but I don't know for sure.
-
 1
1
-
-
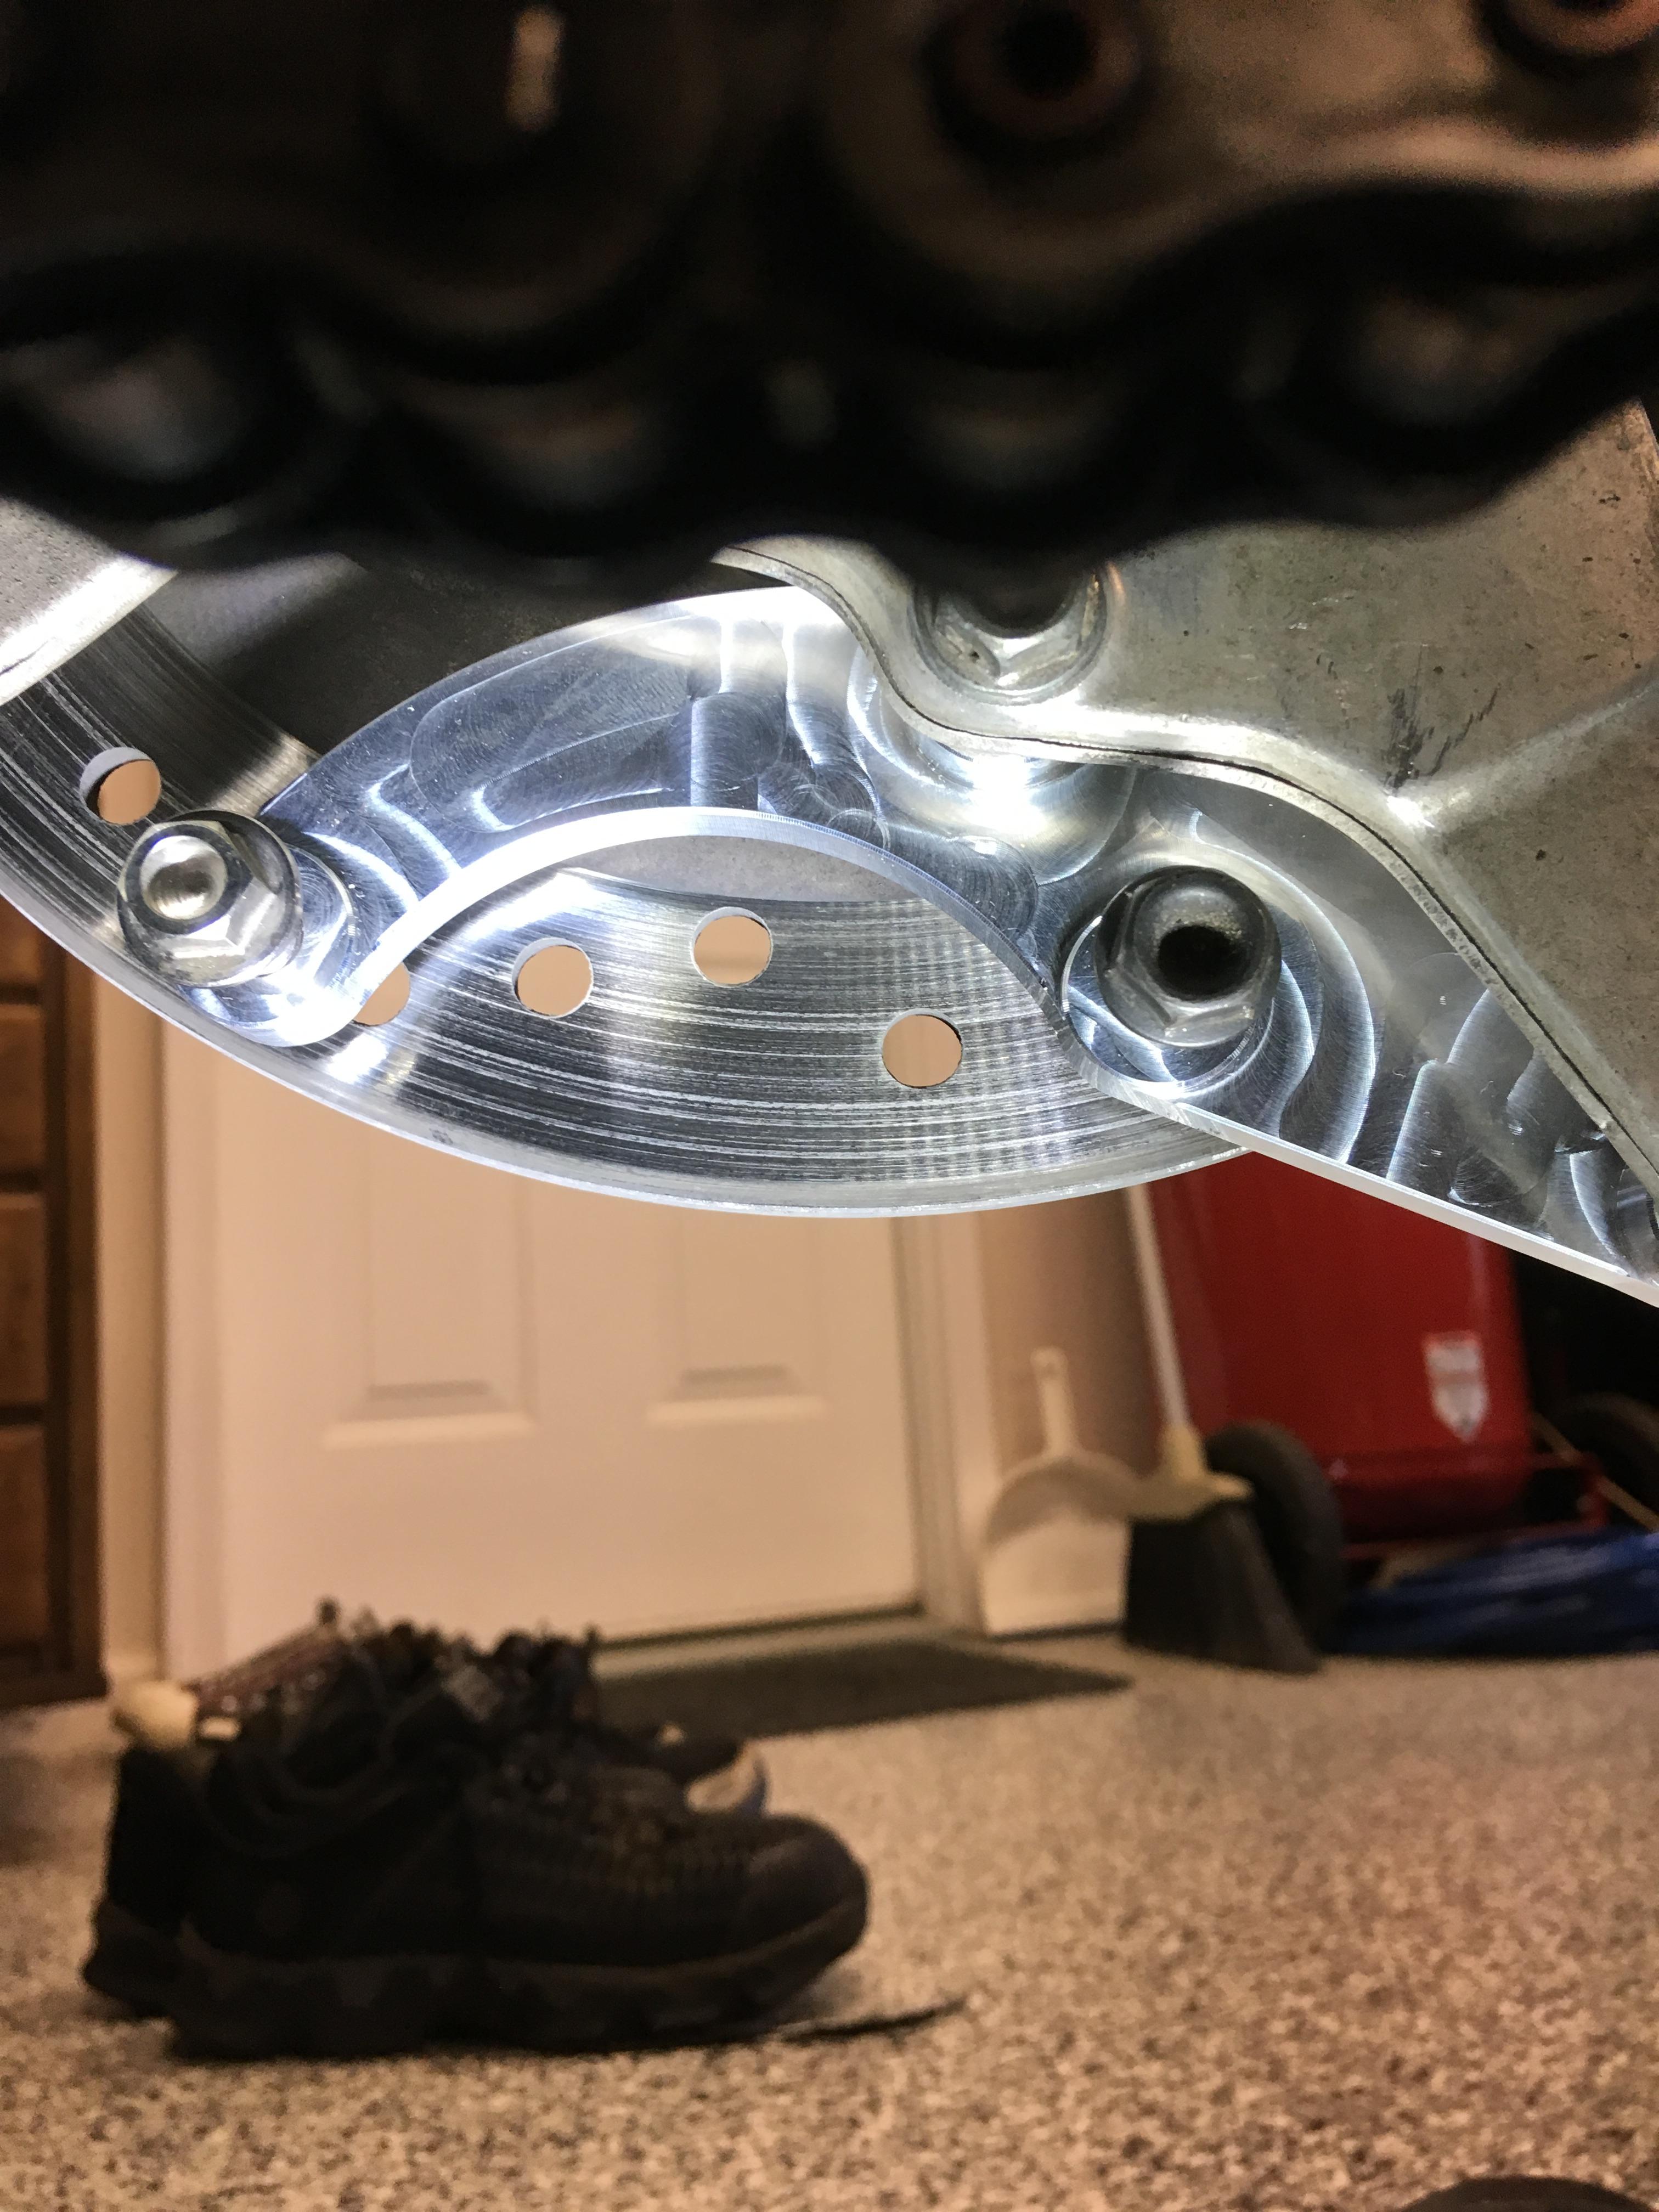
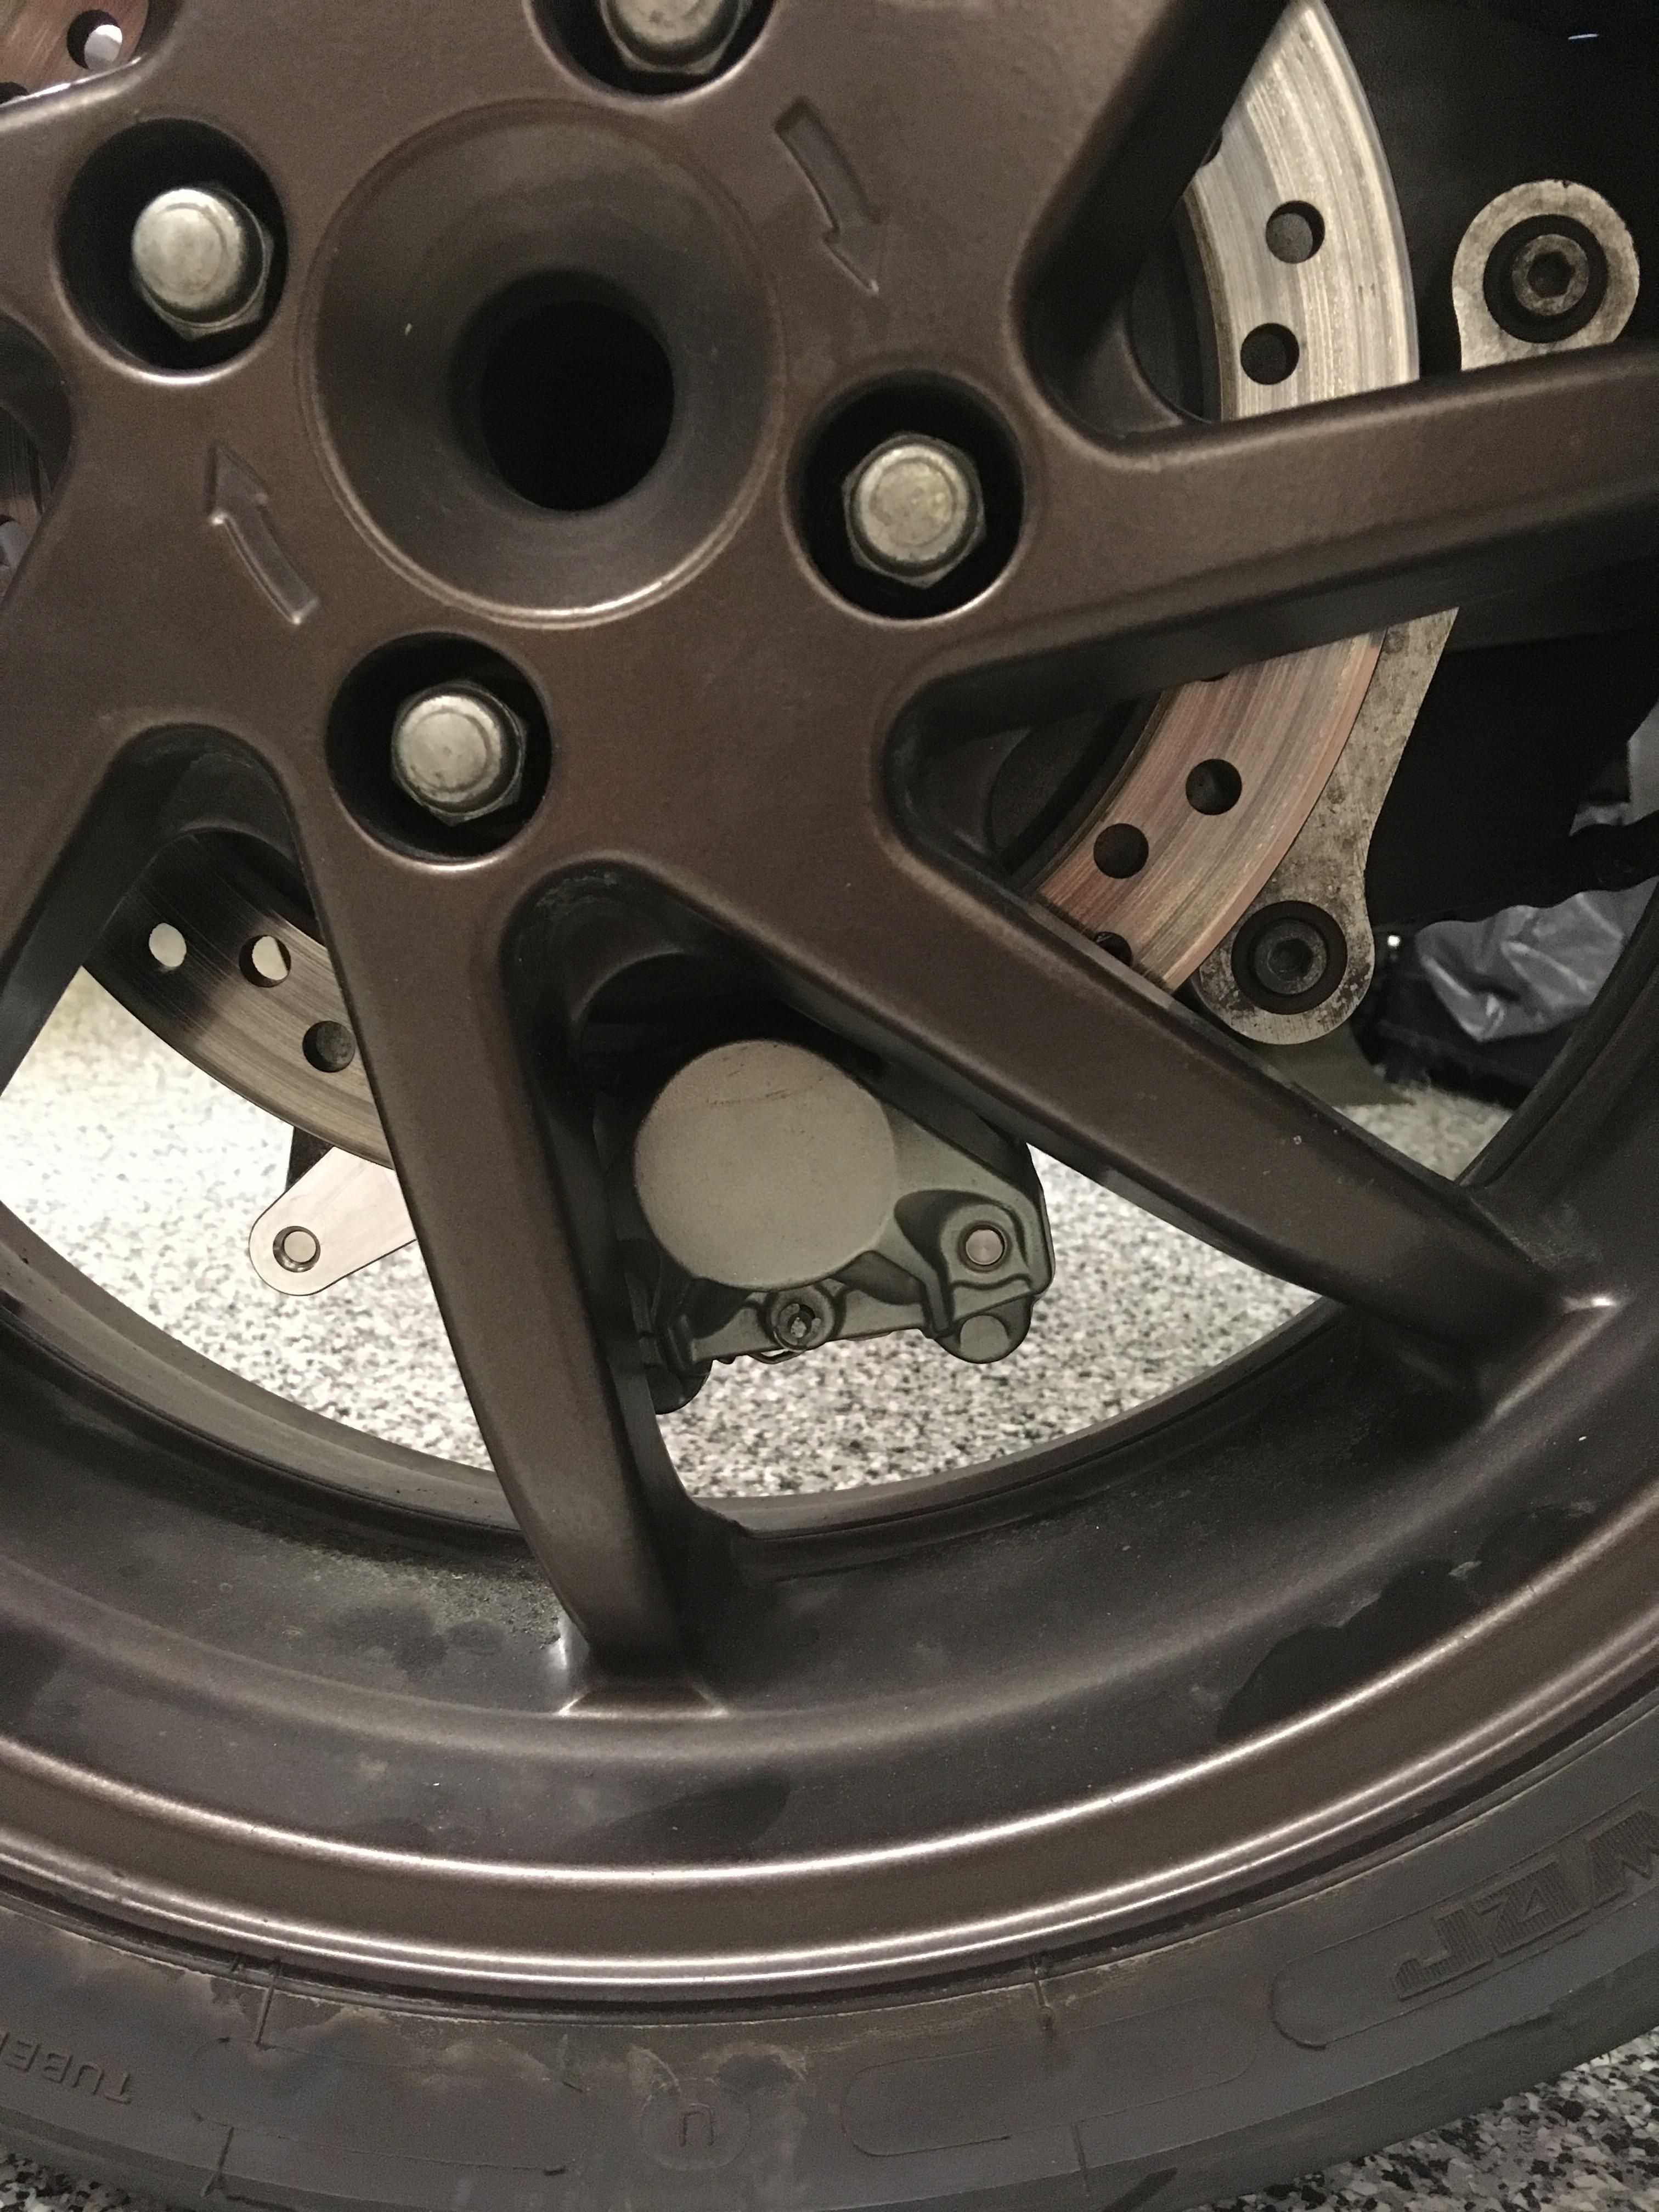
I was late to slo1’s original post offering a new rear caliper mount for 4th and 5th Gens, but by the time I found it, eyrwbvfr had come up with a very nicely designed easier mounted adapter. So I jumped on it, having years ago swapped front ends and done the crossover line to link up the three pistons on the rear caliper, but not really liking that whole thing.
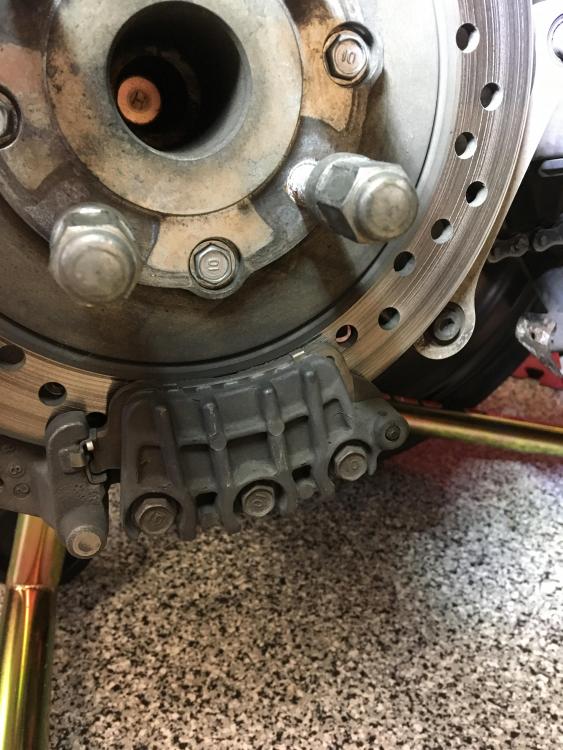
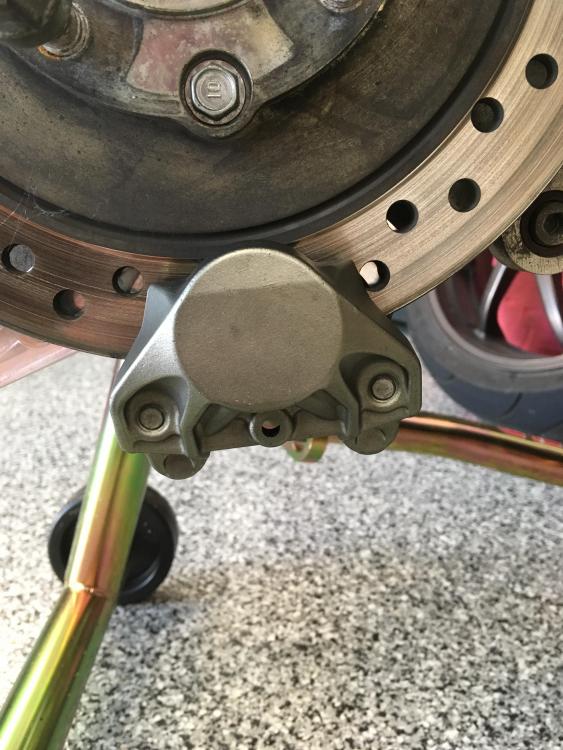
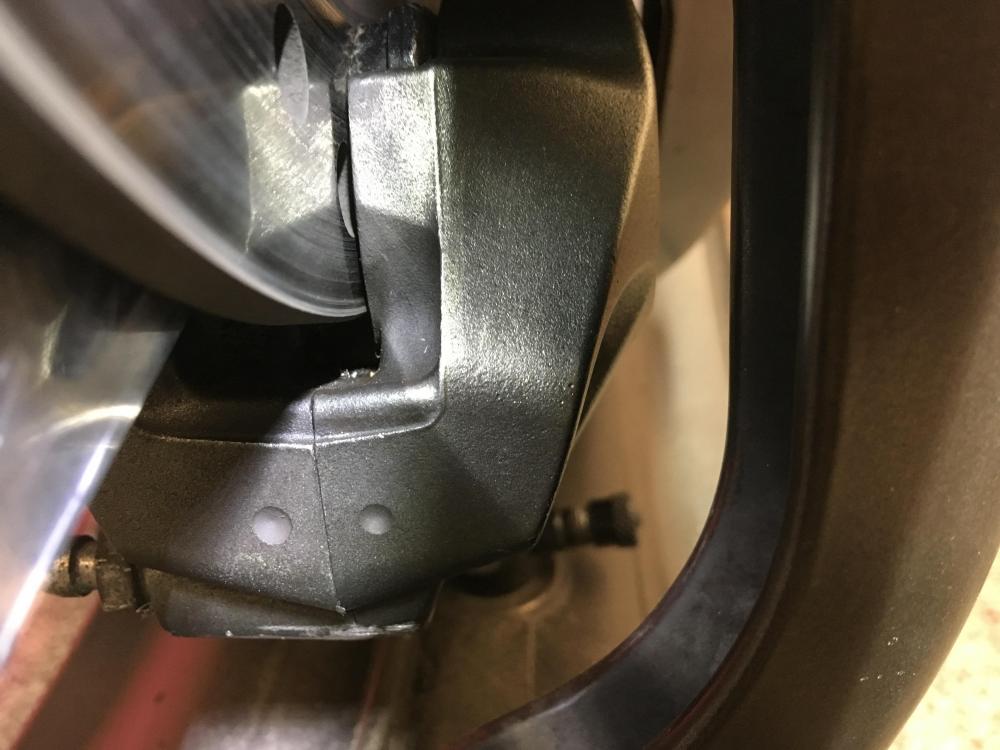
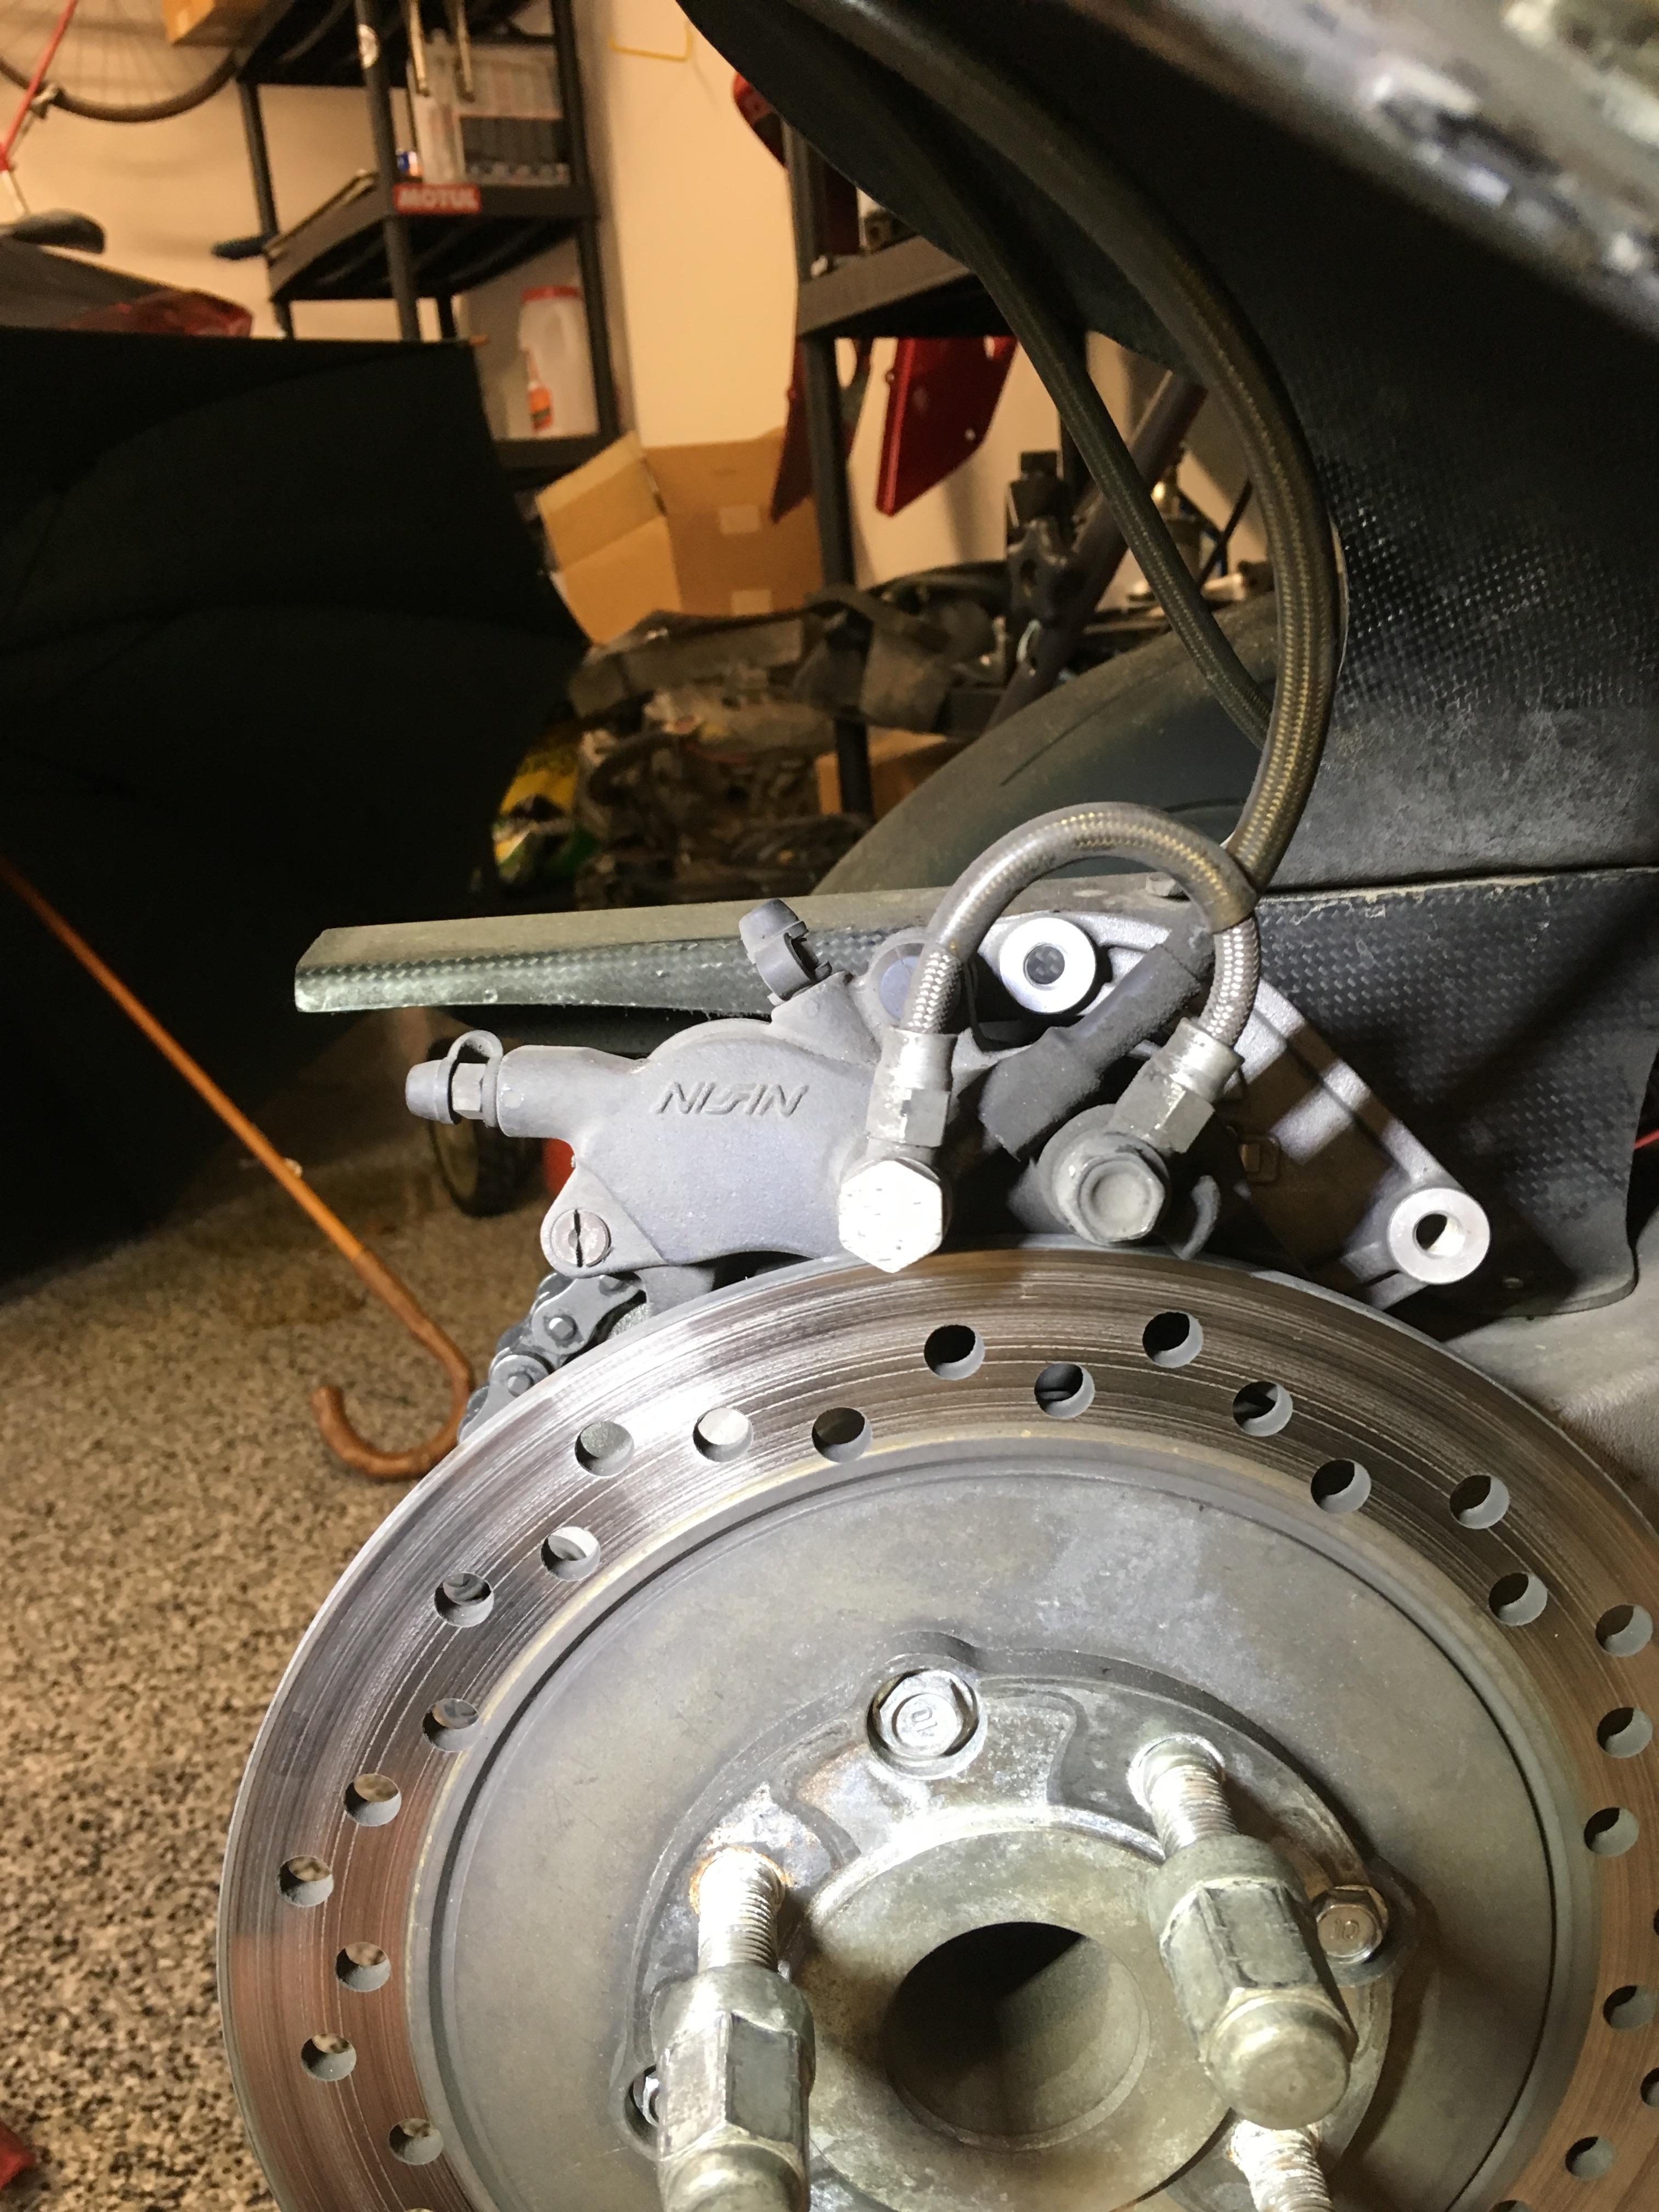
Unmounted stock caliper with the crossover line:

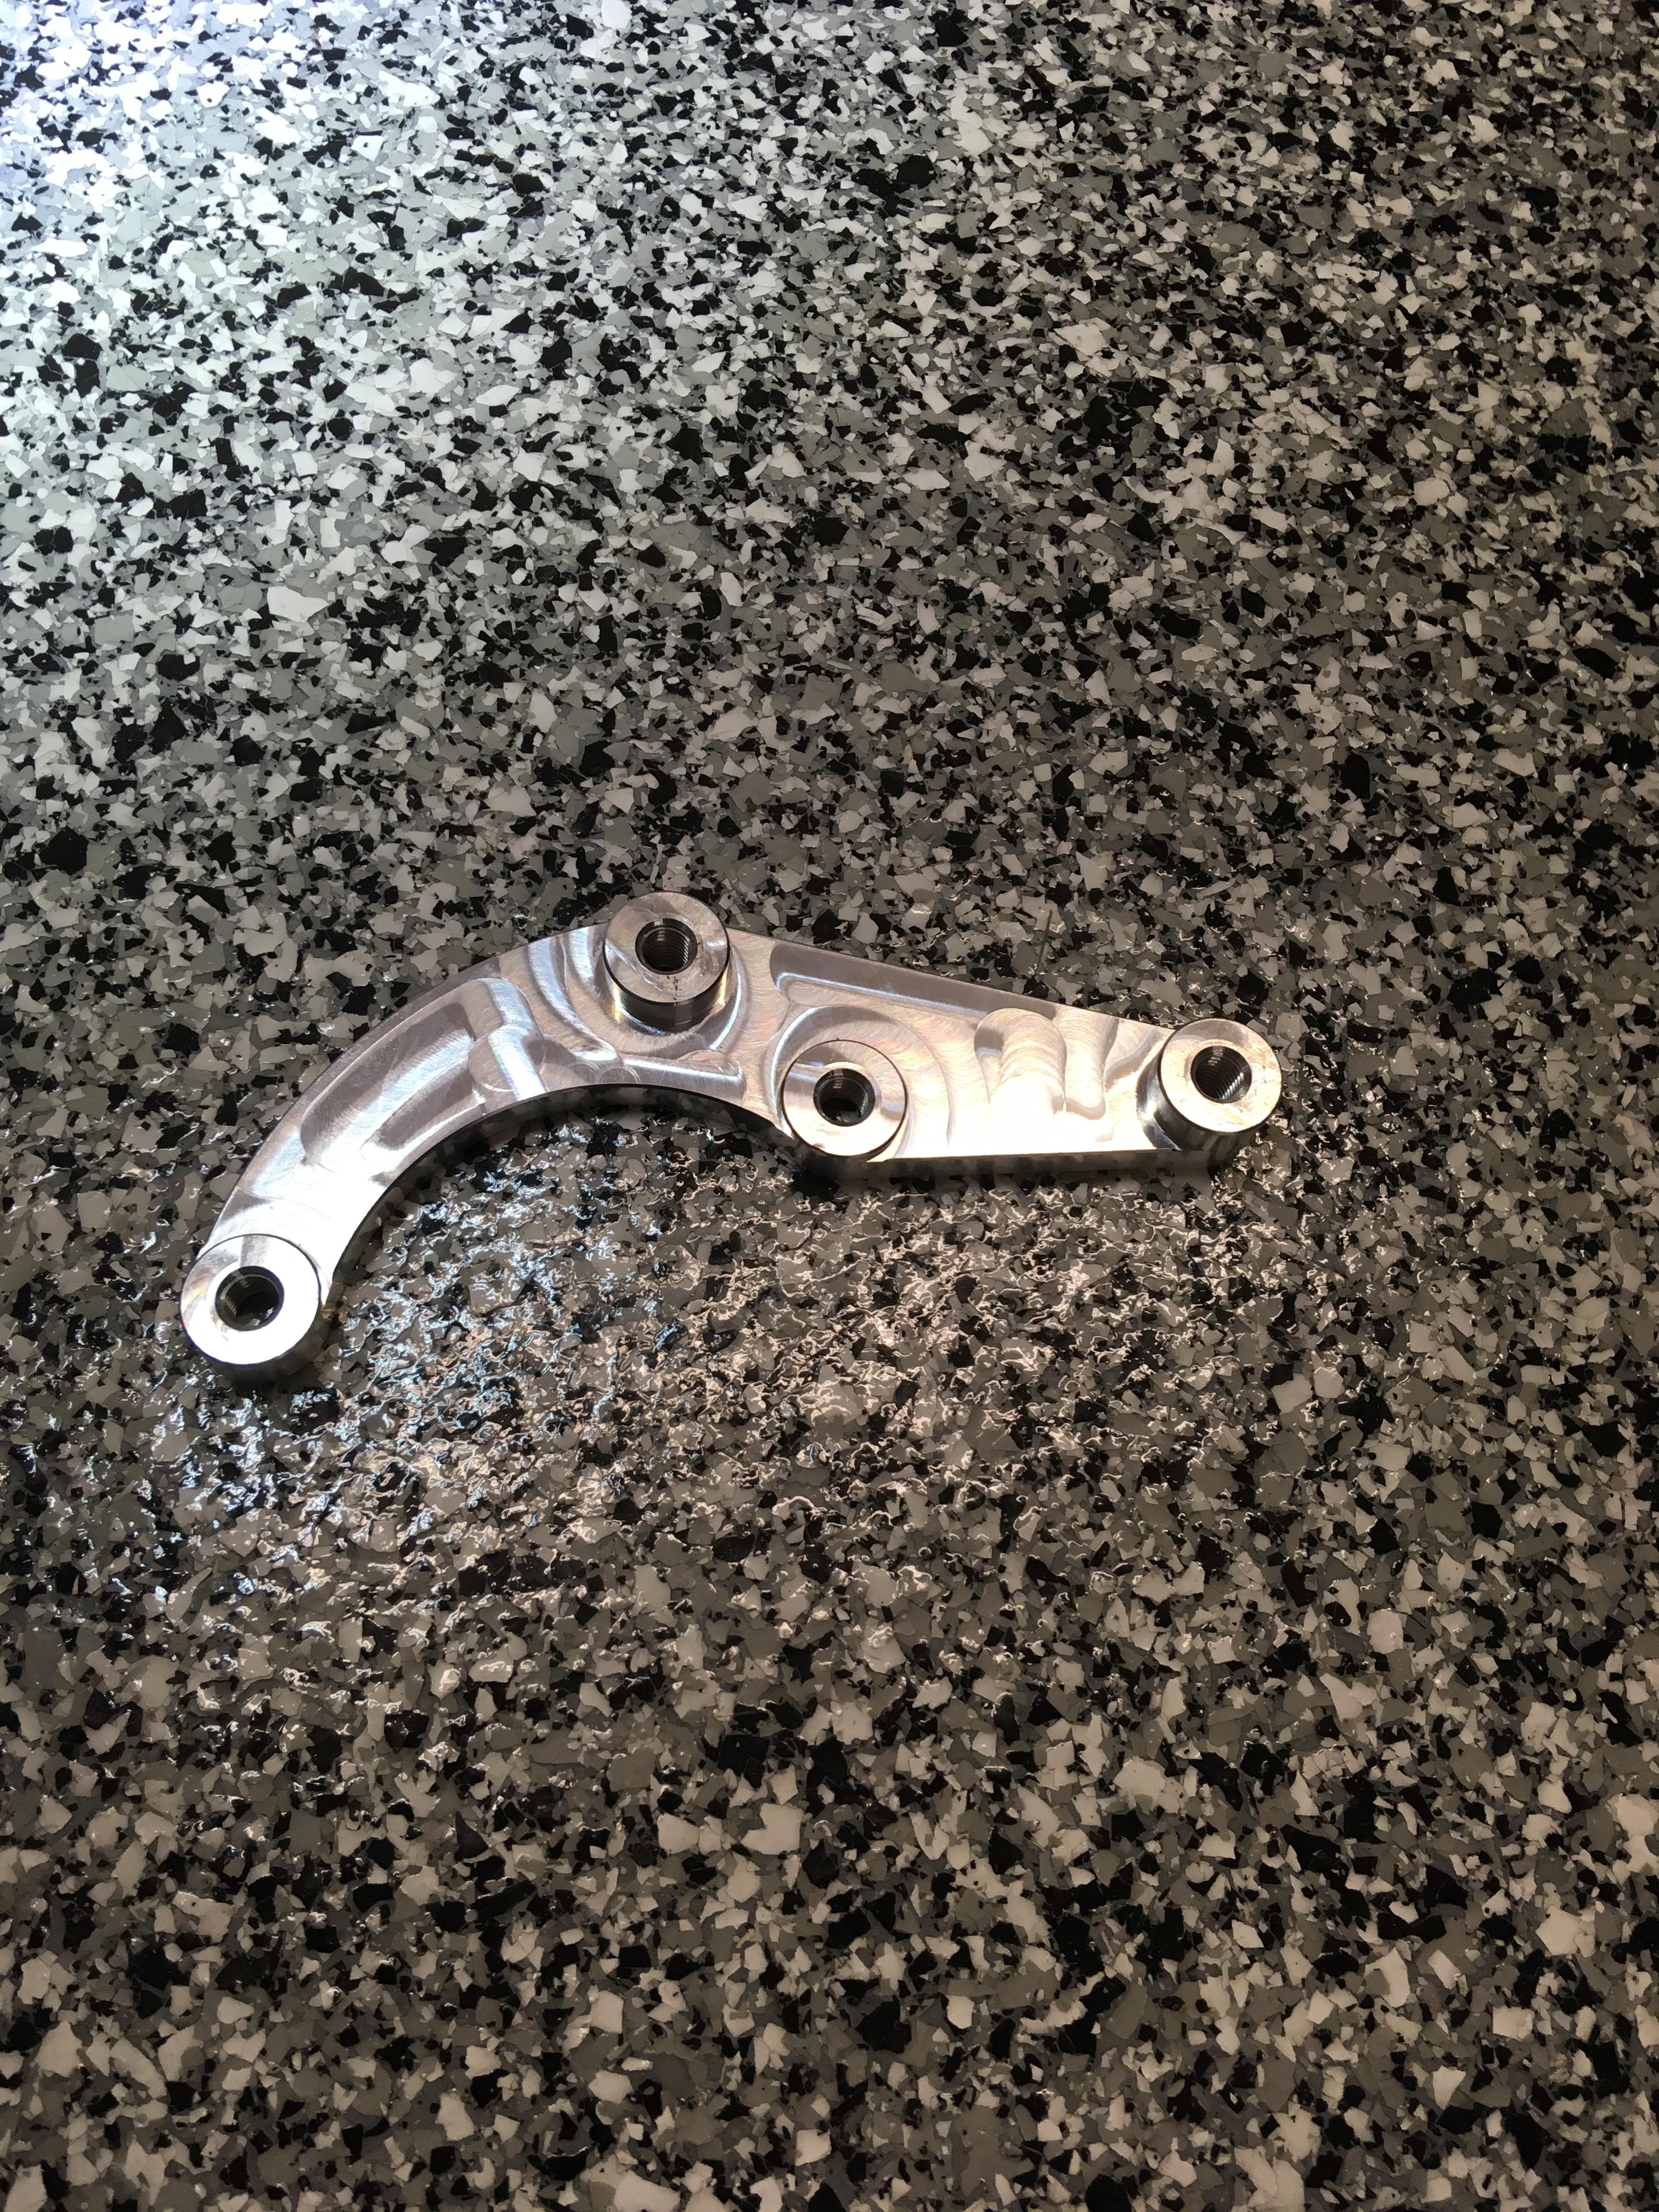
What a beautiful looking piece:
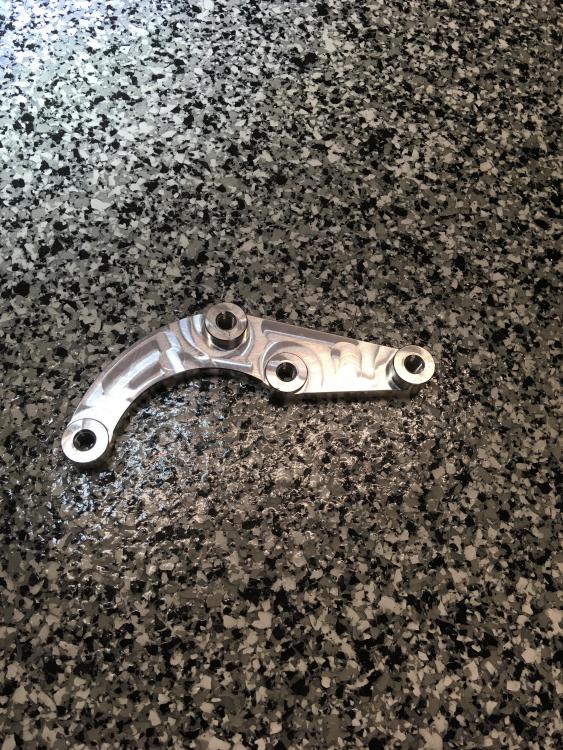
Mounted right up perfectly, mounting holes were exactly right and a couple spare bolts I had laying around:
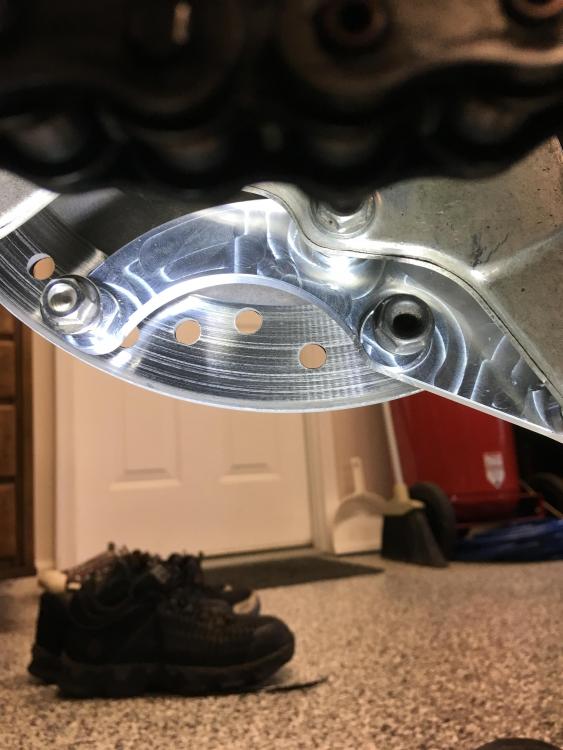
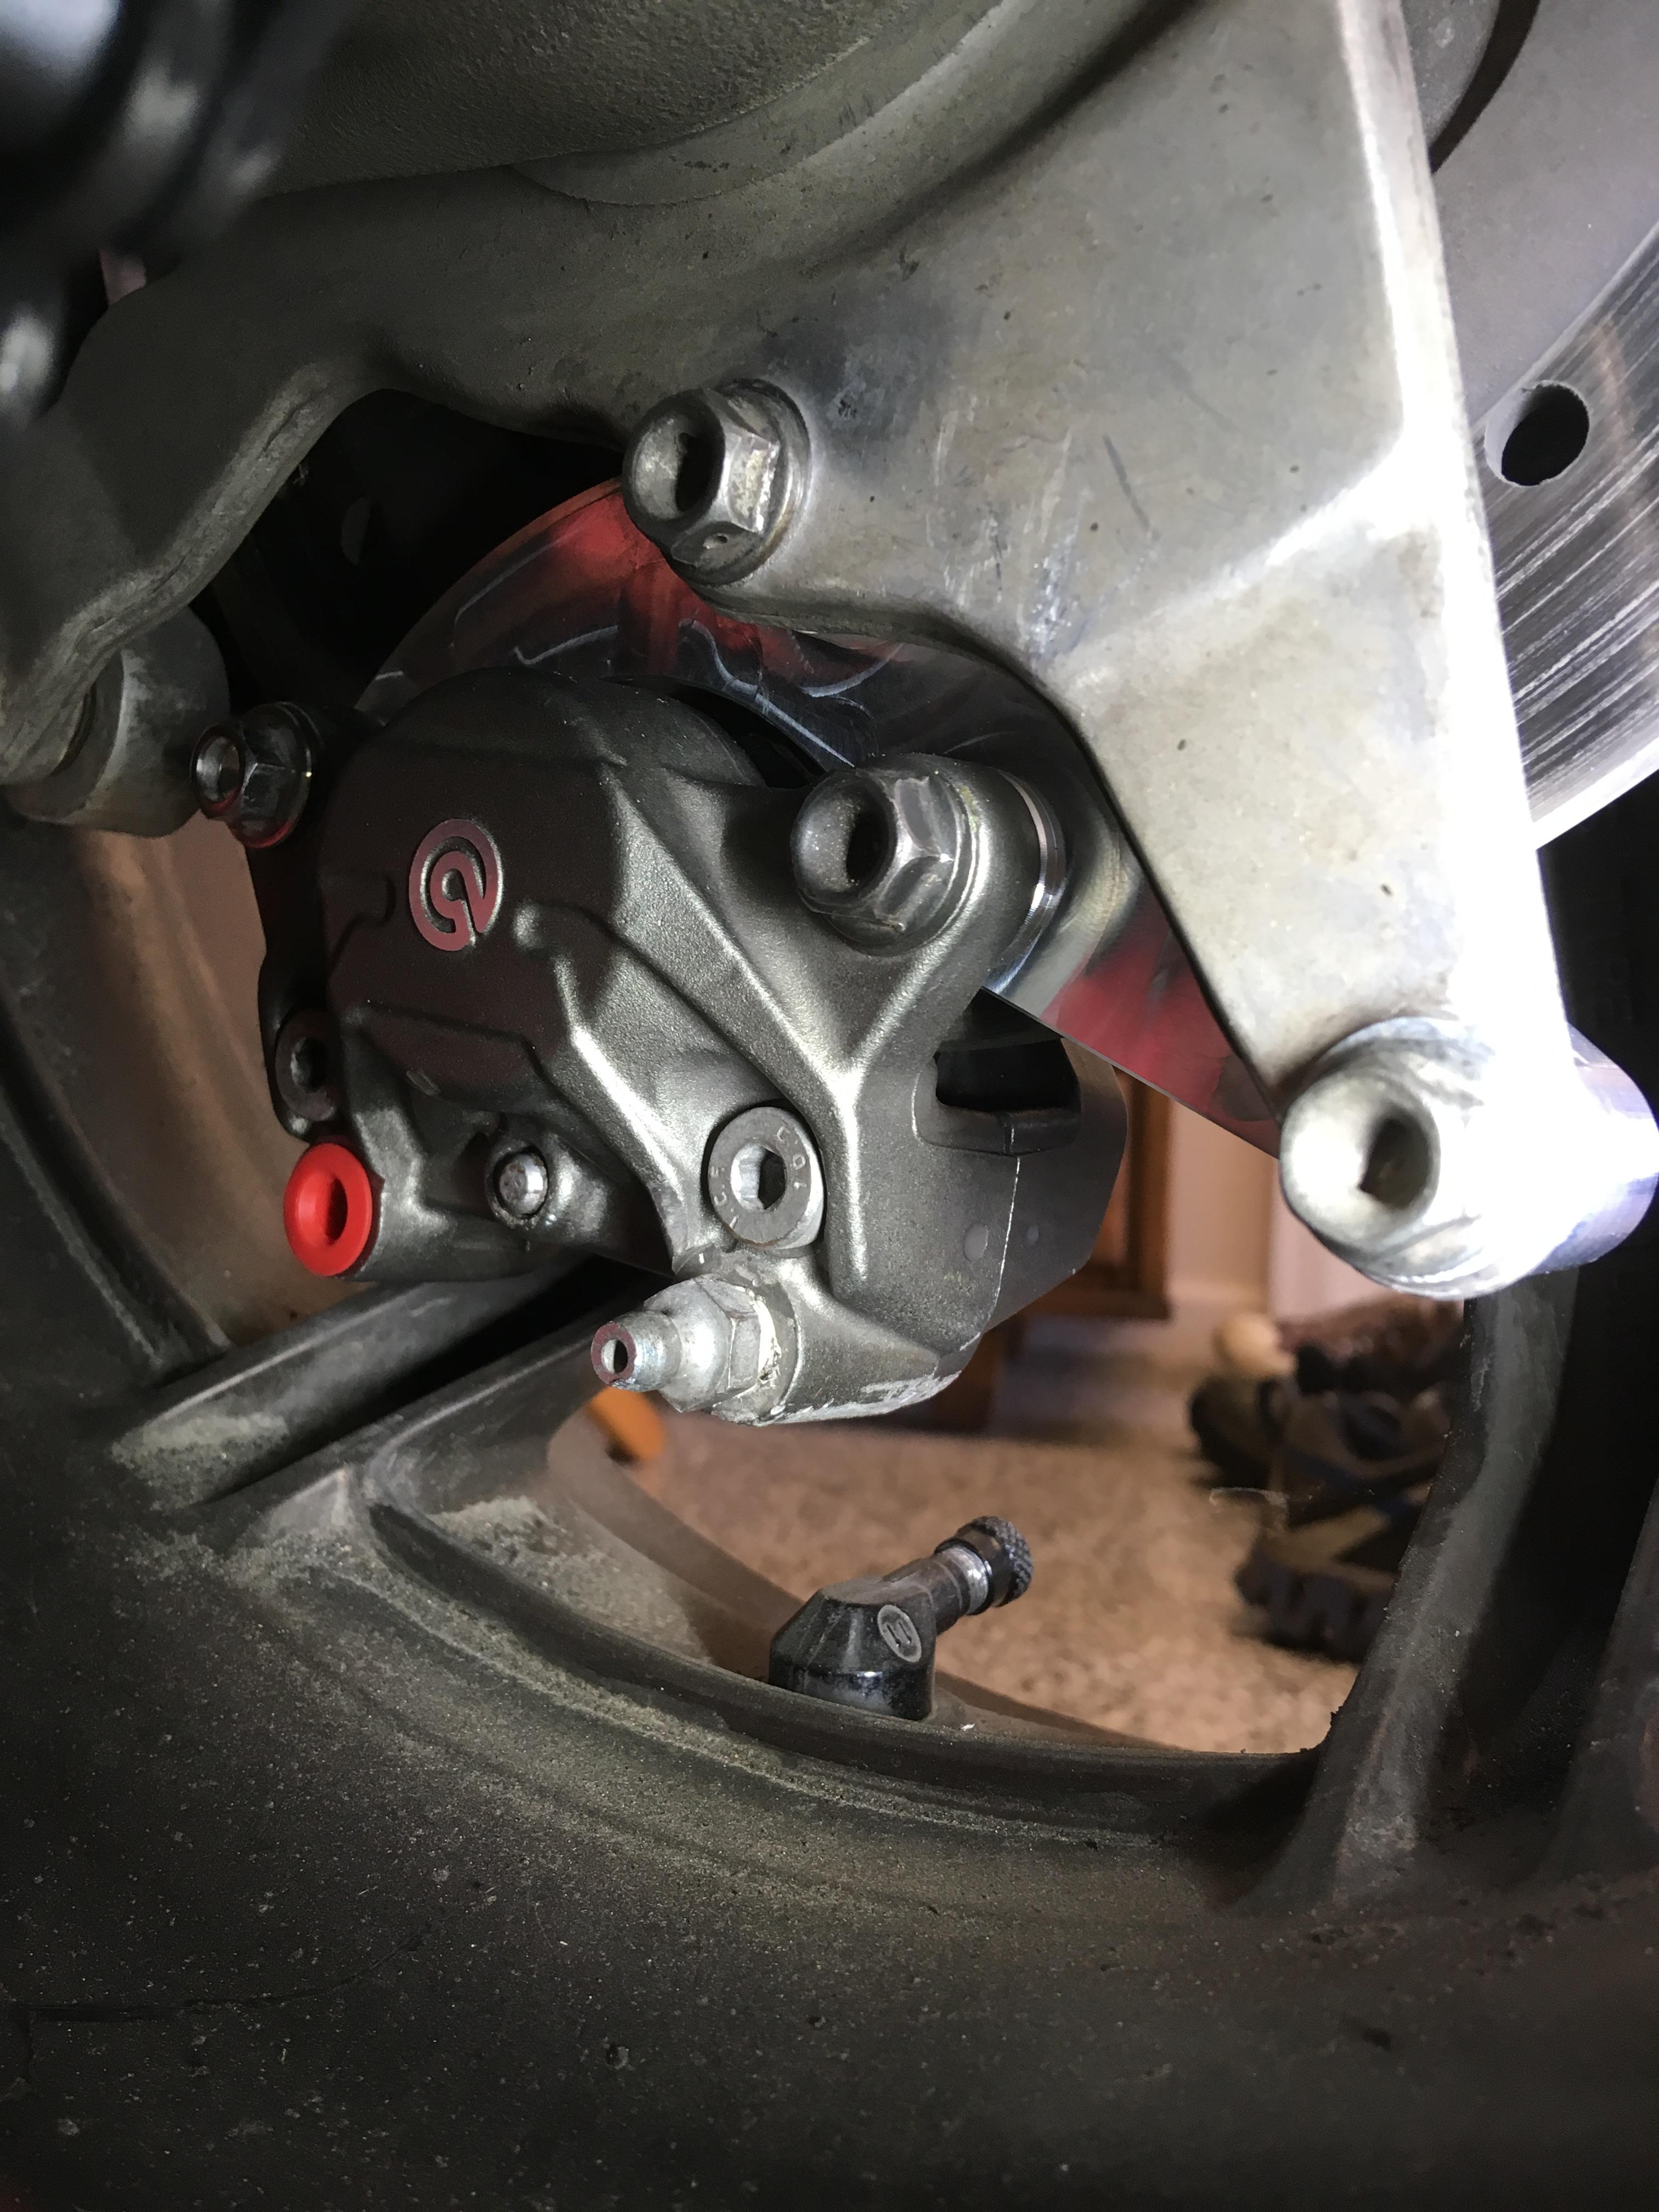
This was the orientation of the bleeder and banjo coming from a Duc 1098, but upon disassembly I noticed that everything was perfectly symmetrical including the holes for the bleeder and banjo. Both are the same size and conical at the bottom, so they are interchangeable.
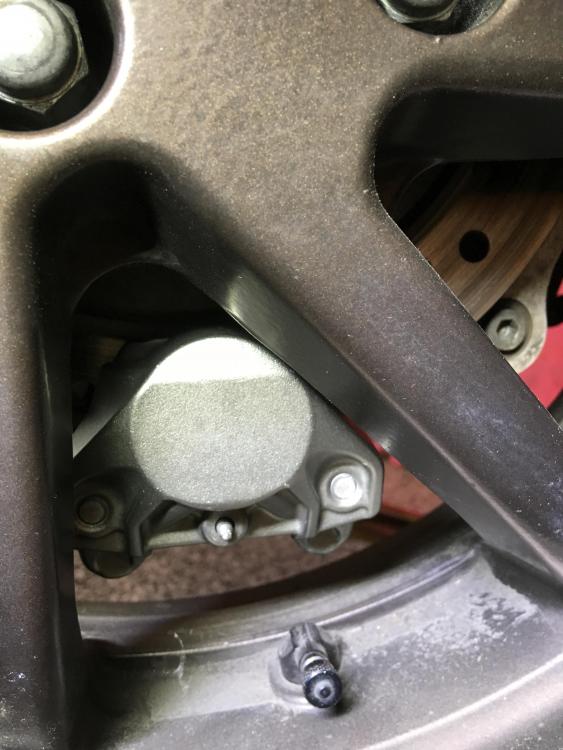
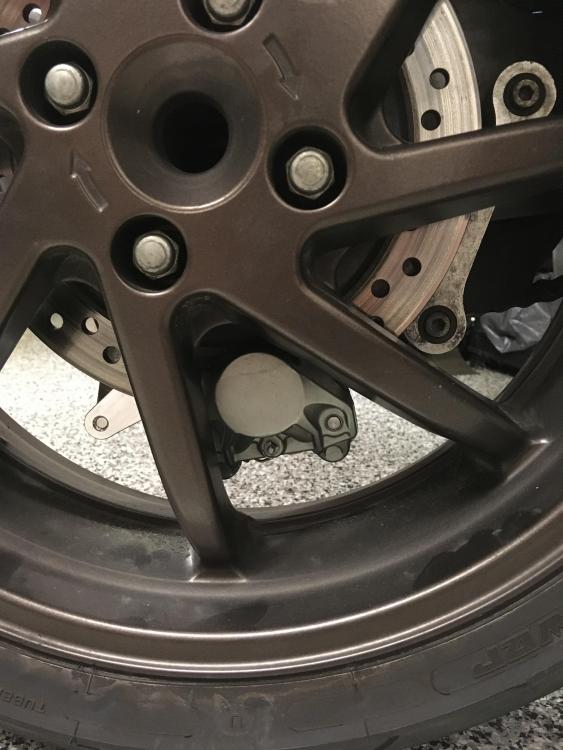
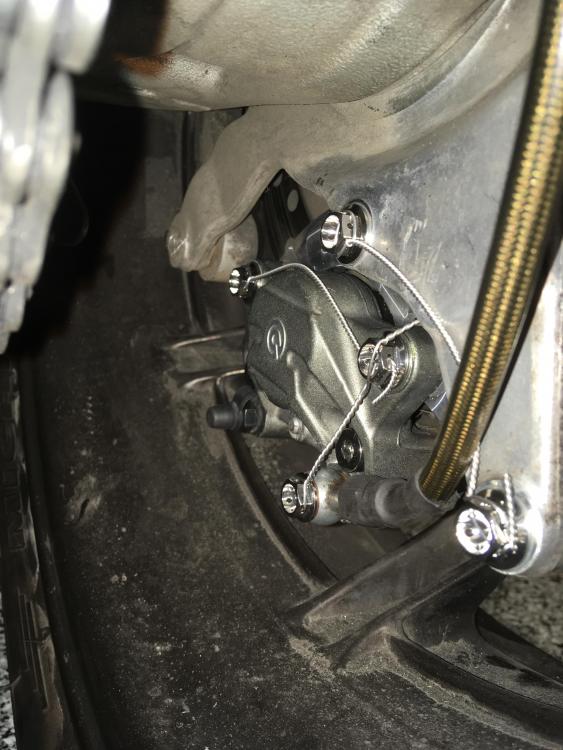
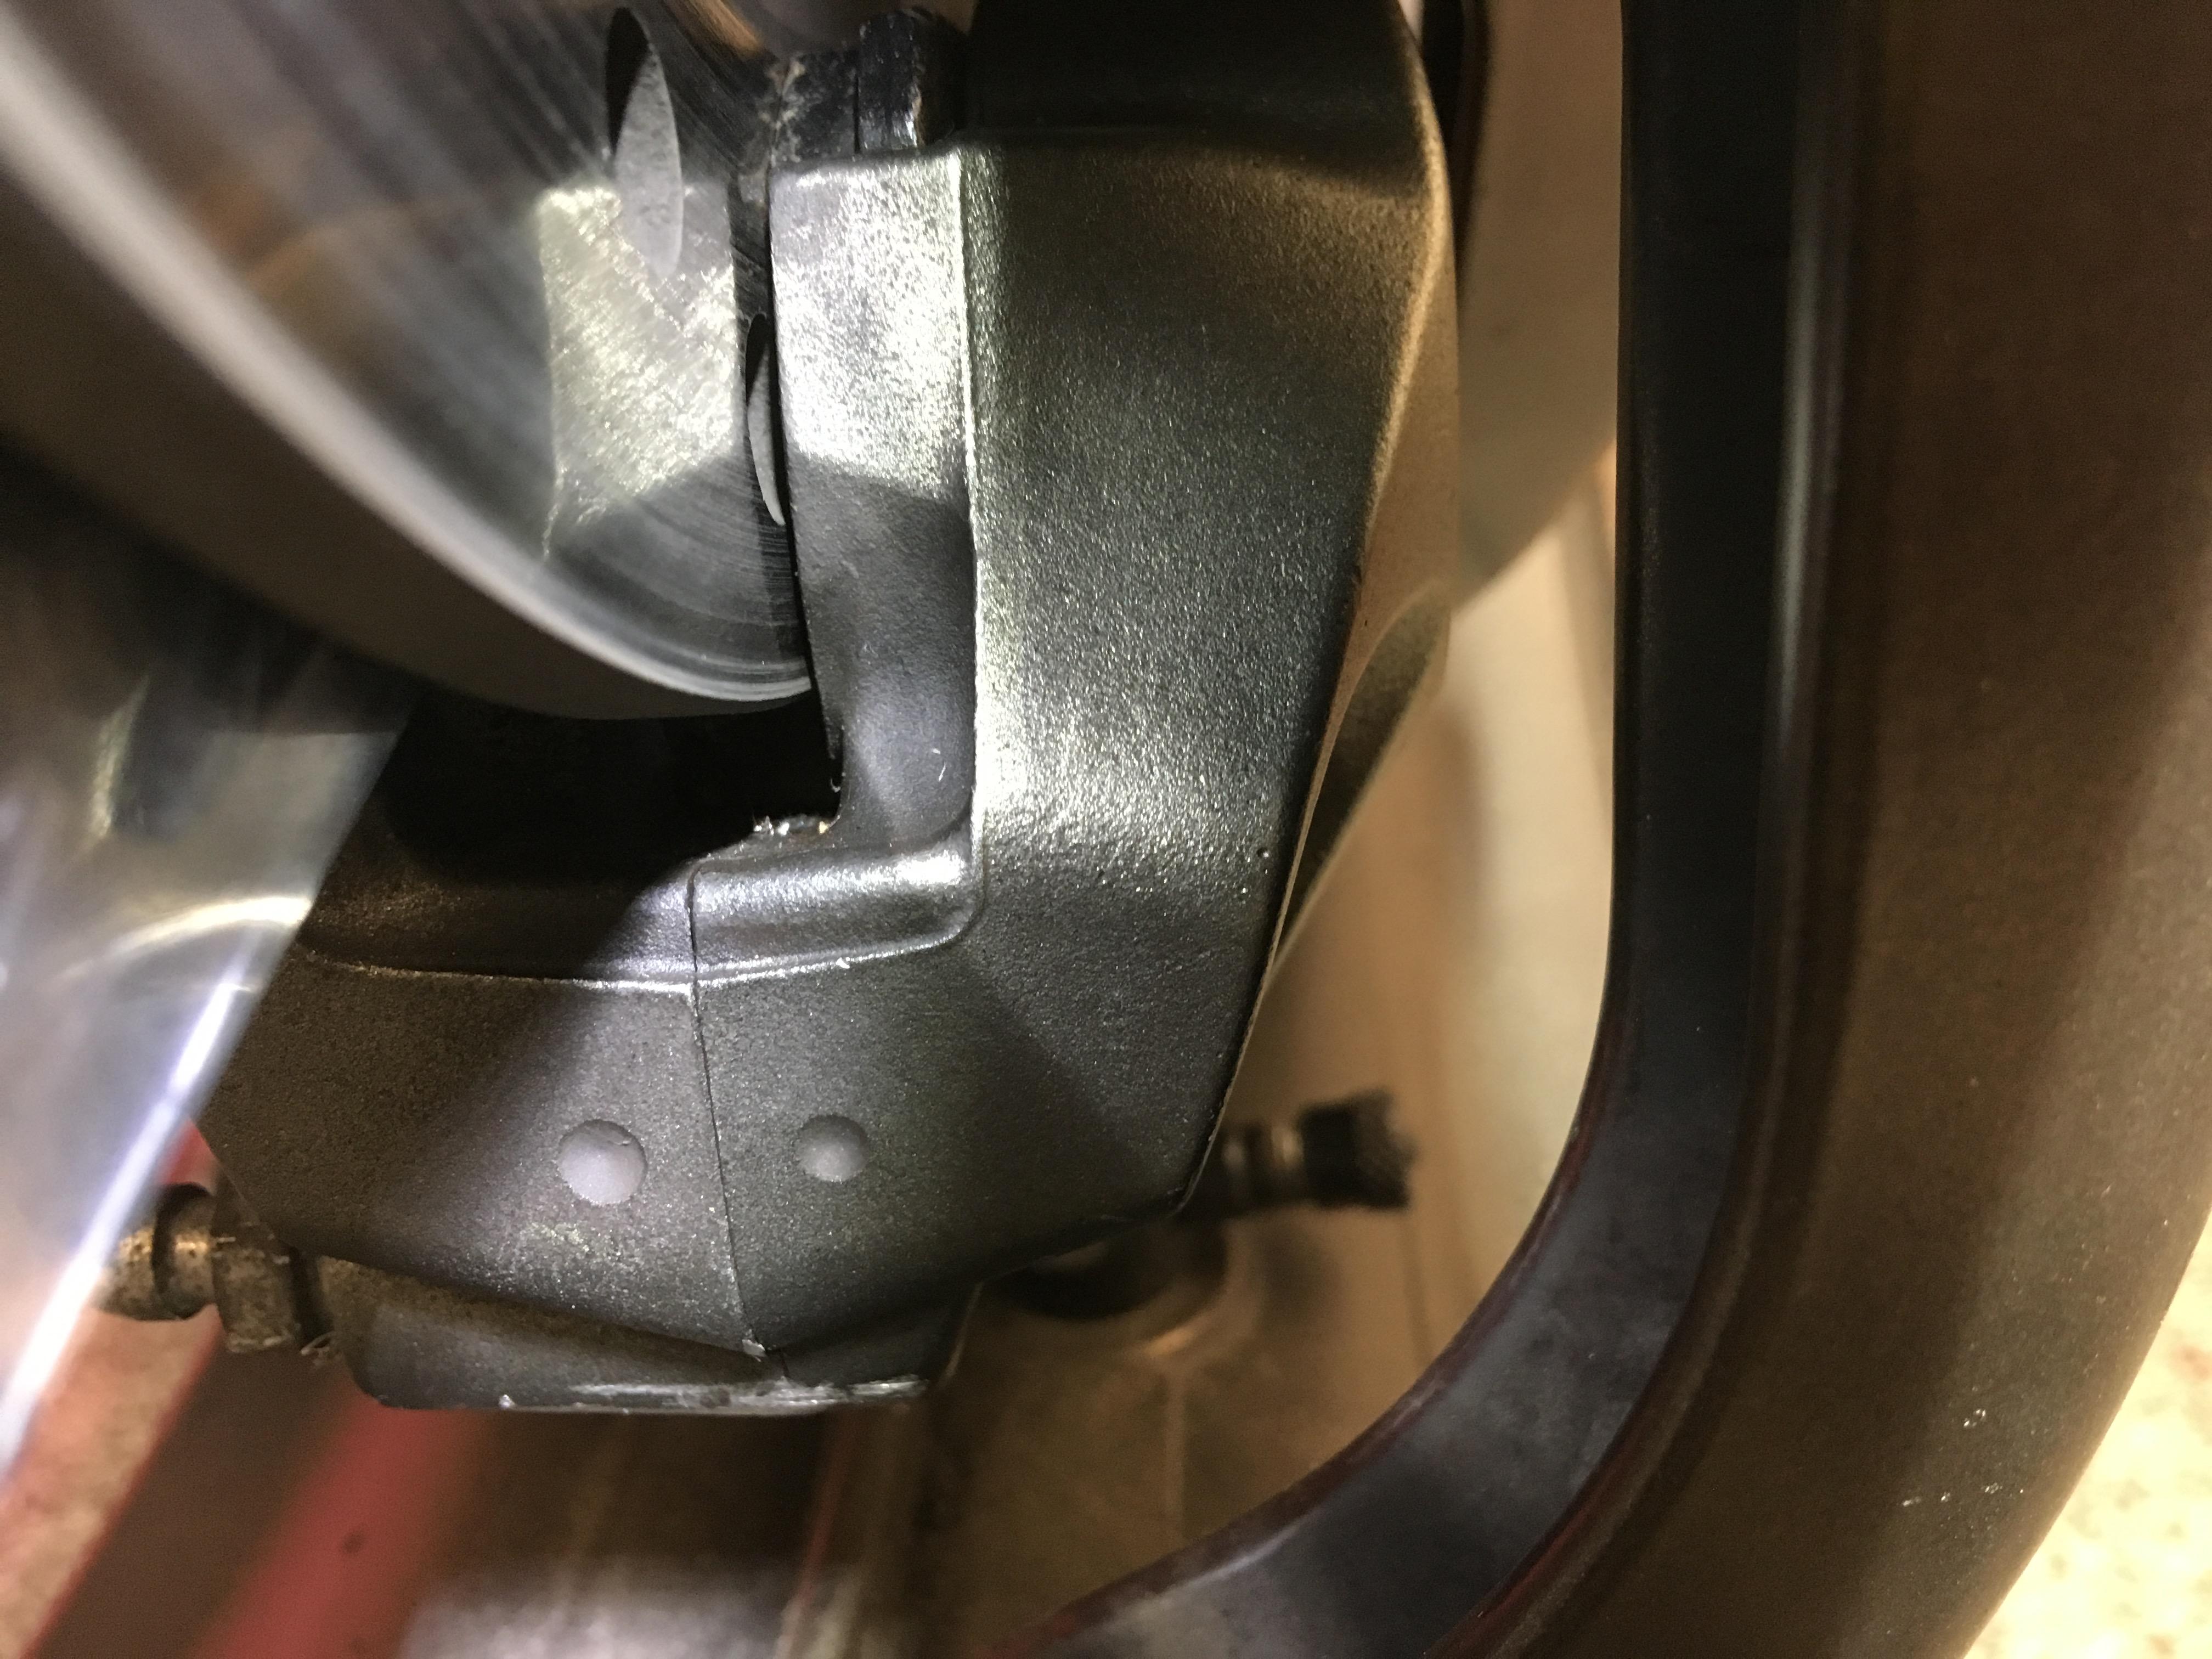
Good clearances all around:

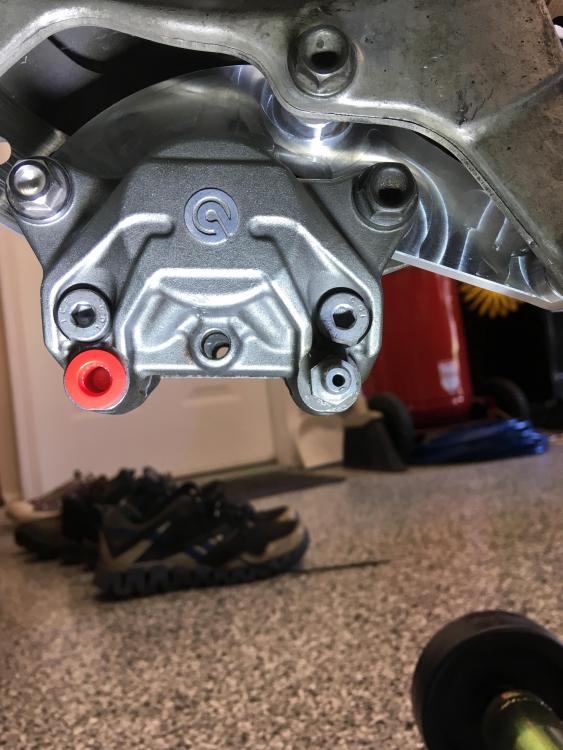
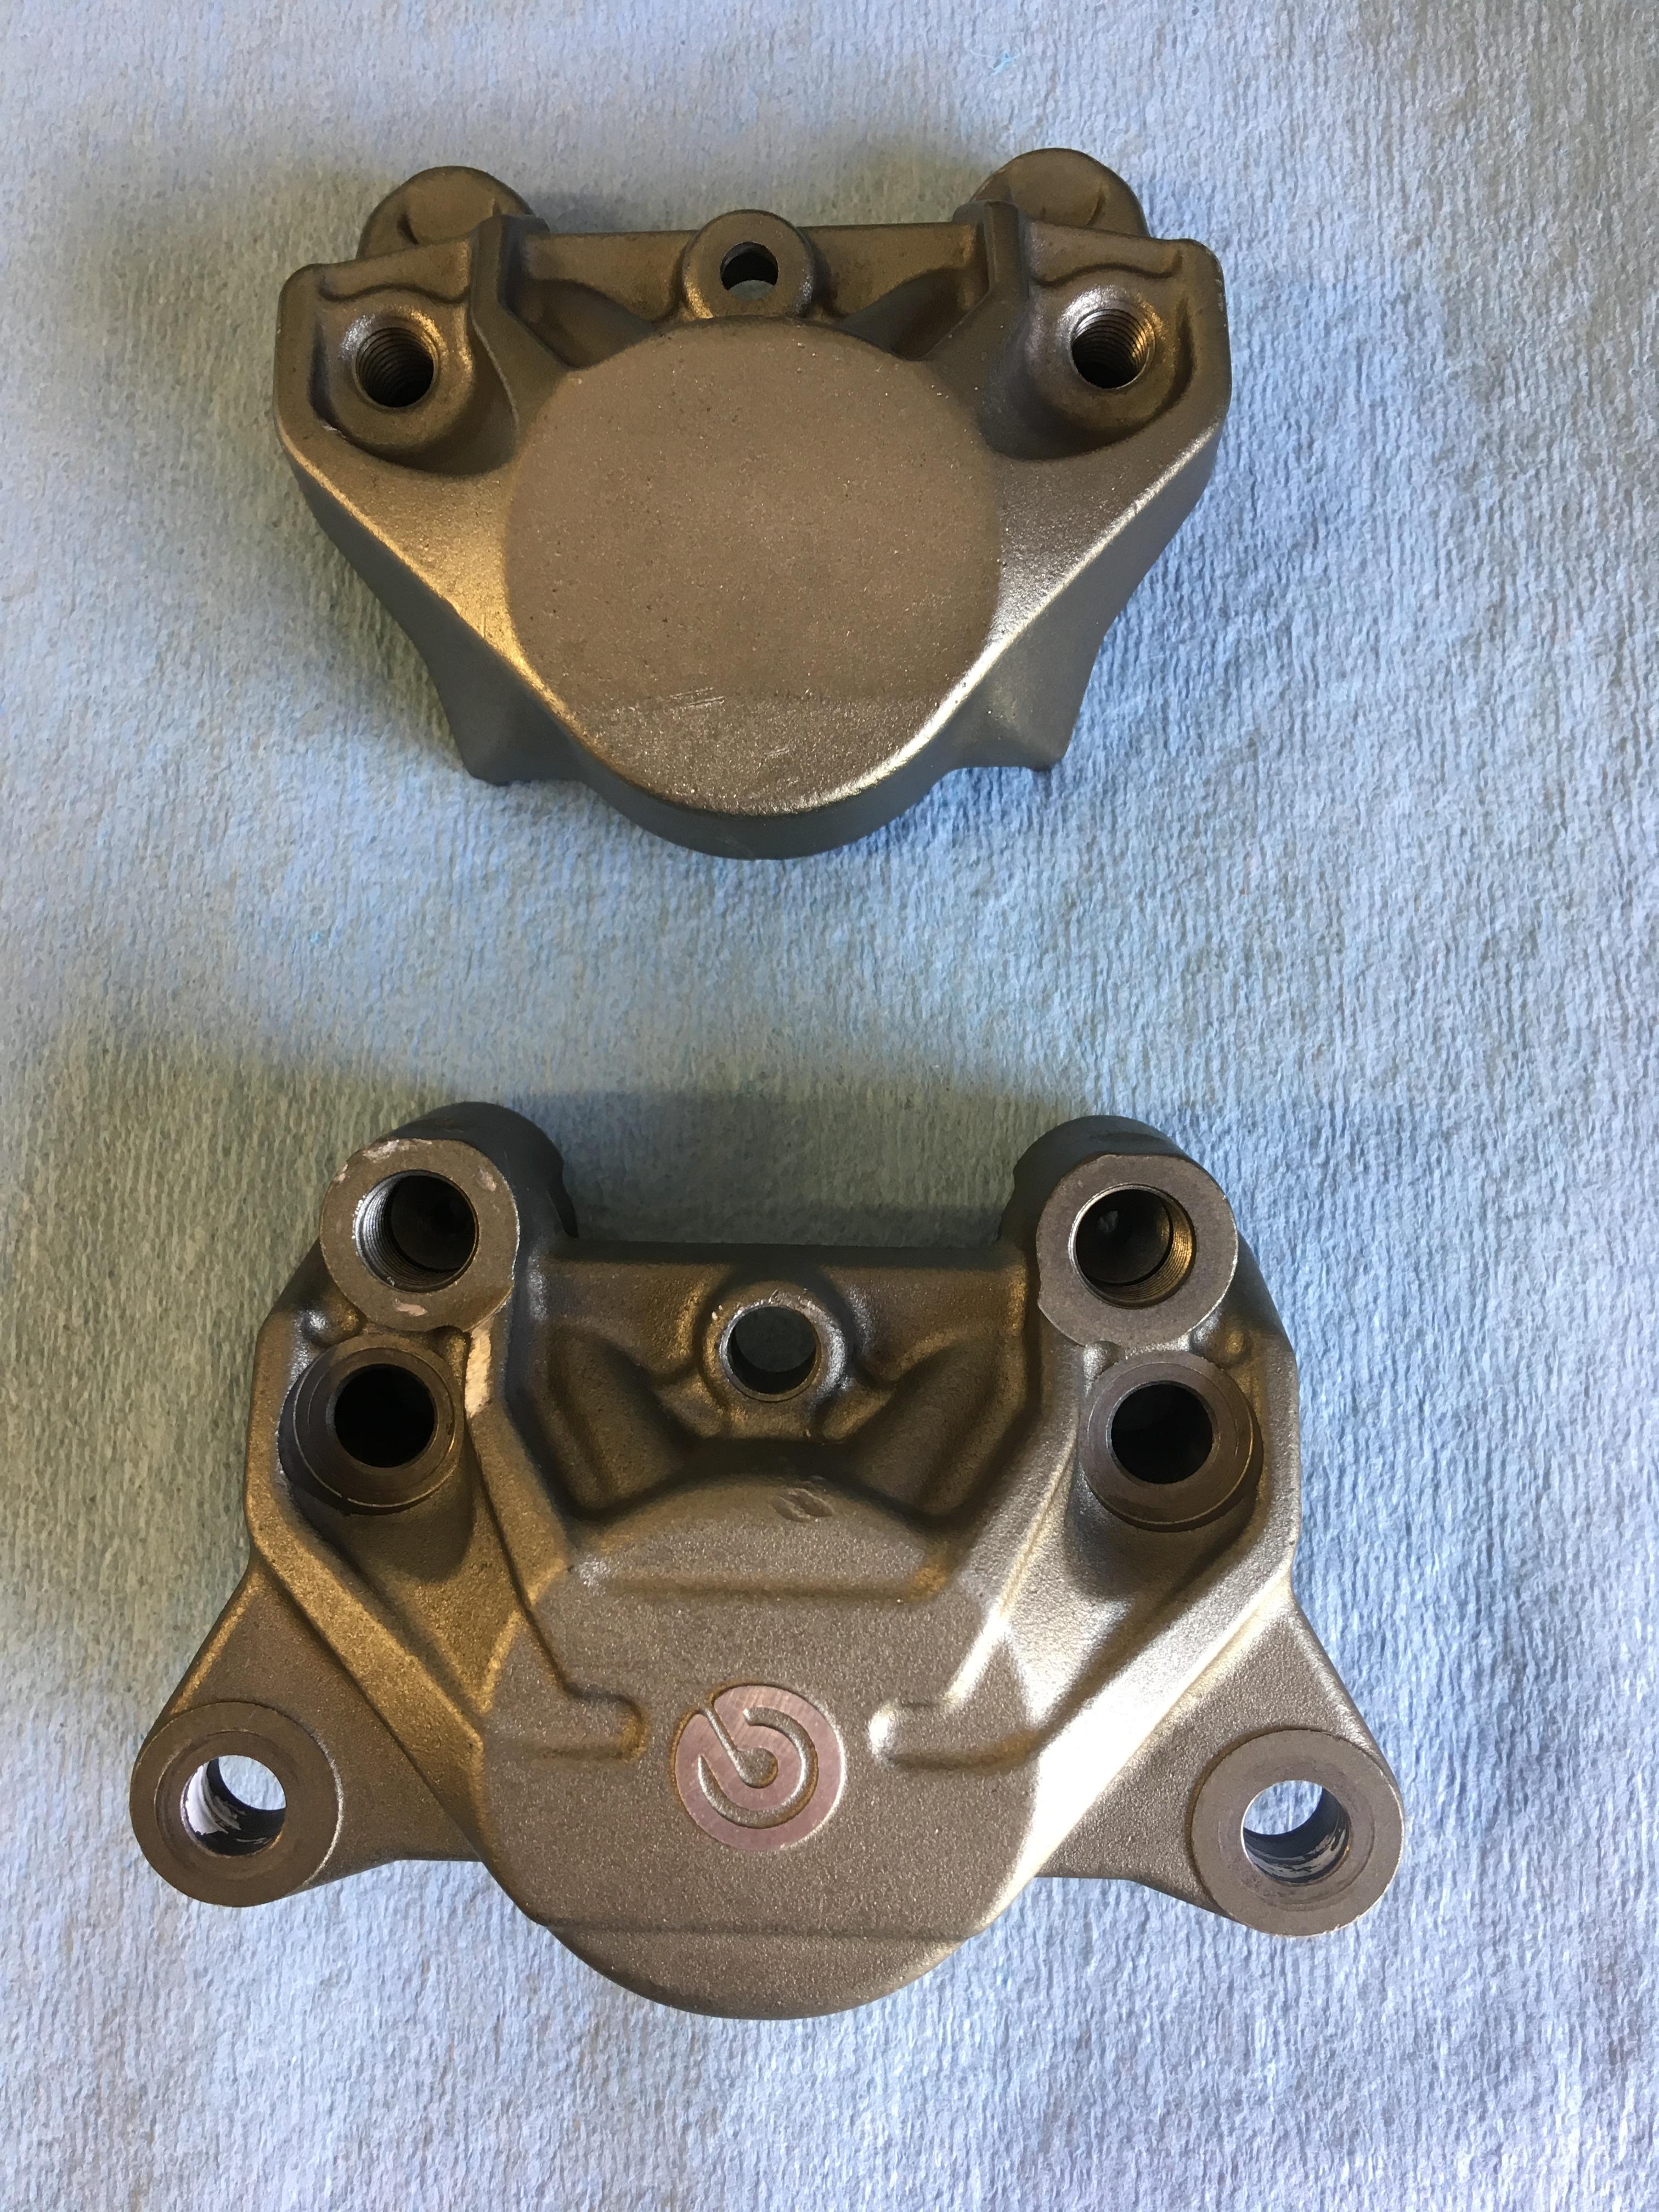
Split the caliper for thorough cleaning, totally symmetrical front to back (as mounted):


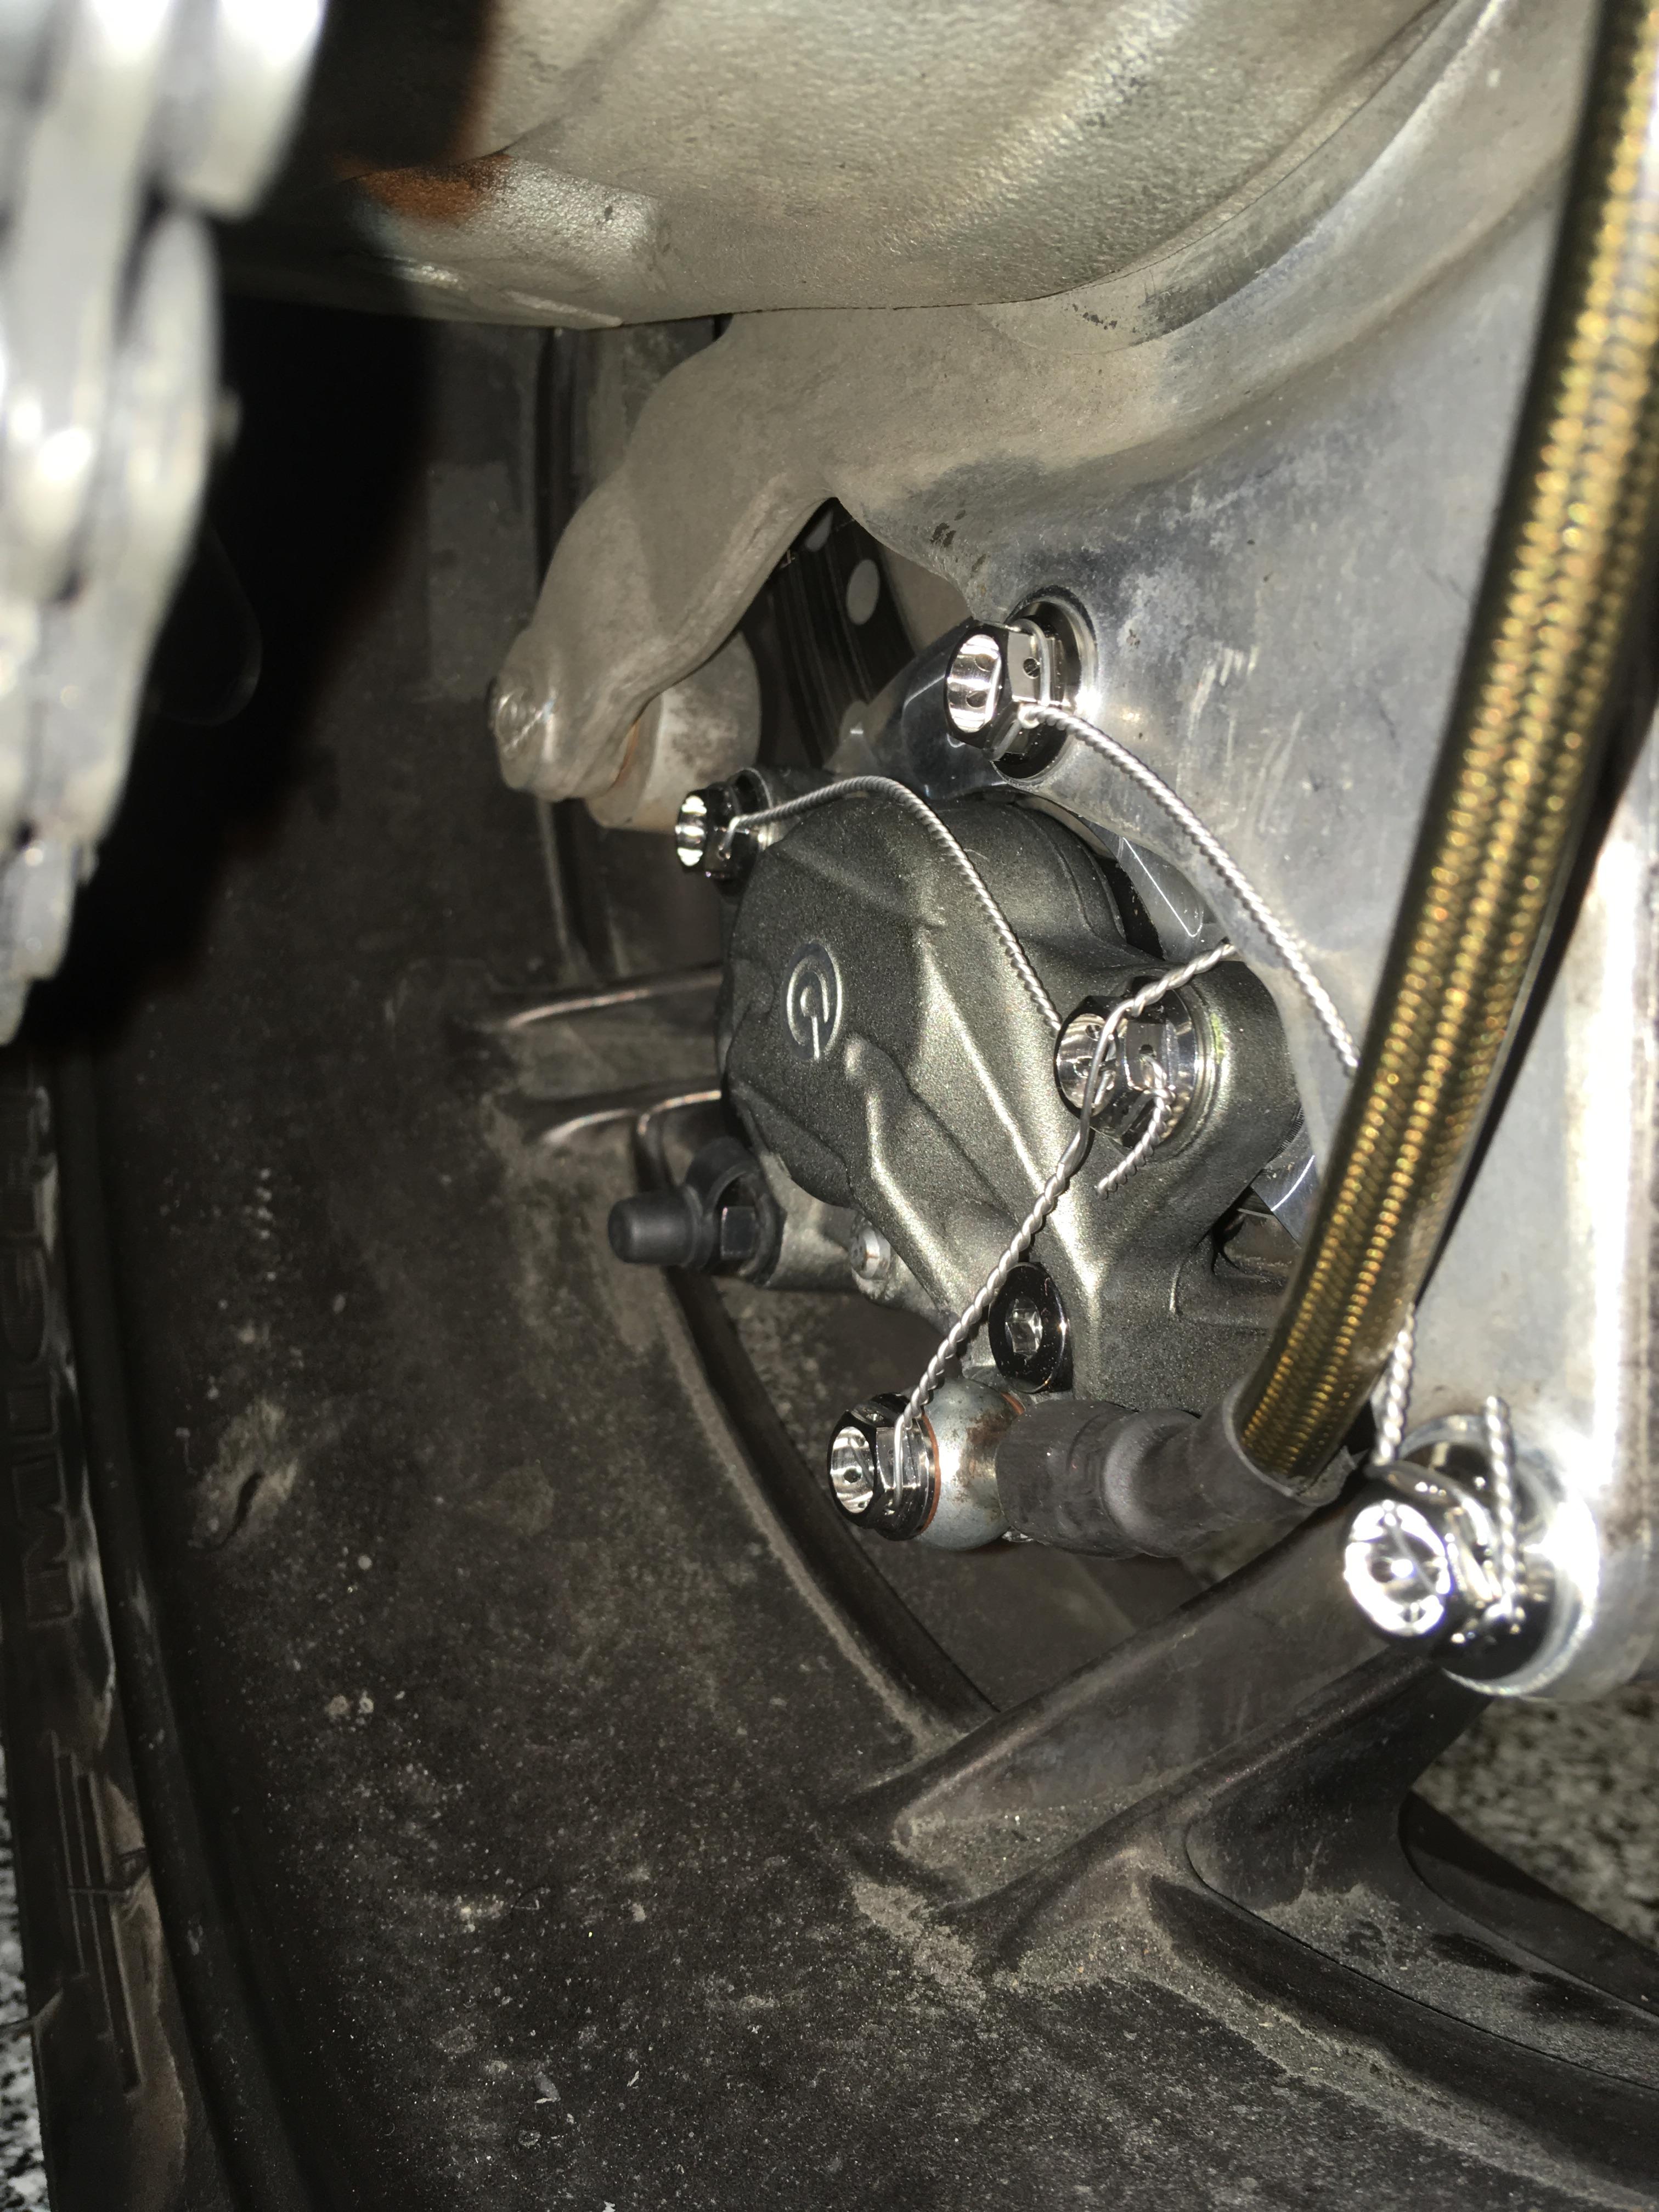
When I did the front end conversion and the crossover line to the rear I had the original mounting bolts drilled for safety wire since the fronts were and the rear basically never has to come off. By the same token, it basically is never looked at to ensure everything is tight. I could use the original already drilled bolts, but I still needed 2 new bolts to mount the caliper to the adapter. I could get drilled stainless from ProBoltUSA, but the ti are right there for
a fewmany dollars more. Since I am getting 2 new drilled ti bolts, I should get all 4 so they match. Better go ahead and get some new ti caliper assembly bolts and bleed screw while they are apart. Why not get a drilled titanium banjo bolt? Safety first! That's where it all kinda went pear shaped on me. I ordered the ti bolts on June 30. After a week I emailed to see where they might be in the process and was told that the bleeder was backordered until 7-19. On 7-26 I called to ask again and was told the final parts were due in and would be shipped on 7-29. Finally got shipping notice on 7-31, fully a month after I ordered! So they came in today (8-2) and I got everything assembled: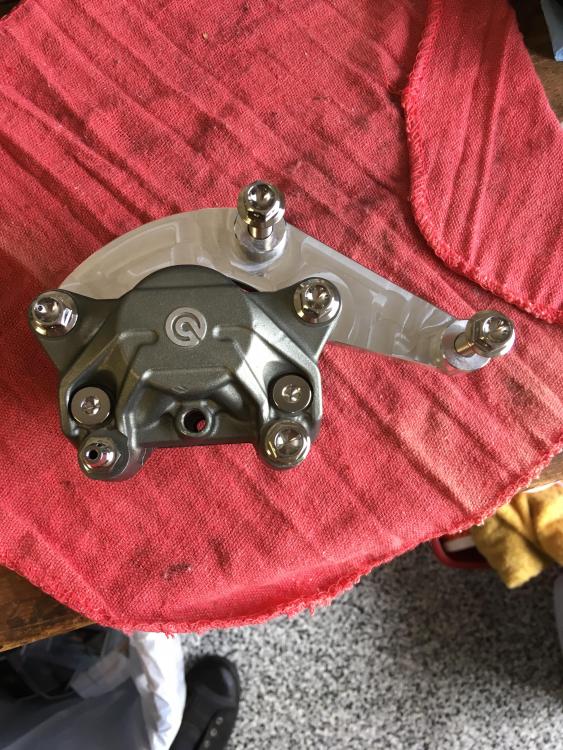
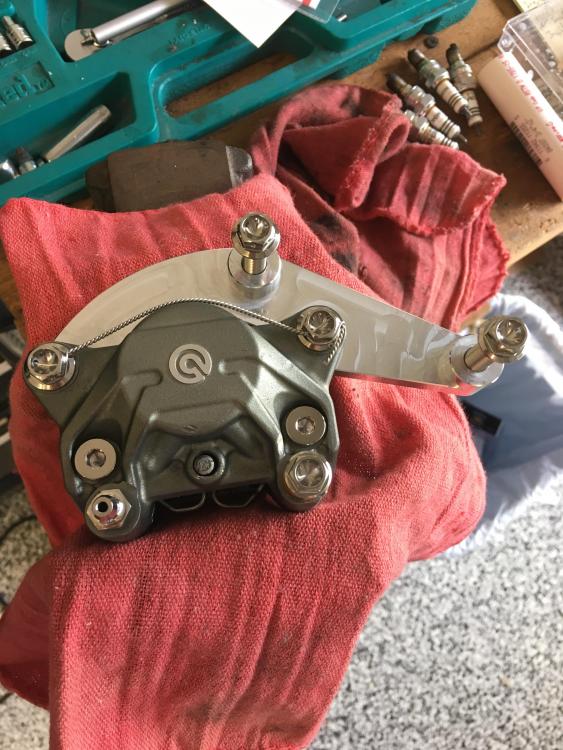
Ok, I'm no pro at safety wiring but I don't think anything is going anywhere...
I haven't had a chance to ride it yet. Definitely have to "bed in" the pads, but it bled out pretty easy. I'll likely fit some sort of abrasion shield on the line there in the last pic where it touches the hanger. Notice that I swapped the banjo and bleeder from the earlier pics.
Also, I took both calipers to the post office to weigh them on the scale there. 3 lb, 2.4 oz for the stocker with all bolts and the crossover line still attached. Brembo caliper with all titanium bolts and the adapter bracket mounted was 1 lb, 7.8 oz! (Pads included in both weights)
-
6
-
-
Trim, or I used to just bend the tab back. The spring clip holds it very firmly.
-
Easiest place to start is to spray some electrical contact cleaner into the switch and work it back and forth. Might want to actually take it apart. Signal relay is under the front upper cowl, on the cowl stay. It's a PITA to get to. There's 2 side by side on the right (throttle side), and I am thinking it's the outer one.
-
Sounds good, post up pics of the process!

-
The pumps are very difficult to get out/in and I've heard of people accidentally bending the lip very slightly and causing a leak. It's the big bundle of "steel wool" that is wrapped up around the fuel return port that is the hard part.
Not sure how to solve it. Maybe take it out again, clean off the sealant and try to find where it's bent. Did you tighten the nuts in a crisscross pattern? I haven't tried to torque them, I just snug them up then tighten with a very small ratchet crisscross like a car wheel.
I've never used any sealant on the gasket.
-
5 hours ago, JZH said:
I wouldn't be at all surprised if many Hondas used the same oil filler cap thread.
Ciao,
JZH
They do. Many use the one listed for the 800. Many different ones use the one listed for VFR1200. Most aftermarket are geared towards the more sporting range, which seems to be shared with the 1200.
-
Has anyone found an interesting alloy oil filler cap for an 800 (any/all years) with provisions for lock wire. I know I could drill a hole in my stock black plastic cap, but I want something more visually interesting. I have seen several possibilities, but I am having trouble confirming what sizes fit the 800. According to a Ron Ayers part# search no sport bikes use the same cap, but I see several listings that claim to fit RC51, or CBR RR and fit the VFR800. Maybe sellers are getting confused because VFR1200 uses the same cap as those sport bike models?
-
19 hours ago, rangemaster said:
The BEST is the Nealey Tire Repair Kit from a little family run place in Iowa. Been using them for years. My current rear tire (anybody ever have a puncture on the front!?) has over 2000 miles on it with a Nealey plug in it. No leaks, never had a problem with one. About 12 bucks for the small kit.
I was told a theory one that the front tire lines up the object to then spear into the rear tire. I can’t recall a front flat.
-
I’ve used both interior and exterior plugs with no trouble. Exterior rope plug cause I found a quarter inch Phillips bit stick in my tire at Seb’s Fall meet on the morning of a 1000 mile ride home. Made it home and left it in until the tire was worn out. It did take a little more vigilance with checking tire pressure but it’s not going to fail catastrophically.
Before I was changing my own tires I would take my Nighthawk to a little independent shop. I jokingly accused them of installing a magnet inside every time they put a new one on because it seemed like I would get a flat within a couple weeks. So I’d take it back and get a plug that would last until the tire was worn out. (Maybe 2 or 3 times it happened)
-
This is cool, man!😎
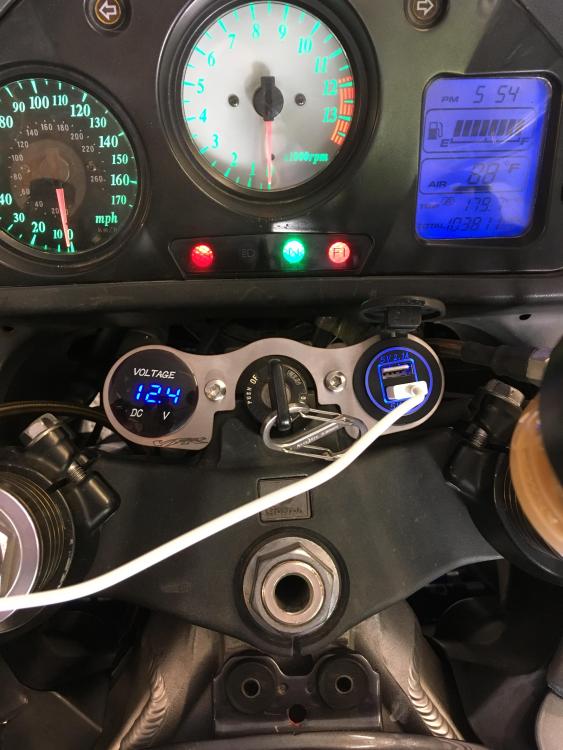
TriumphTraitor recommended a set of charger and voltmeter on eBay, but I found the same one on Amazon for a couple bucks more. The catch is that it already rode the slow boat from China so it got to me in a weekend instead of like 3 weeks.
Wired up and ready to rock-n-roll:
-
2
-


Does this VIN sticker look right ?
in Fifth Generation VFR's
Posted
$6000 is more than I paid for my ‘99 in ‘03!