-
Posts
1,612 -
Joined
-
Last visited
-
Days Won
13
Content Type
Forums
Profiles
Gallery
Blogs
Downloads
Events
Posts posted by gll429
-
-
i have never seen a rebel with a dummy can,. they dont come that way..Beck, on 09 Apr 2013 - 2:53 PM, said:
I dunno,...but having a "dummy" can on an otherwise cool bike like the VFR, is almost like having dummy cylinders on your V4......
Maybe on a smaller, less sophisticated ride it would make sense, but not on a classy VFR...... IIRC, the old Honda Rebel 250 had a dummy can too....

Storage problems can always be amended by using backpacks, tank or saddle bags.
I guess that in the end its up to the VFR owner whether to have it on his bike or not, but one should never be surprised if the thing gets questioned by other riders quite a bit....
JMOs...
Chombi...
and having a hidden functioning storage spot is nothing like having fake nonworking cylinders.
i hate fake carb covers on cruisers.. but i have turned them into a cellphone holder and charger

-
if you like the stash.. then remove the end capp of your dummy pipe.
weld a plate over the exit pipe about 2 inches in,so it still looks real .
then use threaded bolts to remount the end cap.
i did this on a *^ vfr750..
now THAT was a stash can!
tons of tools ,rain gear, hat ,gloves and a back back was stuffed into that D&D can

-
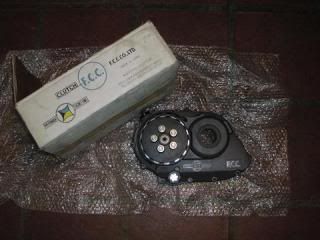
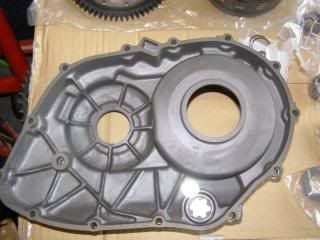
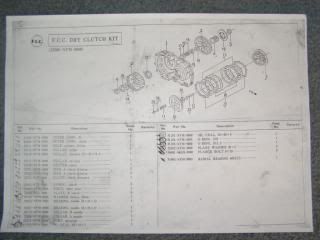
a dry clutch?? this has already been done and for sale at durbohn and F.C.C
-
its how to time!!
first in series of writes ups! grab your tools and fill up your coffee pot!!
on my way home to maryland from RI.. i picked up dennis's bike.. so i had 2 VFRs in my astro!

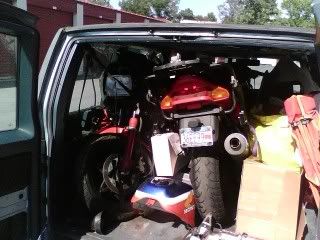
this bike has an exhaust stud busted and i will be doing a write up on that tomorrow..
in anycase..
depairng the vfr750.. why? why not? you remove 4 lbs of junk.. in this case,.. rusted out junk.
the body and tank are removed to to do all the stuff at once.. that includes a valve check , new stock pipes/stud removal , repainting of the side covers, the R/R grounding i keep yammering about
i put the bike on the lift and raised the rear up high enough to get to everything and be able to remove the pipes.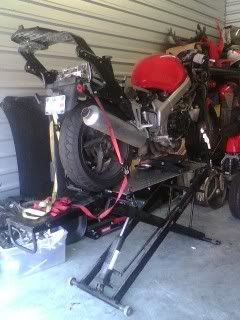
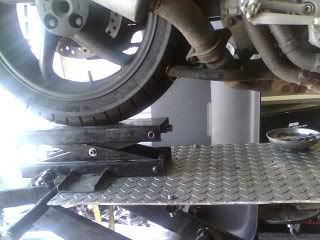
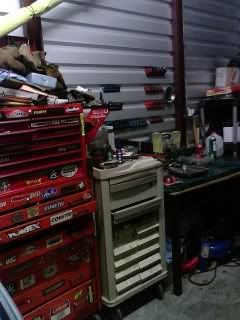
first... remove the 2 thick tubes in front of the airbox and replace with rubber caps .. red in lower pic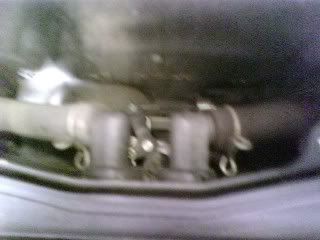
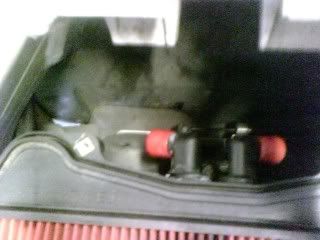
trace the tube down to the pair unit.. and unbolt it from the frame. ..the left side bolt is also a motor mount bolt. so put it back in!
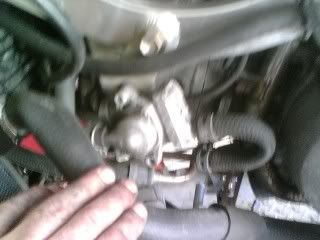
trace the thin rubber tube up to the intake on the motor and pull it off the brass fitting.. remove the brass fitting and replace with a screw taken from the pair unit. do the back 2 brass fittings while your at it.
you CAN leave the fittings and put on caps. but rubber dries out.. this is a long term fix.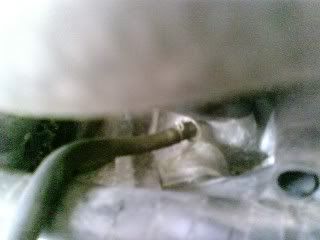
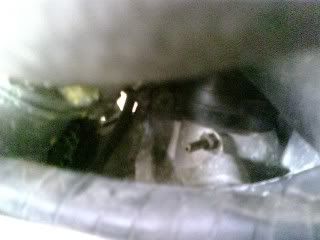
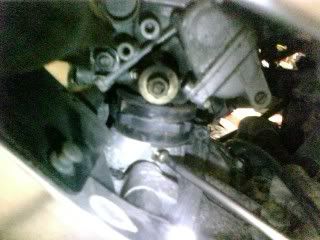
trace the chrome tubes around the motor and remove the 2 10mm bolts holding each in place.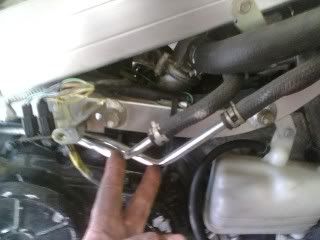
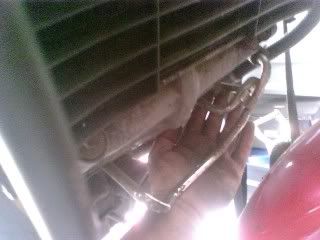
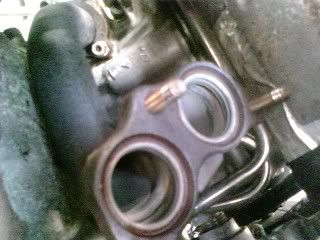
some people use billet block off plats.. but this is a fast and free(if you have a welder)
cut the tubes off the flange end and weld up the hole
paint black with high temp paint and reinstall! presto! you have depaired your bike and remove lots of crap!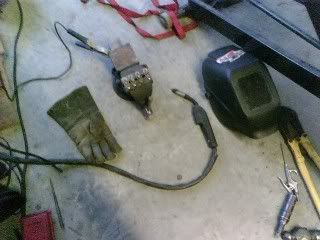
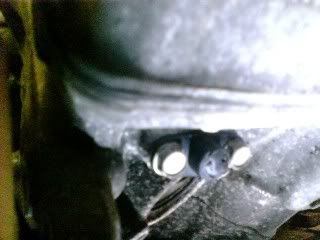
all this..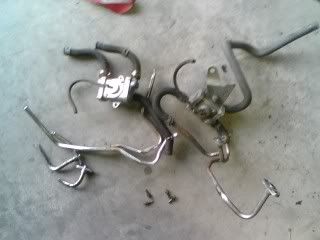
replaced with this little bit!!!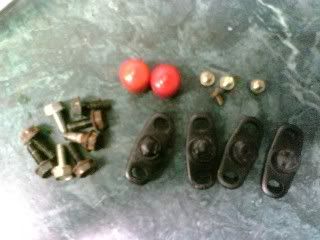
now have a mod pin this post

grab another BIG cup of coffee!!
todays how to.. save your R/R hopefully from going bonkers on you.
this is my personal set up that i have done to many bikes with great results.
this his HOOPDC'S 95 vfr750.
Regulator rectifiers absorb 3 strong alternating currents (AC)
from the stators yellow wires, and change them to a steady stream of direct current (DC) via the red wire. .
if the R/R gets to much juice it sends the overflow to the ground with the green wire..
however.. the green wire is kinda wimpy and runs to the main harness and meets a bunch of other wires with juice going through them..so the flow gets a bit hot...
and heat build up is what kills the R/R
ok.. take a sip of coffee...breath..
if your not deaf like me ..put on AC/DC's "long way to the top"
sooooo, what you need!
i am assuming you know who to solder and have an mini or electric soldering iron,..if not.. get one and practice a bit.
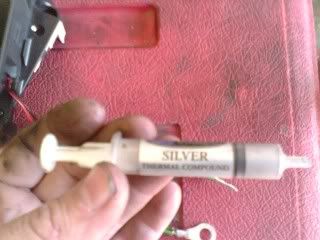
you need green wire,eyelets, a brown wire, connection ends, a computer fan, heat transfer compound, a wire brush and a pick.
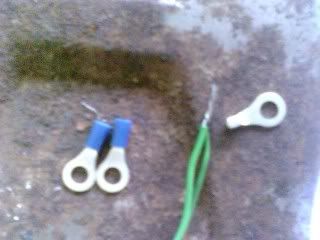
take r/r and stator wires ..disconnect them. take the pick and remove the tangs from the blocks and scrub them clean!when doing the block connector on the left side of the bike, you may just want to cut the block off and soilder the wires .this eliminates a very troublesome hot spot!

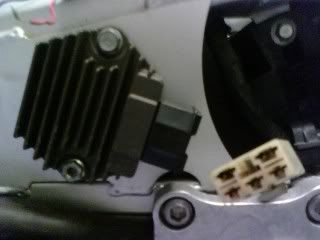
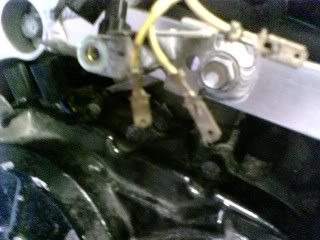
now.. take the eyelets and solder them to the green wires. if your wire is thin you can double up or triple if needed.
make 3 off them about 5 inches long.. you can cut them short if needed.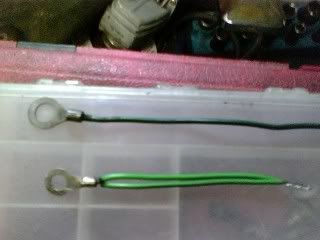
find your tail connection and splice in one of the eyelet extensions and bolt it to the frame .. taking a little paint of helps with the connection. do this with the green wire coming from the R/R and the bunch of green wires up at the front of the bike.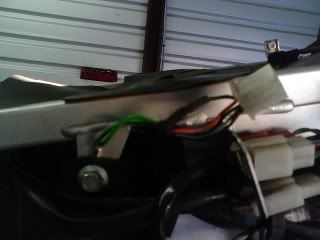
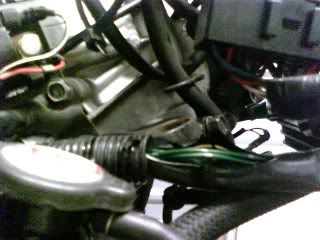

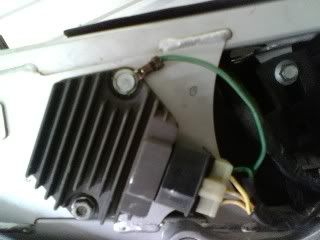
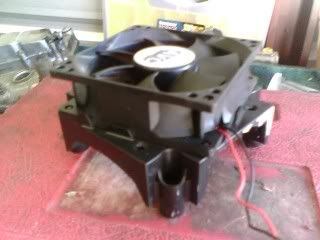
take your computer fan..(this one from a dumpster..RECYCLE!)
and fit it over your R/R.. you may need to make a mounts for it.. this one was perfect.. just needed a shave to open the spot for the plug.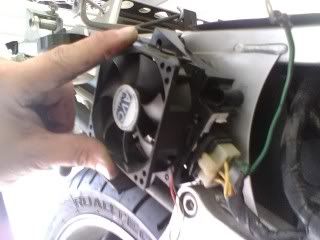
drill the mounting holes.. then remove the R/R and put lots of heat transfer compound on it.. this is just a dab.. dont be shy with it. push the r/r on the plate hard and smoosh the paste around and wipe off the excess.
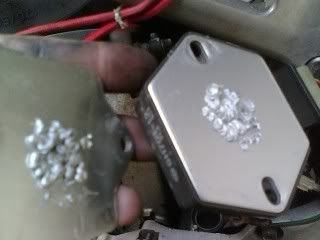
mount your R/R and fan.. ground the fan neg wire and and the connection plug on the positive. splice in the brown wire to the power wire for your brake light. brown is power accessory on hondas.
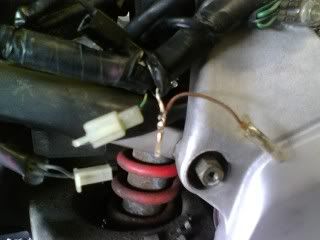
and your done!
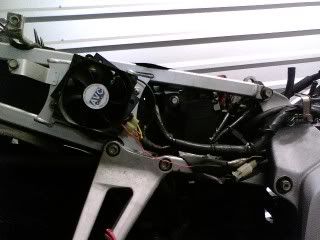
this may seem like overkill... but overkill in the garage is MUCH better that a dead bike on the road!
i added these to the thread, as slammers "purge" trashed all the HOW TO info.
-
are you in england?
if you ever have a babe on the back and and break hard, MR happy will pay the price.. trust me ..not so happy.
-
i just wear thick welding gloves. they are fuzzy on the inside . and very warm in 120mph riding in sub freezing temps

-
DO IT YOUR SELF!!!!
but a buffer/ grinder and few buffing wheels.
you can wet sand the frame with only taking off the boday and seat and tank. and then use white buffing compound sticks.. and polish the sucker. why pay some guy a weeks pay for what you can do in a day? and have the tools to do other things too?

-
Well i finished building my bike only to discover theres a discrepancy with the engine numbers on it.
I have been offered a VFR750FL engine (low miles) quite cheap, but i need to know will it fit in a VFR750FR chassis and also will the carbs from the later FR engine fit it?
Thanks in advance
Gaz
yes... the motor will fit.. not ure if you can swap the carbs
-
its late.. i am buzzed.. but have a simple idea..
if you want to follow gates arc of a 4inch pulley do so.. with a bunch of smaller rollers.. this was drawn with a 5 inch pulley.. and exaggerated belt angle
so yeah.. add a piece of tractor to your bike..

or you could buy the 28 or 29 tooth front pulley and make a SMALLER rear pulley and get the right leangth you need. :fing02:
-
you spent all that time making the parts but never tried a tiny roller.. what the worst that can happen? you put a few thousand miles on a belt that should get 20? inspect your belt every ride then make a decision for yourself .
-
well, i know my set up works, as it was tested on a fixed axle bike... i have no clue how long the belt lasted though.. sorry
No problem... merely working and engineered correctly to last are
entirely two different objectives...
your right..
your bike doesnt have a belt.. but my little gizmo is on a street legal 185hp nitro-methane drag bike.. the "roller" is just a set of bearing and a TI sleeve.
just because Gates says something, doesnt make it gospel :fing02:
-
[
i didn't miss it.
you said no room... this thing out of TI, would be small and would fit there with out hitting anything..
then you can use a long belt made for the sportster.
No room means that Gates engineering recommends that the smallest
idler pulley is 4in because belt life would be considerably shorten if
it defected by any smaller of a pulley... that especially means the
skate broad wheel spring loaded John Deer combine part you dreamed up...
well, i know my set up works, as it was tested on a fixed axle bike... i have no clue how long the belt lasted though.. sorry
-
Only a goober would miss the part in my thread about rollers...
i didn't miss it.
you said no room... this thing out of TI, would be small and would fit there with out hitting anything..
then you can use a long belt made for the sportster.
-
who is going to put a massive tensioner on it?? and why a shroud?? only a goober would do what.
Don't ask me, ask guys on the Buell forums how they like it when a little pebble gets munched by their belt drive.
thats because they are goobers who dont pay attention to their bikes. i custom build HDs and they rarely get that problem
My blast has been unshrouded for the past 8k miles, haven't had any debris problems yet (knock on wood). How much I "pay attention" to my bike or not really won't have any bearing on whether or not a car in front of me kicks up a pebble that finds its way between my pulley and belt, however. Maybe I'm not following what you mean?
do you CLEAN you bike? do you pay look at every week or so to make sure stuff is falling apart? do you stop check things when something "FEELS OFF" ??? or just keep riding till things break? lots of people do so..which is how we get salvage yard
-


2 different set ups.. one with the belt on top of roller.. no teeth needed...
the other with the belt under the roller teeth may be wanted.....
-
who is going to put a massive tensioner on it?? and why a shroud?? only a goober would do what.
Don't ask me, ask guys on the Buell forums how they like it when a little pebble gets munched by their belt drive.
thats because they are goobers who dont pay attention to their bikes. i custom build HDs and they rarely get that problem
-
sheesh.. all this crap about room for a tensioner.. mount it directly to the swing arm top or bottom ... a small flat roller.. spring loaded or adjusted like a sportster primary
So with the added weight and bulk from a tensioner and a big ugly shroud around the belt to keep debris out
who is going to put a massive tensioner on it?? and why a shroud?? only a goober would do that.
if i added my design i bet it would weigh less than .75 lbs
-
sheesh.. all this crap about room for a tensioner.. mount it directly to the swing arm top or bottom ... a small flat roller.. spring loaded or adjusted like a sportster primary
-
How can you tell, Greg?
I'm just sayin', is all........
Udder Greg
his grammar is correct, ditto for the spelling.
face to face.. i can not tell you how many times times i have met some some saying...
dat bike is like, DDDDDDAAAMMMMN !! :huh:
i dumped a a really hot babe last year.. the reason?? i asked what she does for a living.
"i am like , an english teacher, like, you know??" :ohmy:
at least when i date a deaf a girl i expect a bunch of mistakes.. but an ENGLISH TEACHER????
i know just enough to to get slapped in 15 languages... and i am proud of that! :laughing6-hehe:
the silly deaf Greg
-
I don't think upside down forks on a pre veefalo VFR are a good idea:

this what happens if you forget to down shift from 4th gear at a red light.. and give a mucho gas on green.. been there. done that.. bought the replacement fairing :comp13:
-
Sorry I am new here on this Forum. since today
And the Search was not successful I tried but there where no results.
Maybe I do something wrong.
And excuse me for my English
no language excuse mate!
your english is better than most of the americans i meet! :goofy:
-
your kidding me right?? :blink:
use the search button .. look for the forks you want. :beer:
-
Do you know how the carb slide is modified when using the DJ jet kits?? I think my carbs had a dj kit installed when I got them, and I have been bothered by a funny condition in that rev range...
any help is greatly appreciated.
the "breather hole" at the bottom of the slide is enlarged slightly.. making it more sensitive to pressure change.. ergo, sliding faster..
remove the top of the airbox and filter.. see if all the slides move smoothly.. if they do. start the bike and see if they move together.. if they dont.. you may have a ripped diaphram or one thats not seated properly.
-
Do you know how the carb slide is modified when using the DJ jet kits?? I think my carbs had a dj kit installed when I got them, and I have been bothered by a funny condition in that rev range...
any help is greatly appreciated.
the "breather hole" at the bottom of the slide is enlarged slightly.. making it more sensitive to pressure change.. ergo sliding faster..
remove the top of the airbox and filter.. see if all the slides move smoothly.. if they do. start the bike and see if they move together.. if they dont.. you may have a ripped diaphram or one thats not seated properly.


Radar Detector Indicator Lights -- Fun With Leds
in Modifications
Posted
are you aiming the at the rider??? if so..why???