


FotoMoto
-
Posts
1,137 -
Joined
-
Last visited
-
Days Won
3
Content Type
Forums
Profiles
Gallery
Blogs
Downloads
Events
Posts posted by FotoMoto
-
-
Things are a little muddy in this thread so just to clarify:
5gen bars=41mm
6gen bars=43mm
F2, F3 cbr=41mm
F4, F4icbr=43mm
Locking nubs will most likely not line up and will need to ground/cut off.
-
Now, the questions:
1. Should I get a mojo lever or a No-mar lever?
Probably save on shipping getting the mojo lever along with the blocks. I had the no-mar already before I got the blocks. I've seen no overwhelming strong opinion of one over the other so I'd say go with the cheaper unit. My no-mar came with extra tips; dunno if the mojo does. I figured getting future replacement parts would be a safer bet from no-mar but that's a guess.
2. Is it necessary to get both the Harbor Freight motorcycle attachment and the tire changer? Can I just mount the motorcycle attachment to a stand? (It's difficult to see what is what in the pictures).
The cycle unit attaches to the bottom bead breaker unit. Unless you have an alternative, preferred method to bead breaking you'll want the bottom unit too.
:warranty:
3. Would just mounting some rubber pieces work just as well as Mojoblocks? Would this have the added benefit of keeping the rim from spinning?
Tried that but the rubber eventually breaks down since it is pressed/stressed by metal on both sides (clamps and rim).
4. Do the mojoblocks require adding threading the HF tire changer or do they use a nut and a bolt?
Yes, you have to drill mounting holes into the HF cycle unit clamps to bolt them down.
My setup: mojo blocks, no-mar bar, HF cycle top/car bottom bolted to a portable pallet.
I'd also strongly suggest the "yellow thing" or equivalent (wood blocks) for helping hold down the bead when/if you do this by yourself.
-
another thing i noticed the airbox has a ugly snorkle on it can it be removed ? will doing this affect the way the cv carbs work ? will rejeting sort it ? or do i leave it alone ?
Yes, it can be removed. I think it's more of a intake noise reducer more than anything else. Aftermarket jet kits require removal.
-
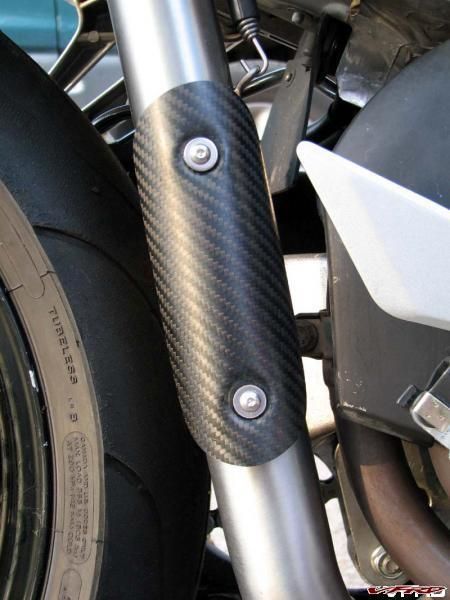
Looks good--I've got the same changer mounted to my garage floor--but--I'd like something a little more portable. BTW--what are the plastic rim protectors you got screwed to your wheel holders? Something you came up with?--I'd like to do something like that to protect the wheels!
I use mojo-blocks and a no-mar bar with my HF setup. Closeups of the blocks with a link in this thread:
-
Did you have to do much cutting?
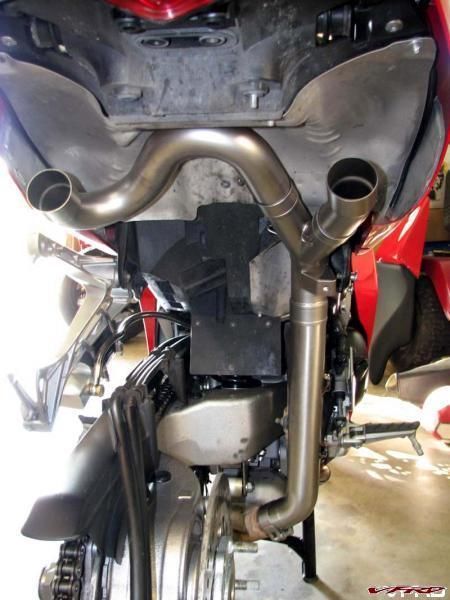
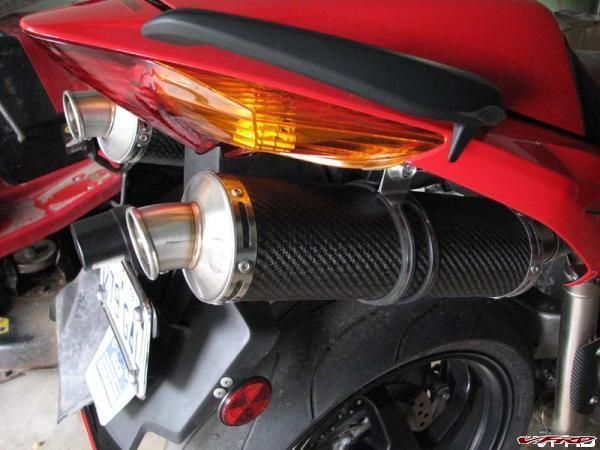
I've done slip ons on other bikes before, but never a dual undertail setup like on the VFR. Does it block off one pipe or are they both used?
No cutting, fabbing, etc. strictly bolt on. You'll need to remove the license plate fender assembly for clearance to remove the stock cans, install the new pipes, and then reinstall the fender; unless, of course, you add a fender eliminator kit. I also removed the right passenger peg bracket for more work room. I liked the look and don't carry passengers so I removed them both. Tip: use anti-seize on all joints. This will make adjustments while fine tuning the fitment much easier and later on down the road if you want to remove it for cleaning.
IMG_0260.jpg
IMG_0264.jpg
no sticky 2.jpg
IMG_0275.jpg
-
Cheapest solution will be used 6gen forks.
-
Just gotta' ask: What's wrong with your centerstand? :fing02:
-
THANKS guys. :cool:
Yeah, there will always be something more to do to it but sometimes you just got to say, THAT'S IT! :unsure:
Probably time to move on to something else. :bliss: <--- Like this guy I'm just not sure where. :goofy:
-
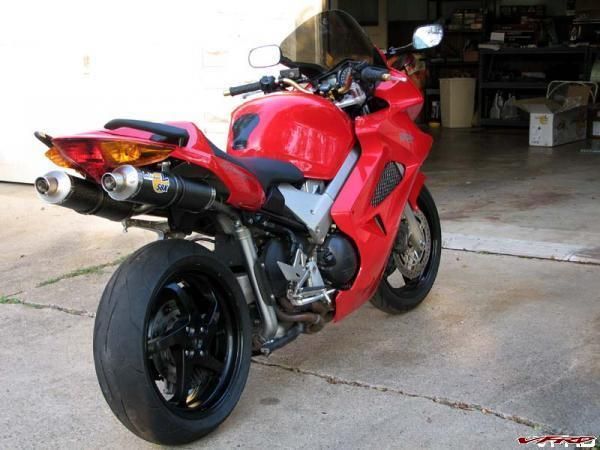
OK ladies and gents I think I'm through with it. Of late I've added a new upper from the 2005 cbr600rr which has a much neater air intake over the 03/04 cheese grater design I used previously. The black plastic intake needed some minor trimming to clear the oil cooler seen in the background.
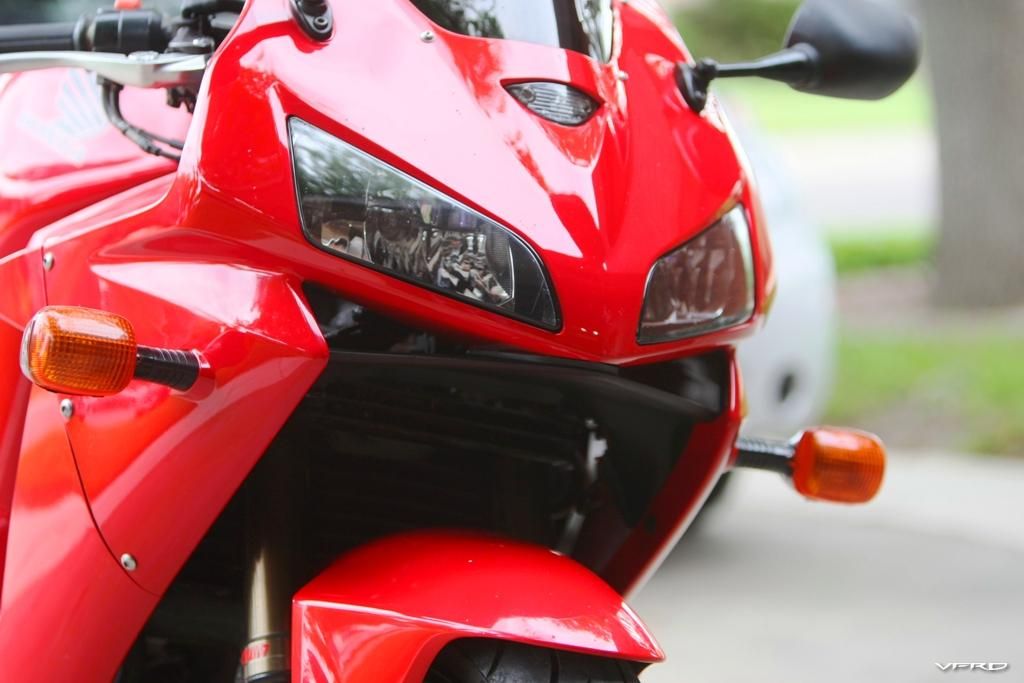
But what I'm really liking are the new side covers. These were also pirated from the 600rr but greatly cut down to fit. I had to make some minor brackets for the bottom bolt and the upper tank screw utilizes a slightly new design. I now realize I don't have the closeup pics of those on this computer so I'll add them later. Anyway this is the finished look as of today approx. 3 years later. I can't believe it's been that long.
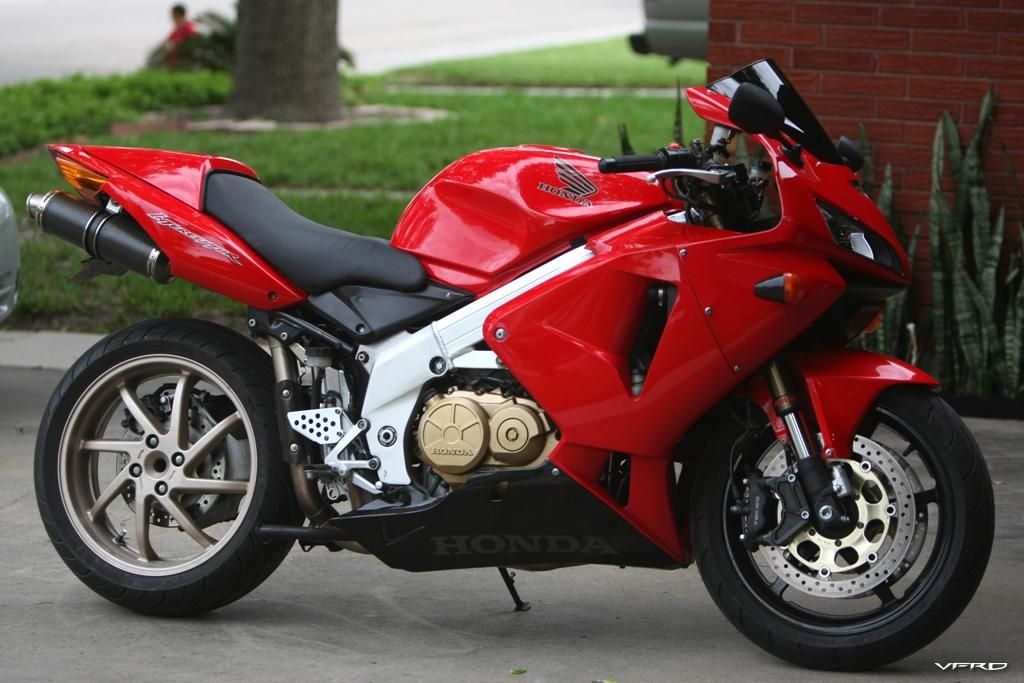
Poke it with a fork, I think it's FINALLY DONE! :fing02:
-
PICS WILL BE UP THIS WEEKEND, STAY TUNED! :wheel:
GREAT to hear but I just got to say:
:fing02:
:lurk:
-
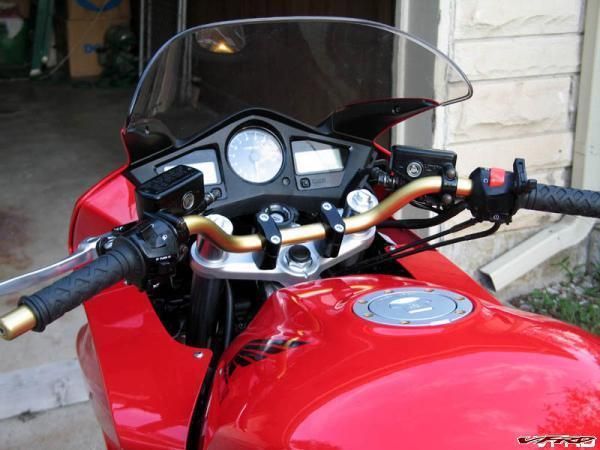
I cut the tabs on the controls so they would fit the Helibars I have that didn't come with the positioning holes to put them in. No issues as long as the bars are grease and oil-free when you put the switchgear on.
If your are going to cut off the switch housing tabs, a wrap of duct tape around the bar will give the housing a little more to bite into. Keep it narrow enough not to show. Careful with the screw tightening as you can strip out the housing (BTDT).
-
Hello, all..
I see that there's a lot of exprerience in this posting and I have a question. I have a 2003 954RR, and I would like to install Ohlins forks on it, the thing is that the they don't make them anymore. I can see here that it's possible to change the triples, if it's possible, how would I do it? I was thinking of using 1000RR triples, would they fit in my bike? Do I need to change the stem? What would happen with the brake setup? Would I have any problems with the front wheel (aligment, will be centered)?
Thank you for your time.
WOW, only VFRd has non-vfr owners joining. :blink:

Yes, early CBR1000RR Ohlins forks will slip right into your stock triples and should be readily available new. They will; however, be shorter than yours by a few mm's IIRC. This will speed up the handling but will also lower front end height which could lead to dragging hard parts (headers) earlier.
YMMV
-
While we're on cutting stuff, what's the vote on cutting the location pins on the electric hand switch clusters.... would there be a problem with those later on not holding....
When I've done the handlebar mod to replace the stock clipons, I experiment for a good long time with the handlebar placement/rotation in the risers before I committ to drilling the locating holes for the switches.
Yup, they will rotate everytime you push on them and the right one keeps the throttle from rotating around the bar when you twist it (kinda important :blink: ). Also if you don't grind off the locating pins inside the housings, the switche housings won't close completely which looks like poo and will let in moisture/grime.
[
-
My "people" are questioning the safety of not having a locking tab on the clipons. Concern for rotation of the clip on in extreme braking situations.
I think that the Helibars do not have a locking tab at all - can anyone verify this?
Stock clip ons will bend enough in a hard fall to dent the tank.
Yup, Heli's and many others including just about every aftermarket clipon on the market don't have locking tabs/pins.
I've run numerous modded clip ons with ground off locking tabs and none have ever loosen up.
-
I don't trailer much and when I do it's usually with someone else so I've always gone by their "rules" or methods. But the next time I do get the opportunity to haul a bike by myself I want to try this method:
http://www.mad-ducati.com/tiedown/TieDown.html
I think I would amend his method by moving the rear straps anchor points BACK about 45 degrees. I think that will help with extreme/emergency braking. Other than that, this method makes perfect sense to me. :lobby:
Discuss.
-
The plates by thurn in that post are what I was looking for, but apparently are no longer being made. I think I will end up going with the lowering blocks as seen on here, from BSL I believe.
From ebay:
Buells are cheaper but these, IMO, look better and won't need any modding.
-
The terminology for these is called "rear sets". Most are made to move the pegs from the stock position further rearward and higher for more ground clearance. Most vfr riders are looking for the opposite (lower and more forward) hence not many companies make rear sets for the VFR but there are a couple.
Which way are you wanting to move the pegs?
These weren't true rearsets though. Rear sets replace your footpeg, bracket, and shifter/brake lever. These were literally just plates of either aluminum or steel that relocated the stock footpeg bracket. I am 6'3" with a bad leg, I would like them further down, and forward (I think) to make it more comfortable. I like the knightsdesign ones, but really like the rubber of the stock footpegs.
Oh OK.
I've never seen those brackets made specifically for VFR's and I don't know why someone hasn't jumped on what I think is an easy market. Two other options are BLS footpeg mounts or get a set of buell pegs which need slight modding to fit but drop them about an inch. Thurn (Germany) also sells an adjustable peg.
A big benefit of true rearsets is they move the gear change and brake pedal along with the pegs. The solutions above just move the pegs or peg brackets which can lead to clearance/room issues specifically with the brake level since it's not very adjustable.
I run the buell pegs.
-
The terminology for these is called "rear sets". Most are made to move the pegs from the stock position further rearward and higher for more ground clearance. Most vfr riders are looking for the opposite (lower and more forward) hence not many companies make rear sets for the VFR but there are a couple.
Which way are you wanting to move the pegs?
-
Judging by that pic, it has different length forks and a specialized triple.
Also, I wonder what those two black items are next to the dash panel but still behind the windscreen? Additional emergency lights?
-
First, check the fuses located under the front right side fairing.
-
I just messed my pants.
I wonder if I could buy the NR crate box from them? Hell, I couldn't even afford that. :cheerleader:
-
In my garage at 60F. with no fans assisting "my girl" , the temp. never went above 195f.
OK, you lost me.
-
:lurk: :goofy:
-
I have one from beadrider that I tried a couple of times on my old vtec. No prob with seat attachment. $25 shipped conus Definitely new condition.
Pics of it installed on a vtec seat are now in the classifieds.
http://www.vfrdiscussion.com/forum/index.php/topic/58098-fs-beaded-seat-cover/
whats best
in Suspension
Posted
Another but more abrasive turd. :blush: