

93 VFR750 RC36
-
Posts
266 -
Joined
-
Last visited
-
Days Won
3
Content Type
Forums
Profiles
Gallery
Blogs
Downloads
Events
Everything posted by 93 VFR750 RC36
-
Rebuilding My '93 Vfr . . . Again!
93 VFR750 RC36 replied to 93 VFR750 RC36's topic in Third and Fourth Generation VFR's
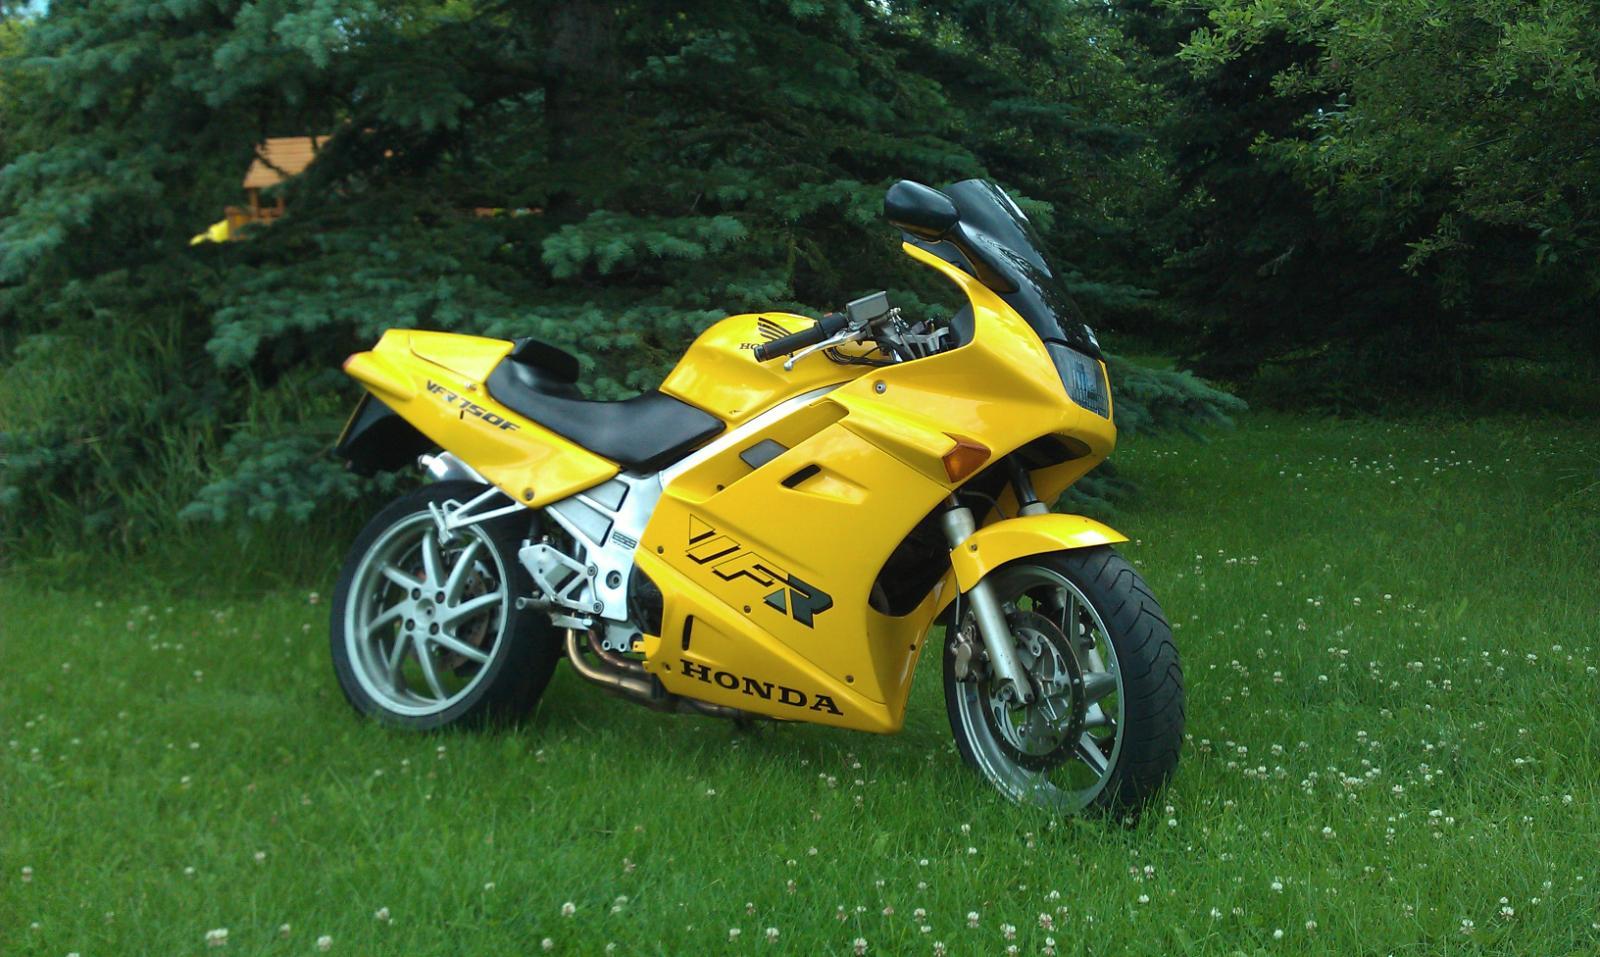
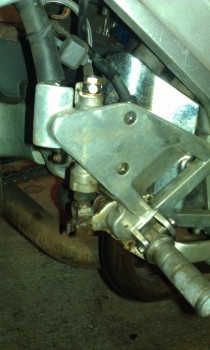
OK, we're getting somewhere. Picked up the panels from Craig on Tuesday. This is where I stand at the moment: Along the way I discovered a couple of pre-inspection problems. Probably due to the extended time sitting in a container and then in the shop. Battery - won't hold enough charge to crank the engine. I'm tired of killing lead-acid batteries so the next one will be a gel type. Lights - right hand rear indicator doesn't work. I'll have to pull off the RHS panel and replace the bulb. Rear brakes - rear brake lever stiff and jamming. The pivot point was full of old grease and junk. Stripped it down, cleaned it and rebuilt it with John Deere 'Never-Seize'. Now it's as good as new (or better?). All back together: -
From the album: Pearl Yellow re-build
-
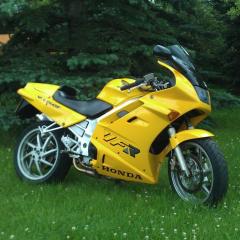
From the album: Pearl Yellow re-build
-
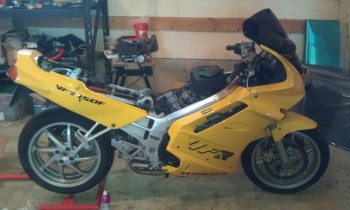
From the album: Pearl Yellow re-build
-
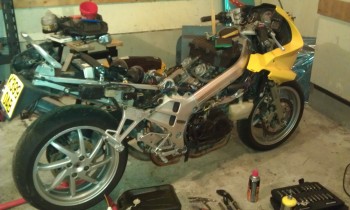
From the album: Pearl Yellow re-build
-
From the album: Pearl Yellow re-build
-
Thanks, I'll keep a close eye on clearances. How much difference to the low friction seals make to handling and when/where would you notice it the most?
-
I've had a look and I can get away with 120mm. In fact, the original forks that I'm replacing have 120mm of travel so they should match up perfectly. Time to start shopping I guess.
-
Jamie, Thanks, I wondered if you would dip in here. I've sent you an email about my '93 VFR forks. I need some valve packs for them and I think that a set of low friction seals might be a good idea at the same time. Why do you need the VFR cartridge tubes on a VFR but not another bike? Is this due to clearance between the front wheel and the rad with the longer travel? What overall length should I get out of F4i legs and VFR stanchion tubes?
-
All, I know this is probably repeated somewhere but after reading 25 threads I've run out of enthusiasm. What is needed to put 43mm VFR fork tubes together with F4i legs. The goal is compression and rebound adjustability but with a longer fork (F4i about 15mm too short for my needs). I need at least 735mm overall length to the base of the cap. Also, what mods should be carried out to get the best performance out of these forks while they're apart? Low friction seals, Racetech valving, polished rod, and . . . ? Finally, what is the fully extended length of a VFR800 fork? I've searched all over and can't find a good answer. Are they the same as my 41mm RC36? To avoid confusion, this setup is for a hybrid bike, hence me not having the parts on hand. I want to know I'm shopping for the right bits.
-
Rebuilding My '93 Vfr . . . Again!
93 VFR750 RC36 replied to 93 VFR750 RC36's topic in Third and Fourth Generation VFR's
Sorry, I forgot, I am planning another change. I'm going to put some Racetech valving in my forks. Yes, a Chinese contract built exhaust is not exactly HRC race ready kit. C'est la vie, it was cheap enough. Seth, the Factory shift kit does not turn your VFR into the Starship Enterprise, however I have found that the clunky Honda changes are now smoother and having done a couple of track days with it, love the fact that I finished both two day events having not missed a shift or caught a false neutral. It's pretty easy to install but I changed my clutch at the same time so can't remember exactly how much effort just the shifter was. I don't remember any great hassle though. -
Rebuilding My '93 Vfr . . . Again!
93 VFR750 RC36 replied to 93 VFR750 RC36's topic in Third and Fourth Generation VFR's
For those who didn't read my rebuild thread, here is the spec of my bike: Modifed left exit exhaust (Sandy Bike Spares one needed a lot of fettling but now flows well). Modified airbox with UNI filter. Dyno and re-jet with Factory Pro jetting and needle. CBR 929 shock re-valved and modified by Jamie Daugherty. CBR 600 F3 fork internals in VFR forks. Factory Pro shift kit. EBC Kevlar competition clutch. EBC discs and sintered pads. Braided hoses. The only thing that will change with this rebuild is an programmable ignition system from IGNITECH in the Czech Republic. It comes programmed with the stock ignition curves and then I can program in new figures using my PC. A bit of dyno time and I should be able to optimise the curves to squeeze the best out of the old girl. -
Rebuilding My '93 Vfr . . . Again!
93 VFR750 RC36 replied to 93 VFR750 RC36's topic in Third and Fourth Generation VFR's
Painter is actually at Crestomere, first place east of the store on the south side of the road. Old '30's Chev sat out front. Straight west of Ponoka so easy to find. I'm hoping to be rideable by the end of the week after next. Once I have the tank and panels back, it's about a 4 hour job to re-assemble and get everything juggled into place. Then I have to get a mechanical inspection and get it registered and licensed. Then I'll be able to hit the road. -
Rebuilding My '93 Vfr . . . Again!
93 VFR750 RC36 replied to 93 VFR750 RC36's topic in Third and Fourth Generation VFR's
I'm actually near Alix, east of Lacombe. However, I'll be working out of Edmonton once my paperwork is sorted out. Once I'm on the road and back to work, I'll let you know and we can get together to listen to V4 exhaust. Haven't thought about black wheels, was just going to stain the seat and cowl pad. However, that could be a cool look and the wheels could do with being cleaned up anyway. My wife was surprised about my decision to go back to stock decals but I'm scheming up an RC30 hybrid project that'll be in race colours so the stock look will be very nice on the Veefer. I like the 'Camel', 'Lucky Strike' and 'Honda Britain' schemes so I've got plenty to choose from when I get to that stage. -
What's It Worth? Sell, Sit Or Part Out?
93 VFR750 RC36 replied to smackdoogle's topic in Third and Fourth Generation VFR's
Fix the needle, stick to Shell Optimax or another junk free fuel and ride it like you stole it. Mine's got about 55,000 miles on it, one of Jamie's re-valved and extended 929 rear shocks, CBR 600 F3 internals in the forks and is now being rebuilt for the second time (after being damaged by the shipping company/customs on the way to Canada). If you're going to park it for any extended period (over a month) put in a fuel stabiliser, run it for a few minutes, turn off the fuel and run the carbs dry. Never had a problem once I stuck to that routine. -
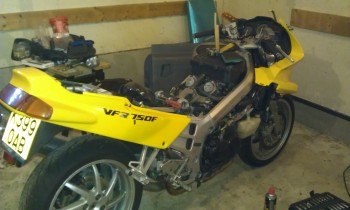
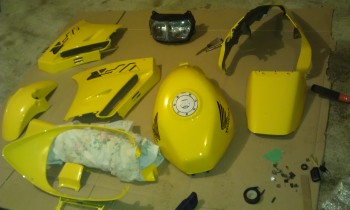
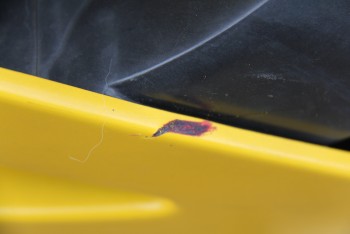
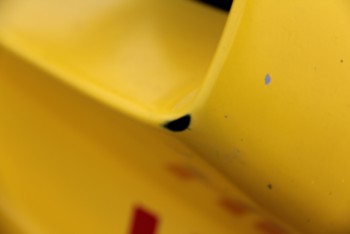
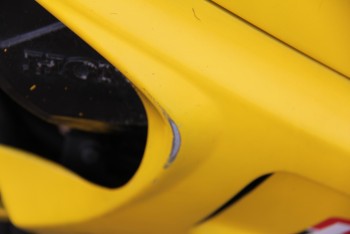
Some of you may remember my rebuild post track accident. As a short reminder, this is what my bike looked like when I got it: After laying it down on the track and doing some shopping around, this is what I ended up with: Some weeks later and a bit of effort, she looked like this: And on the track, looked like this: With a modified airbox, UNI filter, Factory jetting (Dyno'd at GP Performance in Oxfordshire) and the left exit exhaust, she makes just over 106hp at the flywheel. Then, we move to Canada so she goes in a 40' container with my Land Rover and the rest of our household belongings. Packed on the paddock stand, ratchet stropped down and wrapped in felt freight blankets. On arrival in Edmonton, this is what we find: So, the rebuild begins . . . The panels and tank are with Craig at 'Bentley's Moto Sicle Pain Tin and Auto Ba Day'. For a guy who works out of an old shed, his work is beautiful. He should have the base coat on next week, decals and clear coat the beginning of the week after. Then the rebuild begins. Colour? Goldwing Pearl Yellow with black based decals. The Camel scheme has retired in favour of a yellow VFR with stock decals.
-
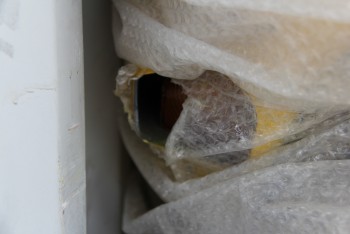
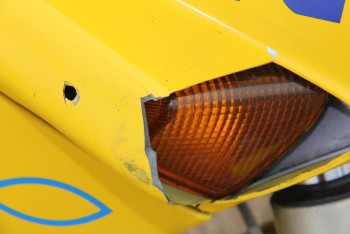
From the album: Shipping damage
RHS front indicator -
Moved from UK back to Canada. This is what arrived!
-
-
From the album: Shipping damage
Mid LHS panel -

From the album: Shipping damage
LHS mid fairing panel -
From the album: Shipping damage
RHS upper fairing panel -
From the album: Shipping damage
RHS front indicator -
From the album: Shipping damage
Lower RHS fairing panel -
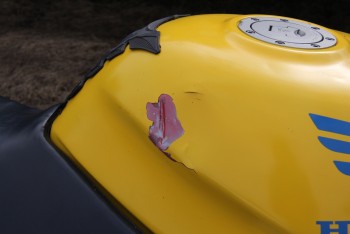
From the album: Shipping damage
Tank Crease -
Carb balance headache
93 VFR750 RC36 replied to 93 VFR750 RC36's topic in Third and Fourth Generation VFR's
Problem solved. I fitted new carb rubbers, balanced the carbs to within 2 mm.Hg and 'presto' the smooth howl of a V4 returns. Idle good, not hanging up and throttle response is once again sharp. Vacuum leaks . . . what a pain!