
SEBSPEED
-
Posts
22,530 -
Joined
-
Last visited
-
Days Won
105
Content Type
Forums
Profiles
Gallery
Blogs
Downloads
Events
Posts posted by SEBSPEED
-
-
Have you tried making new mounts?
-
Coat those bolts with something. They will rust rather quickly now that you've stripped the factory coating off.
-
Seb, I sent you a new client after seeing my window. (83 vf) looking forward to seeing pics of his install. Do you want my old cover?
Thanks bud, I talked to Jeff the other day. Sounds like he has quite a few spares to work with, but thanks for the offer!
-
Hey... While you have that cover off...

-
It's just the bolts I have bud, I can't save you any money on the Pro Bolt parts.
-
I sure do sir. Shoot me a message for further details.
-
FS1 has nothing but NASCAR, Motocross, and UFC fights listed all weekend. Ugh!!
Directv here, but I don't get 620 beIN
-
See, his info and yours together in a single thread is probably all anyone will ever need for THIS specific conversion. The whole thread can be deleted and just the posts from you two stickied, would save anyone ever having to ask again, right?!
It's a start.
I don't think I'm going out on a limb when I say this: If you're relying solely on information taken from the internet to modify your bike without having some understanding of what you're doing and why, you probably shouldn't be working on your bike.
"Trust, but verify"
-
Well, in that case, you definitely want the fork sliders. The cases will lever the rear up and push the front into the ground harder.
Maybe I should change the title to the "lack of interest" thread. lol
-
I never crash on the left...
Me either. I normally just get the bike tumbling and screw up the front, back, and both side.

So you guys might be more interested in fork sliders then?

-
Hey Seb, just a question in aesthetics. Could the slider be made large enough in diameter that an outer flange could be added to the piece?? Thus when the slider is installed the flange would contact the hub and cover the large nut.
That could possibly be done. Unfortunately, the material I have isn't large enough for me to try this, and I'm out of prototyping funds. I'm using the rest of the material I have to work up a couple sets of fork sliders, and then I need to sell some in order to put any money back in.
-
 1
1
-
-
Bump...
-
Deleted fork slider pic, I'll start a new thread for those later this week.
-
I'm getting quotes on having the parts cnc cut. Should have solid numbers this week.
-
1
-
-
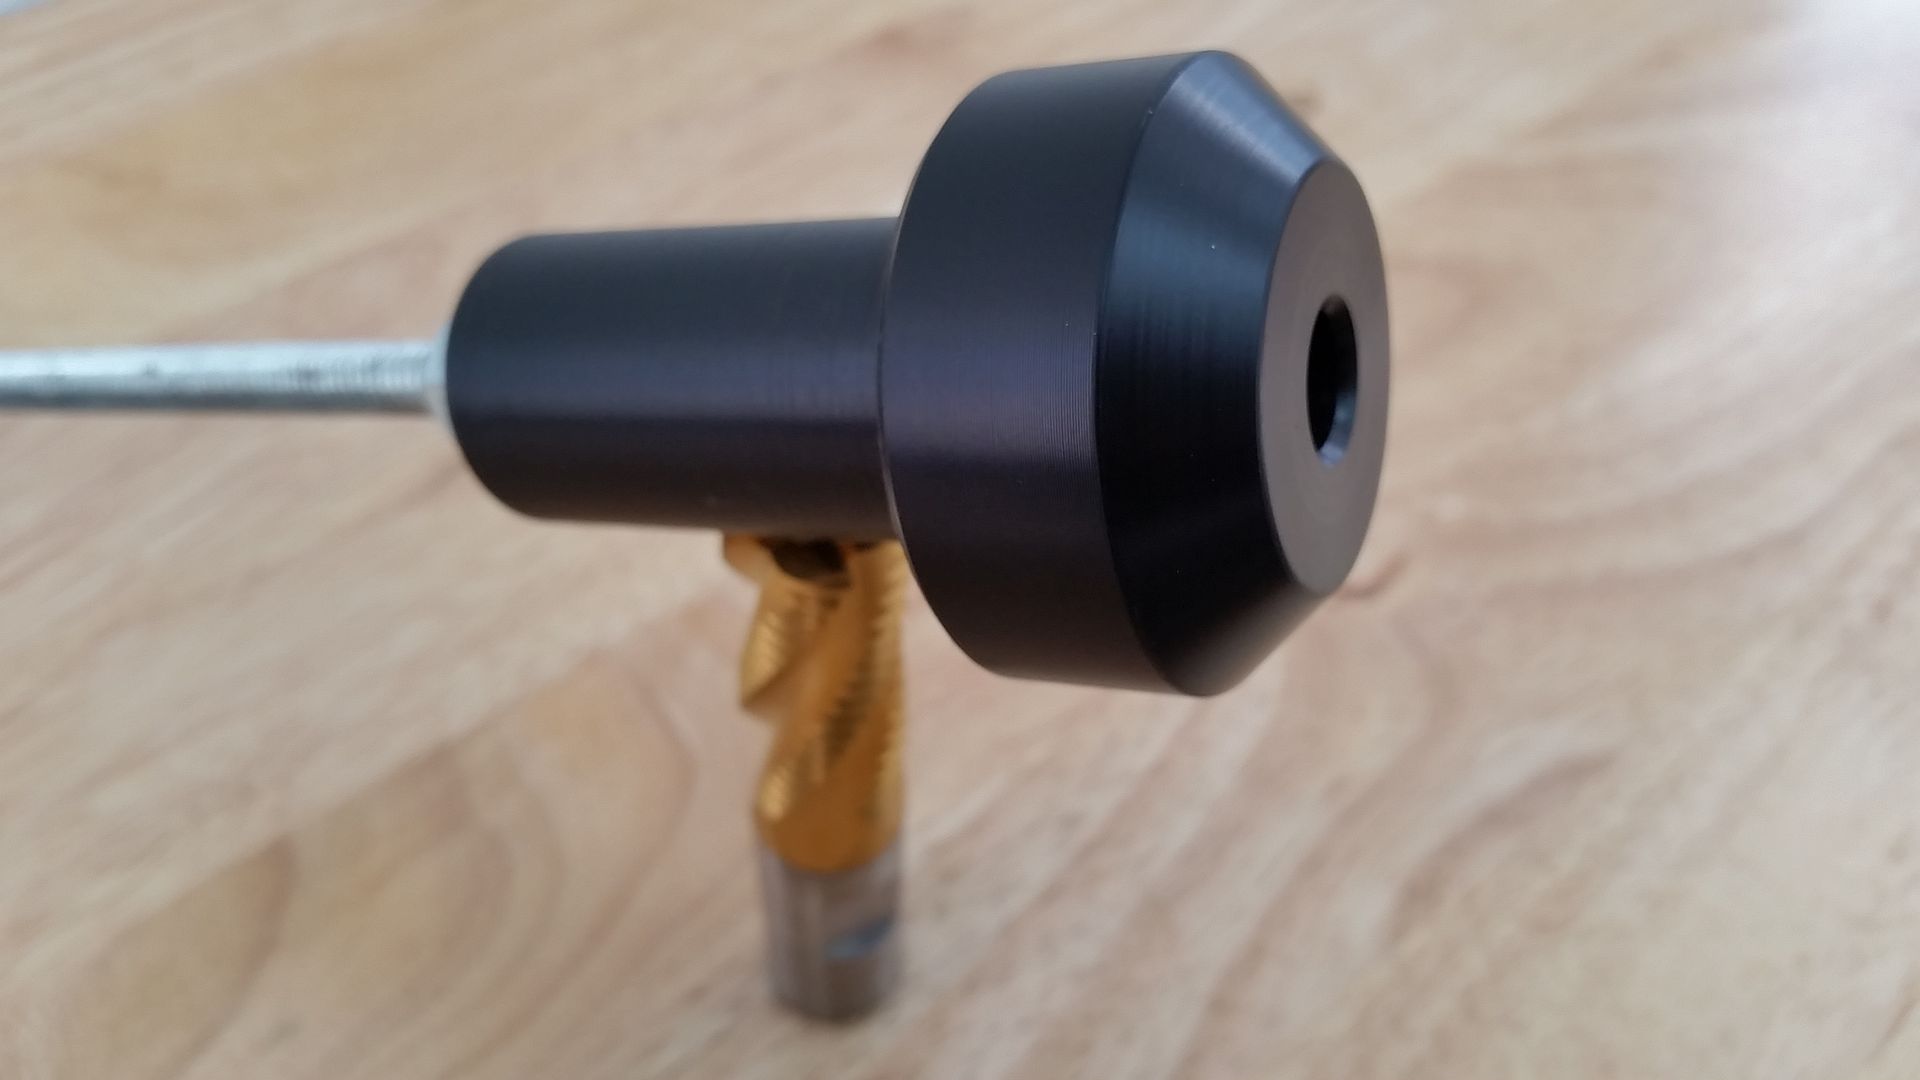
I guess a bearing inside the slider ?
No, the plug and slider are connected, and both spin with the wheel.
-
I have some extra black wheel lug nuts. If you want a set of 4, shoot me a PM.
-
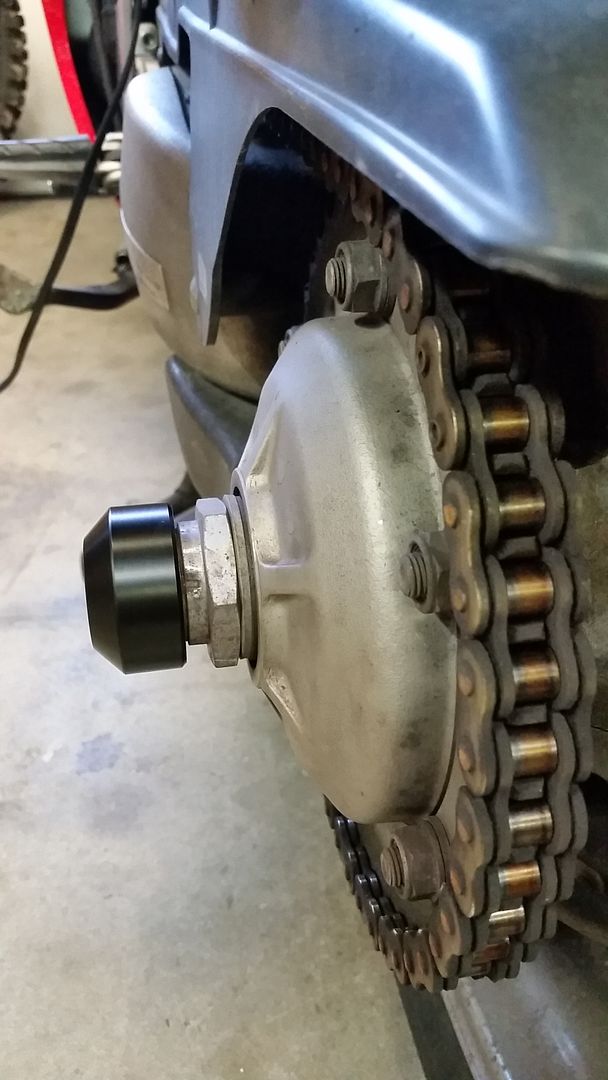
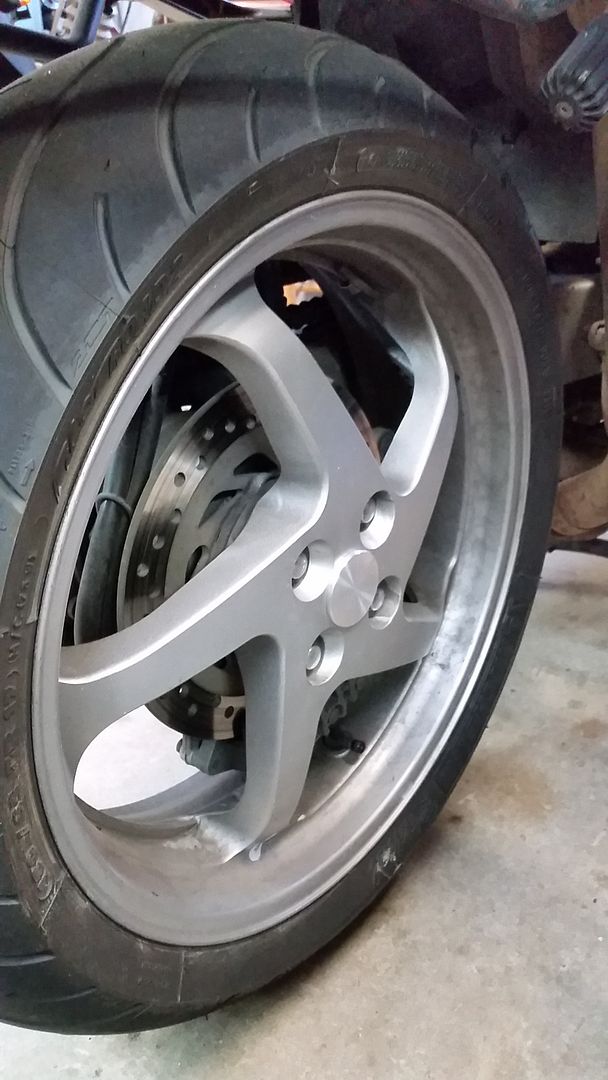
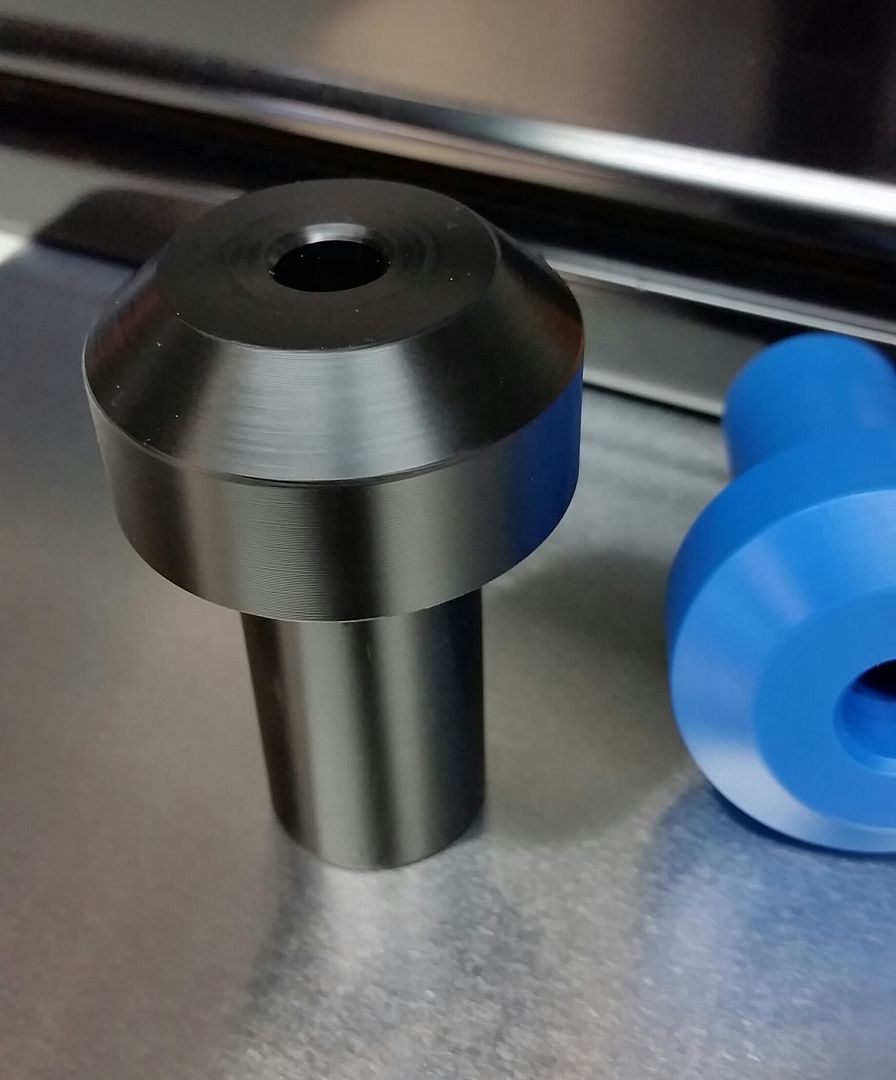
I made one of these for one of my project bikes and it turned out so well, I thought I might offer them here to other VFR folks.
By installing this part, you combine an aesthetic wheel plug which nicely dresses up the wheel face, with a Delrin slider on the hub side which serves to protect the expensive and sometimes difficult to replace hub nut and hub.
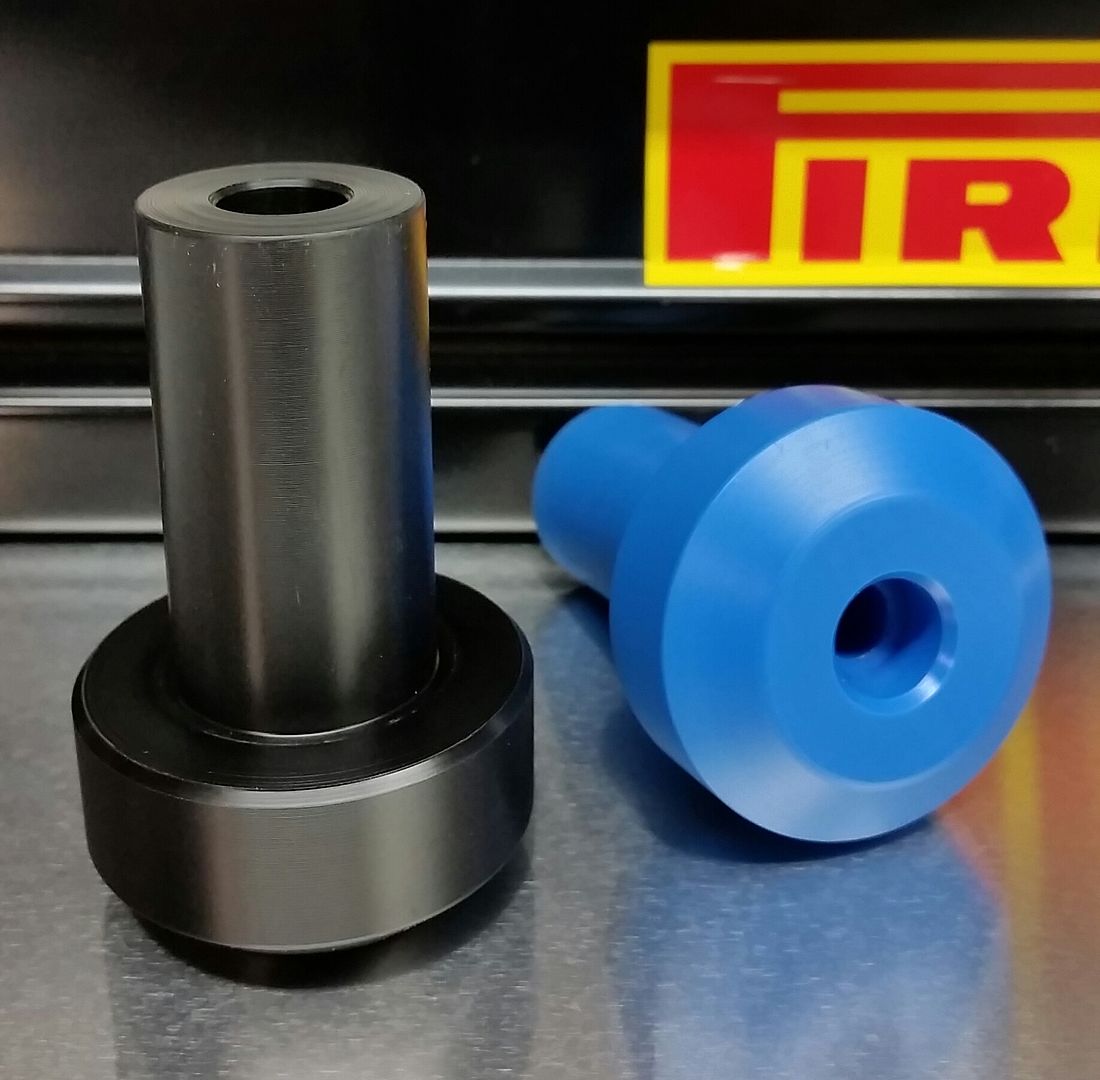
Earlier today I made a second set for my VTEC using black Delrin and aluminum, for the sake of taking pictures and possibly gaining interest in a production run.
Production parts would likely see the wheel plug become flush or almost flush with the wheel surface, and available bare or with a clear, silver, or black VFR logo decal. Hub sliders would be available in black or white, or special order blue.
I'm wondering just how many folks here would be interested in a product like this?? Price would likely be in the $130-160 range.
Here are some photos, please excuse the state of my horribly neglected VFR!
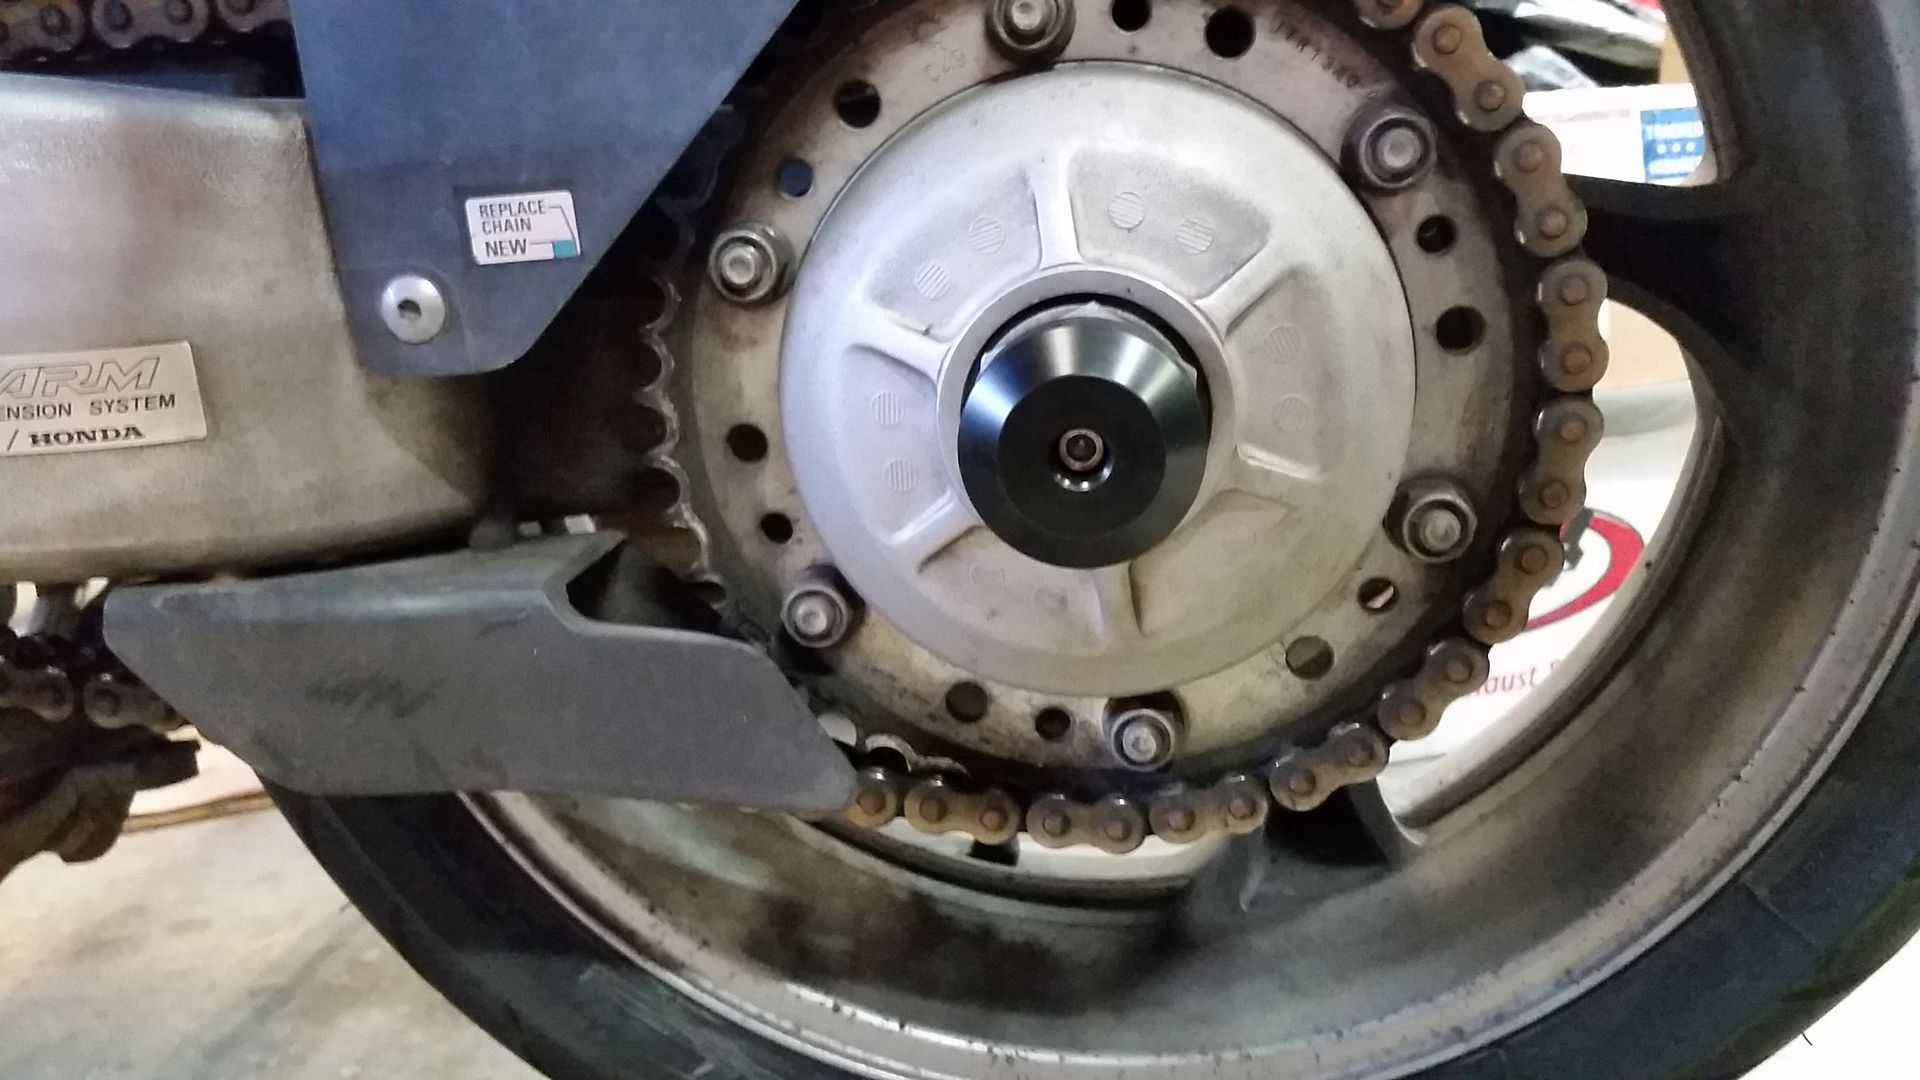
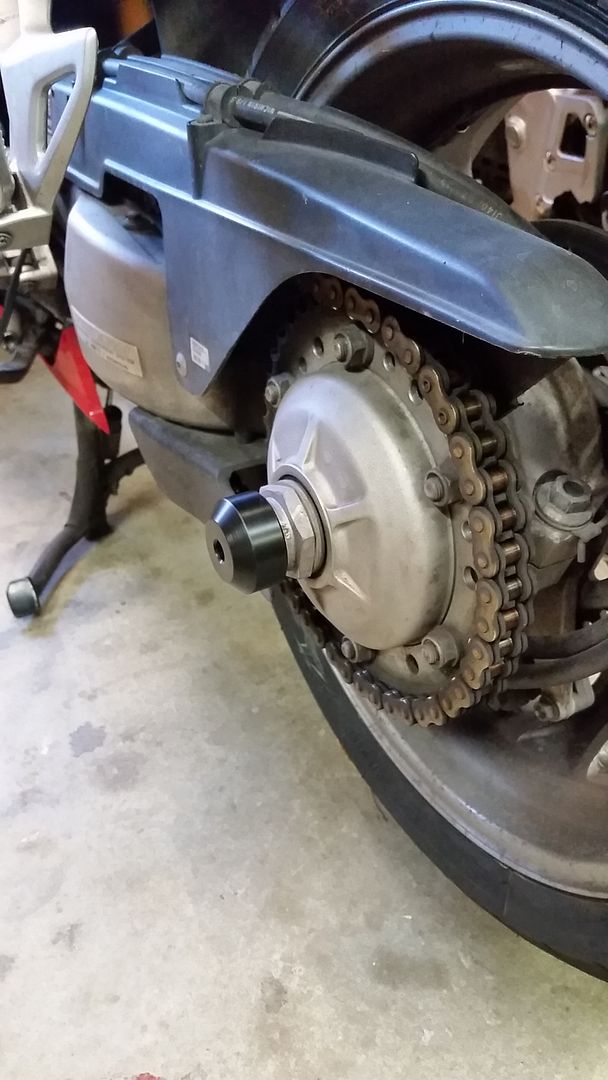

I am also working on fork sliders of similar design and coloring.
-
1
-
-
Shoot me a PM if you're serious
-
It is damn cold outside.
-
Sounds pretty good! Did you have the airbox all put together or no? Seems to be running pretty well. Is that the old one or the new one?
-
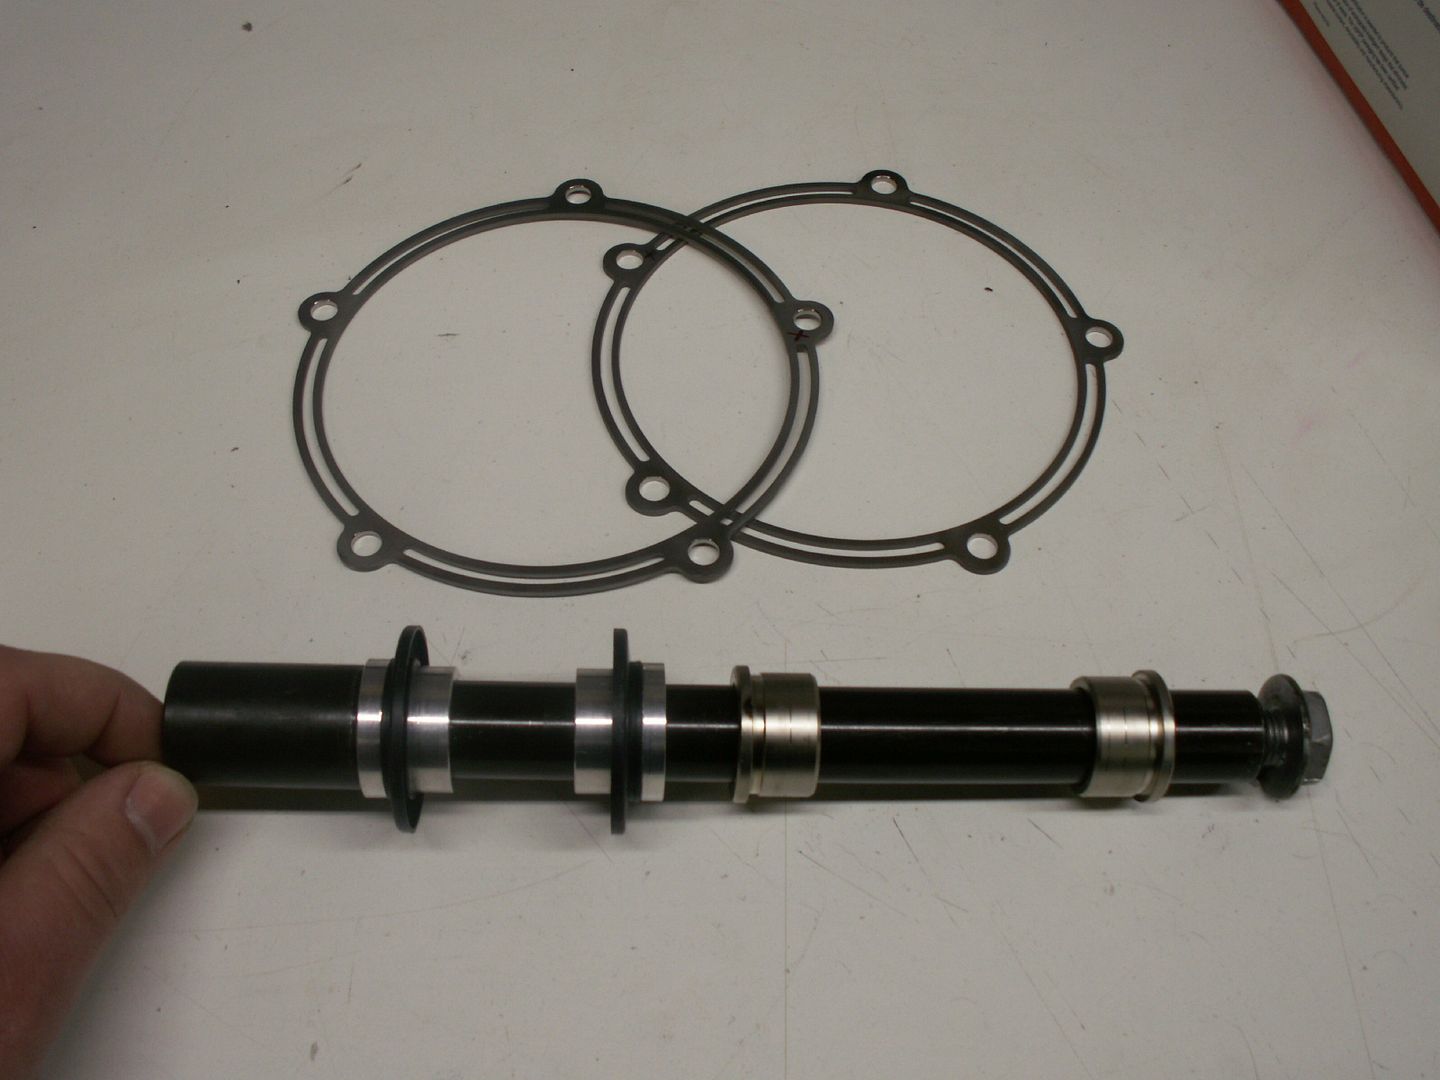
I have made adapter sets in the past to pair R1 forks with 929/954/RC (214mm spacing) triples.
Spacer discs are easier to work with vs many washers, +2mm spacers are machined to accept OEM R1 dust caps.
-
I have a set of 929/954 triples listed in the Classifieds here that I have already modified to fit a handlebar. I'm including risers and brand new steering bearings.
-
It certainly will fit a 2014! Probably one of the better applications too, with regard to the fairing shape.
-
Congrats!
I still have that triple tree set i showed you...
Veefer Madness
in Fifth Generation VFR's
Posted
The bolts are not stainless, they have some type of electro-chem coating which is easily removed with sockets or wire brushing. Speaking from experience, unfortunately.
I doubt the motor had cosmoline on it. Cosmoline is a thick heavy grease that would drip and run off when the motor came up to temp.