

HispanicSlammer
-
Posts
6,987 -
Joined
-
Last visited
-
Days Won
69
Content Type
Forums
Profiles
Gallery
Blogs
Downloads
Events
Everything posted by HispanicSlammer
-

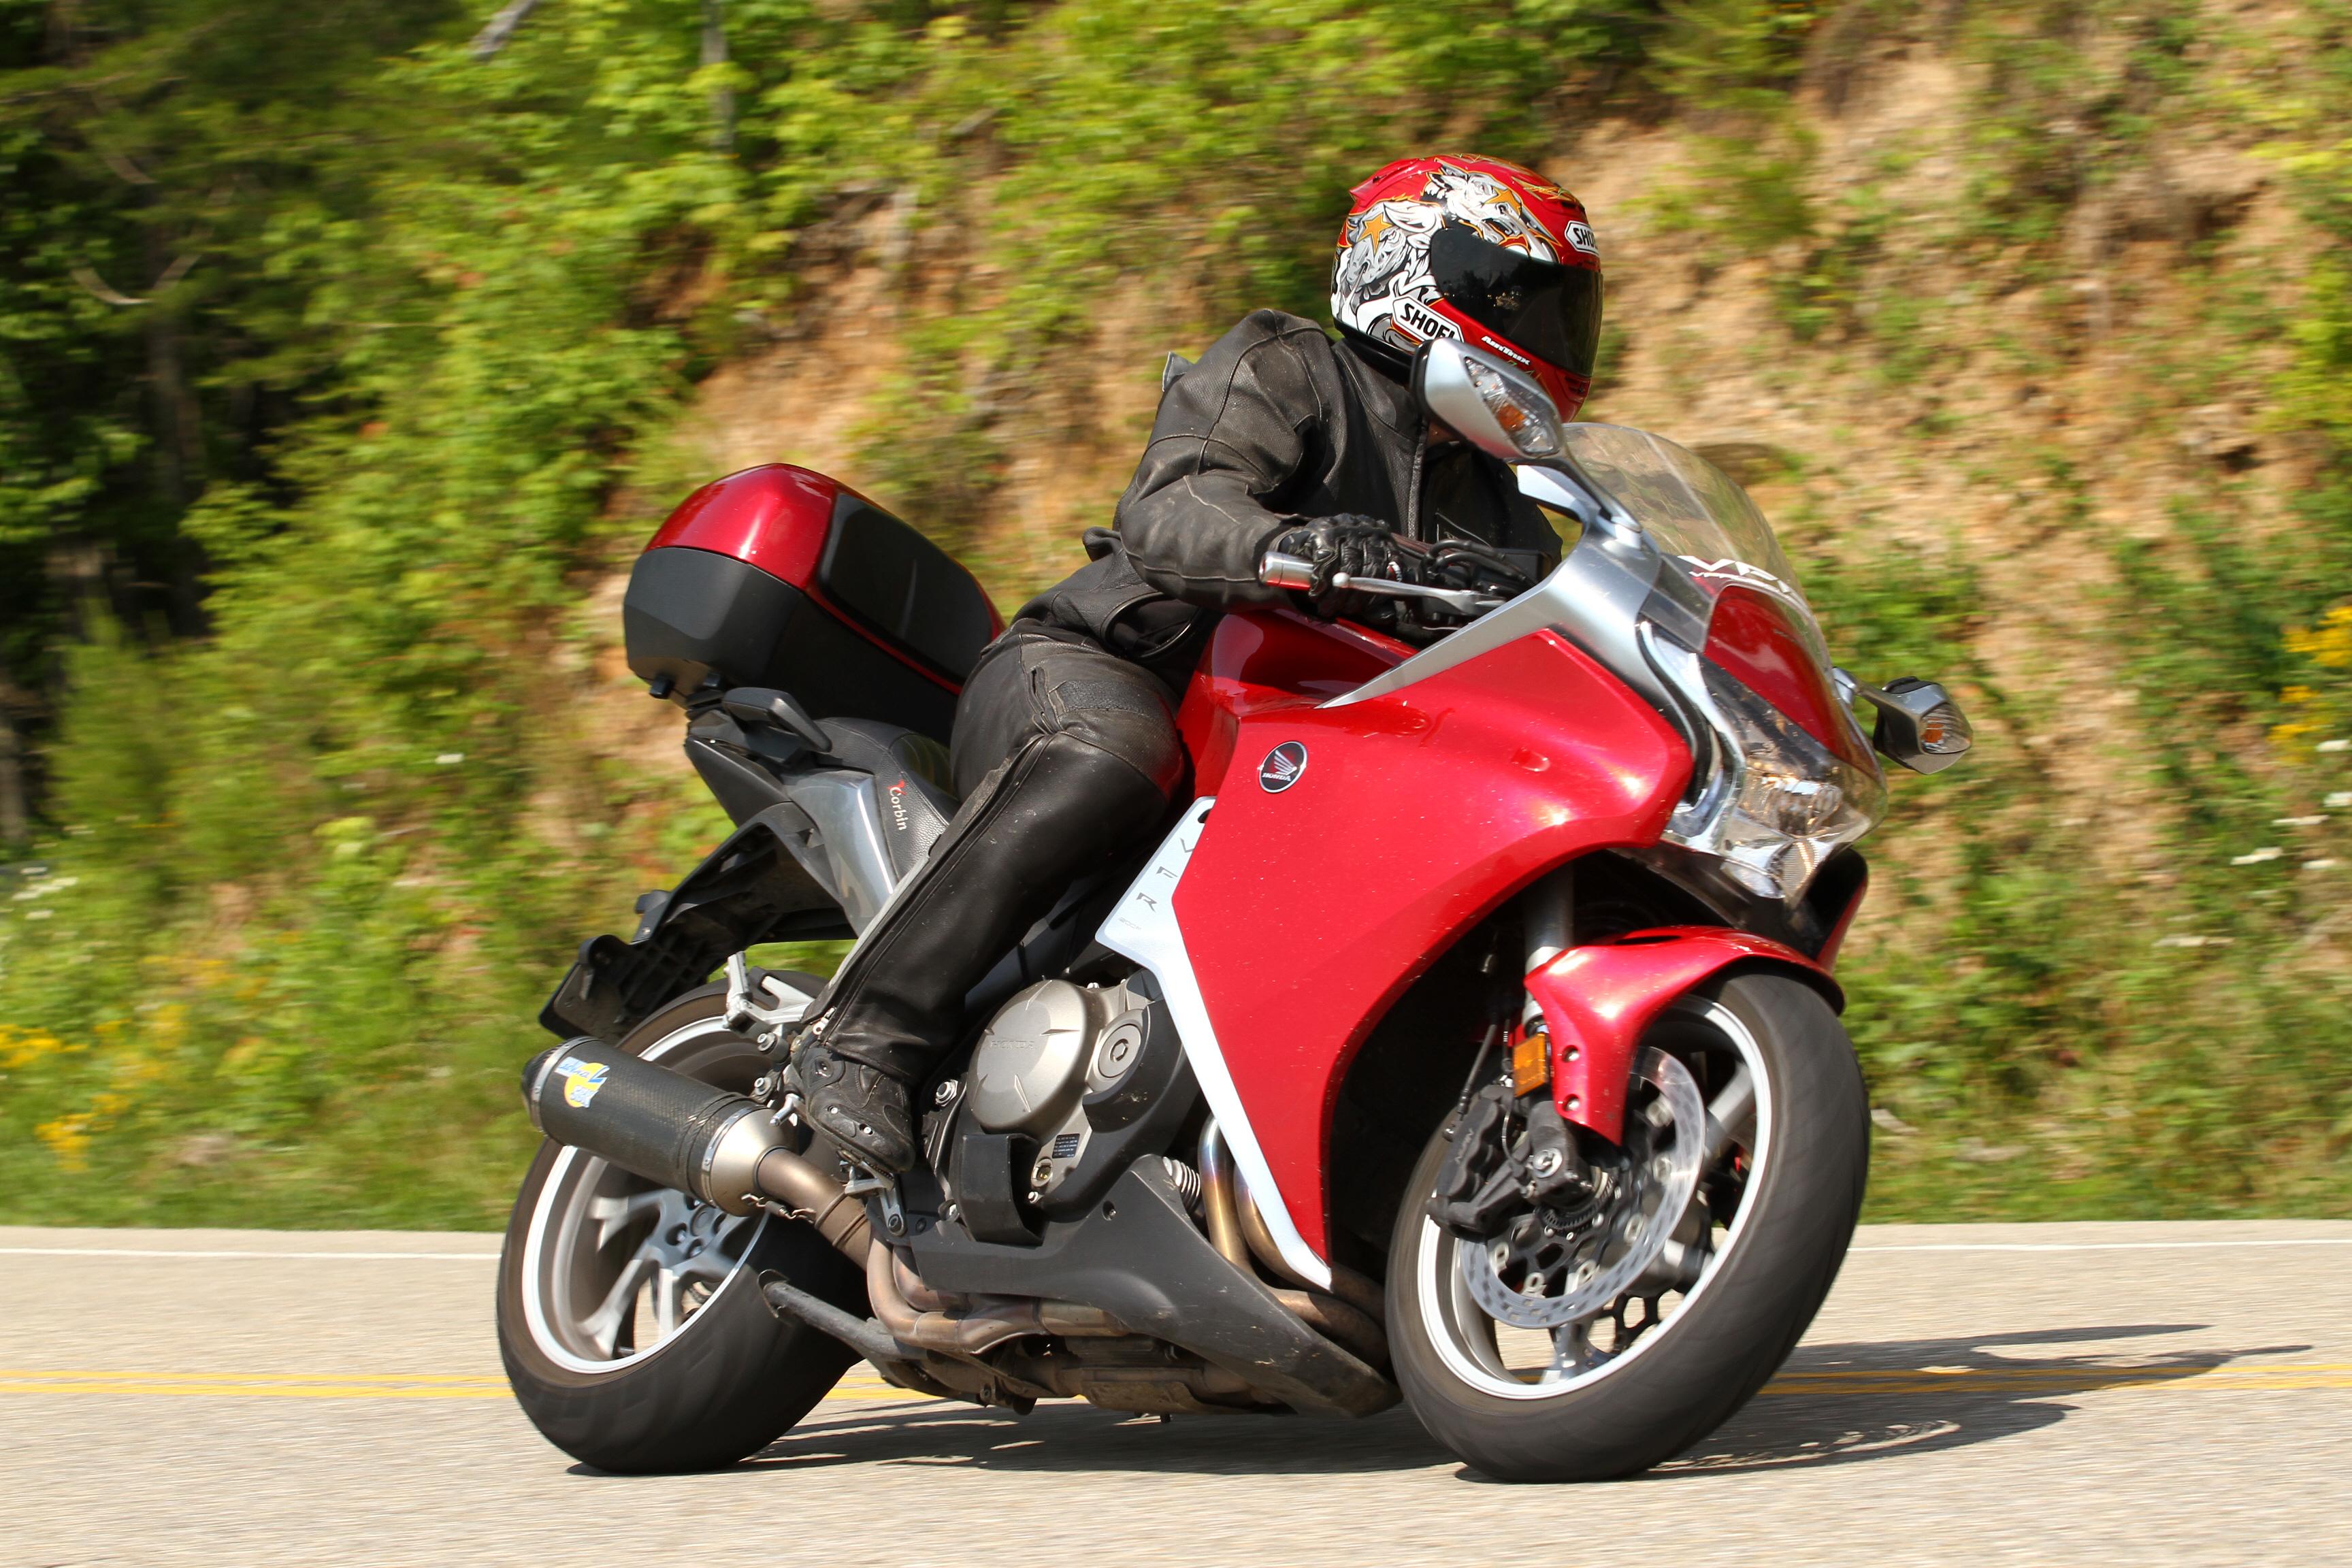
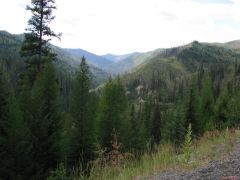
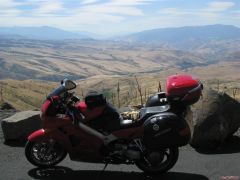
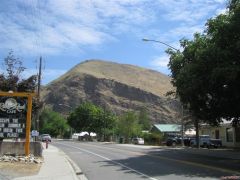
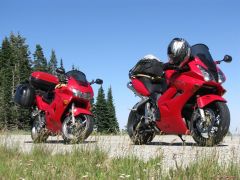
From the album: 2008 Kootenay Hootenanny
© ©vfdiscussion.com
-

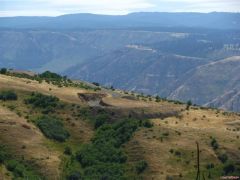
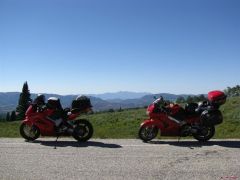
Montana Mountains from Near Lake Kalispel
HispanicSlammer posted a gallery image in Member's Gallery
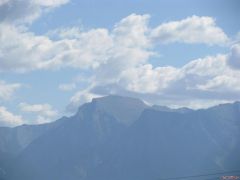
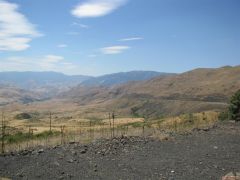
From the album: 2008 Kootenay Hootenanny
© ©vfdiscussion.com
-
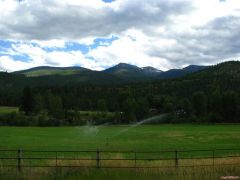
From the album: 2008 Kootenay Hootenanny
© ©vfdiscussion.com
-

From the album: 2008 Kootenay Hootenanny
© ©vfdiscussion.com
-
From the album: 2008 Kootenay Hootenanny
© ©vfdiscussion.com
-
From the album: 2008 Kootenay Hootenanny
© ©vfdiscussion.com
-
From the album: 2008 Kootenay Hootenanny
© ©vfdiscussion.com
-
-
From the album: 2008 Kootenay Hootenanny
© ©vfdiscussion.com
-
From the album: 2008 Kootenay Hootenanny
© ©vfdiscussion.com
-
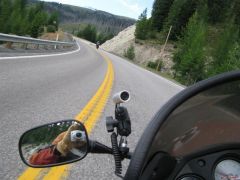
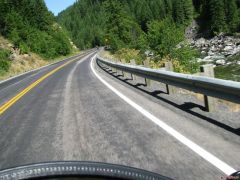
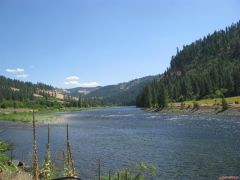
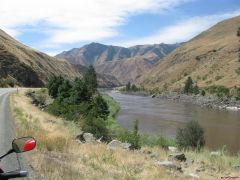
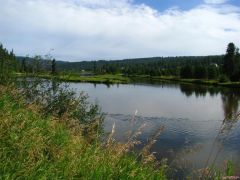
From the album: 2008 Kootenay Hootenanny
to Lolopass along the Clearwater river© ©vfdiscussion.com
-
From the album: 2008 Kootenay Hootenanny
© ©vfdiscussion.com
-
From the album: 2008 Kootenay Hootenanny
© ©vfdiscussion.com
-
From the album: 2008 Kootenay Hootenanny
© ©vfdiscussion.com
-
-
-
-
From the album: 2008 Kootenay Hootenanny
© ©vfdiscussion.com
-
From the album: 2008 Kootenay Hootenanny
© ©vfdiscussion.com
-
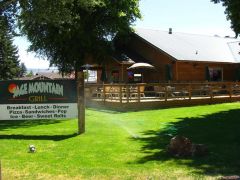
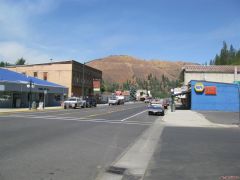
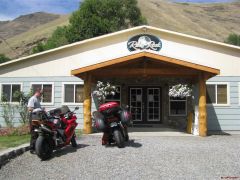
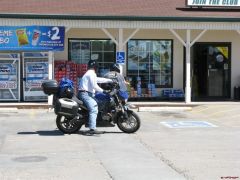
From the album: 2008 Kootenay Hootenanny
Albion Idaho - incrediblely great food© ©vfdiscussion.com
-
-
From the album: 2008 Kootenay Hootenanny
© ©vfdiscussion.com
-
-
From the album: 2008 Kootenay Hootenanny
© ©vfdiscussion.com
-

From the album: 2008 Kootenay Hootenanny
© ©vfdiscussion.com