exwifeschewtoy
-
Posts
123 -
Joined
-
Last visited
Content Type
Forums
Profiles
Gallery
Blogs
Downloads
Events
Everything posted by exwifeschewtoy
-
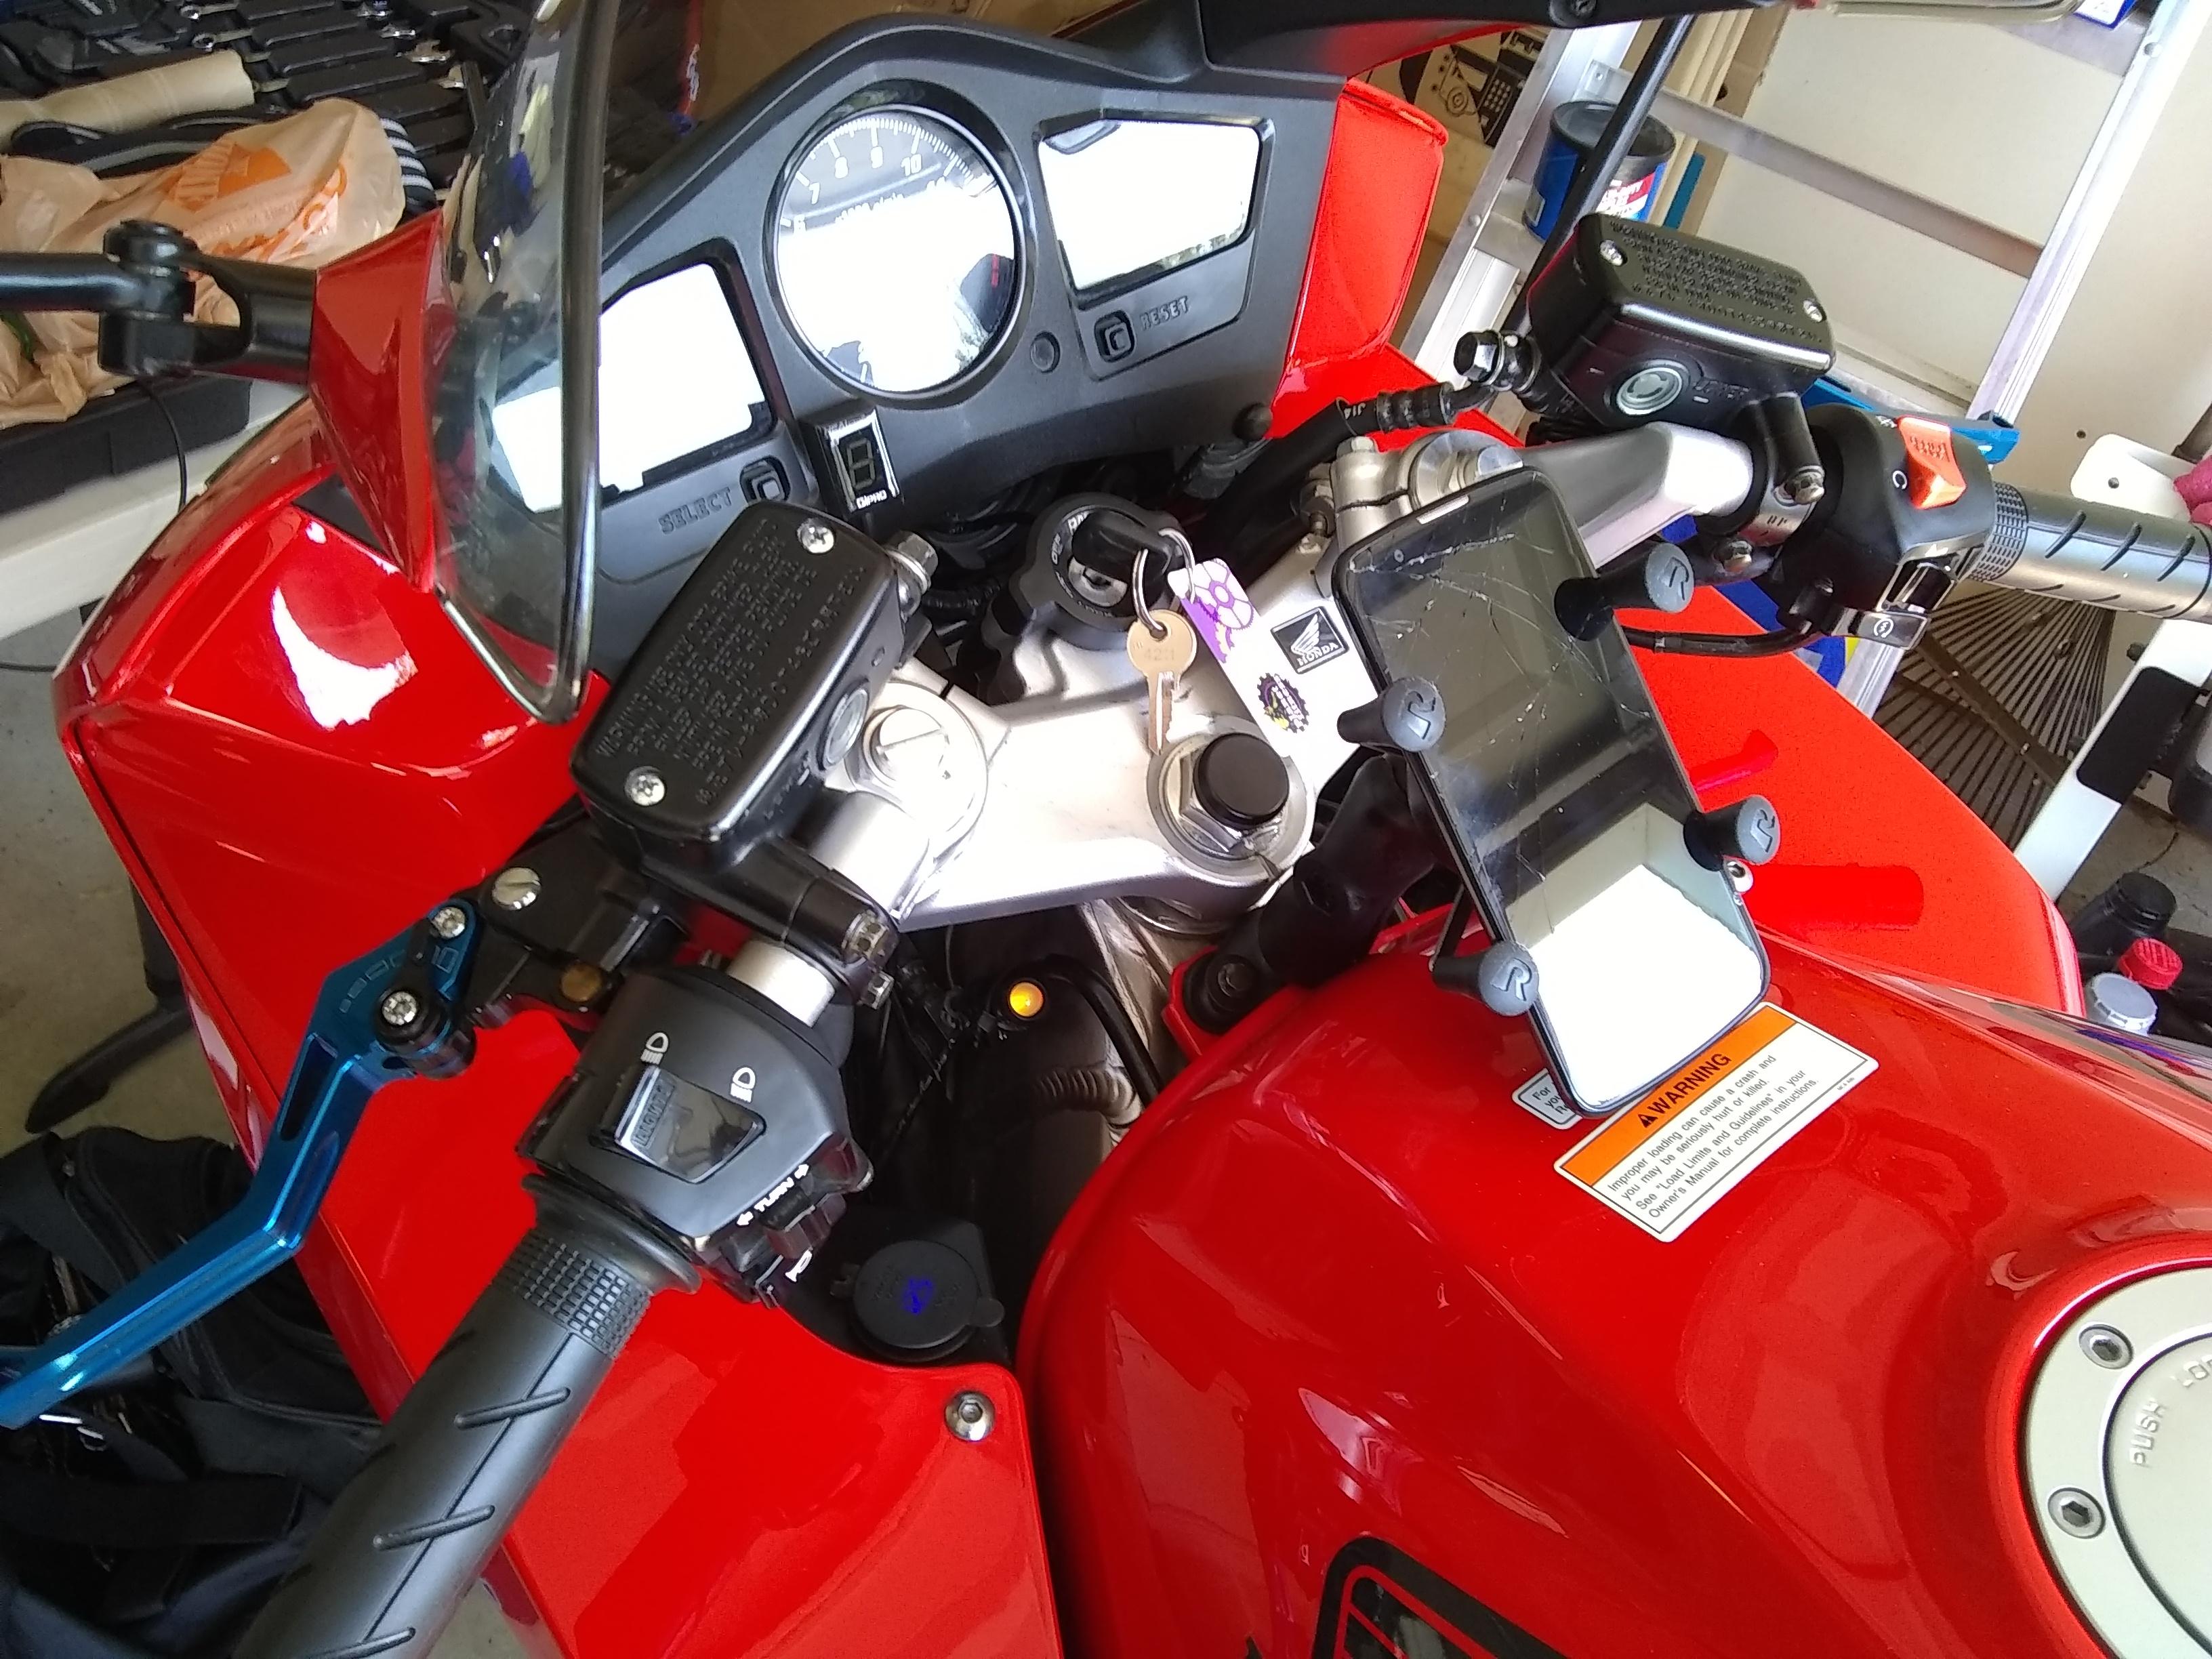
No.....its real close but after a week of riding I took it apart and checked and it is all good. The composite material is very easy to pull the drill bit the direction that it needs to go without hurting the outer rim of the bolt holes. One thing I did was first put a bigger hole in the same spot.....that was an error. It slightly weakened the outer rim. I should have matched the drill bit to the existing hole and then pulled both holes inward on each side. No biggie it is still in one piece and doing fine. I like it this way instead of on the bars since my phone stays put and doesn't swing with the bars, or rotate with the stem. thanks Joel.
-
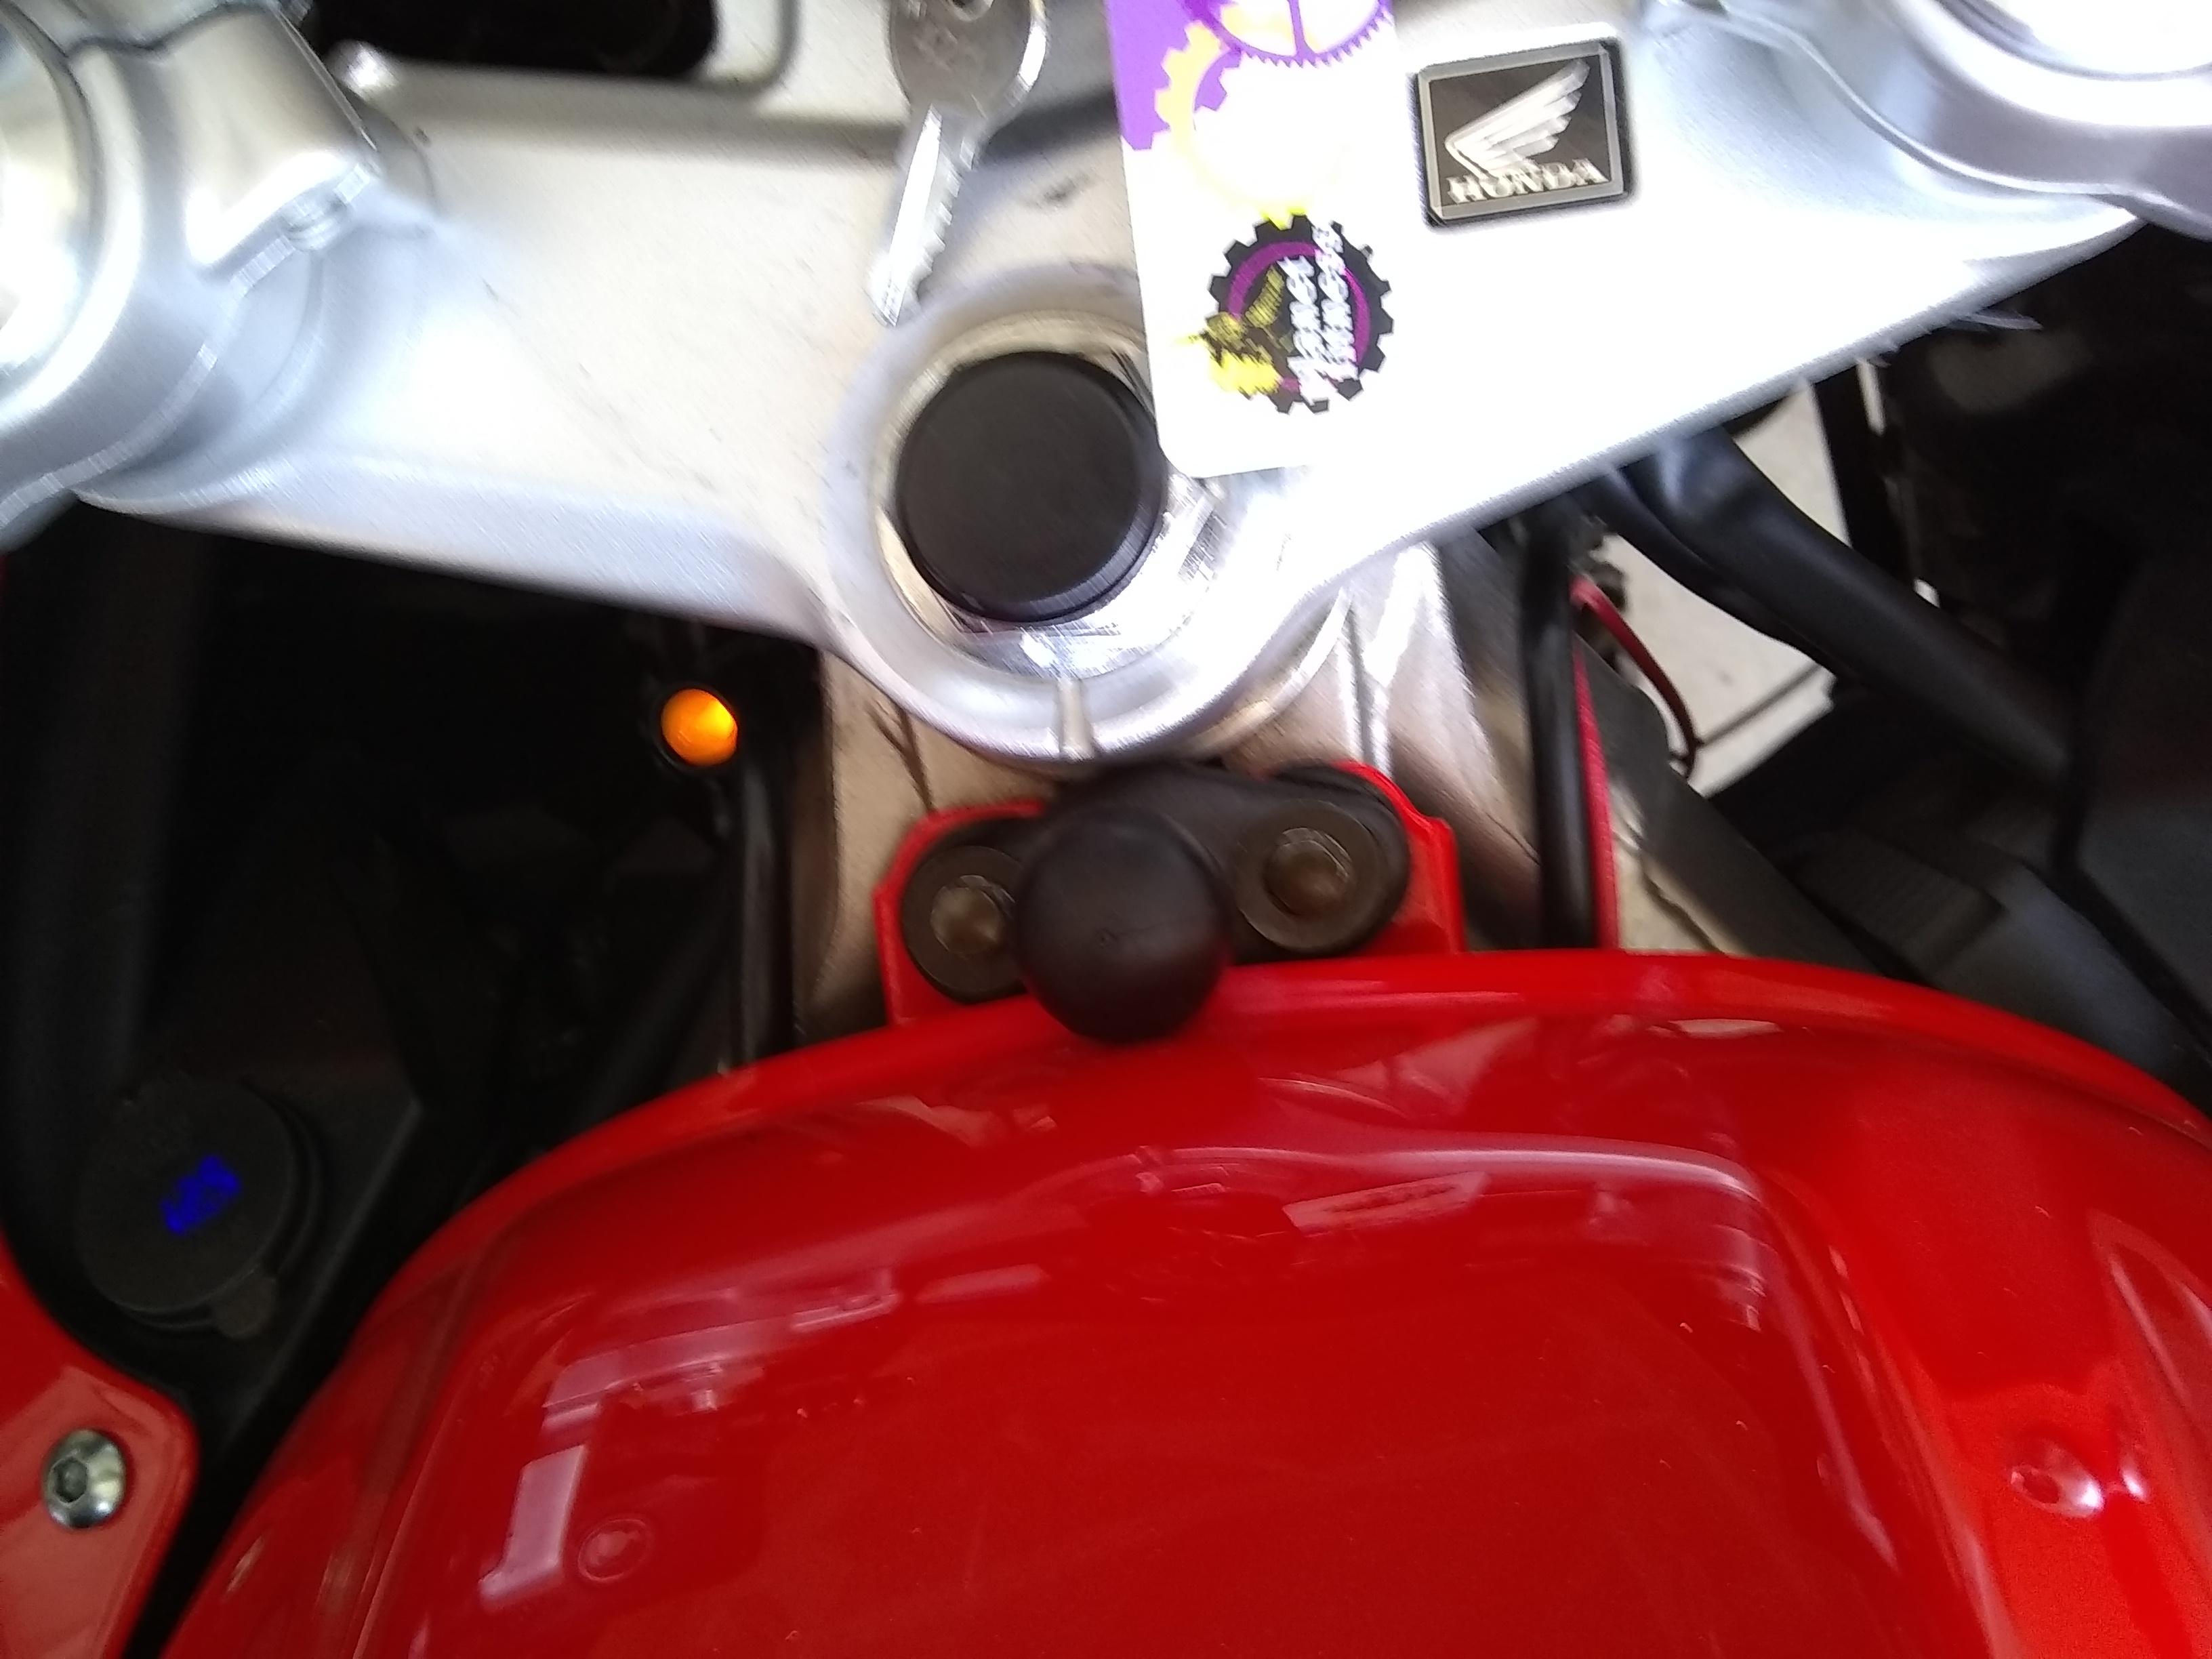
I thought I would share my phone mount with you guys. Here is the link for what you need https://www.amazon.com/gp/product/B006PK661Q/ref=oh_aui_detailpage_o04_s00?ie=UTF8&psc=1 It is made of composite so you need to carefully drill out the holes towards each other with a drill bit. Take your time and it will come out fine. Then you mount it on your tank bolts. The best part of it is that it stays stationary because it is not mounted to your steering arm like with a stem mount. Here is the rest of the stuff you will need. https://www.amazon.com/gp/product/B0074WMQLS/ref=oh_aui_detailpage_o02_s00?ie=UTF8&psc=1 https://www.amazon.com/gp/product/B013FFNXOG/ref=oh_aui_detailpage_o02_s00?ie=UTF8&psc=1 Thanks Joel I will take a pic of what it looks like on the bike.

-
 I would like to do a custom dash. I would like it to have: 1. RPM gauge - about half the size of stock. 2. water temp. 3. Speedometer if possible or a gps that has a large speedo option on the screen. 4. Monitor to use for gps or rear view camera. 5. Don't need voltage as I already have one in the black area on the left side. I also added an idiot light to tell me when the charging system is weak or running fine. It is easier to see than the voltage meter so I like it......If it is green I am above 13.2, if below that yellow, below 12 I think yellow blinks and below 11.2 then red blinks I think....directions are in the garage. I think all of the above are doable but it is the odometer that I think will give me some trouble. I have seen some of the crafty stuff you guys do so I am guessing someone has already done this. Some guy in Philly is doing custom dash's but I would rather do it myself. not the best dash to try and modify but it looks doable with patience and a lot of time to get the front plated just right. I would have to make a nice face plate first and then hold it up to the stock one and see what it would look like. I would need to leave a lip on the stock one all the way around so that I had some thing to attach the face plate too. May be too flimsy once cut out. It may be better to wait until one is for sale on ebay and modify it. I am leaning towards doing that if someone else hasn't done it and can send specs and or pictures of what theirs looks like. Thanks Joel I would either do it in MDF and put a hard textured paint over it or find some hard resin and pour a mold.
 -
I can get a 2006 VFR with about 2000 in addons more than my VFR plus a 2006 vs my 2005. It has a few thousand more miles though....here is the add. It's equipped with:Convertibars with Vibration Killer bar endsTwo Brothers exhaustPower CommanderHEL stainless front brake lines and clutch lineMichelin Pilot Power3 tires with less than 100 miles on themZero Gravity touring windscreenCramp Buster "cruise control"High output headlightsHonda factory hard cases with internal bagsWired in trickle chargerFabric cover Mine is mint, but stock. I want to get an exhaust and PCV and the convertibars are a plus as well as the steel brake, clutch lines. I love the bags too for trips. All in all this is $2500 retail more than mine for the addons. I told him I wouldn't come look at it if he didn't agree to go to 4K on the price. He jumped at that price. VFR's are a hard sell and don't hold their value at all. Any reason for this? I can probably get $3500 for mine which is a loss, considering I put at least 500 into it and bought it for 3300. thanks Joel I don't want to sink 2k plus into a bike that won't go up in value.
-
Oil pan washer......what size is it?
exwifeschewtoy replied to exwifeschewtoy's topic in Sixth Generation VFR's
correct the new stuff is red and available at Walmart, old is green. I read somewhere not to mix them so I wanted to flush the shit out of it so I wouldn't have any issues. thanks Joel. Also I don't clunk anymore. I found that if I give it some throttle right before I start to shift it makes no clunk. Even if I am going slow, all i gotta do is accelerate for a half second (little more than a blip of the throttle), and no sound.....weird huh? -
Oil pan washer......what size is it?
exwifeschewtoy replied to exwifeschewtoy's topic in Sixth Generation VFR's
I won't worry about it then...... I just drained the antifreeze and couldn't find the engine case drain, so I unhooked the radiator hose to the water pump and drained it that way. Then I slid the hose back on the water pump. I filled it with distilled water and drained it over and over again. Running it for a couple of minutes each time. I did this until I couldn't see any hint of green color coming out. Then I refilled with 40% Peak anti-freeze / 60% distilled water. The peak anti-freeze said it was free of phosphate silicate boron so was this an ok flush and fill? thanks Joel I will recheck the level after a couple of short rides and then put the plastics back on and call it good. -
I want to order a 10 pack off ebay but don't know what size to order............the plug is a 17mm, but what size is the washer. I know I can use aluminum or copper. thanks Joel
-
17t sprocket makes this bike soooo much better.
exwifeschewtoy replied to exwifeschewtoy's topic in Sixth Generation VFR's
Well all I know is that when the flapper is disconnected, the bike is noticeably tamer at low end. I have hooked it up and then disconnected it several times. I did not read about it having that affect with other people until I had come to the conclusion myself. I actually liked the riding better with it unhooked as I was able to ride in parking lots without looking like I was on a bucking horse. Its not that I couldn't ride slow and cautions, it just took much more throttle concentration. Call it what you want, but I call it tamer with it disconnected. Now that I went up a tooth, I figured I could hook it back up again and it would not be as severe, and it wasn't. I still have a surplus of power but can ride in a lower gear than I was more often....less shifting up and down between lights is a more comfortable ride to me. I am not trying to sell anyone this. I am just reporting my findings in case someone else is bothered by a few of the things I am claiming that it fixed. To me this is a touring bike that looks sporty. If I wanted a bike that stretched my arms when I jumped on it, I would have bought a cbr1000rr. It was only a $20 dollar risk for the sprocket, and you know it doesn't take more than 20 minutes to change. I like it and it is staying this way. Joel Surely you have heard time and time again that others claim exactly what I am claiming the flapper does. I have read several posts just in the last month alone. Like this one - "My opinion on the flapper mod has always been that it only achieves loses and no positives". quote by VFROZ thanks Joel -
17t sprocket makes this bike soooo much better.
exwifeschewtoy replied to exwifeschewtoy's topic in Sixth Generation VFR's
yeah, I read somewhere that the odometer is accurate but the speedo isn't. thanks Joel -
17t sprocket makes this bike soooo much better.
exwifeschewtoy replied to exwifeschewtoy's topic in Sixth Generation VFR's
I was getting about 40mpg average.....just dd the change so I will see what a few tanks does. It is likely to stay the same as I am in a lesser gear to avoid changing up and down to 3rd or 4th. I am now mostly 2 and 3rd. thanks Joel yes I weigh 225 pounds so I squeeze the tank with my legs regularly to take the weight off my arms. I have seen no negatives from changing the sprocket. Didn't think 6.3% change would do much but it is very noticeable. thanks Joel -
I love the VFR.....but it had some things about it that I didn't like. The gears are too short. It bucks at low speeds without precise throttle control, and engine braking is a bit extreme. Also, the speedo is off by at least 10%. I opted to change my front sprocket to a 17t. I put on a new 110 link x-ring chain and rear 43t sprocket. I was able to hook back up the flapper which gave me back the low and mid grunt I was missing. It brought the speedo close enough to actual speed. It makes the gears long enough to cut down shifting in town in half. I am able to stay in lower gears instead of shifting to a higher one. Less shifts up also means less shifts down when coming to a light.....also nice. got rid of a noticeable amount of bucking. engine braking is not annoying anymore. did not notice the loss in acceleration at all. In fact this thing still hauls ass at will. I realize that this is going to irritate some, much like oil and air filter talk, but I just wanted to share my experience. thanks Joel Bike is totally fixed and love the 82lb clutch springs.....
-
clutch issue after spring install.
exwifeschewtoy replied to exwifeschewtoy's topic in Sixth Generation VFR's
Nah, I'm thinking it was just in my head. I was driving in a higher gear and too slow and it was just the thing bucking on me. I rode about 40 miles today over a 2 hour period.....almost all of it town driving. The only noise that seems to be new is when I pull in the clutch the bike is dead silent....except for the engine sound. When I release the clutch I hear a faint noise, but that is the clutch engaging and normal, right? I am talking. Only noticeable if you are really listening for it. I had three issues before that are all resolved. 1. Clutch inner disc was swapped for outer disc......got mixed up when stacking them. Should have know that the thinner one has to go first cause it rides above the spring seat and friction disc. Once I put in the correct order.....bingo fixed. I love the 82lb springs too. I can launch hard from a light now. 2. The shorter of the long bolts was in the wrong spot and couldn't thread more than one set of threads and popped off when being tightened. I took it all apart with better lighting and cleaned everything to a nice shine, and then slowly put it all back together again. Totally resolved. I did opt for a 17t front sprocket and man that thing has made this bike so much better. I know it is the opposite of what most guys do but the gears are so short that it has cut down my shifting in almost half and it decreased the "buck" from letting off the throttle and decreased a bit of engine braking. I did not notice any decrease in acceleration. Fit with the 110 chain fine too....plenty of slack left over. 3. I did not use the Pro-motion chain tool correctly when I flared the tips of the master link....which is why I had so much trouble. I was not using the flaring tip. I went in a flared them correctly and now they are the exact same measurement as the stock tips per my caliper readings. I will redo the chain next week when the new master link comes that I ordered just for piece of mind. I also measured the width of the chain where my master link is and compared it to the other links and I am .1mm off....I can live with that just fine too. I appreciate your help and the others that responded. I still have never needed to take this bike in to have it worked on. I credit this to this site and you guys offering your experience. I value you guys more than the manual which I find weak a lot of time. thanks Joel -
Never hear of over-flow drains.....gonna have to check the manual on that one. Thanks for the tip. Joel
-
No there is no way to be sure, but after you just install a clutch for the first time, it is hard to think it is coming from somebody else's ride. 😎
-
That's what I thought but it came right into my helmet and smelled like burning tires. What do you care if I like my head in my crotch? thanks Joel.
-
Hello, I just got done putting on a new chain front and rear sprocket and then used Honda Lube on top of that. I had also installed a clutch disc incorrectly as well. I had the first clutch disc on last....got mixed up when stacking them. So after sorting out the wrong order of discs, the clutch worked great. I also had an issue with the clutch slave cylinder as well and resolved that too. I had to bleed the crap out of it to get a firm lever pull. So here I am a happy camper. Everything is fixed, plastics on, bike shinned up real good, and off I went. Had a great ride for about 25 minutes through town. Even loved the feel of the 82lb Barrett Green springs I added to my clutch. Wasn't a new clutch, everything was in spec so I roughed up the steel plates with steel wool and reinstalled them. Drove through town, lots of stop and go. Got on the freeway to go home a different route. After about 4 miles or so, I smell this burning smell at about 80mph. I slow down to 65 and continue on....no smell, only lasted about 2 seconds. Once Home I saw white grease from the new chain slung everywhere, so that would explain the burning smell. thanks Joel update - took it out for at least 20 miles on multiple back roads and highways. Shifts great up and down. Love the pull of the new springs not too stiff.
-
clutch issue after spring install.
exwifeschewtoy replied to exwifeschewtoy's topic in Sixth Generation VFR's
ok, that was it. I put them in the right order and put the 82lb green barrett springs in again and it works just fine. It slipped for just a half second when I first put it in gear but I am guessing it was just the plates stuck together. Rode it around and it shifts fine. Clunk is still there but then i didn't find anything wrong with the clutch to begin with so I didn't think that would change from just adding new springs. Time will tell if the Green springs are a pain in traffic. I have the ebc's here to change to if I don't like them. Joel update. I took it for a long test drive. All around town. Worked great. 15 miles later went on the highway and after about 4 miles noticed a burning rubber like smell. Didn't last more than a second or two. 4 miles later it started making a slight grinding sound after I exited the highway. Something is still not right. Not sure what to make of it except for the springs change it is still the same clutch. I guess it could be the new chain. I found lots of grease scattered around the swing arm, shock, etc. It could easily have landed on the exhaust. I found gobs of it in several spots. Not just a little bit. -
clutch issue after spring install.
exwifeschewtoy replied to exwifeschewtoy's topic in Sixth Generation VFR's
I found one issue...... I somehow put the inner most disc on the outside. To my knowledge there are three different plates. The one that is smaller so it can clear the friction spring and seat. The six identical ones - that I believe can be in any order and even backwards as there is no difference to the front or back that I can tell. I had been lining up this yellow stripe but doubt if it is necessary. Then the last one that is has slightly wider cork areas.....It is very subtle but it is a bit different than the six. This one goes on last. The steel plates all go in the same direction and I have put them sharp side out. I should have known something was up as the last plate was barely able to rest on the ledge because the first one wasn't clearing the friction spring and seat. Now I am not going to reinstall this until someone chimes in and says that my clutch would definitely have not worked with them reversed. They will soak until someone says "go for it". thanks Joel -
ok, clutch looks good....scuff up the plates?
exwifeschewtoy replied to exwifeschewtoy's topic in Sixth Generation VFR's
Thanks for the tips. I too used the center rear sprocket to stabilize the link. I went ahead and ordered another master link of ebay for my chain model number. I had no problem doing each step but I found out that when you use the anvil it also turns the inner bolt some and what it did was crush one of my o-rings and left a longer tip to flare on the bottom and a normal 1mm tip to flare on the top. It may be fine but it will bug the shit out of me every time I go on the freeway. Thanks for setting me straight on flaring on the side of caution and not trying to match the other links. I will just flare enough that that there is no way it is coming off.....In theory it shouldn't need much as it doesn't carry any weight it just holds the side on, which shouldn't need much to accomplish that. thanks Joel Still glad I ordered the Promotion tool and am doing this myself instead of paying someone. -
clutch issue after spring install.
exwifeschewtoy replied to exwifeschewtoy's topic in Sixth Generation VFR's
I did notice that when the slave cylinder was out that I couldn't push the clutch rod with my hand in to activate the clutch no matter how hard I tried. Shouldn't you be able to do that or is the spring tension too high for that? Joel -
clutch issue after spring install.
exwifeschewtoy replied to exwifeschewtoy's topic in Sixth Generation VFR's
yes, I am going to make that my standard from now on when I remove screws....did it for the clutch housing removal and luckily still have the cardboard because I will be using it again to find out why my clutch won't disengage. -
clutch issue after spring install.
exwifeschewtoy replied to exwifeschewtoy's topic in Sixth Generation VFR's
I lucked out I took it apart with plenty of light and cleaned everything in the sprocket area to near new. I took apart the speedo sensor as told. I then carefully inspected all. Yes, I too put the shorter screw in the longer nut hole. Didn't see that two were longer than the other long one. Won't make that mistake anytime soon. I did do a template for the clutch housing bolts but was lazy with this one. won't do that again either. I did get it all back together very nice and no issues. Was stupid simple. Had to rebleed the clutch as the slave cylinder opened up on me and leaked out the fluid. Took a long while to rebleed and even took the slave off again to see what was up. Put it back on a had much better resistance to the handle now. After 5 minutes clutch pull is real good. Went to test drive....with plastics off on both sides......I am learning, not gonna button stuff up too soon anymore. I am still in the same boat. Side stand up. Pulled in clutch, put into first, release clutch - bike died instantly. I don't know what to do at this point so I will wait until someone is willing to walk me through troubleshooting. Please read above and critique my clutch plate install and see if a red flag comes up. thanks Joel Really not worried as the bolt was the main thing to bother me. -
clutch issue after spring install.
exwifeschewtoy replied to exwifeschewtoy's topic in Sixth Generation VFR's
ok, yes I know that is what happens. It is possible that I had the side stand down but I doubt it. It will be the first thing I check. I still have to dig into the slave cylinder and remove the speedo sensor to have a look see because of the bolt. thanks Joel -
clutch issue after spring install.
exwifeschewtoy replied to exwifeschewtoy's topic in Sixth Generation VFR's
Ok, makes sense. I will disconnect it tomorrow when I take it all apart and slowly put it back together. Joel -
clutch issue after spring install.
exwifeschewtoy replied to exwifeschewtoy's topic in Sixth Generation VFR's
I "assumed" that all the long bolts were exactly the same length. If one were a bit shorter than the others then that would explain the snap that I heard if it only went in a thread or two and didn't hold cause it was not long enough. I will know tomorrow. Joel