RussB
-
Posts
3 -
Joined
-
Last visited
Content Type
Forums
Profiles
Gallery
Blogs
Downloads
Events
Everything posted by RussB
-
The issue of the centre piston on the rear caliper not relieving is now resolved. This would only happen when actuating from the rear brake (that cylinder feeds the rears outer two pistons directly, and feeds centre piston via the front second master cylinder, though the green check and relief valve you see above. I think what was happening is fluid was entering the system through the ball check valve, but could not escape though the tiny relief hole which had blocked after been stood 12 years. The brake initially stuck after cleaning it out as above, it wasn't jammed on, but it wasnt right which was very worrying, I again began the process of confirming and chasing the pressure lock from the caliper back towards the front second master cylinder, but after confirming the pressure released at the rear middle piston banjo, subsequently releasing the rear wheel, I moved on to the PCV under the back right of the fuel tank, only to find I couldn't get it to lock again!? Maybe I just had an air bubble right at the back of the system and I let it out? I did a quick manual bleed over all the points, pumping the front second cylinder by hand, no vacuum/power or check valve hoses, just an 8/10mm spanner and a bit of pipe on all the points, my favourite method to be honest! - The levers are nice and firm now, and after a good blast out, the front brakes are really keen even with light pressure, the back when actuated from the rear still drags for 1/2 second or so but its getting quicker and smoother at releasing, I dont notice it when pulling up at lights any more, the bike free wheels forward back when rocked. Happy, just been out for an hour, great bike, good find.
-
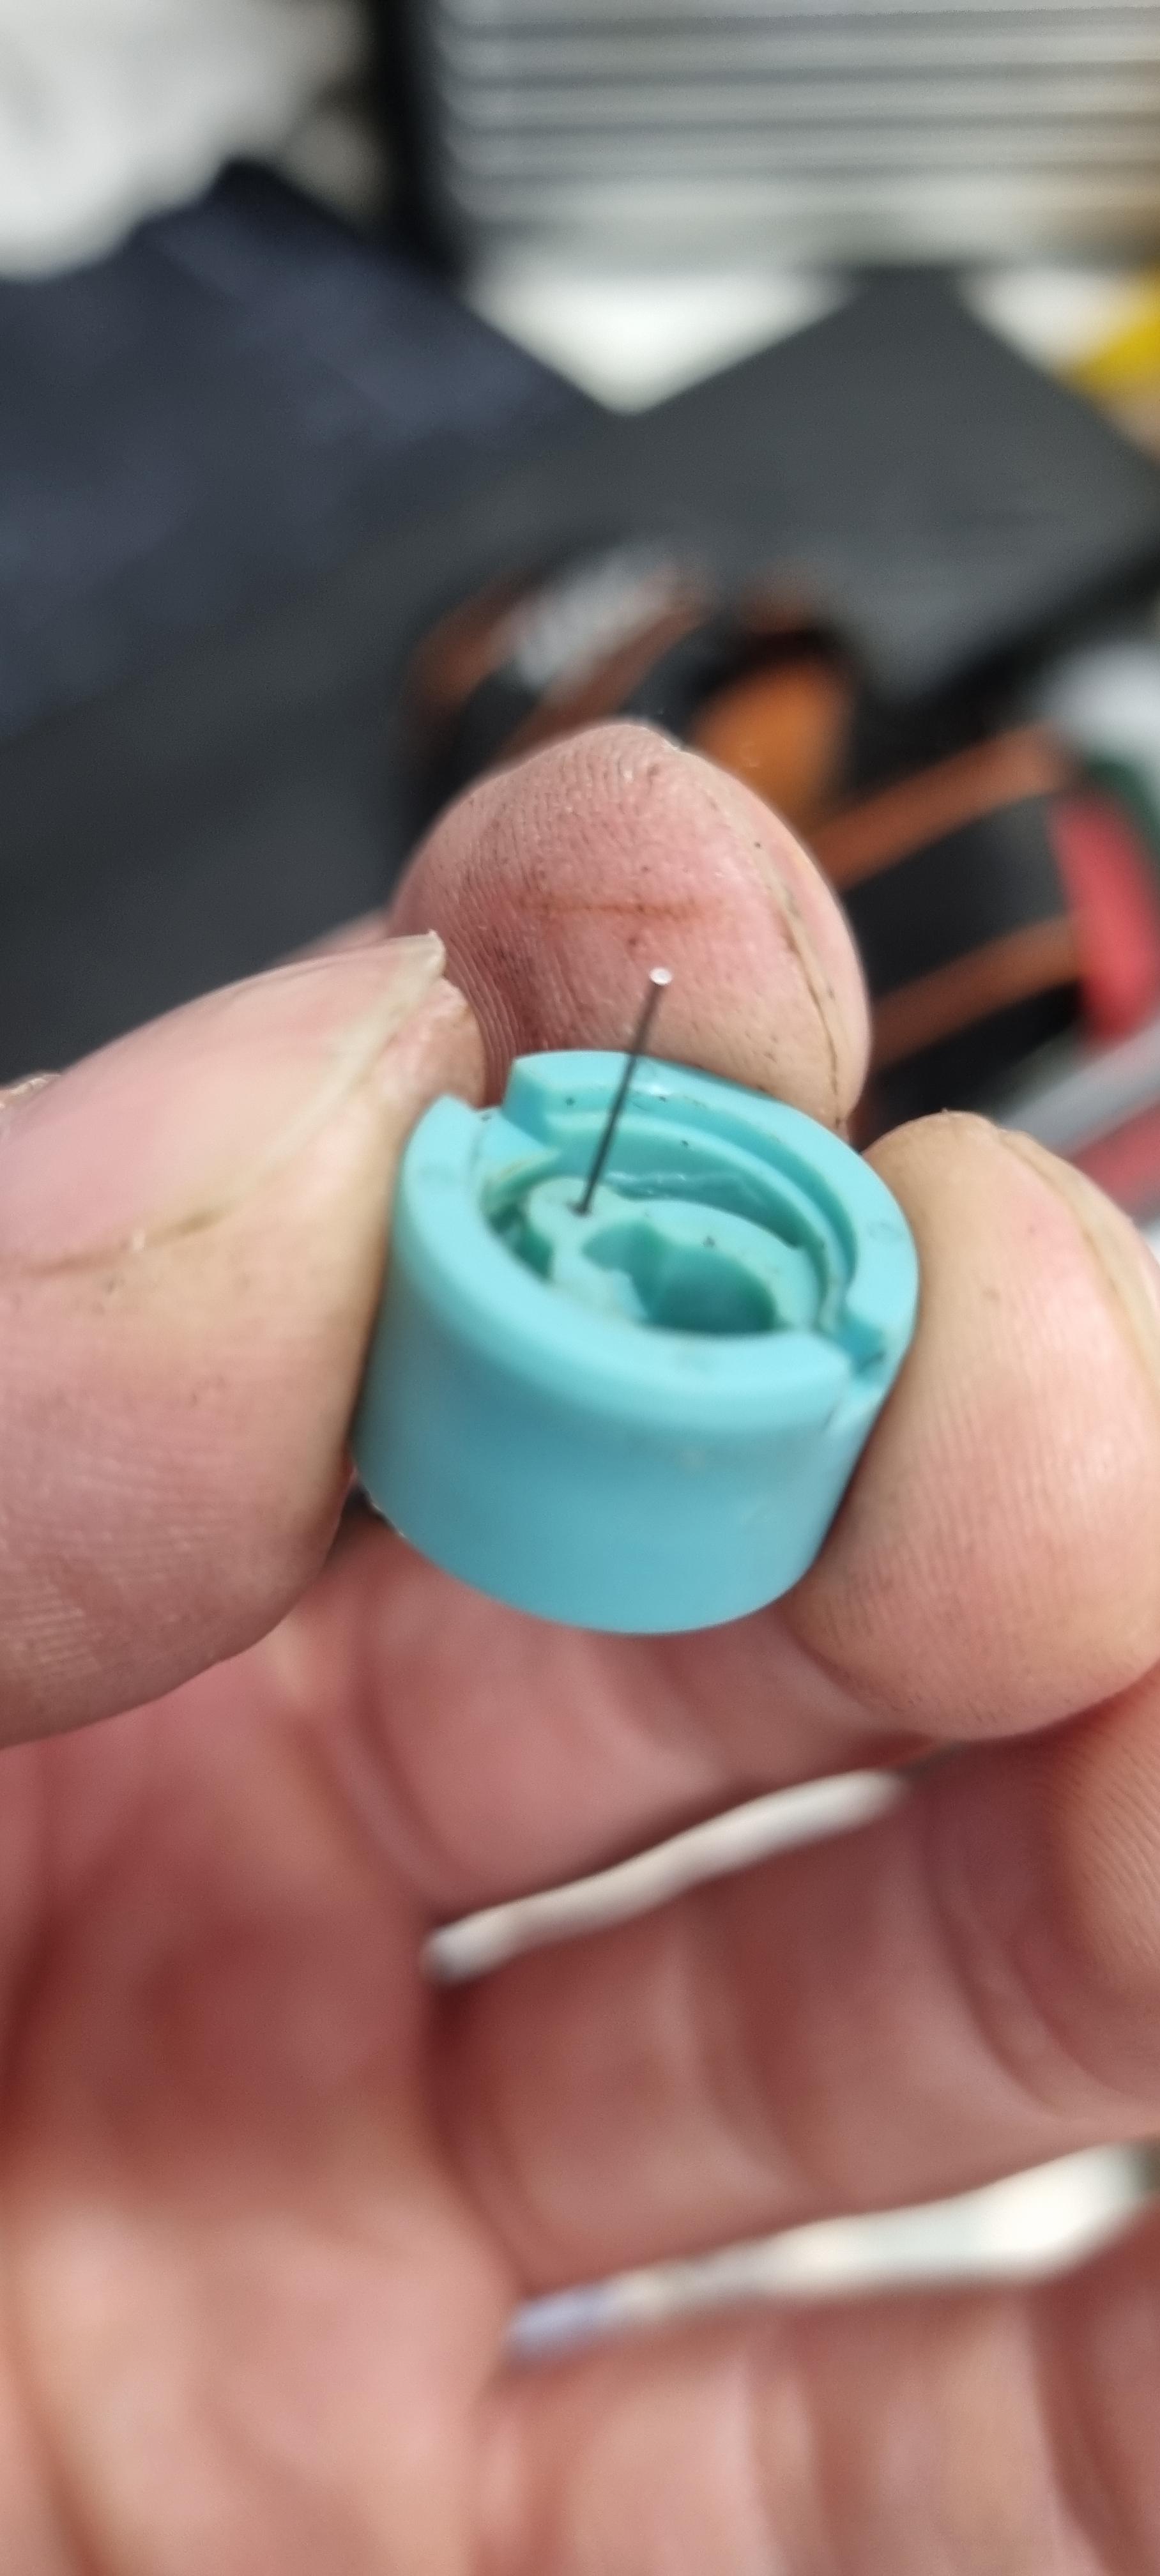
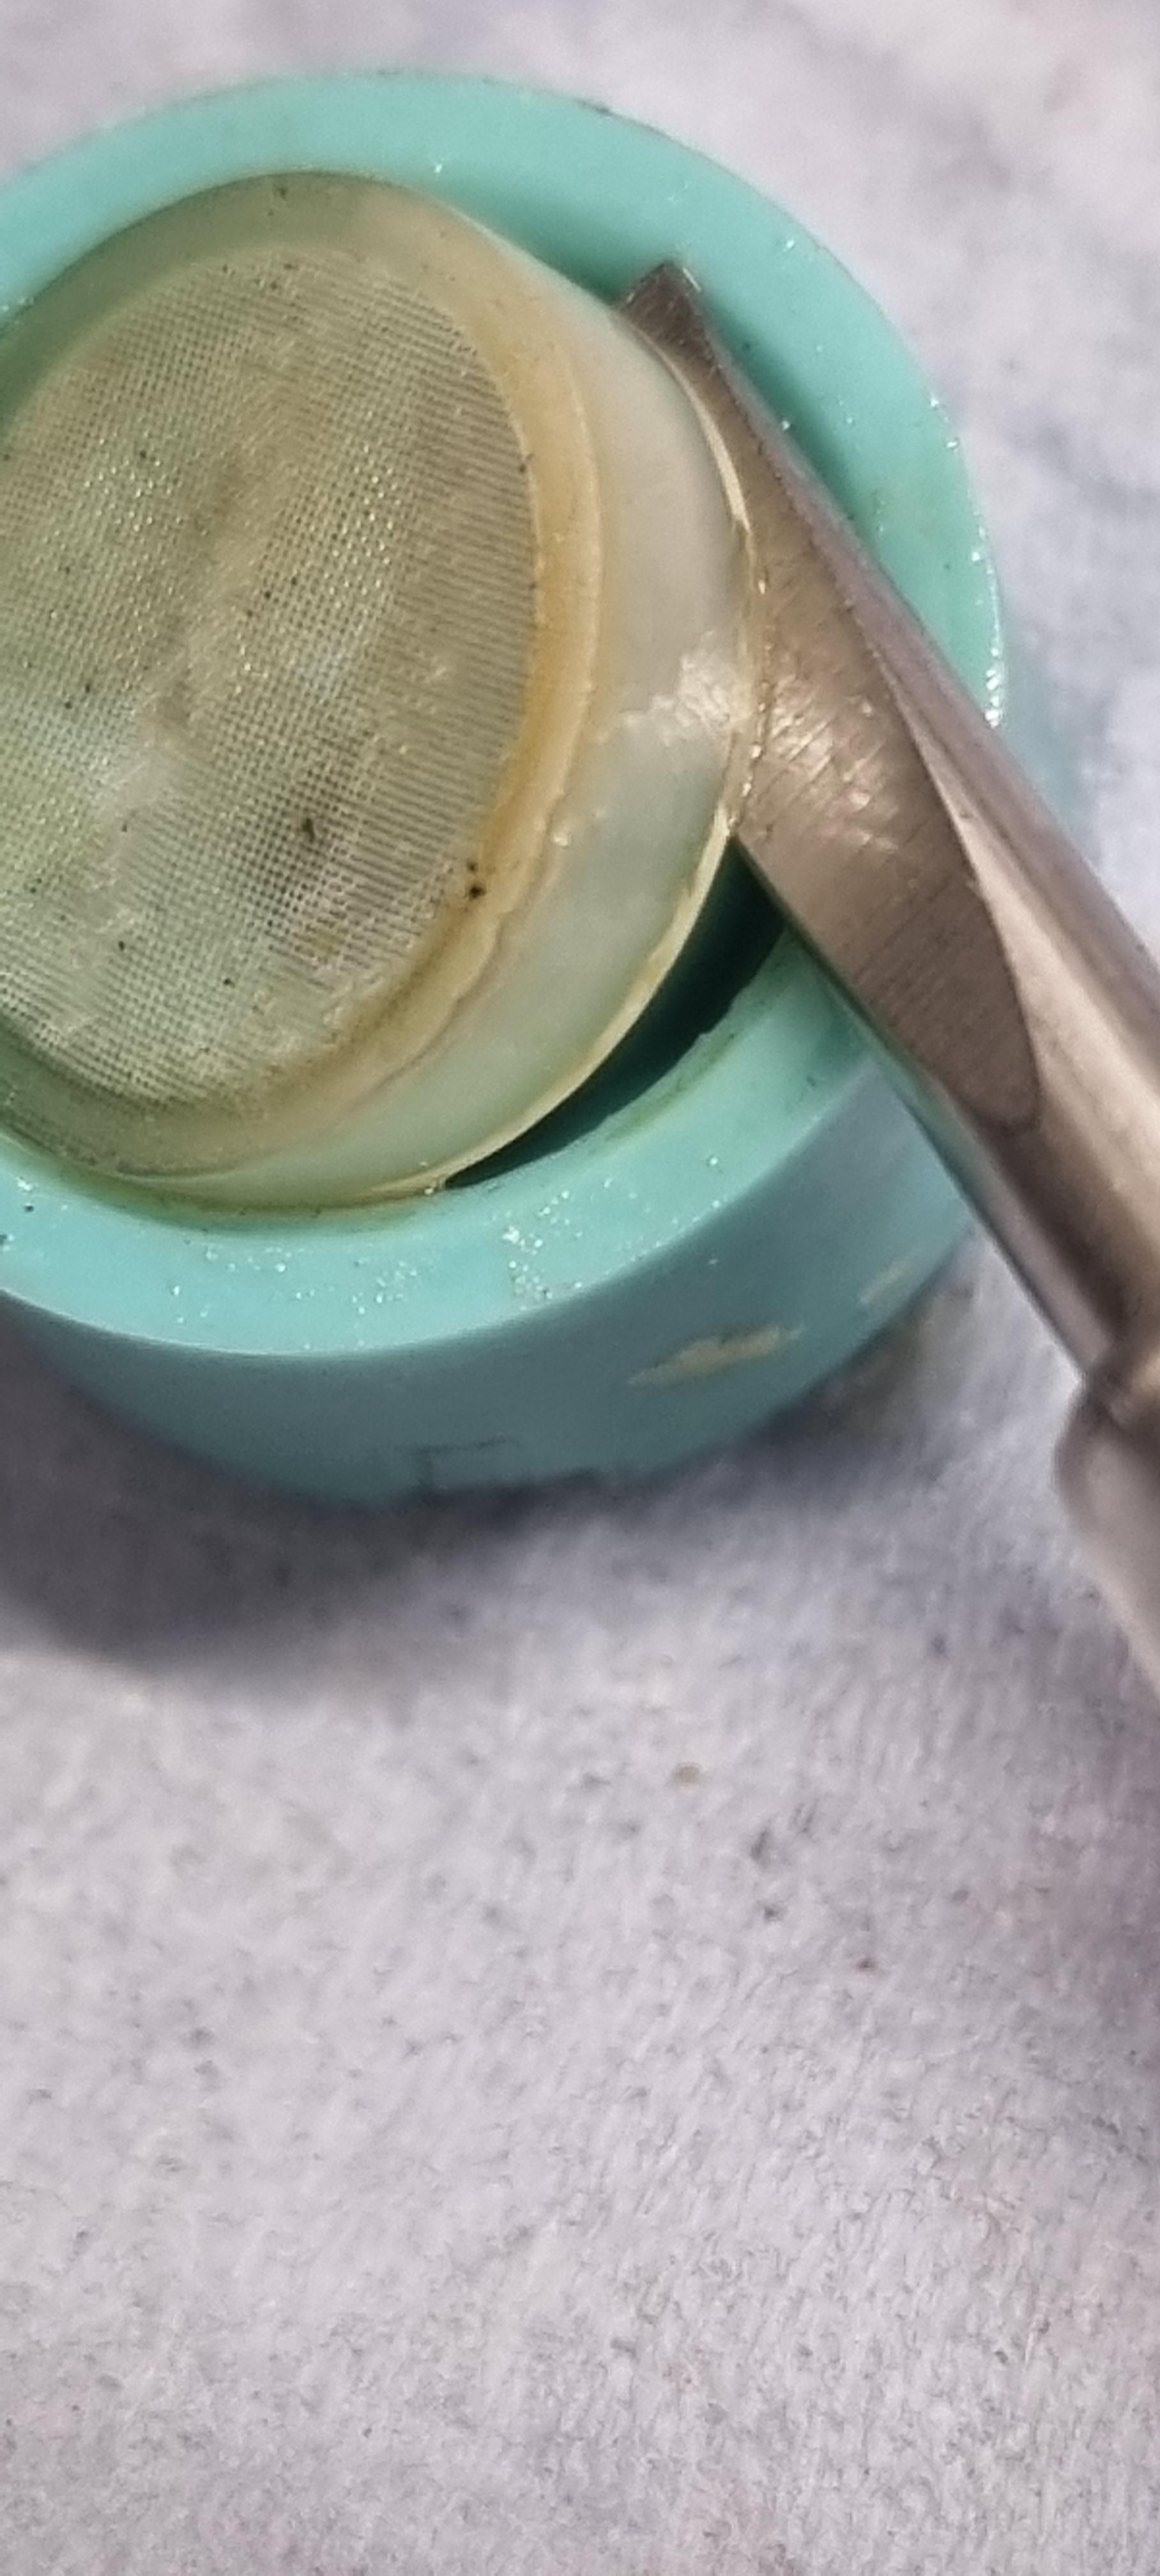
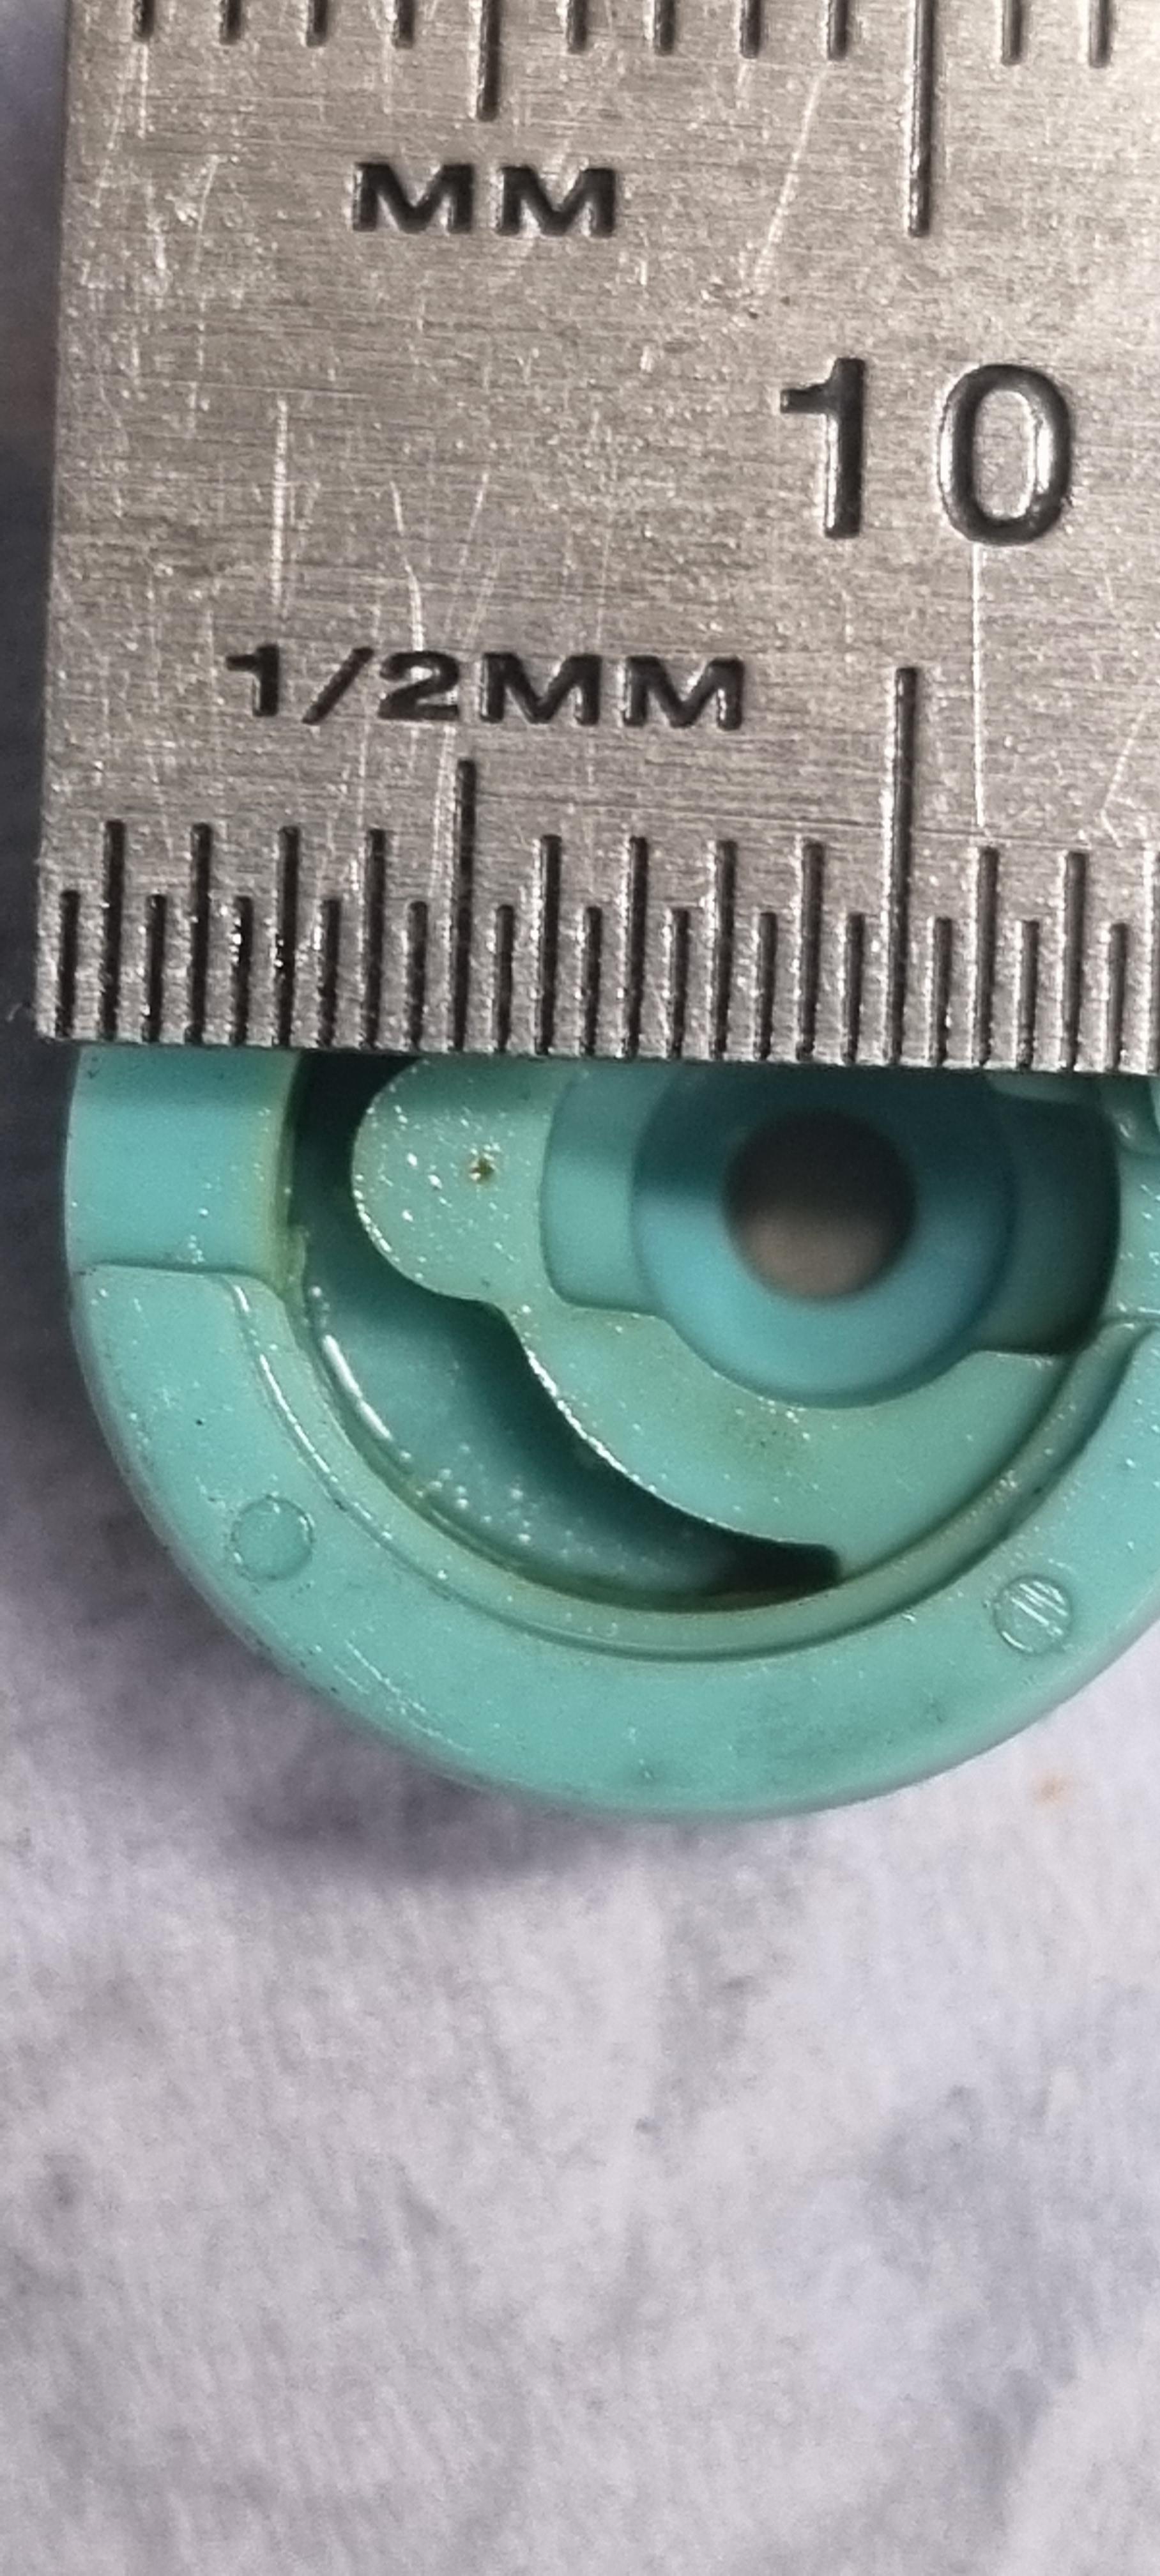
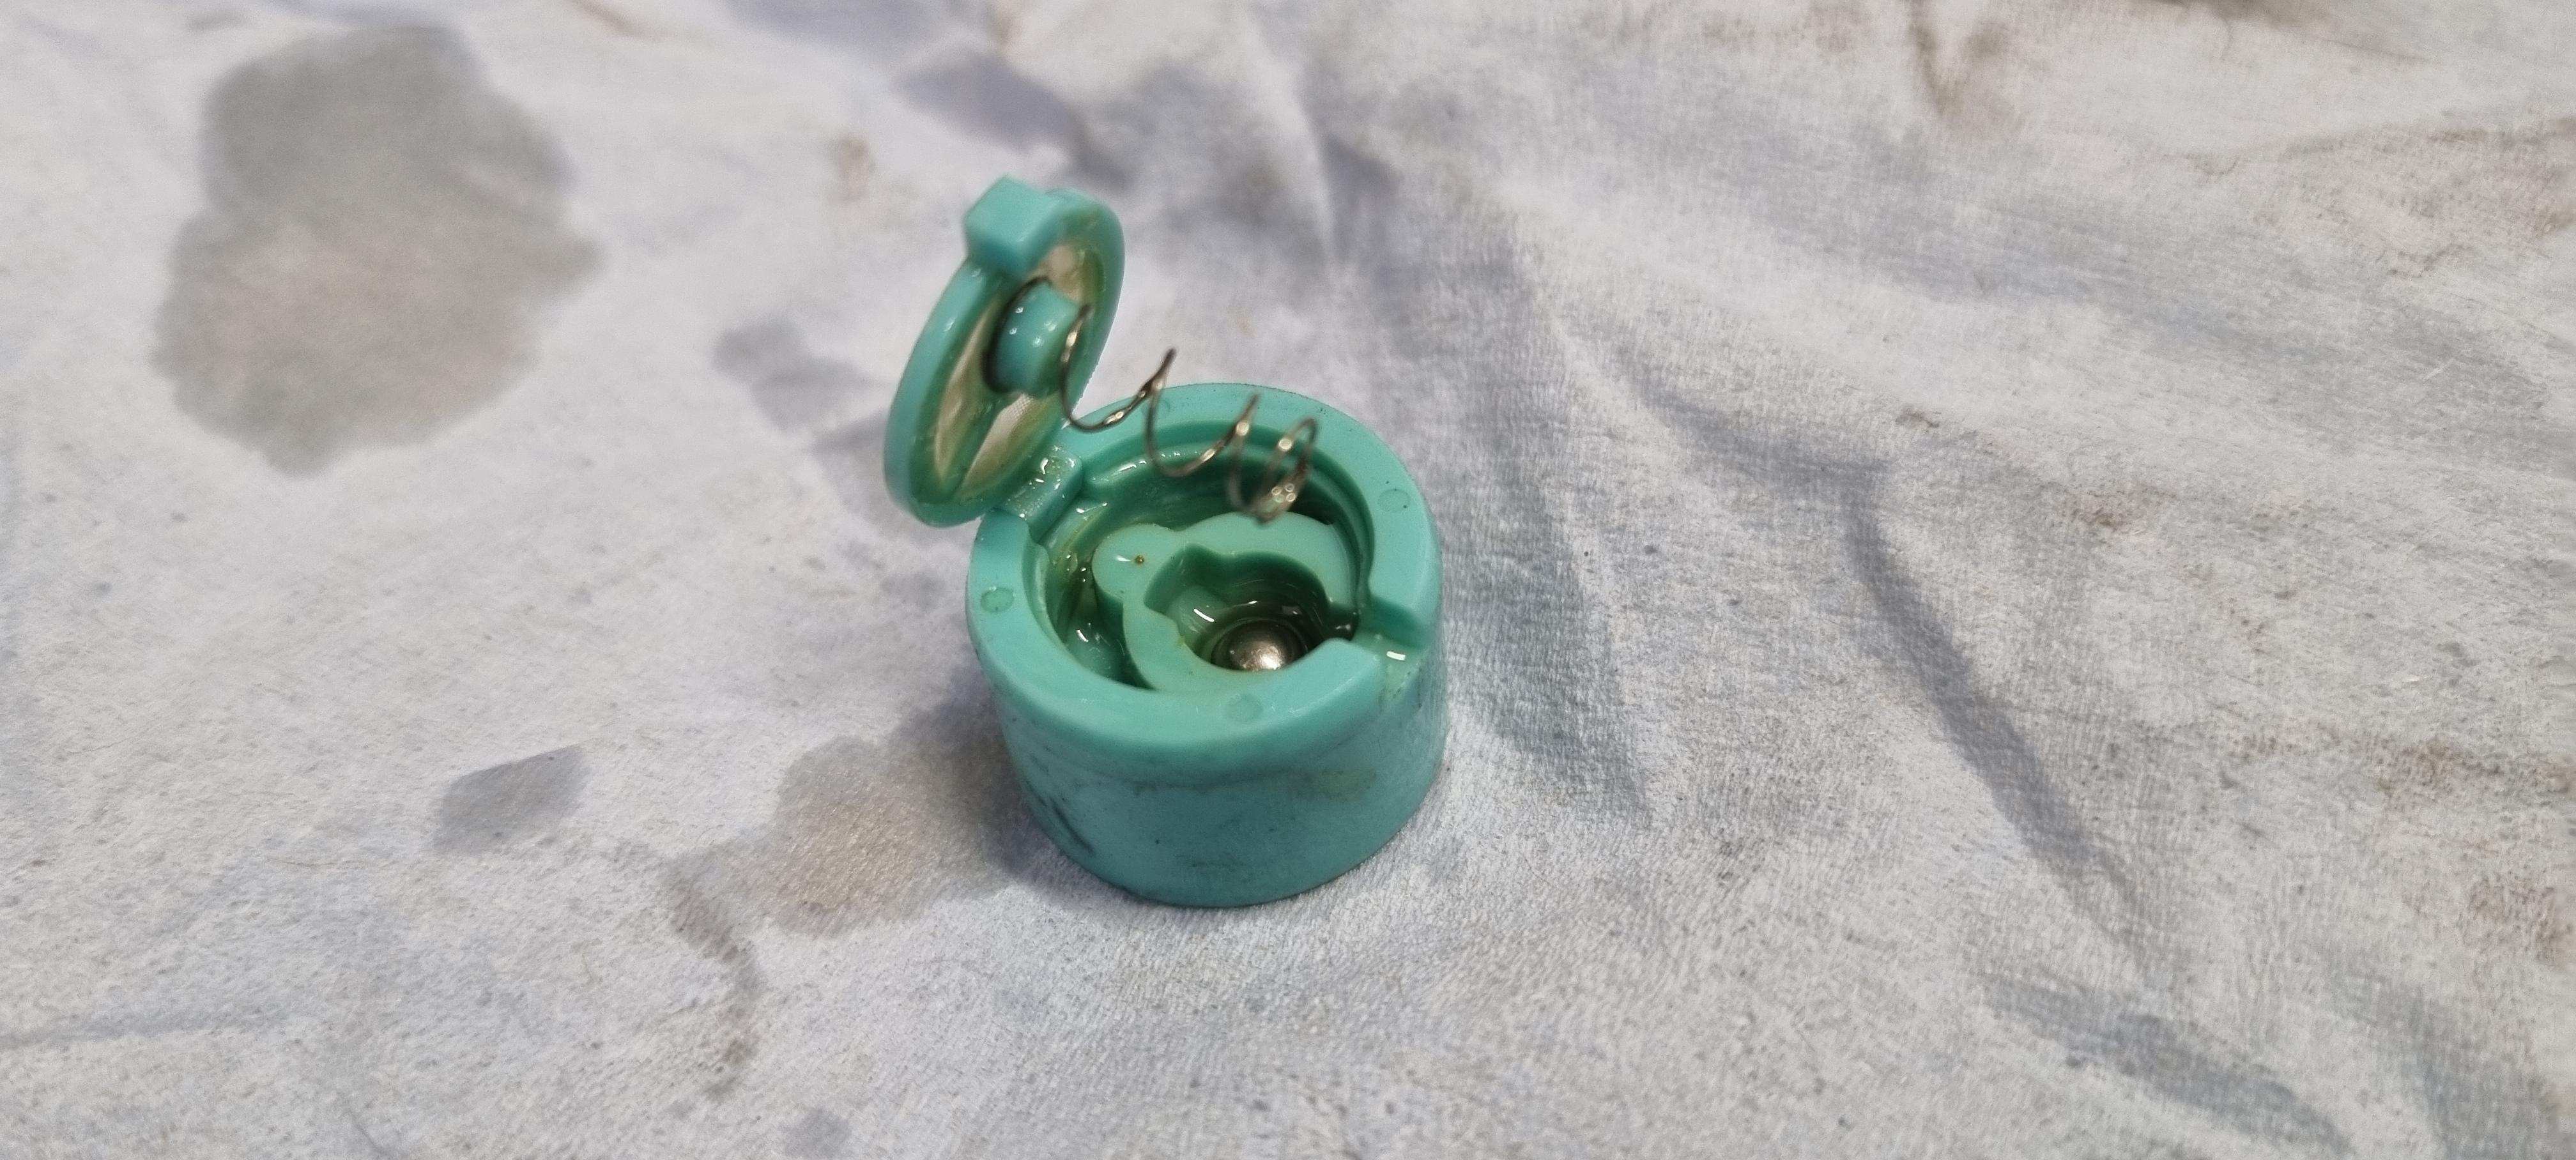
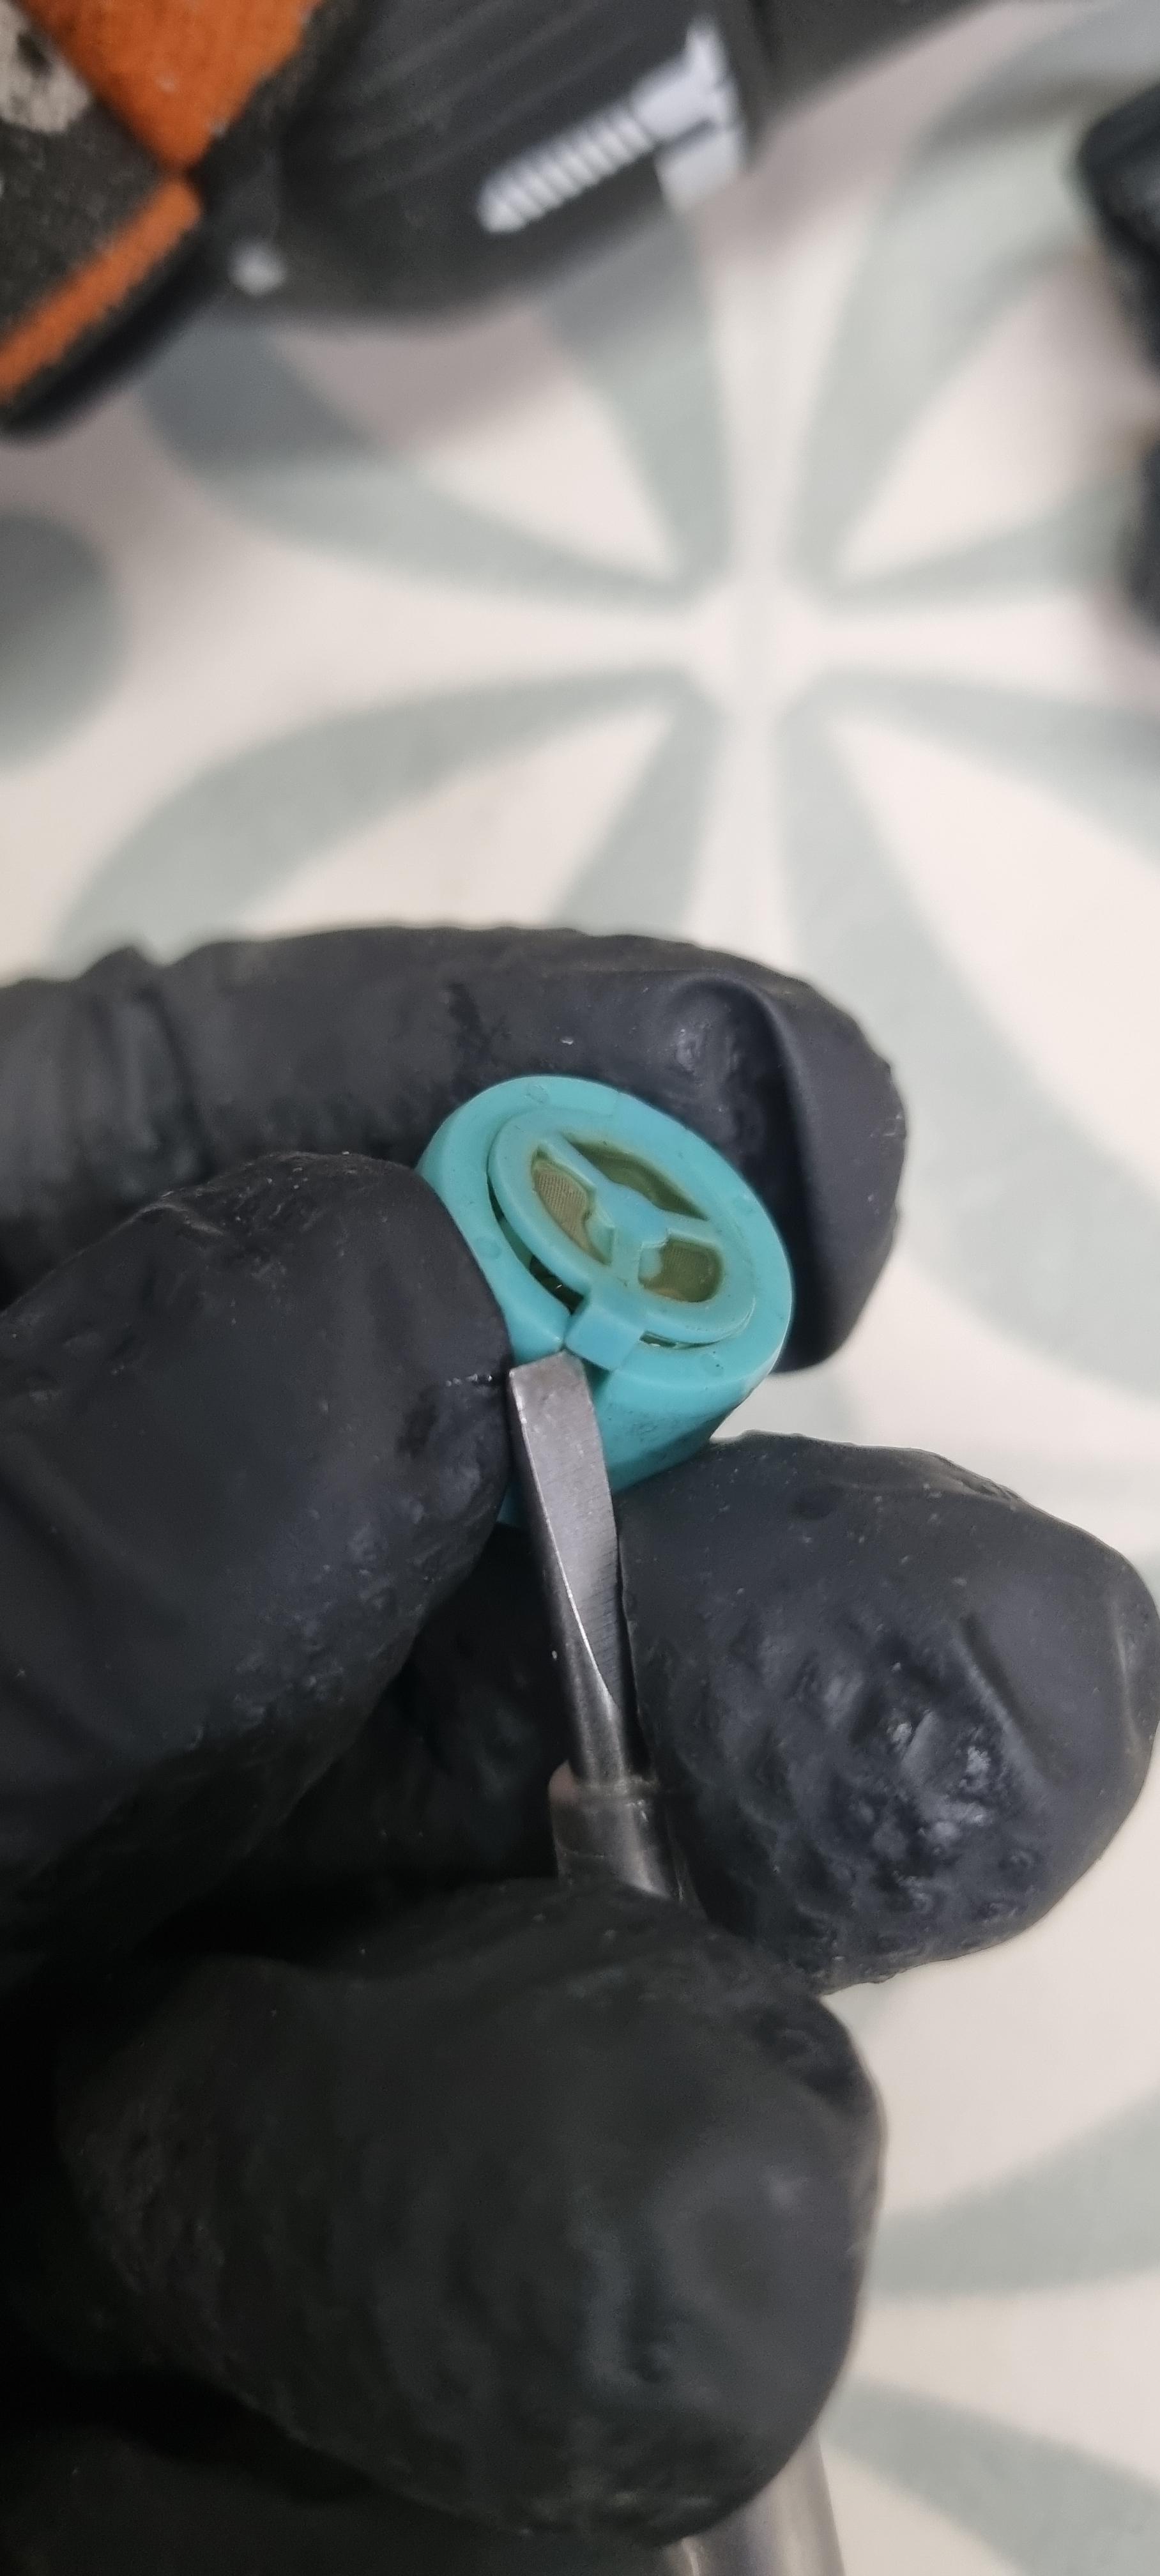
I was reading through the very useful thread below, but couldn't add to it, so I guess the best I can do is put it here, shame to split things up, but never mind! https://www.vfrdiscussion.com/index.php?/forums/topic/83194-rear-brake-locking-after-pressing-pedal/ Some more photos of the mystery green valve. This is a relieving check valve. The mesh is critical because the relief orifice is 0.2mm or less and I think people might miss it, so I'm documenting it here, The photos show me removing it, note the orientation, balls up please.... 😉 Red silicone pipe in the outlet of the master cylinder and it hovers out with ease (bearing in mind my 25 year old bike is almost as new condition.... yours might not be so free!) Mesh on both sides, the unseen side has 2 tabs of different sizes to prevent it being put together wrong, as it's eccentric. The spring and ball can be seen. The other side sort of resembles a bottle cap and it pushes into a face groove and snaps down, I used a 0.5mm drill to lift a corner and got a small flat bladed under it as shown, it was still a bit tricky/delicate even with the flat driver to assist. Now shown around the 5.5mm mark on the metric ruler, you can just make out a tiny orifice, this is the relief port. It's so small I can measure it, but I think it is around 0.2mm maybe less. The smallest drill I have, is 0.35 so I can't clear it with a drill, in the end after searching though my wire brush drawer, one had bristles small enough, that were stiff enough not to break, if you break one in there, it's never coming out, be warned, be gentle, if the wire kinks, dont straighten it, remove it, throw it away, start again. I wouldn't advise drill bits or brass wire brushes for this reason, they are too easily snapped the hole is very deep, no doubt to add to it's restrictiveness. The bike is a barn find, very low mileage, very very good condition, its all very clean, but I pushed a slug a waxy looking something from that hole, hopefully this will resolve my issue as pressure was building up in the centre piston and was immediately released when I cracked the hose. The pressure went all the way back to here, then stopped across this plastic relieving check valve. Hopefully the photos and videos here will be immortalised forever, but if not, get in touch, or I keep them here: https://www.dropbox.com/scl/fo/tfbghuds6mhf49210s78o/AME1iORZF4UJXQm3jKPyTjY?rlkey=kdw4ehnjmi1nuoimdw0ra4ifj&dl=0 20240417_223535.mp4 20240417_223419.mp4

-
These shock extenders looks good, and return the pivot point back to the correct place, although im not sure the arc the shock moves on is that important, so I'm struggling to see the benefit of it, why is it done? I would have thought (as a design engineer) it would have been better to just extended the top bracket via a properly manufactuerered componet which wouldnt have to be precision made or fit but would eliminate the any issues surrounding alignment on this type of shock side extender. Clearly 6 of one and 1/2 dozen of the other but I think bringing the bracket down to the shock is a lower risk, less tolerance critical option - trading off a (very?) slight differecne in the way the shock behaves through the linkage. Just my thoughts, It does look very cool, and im drawn to cool looking things