

rhoderage
-
Posts
396 -
Joined
-
Last visited
Content Type
Forums
Profiles
Gallery
Blogs
Downloads
Events
Posts posted by rhoderage
-
-
Wow... I don't come on much anymore, really haven't been riding much through COVID or since.
Thanks Miguel for hosting such a great site over the years.
If someone else is able to take over and save it, that would be swell. If not, I certainly can't complain, this site has been a wealth of knowledge... its the reason I bought my 02 VFR when I was ready to move on from my first bike, 05 Ninja 500. I definitely got more involved and interested in motorcycling as a whole due to this site, and in the early years of owning my VFR I used to ride a lot.
Great to chat with and learn from so many of you. Thanks to the great folks who sell their used parts on here from time to time; I've purchased from many members and never had an issue, all smooth transactions.
Hope it continues, if not, see you folks on the other side. Keep it between the ditches.
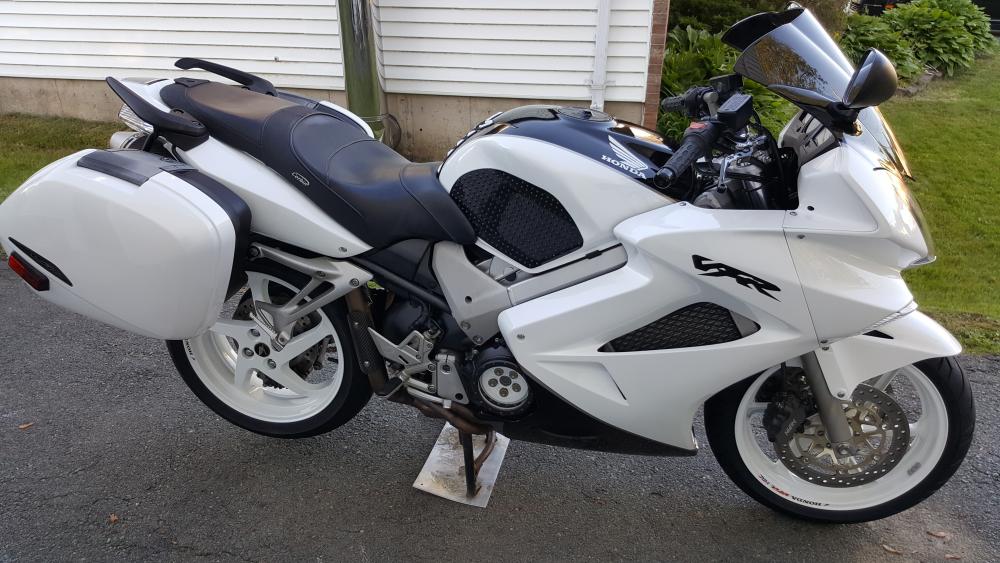
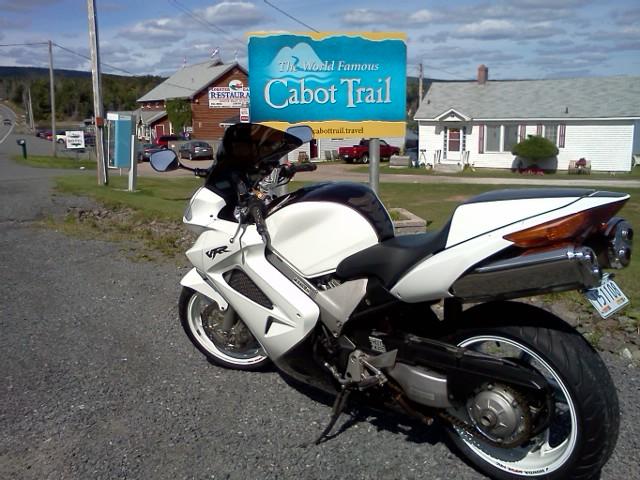
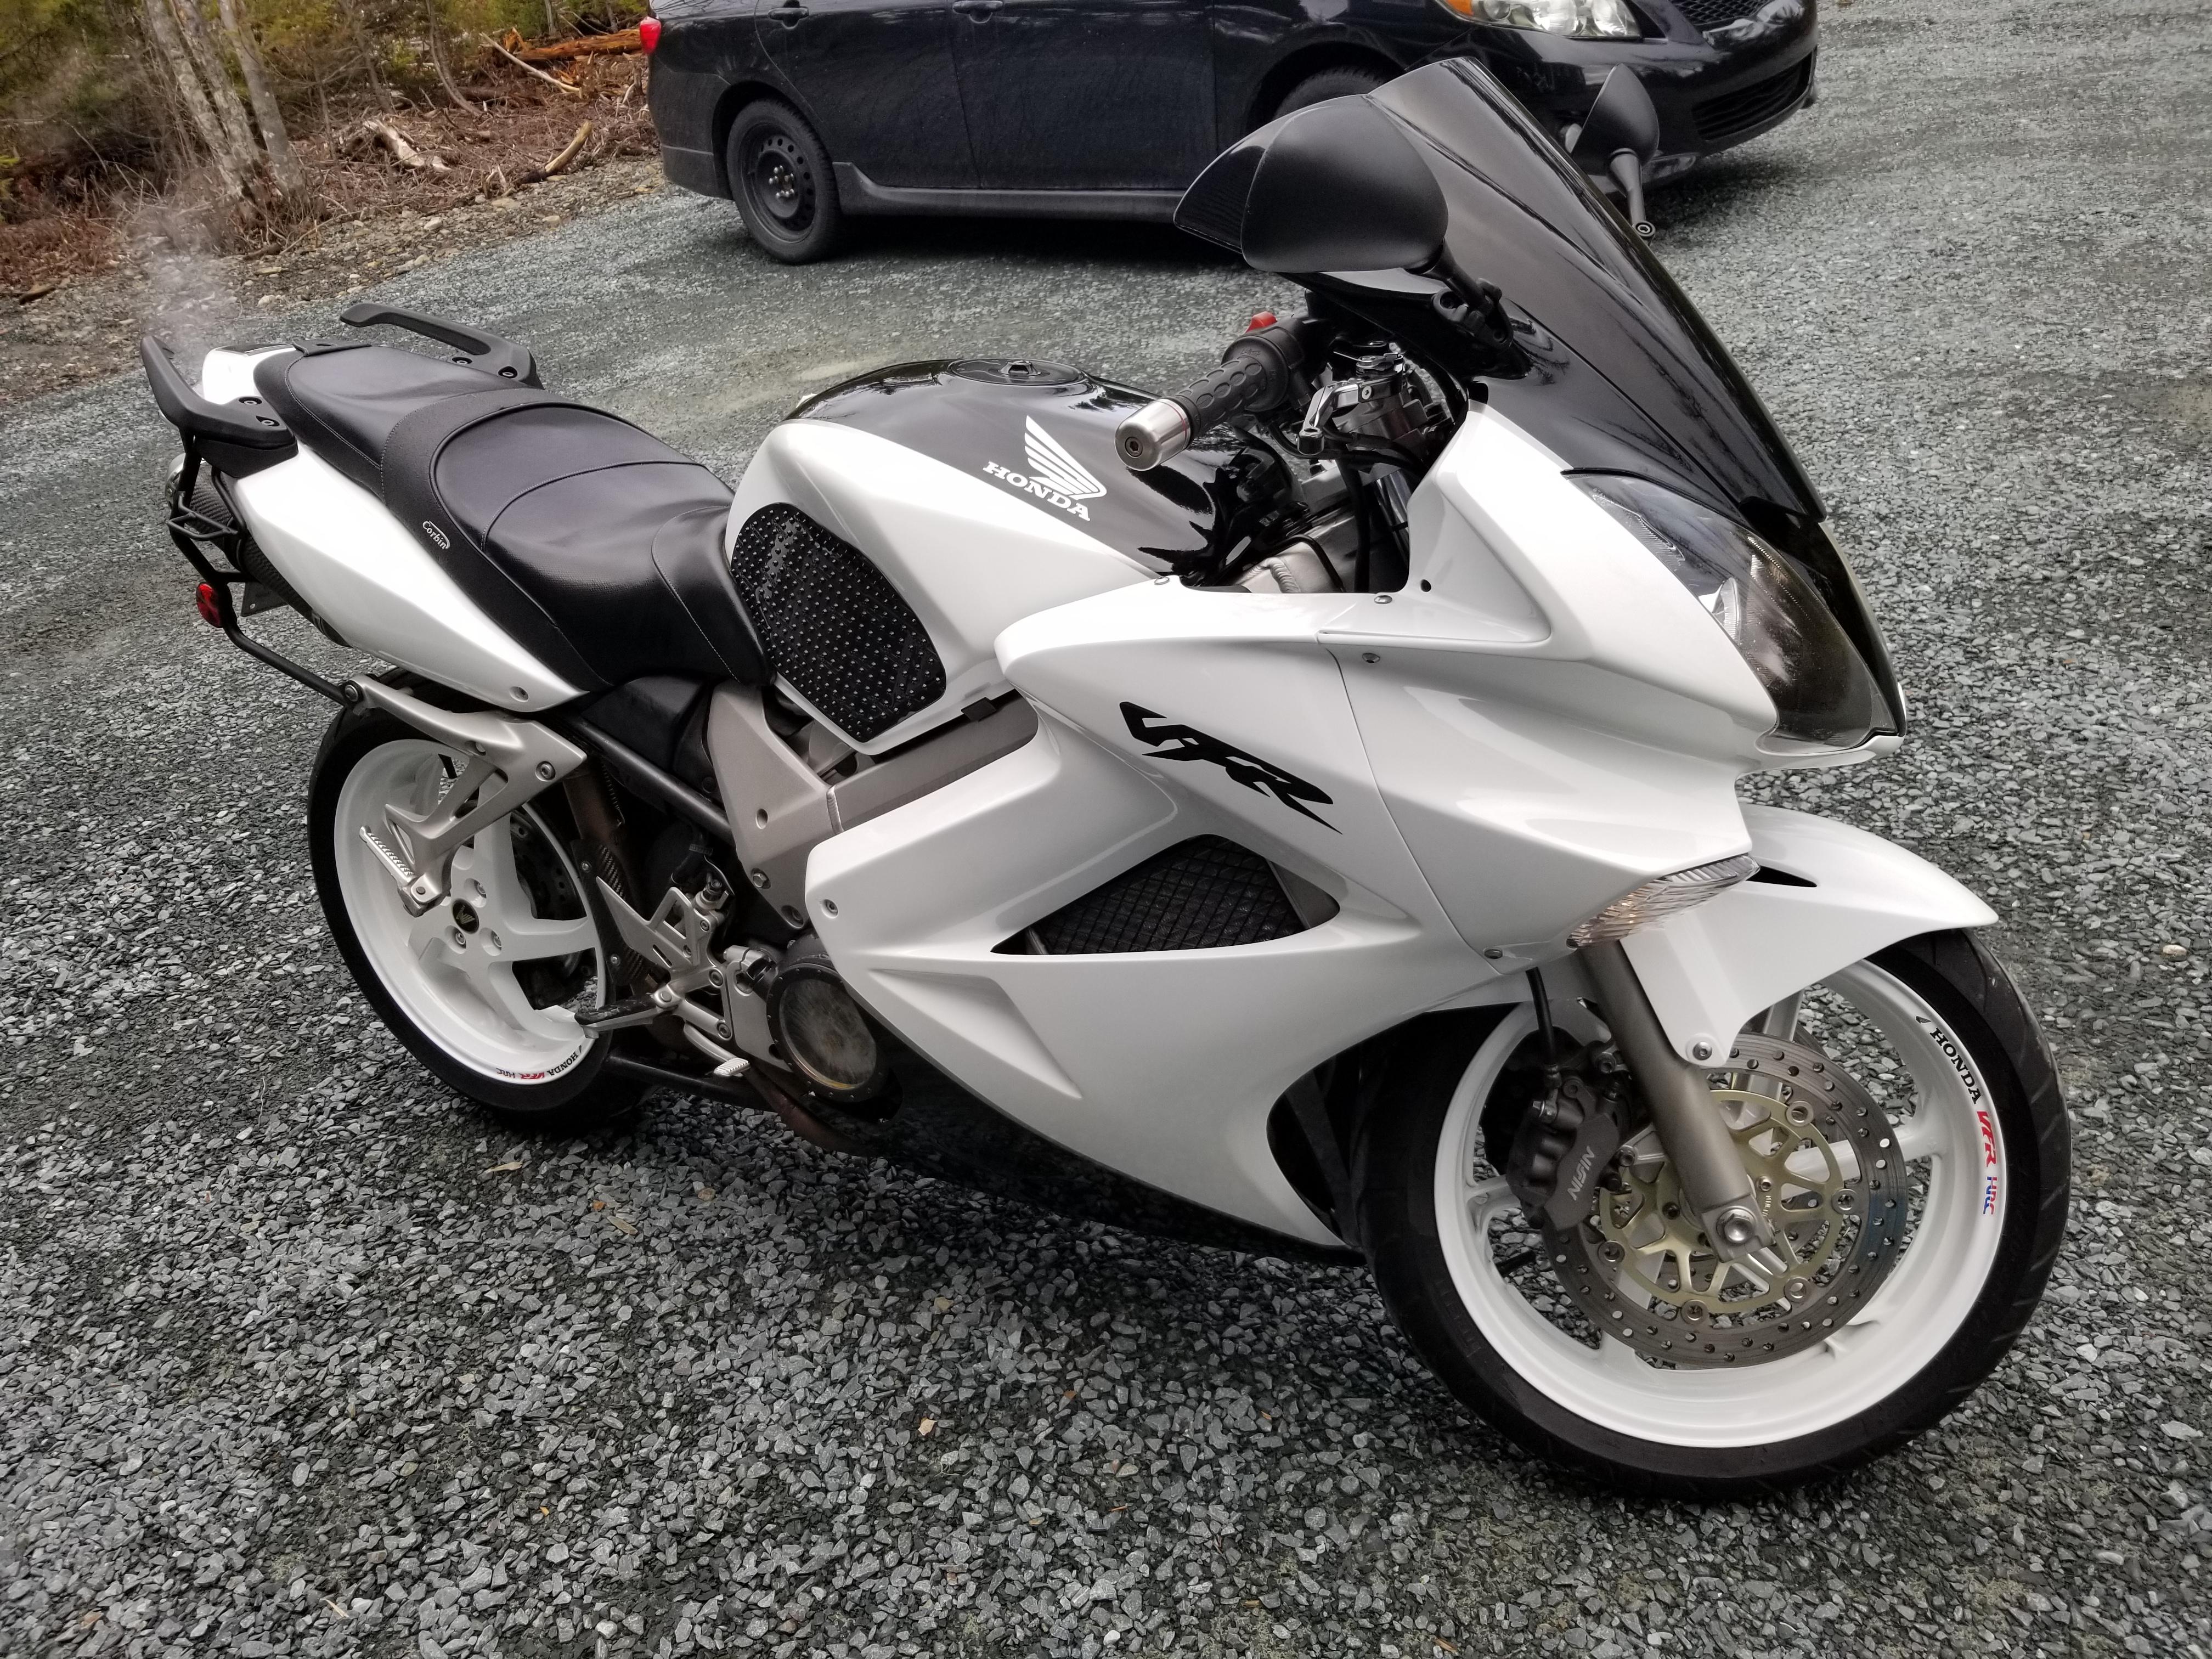
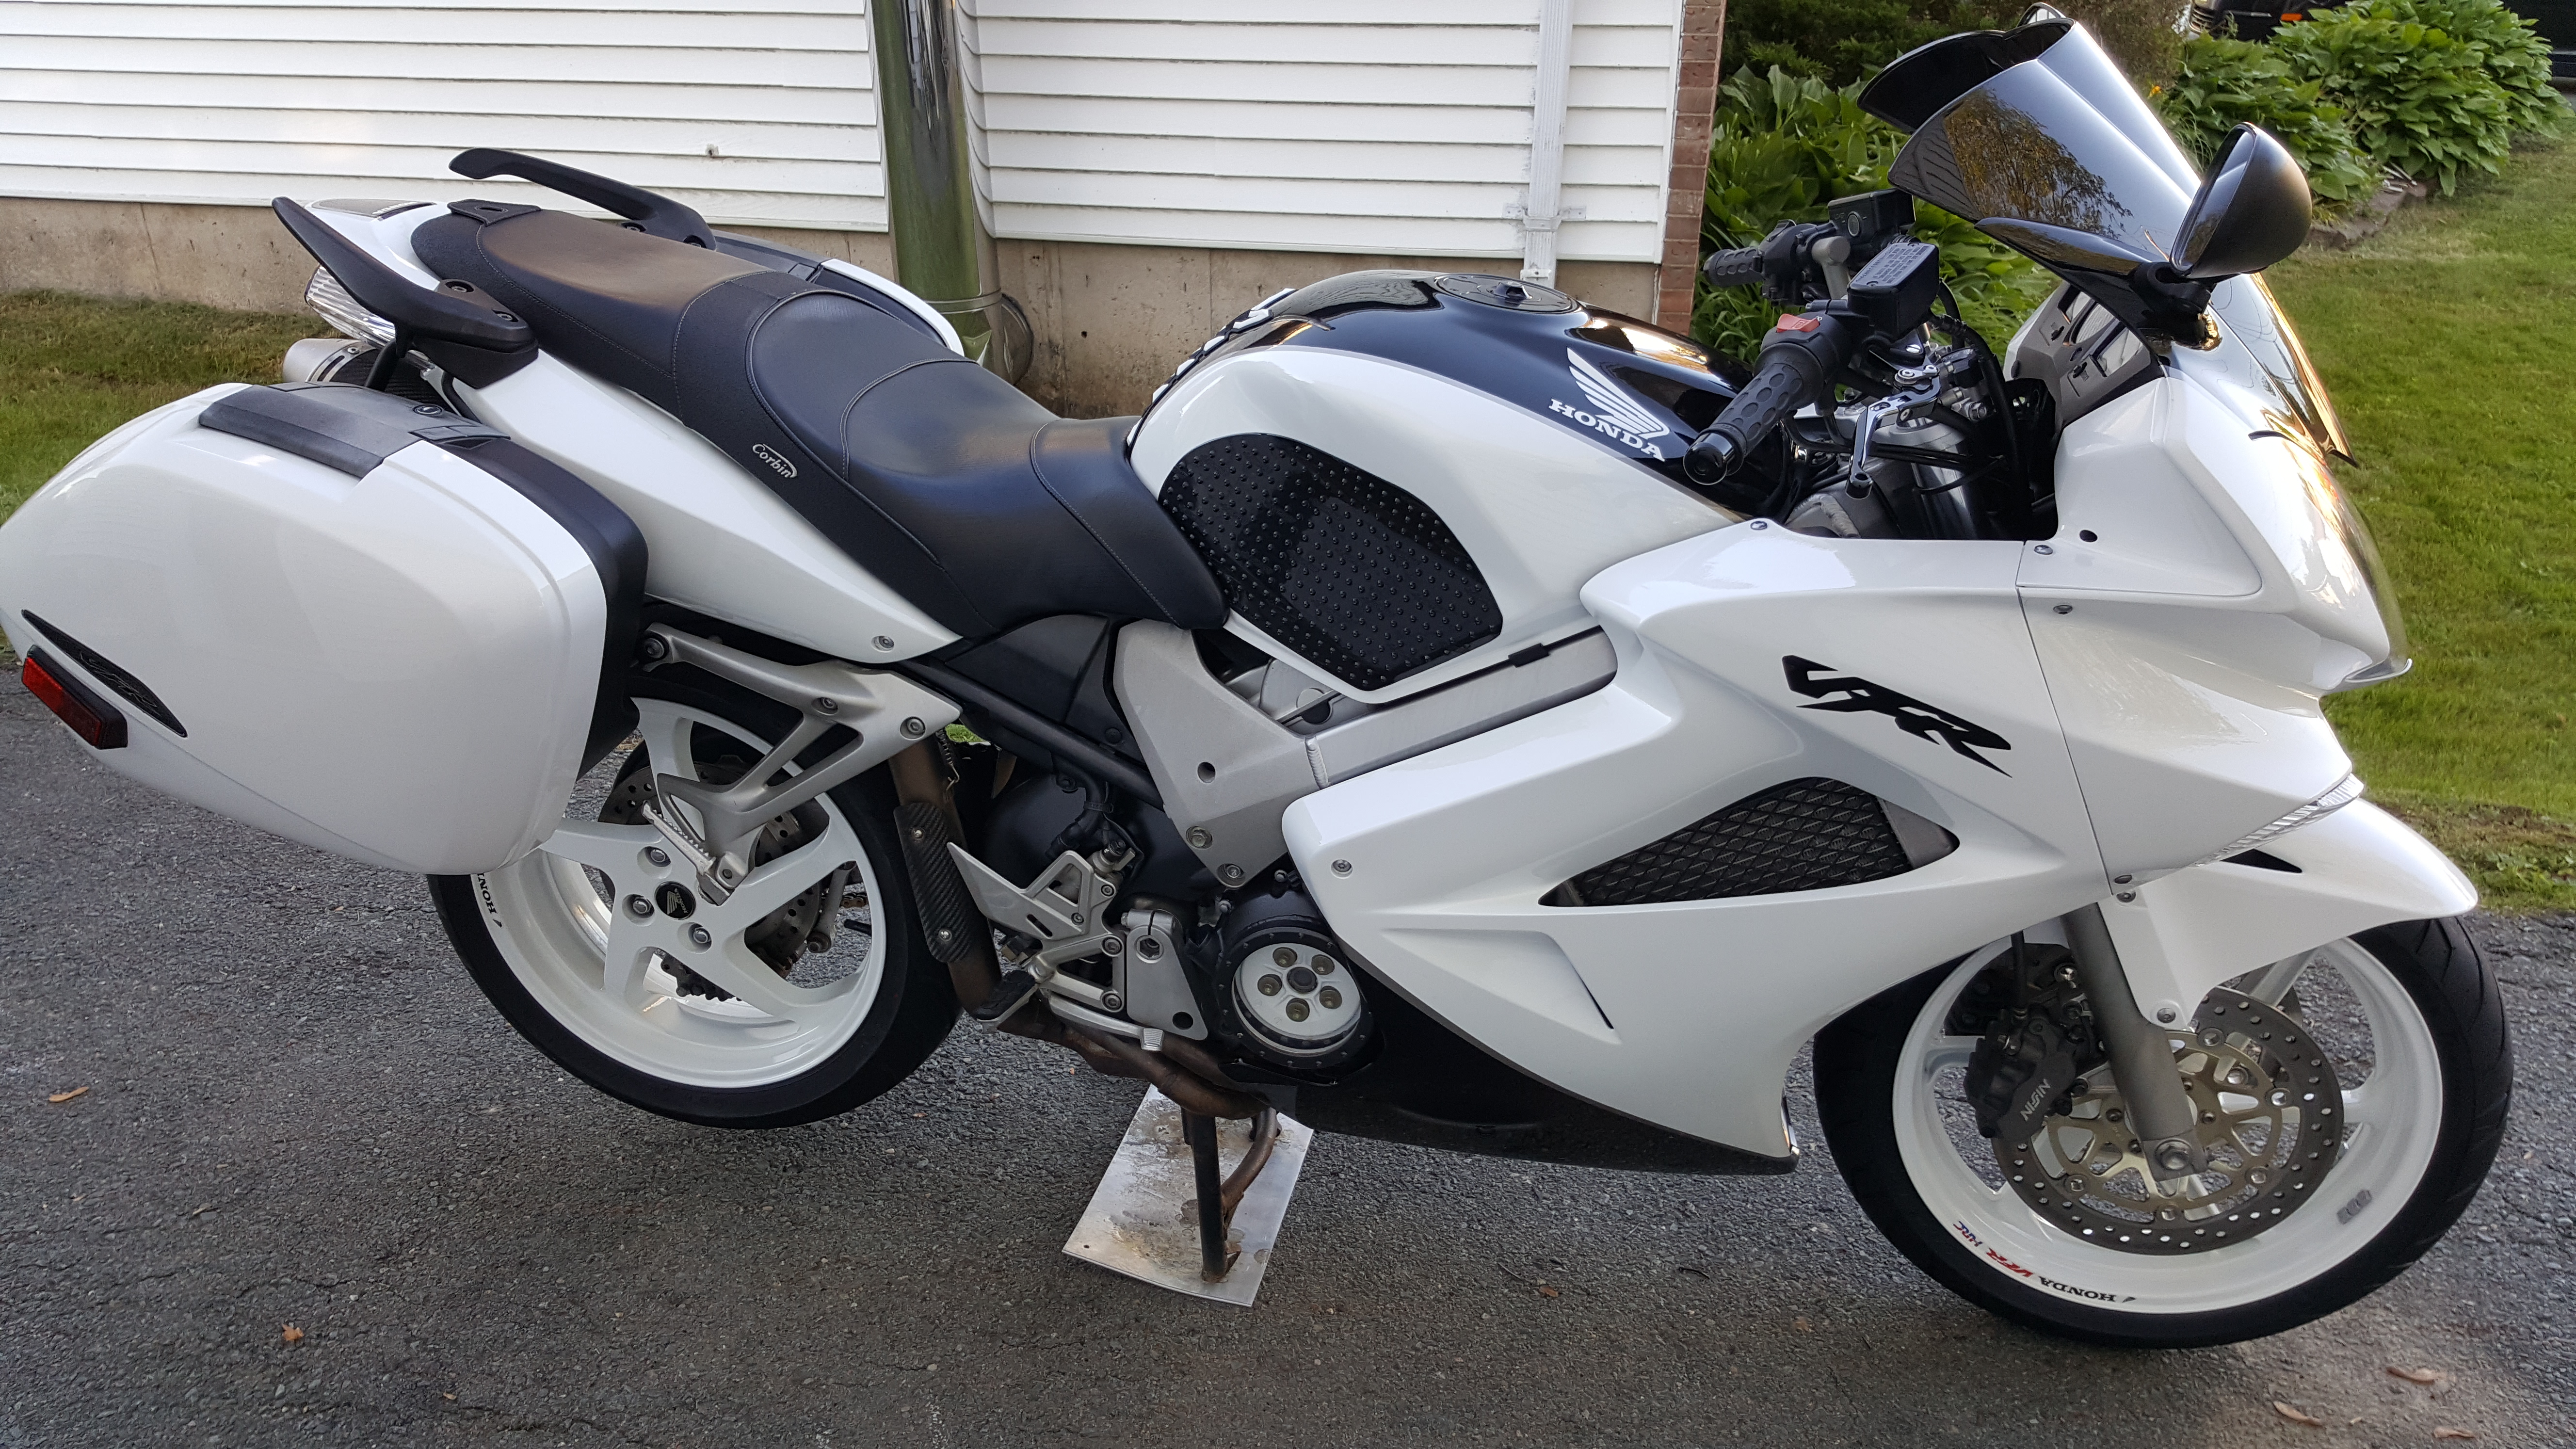
2012, shortly after purchase:

As it sits today. Thanks to YOUR info & help. Damn I love this bike, even if I don't ride it much anymore.
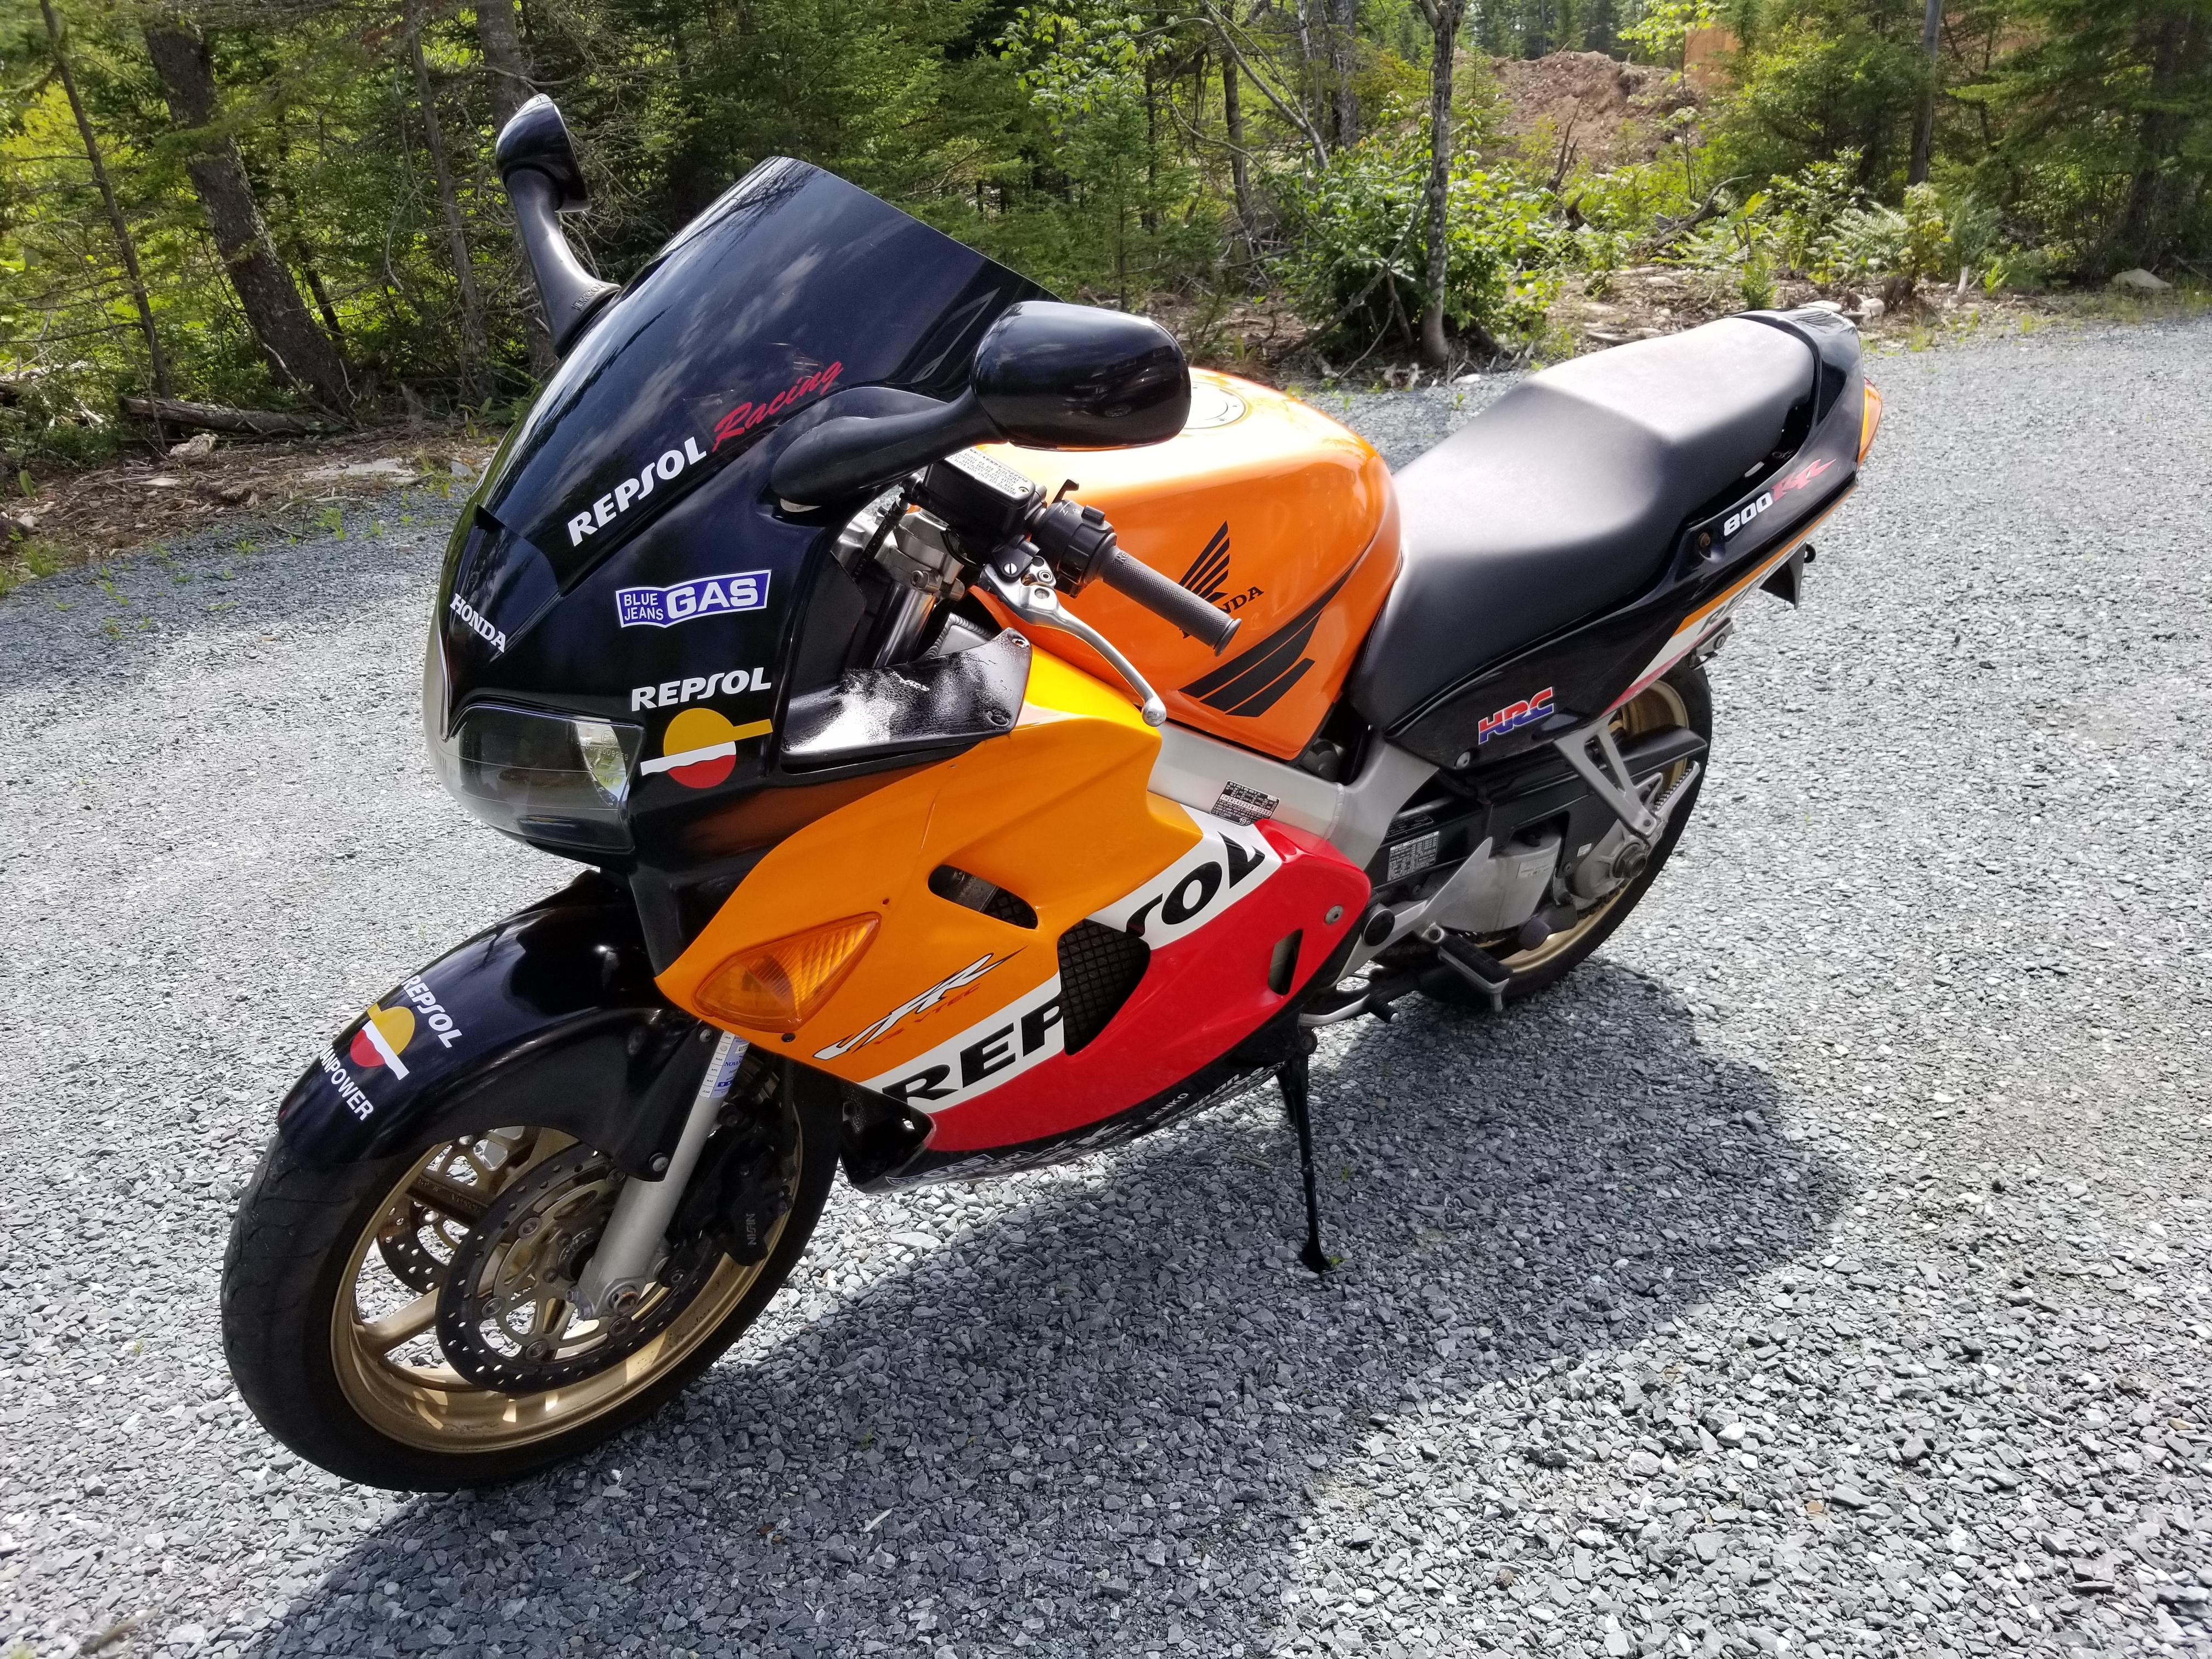
And the 99 I bought to refurbish, also because of you guys 😄 Problem is, this is still sitting in my garage untouched 2 years later... how will I ever get the inspiration & knowledge to complete the task if VFRD goes away? Hmmm...
-
 8
8
-
-
That'll work! I like the black remote canister, looks sleek
At some point I removed the front zip tie showing in my old pic above.... the other two are relatively 'straight' and are not noticeable
No issues in the 4 years or so that I've had the shock
-
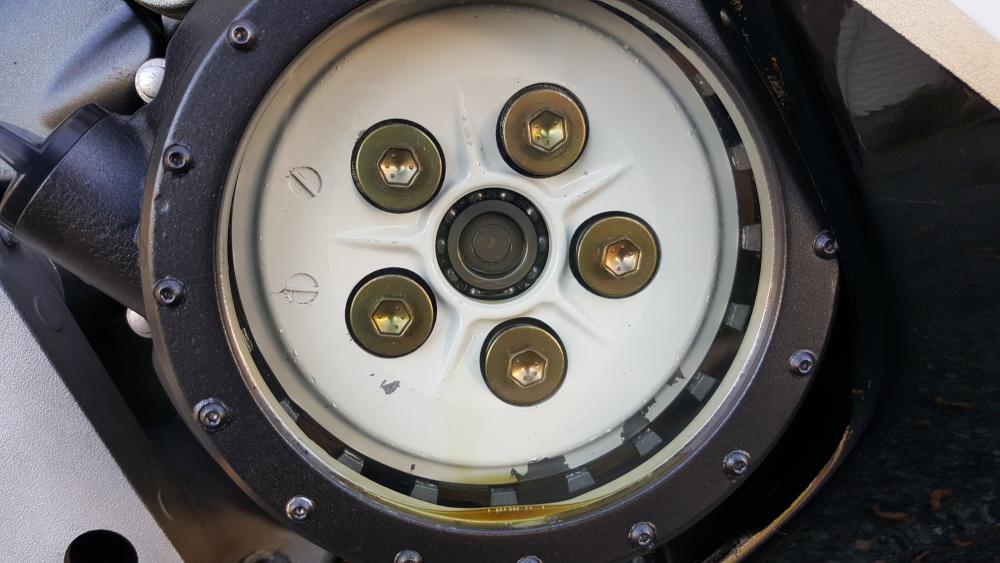
Agreed with danll... i just dealt with this problem on my 02; PO had torqued the bolts and when i went to remove the CCT, as soon as i put the ratchet on the first bolt the head sheared clean off. D'oh!
-
On 9/11/2009 at 5:05 PM, Rice said:
Good post, TW.
Just to add a little tidbit from personal experience.
If you do nothing else right, these three things MUST be done.
1 - Don't be a lazy bestid and remove that hose.
2 - The CCT CAN be removed w/o the little key. BUT Don't be a lazy bestid and use the key
3 - You could tighten the two CCT bolts by hand, BUT Don't be a lazy bestid and use the torque wrench.
Following these simple instructions will prevent a lot of gray hairs and you wouldn't have to post topics titled "Oooopppsss!!!"
Ask me how I know


11 years later, the truth lives.
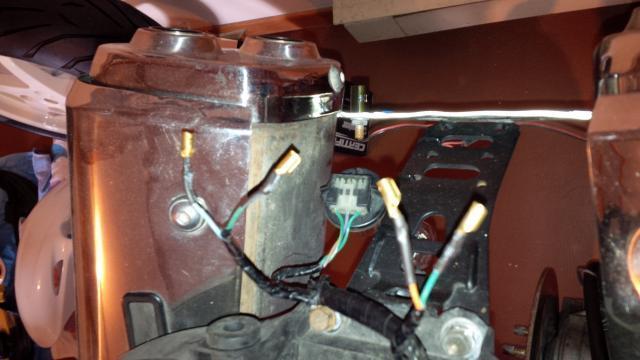
Quick backstory - bought my 02 VFR used in 2012. When I installed a K&N, I noticed the airbox velocity stack bolts were all stripped... odd, what did the PO do under the airbox? A year later I installed a PC 5, had to go under the airbox - first extract the stripped screws [one was so bad I actually dremel'ed off the velocity stack for better access] no sign of damage or any other ham-fisted repairs/'upgrades', so who knows... forget about it.
To present - front CCT has been clacking off and on for a couple of years, seems to be getting more frequent. "Just get on with it" - ordered a replacement.
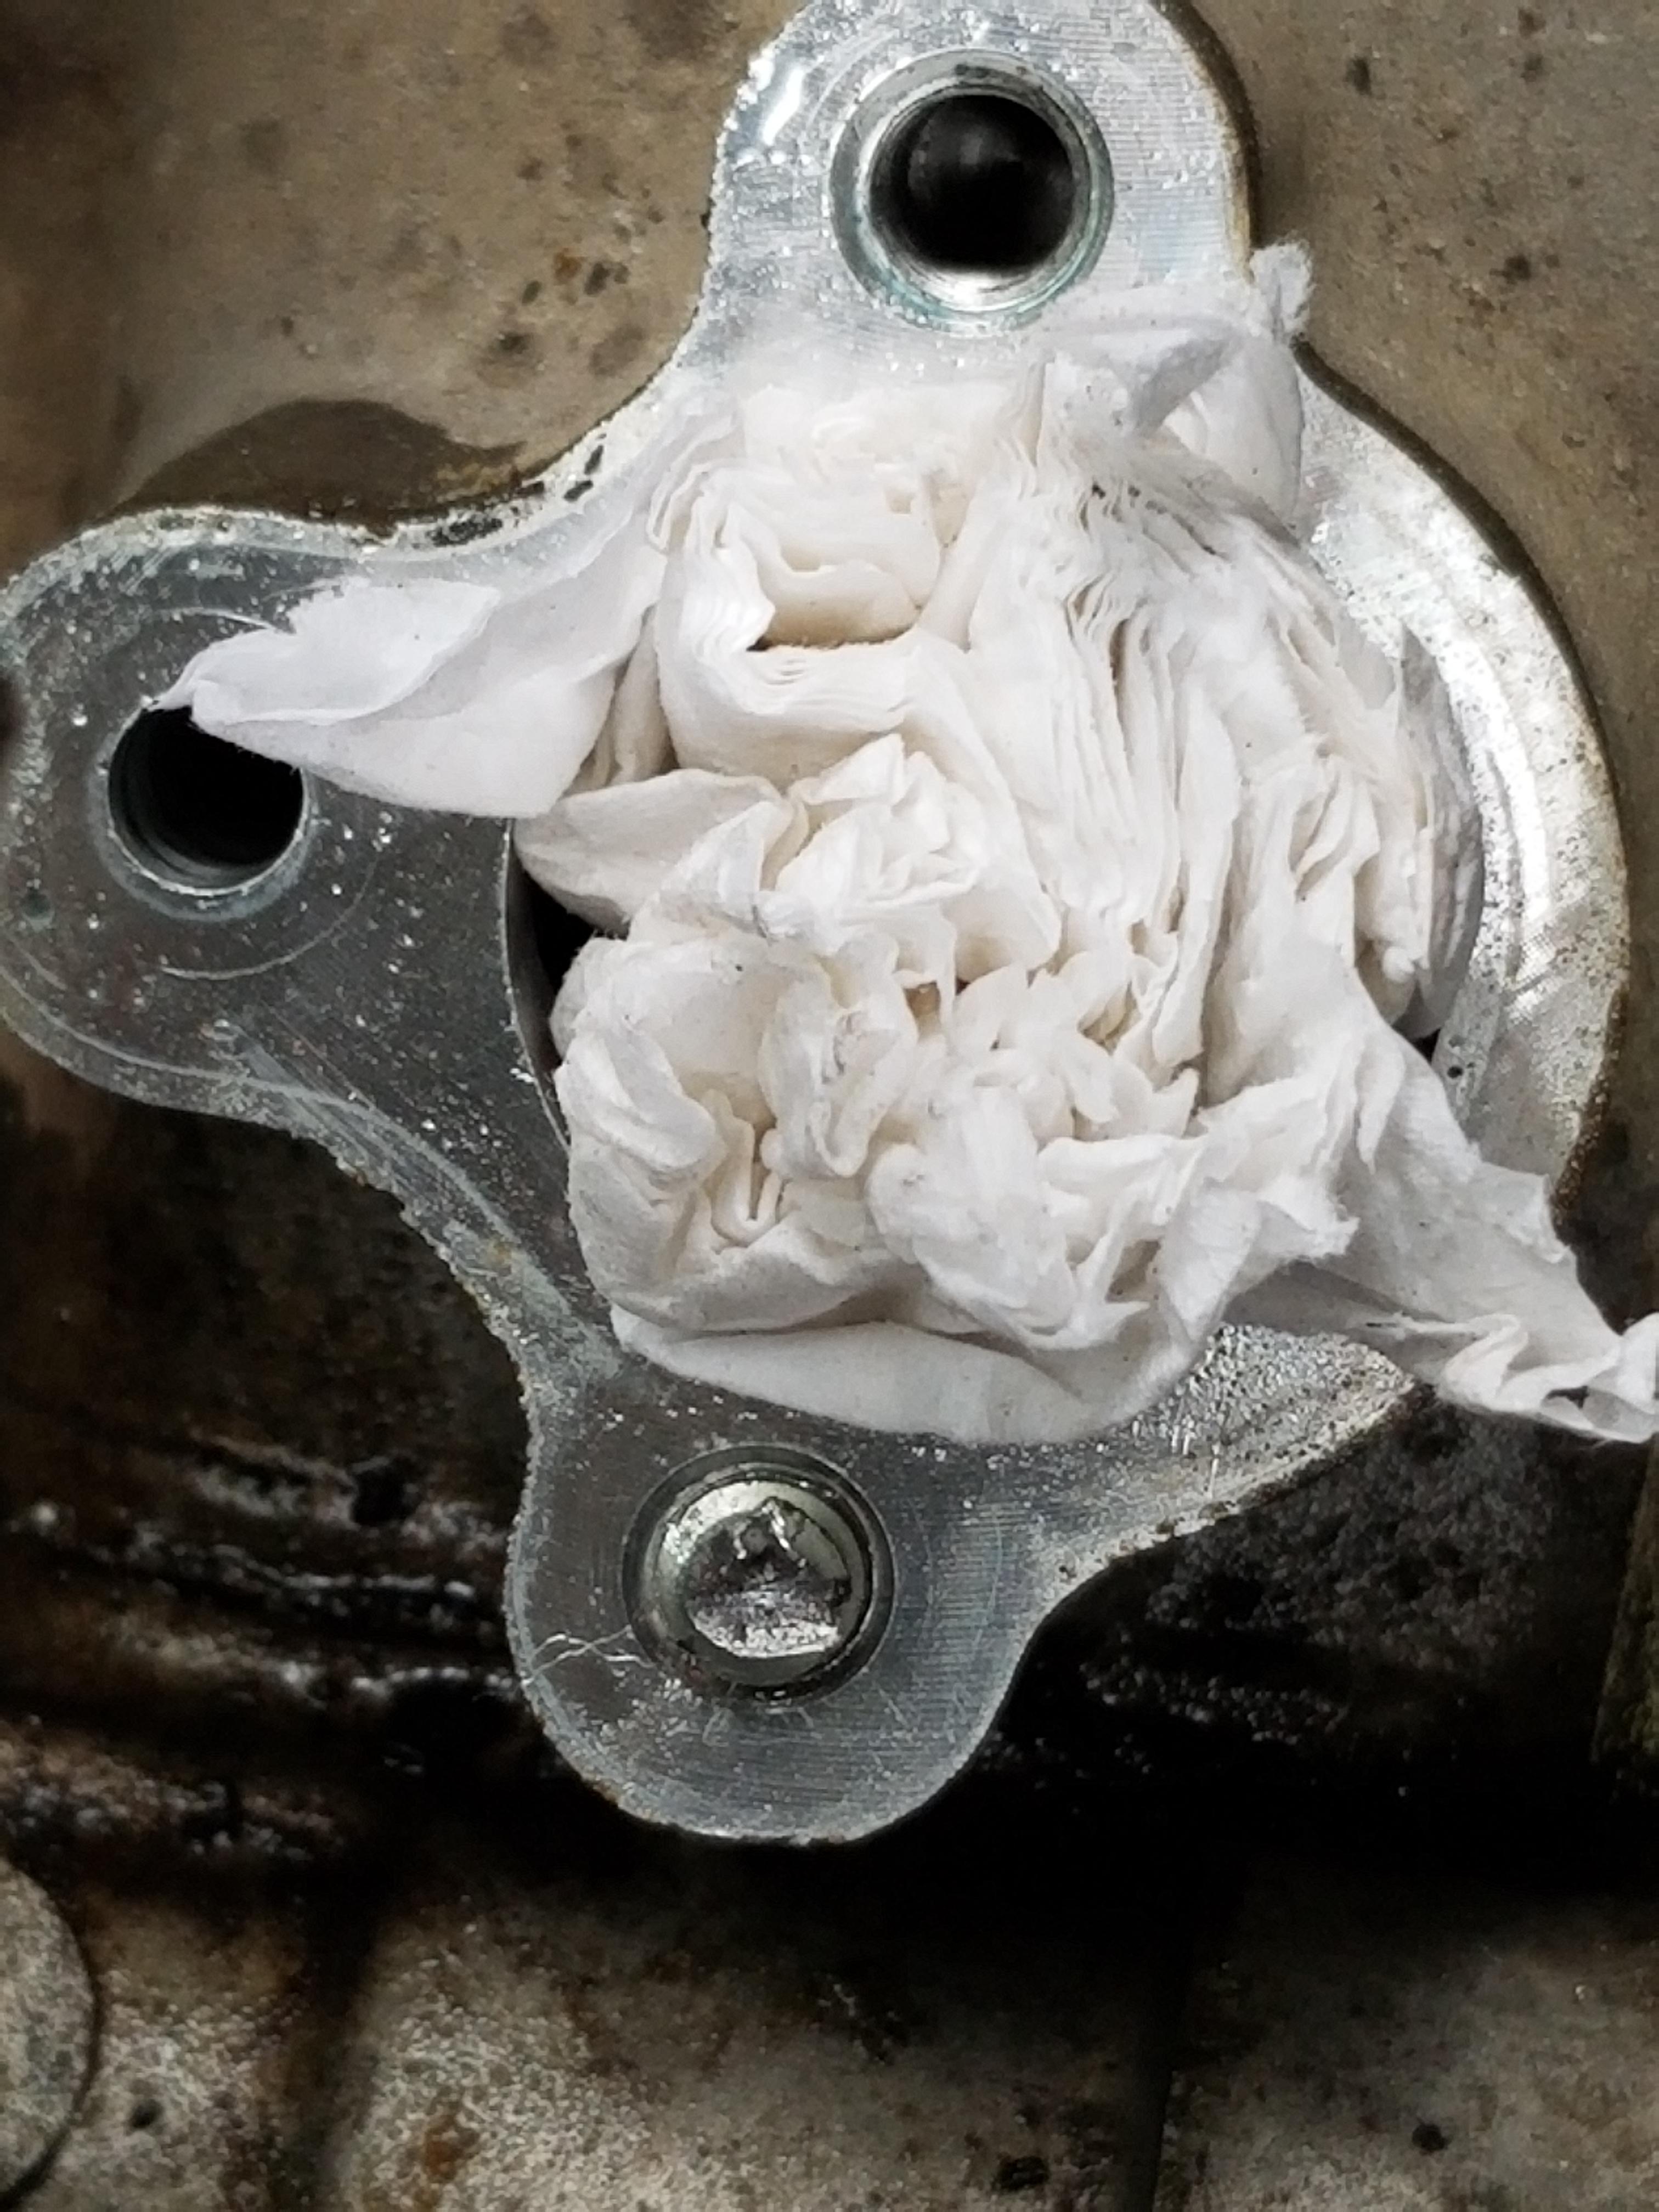
I was all worried and worked up about dropping the damn 'cap' off the old CCT into the engine. I got all set up, wires and hoses out of the way (TB still left on the bike)... put the ratchet on the top bolt of the CCT, removed, and the sealing washer falls off and under the TB/hoses where I simply can't get it. Damnit. You know its aluminum so a magnet won't work, but no worries, I check with local Honda and they actually have one in stock! $2 and I'm back in business, ready to attempt the next day.
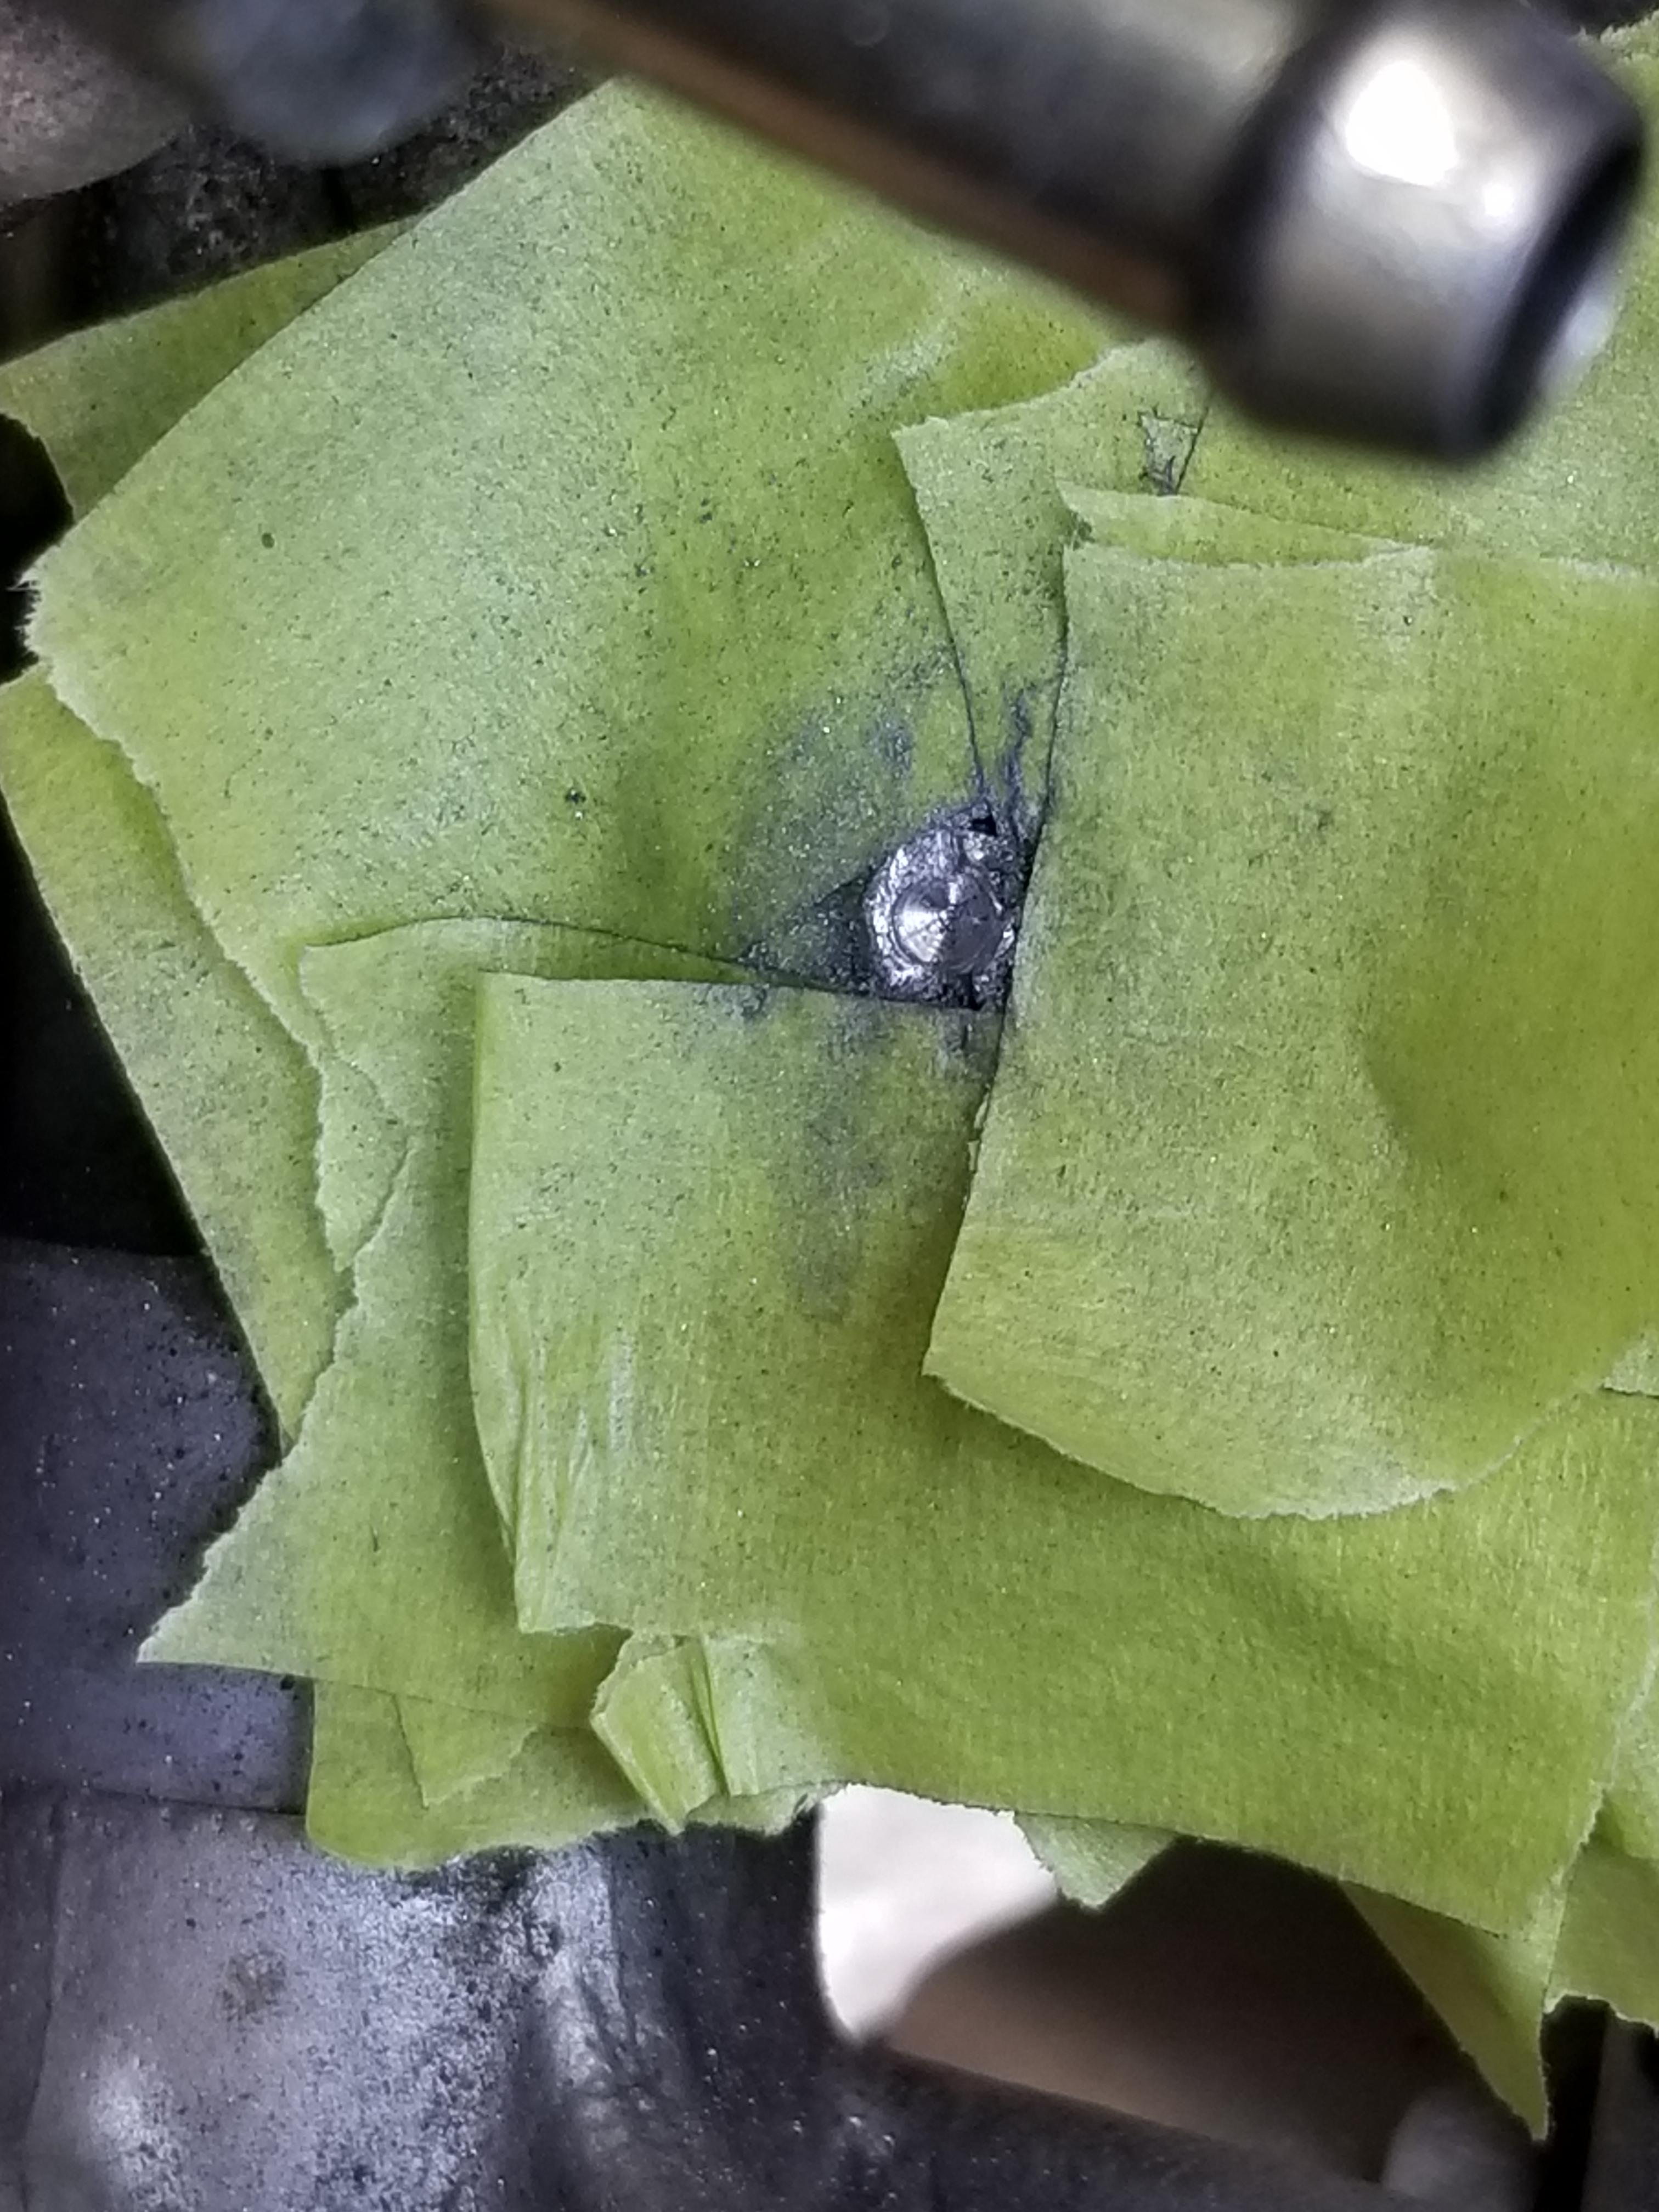
Put the ratchet on one of the two bolts which hold the CCT to the engine case, start turning, no resistance (thats weird, it seems loose already) and this is what I get:
"3 - You could tighten the two CCT bolts by hand, BUT Don't be a lazy bestid and use the torque wrench."
Methinks the PO had replaced the CCT previously. [metal CAP was pinched on TIGHT, had to pry it off... very confident this had been replaced]
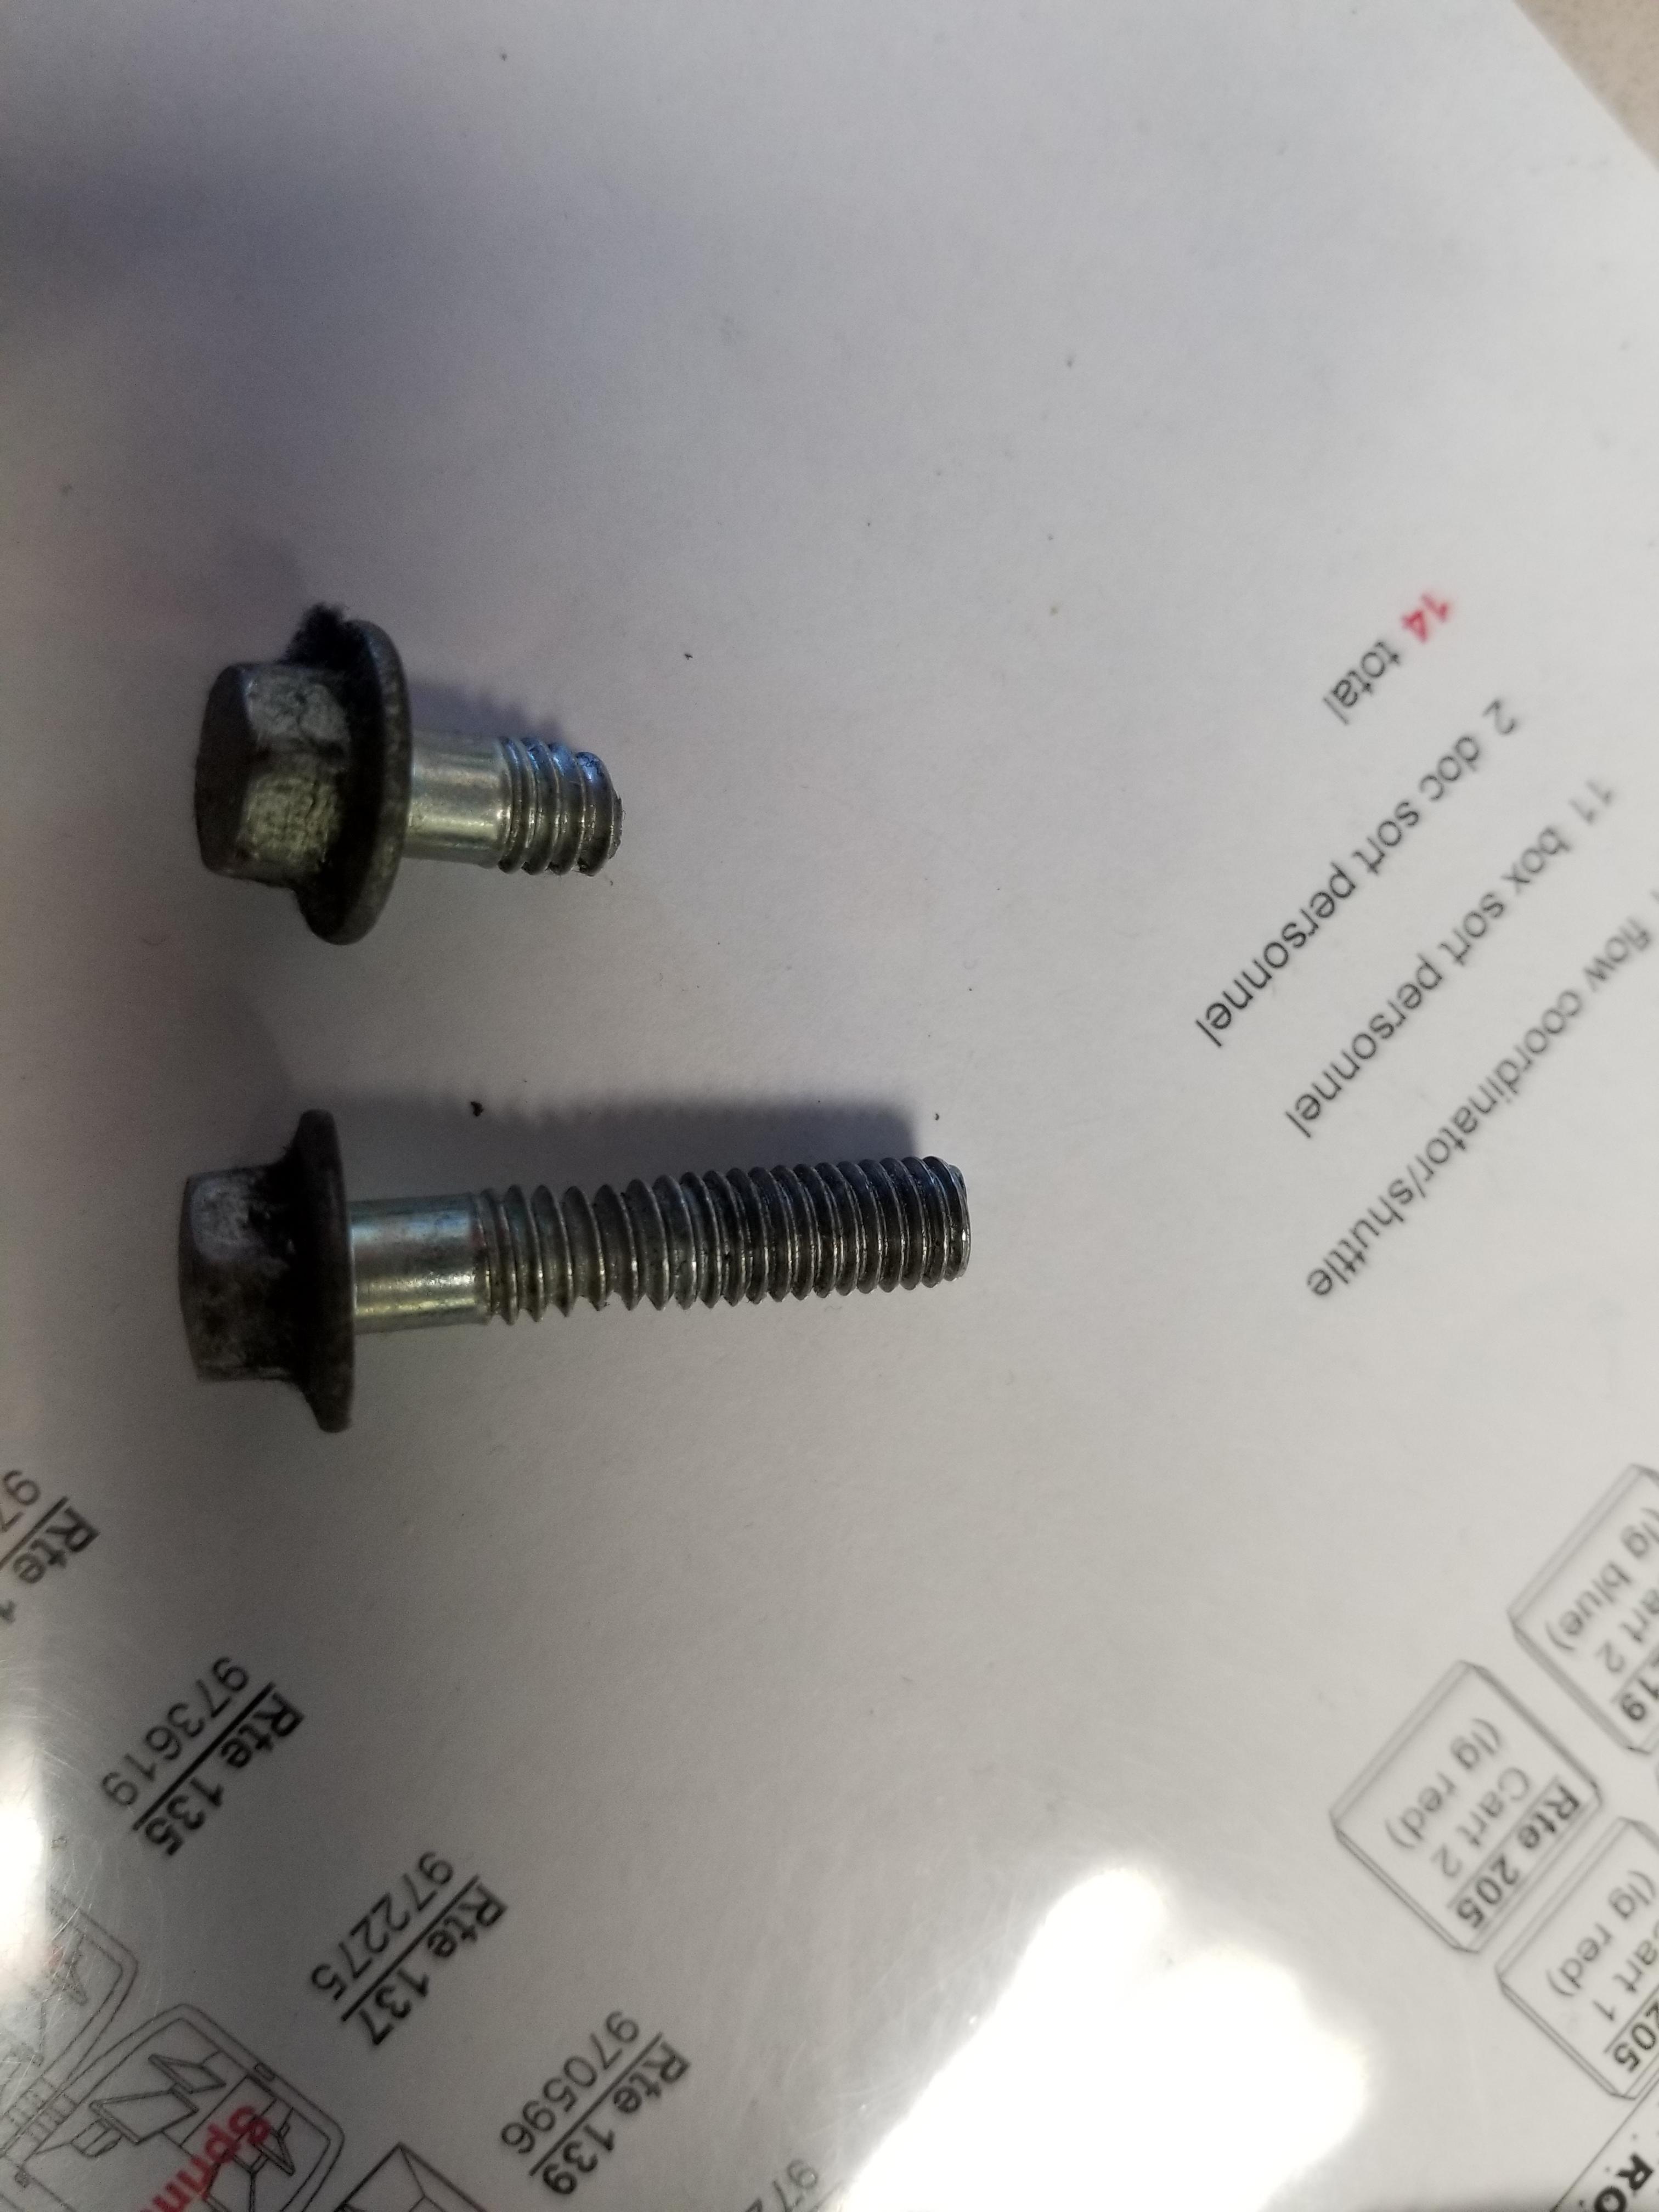
Methinks the PO did not use a torque wrench, look at the stretch on the intact bolt! The head/cap literally just twisted off the first bolt, the second fortunately came out properly.
Methinks this is when the bonehead probably did the damage to the airbox bolts... ah well at least now I know.
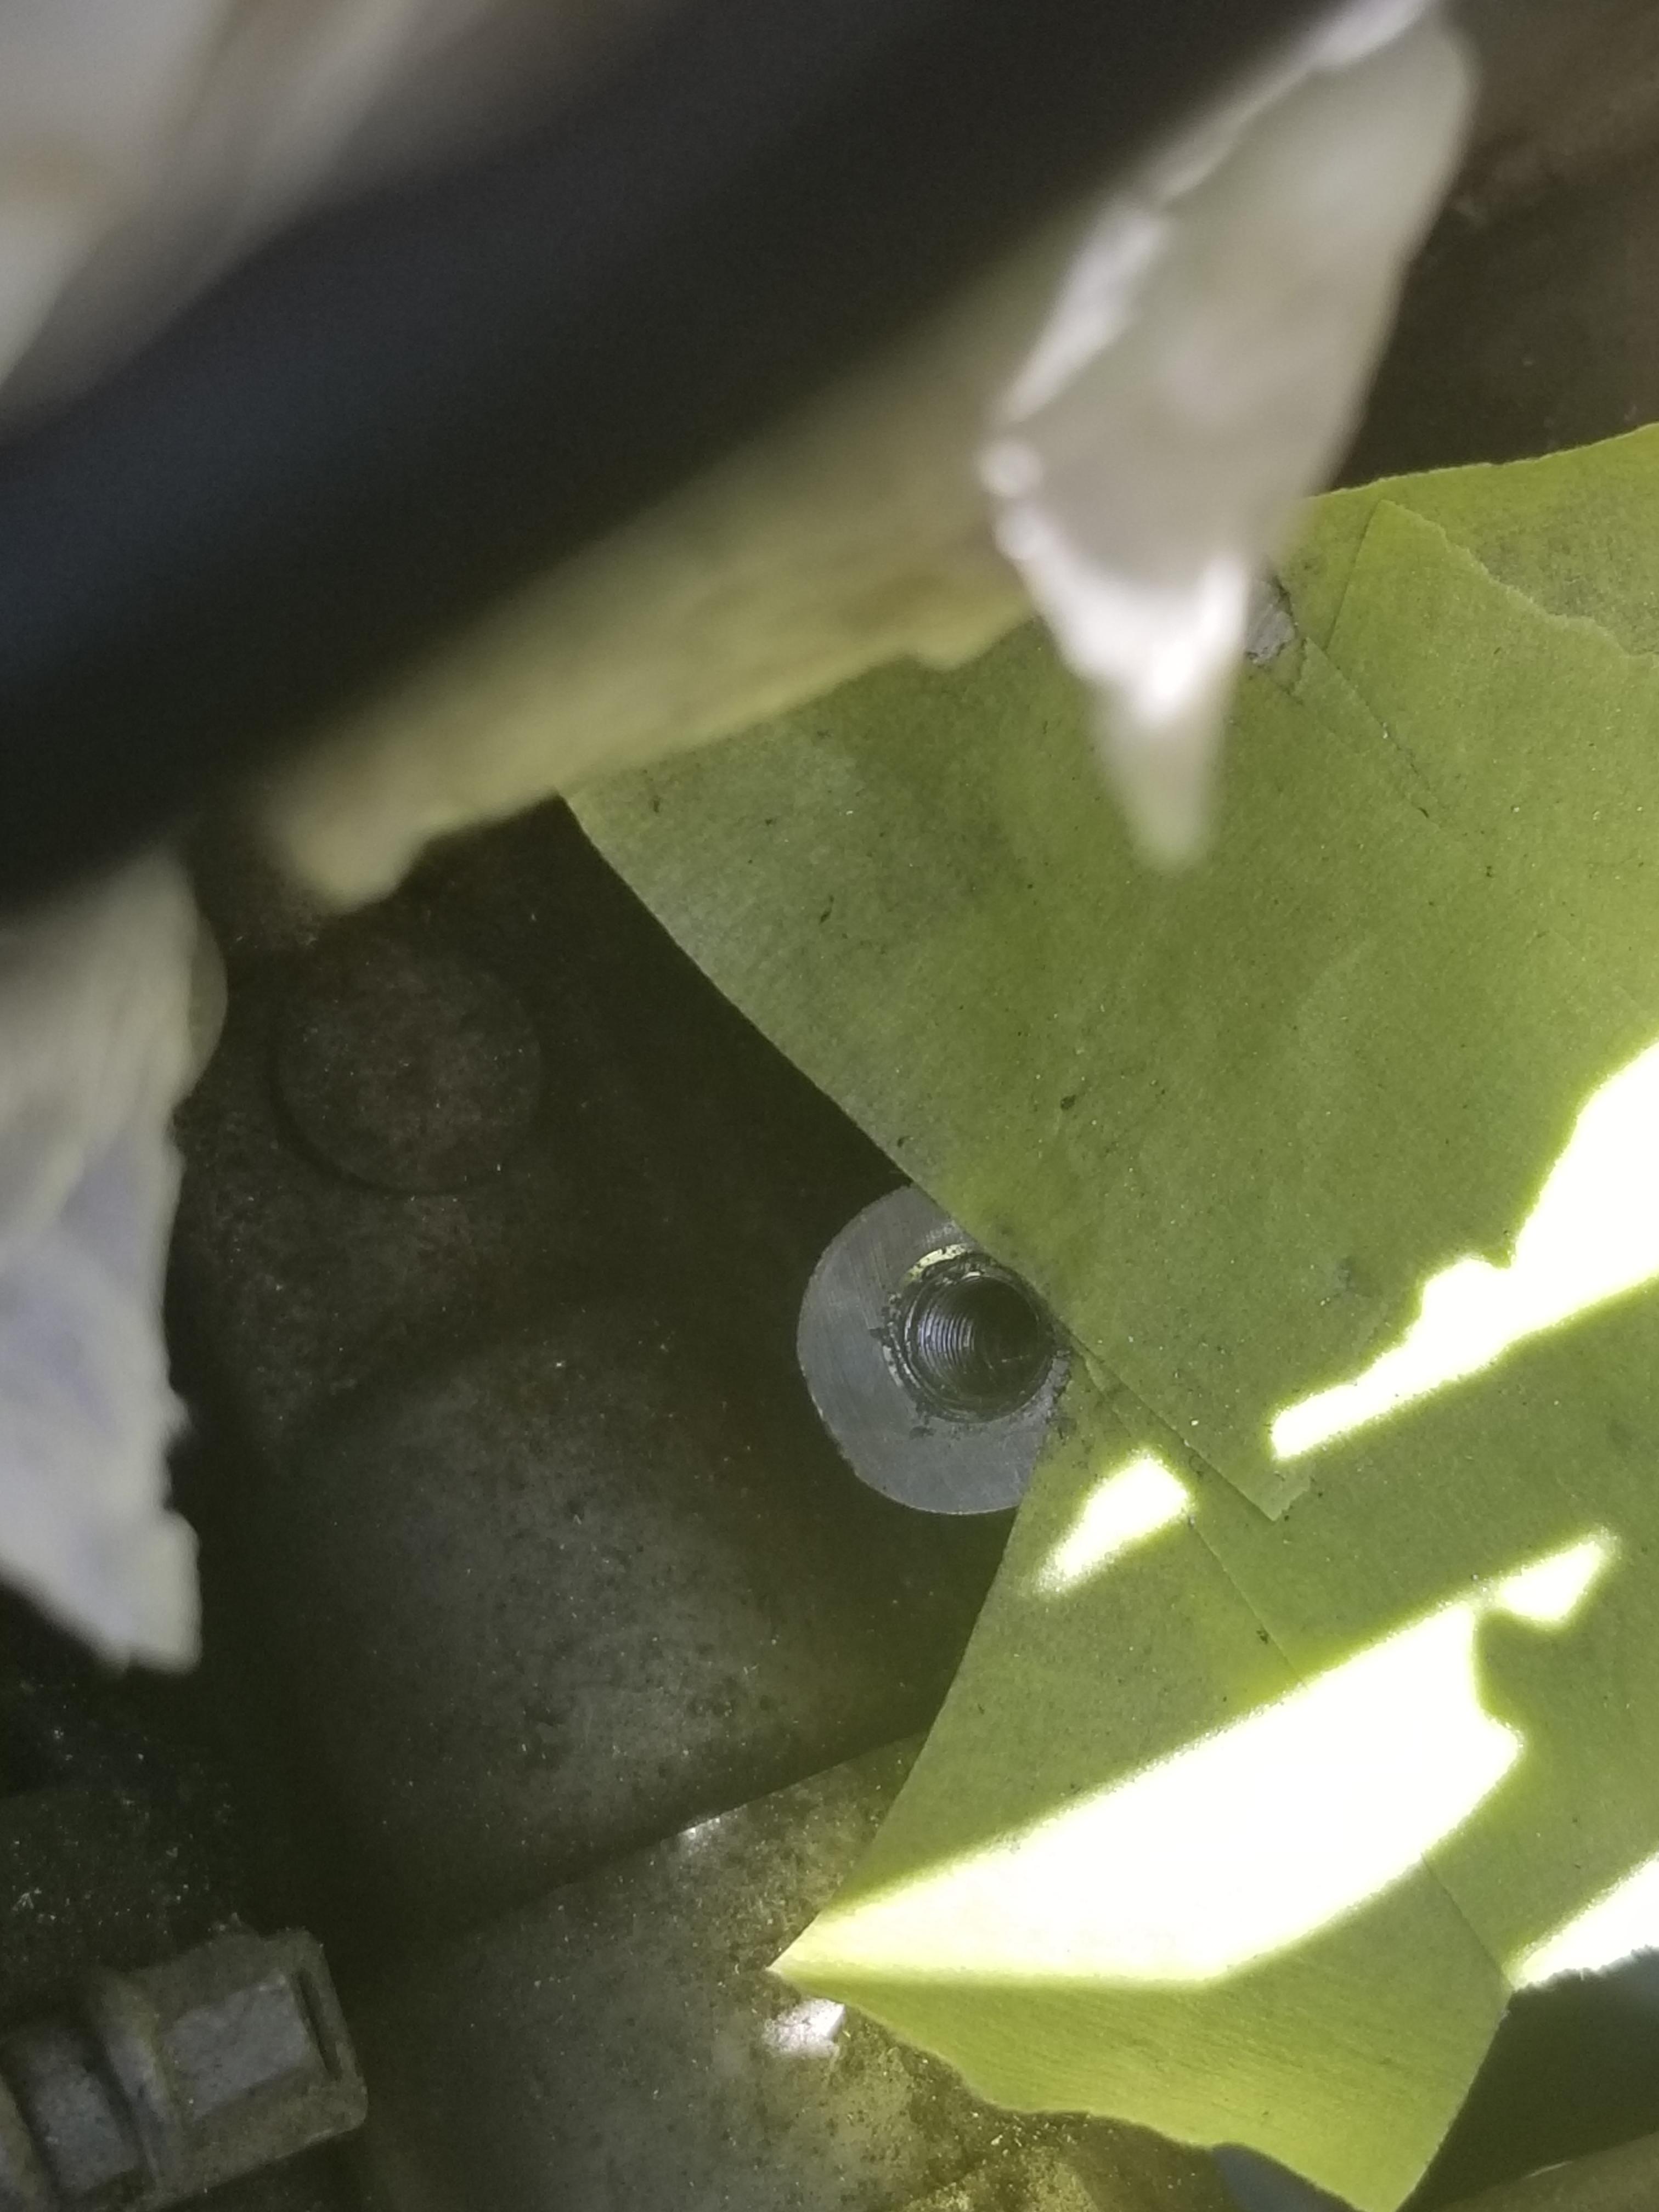
I was deathly afraid of scratching/grooving/damaging the mounting surface. I was deathly afraid of drilling in crooked and catching the threads... I know thats not an 'end of the world' situation, but its one I have never dealt with, and its the top of the engine case!
Its also summer so I don't want the bike to be down for days/weeks/months... and I did NOT want to pull the TB and cooling hoses and start having to replace gaskets and seals and washers etc [that is a winter project next year when I have a garage instead of a driveway for a workshop].
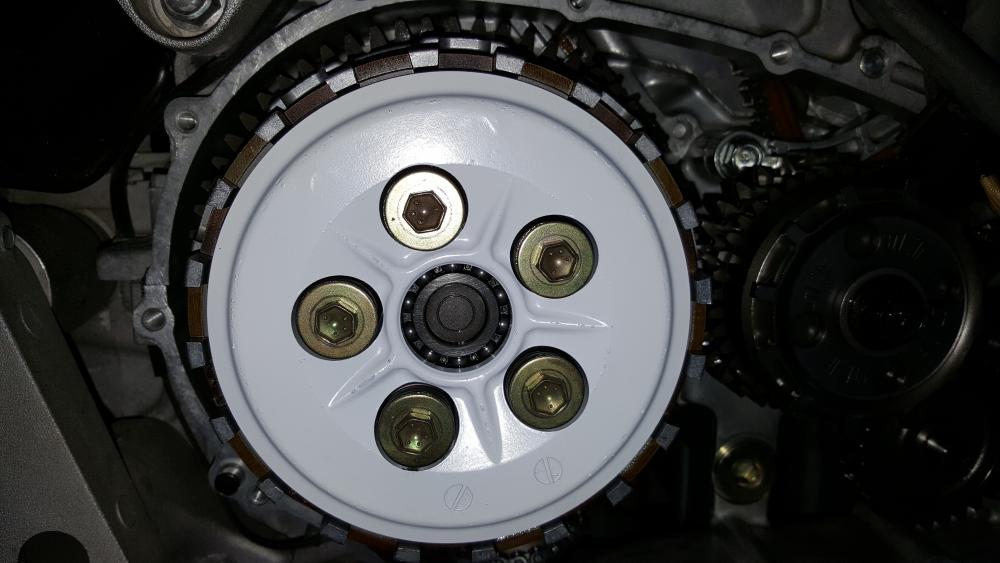
Fortunately my Dremel fit between the frame and TB and let me get a drill bit on the stub. I drilled off and on for part of 2 days, SLOWLY, CAREFULLY, with 2 different sized bits and the mounting surface taped off to minimize chance of damaging it.
In the end I was fortunate and got the bolt out without doing any significant damage [pic shows some of the metal flakes from removal still around the hole, I have since cleaned that up with a Q-tip soaked in brake cleaner]. It was beer-o'clock so I had to stop there and do a victory lap. Today I finish the CCT change. I enlarged the gasket pinhole to 2.5mm so hopefully that helps this one last longer.
DON'T OVER-TORQUE YOUR BOLTS!!! 😃
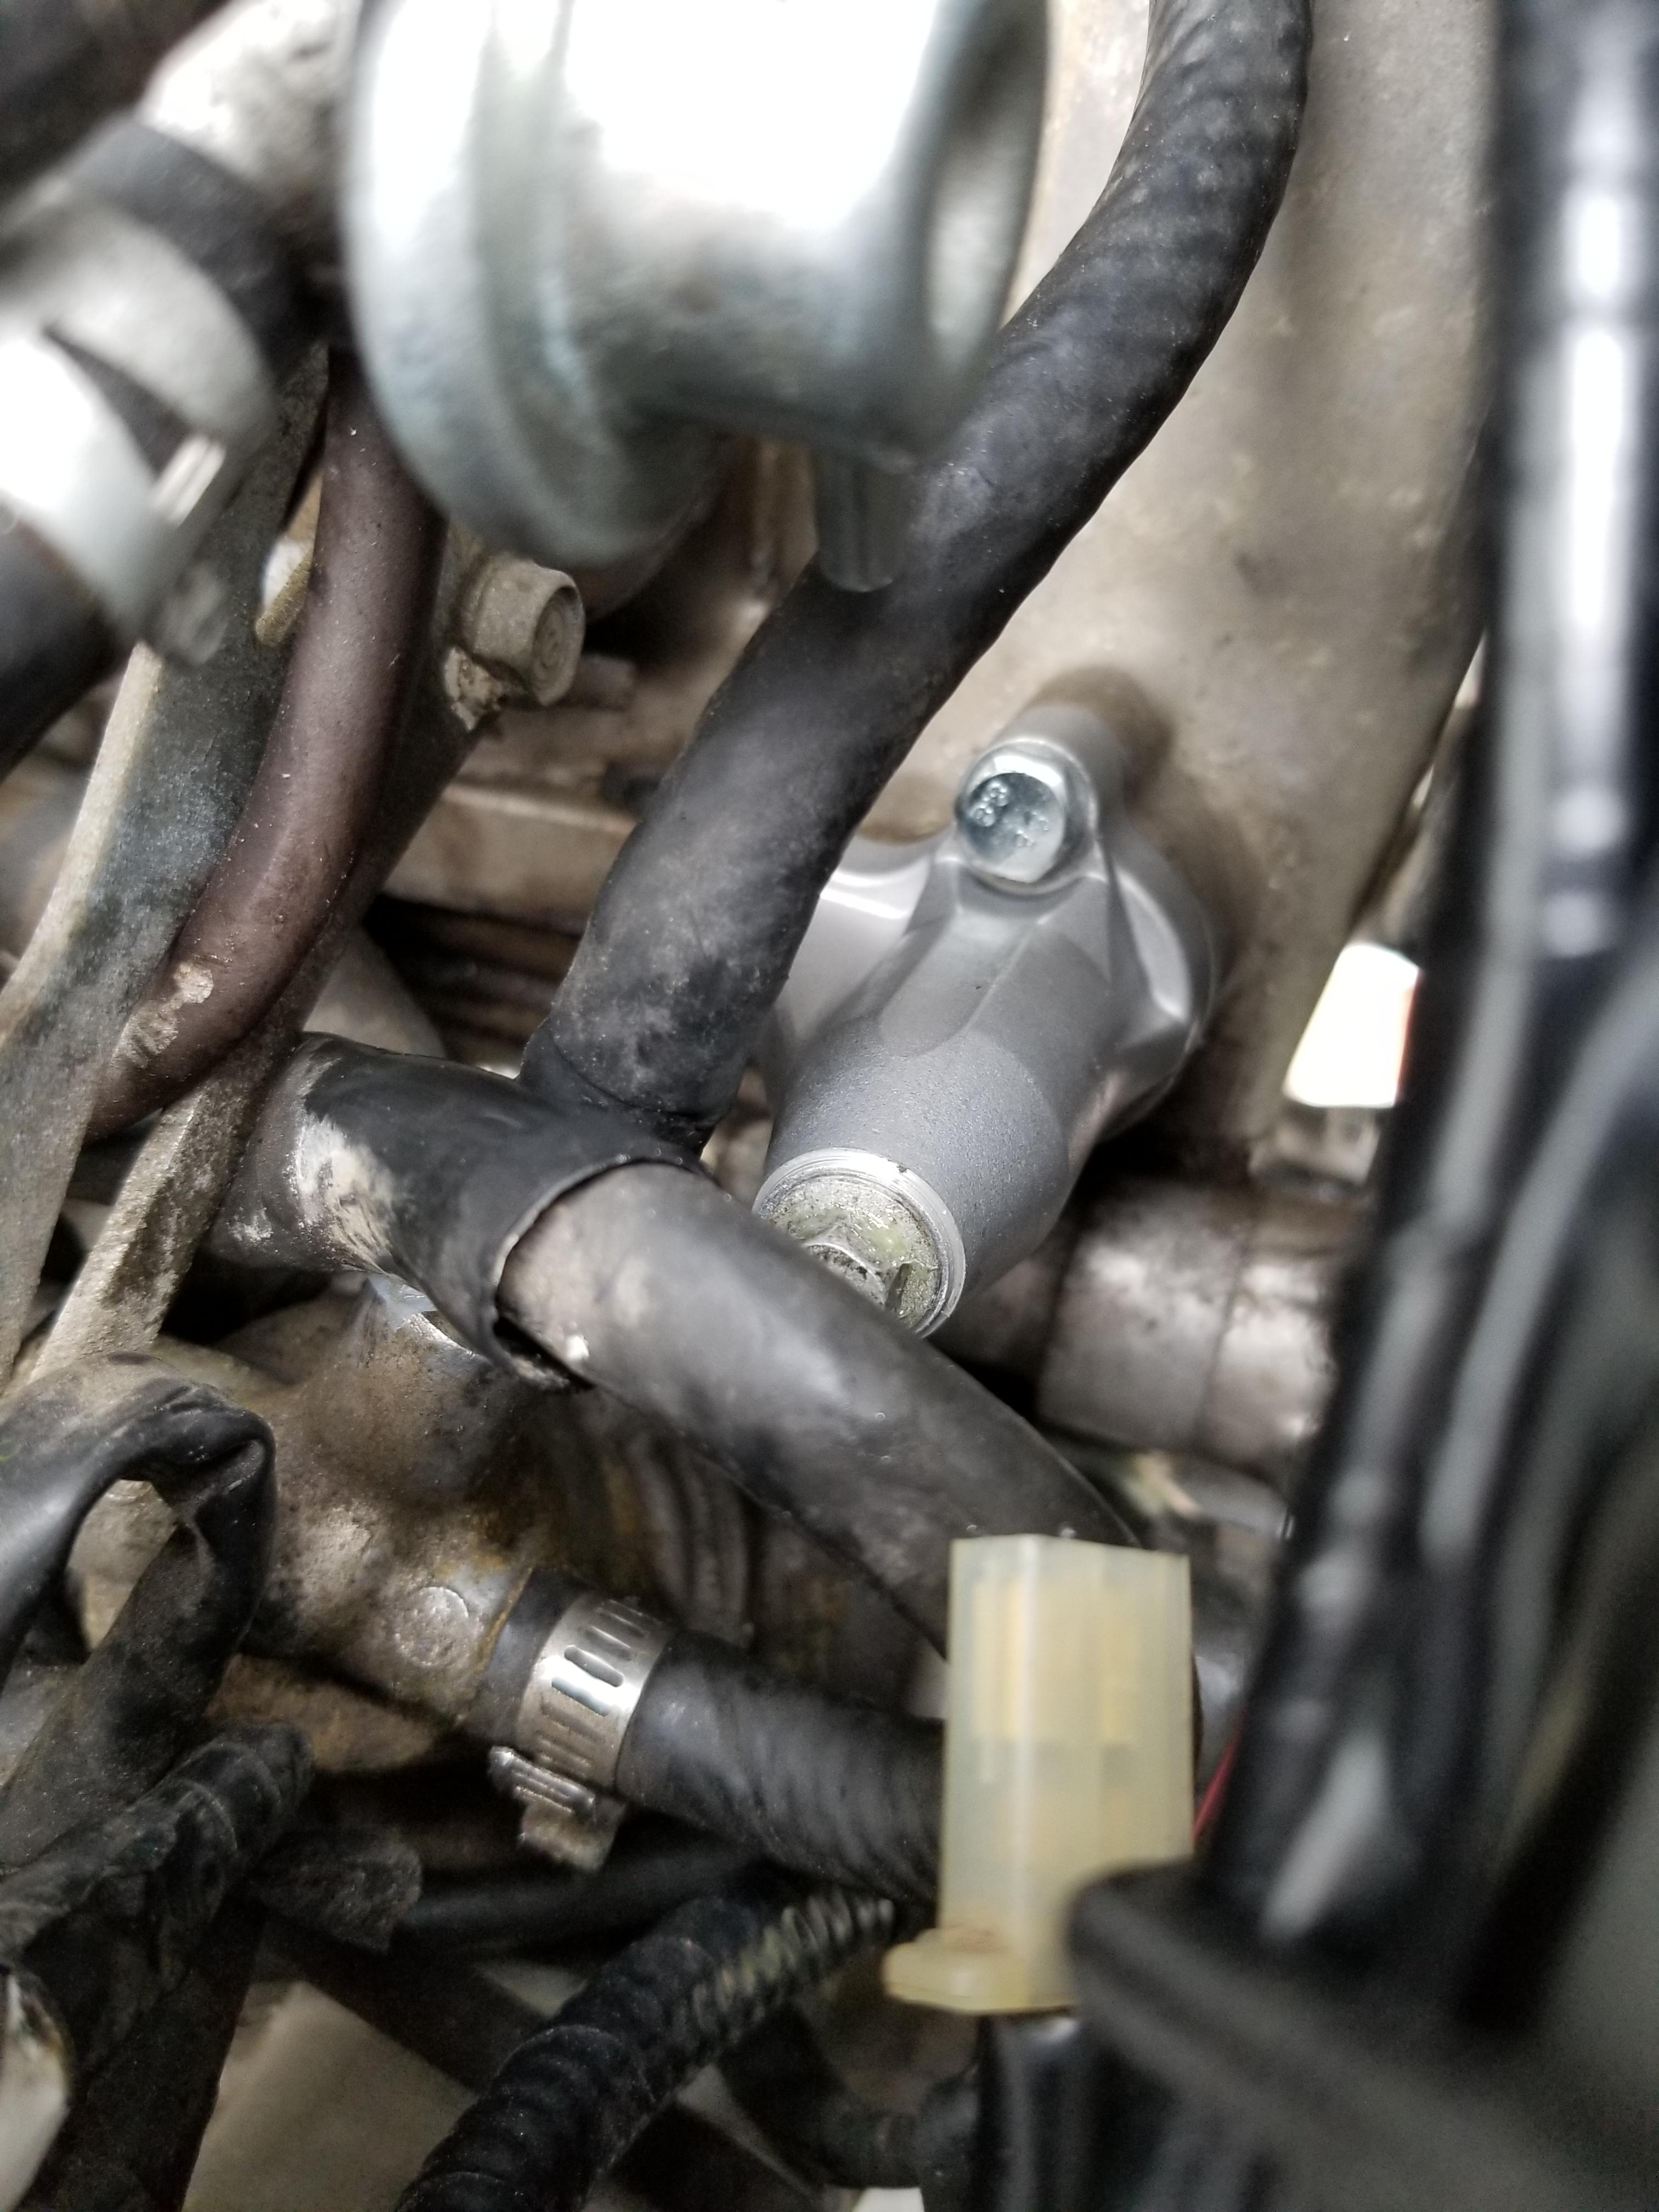
Update: all back together
-
Yep that was my solution and still holding strong years later.
THe only reason i had to chop into the battery tray was that with a passenger on the bike, i found the reservoir [mounted in same location but prior to cutting the battery tray] was pushing on the brake lines.
This solved it. Yeah i should really invest in some nicer clamps instead of zip ties but when you are standing looking at the bike you barely notice it.
pic from a couple weeks ago
-
2
-
-
I sent Jamie my forks for him to install his kit and also got one of his rebuilt CBR shocks... worth every penny, and he was great to deal with and for any support after the fact. Also no issues shipping from Canada to him and back. I'd do it again and I'd have full confidence in buying his new product.
-
1
-
-
Good solution, but any reason not to just dremel out the sides of both openings ("speed holes") a little wider to allow the clearance and have a visual match? Seems to me it may look better than bent plastic.
Trying to save up the $ myself for a set for my 6g...
-
Glad you asked... i cleaned and spraypainted mine with high temp bbq paint, i guess i should have looked for chemical resistant or something
I havent ridden since the paint peeled a bit into my oil, going to pull the plate and have it powdercoated - but now I'm curious if you think white pc can work?
Think i should flush the oil for that bit of paint in it?
Sigh...
-
Measure your springs while you are in there... I also have an 02 with about 40k miles and 2 of the springs were below service limit. Replaced with Barnetts for ~$20
-
Bam!

Thanks to Seb for making these, and David (Switchblade) for sharing when he moved on from the VFR!
-
2
-
-
I'm in - thank you for all of the time and effort you put into this site, the knowledge and contacts here are priceless.
-
Hi rhoderage,
Thank you for your donation of $25.00. We look forward to improving the forums with your donation.
Thanks VFRDiscussion
-
Any chance we can get the pics fixed in this how-to?
-
Yes, details please!
-
This kind of stuff is a big part of why I'm so into my VFR - its a 15 y/o bike, and long after Honda moved on the enthusiasts are not only transplanting parts from other bikes on to ours, but actually engineering and creating new parts!
Thanks for all the hard work, very awesome, and fun to follow the thread.
-
1
-
-
I have one as well, and agree... 'set it and forget it'. Great option as it was somewhere around $50 cheaper than the Healtech unit.
-
Well earned.
-
I see Thurn is doing these as well. (ebay 301793639300 as example).
He notes that he can do the 2014+ VFR`s... someone please send one to Seb, I`d love to see that on the 8-gen!!
-
I am much more confident in this thread producing a new product that we will actually get our hands on as compared to the new header thread :)
Great job, and its damn near Canadian winter now anyway so we have a good 8-9 months to wait
-
Should be a punch mark on the VIN sticker on the left side of the frame.
-
My '02 VFR was crying for a new taillight that wasn't ugly old amber... here's how I did it.
1. Buy the replacement taillight. I actually bought an OEM '06 unit (smoked lens), it looked good... but I also bought a clear lens aftermarket unit on eBay which looks much better!
2. The '06+ have different turn signal bulb sockets... so your '02 bulb sockets will not fit in the updated taillight. Yes you can probably Dremel it, but make your life easy and buy the two replacement signal bulb sockets from the dealer or online.
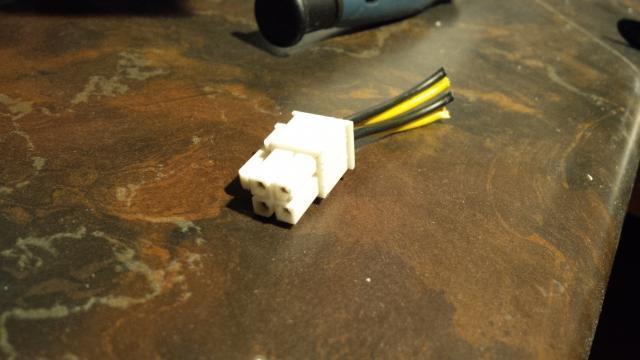
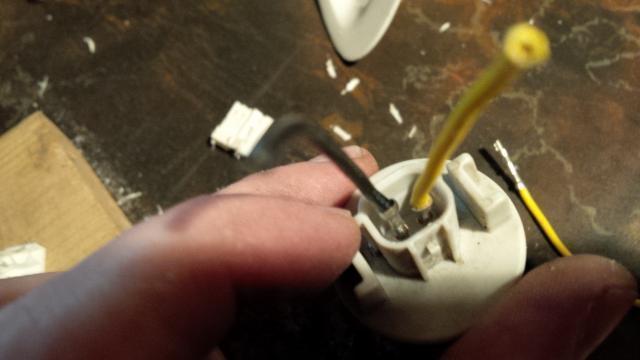
3. So we have the taillight, and the turn signal bulb sockets... how do we get the '02 wiring to attach to these? The connectors are different (of course). There are a few threads on here about this, but I didn't see any that detailed it step by step right to the finish - so here goes.
The '06+ style socket has two little stake connectors - save yourself a trip to Radio Shack, and go dig out your old computer from your closet. Fine a connector that has similar-sized units and get the connectors out! Personally I can never figure out the little release tabs, so I default back to my Dremel.
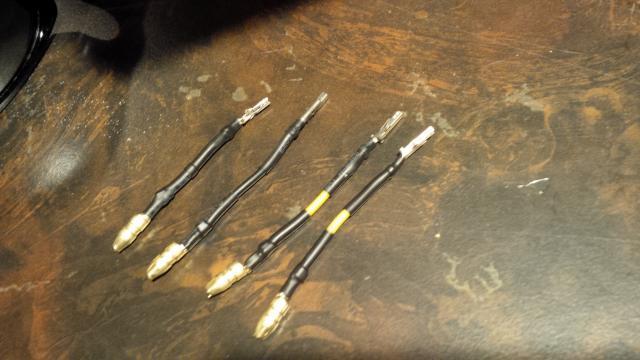
Straight from the computer...

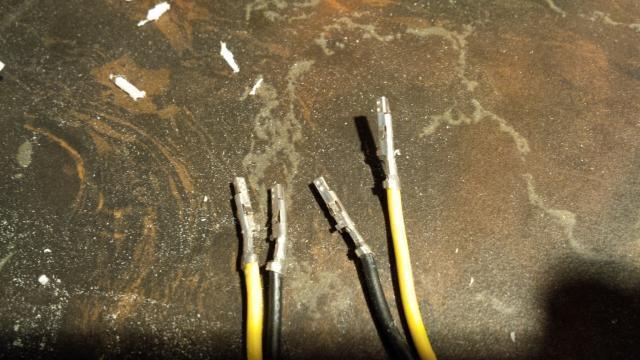
Wires with appropriate-sized stake connectors.

Test fit.

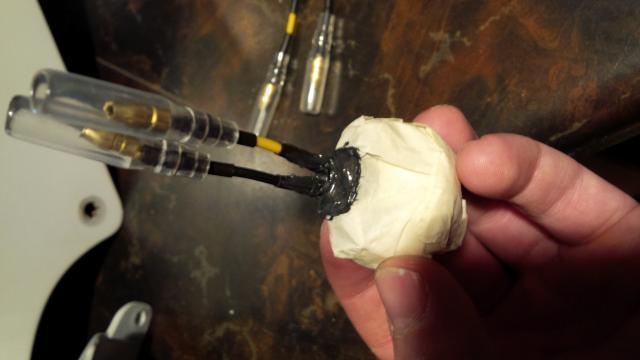
Heatshrinked, with bullet connectors on one end for ease of install. Will do the same to the actual bike wiring.

Didnt have clear silicone on hand, so I used RTV to 'lock' the crimp connectors on. Just fill in the void, it will dry and seal them in place.

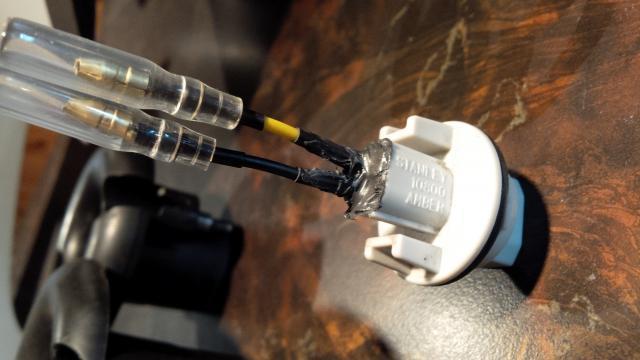
Success!

Get at the tail signal light wiring - cut out the old connectors, and (in my case) use bullet connectors.

4. Insert signal bulb sockets into new taillight, attach bullet connectors. The wires are NOT polarity-sensitive, just hook them up.
5. Ride off into the sun with your updated rear end!

-
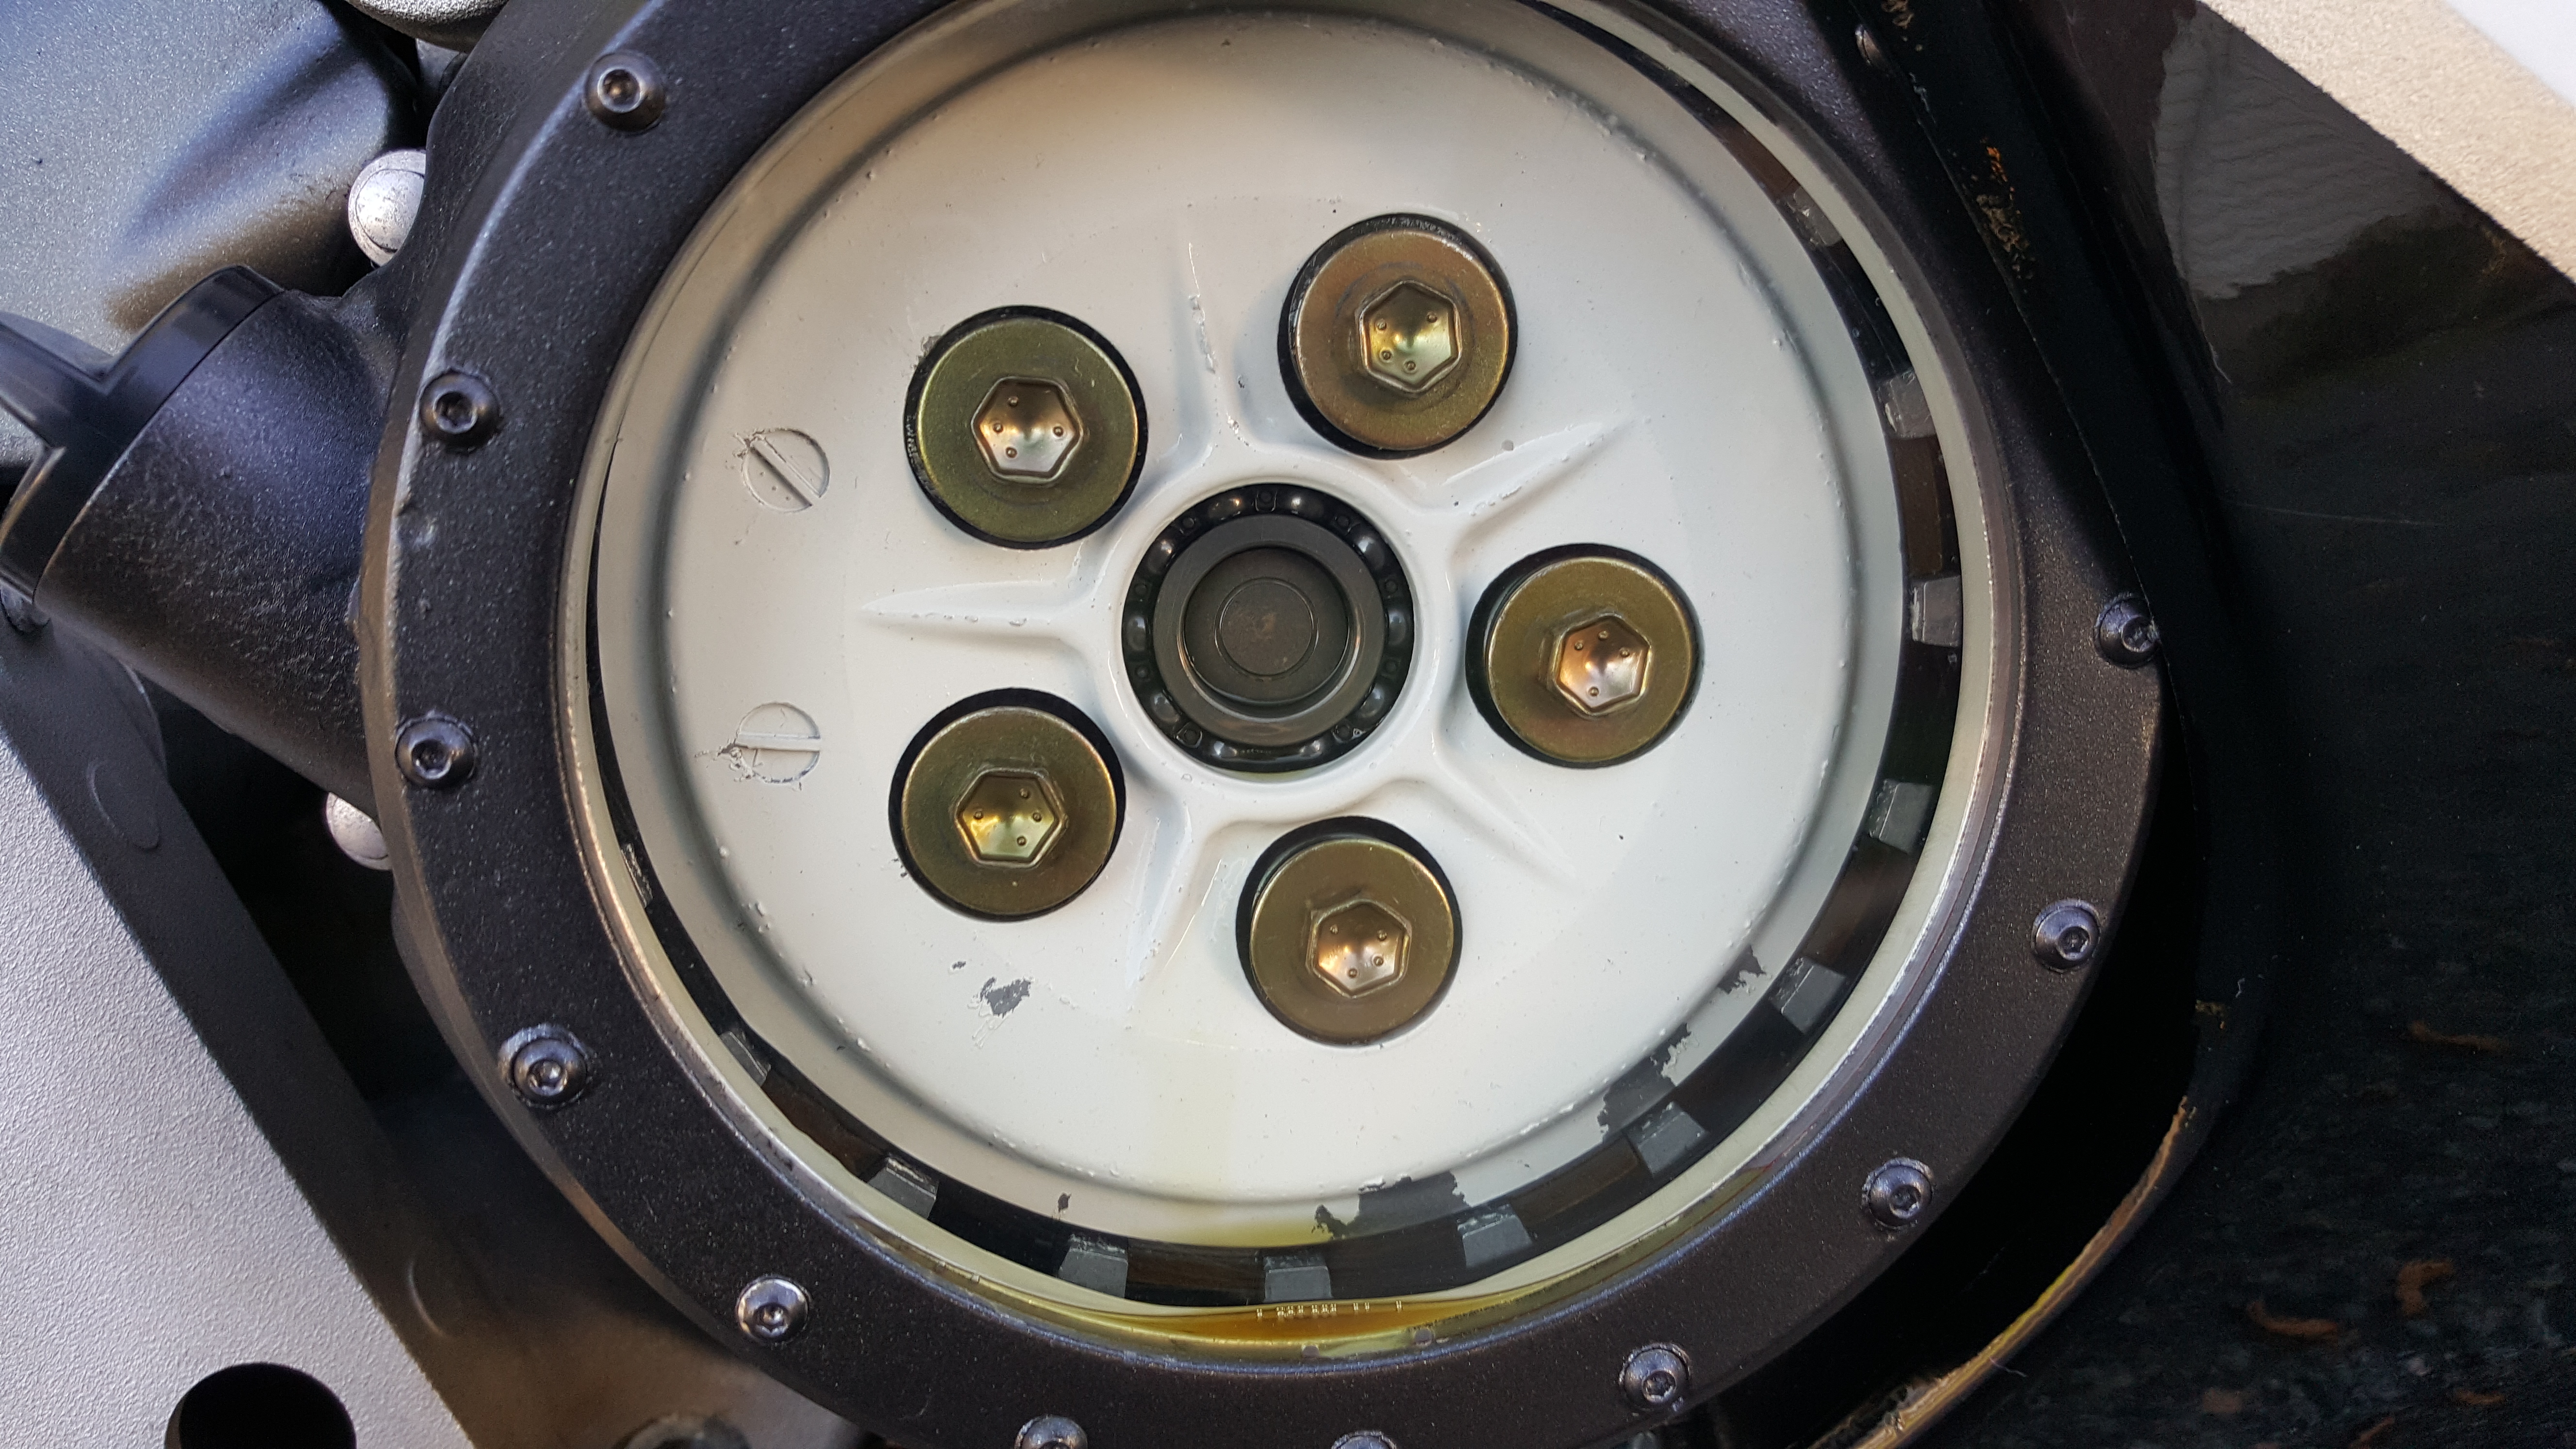
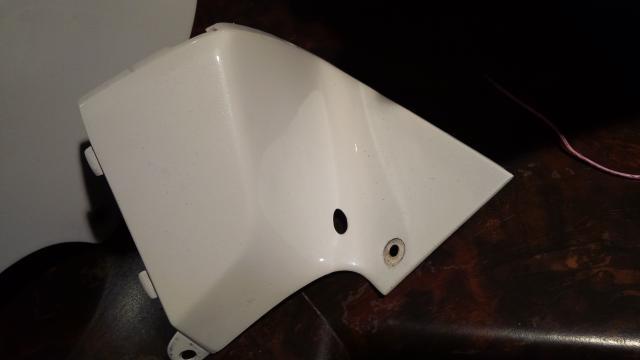
Verified they are OEM... anyone else have those holes in theirs? Not sure if they are from a specific model year of VFR, or if the PO cut the holes for some reason (but they are 100% symmetrical so I doubt it).
Pic:


-
I have a set of the old-style Heli-Bars with the 2 pinch bolts per bar (as compared to the newer style with 1 pinch bolt).
I checked with Heli to be sure of the torque spec - it is 12 ft lbs per bolt. Maybe this helps somebody some day!
-
Amazing looking bike, can't wait to read the full build story... unreal that you can create something like that.


My 1997 750 is back on the road
in Third and Fourth Generation VFR's
Posted
Great refresh and summary presentation