


superfunkomatic
-
Posts
982 -
Joined
-
Last visited
-
Days Won
3
Content Type
Forums
Profiles
Gallery
Blogs
Downloads
Events
Posts posted by superfunkomatic
-
-
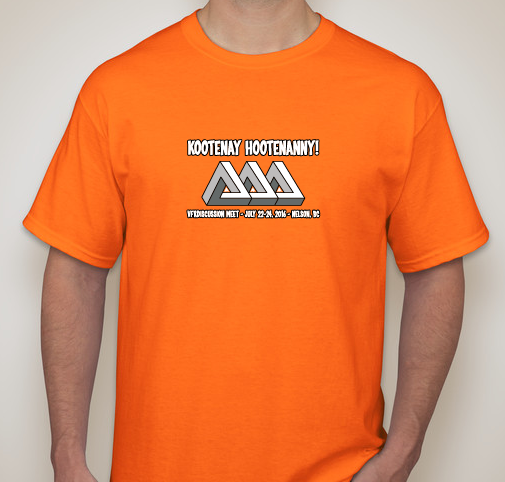
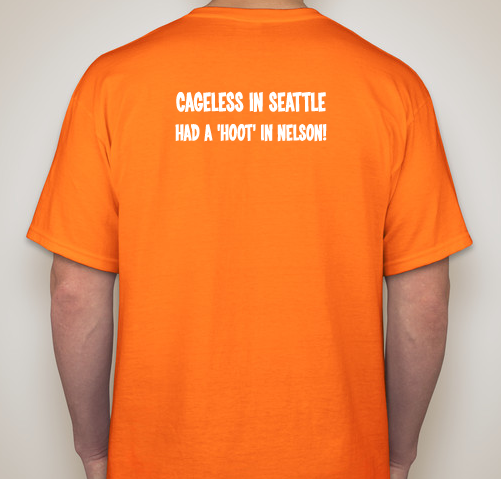
Here are the finalized designs and colours for the t-shirts. I've ordered the shirts today.
T-shirt Orders - Samples (Cotton Gildan Super T-shirt)

-
15 hours ago, Thumper 8 said:
Hey Mike et al, long time no see all my VFR friends! Mike, thanks for the email a few months ago - sorry, I did not reply.
I think I may be able to get away and join you guys & gals - not sure yet on timing, but you may see a rather dirty Triumph Tiger 800XC in your mirrors :)
I can always wear a shirt from previous meets... and the Hume or Adventurer will be fine for a last minute decision. I think they still both serve cold beer!
Would be great to spill some beer, swap lies and catch up with old friends...
Tony.
Good to hear from you, Tony. It would be great to have you join us. There's still space at the hostel if you're interested.
-
If you do come to Alberta and pass through Calgary let me know. I'd be happy to take you on a tour of Kananaskis or the Icefields Parkway/Banff/Lake Louise areas.
-
Just want to confirm whether the following people want t-shirts or not, and if so, what is their size. I haven't received payments for these ones but if you're still interested you can pay me at the event or send me PayPal at superfunkomatic@gmail.com. The shirts will have each attendee's name printed on the back. Sorry, no ladies sizes as they are generic this time.
- SquamishVFR
- 34468Randy
- V-Fore
- Steve B
- VF1000e
- QDawg & Erin
- DigitallyHip & Emily
- Belfry
- Olive? (You coming?)


-
hmmmmmm.
I have made numerous trips to nelson, creston, castlegar, trail, kaslo , new denver, nakusp, revelstoke and numerous laps beyond that, and I have never had any tickets or trouble, nor have i heard of any one else having big problems in bc.. i do not ride like a slow poke, but i try to not be obnoxious either.
just my experience.
looking forward to loads of fun!
Precisely, to quote Will Shakespeare - "Much ado about nothing...." We'll be fine. You play that far above the speed limit, you pay - fine, impoundment and in your future insurance installments. Your choice. Have fun, but not too much fun.

-
 1
1
-
-
On a completely different note. I received a call from the local Powerhouse Honda and I'll be taking a test ride on the new Africa Twin DCT on May 14th. No firm date but my bike, which is a manual, should arrive late May or early June. So I should have it with time to spare for the meet - knock on wood for good luck.
-
2
-
-
I think the key is don't be a dick.
If you're not speeding excessively, making excessive noise, or racing on the street with your knee down, you'll be fine.
I haven't had any issues with RCMP in the many times I've been to Nelson. I have, however, seen plenty of them. The issues arose from residents especially on the approach to the town before the bridge. The locals do phone in speeders and not so surprisingly the RCMP show up. I have seen this first hand on a few occasions - someone rips past me at double-plus speeds and when I see them down the road the RCMP have them and are writing tickets.
I see what the locals are upset about - 120 db exhaust noise on their lakeside property, reckless car drivers and riders, and people who treat the public roadways as a race course. Would you want your family near a road that is used by road racers? If you are civil and respectful, I don't think you'll have any problems.
We'll all go. Have fun. And be good visitors. The alternative is performance awards. No thanks....

-
I know crazy, right?
I twisted the fuel tank when working on the bike and put a kink in the fuel supply hose. It basically ran really lean and occasionally would act up and hesitate. Otherwise it became an econobike. :)
The fuel tube scenario is crazy! I learn crazy stuff from you guys! Now I wonder if the incredible mileages some people post are due to actual problems with their bikes.
If you have not had the tank up or such maybe an old hose has collapsed? Hrm if it is a vent tube you would have detected suction when opening the gas cap.
-
If the fuel tube from your tank is pinched it will make the bike run odd, but the bike will compensate and you'll get legendary fuel economy. I pinched mine by accident and got a kink in it once and was getting 60mpg but it felt like I had 20hp.
-
I love it and have passed on the passion to my 3.5 year old son. Will he ride with me? If he wants to. Will he ride his own bike some day? If he wants to.
No drinking while riding (or illicit substances). There aren't many activities that give me the same clarity or presence of mind as motorcycle riding/touring, downhill or cross-country skiing, or hiking/backpacking. All these activities are inherently dangerous, or at least perceived to be. The risk/reward ratio for me is worth it. I've been places, met people and seen things I would never have if I hadn't taken up riding. It's changed every aspect of my life and free time - for the better.
-
I'd love to come back down under and ride the Great Ocean road and drink cheap wine (not at the same time though).
I've seen some of the 'loop' of the eastern side of Oz from Sydney through the outback, Ayers (Uluru), Three Ways, Airlie Beach and back. Lovely country. Loved the Snowy and Blue Mountains, too. I'll have to try them on a bike one day.
That's a pretty good long ride! Take lots of pics.
-
So far we have 25 confirmed attendees! The weather has been pretty good here and I've already been out and riding to work and a few short jaunts (still snow in the mountains and cold).
I still haven't gotten my lazy ass in gear to do the t-shirts, but never fear they will rear their heads before the meet. If the weather remains this mild I may do a reconnaissance run to Nelson in late April or early May.
Still no sign of my new bike from Honda but I hear rumblings the Africa Twins are starting to arrive in the USA so we can be far off. My prediction is still May.
-
Sorry to hear that, Miguel. We'll certainly miss you. Anything we can do to help out?
Jeez my summer is ruined for riding. I'm going to have to bow out. No big tours this year.
-
That's a really unique bike. I've always liked Guzzi bikes since they are a bit different from the pack. Although, I read Melissa Holbrock Pierson's book and her troubles with various Guzzi bikes and that put me off. I can certainly admire from afar. :)
-
Bring a full bottle of Auchentoshan and I'll split it with you.
-
Some pretty clever engineering on SHAD panniers. They are really reasonably priced and the quality seems quite good.
-
Baja. Yes, and no, I haven't been. Was on the way a few years back and had my reg/rectifier and stator fry. So, I'll be looking forward to your next witty instalment.
-
Good posts again. Love the photos. Love the Rob Base quote - I'm not internationally known, either (but I'm known to rock a microphone). :)
I enjoy reading your reports because then I go ride through those places. Last year I followed your route from your previous Thanksgiving. Could you go somewhere different so I have new places to go? Can ya?
-
(Book early for Sunrise Yoga Classes,,..)
My question is "Will there be sunrise hangover management classes?"
I think we should ban the consumption of spirited beverages.
There's an old axiom that 'man can not live on beer alone'. That remains to be seen and tested.
-
1
-
-
I know. It's a sin. Although, this past fall I was able to keep riding until mid-November which was a real bonus.
-
So t-shirt ordering has closed. If there are any stragglers that would still like a shirt but haven't ordered one please let me know by PM or e-mail. There are still places left in the shared bunks (groups of eight), if anyone else is still interested in attending the meet.
I intended to do the t-shirts long in advance of the closing date, but sometimes life just gets in the way. I'll have the design posted when I can.
We have enough money to cover all costs so far. I was thinking of a BBQ at the hostel the first night and going out for dinner/mingling/carousing on night two. Does that work for everyone?
Anyone else get their bikes out yet? First ride was Friday morning at -2 celcius. Love that first ride of the season to get the juices flowing. I hope everyone else is getting out soon, too.
-
2
-
-
I've had good luck with a company that finds and has many old parts going back to the 70s and 80s on Honda bikes.
It's called 'forced/planned obsolescence' - 10 years is now a reasonable time to own a vehicle before things start breaking down, then, you buy a new one and there is a continuous cycle of customers for multinational corporations. Sad, but true.
-
Gps
in Electronics
There's a GPS in the classifieds here on the site:
http://www.vfrdiscussion.com/forum/index.php/classifieds/item/4091-garmin-nuvi-500-ram-mount/
-
Gps
in Electronics
$200 dollars - maybe you could hunt on eBay for old Garmin Zumo 550 units. I don't know of any that are that price range new. I got my Zumo for $250 USD on eBay.
Maybe an app for a phone?
Looking For A Recommendation On Summer Gauntlets
in Clothing & Wearables
Posted
Those are all good gloves. I looked at those, too. AlpineStars makes a new full cuff and vented glove called the SP-Air. Really comfy, good ventilation, good protection, well-made, and a lot cheaper than Held, etc.