VFRSuperfreak
-
Posts
351 -
Joined
-
Last visited
-
Days Won
1
VFRSuperfreak's Achievements
")


-

What type of riding do you use your VFR for?
VFRSuperfreak replied to VFR80025th's topic in Sixth Generation VFR's
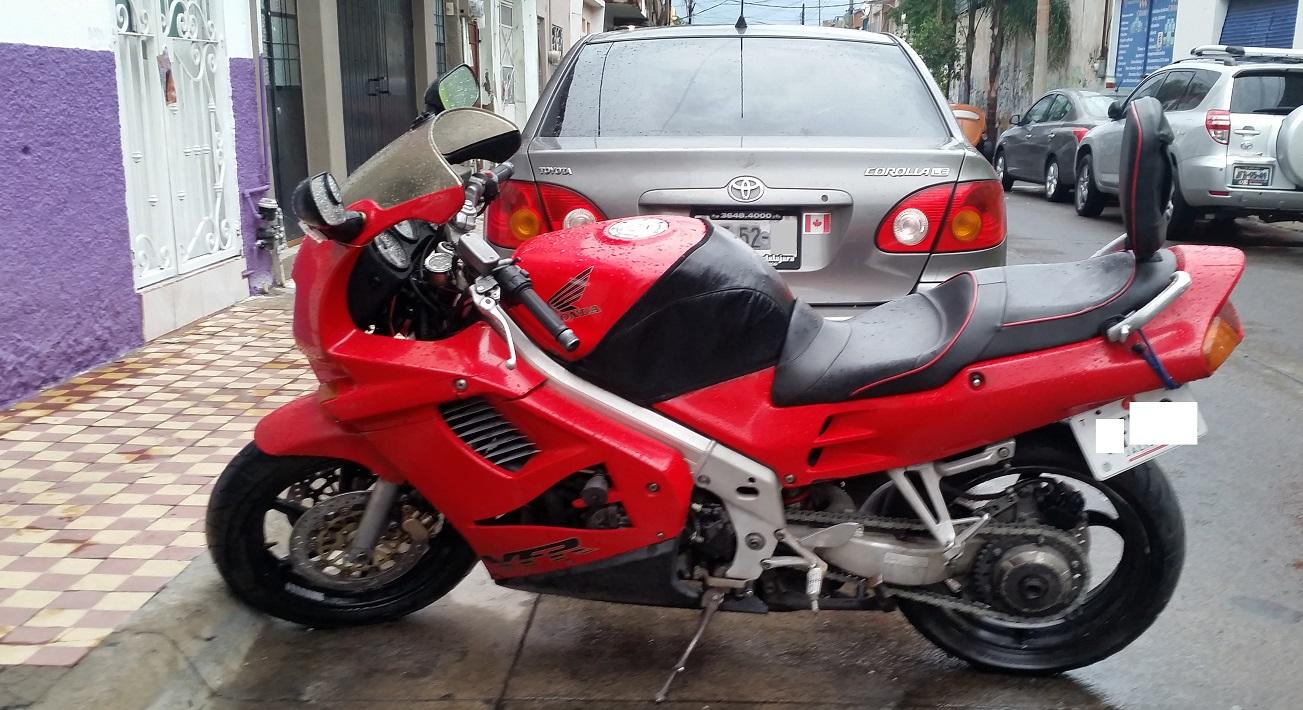
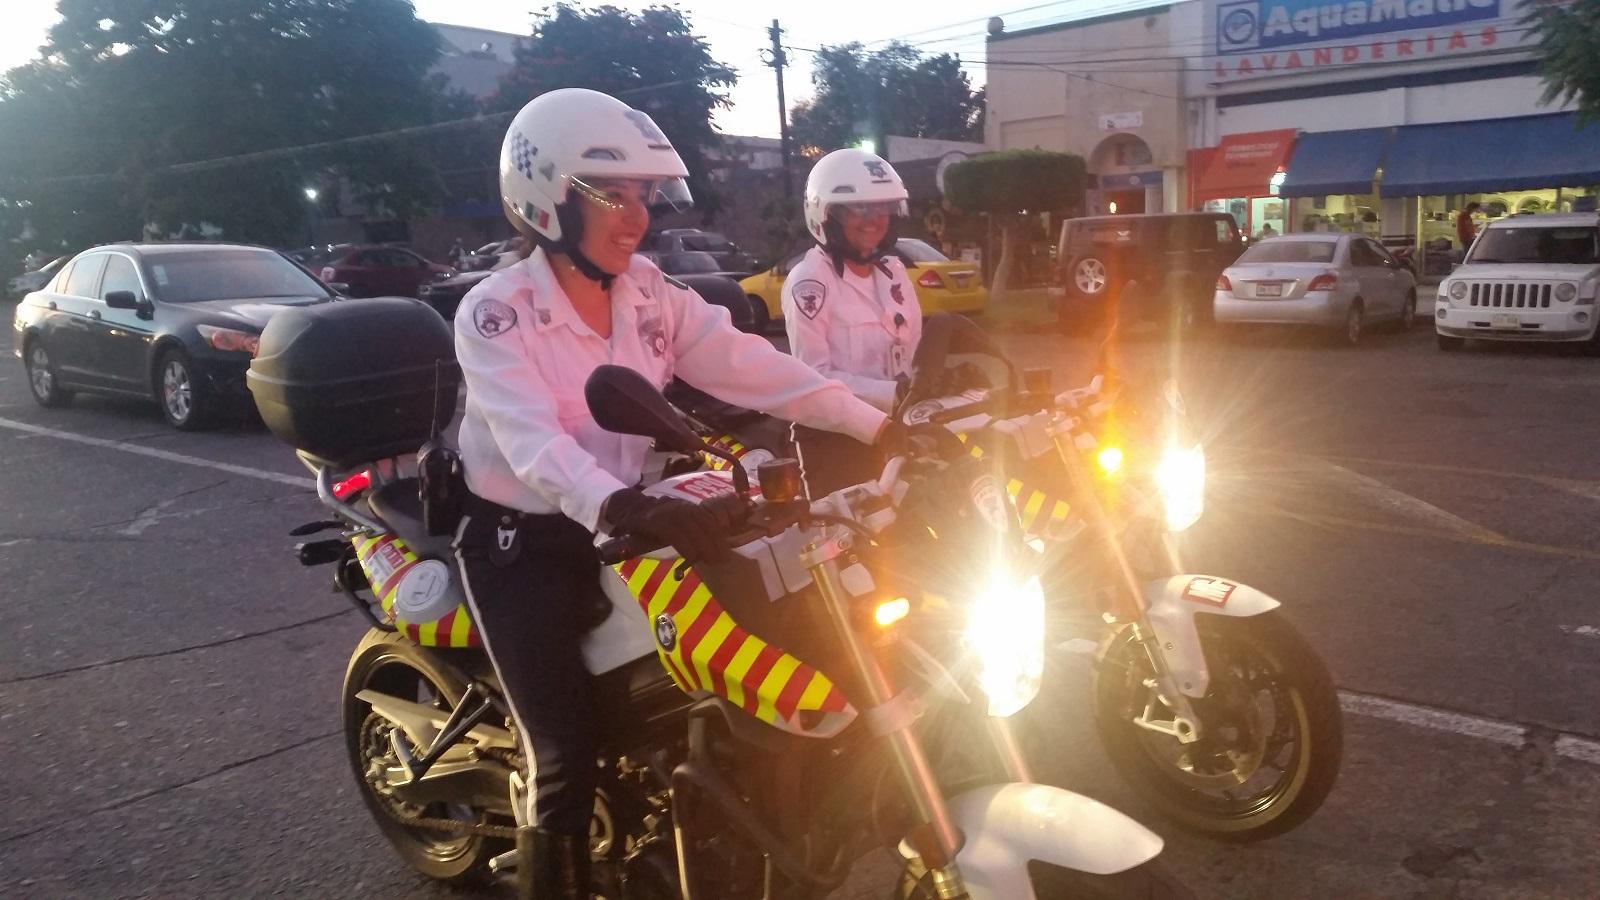
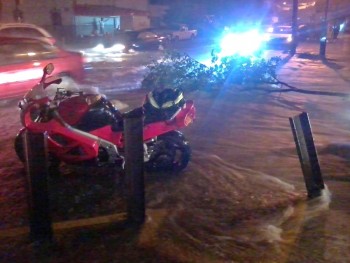
20% Touring, 80 Commuting, dodging bullets in really tight streets, so filtering is a pain. I was also wondering if I'm on the overkill side using Honda's 90's Technical marvel and sportouring flagship to just go to work. YES it's quite impressive to ride into garage at work with its baritone warble. Yes I got a coveted spot indoors at work beacause "this is a collectable, don't let it sit out in the rain", <that's my excuse and it worked. Hot? Ohyah, so I installed a manual switch to get the fan on whenever needed. So, yeah, maybe overkill? Would you do differently? Can't see myself riding a 250cc anything. But maybe an electric one day. Have a picture, it's raining out now. Also, these lady cops kinda keep things cool in some areas lol.
-
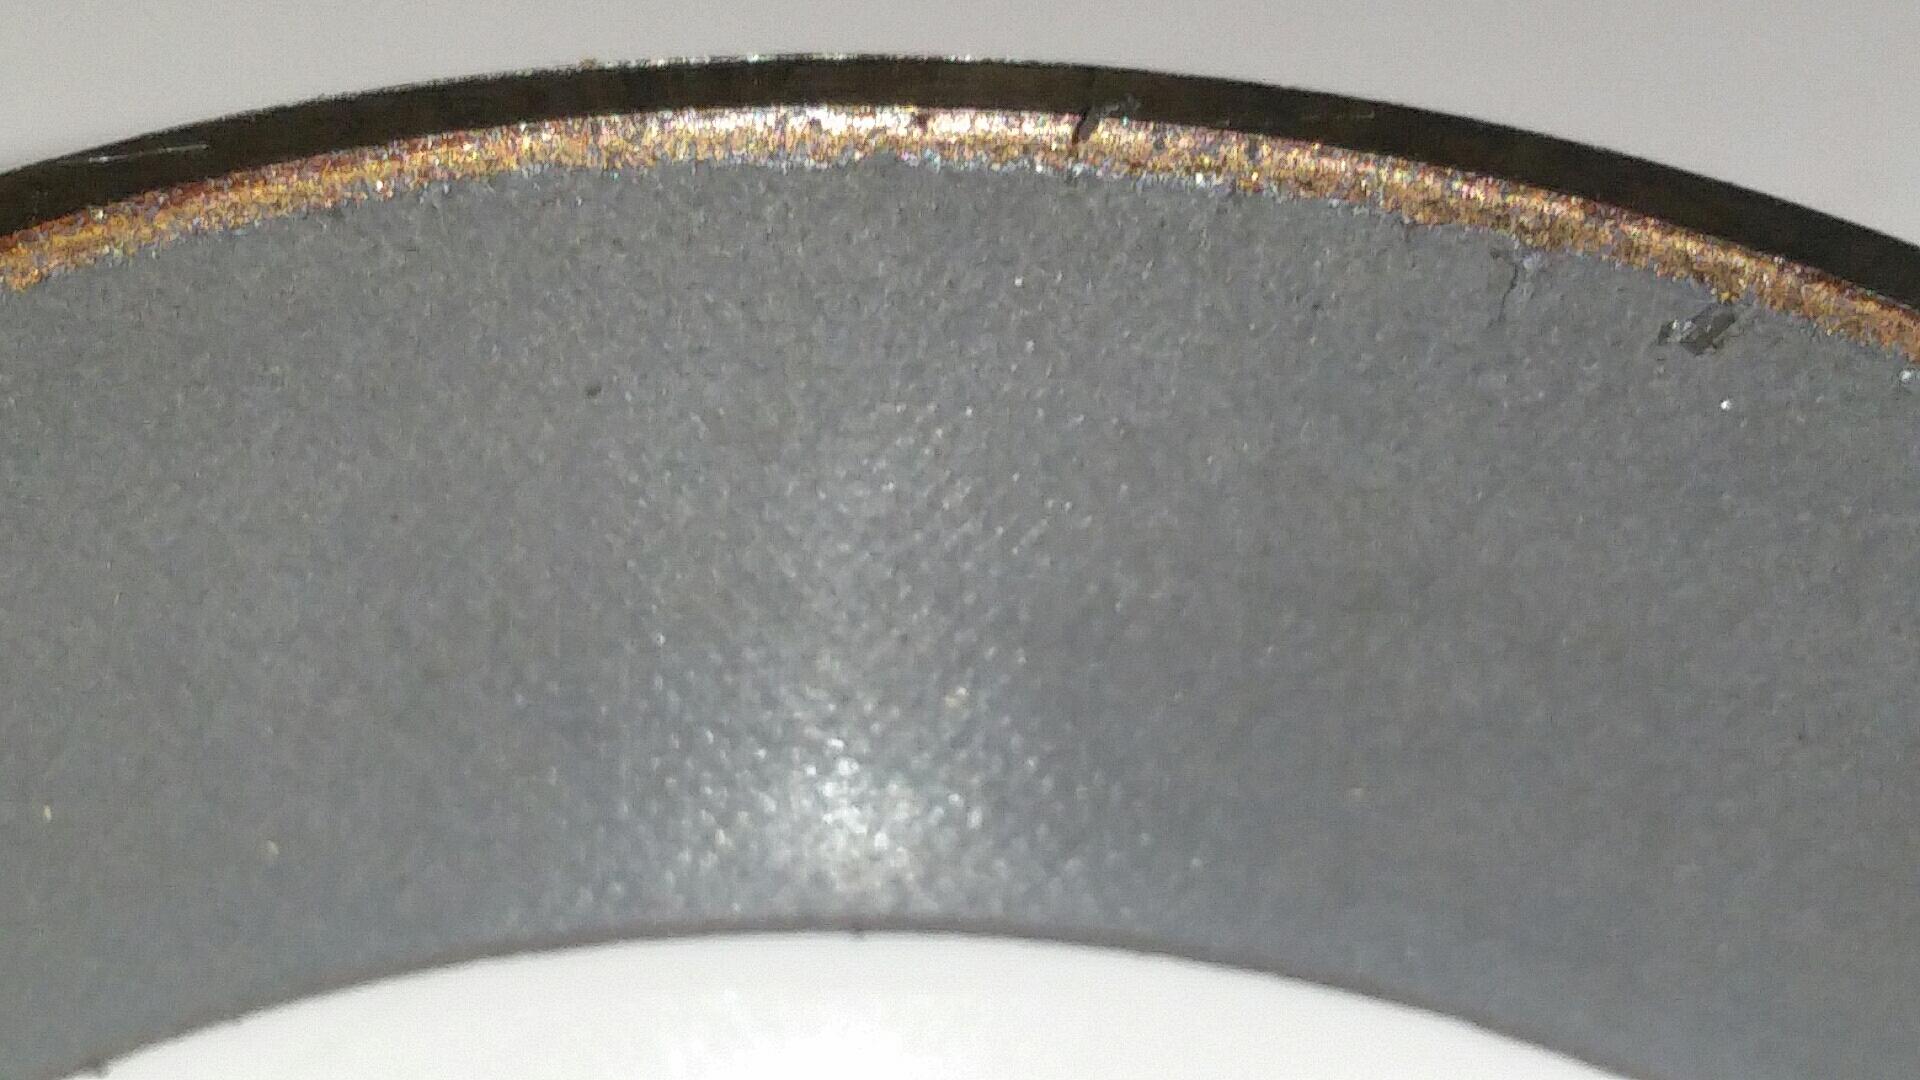
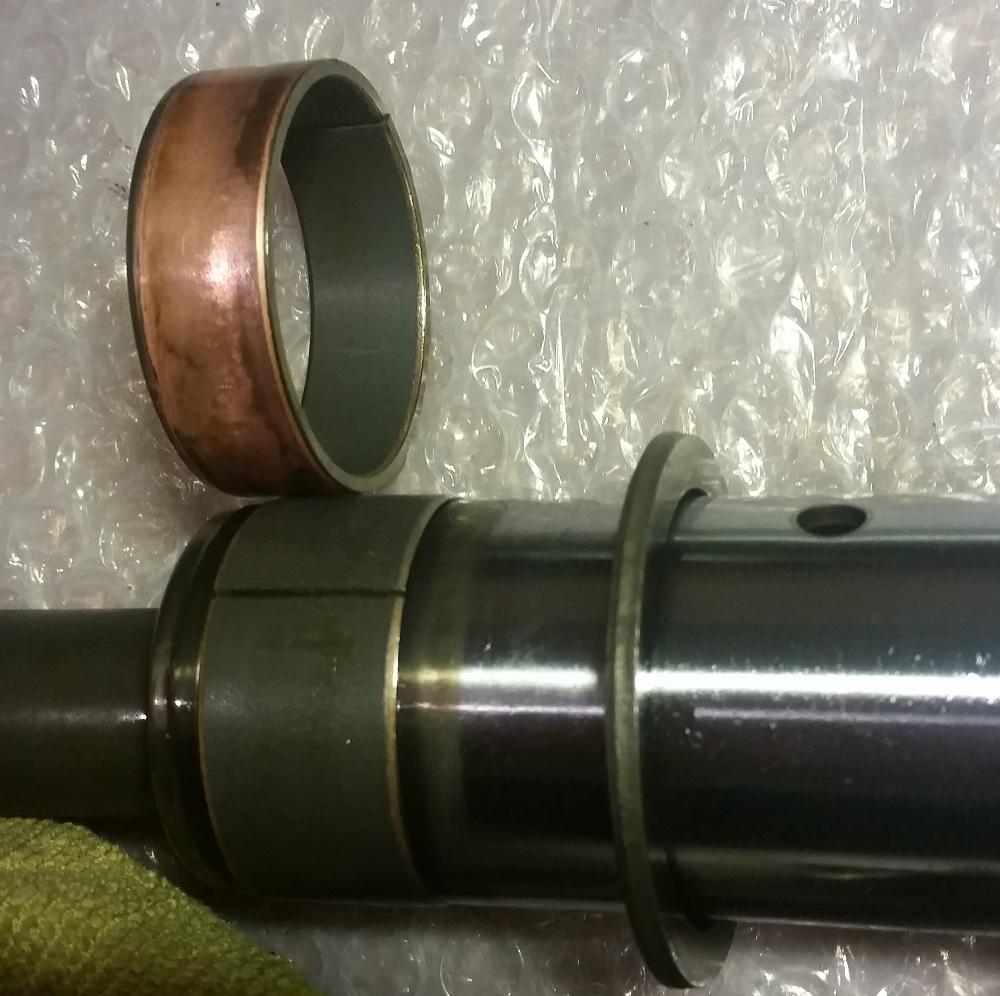
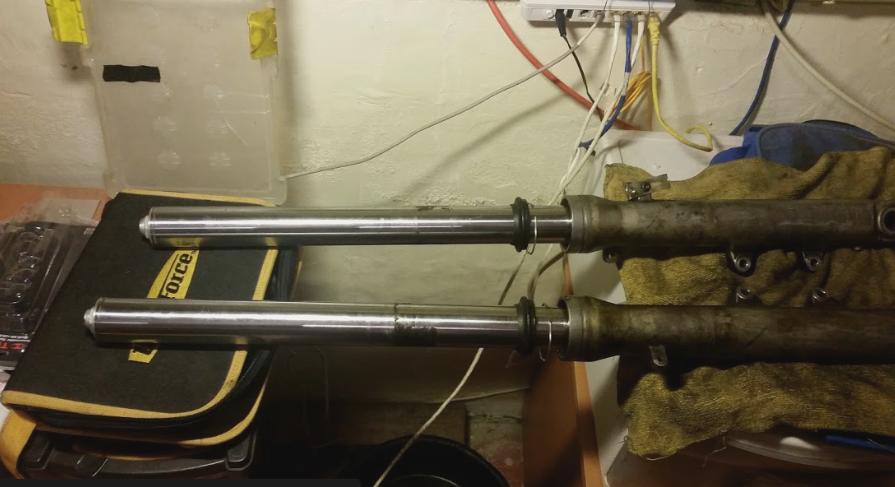
I believe the bushes are fine. The material looks intact, probably had that service done prior to my buying it. Got new seals, so with new oil (10w??), should be done this weekend. I did a mock finish to see how everything goes and what each piece does, didn't like just to push things just because the video says-so. Thanks everyone!
-
Bushes... once I replace them, will the tube just slide in? The video doesn't show what happens then. Will there be resistance going in? Thanks!
-
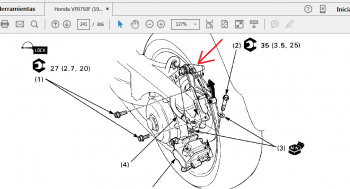
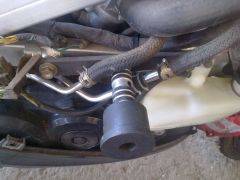
No, yeah thought it'd make a world easier if I loosened the allen bolt while the leg's still on the clamps. Next time!. (took a bit of force and for the leg to be affixed to something, I obv don't have a table clamp... so I improvised; Stuck the leg thru a car rim's space (square), this is a heavy object which provides enough leverage). Don't gimme that look, this is what I bring to the forum! Yeah, the oil will be changed. I'll look up the proper amount. Yeah, the bottom bolts were off when I posted this. I'll look for the metallic washer replacements, as per the manual. AND NOW THEY'RE OFF. I brought them to a shop, clamped, and a Man pulled them off. (Hey I AM over 50 and do have a muscular disease, but will never not try). Got a quote for the seals from Honda, too expensive, equivalent a day's pay, I'll look for OEM at the diesel truck shops. One last doubt is; The video shows how he polished the legs to eliminate the pits and scratches, I don't think I'll find steel wool, maybe using finest grain sandpaper will be ok? The kind used to clean blurry headlights. Thanks all!
-
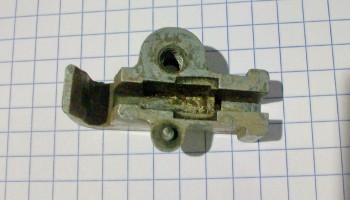
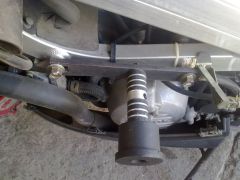
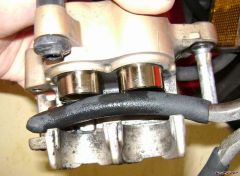
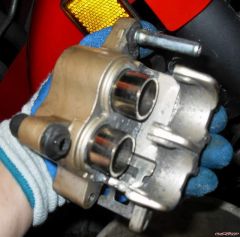
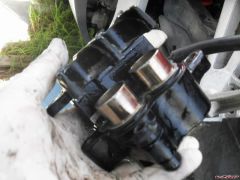
Hello, I rather think I'm not the only one who's had this problem. I need to replace leaking fork seals, got this far (pic), and can't separate the fork tubes. I saw several how-to videos, one linked here, (minute 7.10) And either I'm not pulling hard enough, or doing something wrong. I'm planning on bringing them to a shop, but wanted to ask here, should I just put them on a press and pull harder? what's going on... #2 and most importantly, can I just pull out the seal, put a new one, refill the oil, replace the washer+bolt and be done with it? I'd like this last option best if it works... please any help appreciated.
-
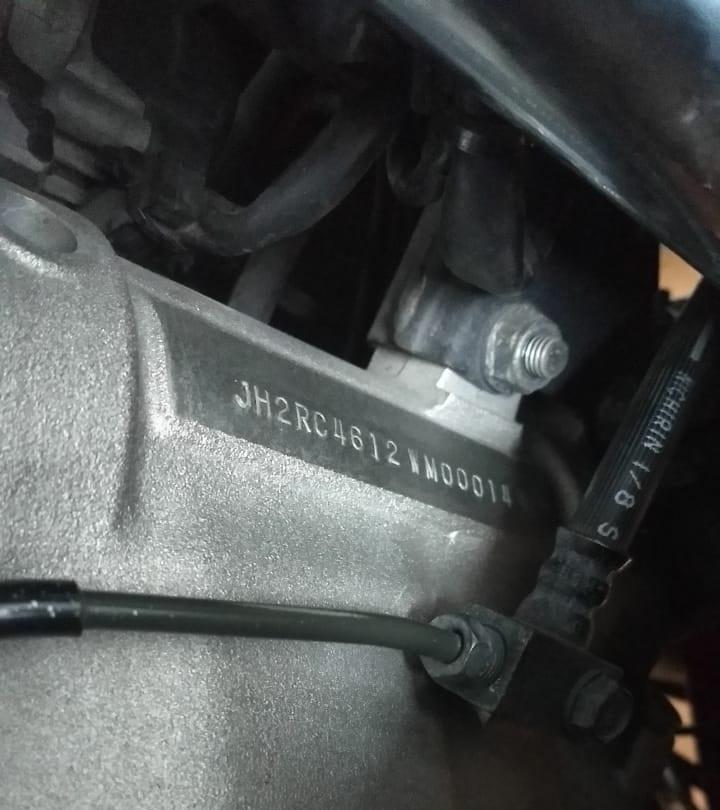
Yup I've seen that. For when you have a good unit but want to cover its tracks... get a defunct number and voila!. -Yes I did think twice about posting full numbers, but guess what, just about every ad I've seen by bike lots, they post the VIN. Whatever risk, or non-risk they incurred, I did. I do appreciate all the feedback. thanks!
-
True on all counts including re-stamping, revenue cops, etc. It's an all out fight here!. (6 cops died on 2 separate days this month, and it's just the 4th). Thank you all who replied. This helps. Our doc here decided to leave it as is (we thought of "airbrushing" with a sandblaster).
-
Hi all, this good friend gets stopped and the cops really insist that the VIN on the steering head has been done over. The reason they suspect is that the rectangle around the numbers is shiny, seems to have been polished (but it wasn't). I'm having another friend who has a sandblaster do a bit of brushing to make the area less shiny. In the meantime, we are curious as to what it looks in other bikes. (yes I know... cops and alternative revenues... 😠 ) Would anyone kindly take a pic and send it over?, ( superfreak77@gmail.com ). I'm attaching here what this one looks like. Many thanks! - PS: I'm in SW Mexico and often host or otherwise hook up with riders who come by, SO COME BY!. (The owner of this 5th gen is the club's orthopedic surgeon).
-
Update on low-charging problem, all done now.
VFRSuperfreak replied to VFRSuperfreak's topic in Electrical
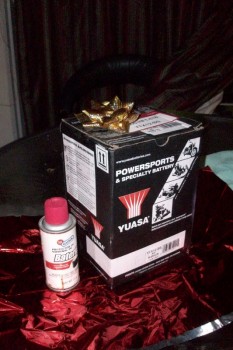
Thanks, good idea. Will try it next (because I haven't re-done it since I posted the above), so I don't have the info on wire thickness yet. This is the latest: I had kept the previous battery, the Yuasa, on low automatic charge for months, (1amp), since I bought the chinacheapo P.O.S. that lasted me some 6 months. So, I wired the old Yuasa, went out riding since the thing starts!, this lasted about 3 days and maybe 10 starts. Then old Yuasa died. I bought a new one now. Off-brand but better than the previous. (yeah I pushed the bike several blocks, then hired a scooter dude to push me with one leg, did I say labour is cheap here....? The charging is still 13 to 14.4 V all around the RPM range. THIS ALL with the same re-wound stator from 2 weeks ago. So this proves that all components have to be checked, changed where they aren't to spec even if one part is recent. -
Update on low-charging problem, all done now.
VFRSuperfreak replied to VFRSuperfreak's topic in Electrical
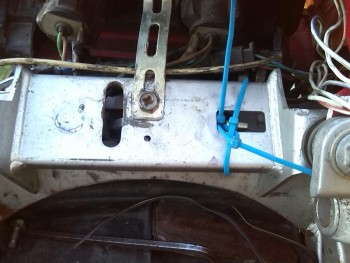
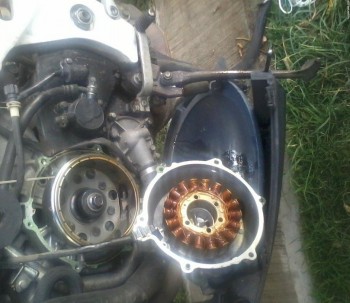
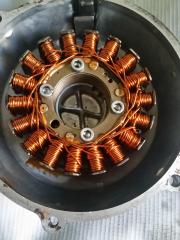
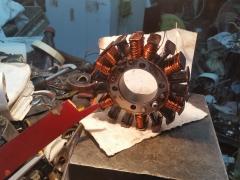
I'm in SW Mexico. And it so happens that days after that test, the only other time I got the bike out, the charging failed. the stator is now off the bike. I was going to delete this thread but let it be a learning experience; Check the picture where the stator isn't finished: Some of the studs aren't properly isolated!. On studs at 11 and 3 o'clock; The black material is broken. This means the wiring will / is now / easily touching the studs. The test readings for this specific problem are inconclusive, (ground to the 3 stator wires). because at times the reading is all zeros, and other times 2 leads show .400 or so ohms. They should be all zeros. [all da fkn time!] I only went back to this picture after the failure, then found some videos on how to do your own winding. The first step is to cover these studs with isolating paint (then baking in 300deg. oven for 30 minutes, see video below). TLDR; The new wiring isn't properly isolated. The engine vibe probably made the new wires contact the stator metal. -But we be learning. I'm doing a few more test before redoing it all. Check at .40 on this : https://www.youtube.com/watch?v=i_RuEK0HMxw PS: Don't kill the messenger! I'm grounded. lol. Very likely I'll do it myself next, after demanding all materials from the guy I paid!. I have time to do every single winding right. 34 turns each. -
Hi all, wanted to update the prev. thread but this will do. My 1996 is now charging 14.4v as shown on video below. Just wanted to post this for those who wonder about doing a stator rewind. This is its 2nd rewind, the previous was done 6 years ago. Now It was weak, disconnected charging some 10-20volt AC per pair, and 12vDC to 13.5 after connected to a newer, finned R-R made for a Honda cruiser. Some might say that for the inconvenience, a new stator might be better, but I don't earn USD currently, and wire craftsmen are lower priced around here. More deets; Wiring was changed all around some 6 years ago, beefier lines, doubled to battery posts. Also did away with almost all harnesses. Current battery is econo brand, previous was Yuasa, lasted 5 years. Hope this helps! (video done yesterday).
-
 and voila!
 -
 Rewinding the stator, after 5 years of service, stopped charging. On installing.... 14.7v at idle!
 -
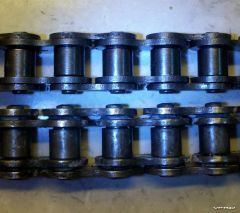
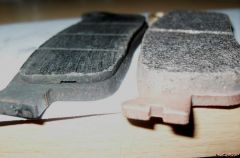
Service Items:Chain, Brakes, stainless chain adjuster &
Images added to a gallery album owned by VFRSuperfreak in Member's Gallery
-
-
Update on this, with a new-fangled tip I offer for your review. The knockoff RR is gone. Got a new Shindengen unit with those double Neg and Pos outputs. New battery and new starter relay. Re-did some wiring, new lines direct to battery etc. Here's the interesting bit, the new relay, I noticed the connectors for the fuse were loose, didn't want to mess with trying to tighten something that will vibrate loose again. We know semi-tight connectors just create resistance, heat up and melt dreams and rides. So I crimped a nice fat eyelet connector to the RED wire that goes to the fuse bank, (with an inline fuse! and I will solder it calm down), to bypass every weak point: Attached this to the HOT post on the relay, the one with the fat wire coming direct from Batt. POS. This wire/crimp deal is never coming loose again!. Yes I could have connected this to Batt +, but I wanted a cleaner install. The whole double - + wire enchilada now charges at 14.4v. Yeah it drops to around 12.5 with headlights and fan, braking on. But we know this Stator has to be replaced soon anyway, it's the weakest link r. now on this otherwise new-part charging circuit. This should do well for the next few rides to MX's pacific beaches. Thanks again!