


VFR750F3
-
Posts
260 -
Joined
-
Last visited
-
Days Won
10
Content Type
Forums
Profiles
Gallery
Blogs
Downloads
Events
Posts posted by VFR750F3
-
-
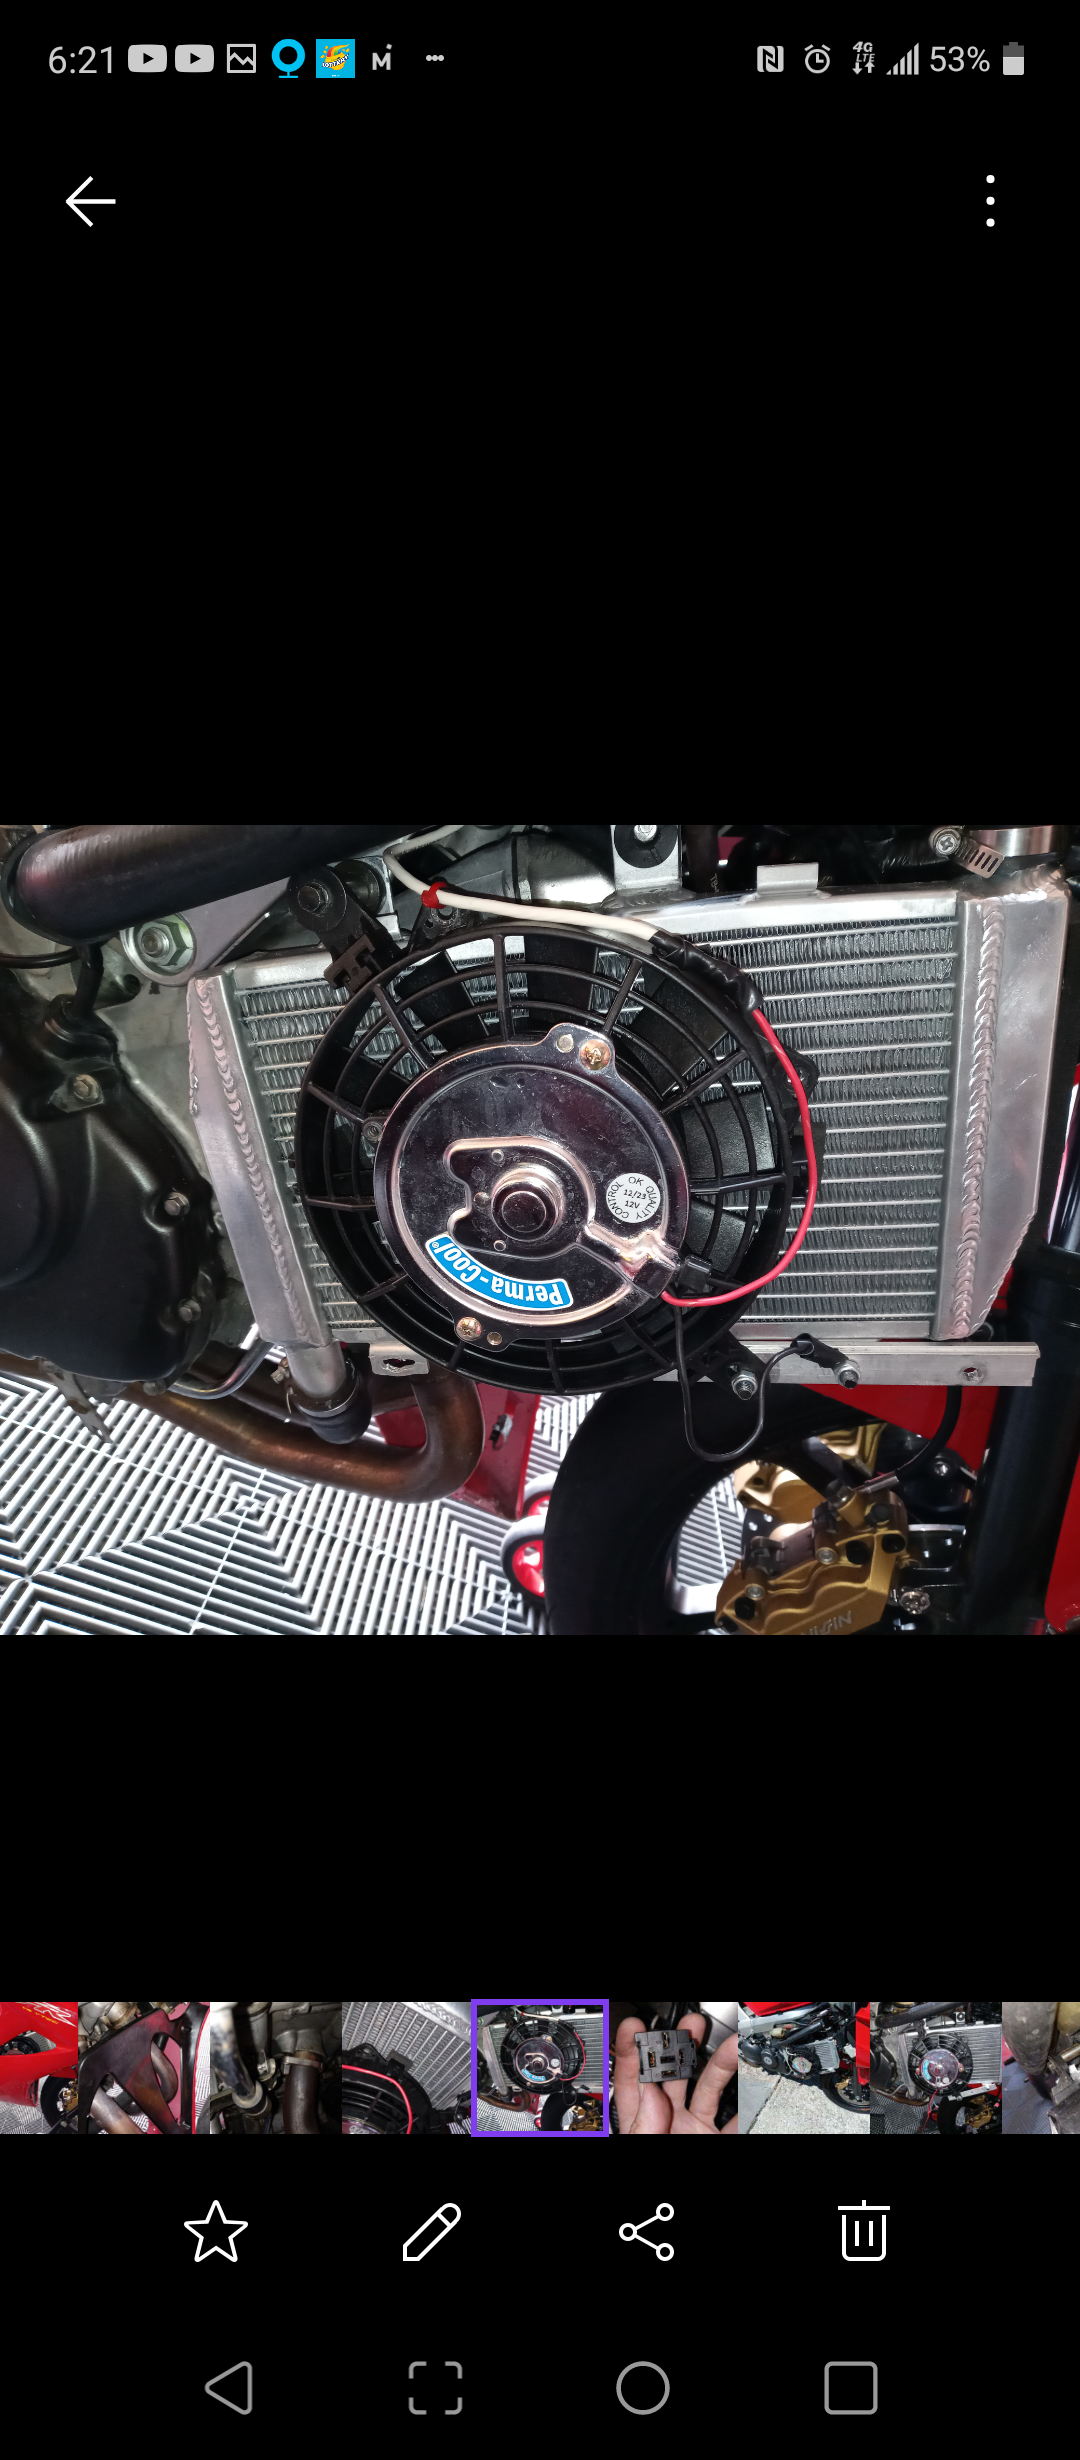
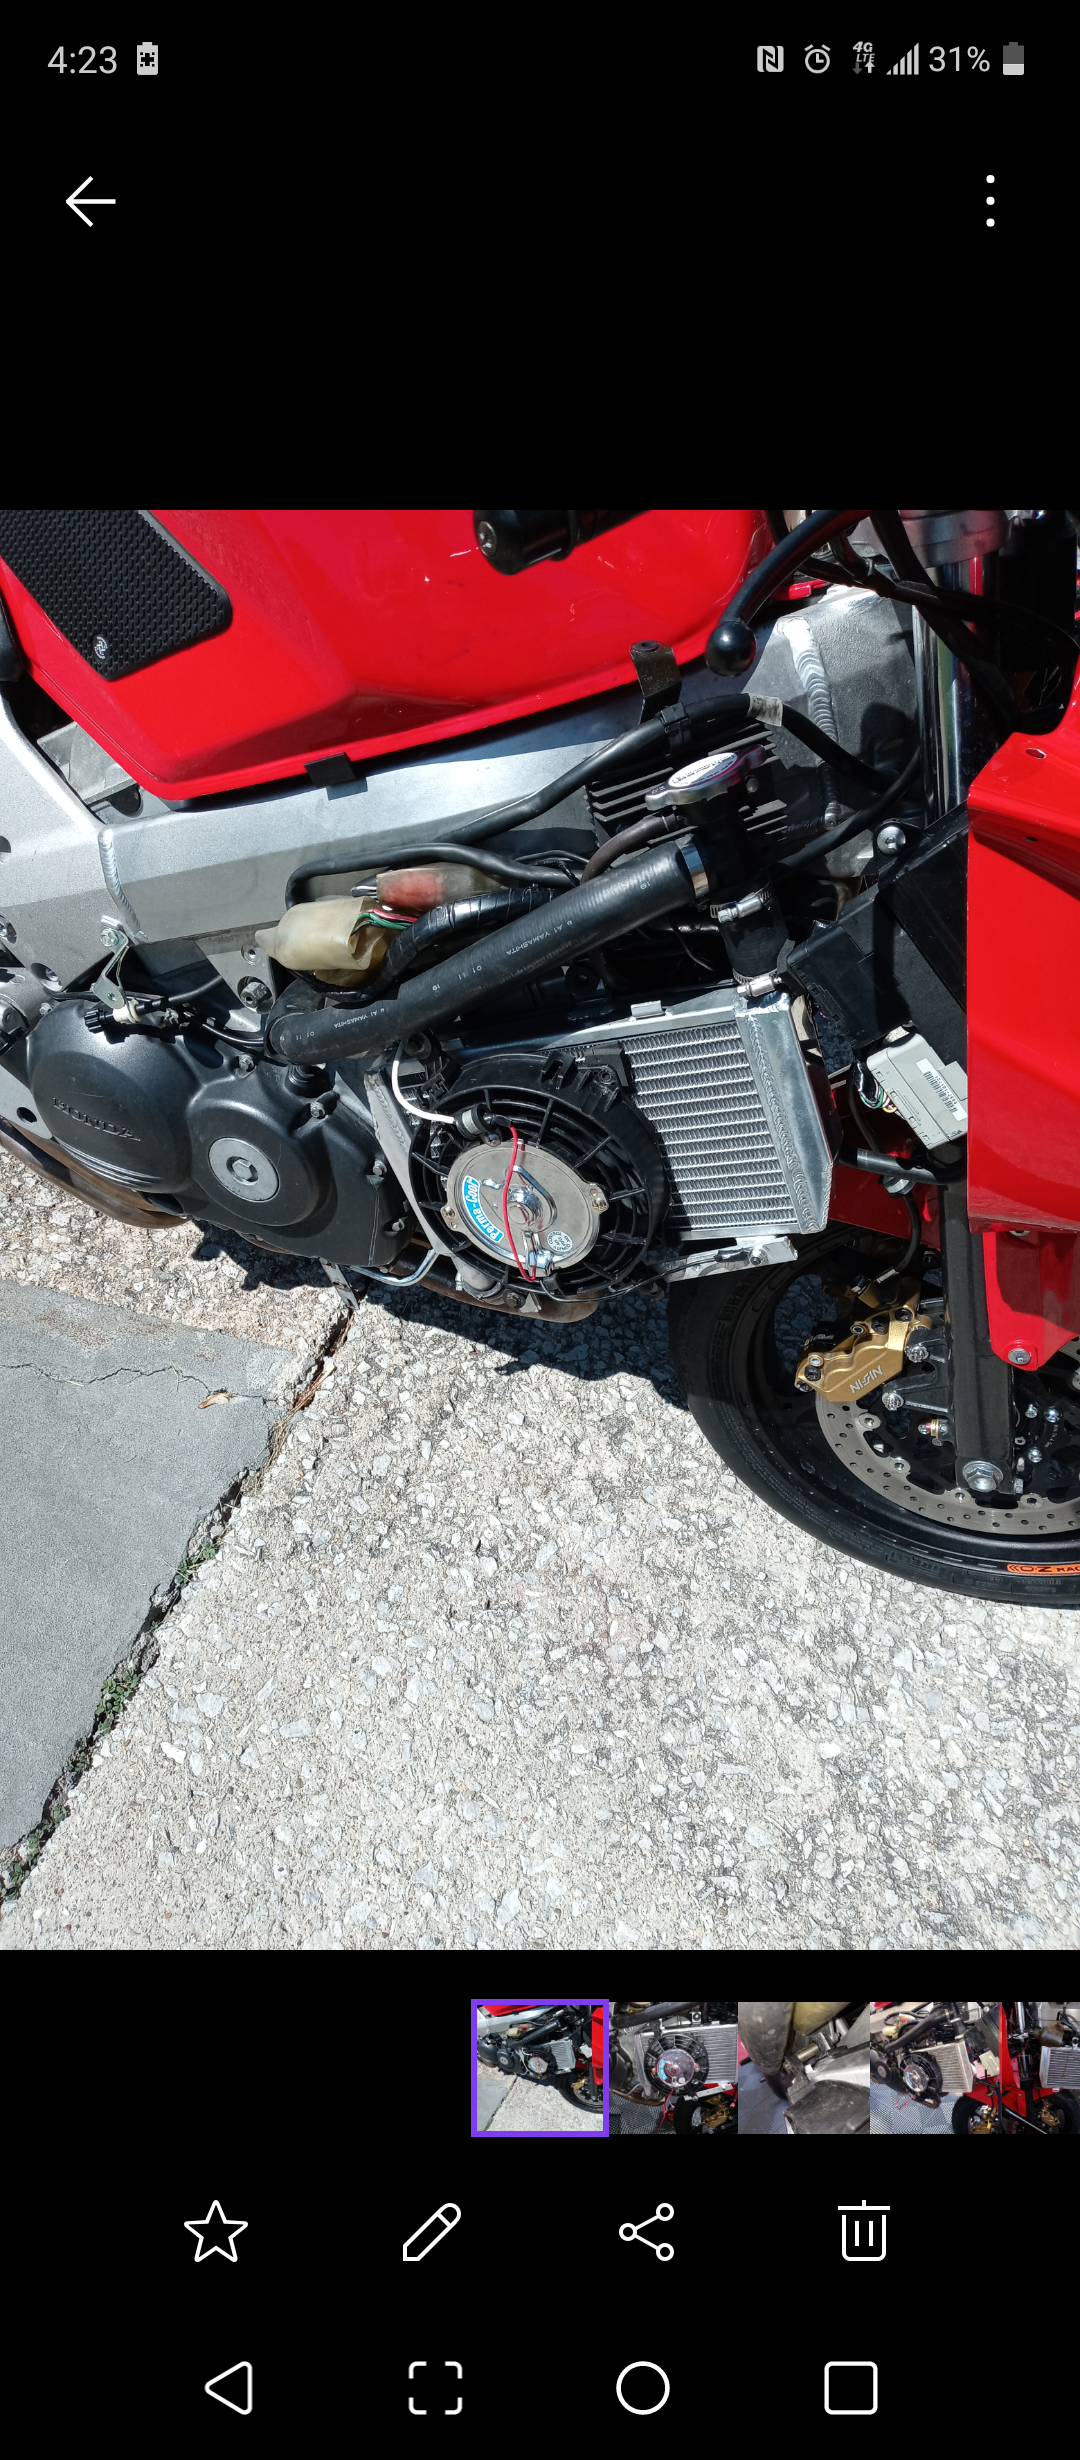
I had to trim the front cowl. I actually broke it. Will replace. I have a spare just have to find it. Moved right oil cooler line bracket to the outside. It gave me alittle more room. I moved fan again only 2 mounting points used some foam pads on the other 2 sides. Installed toggle switch and fan relay to turn on fans. Should of gone with a smallerr Spal. The fairinngs are a pain to get back on especially when you lost wiggle room. Only take this on if you have a weekend free lol.

-
Stock fan left with superhawk blade. Perma Cool right fan modded to fit under fairing with super nice chinese rads. The PermaCool rad is rated for 2400CFM which is BS.
Tried emailing them and calling them no response. I also fitted these chinese rads to my RC51 with dual Spal amazing. Working on getting the fans to work with aftermarket fan controller. I have a toggle for now. Bike ran umder 200 with no fan. Blue coolant type 2 from Honda automotive.
-
I have a gas tank for a 87 VFR700 has 1 small dent no rust in tank. Email me I can send some pictures.
-
 3
3
-
-
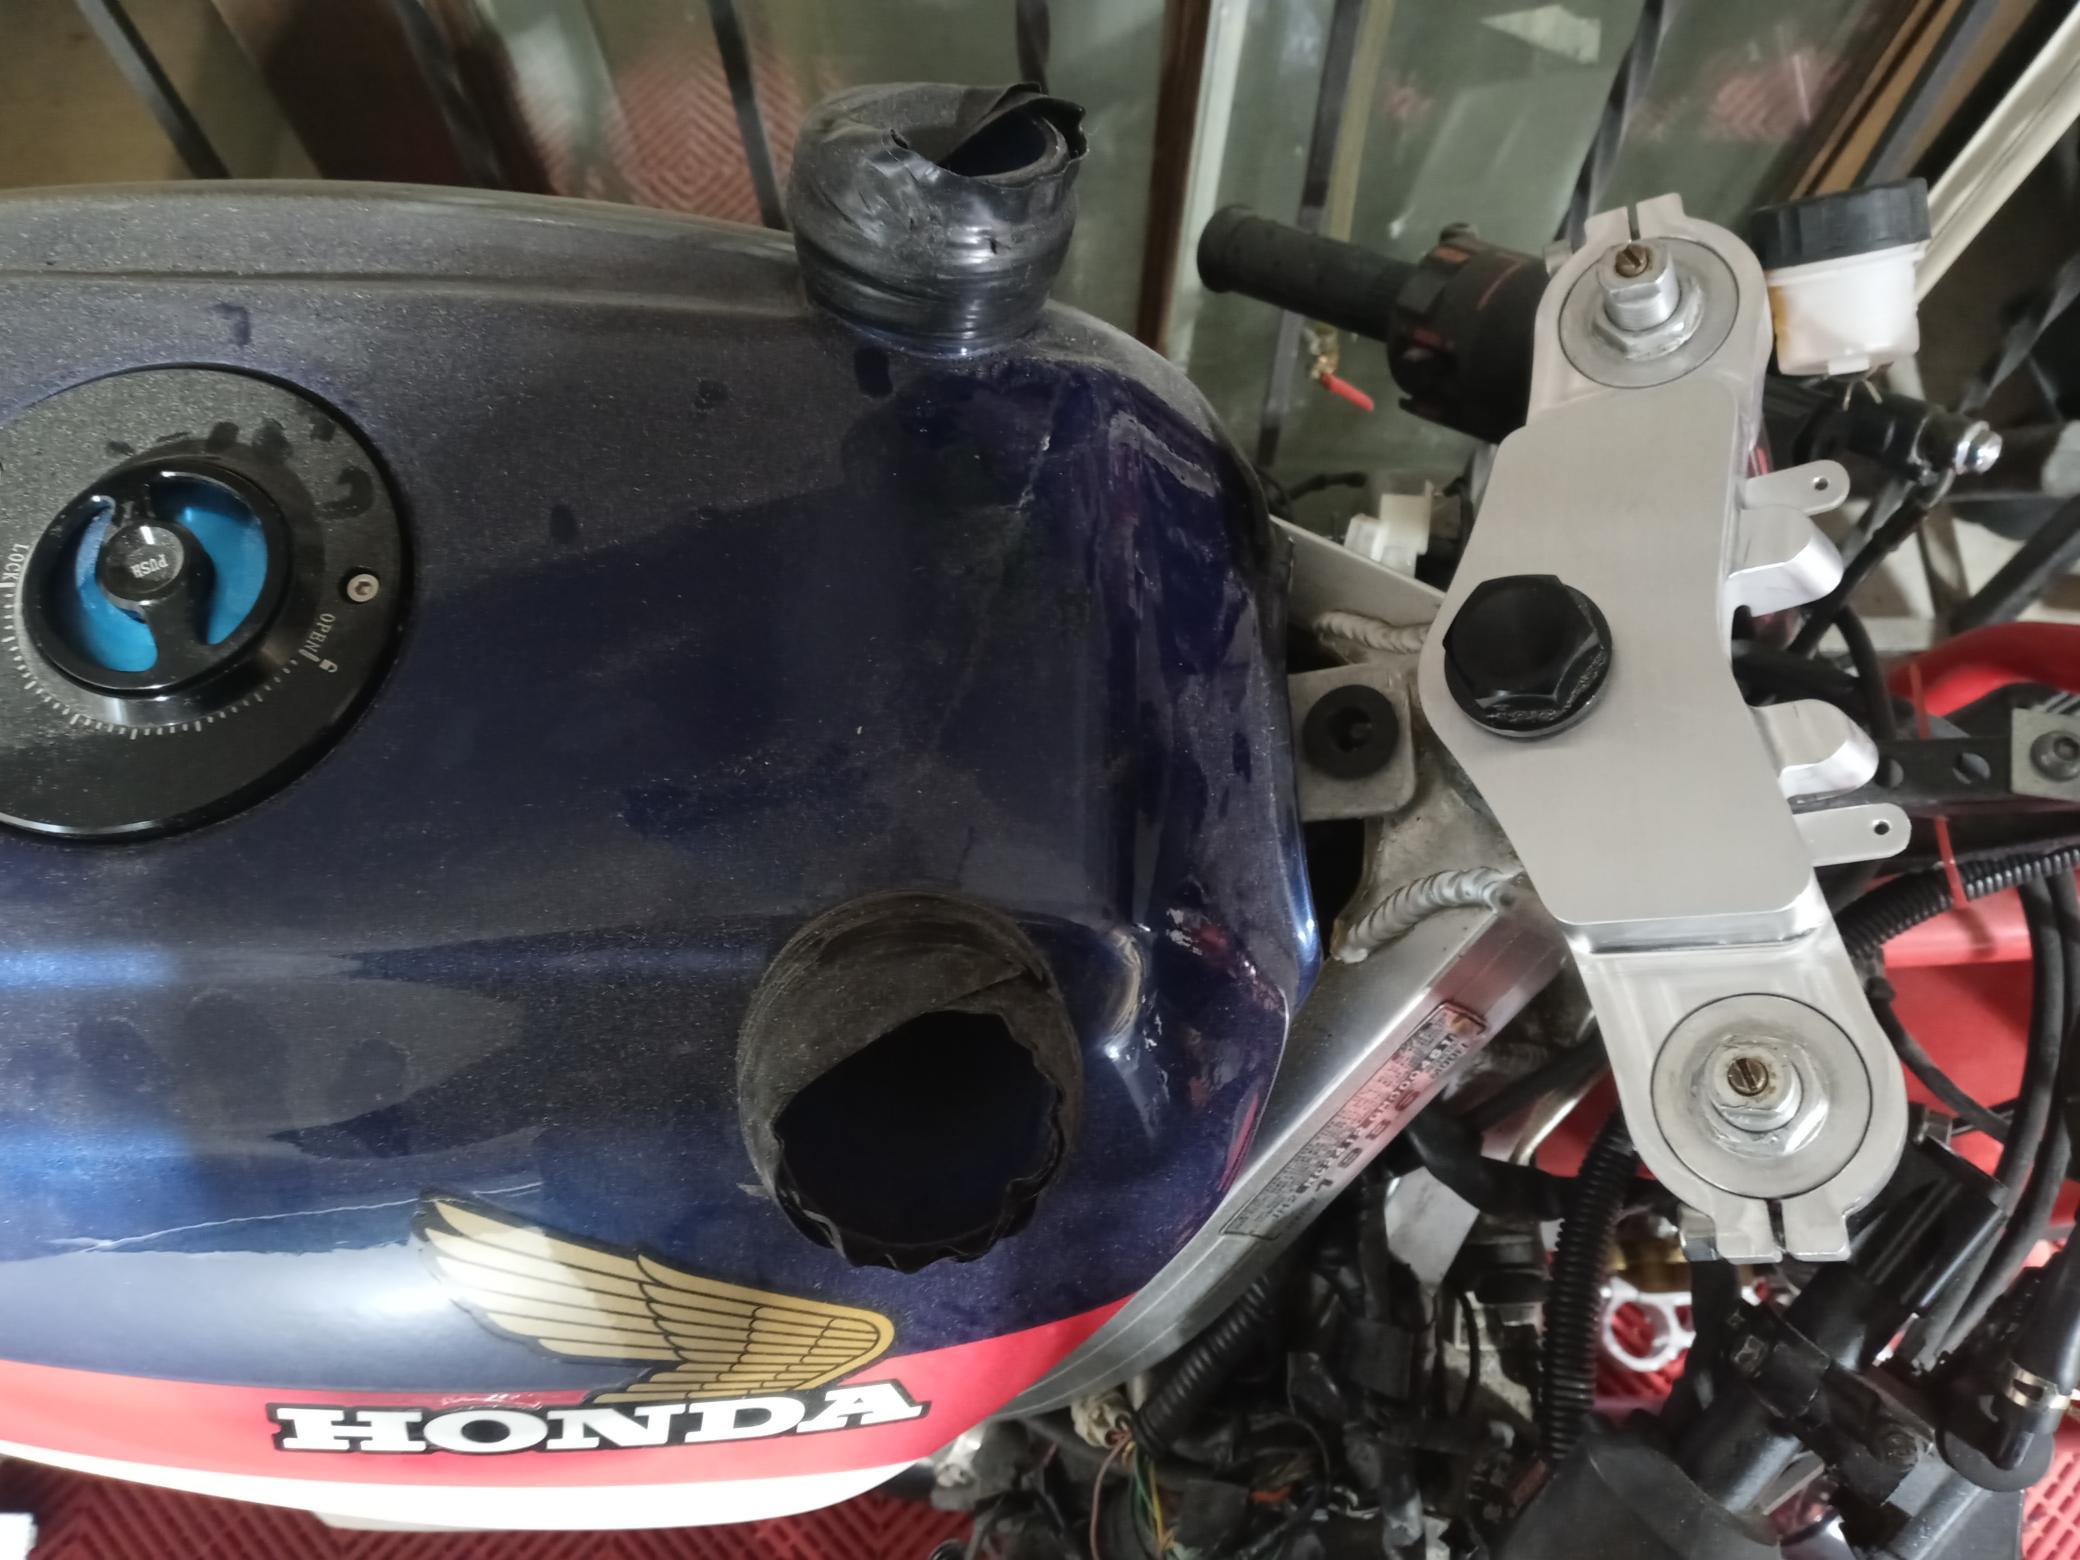
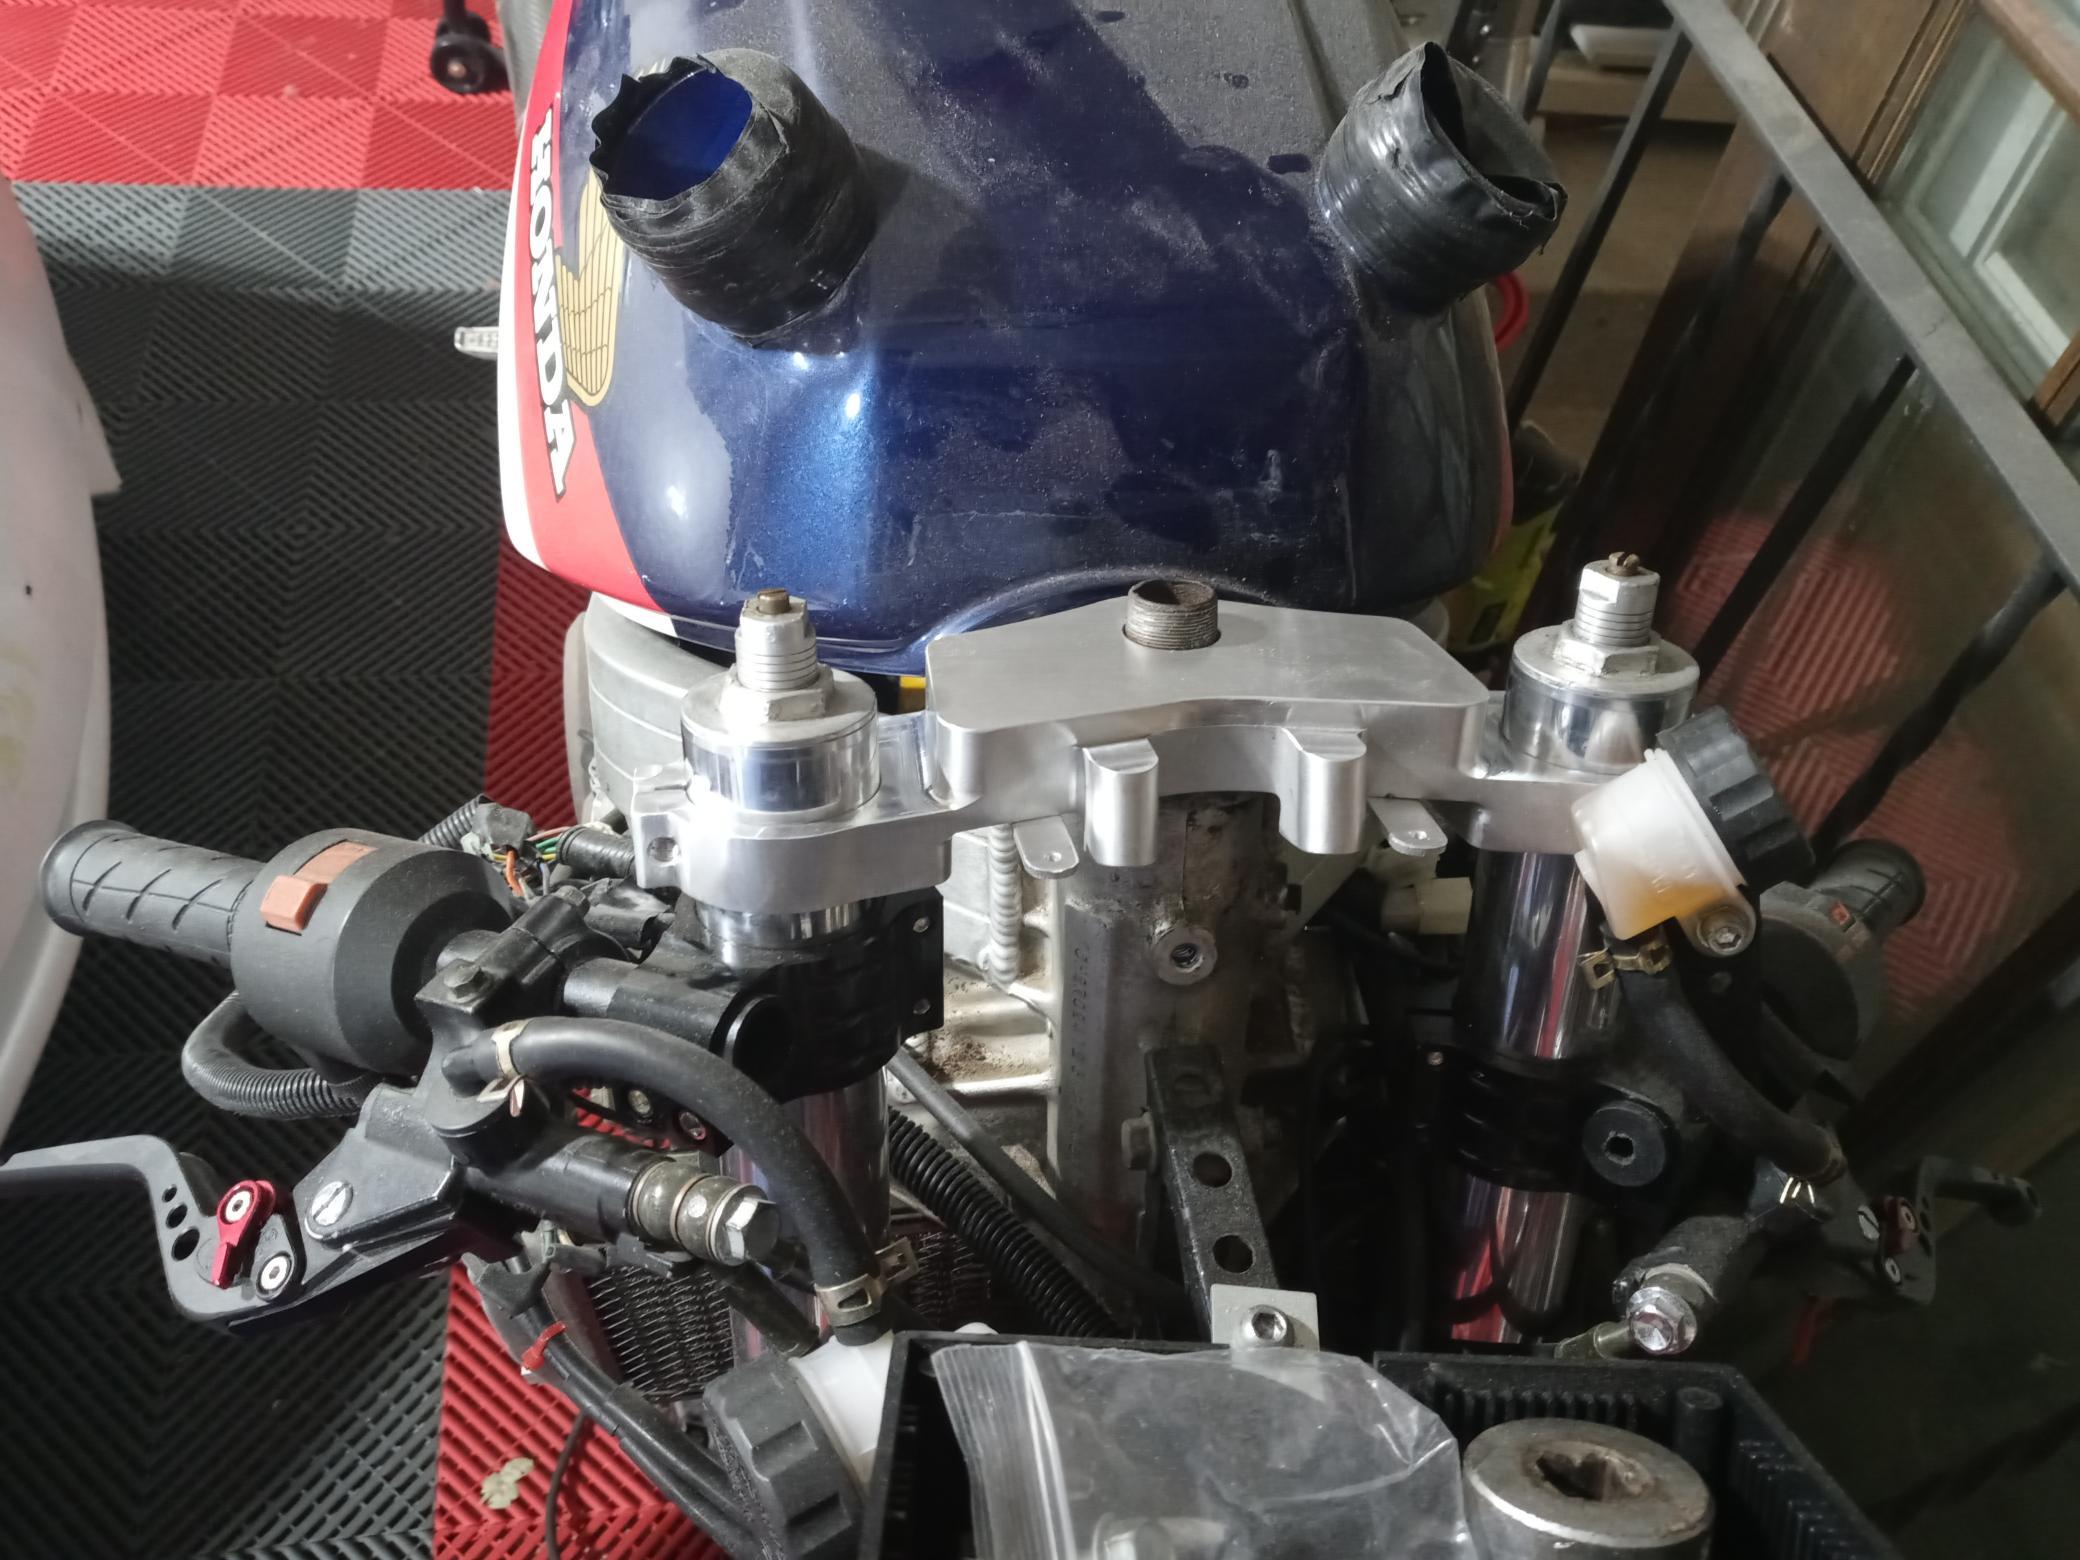
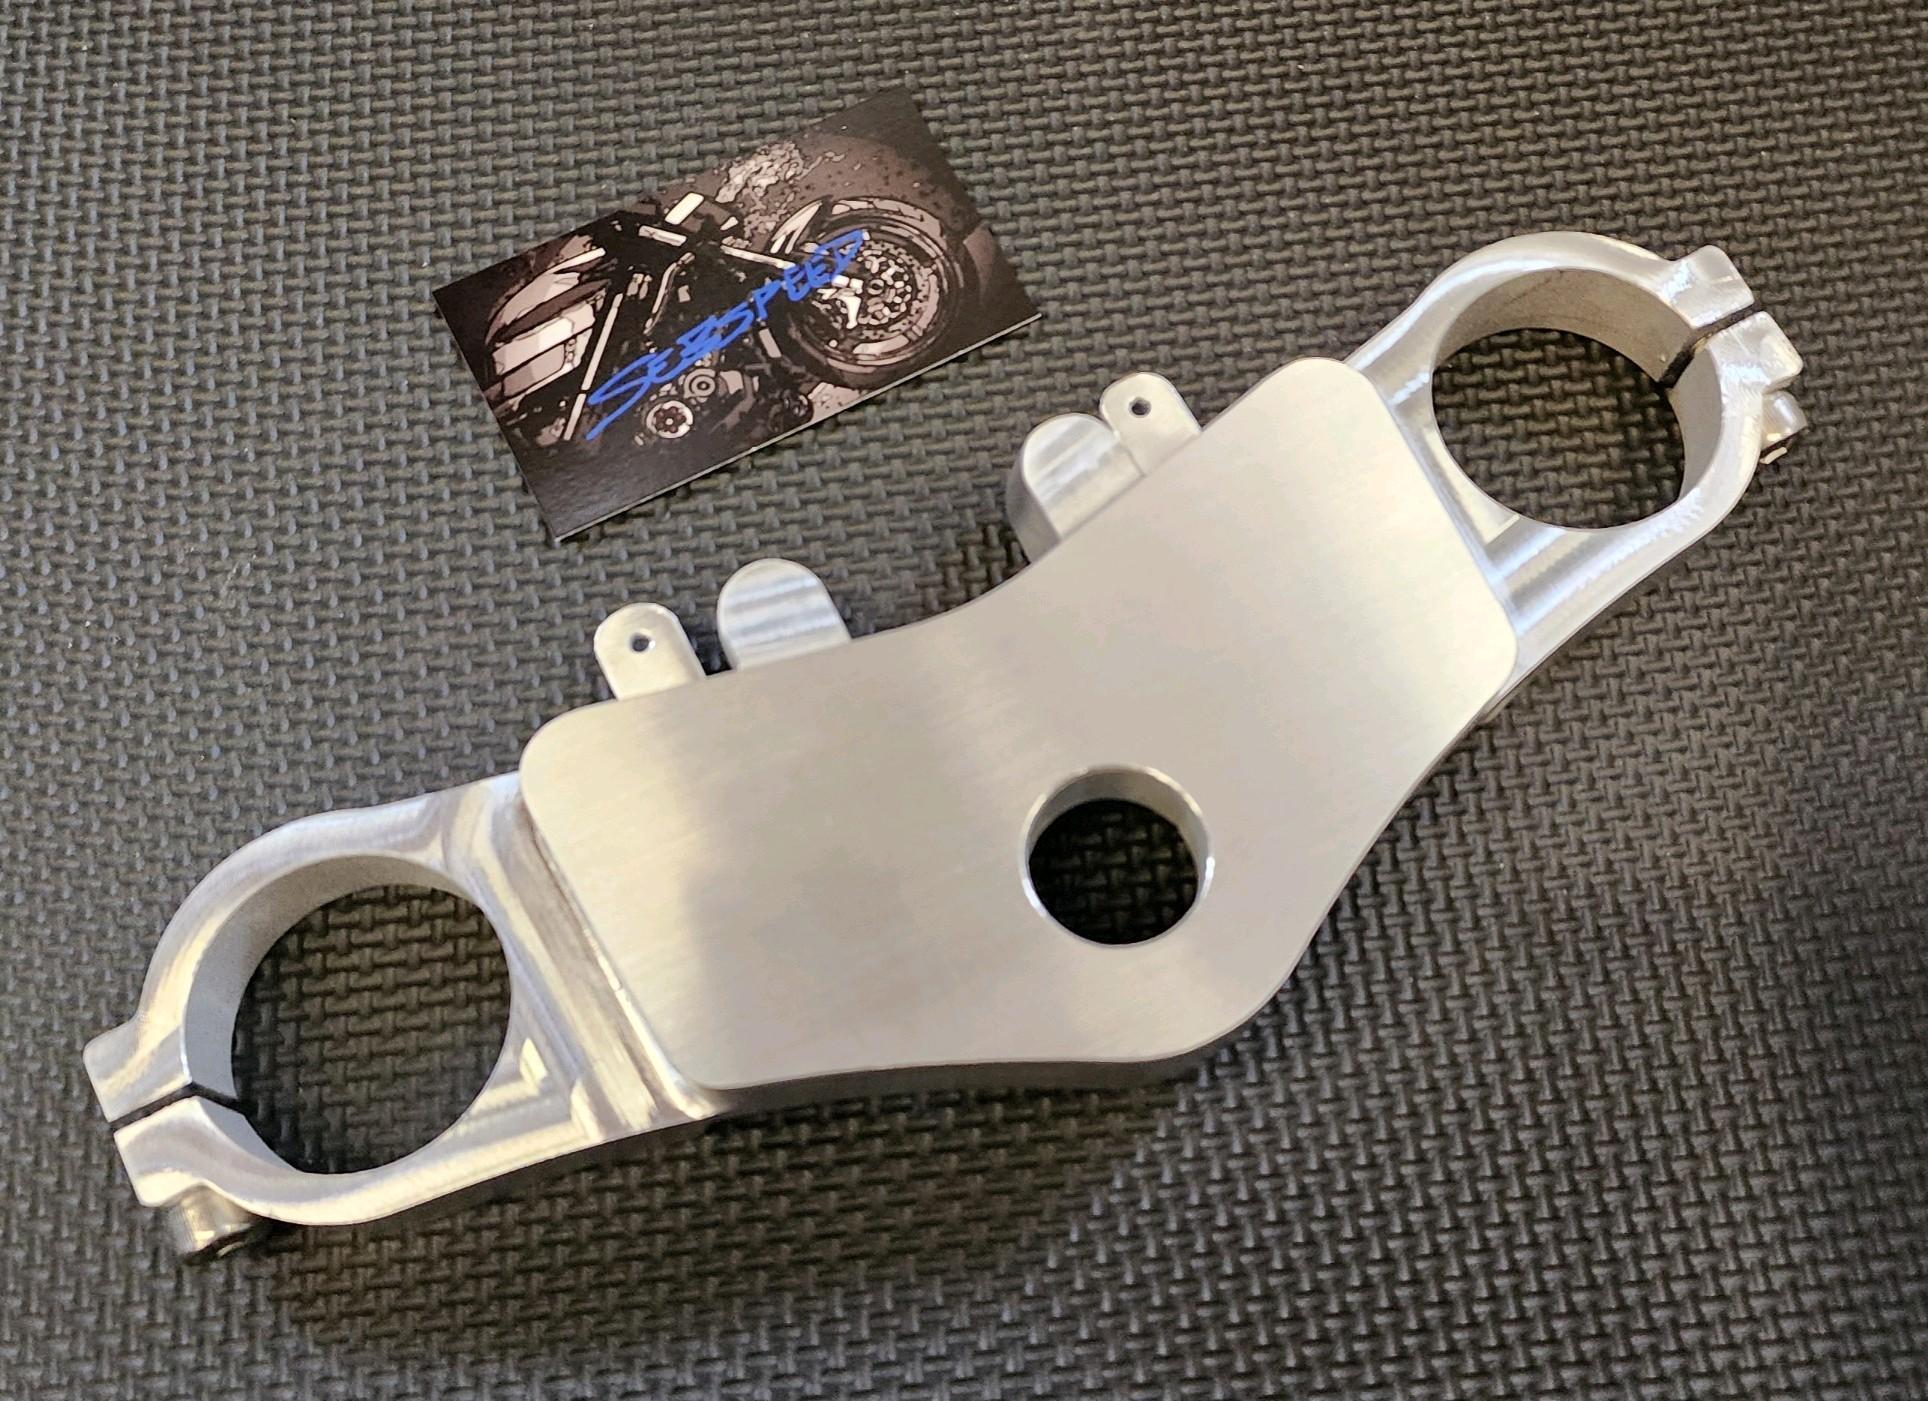
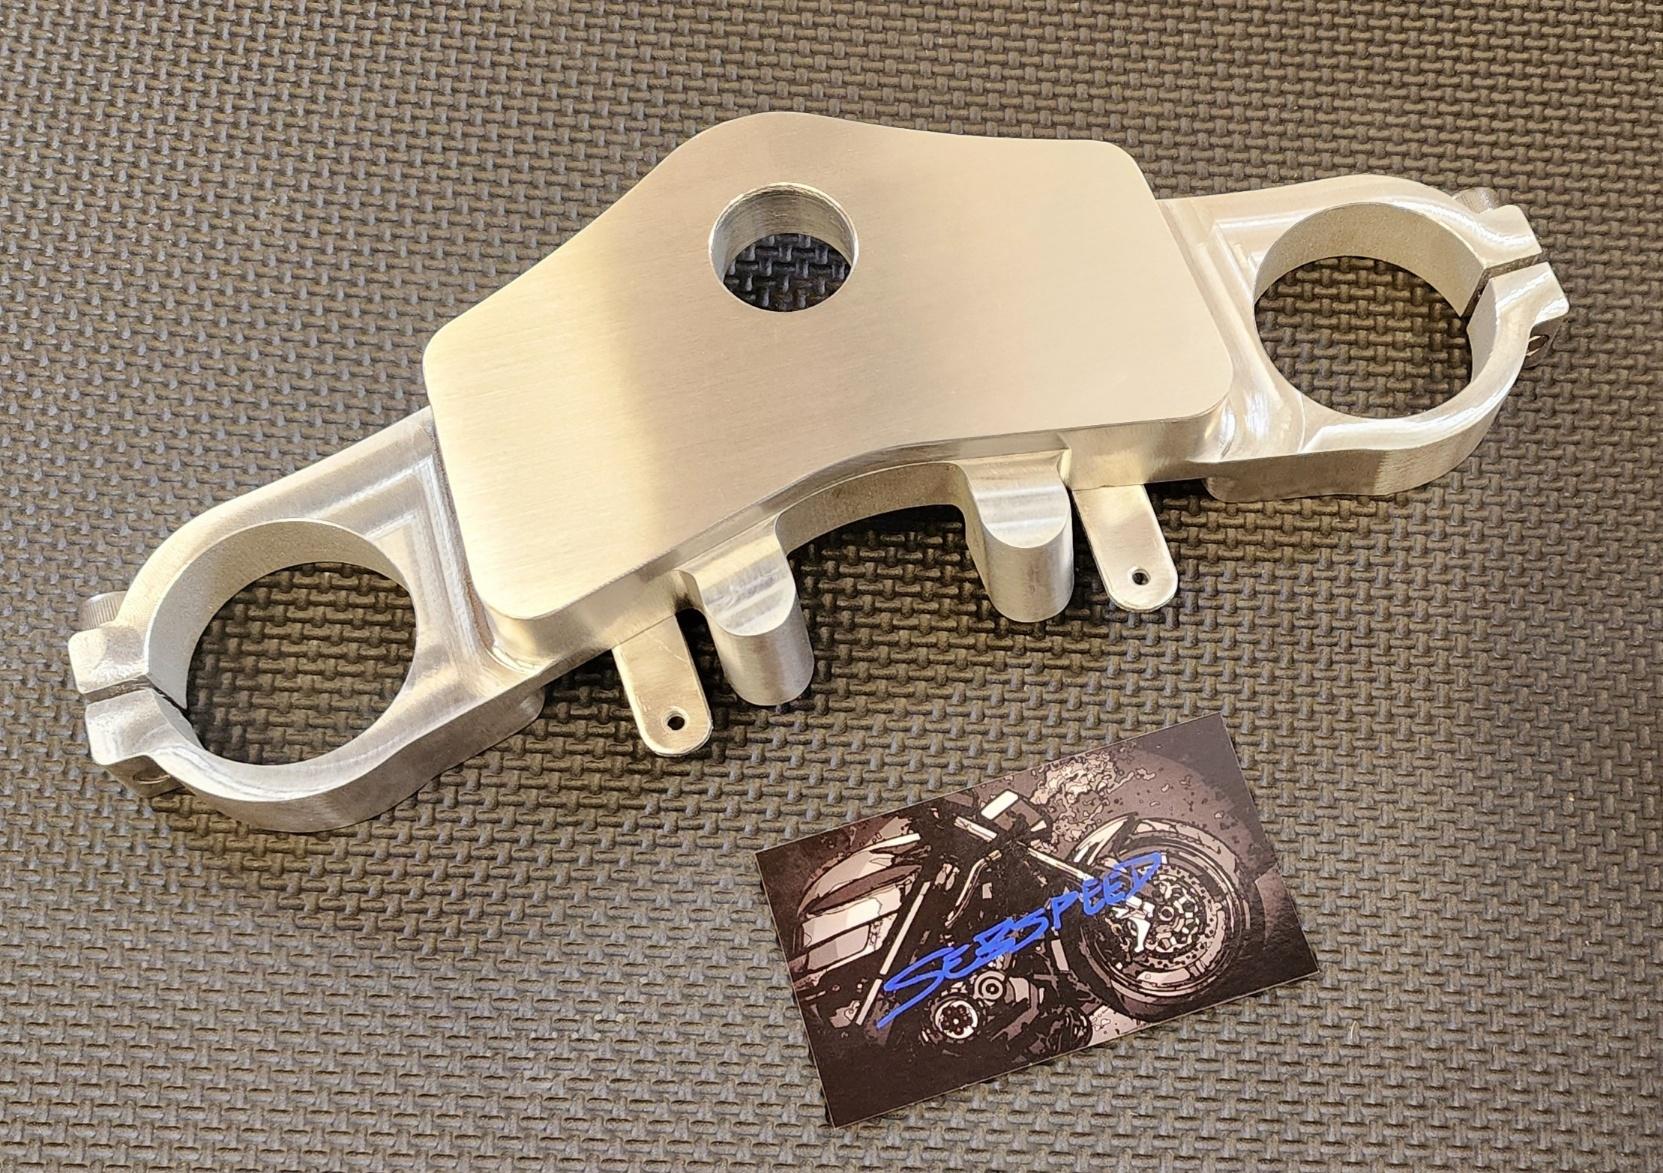
1986 VFR750F with CBR900RR fork. Wanted more ground clearance. Triple tree 19mm gullwing. Stock ignition lock and fuse box are in stock location.
-
3
-
-
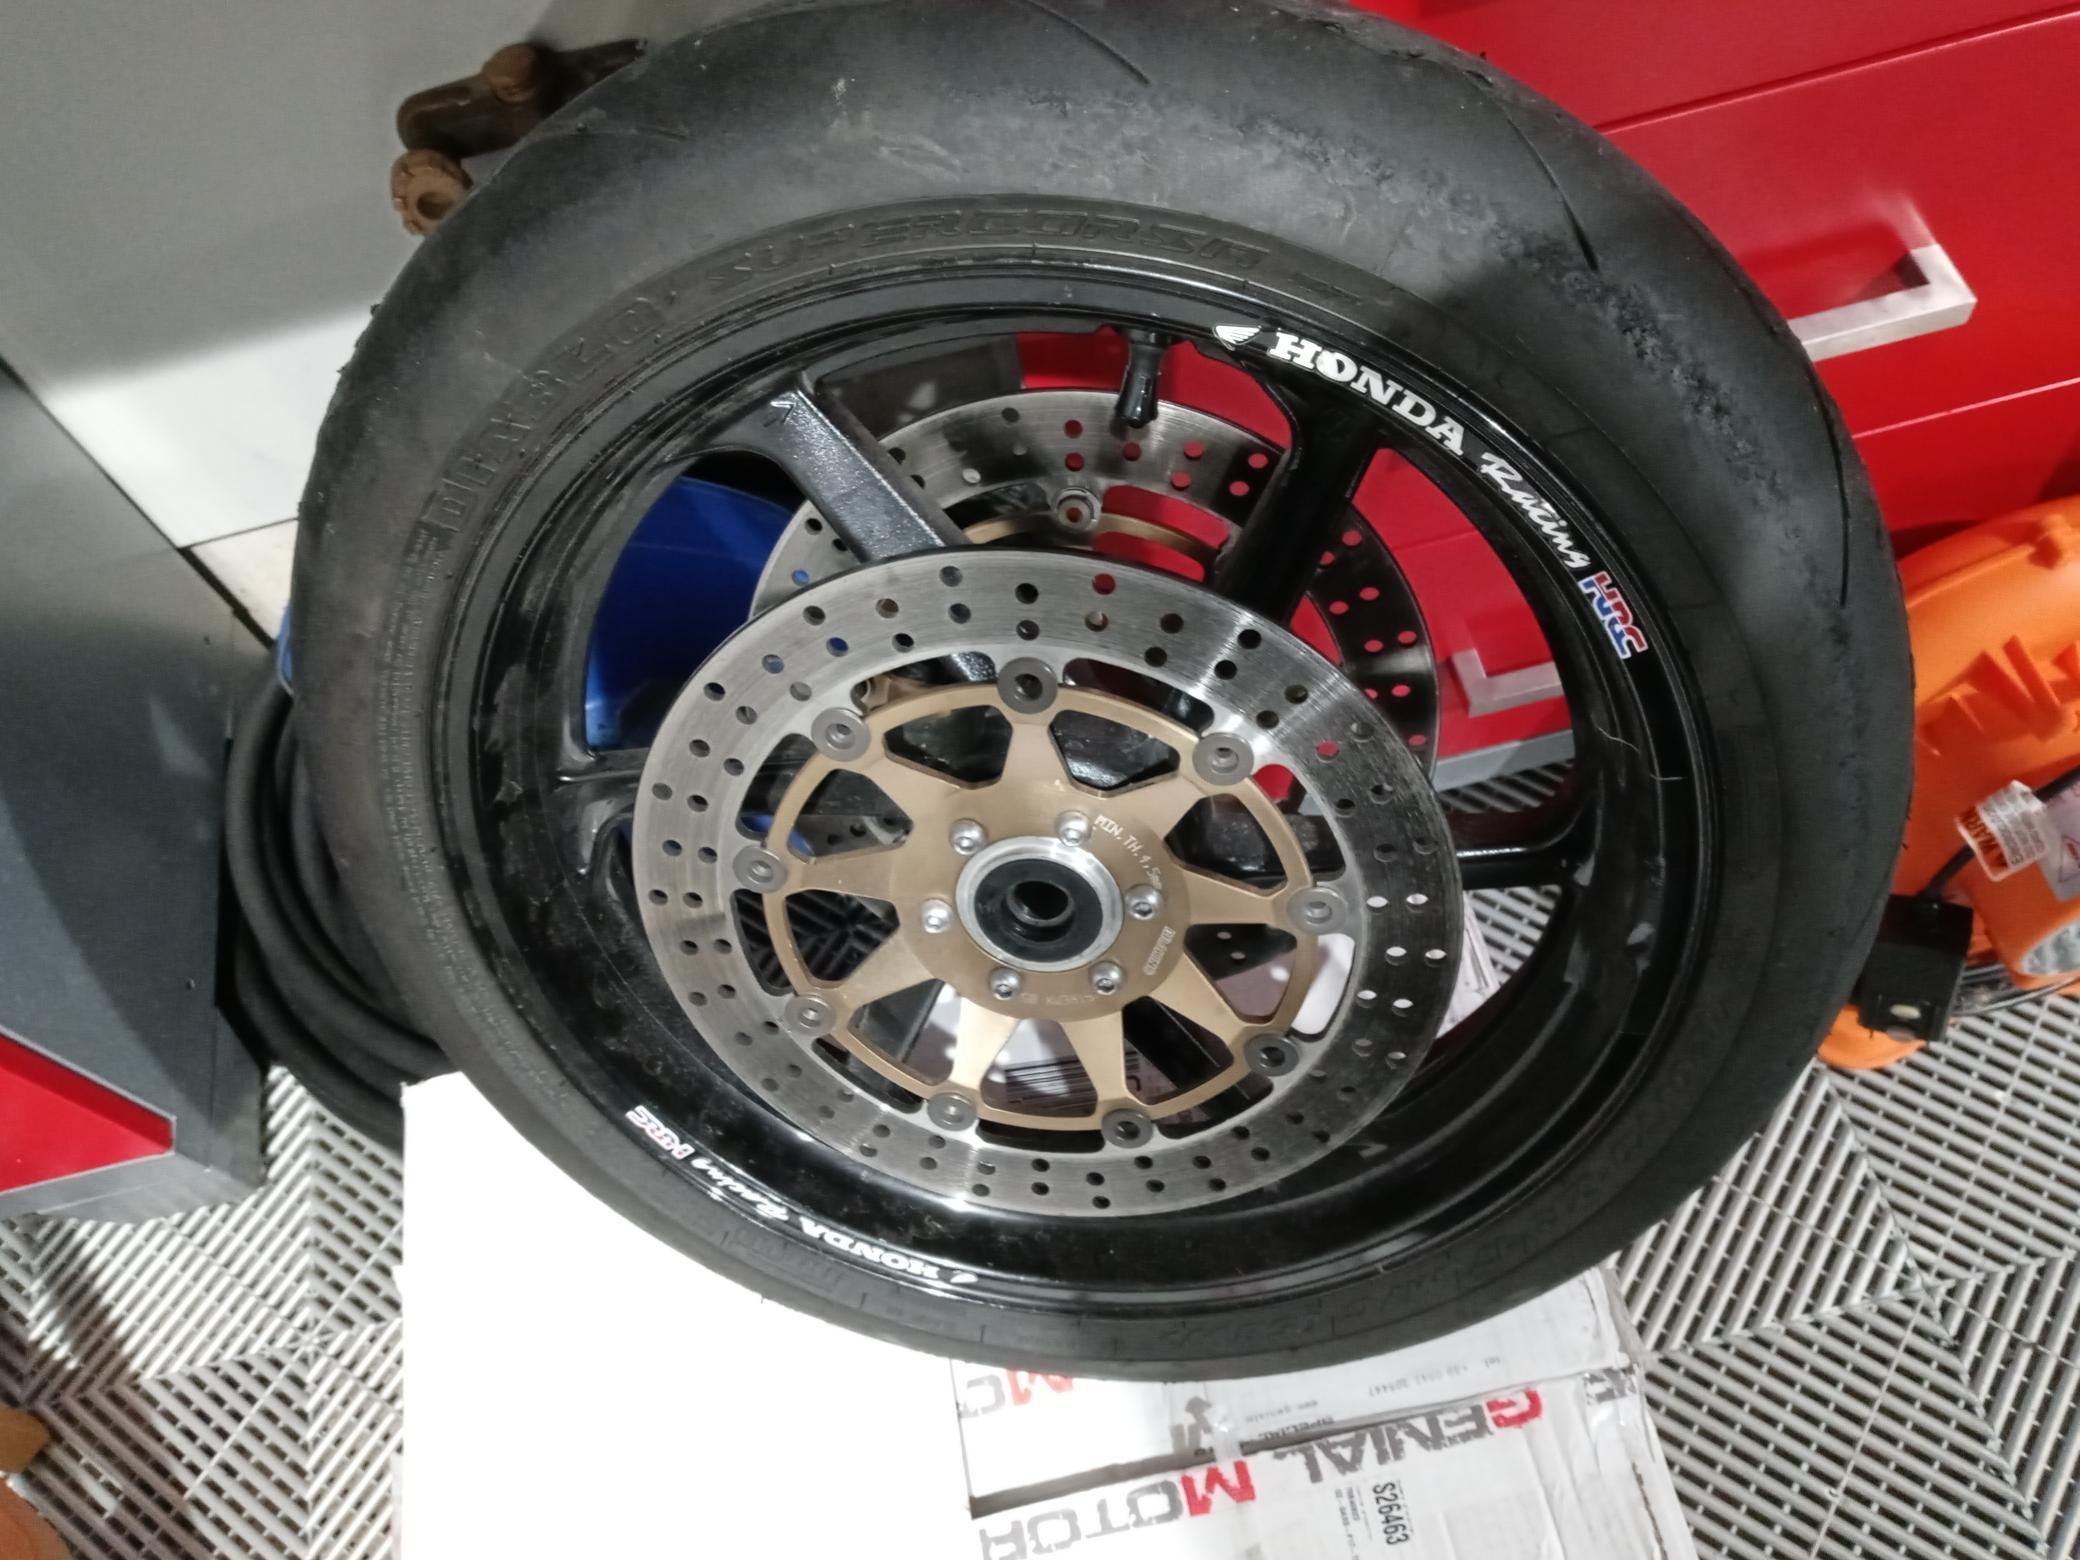
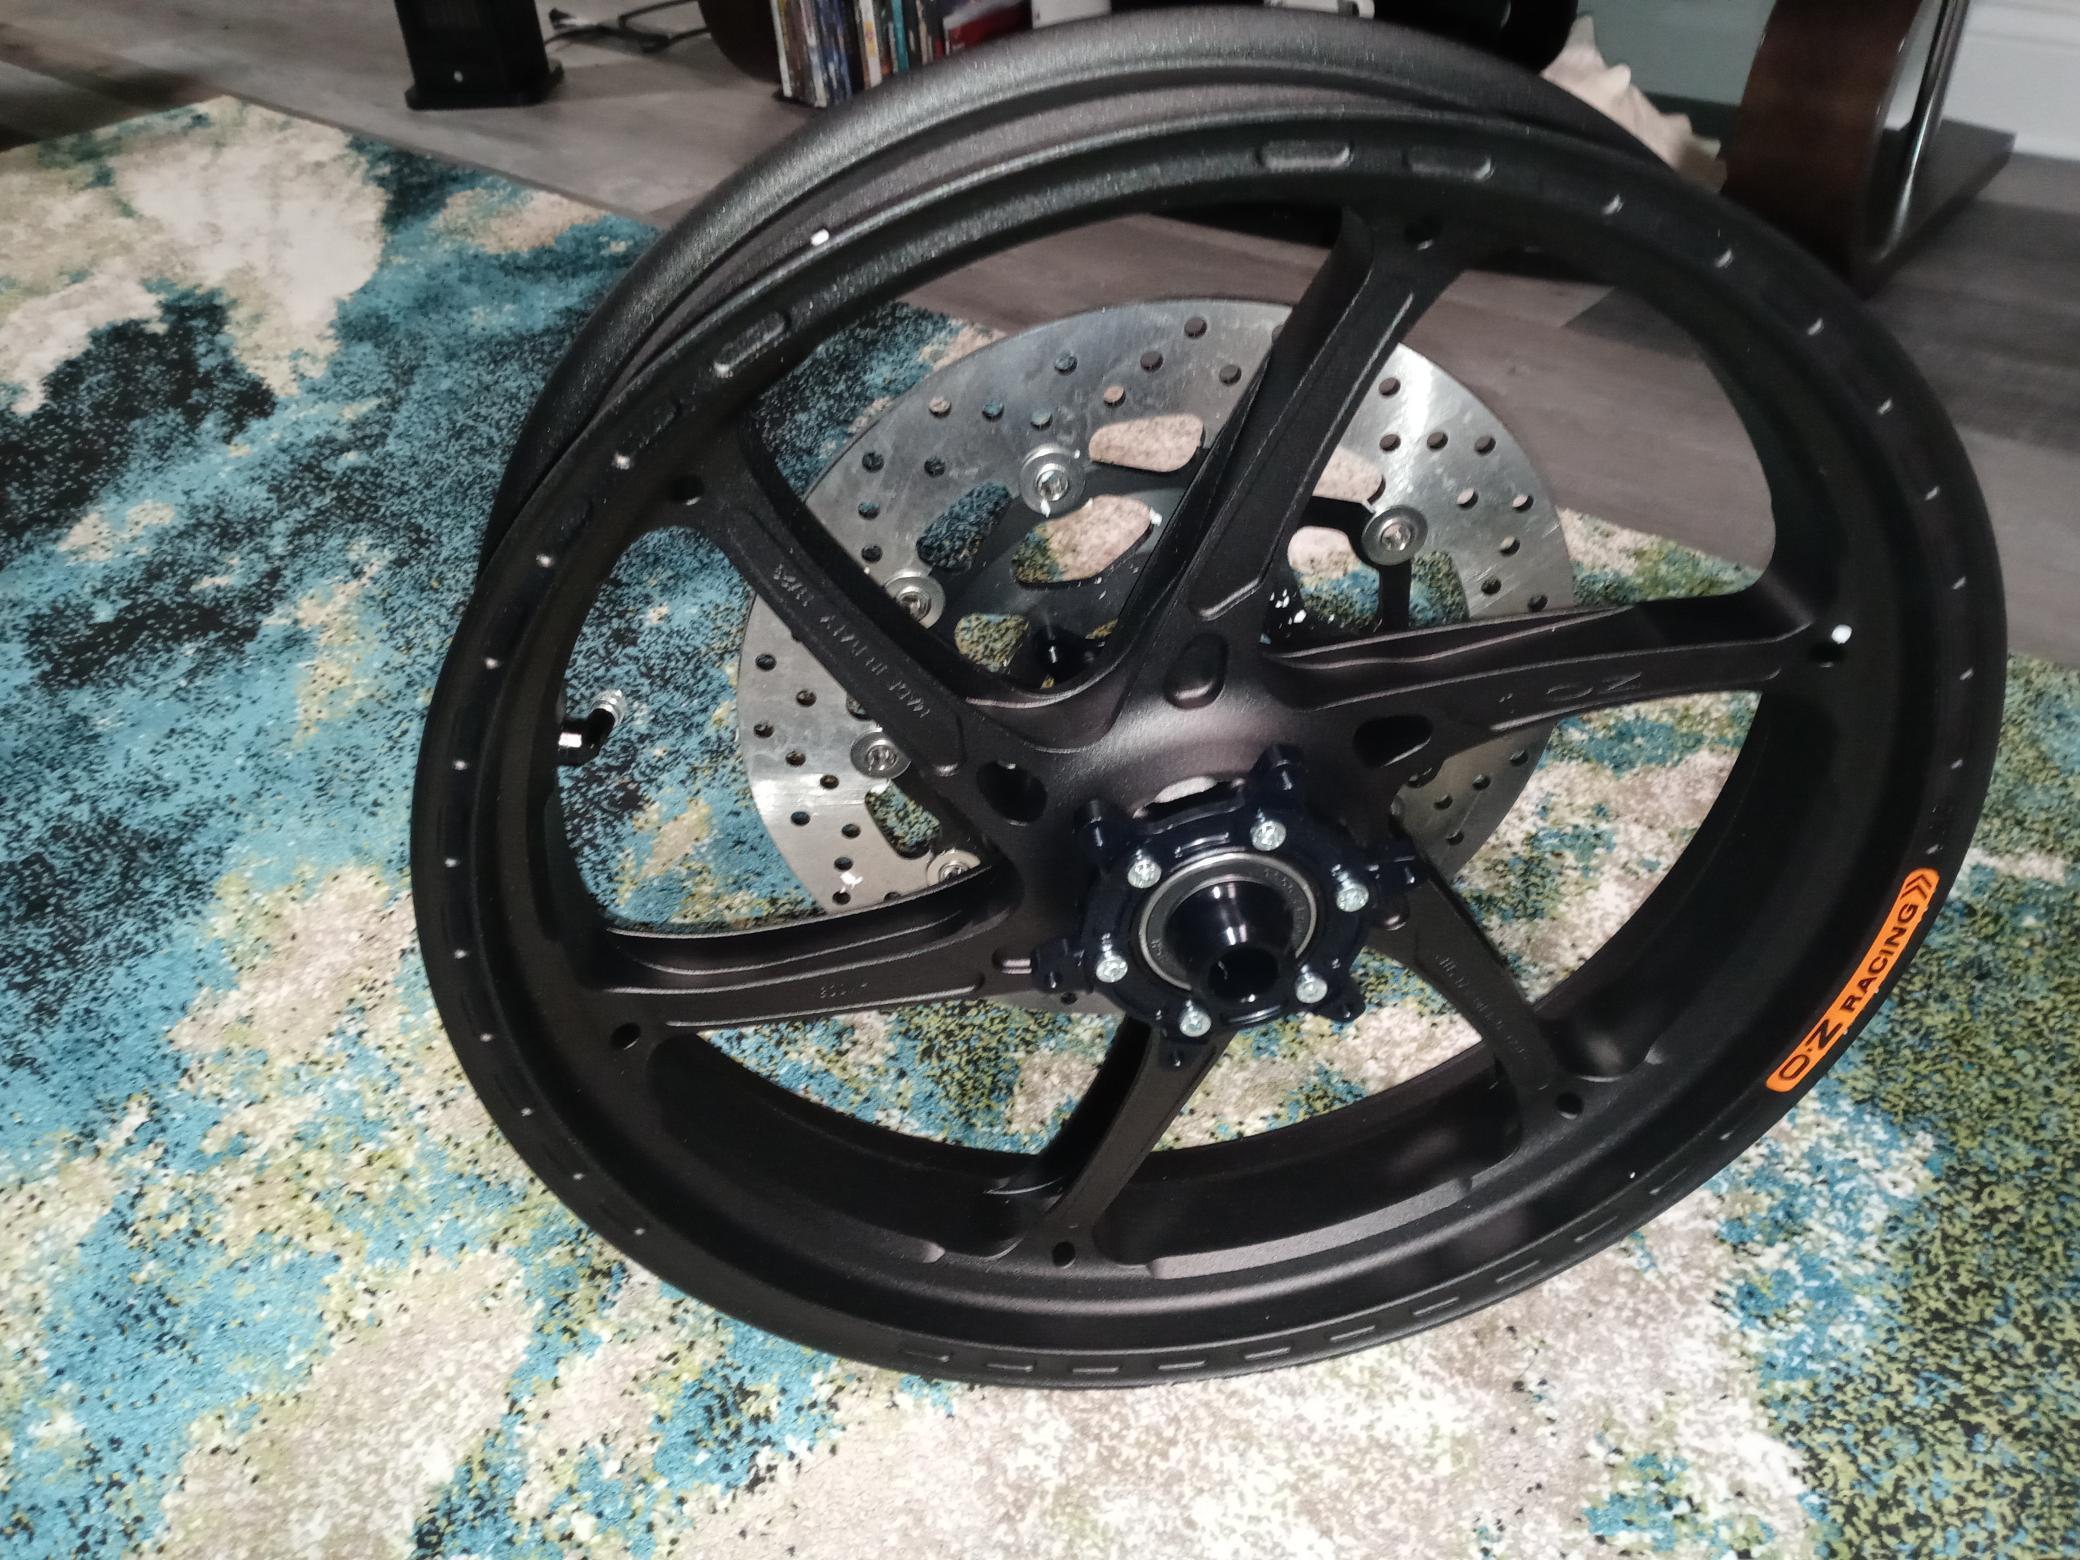
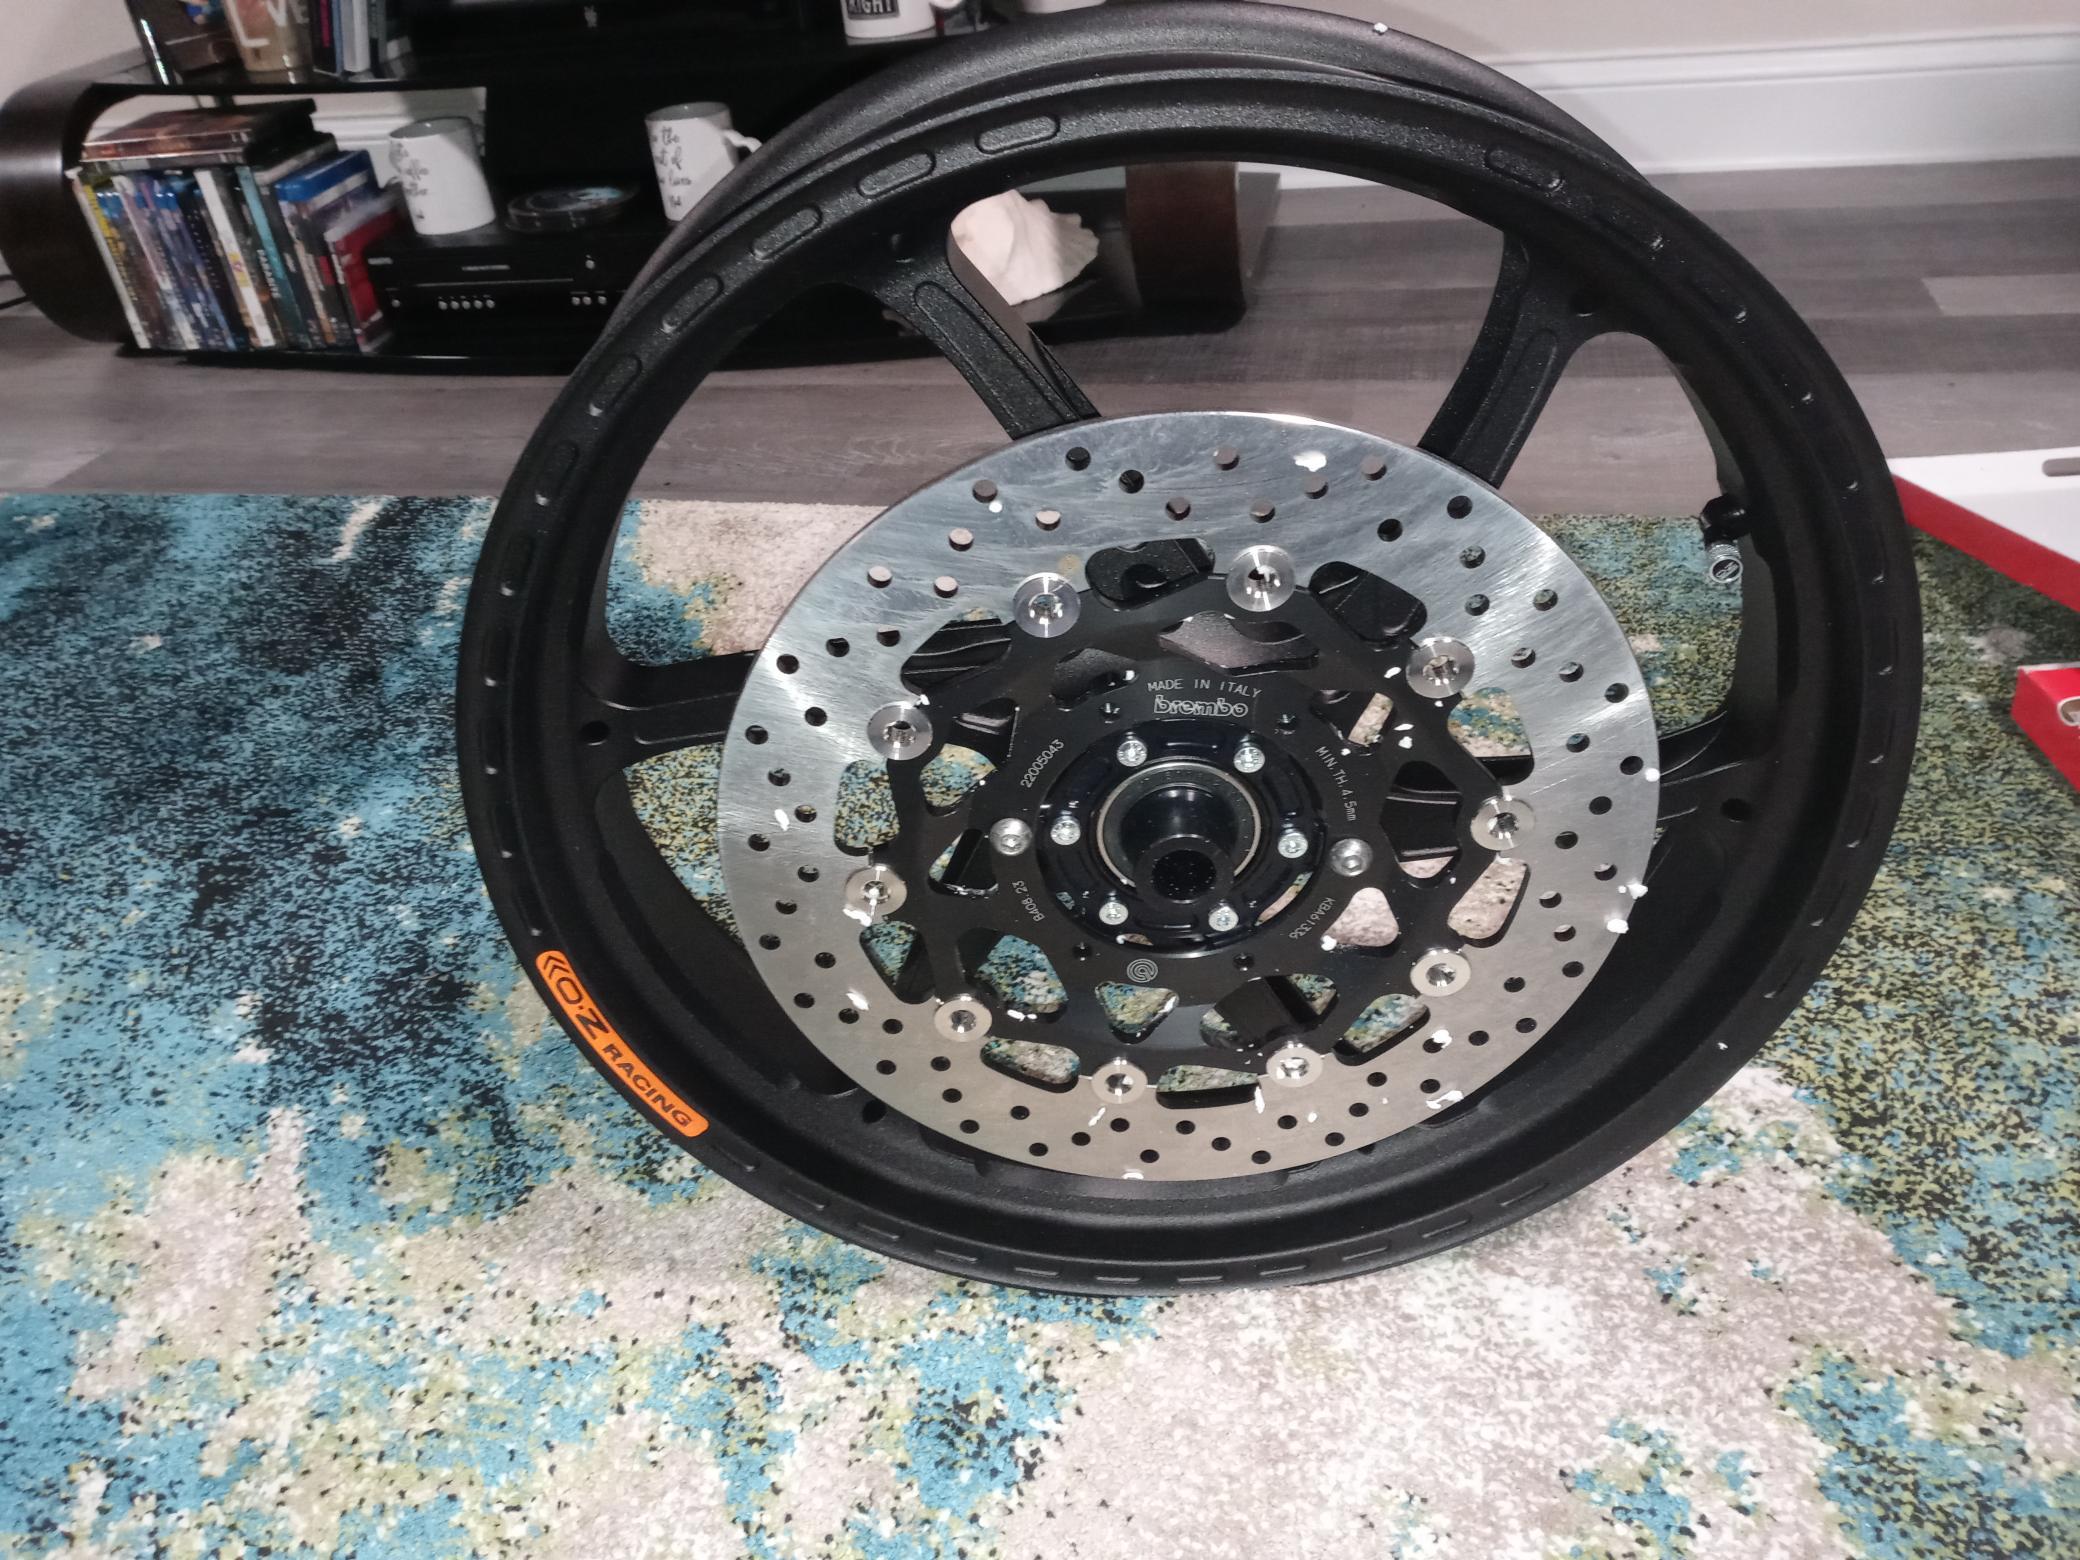
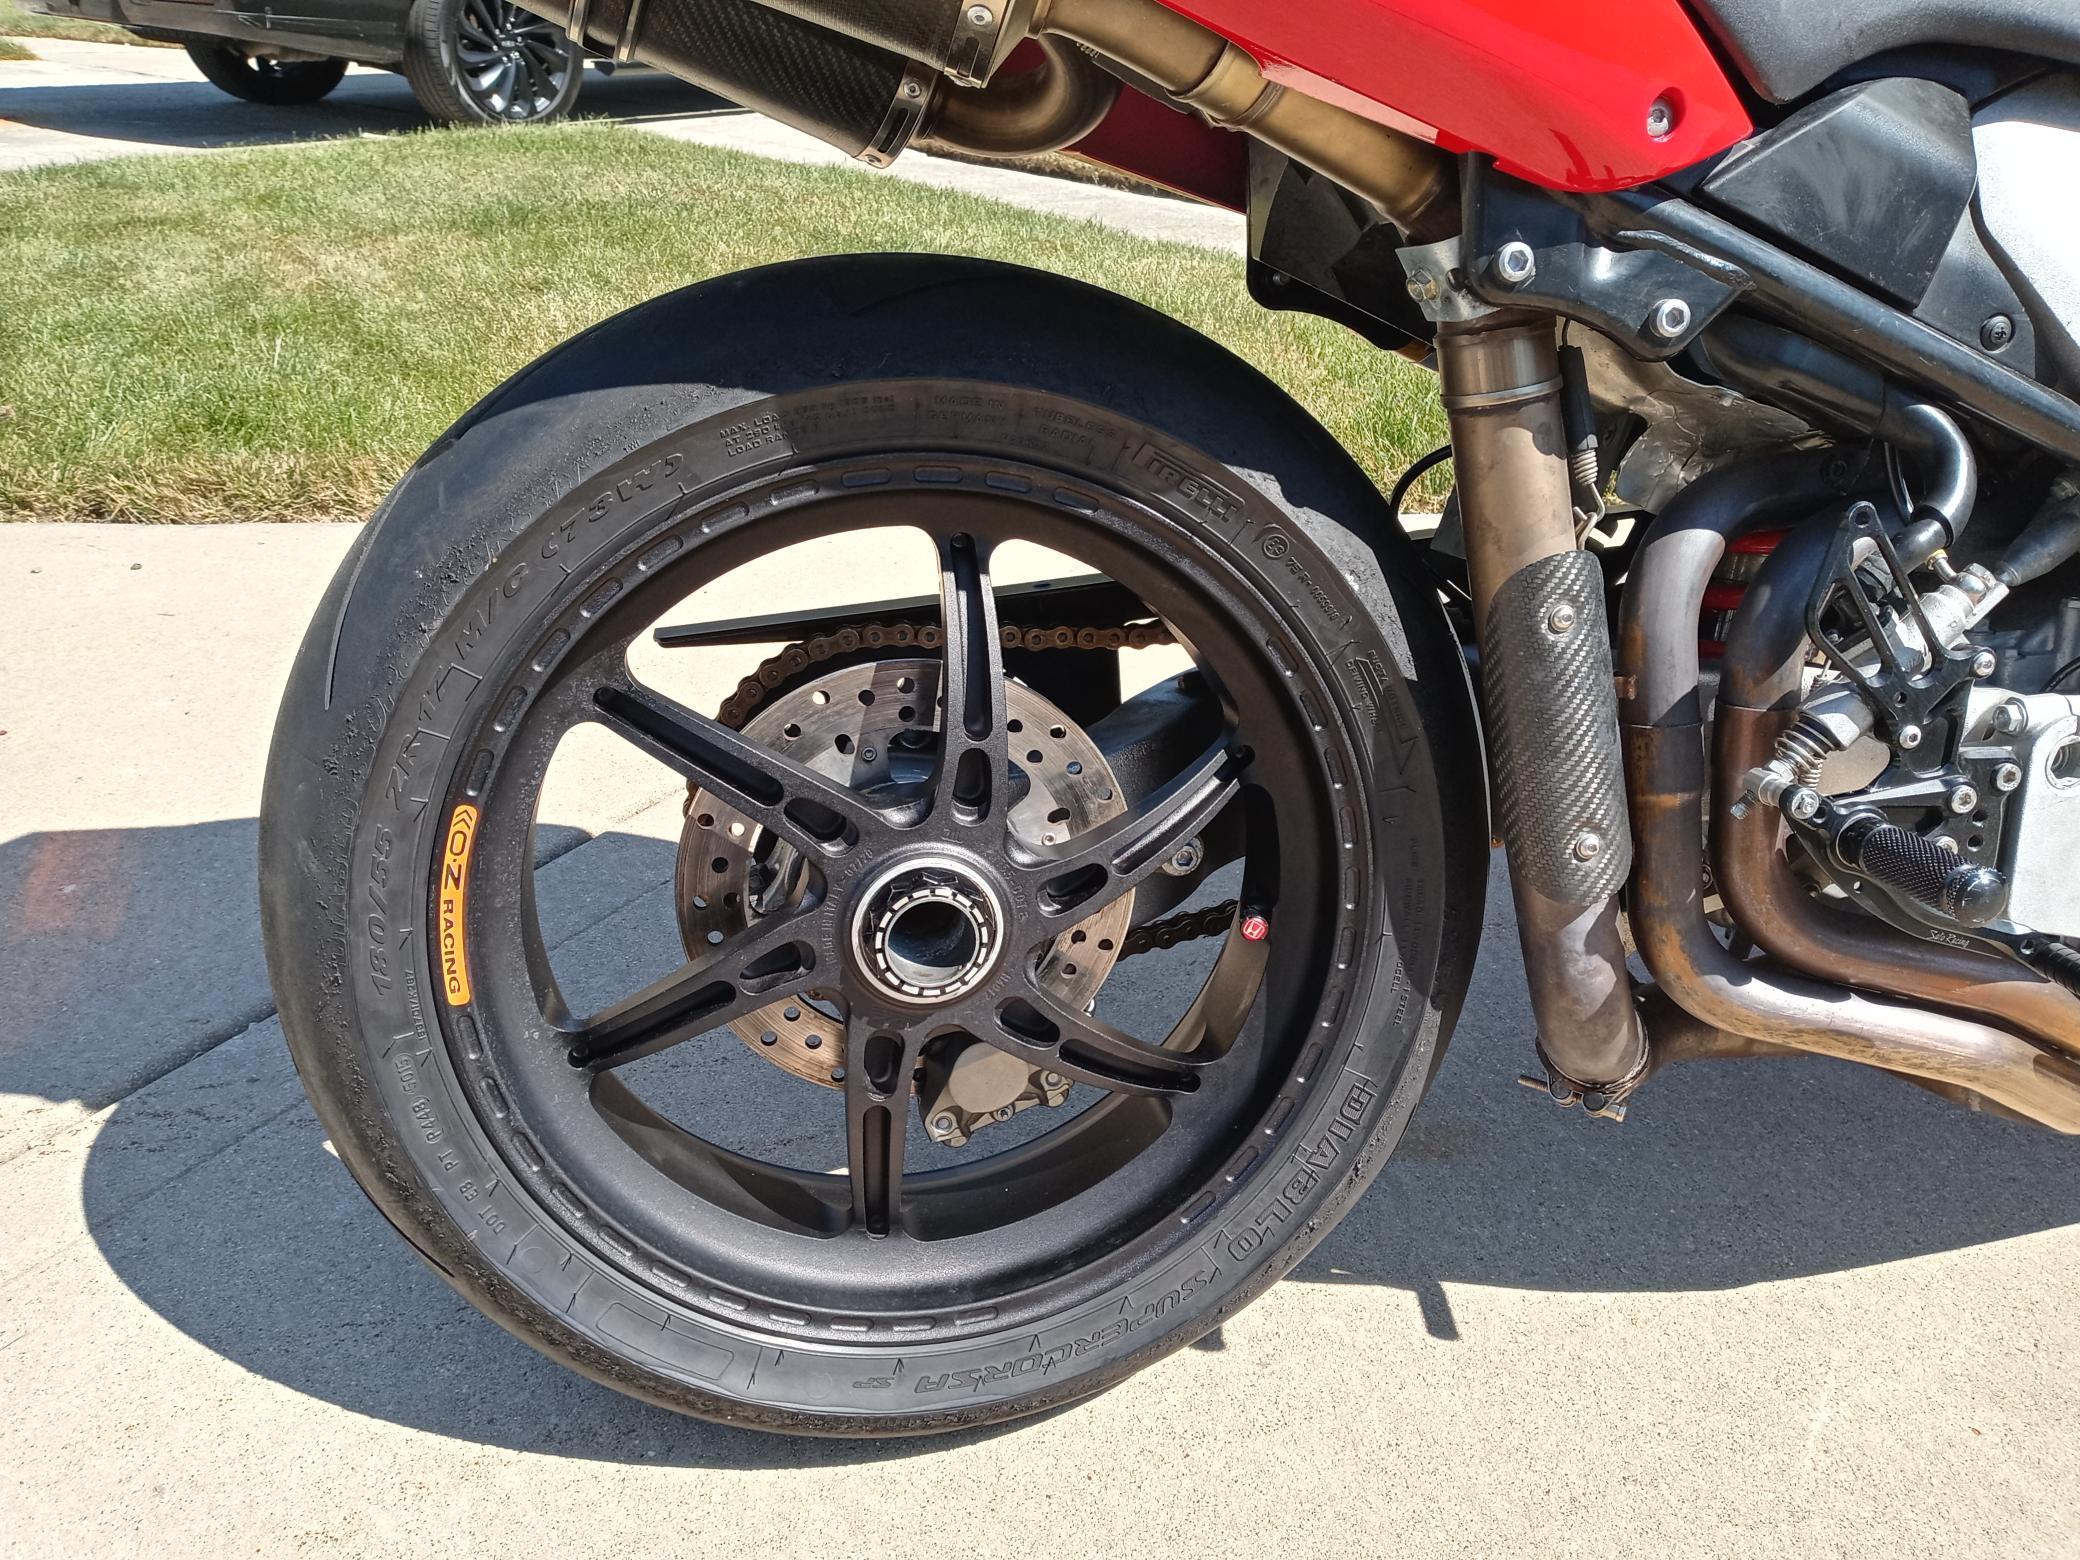
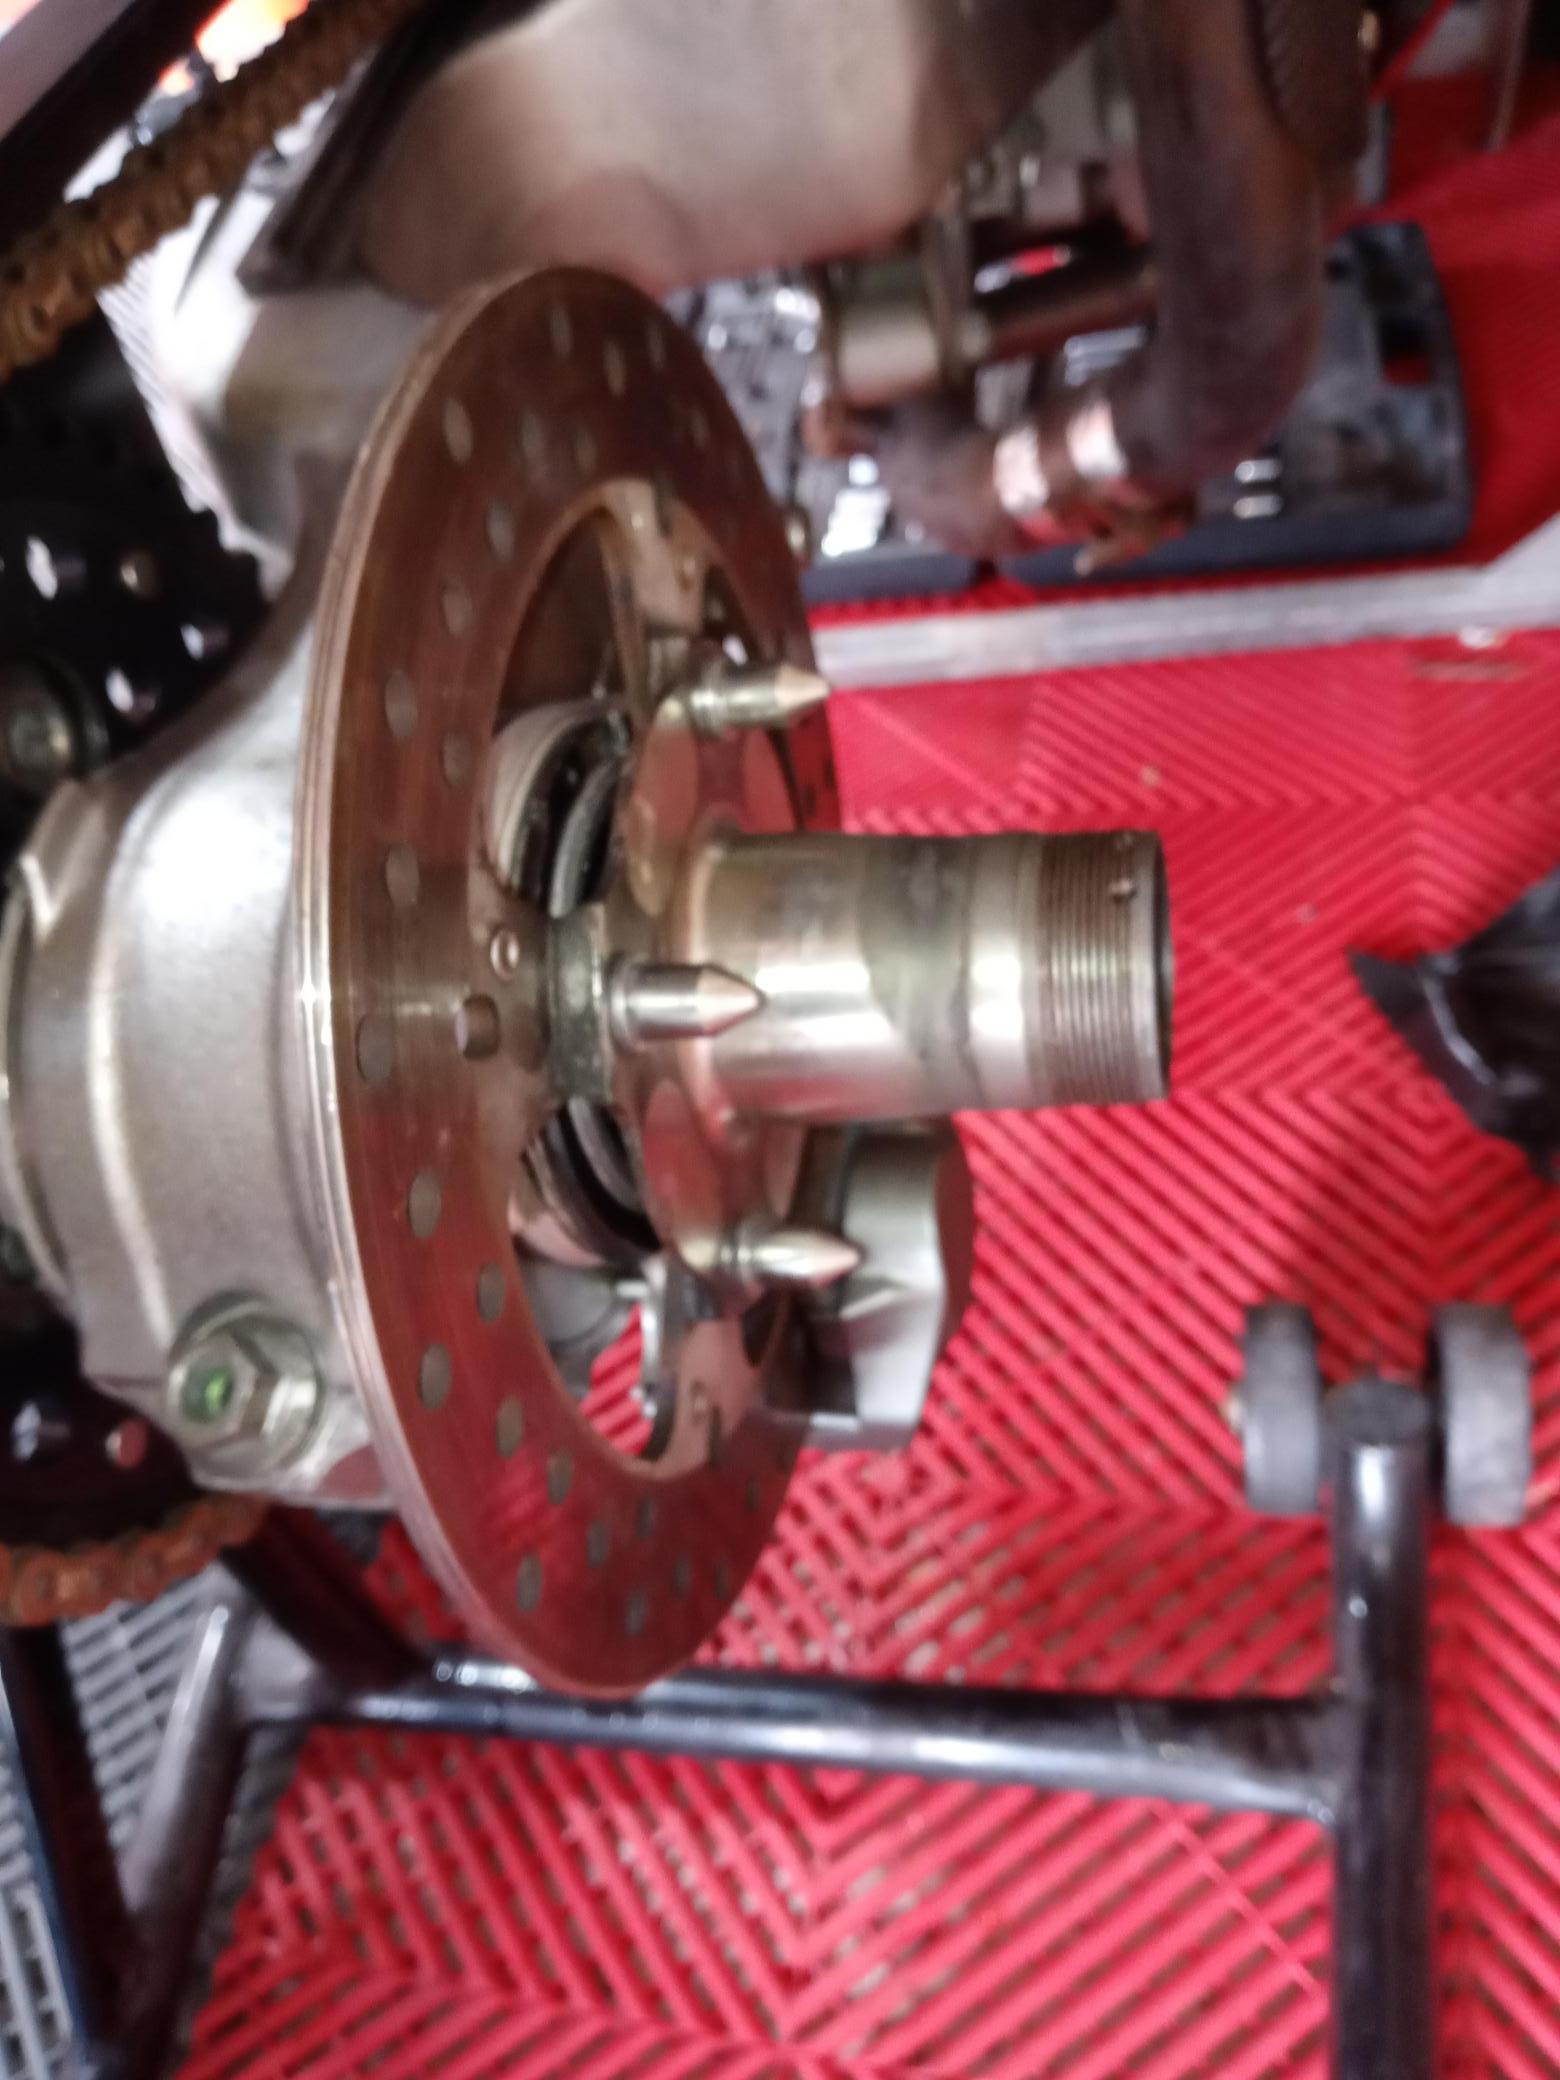
Braking rotors new rotor bolts and new full floating buttons. Approximately 1000miles on rotors. Tire not included. Bolts and button $160 alone will not separate. $350 shipped only US Paypal accepted buyer pays fees. Touched up wheel ie paint chips.
I also have matching rear hub sprocket spindle available.
-
I ride a RRR electronic suspension is amazing and super comfortable. I am 55 BTW. I own several bikes with upgraded suspension, but nothing compares to it. Still love my RC51 VFR800 and 750's though.
-
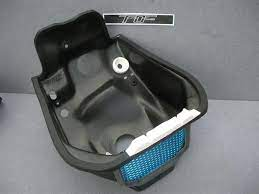
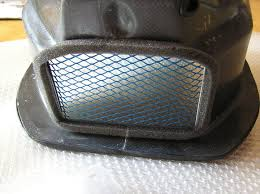
Some k&n filter area is smaller
-
I am not sure why everyone is so worried about the size and filtration of their air filters. My modified RC51 uses a tiny foam air filer which was also used on other aftermarket airboxes.

-
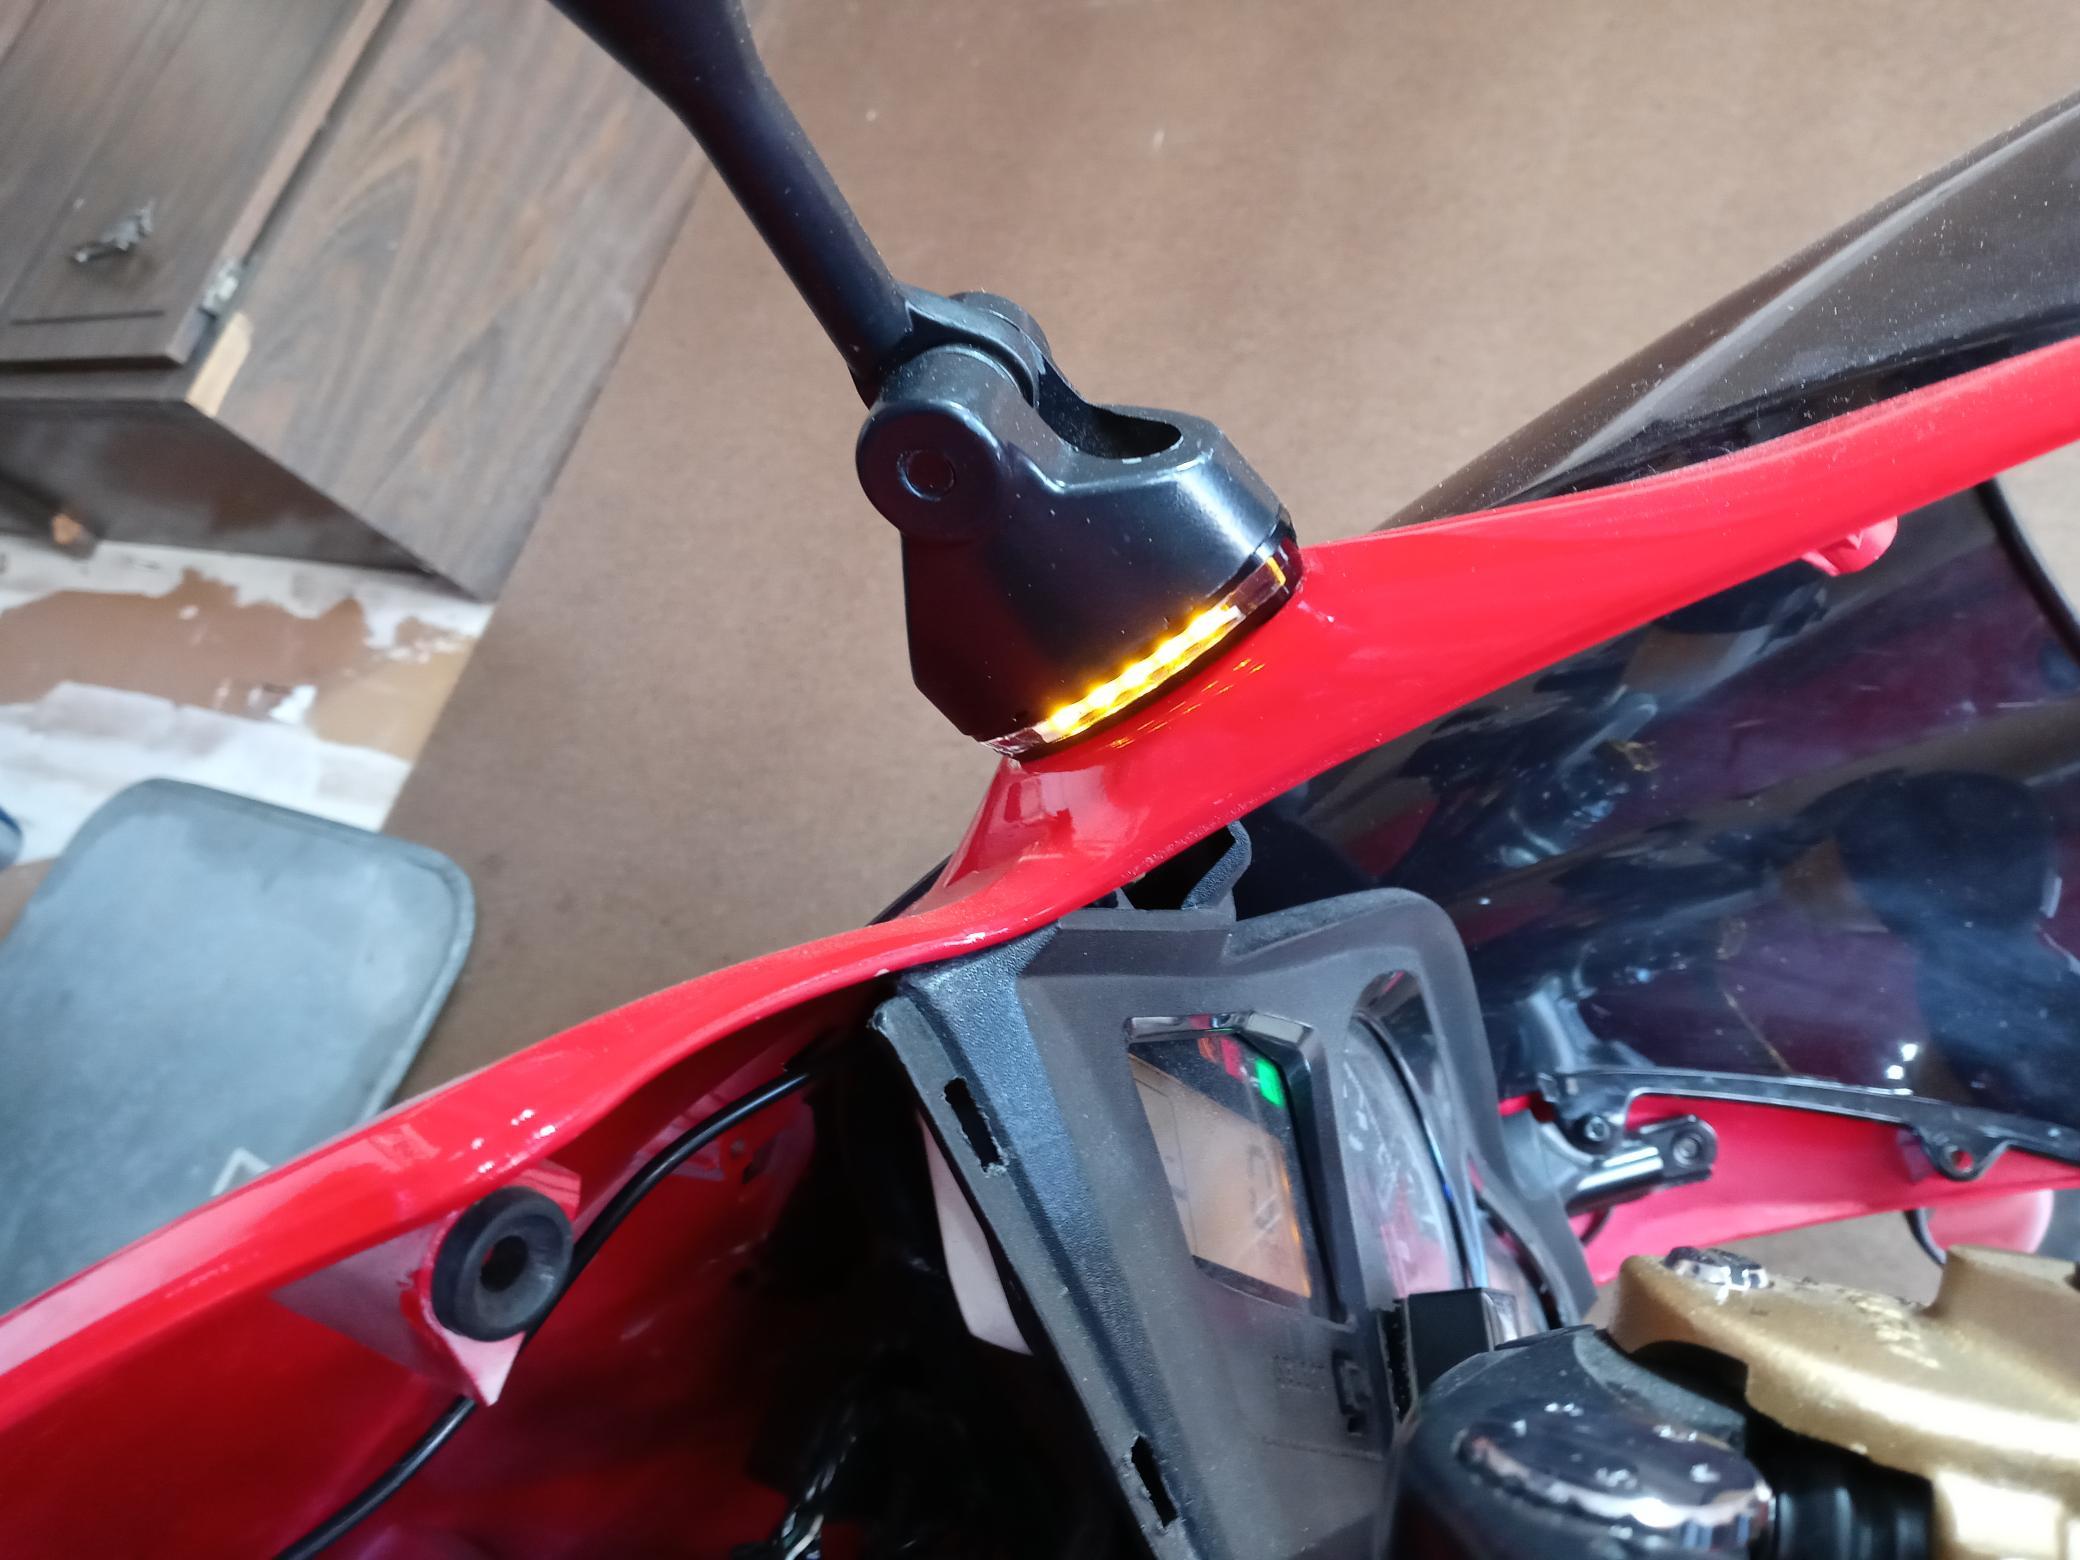
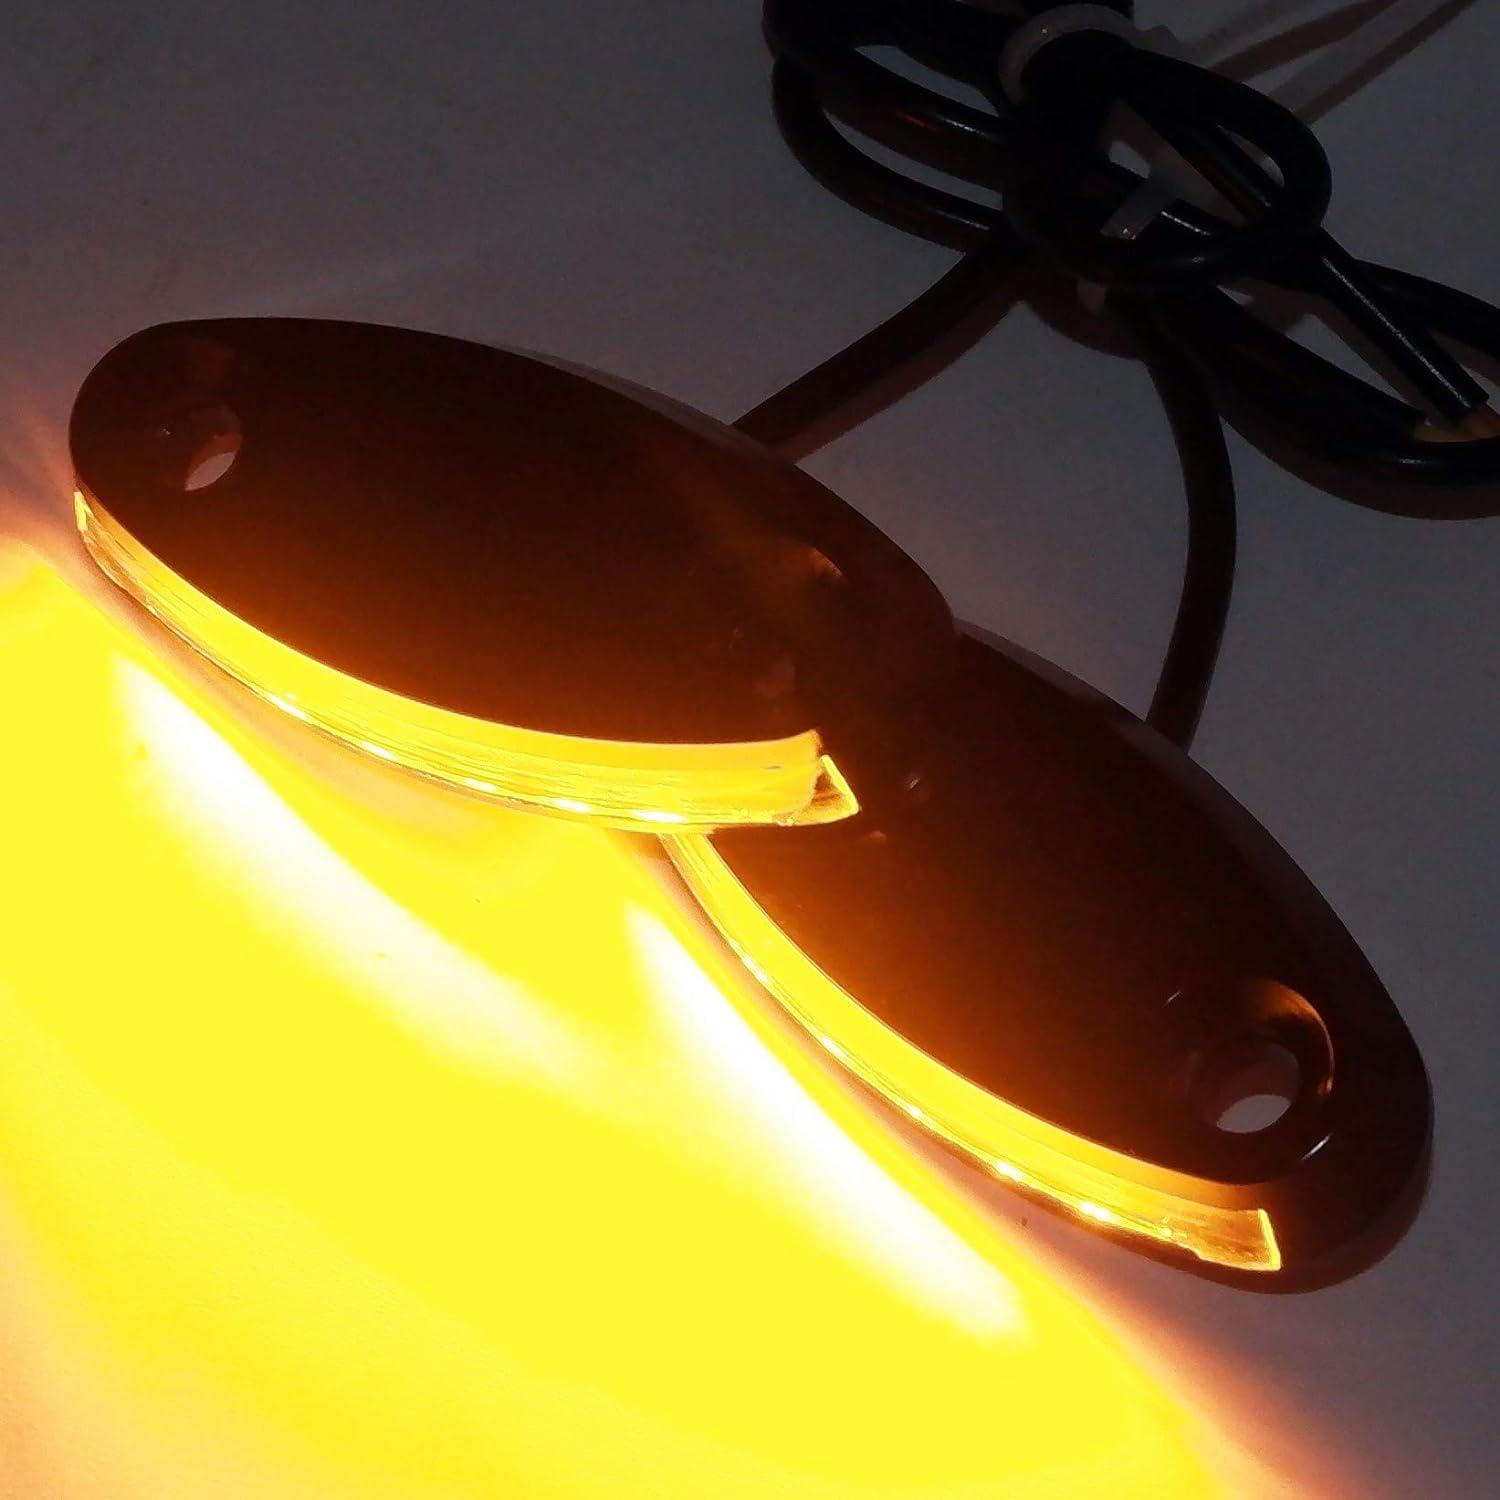
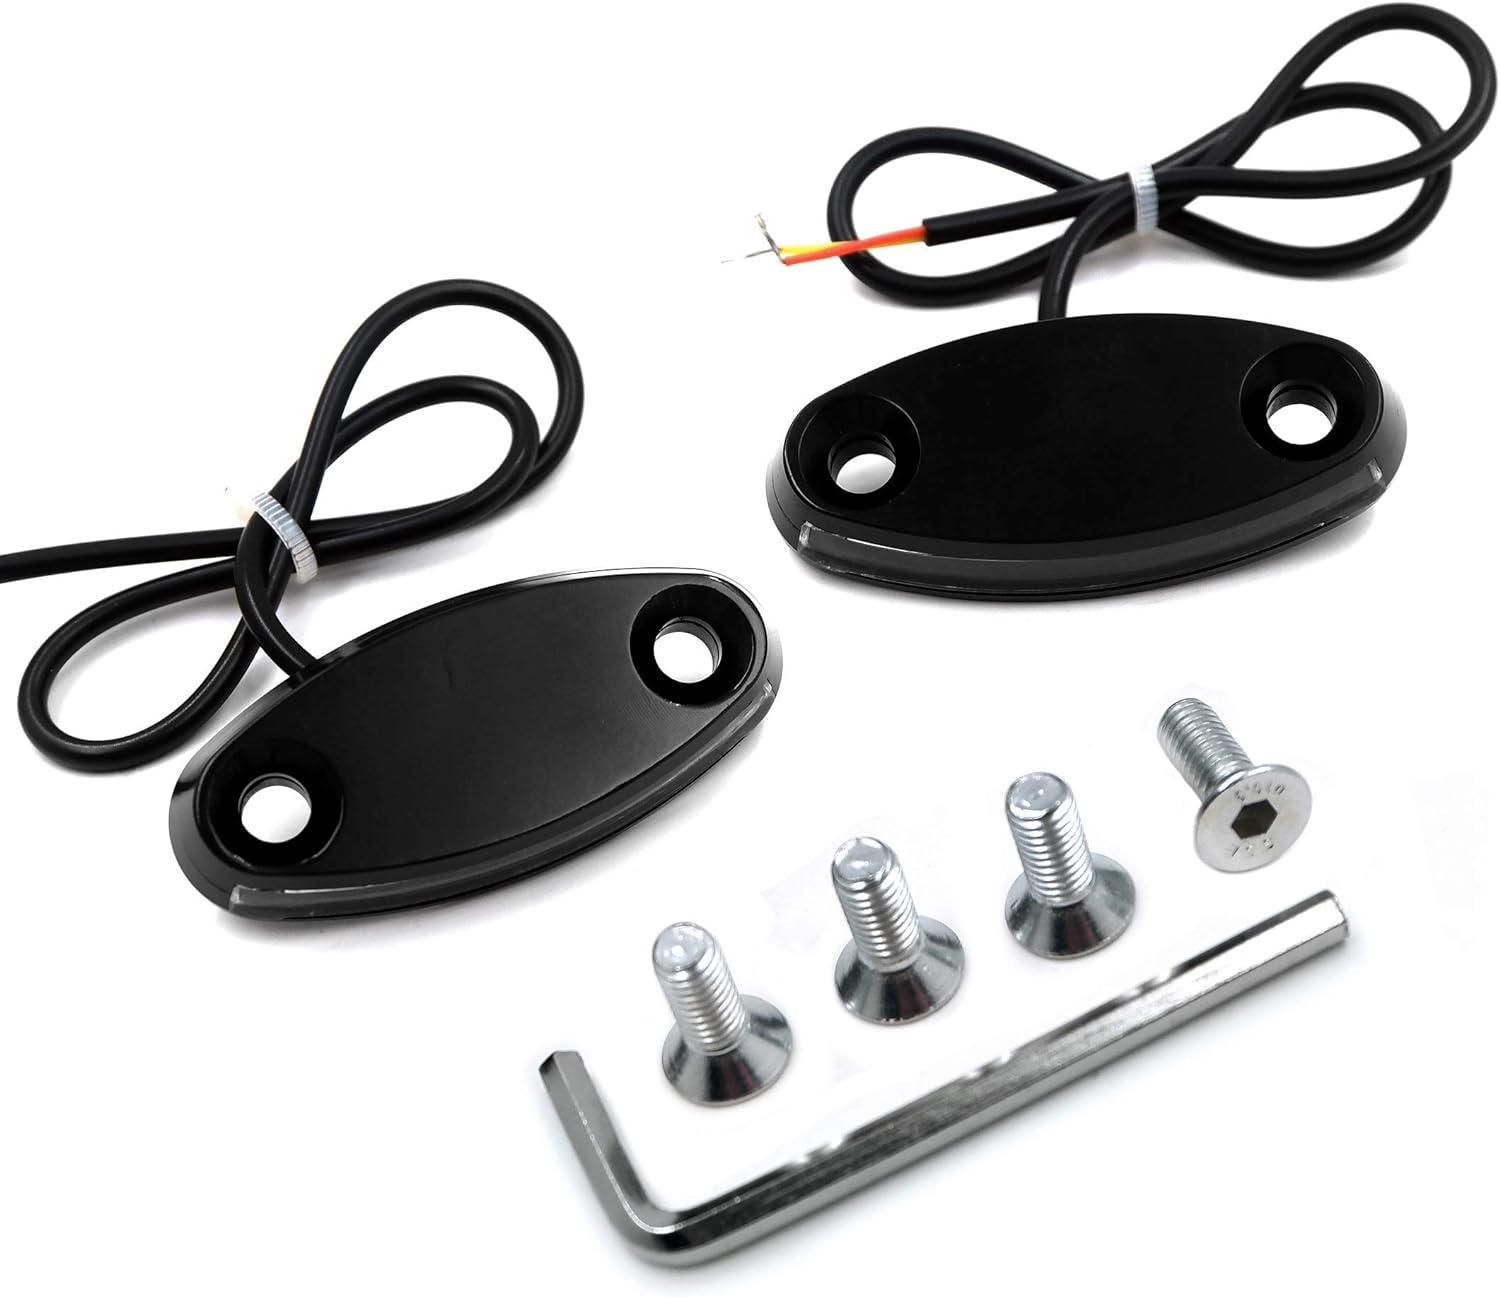
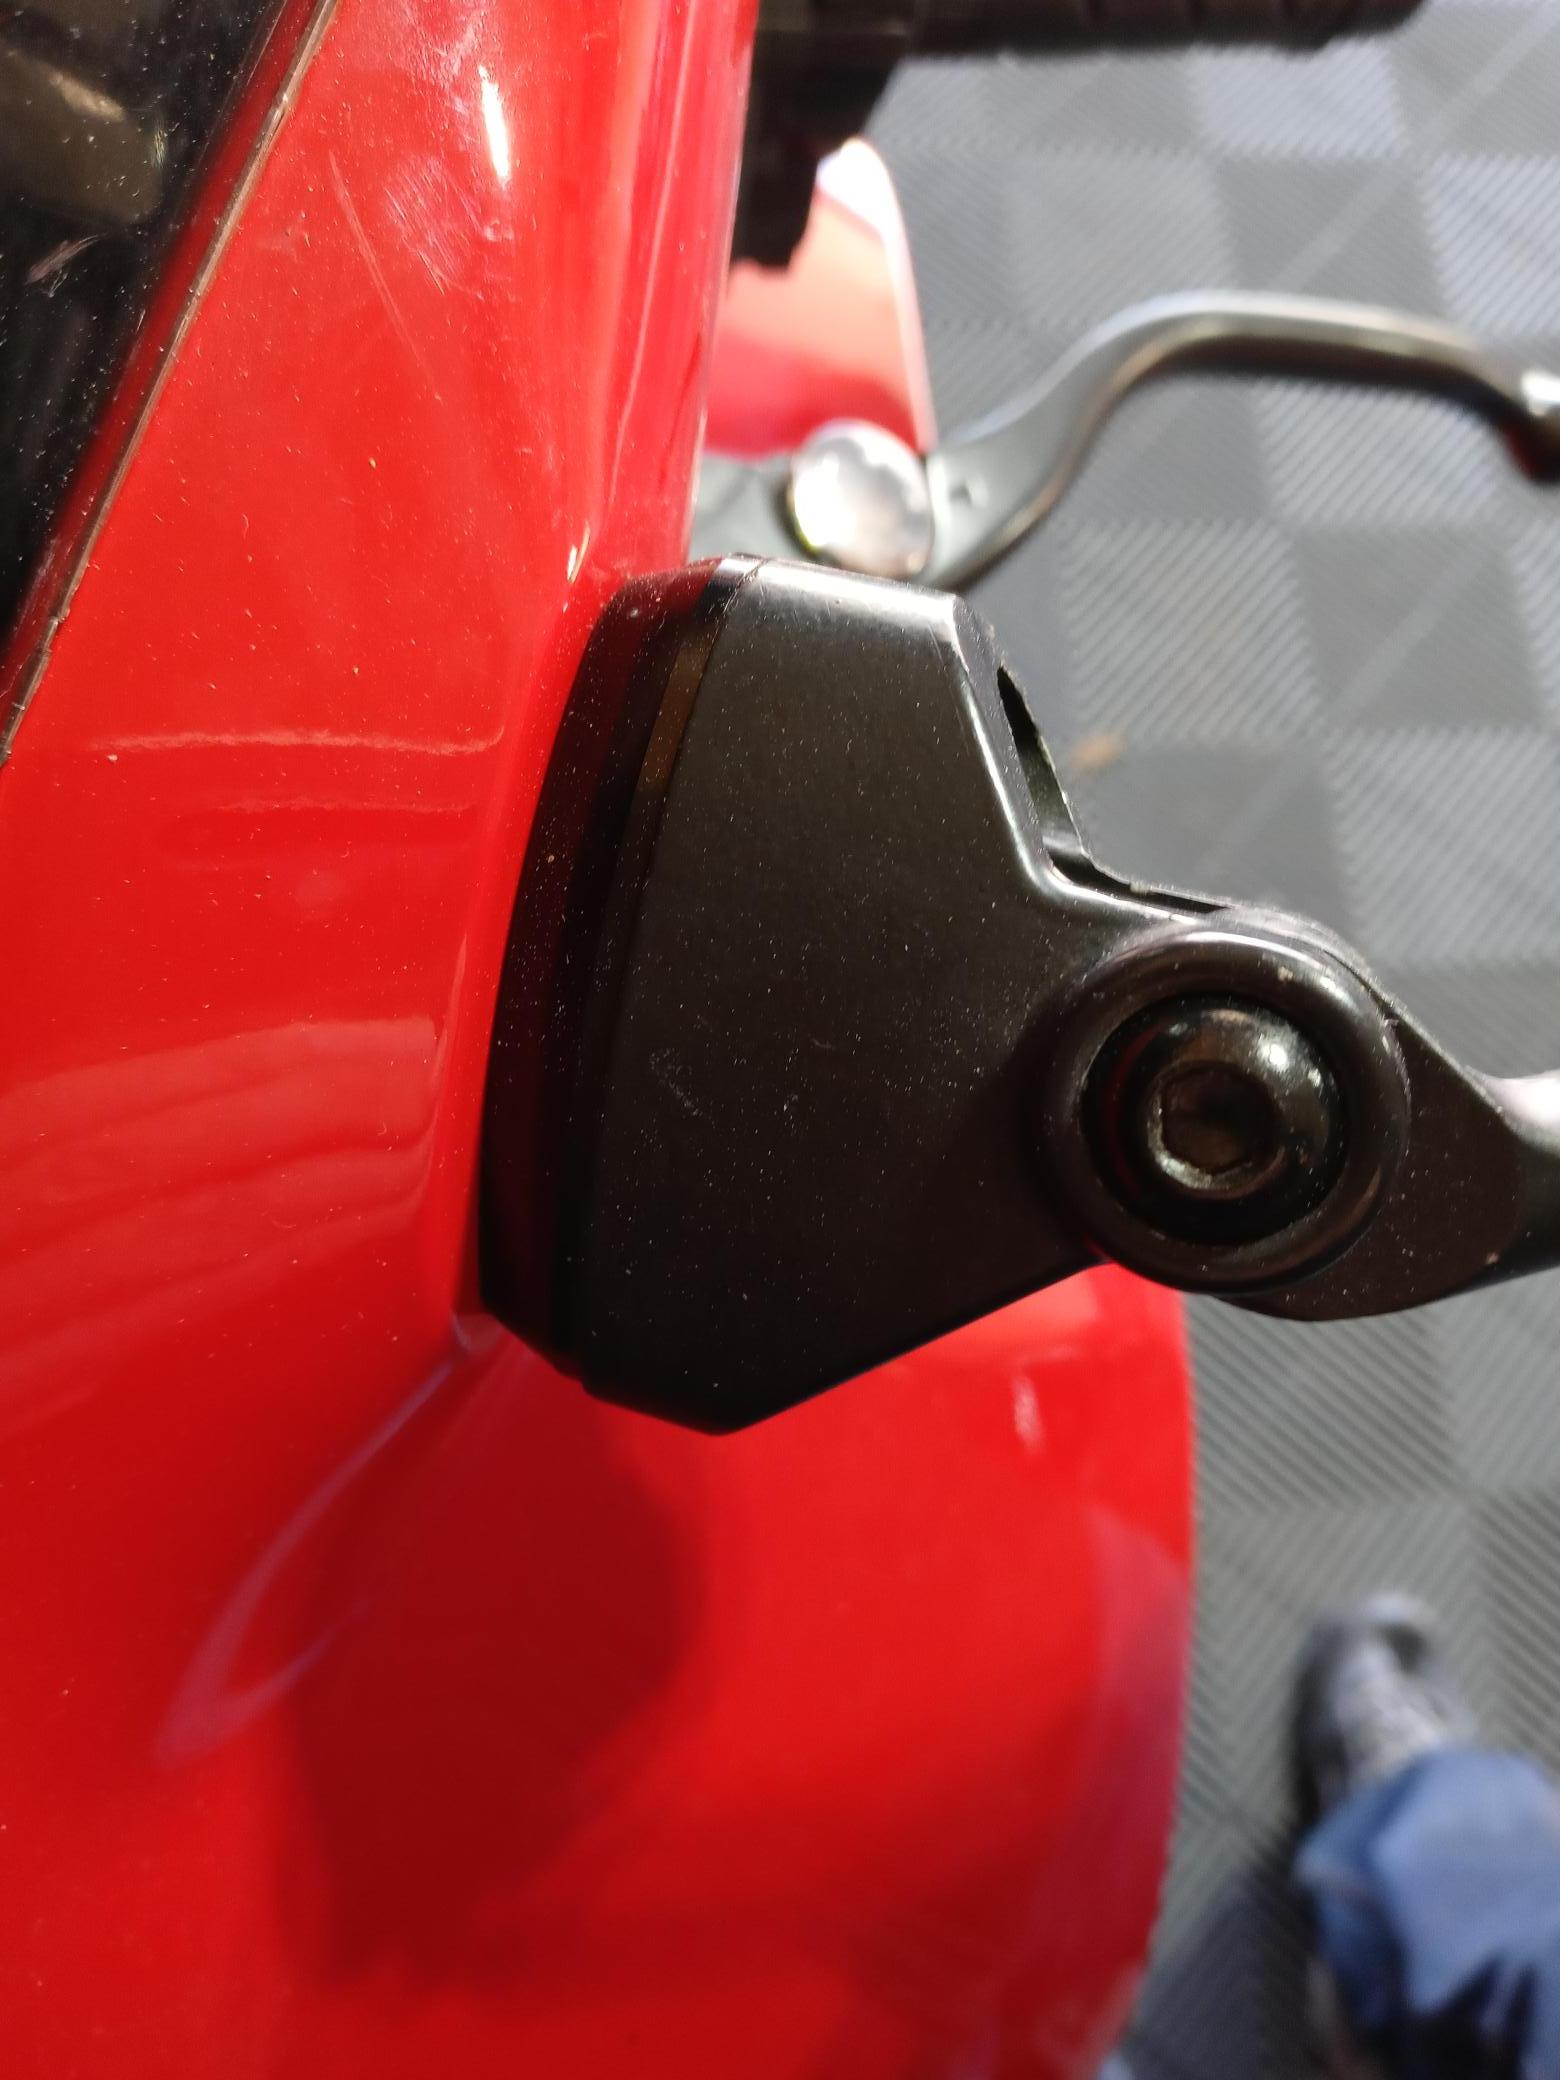
The spacing is correct. Mirrors afterwards have a different spacing and a wider mounting surface for example my CBR1000RR-R w integrated turn signals which I tried. I wanted integrated ones but I wanted the stock look. Also mounting these extend your mirrors without having to purchase mirror extenders.
-
I went with the Pipercross. Easier to clean and oil in my opinion.
-
amazon
-
I am gonna have to re-shim again. I am a little bit off.
-
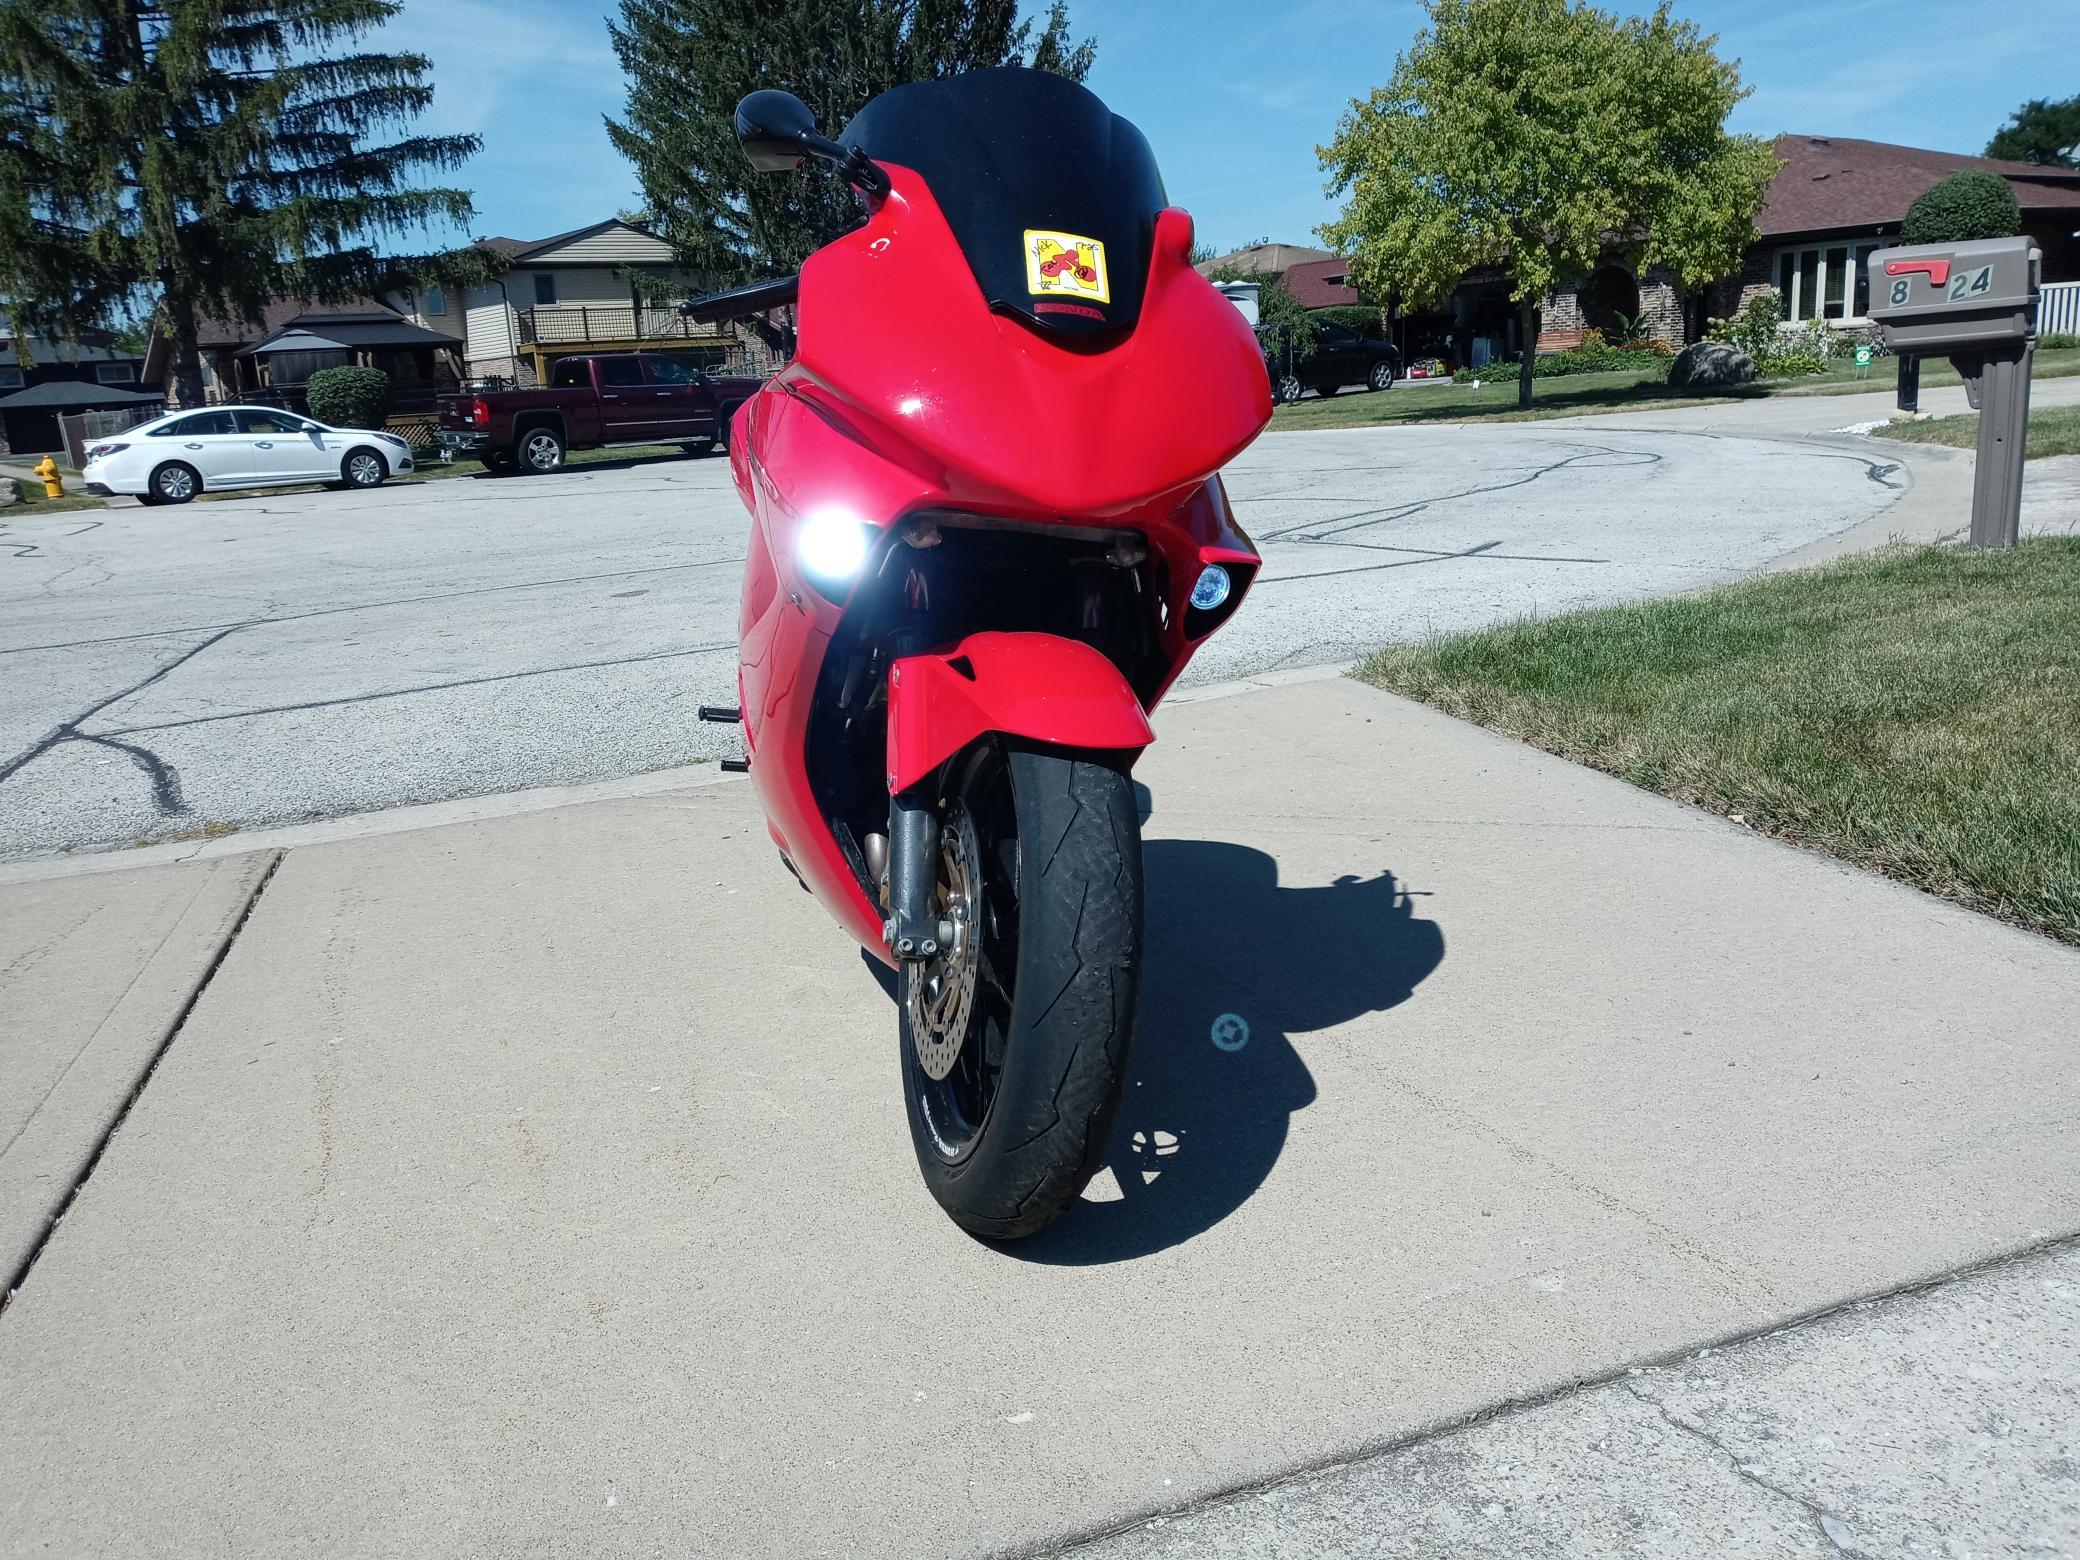
Not my intent for visibility nevertheless they are bright. I only purchased due to removing front turn signals and installing projector headlights.
-
Had to drill a hole through the opposite side where the wire runs through because I flipped it so the mirror base fits perfectly.
-
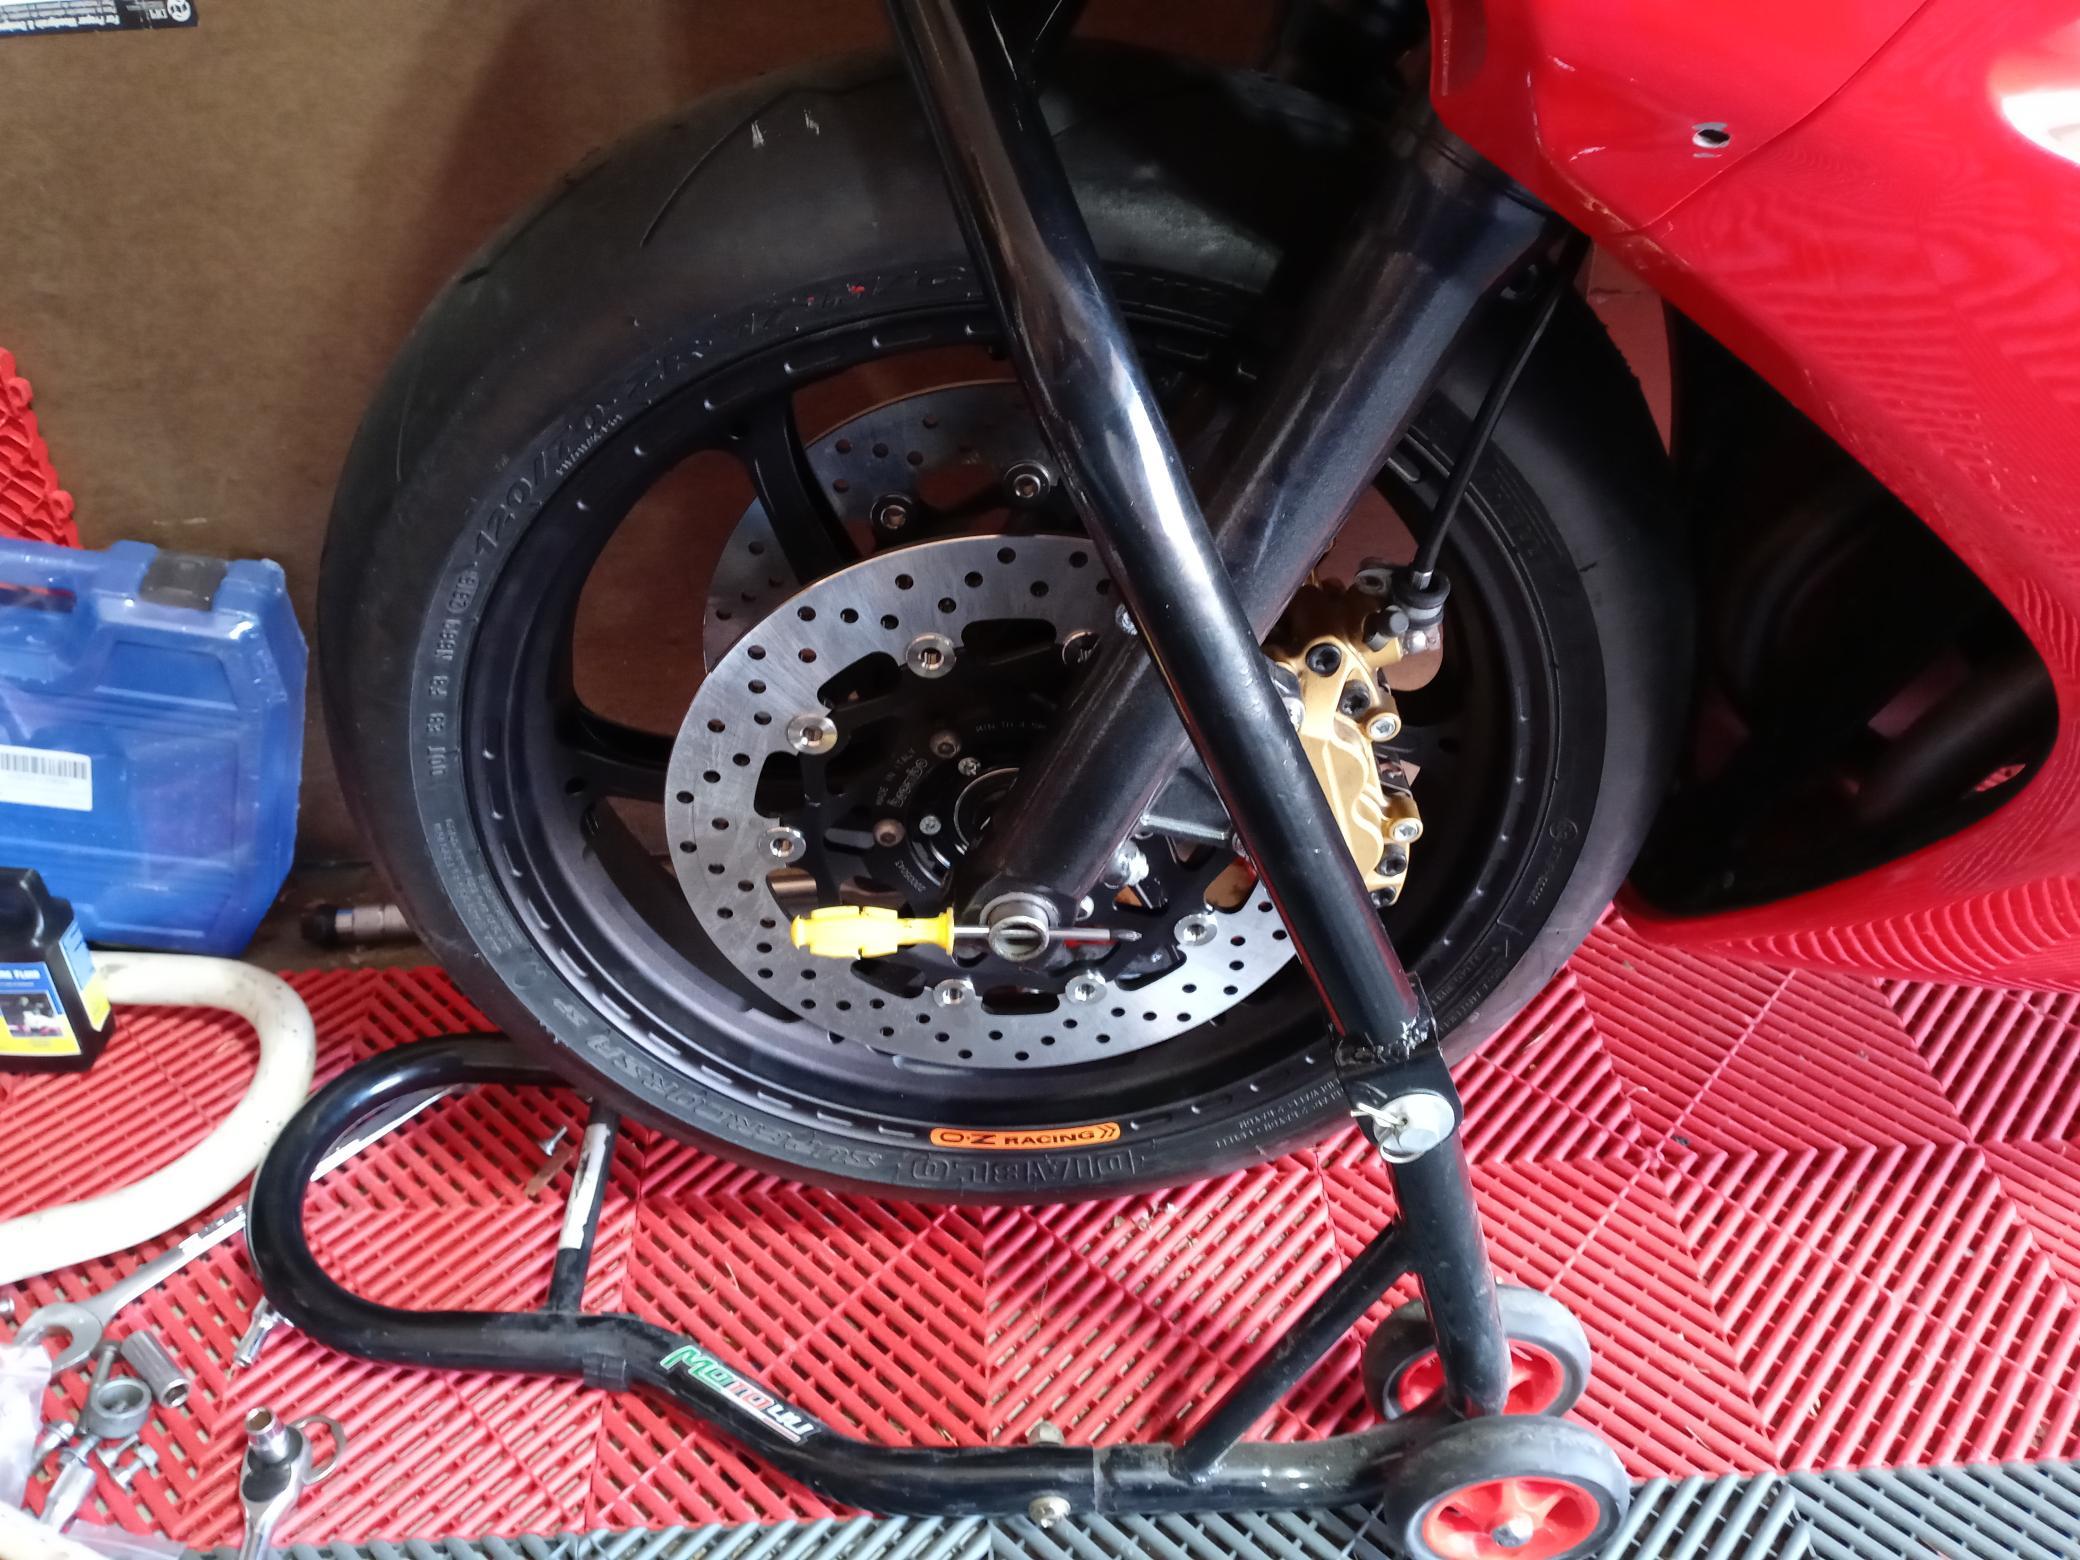
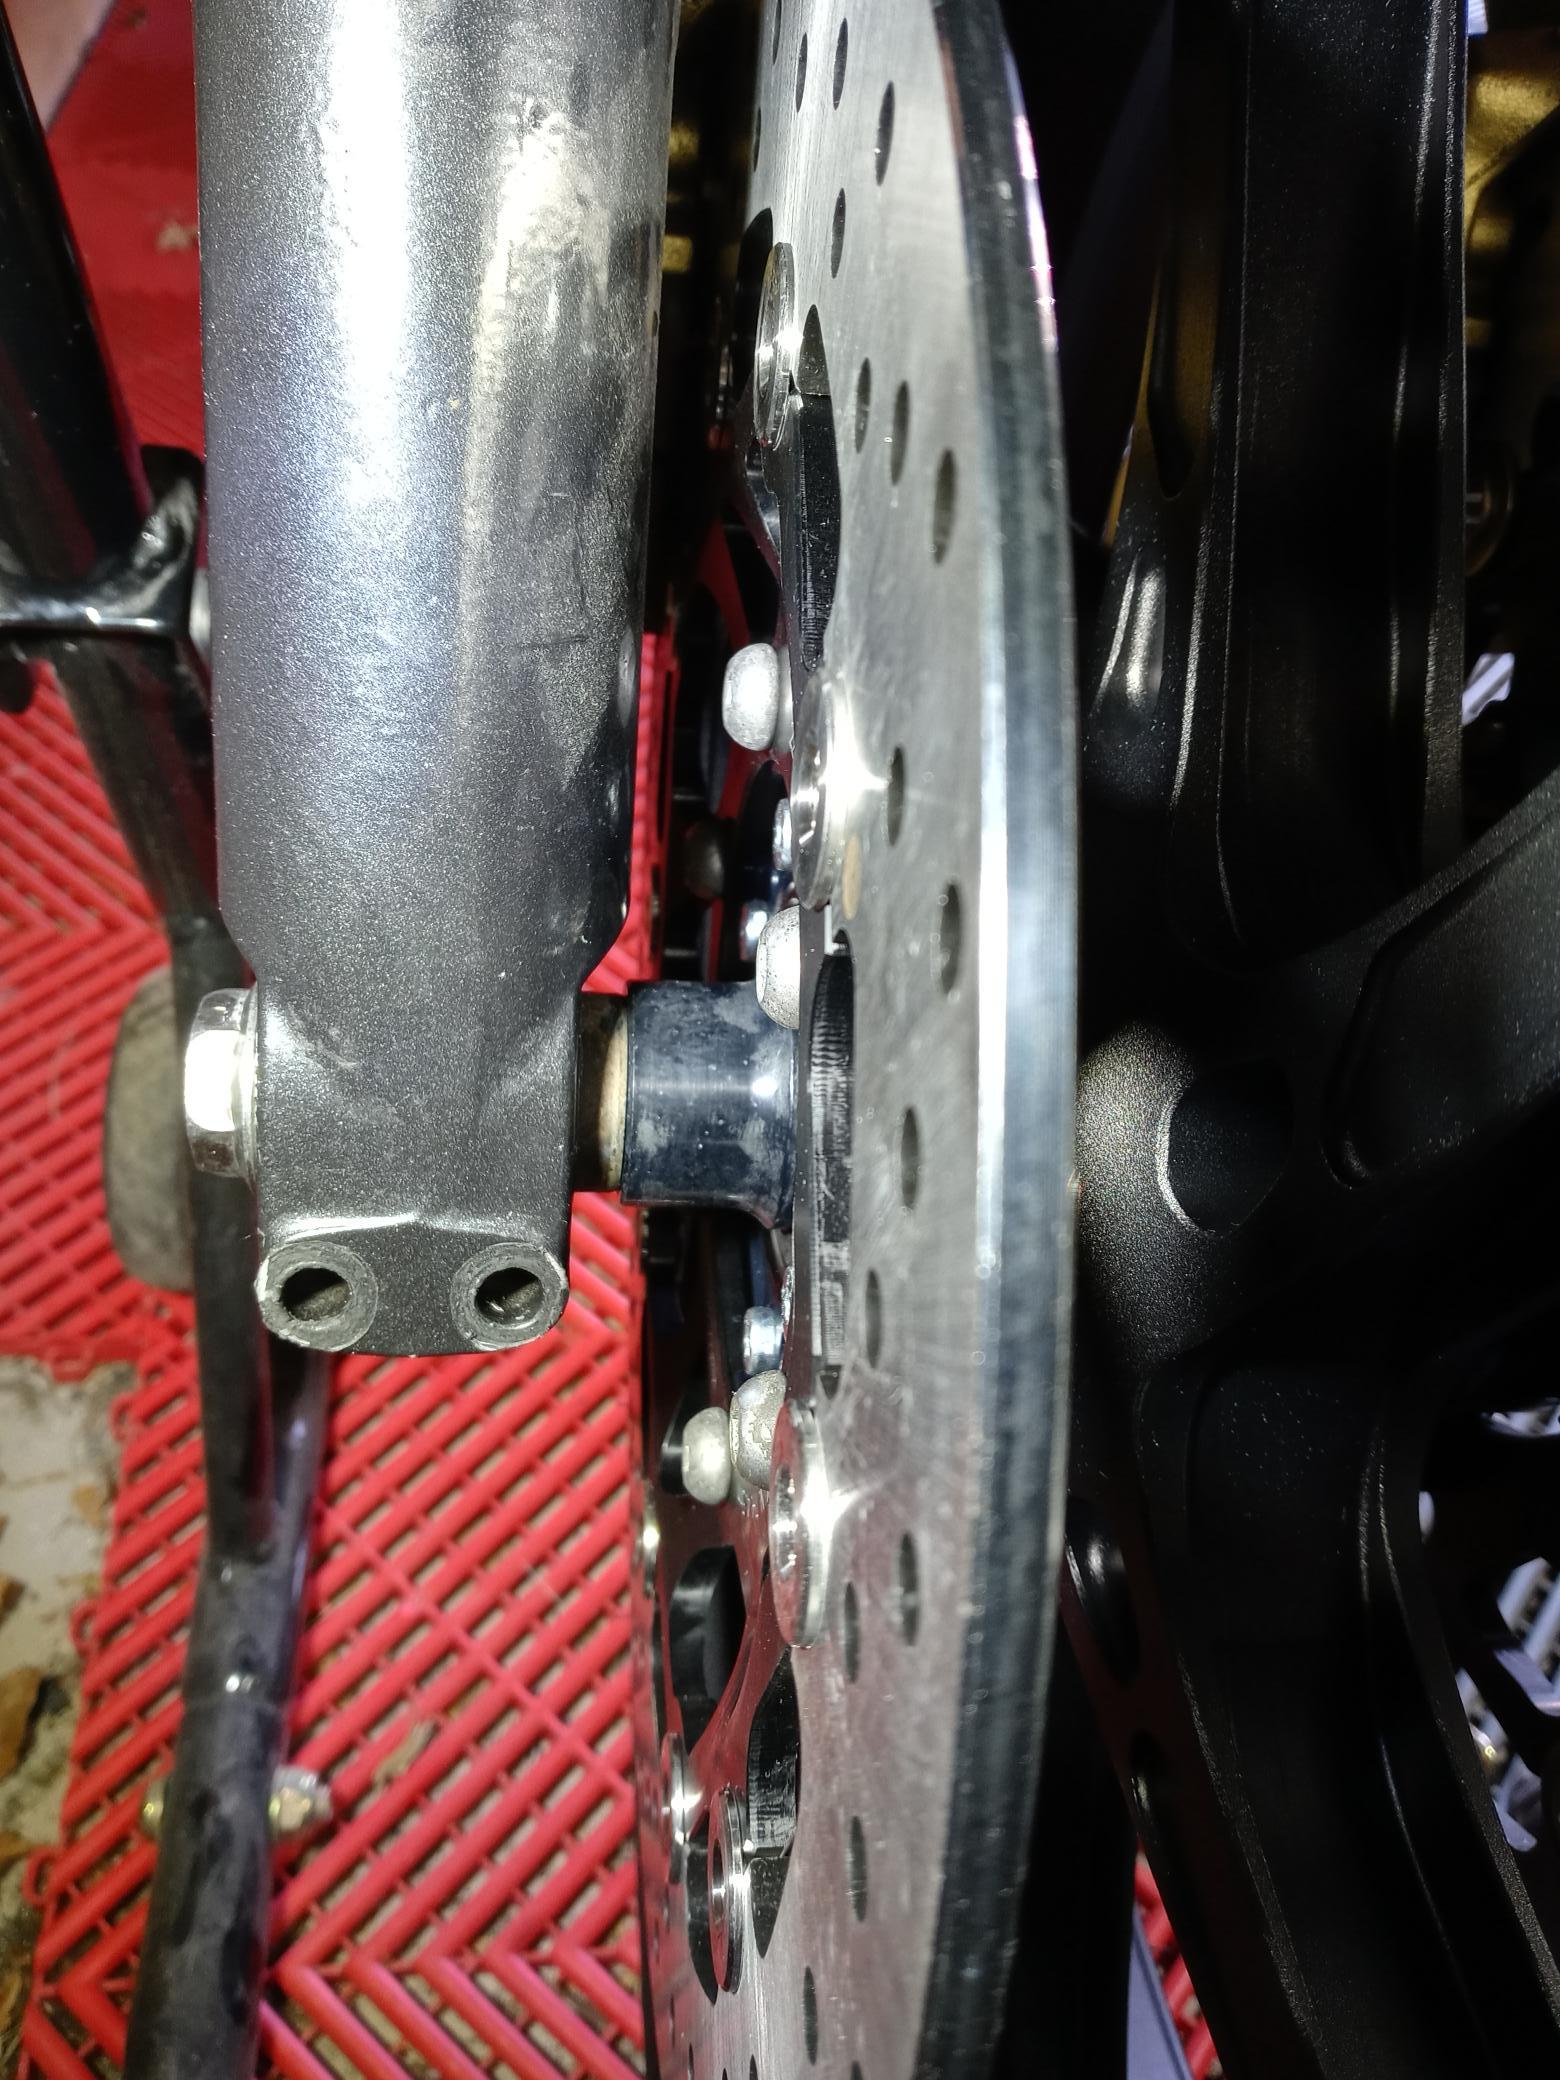
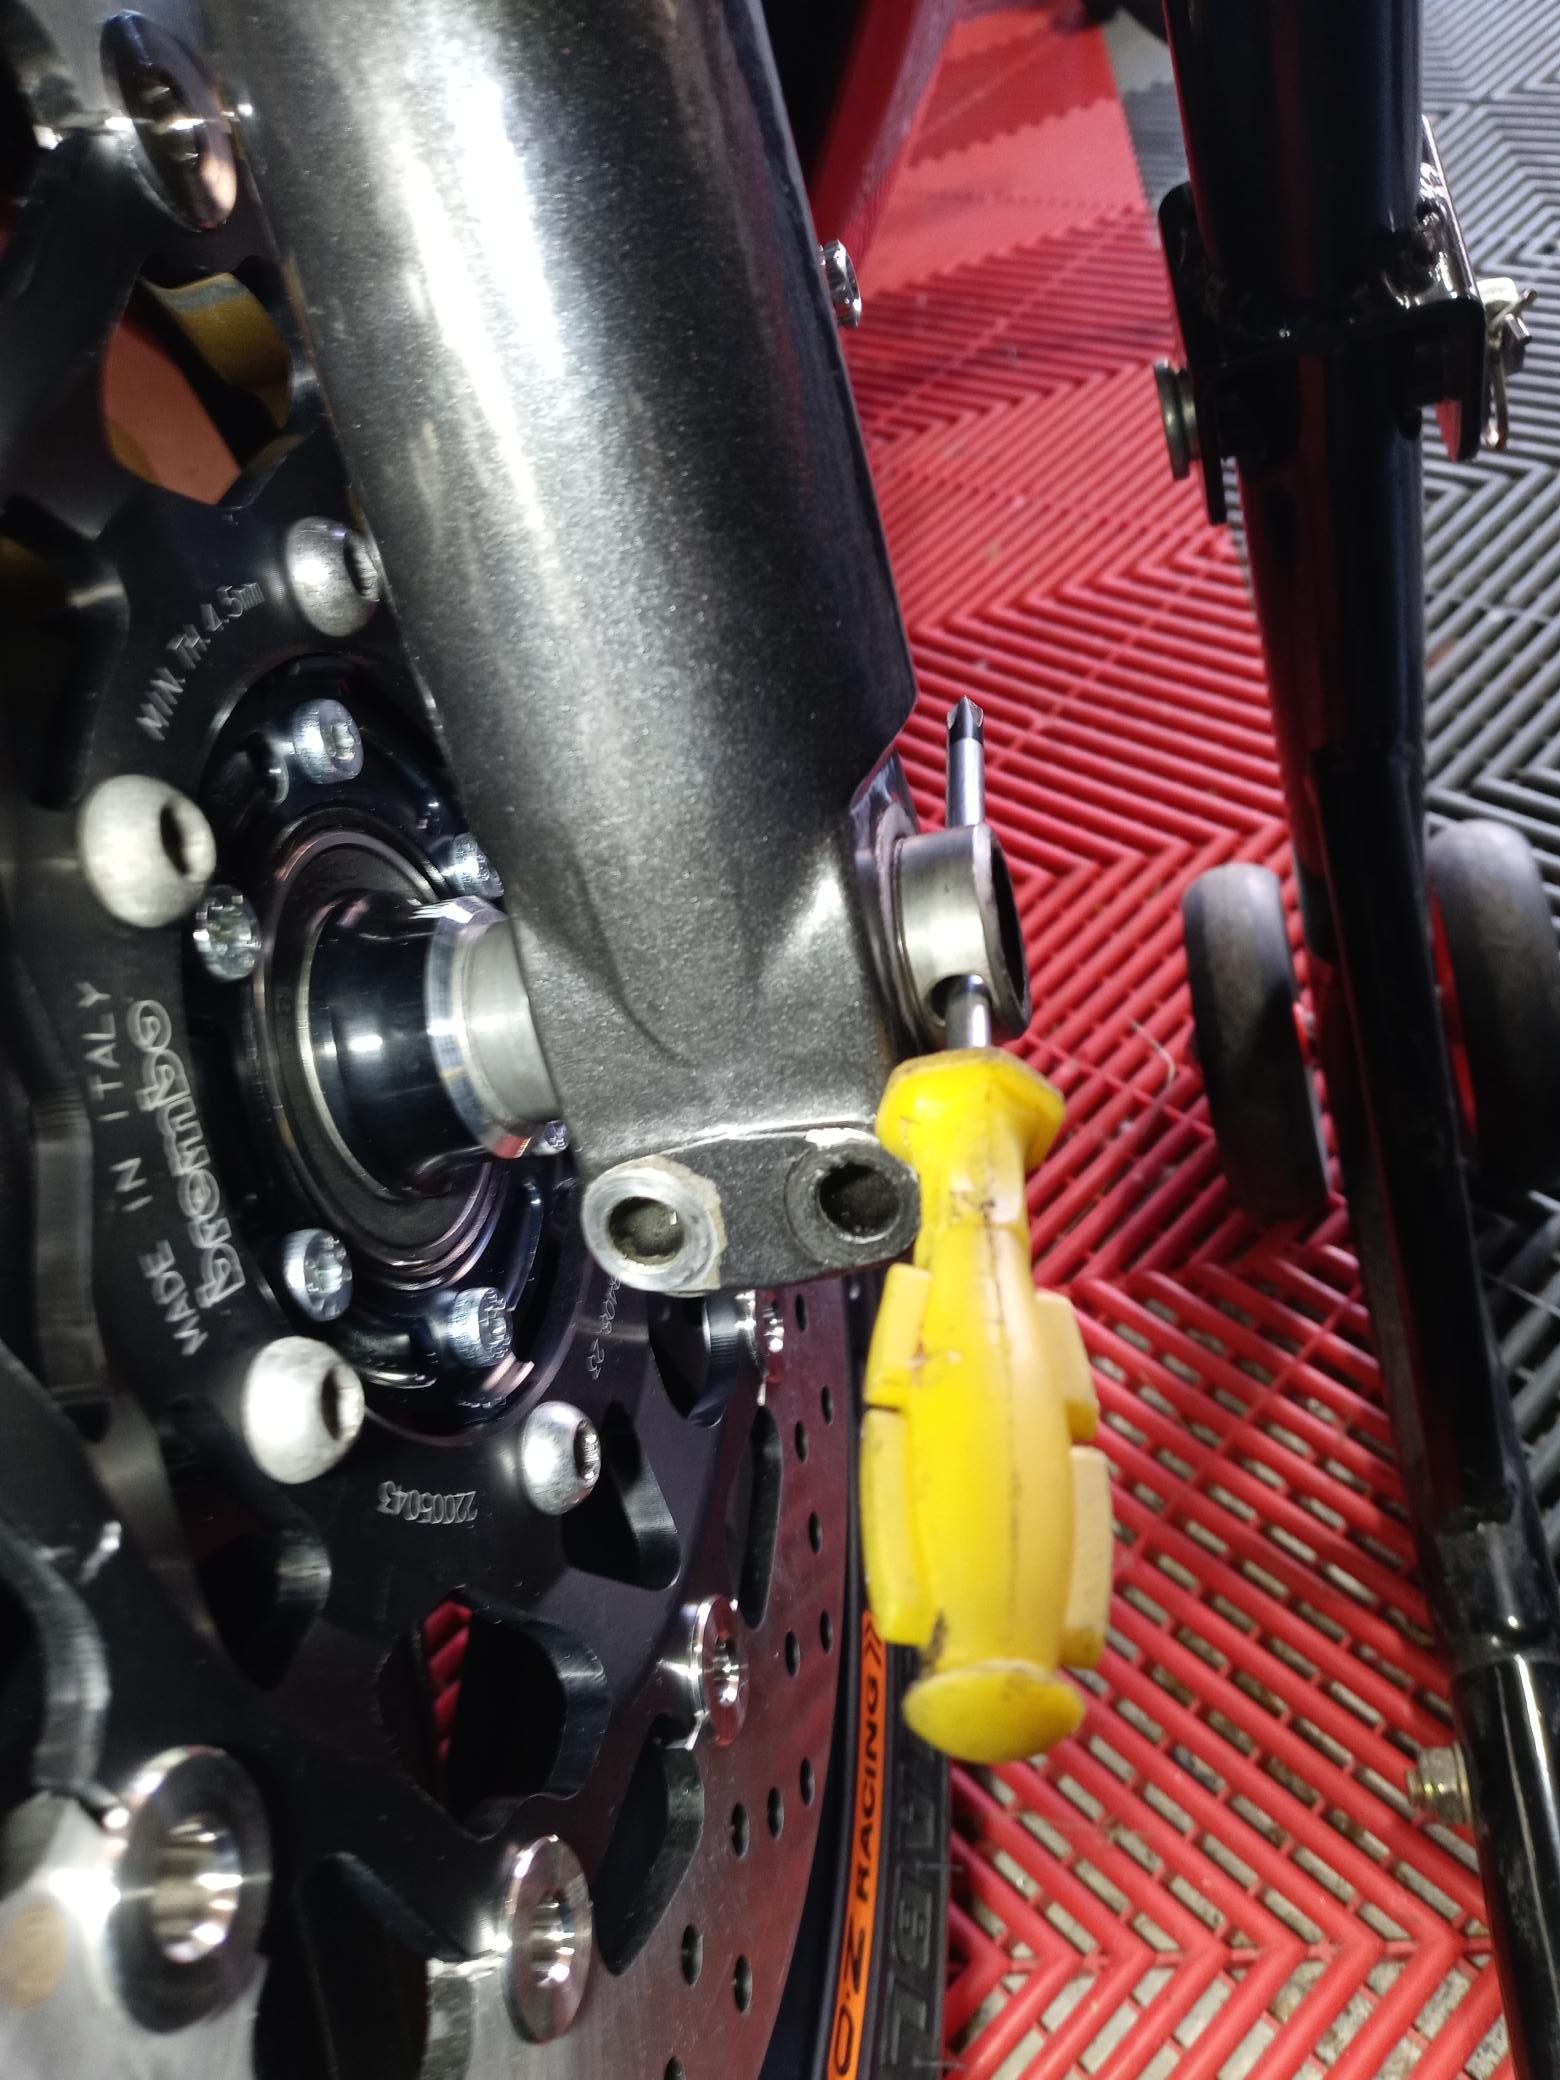
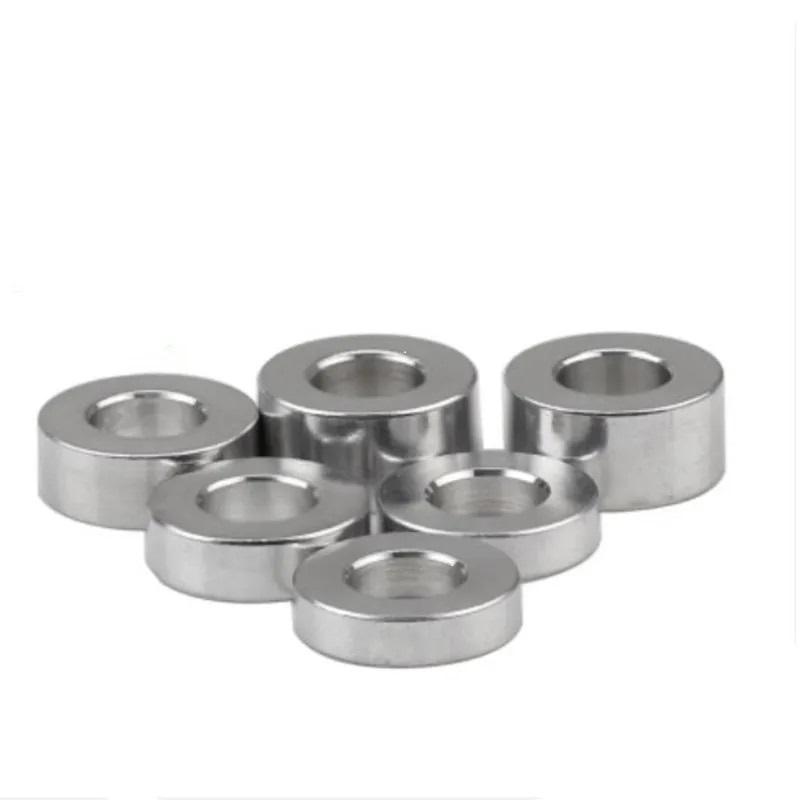
Finally put the wheel on. 5mm taken off the OZ spacer on left side of wheel. Used stock spacer machine down to approximately 6mm from 10mm to take up slack on the right side. Left caliper spaced out 4mm while the right at 6mm, No drag on the rotors. Will try some other spacers for the calipers once it warm up and I torque down the axle and get some new brake pads. Deciding between Brembo and Honda pads.
-
1
-
-
Finally received the front wheel from OZ. I have to reduce the left spacer by 5mm to center the wheel and then shim the calipers 5mm outwards and use longer bolts 8x40. The rim is from a 2007 up CBR600RR 20mm axle. Brembo Oro Rotors are also new.
-
5
-
-
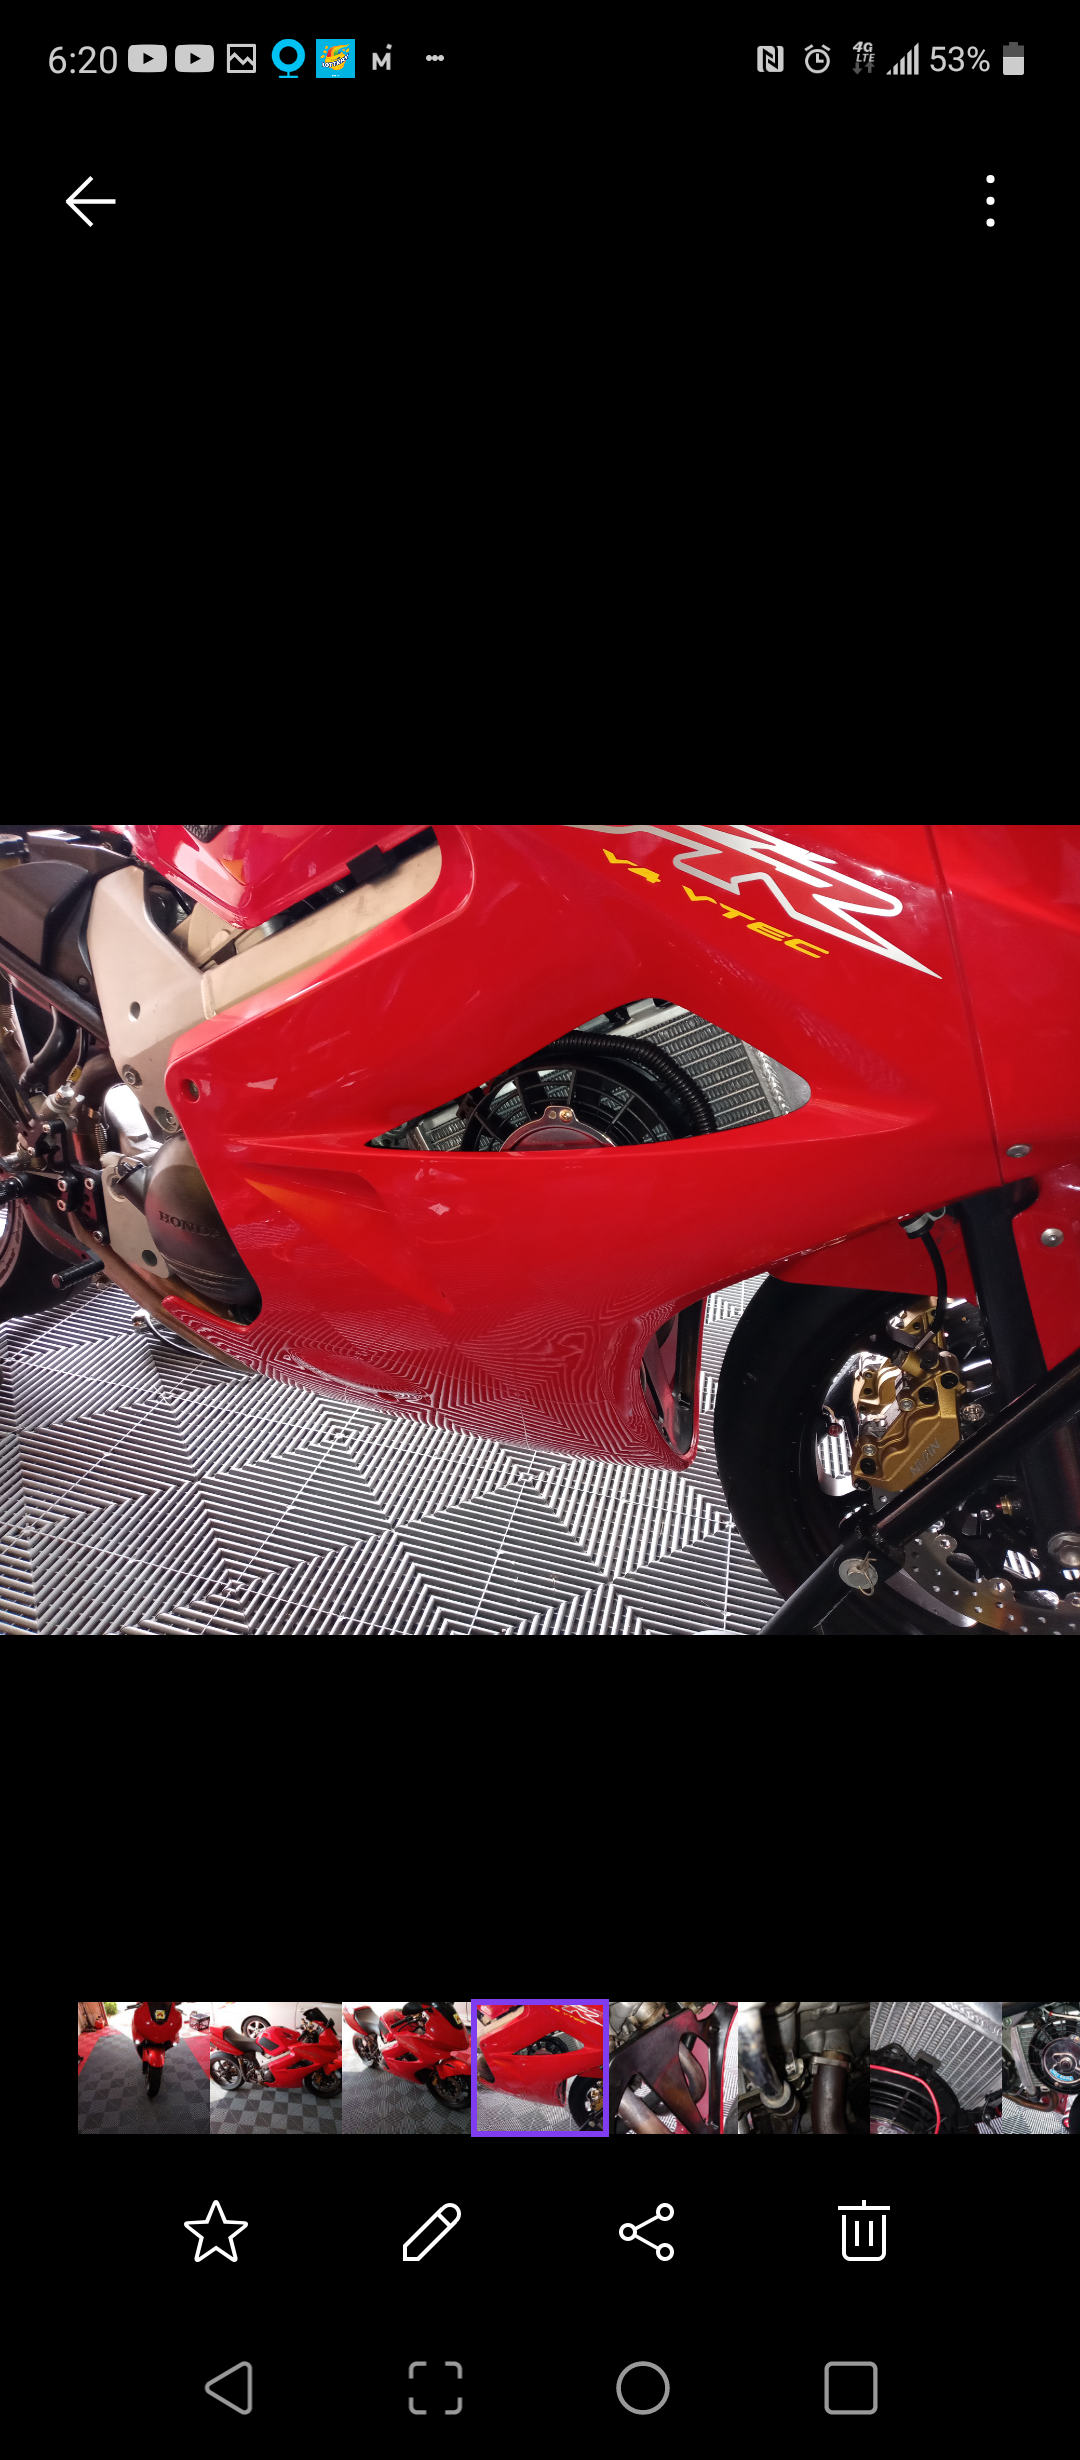
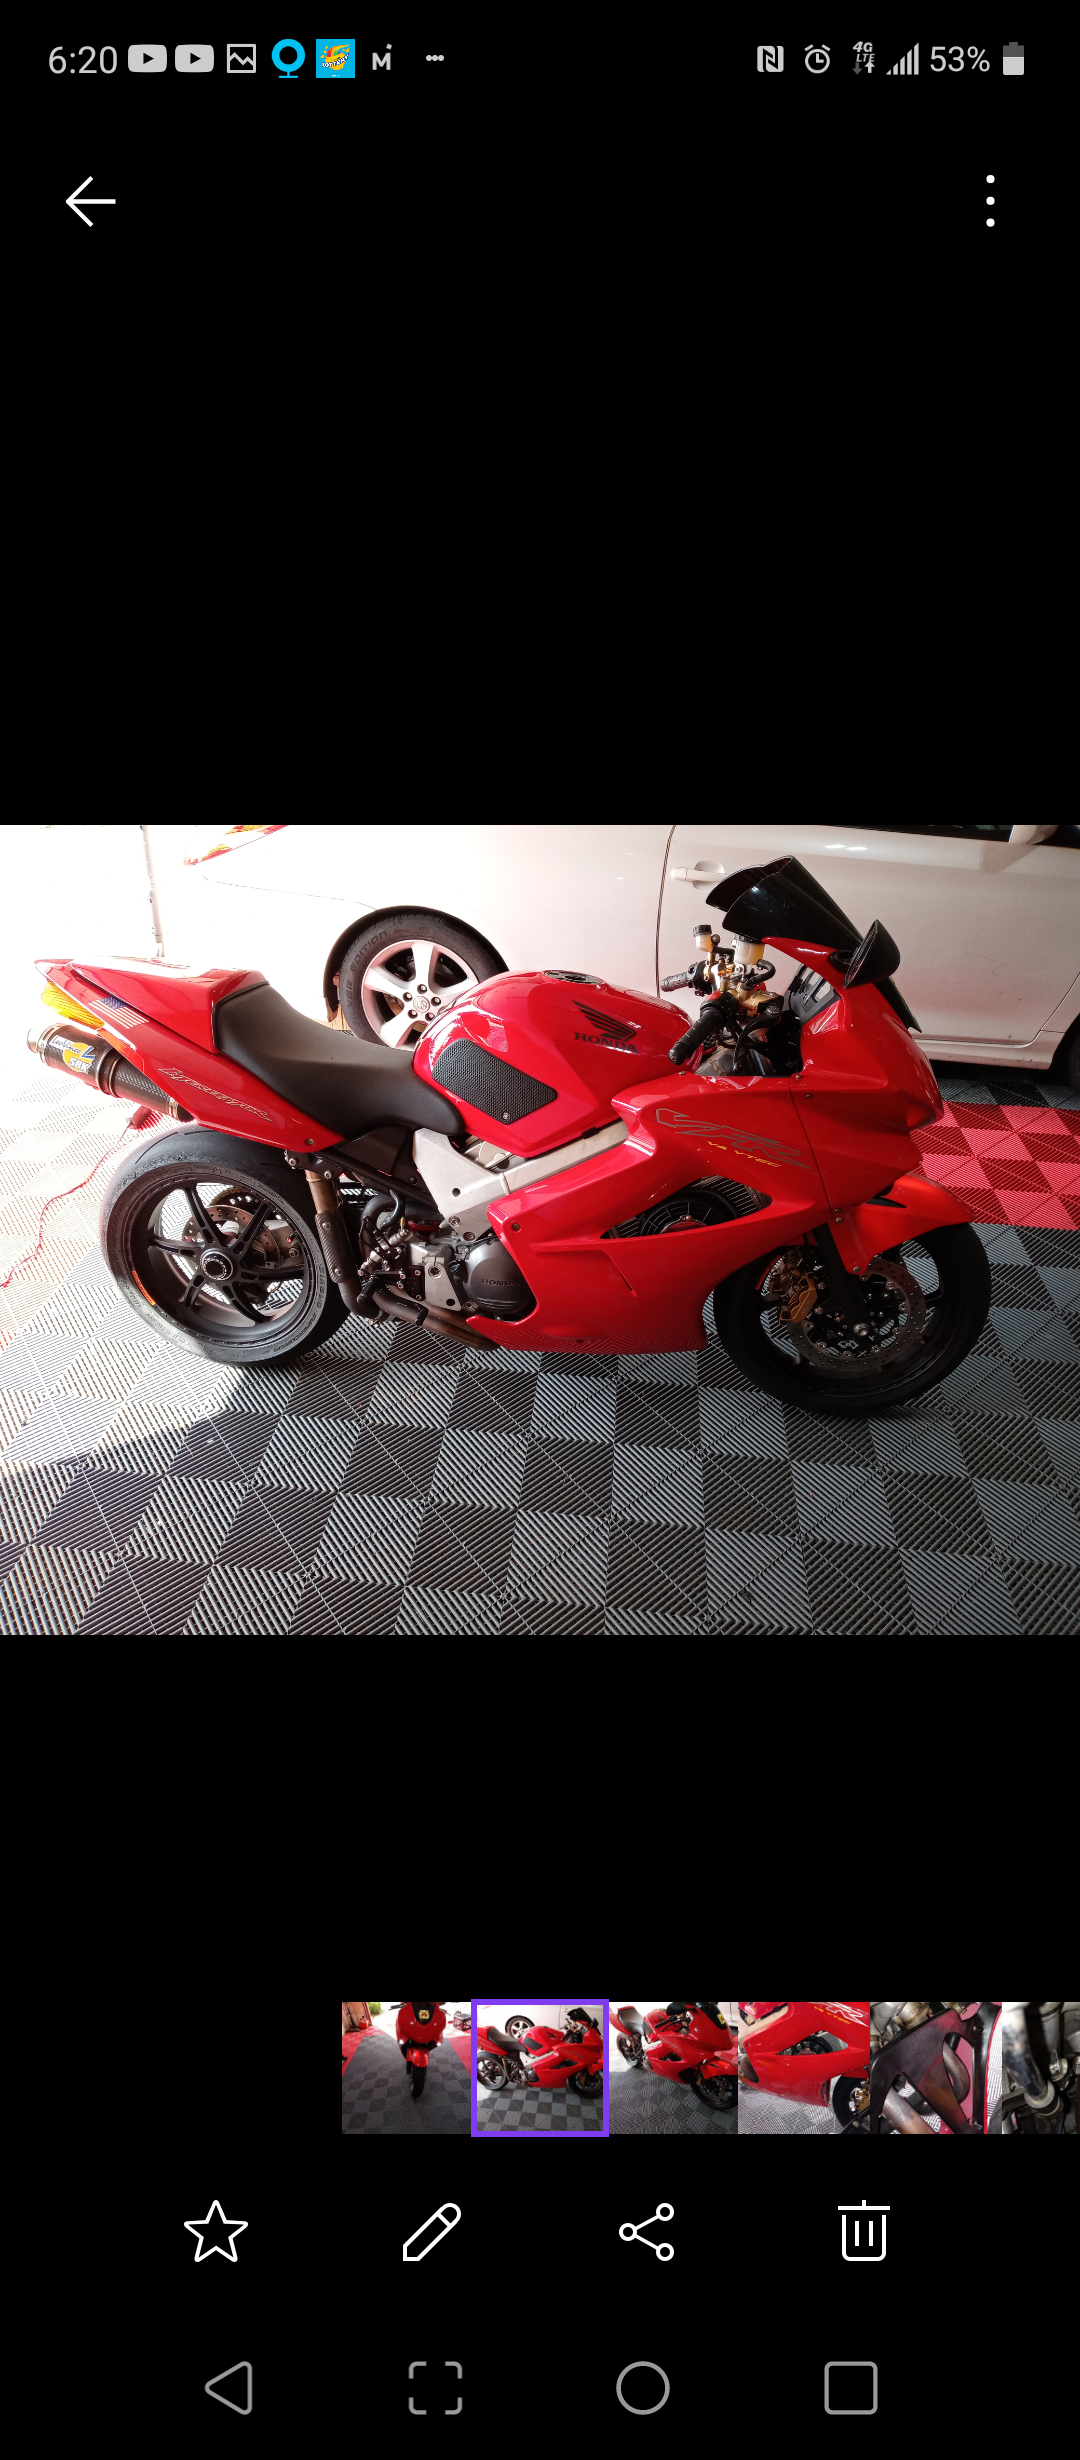
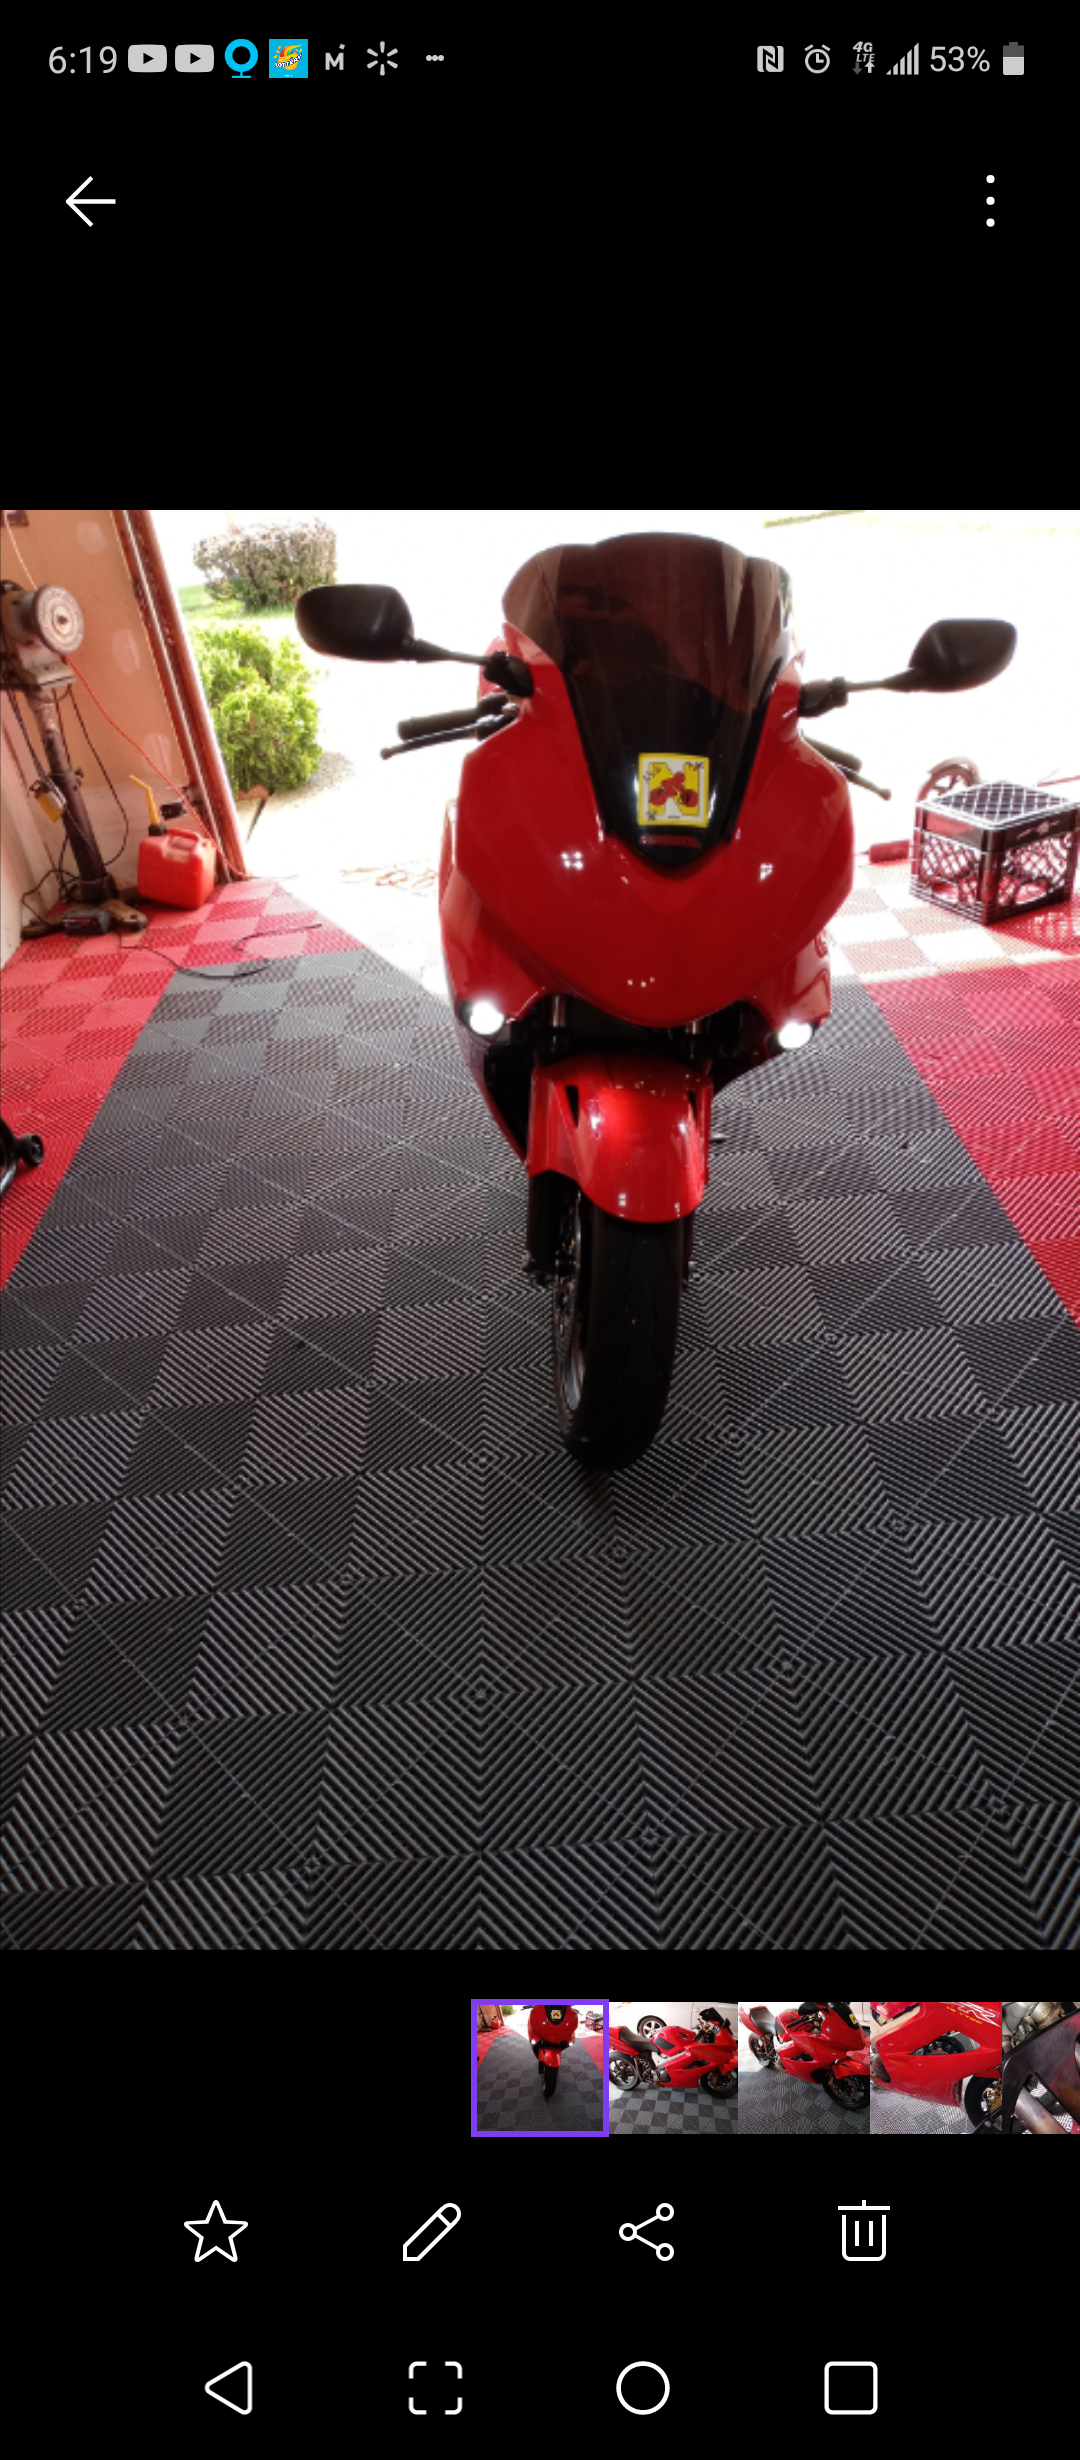
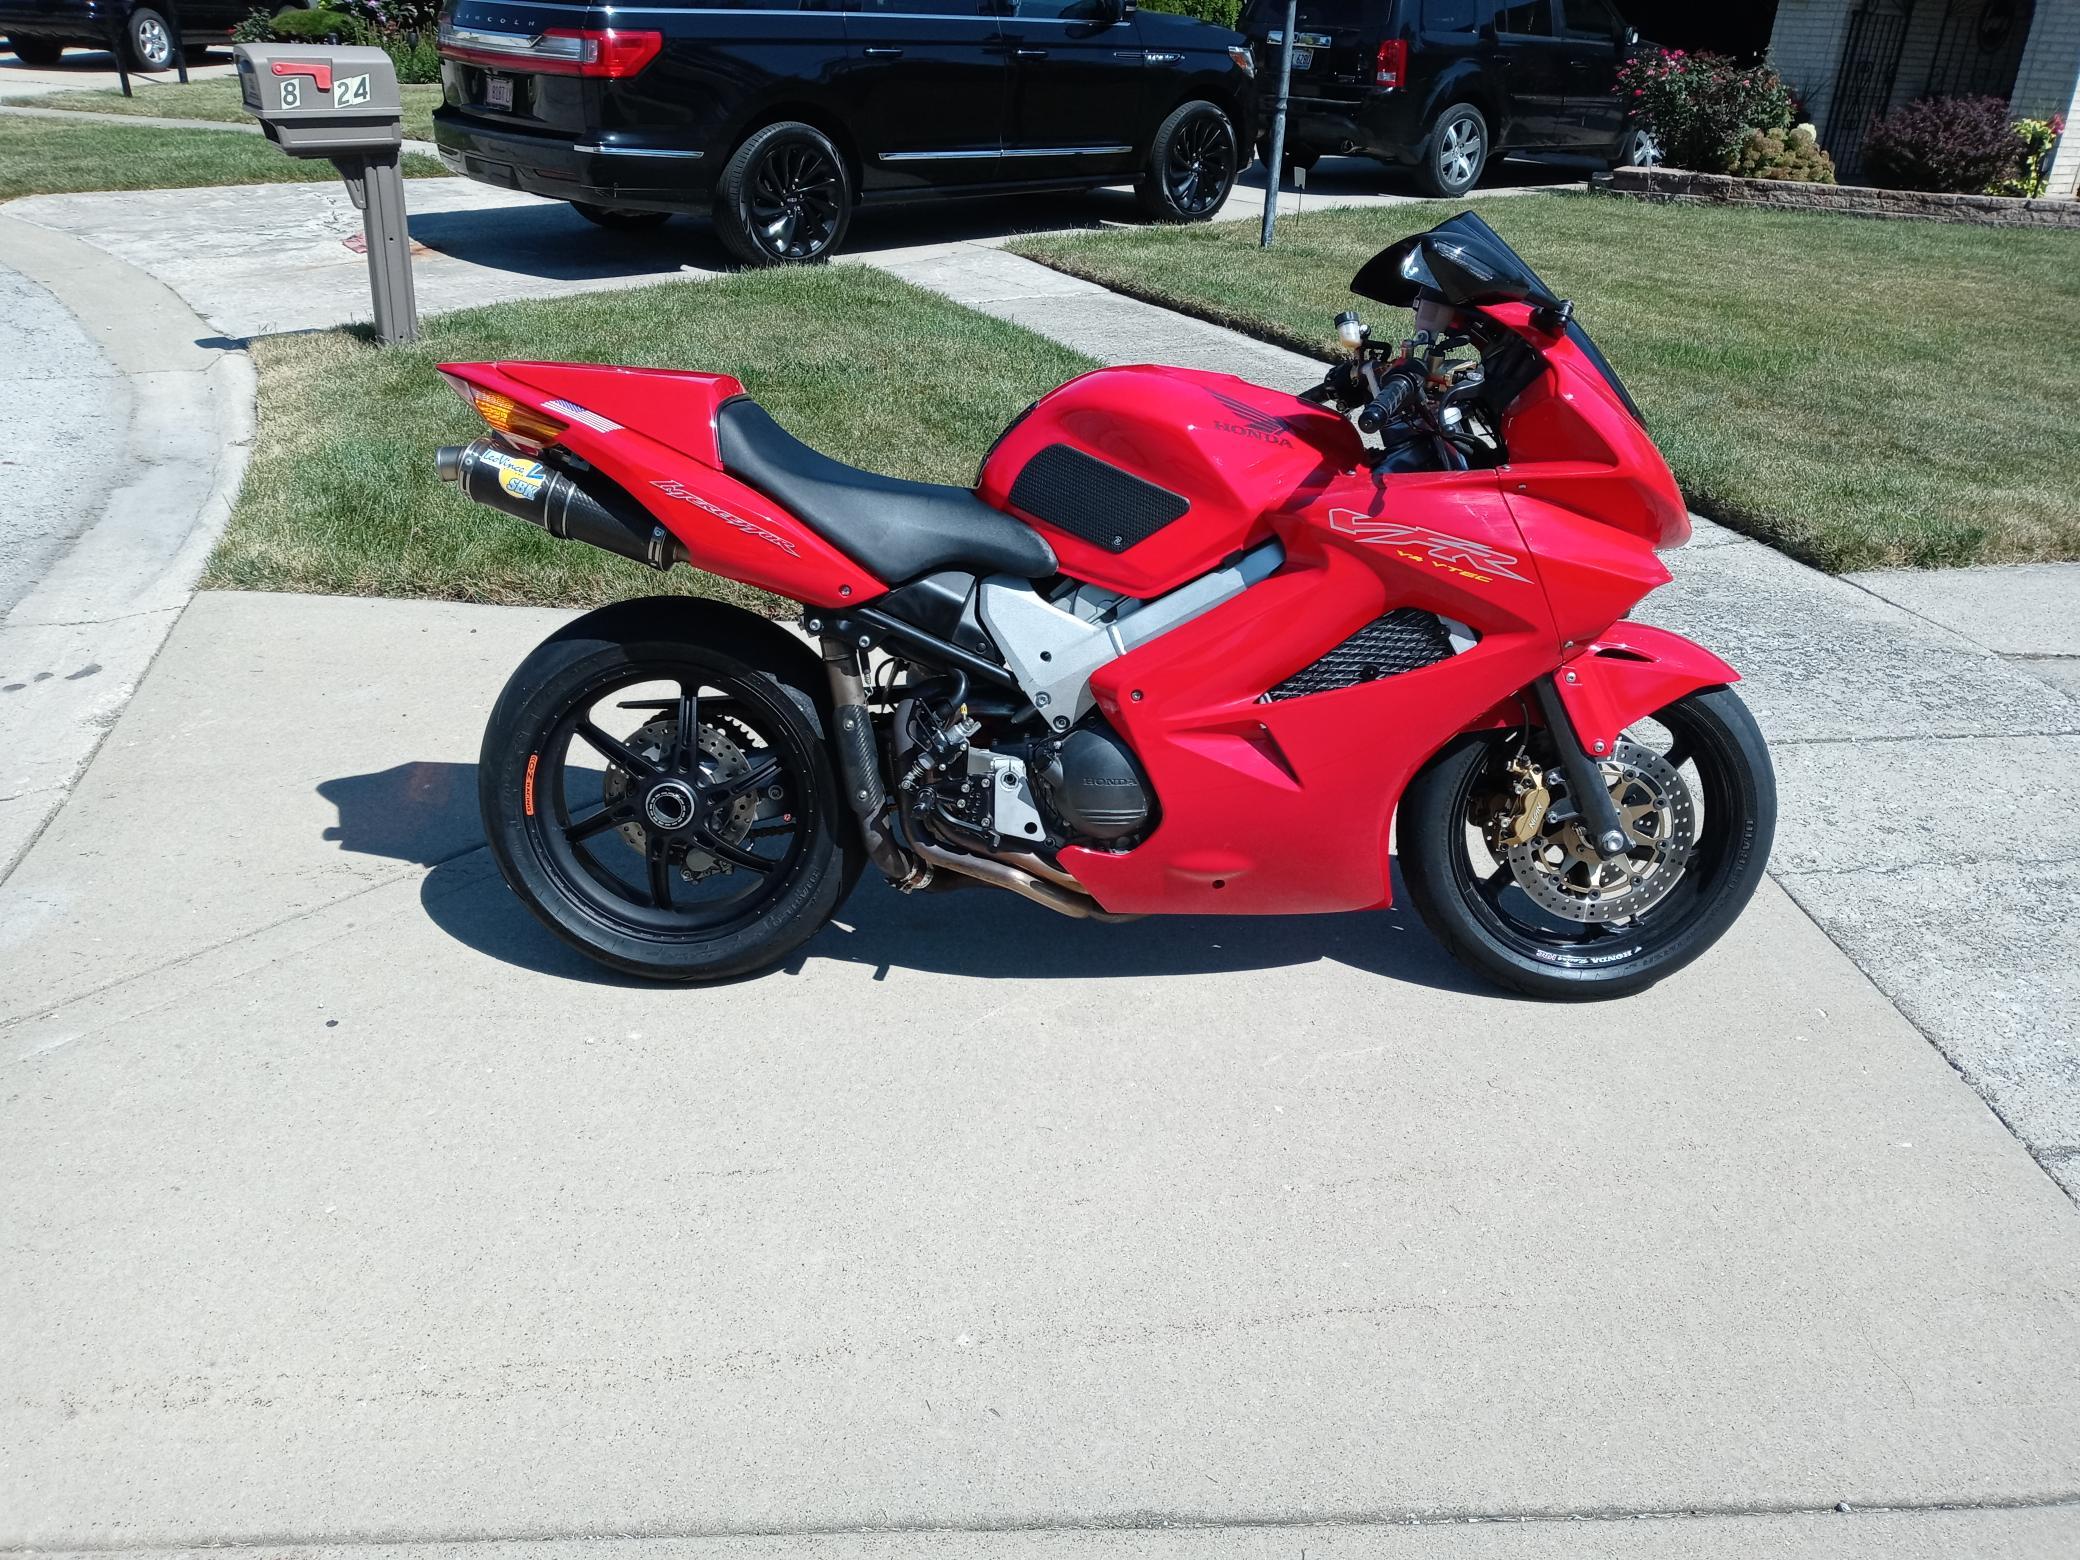
The fairings are Chinese knockoffs. I asked the seller to make them without the headlights. I do not ride this bike or my other bikes on the street or at night for that matter. I used to go to the track with it and go around the neighborhood. I pretty much ride my RRR. My 1986 VFR750F has RC45 body bodywork with yellow fog projectors that I used to ride at night. People could see me from miles away, Cops used to tell me I was supposed to have white lights and I told them show me law. I am currently playing around with some Nissin Versa fog light for the 86 right now.
-
more pics hard to do on the phone
-
3
-
-
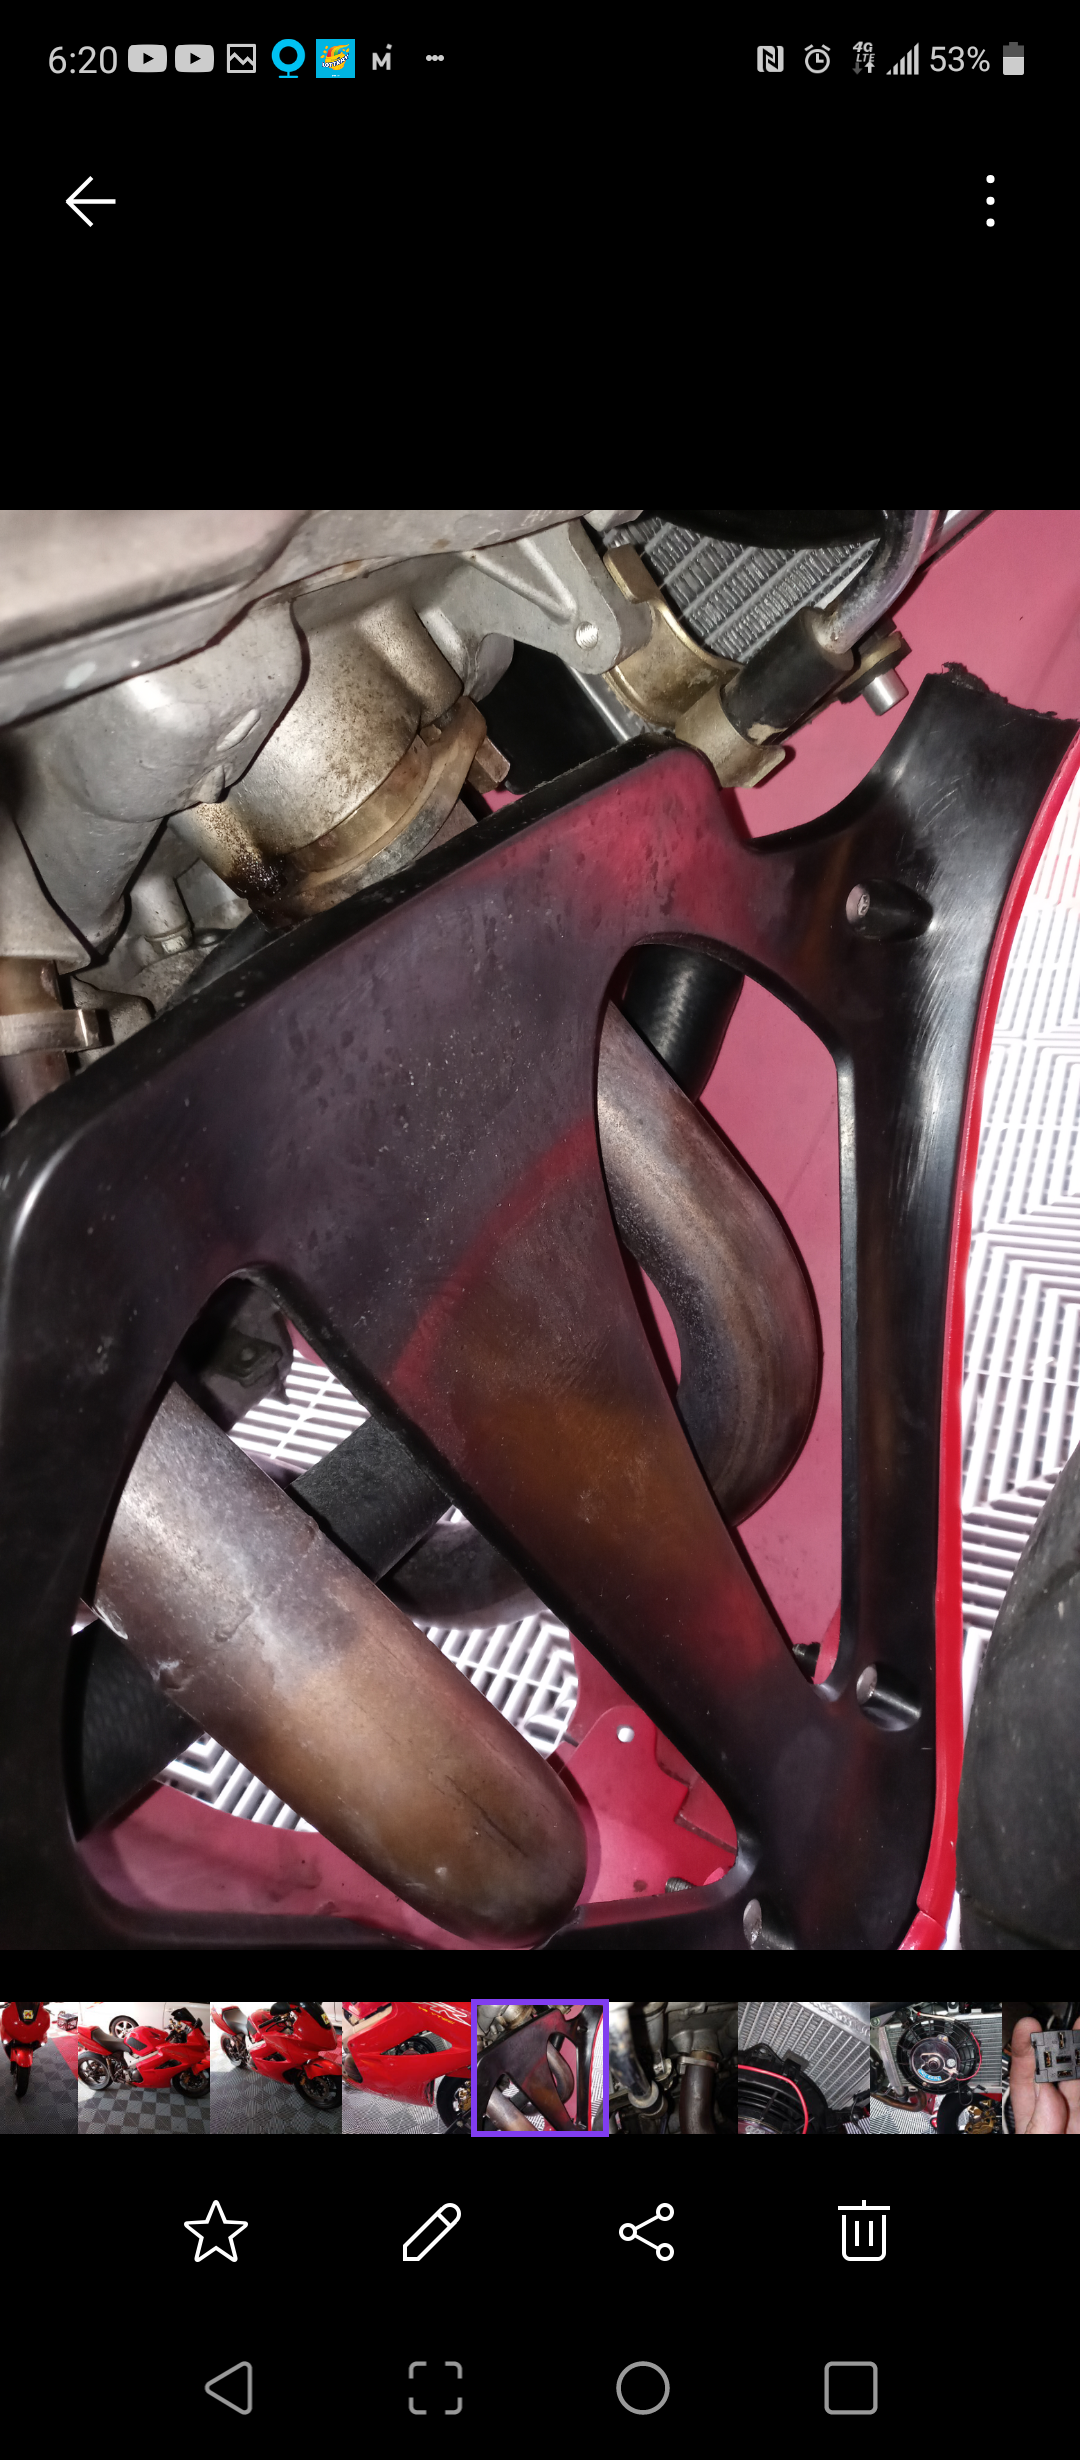
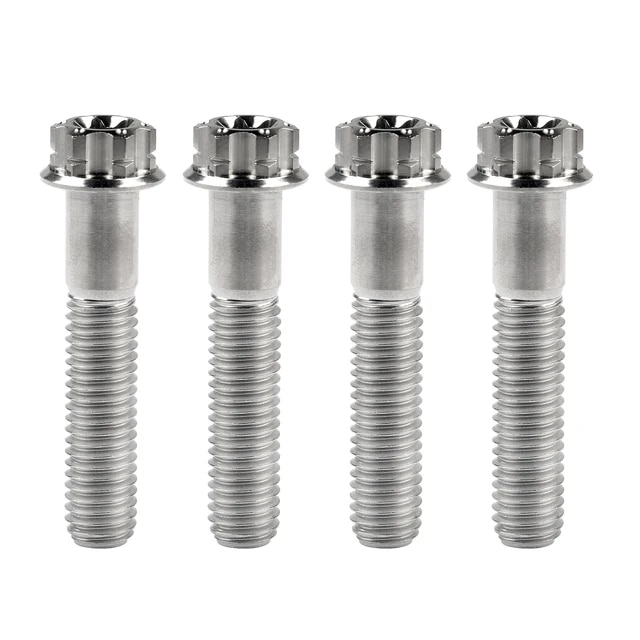
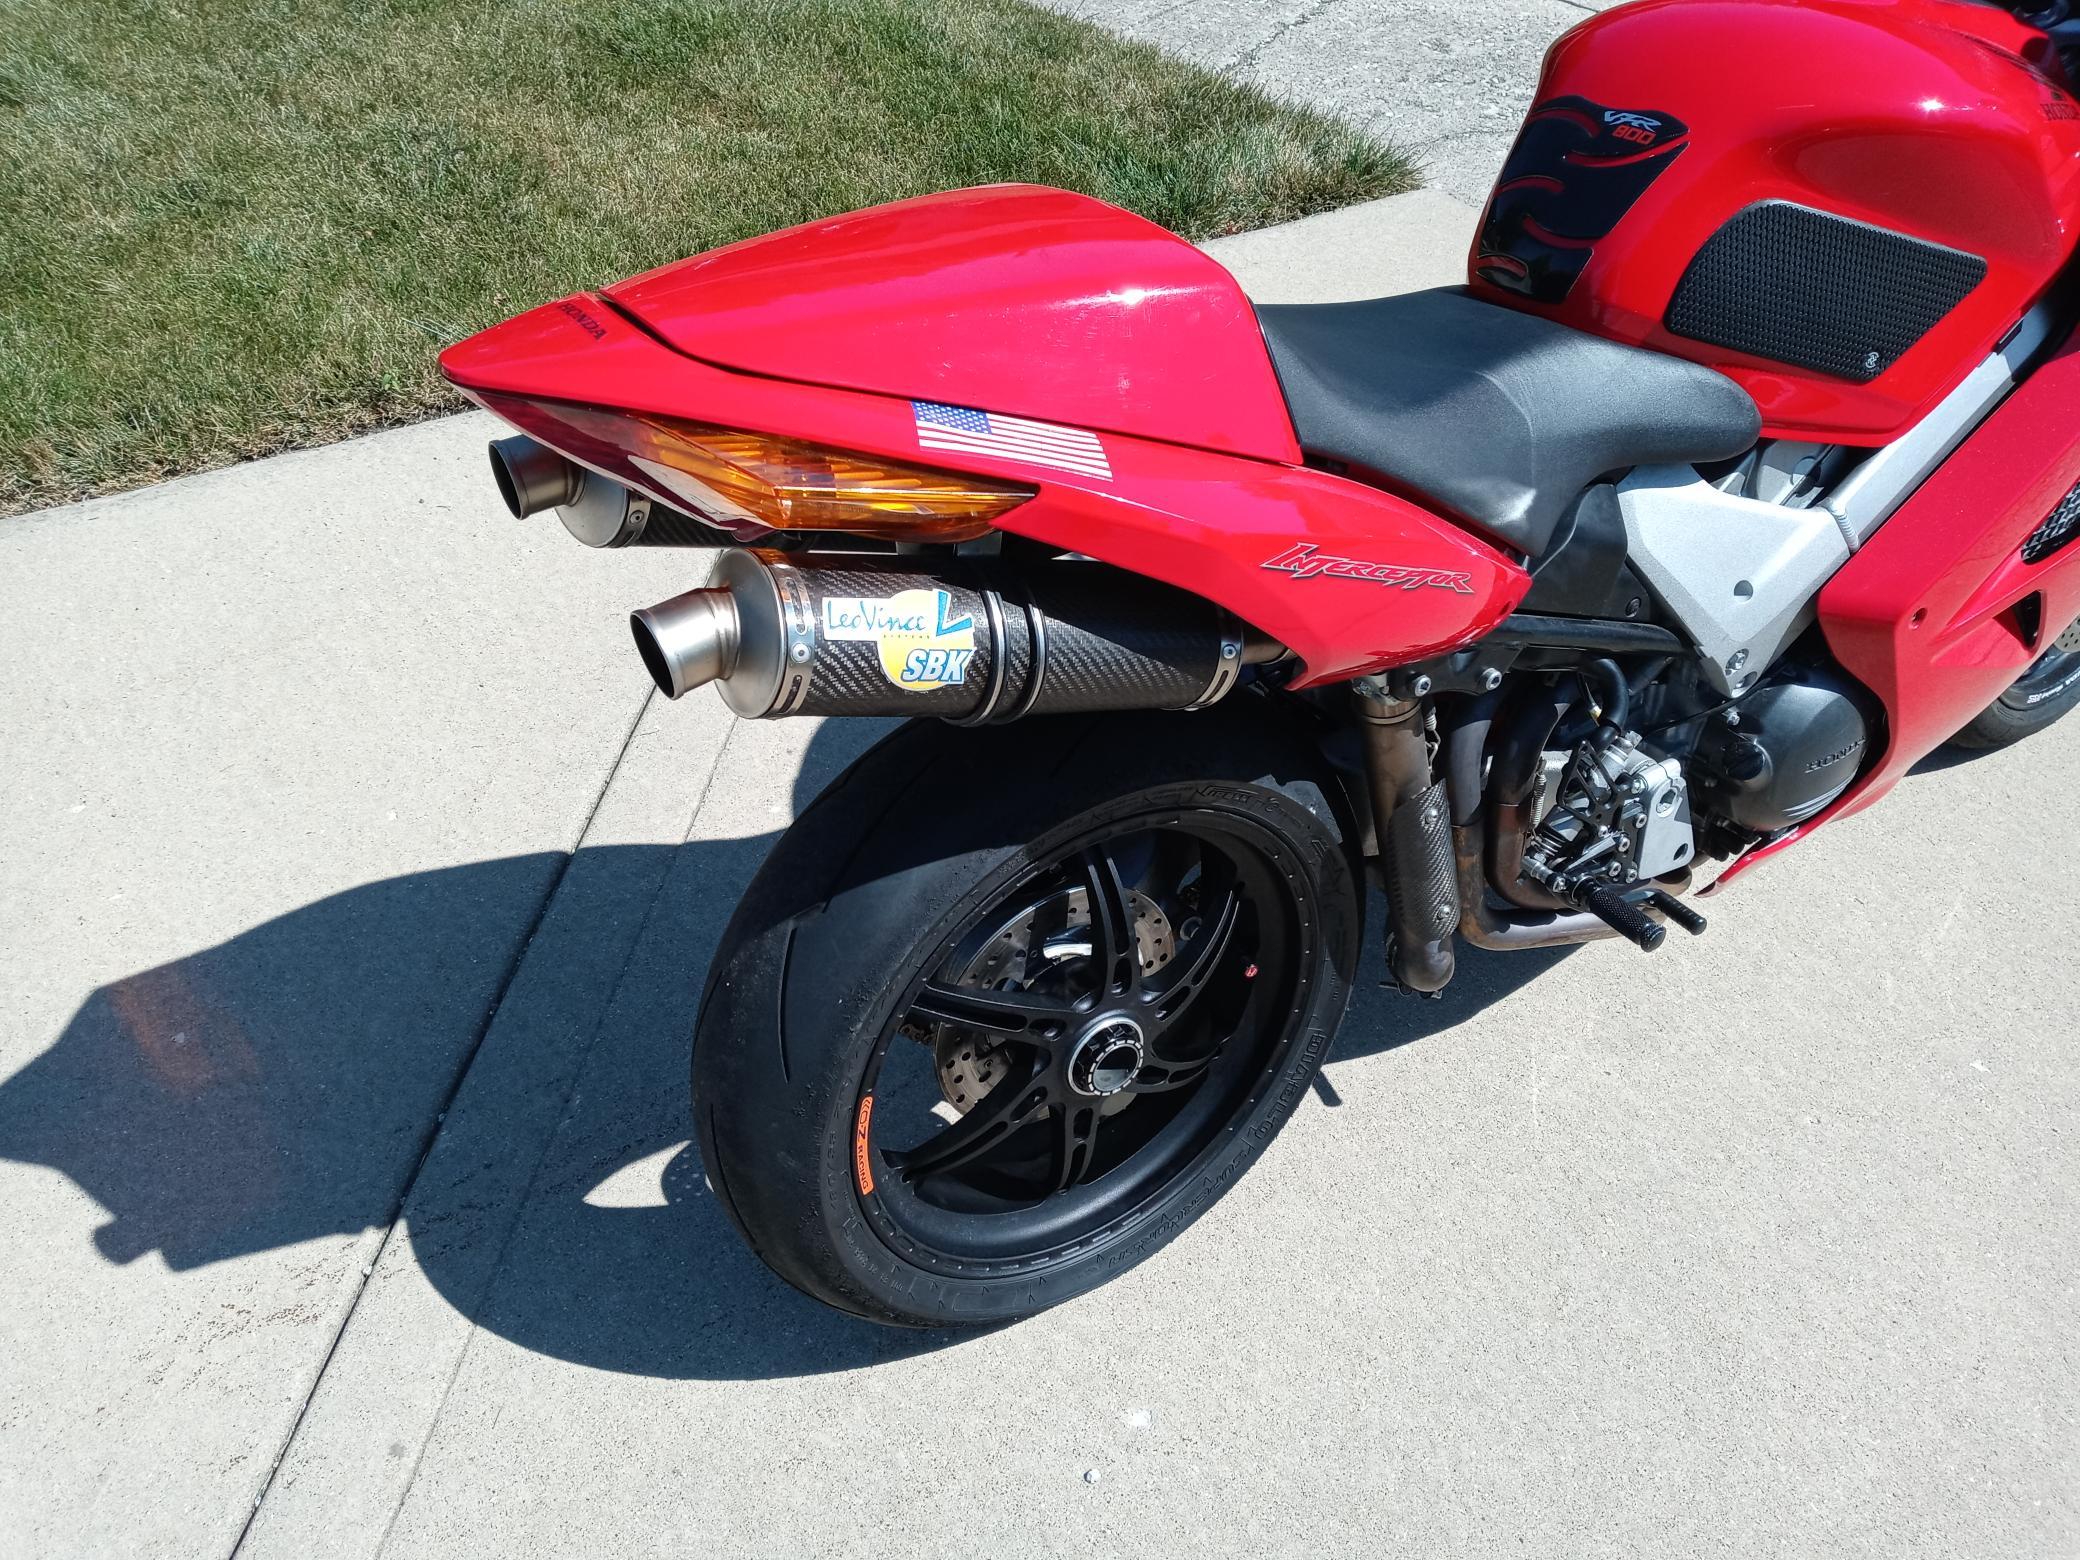
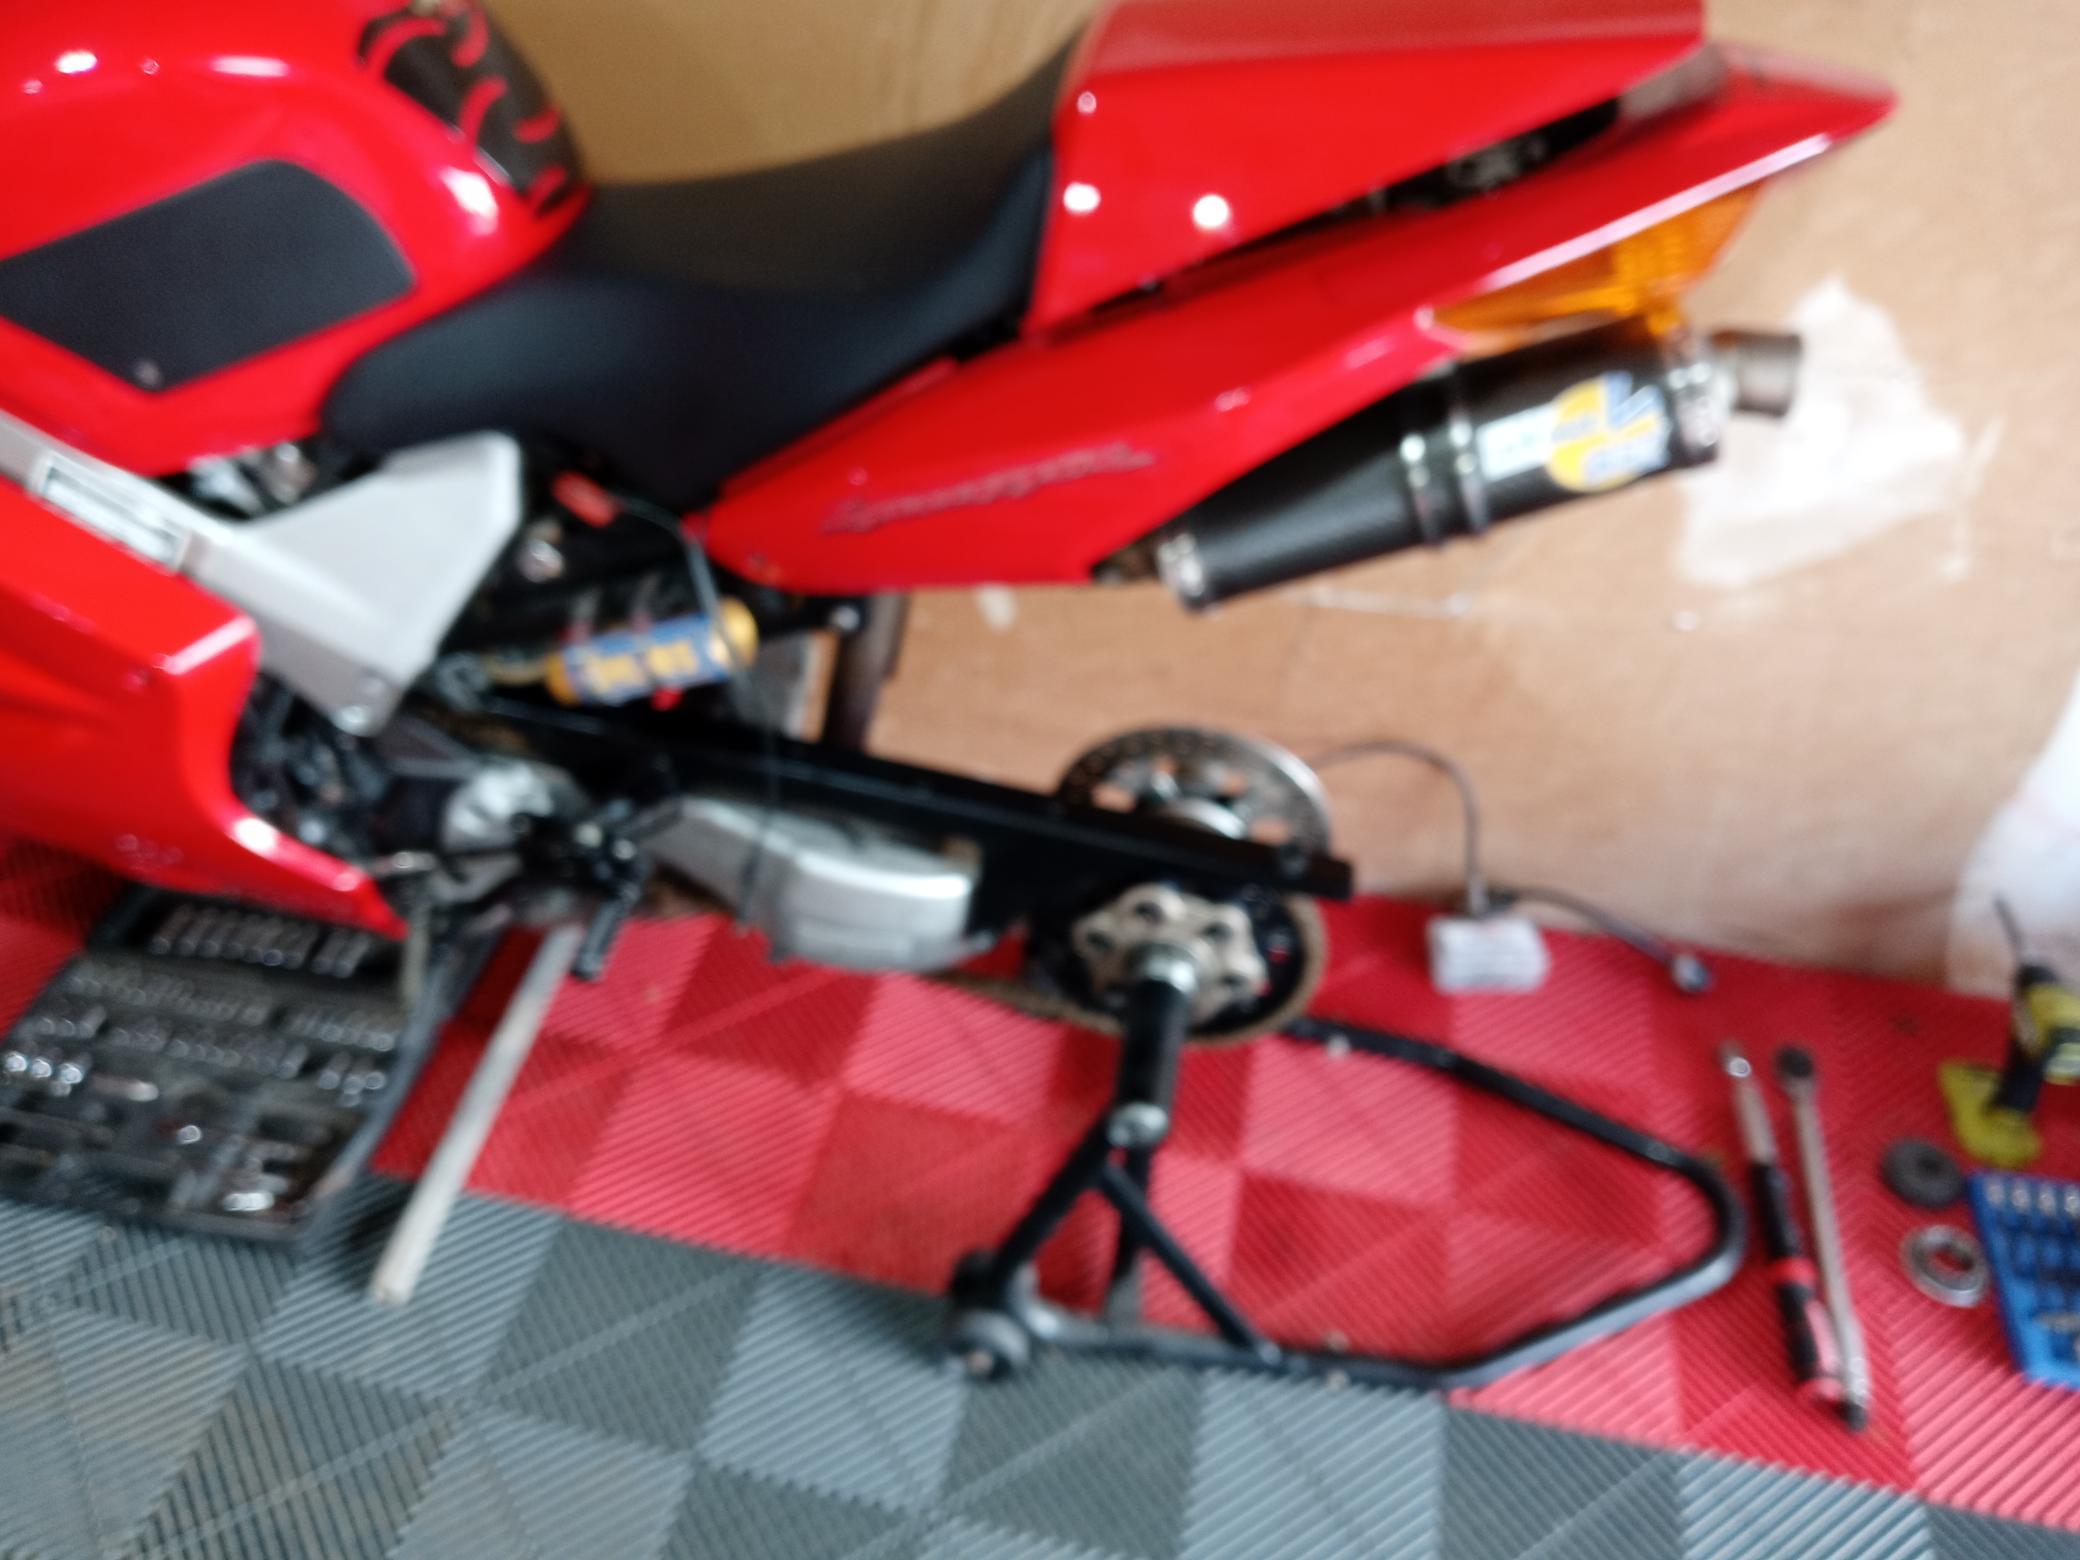
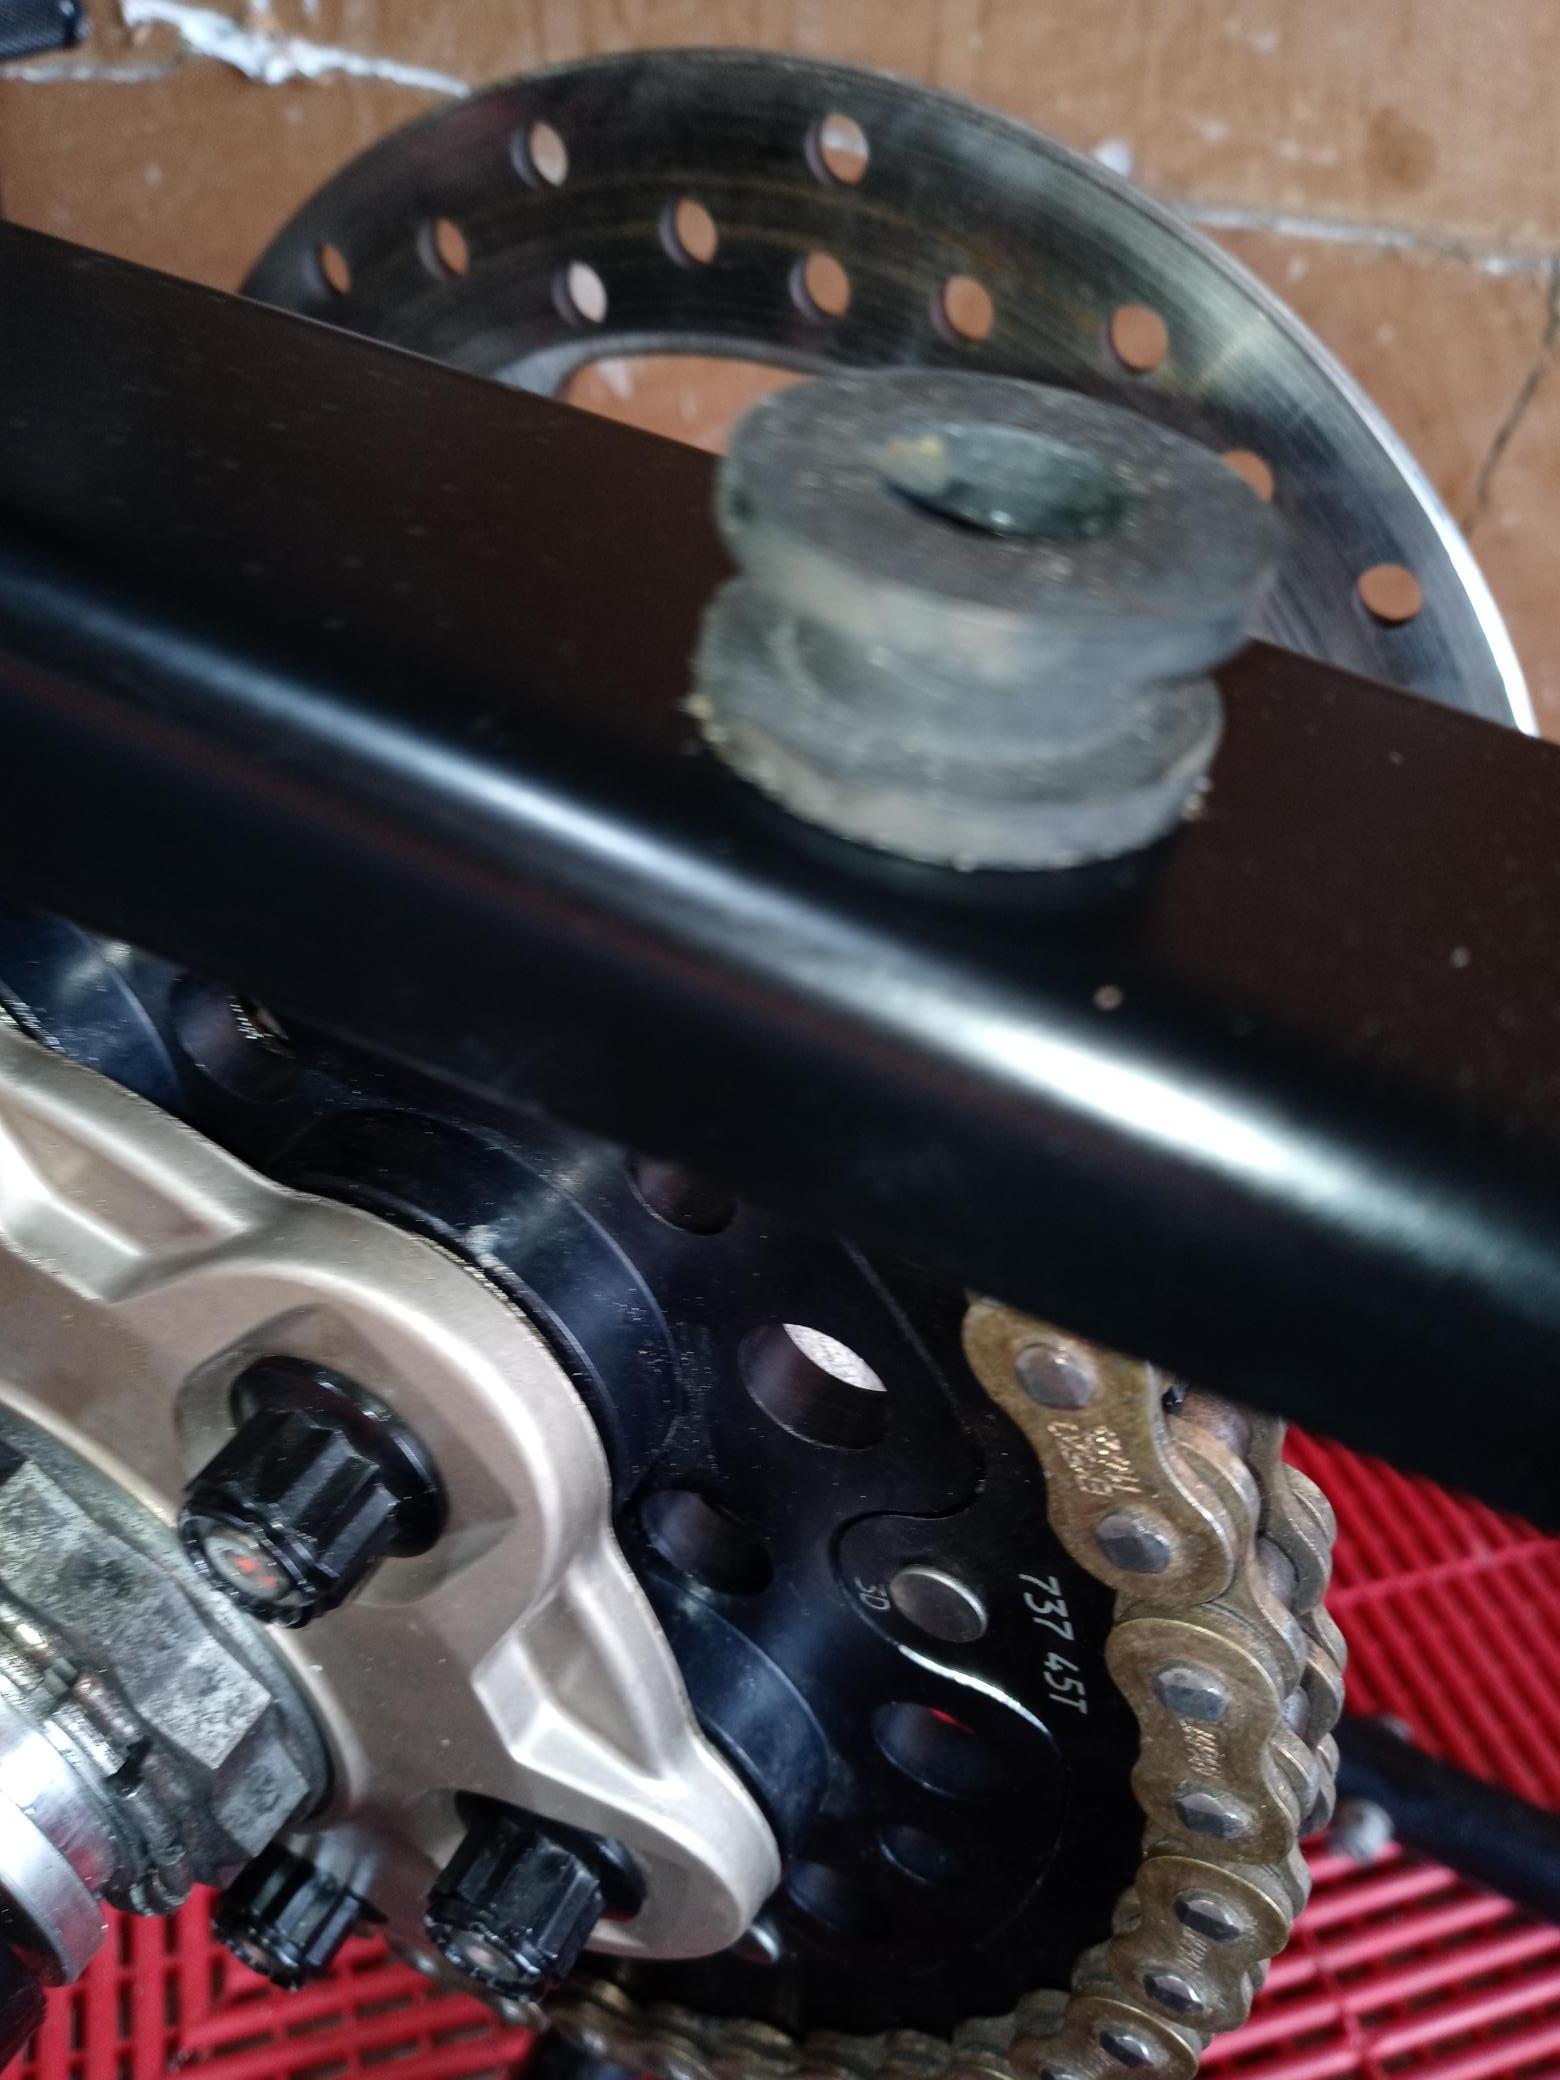
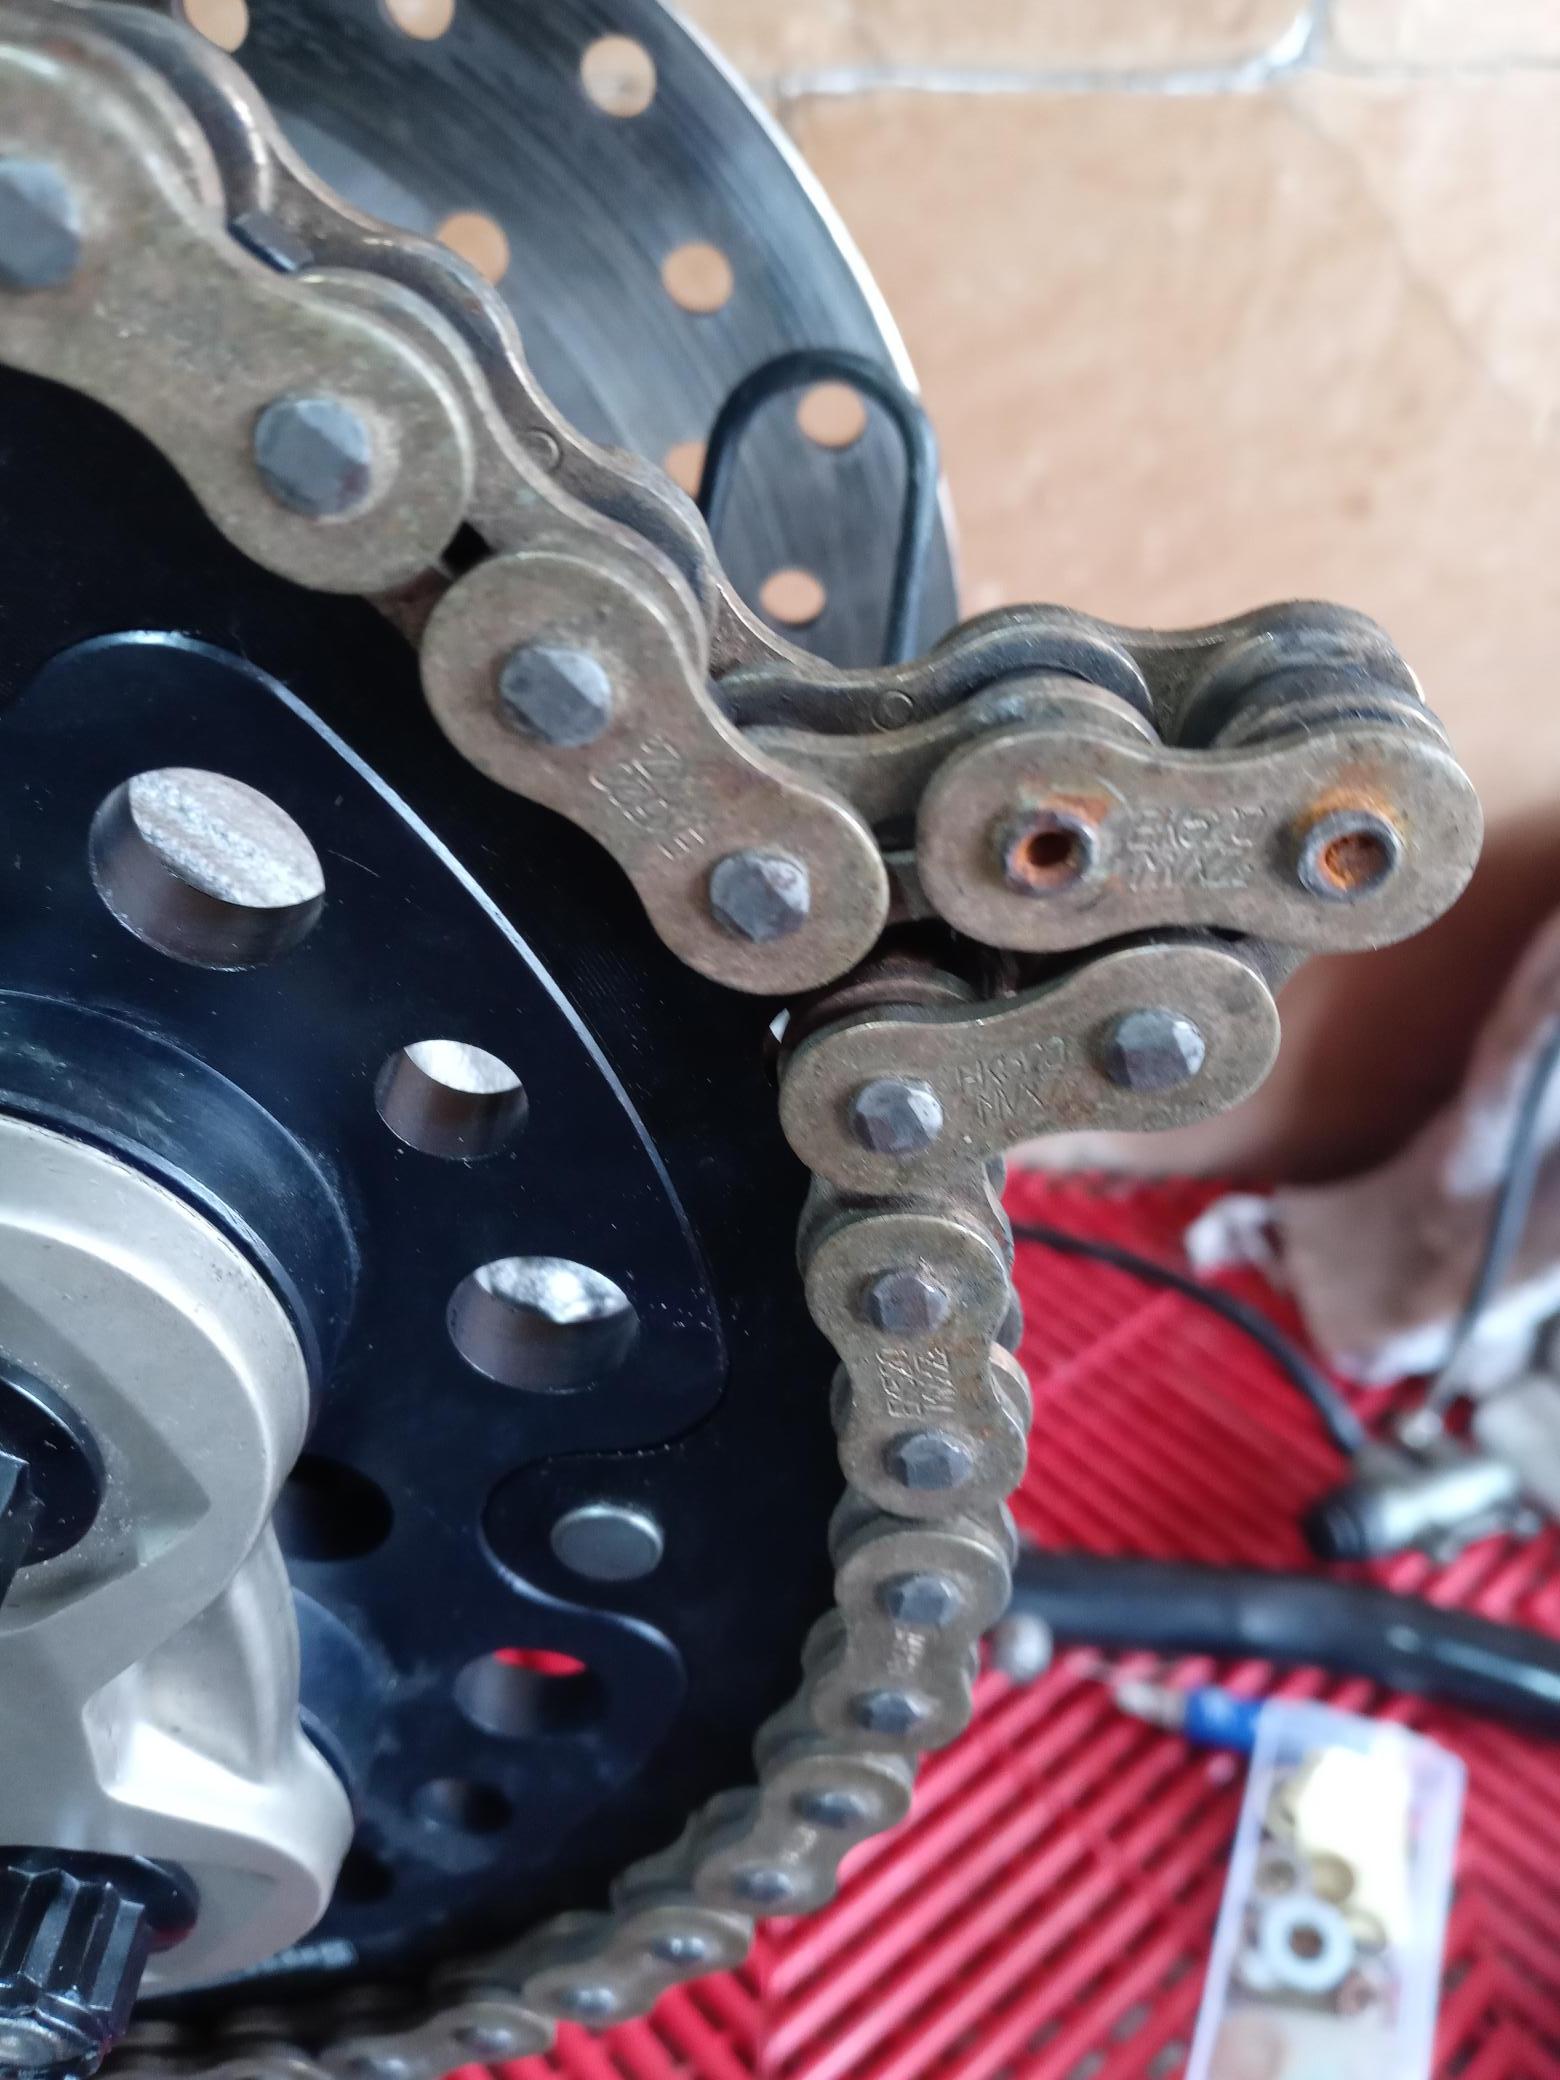
Pretty much done finally got around to finishing it. Still need to to torque nuts to 170 ft/lbs. I got it to 150 A friend will help me. I kept original master cylinder. Replaced the large nuts with black ones also also titanium lock nuts and safety circlips. Wheelbase will be adjusted ie chain a little loose. See how close tire is to exhaust. Will order front matching soon. Still deciding on calipers.
-
Cool thank you for the response. If you are ever in Chicago look me up.
-
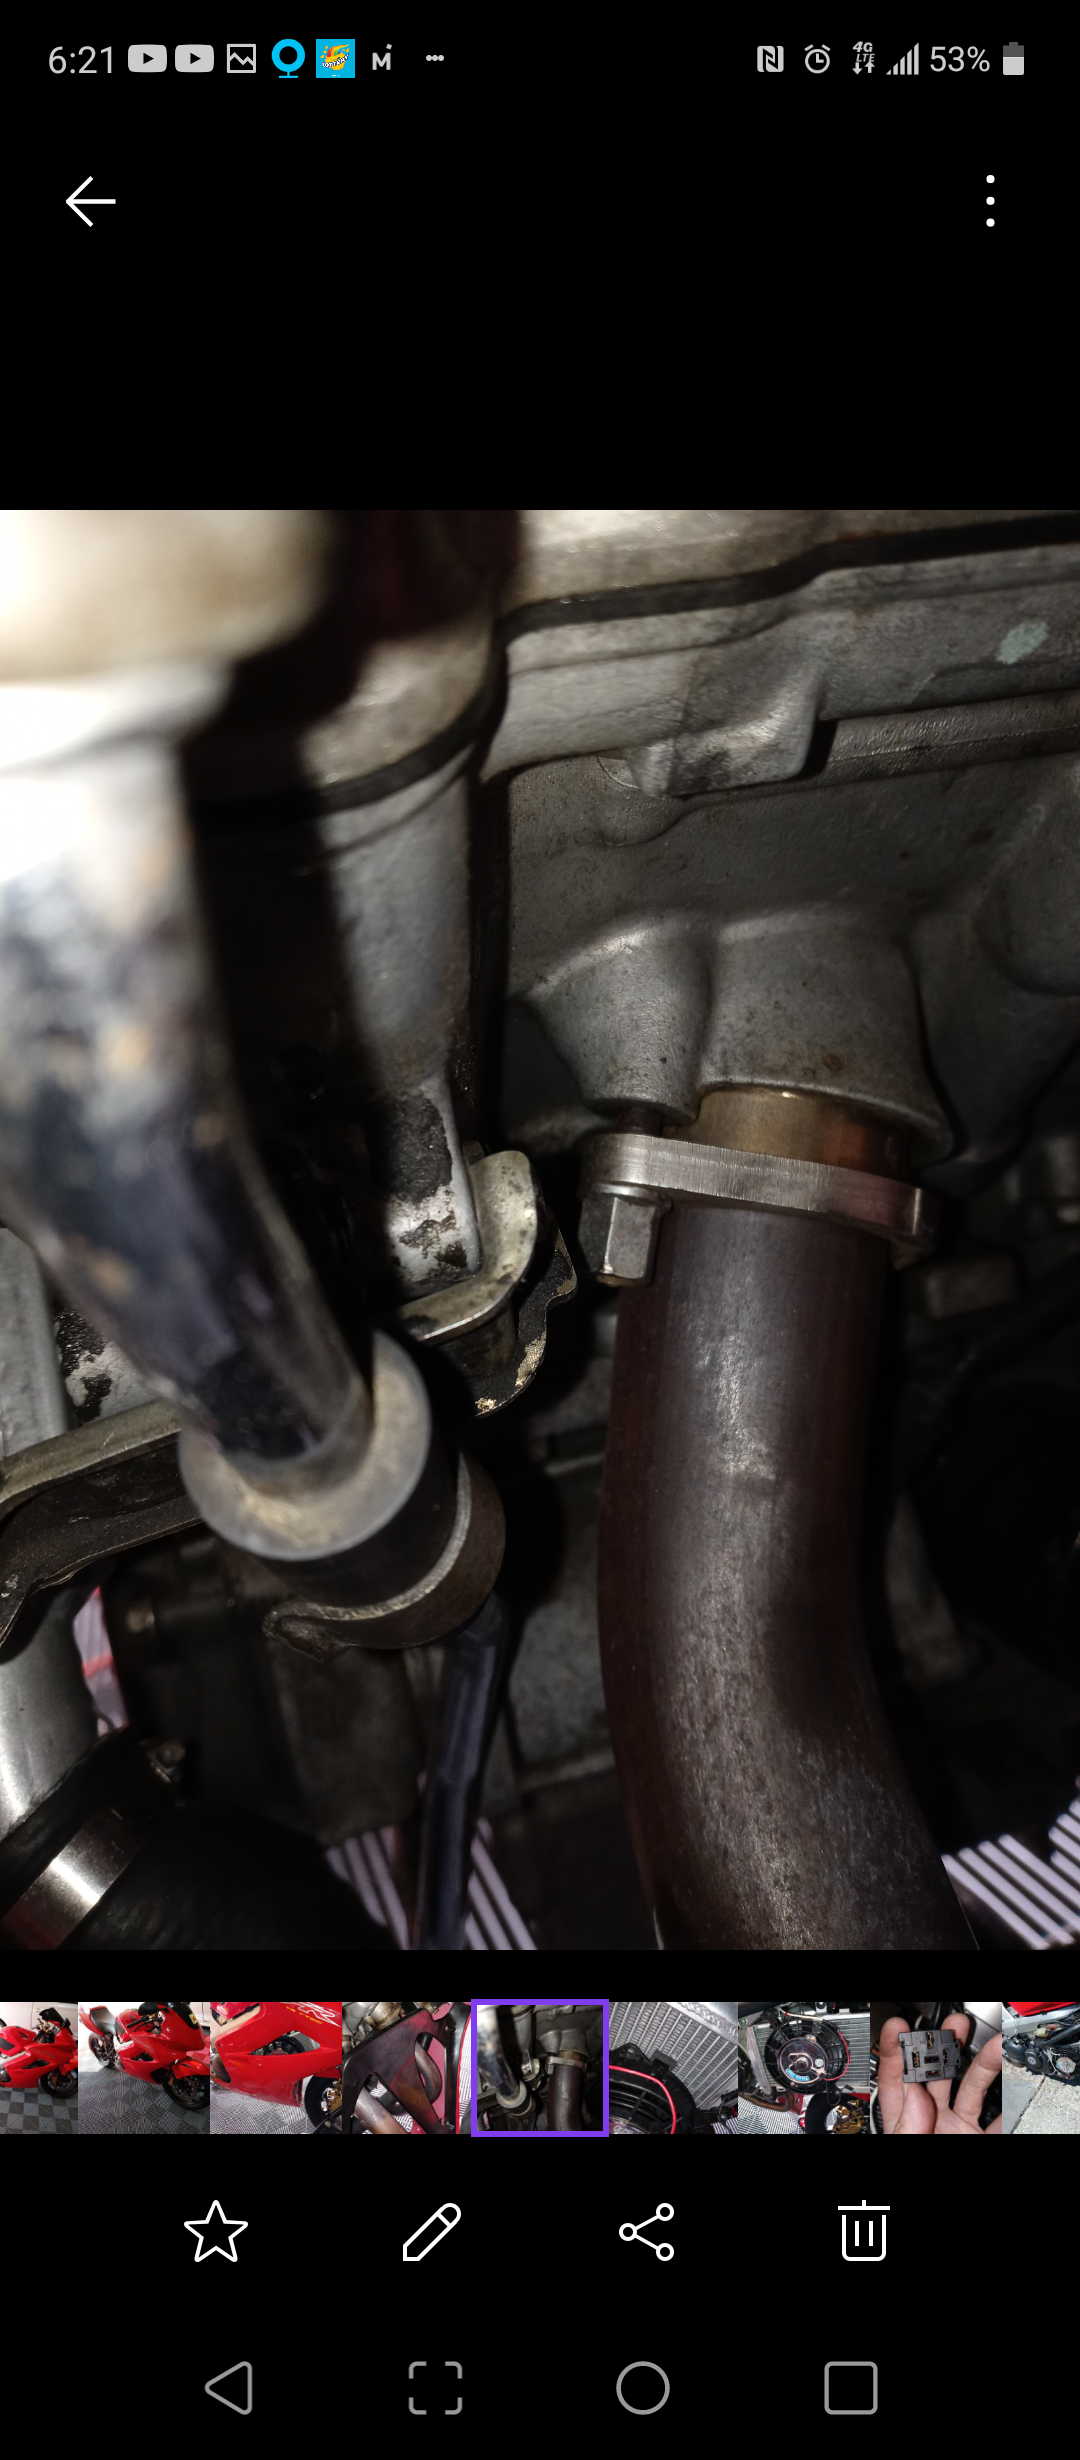
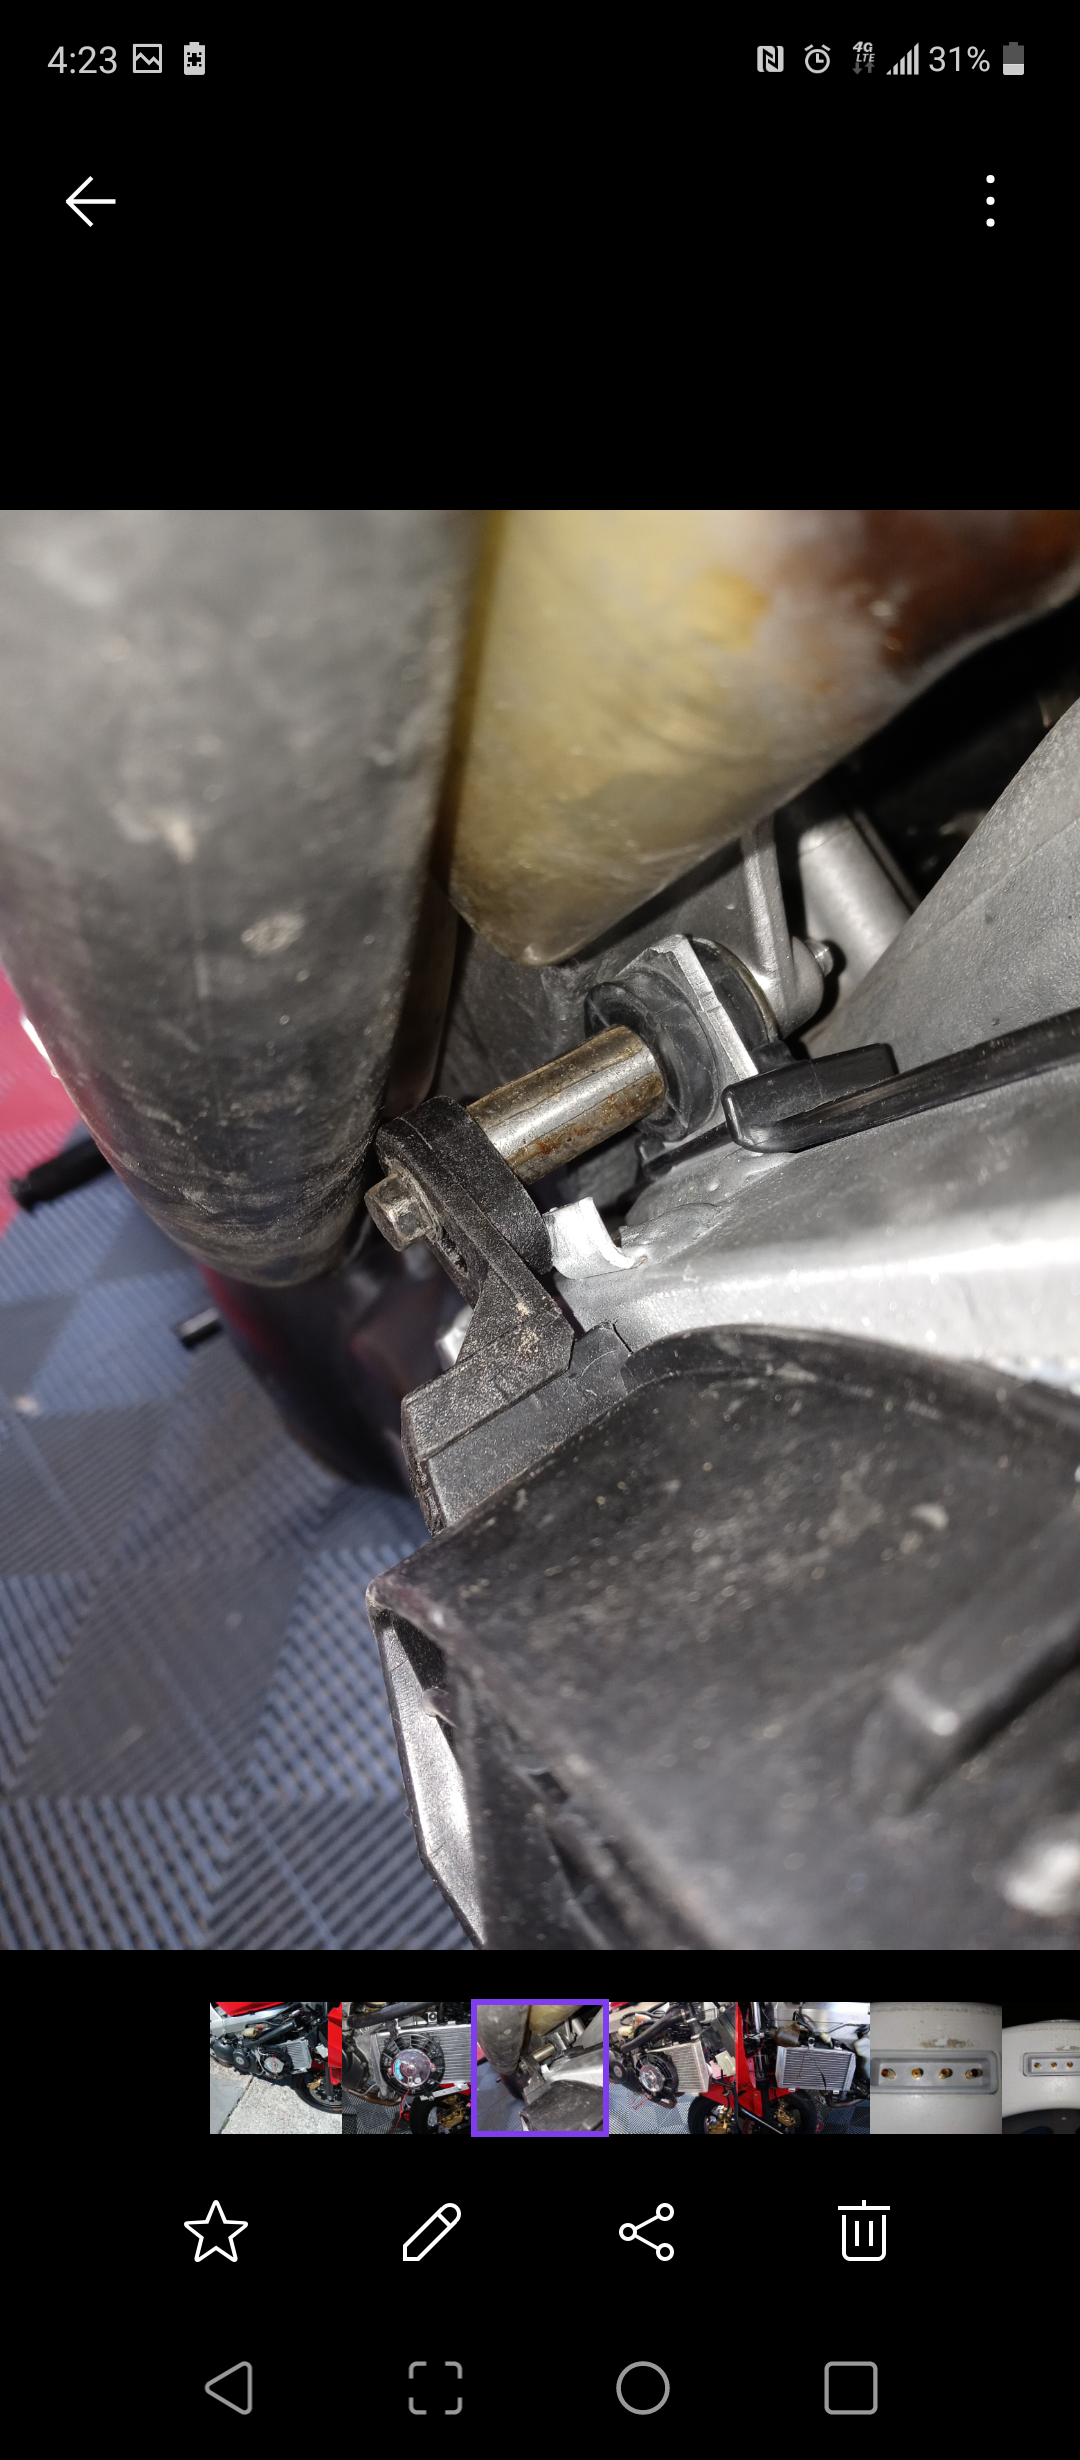
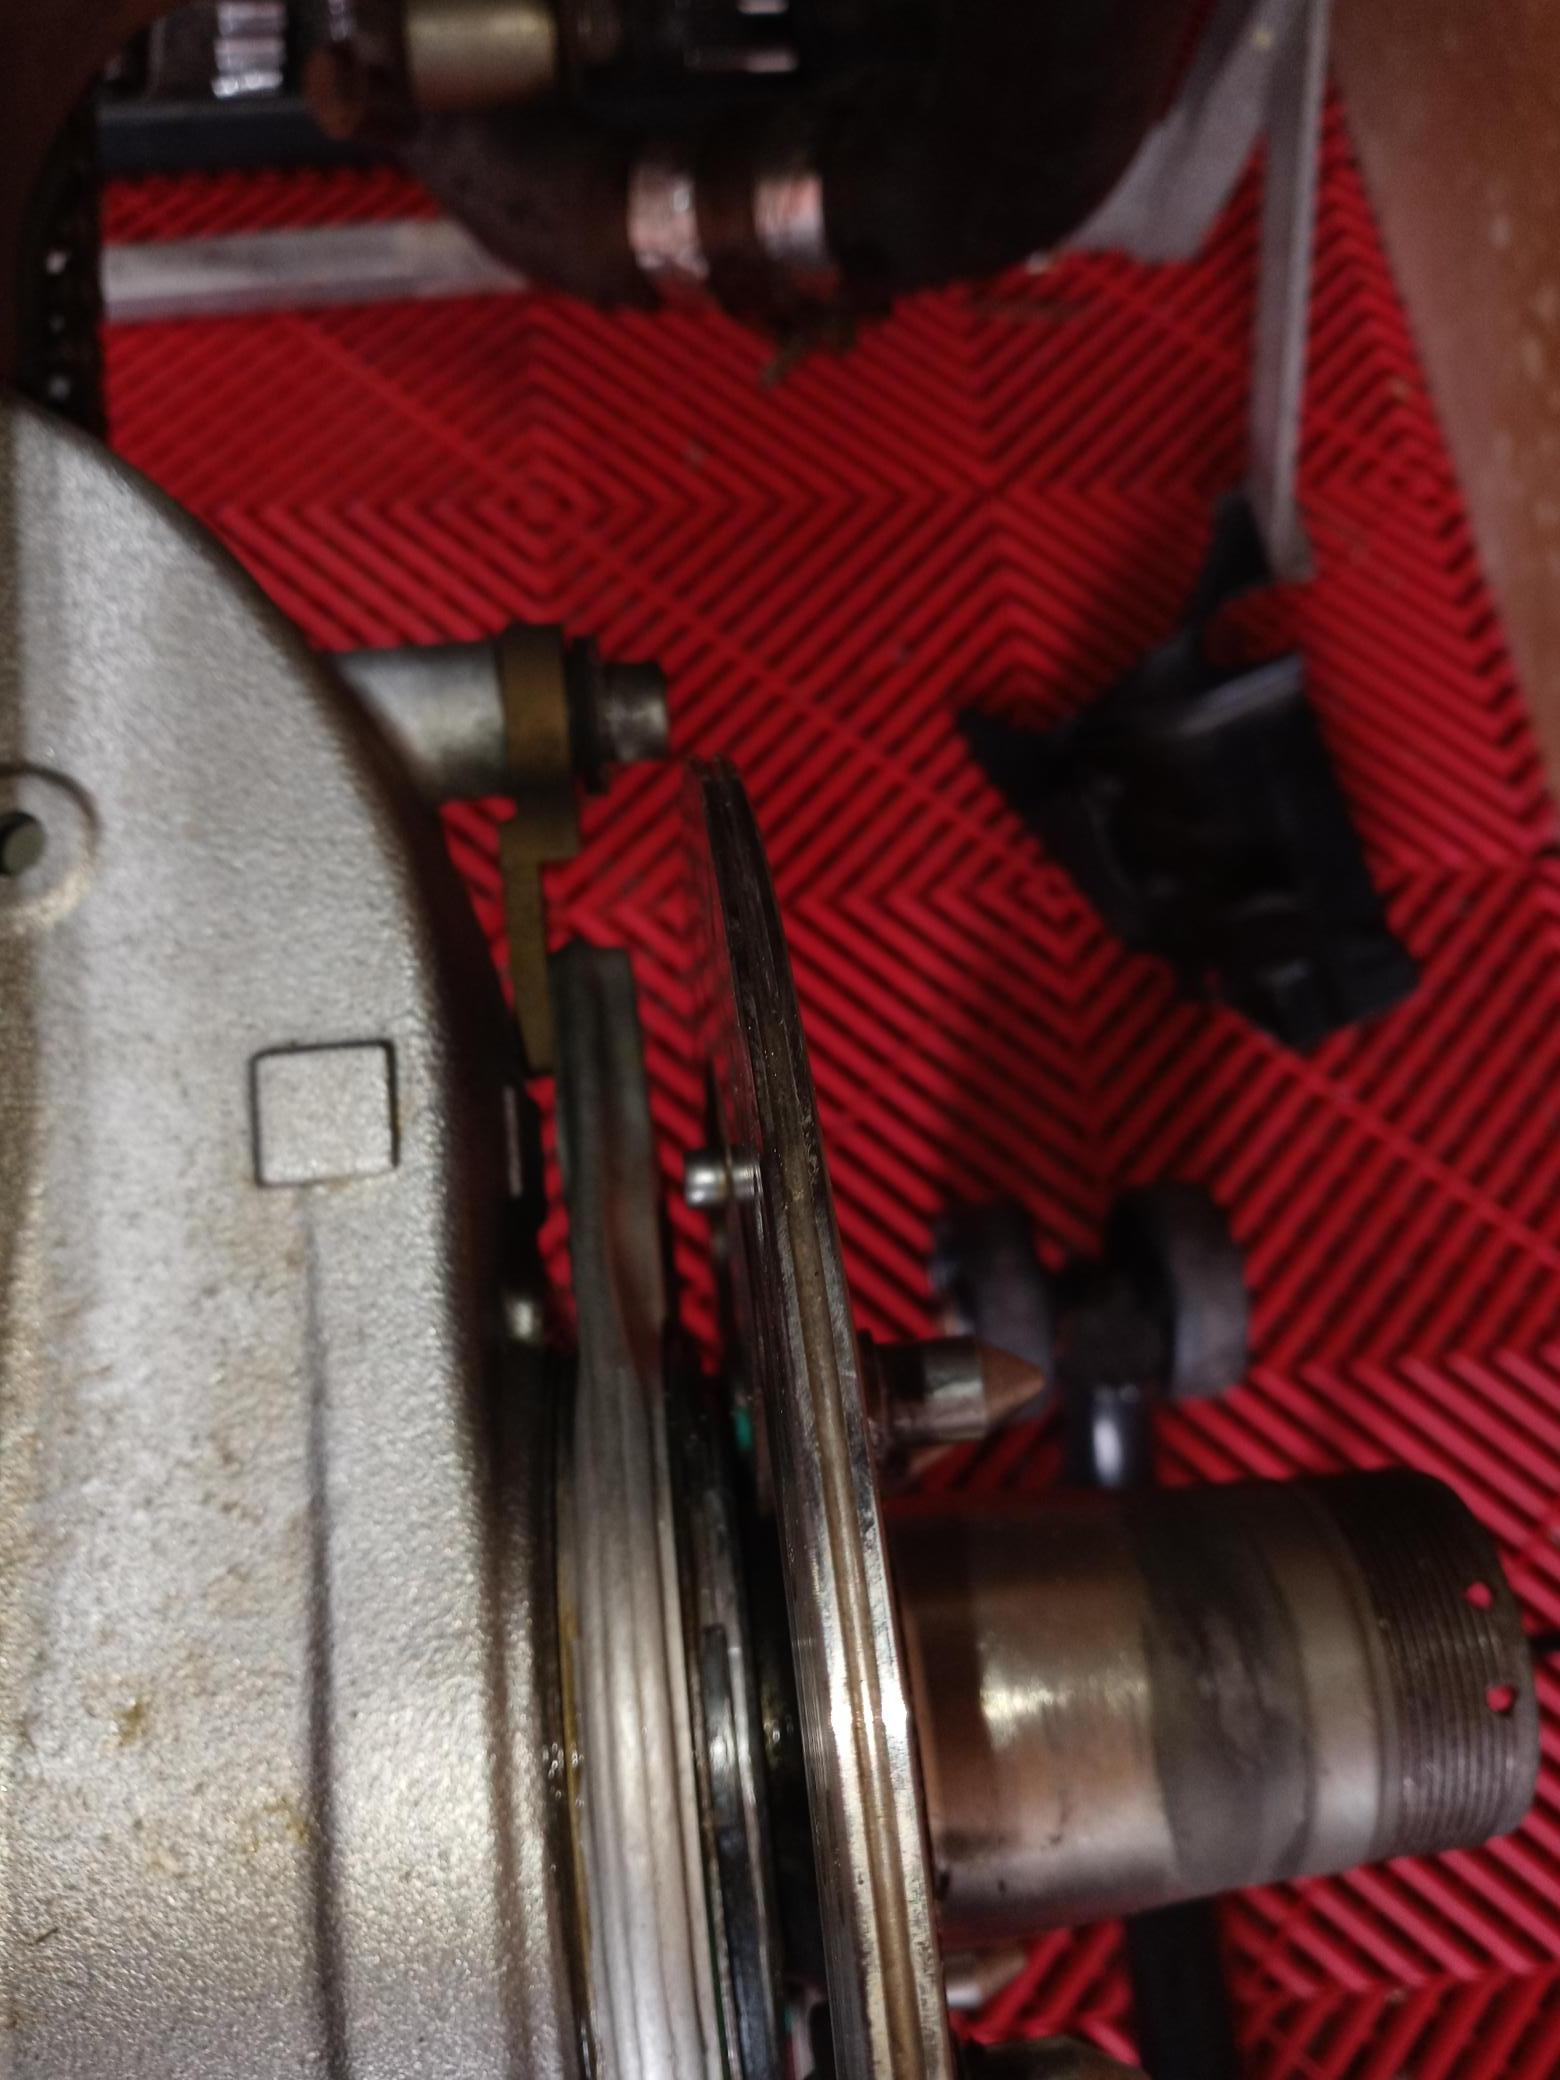
I was too lazy to drill another hole also. Nevertheless I found some article that it is normal for the bracket to move. The VFR800 setup is fixed while the 1098 setup has slack built into it. If you go on the Extreme creation site their setup has slack built into it with no stopper. Seb do you think it is beneficial to use it? Thank you for the welcome.
-
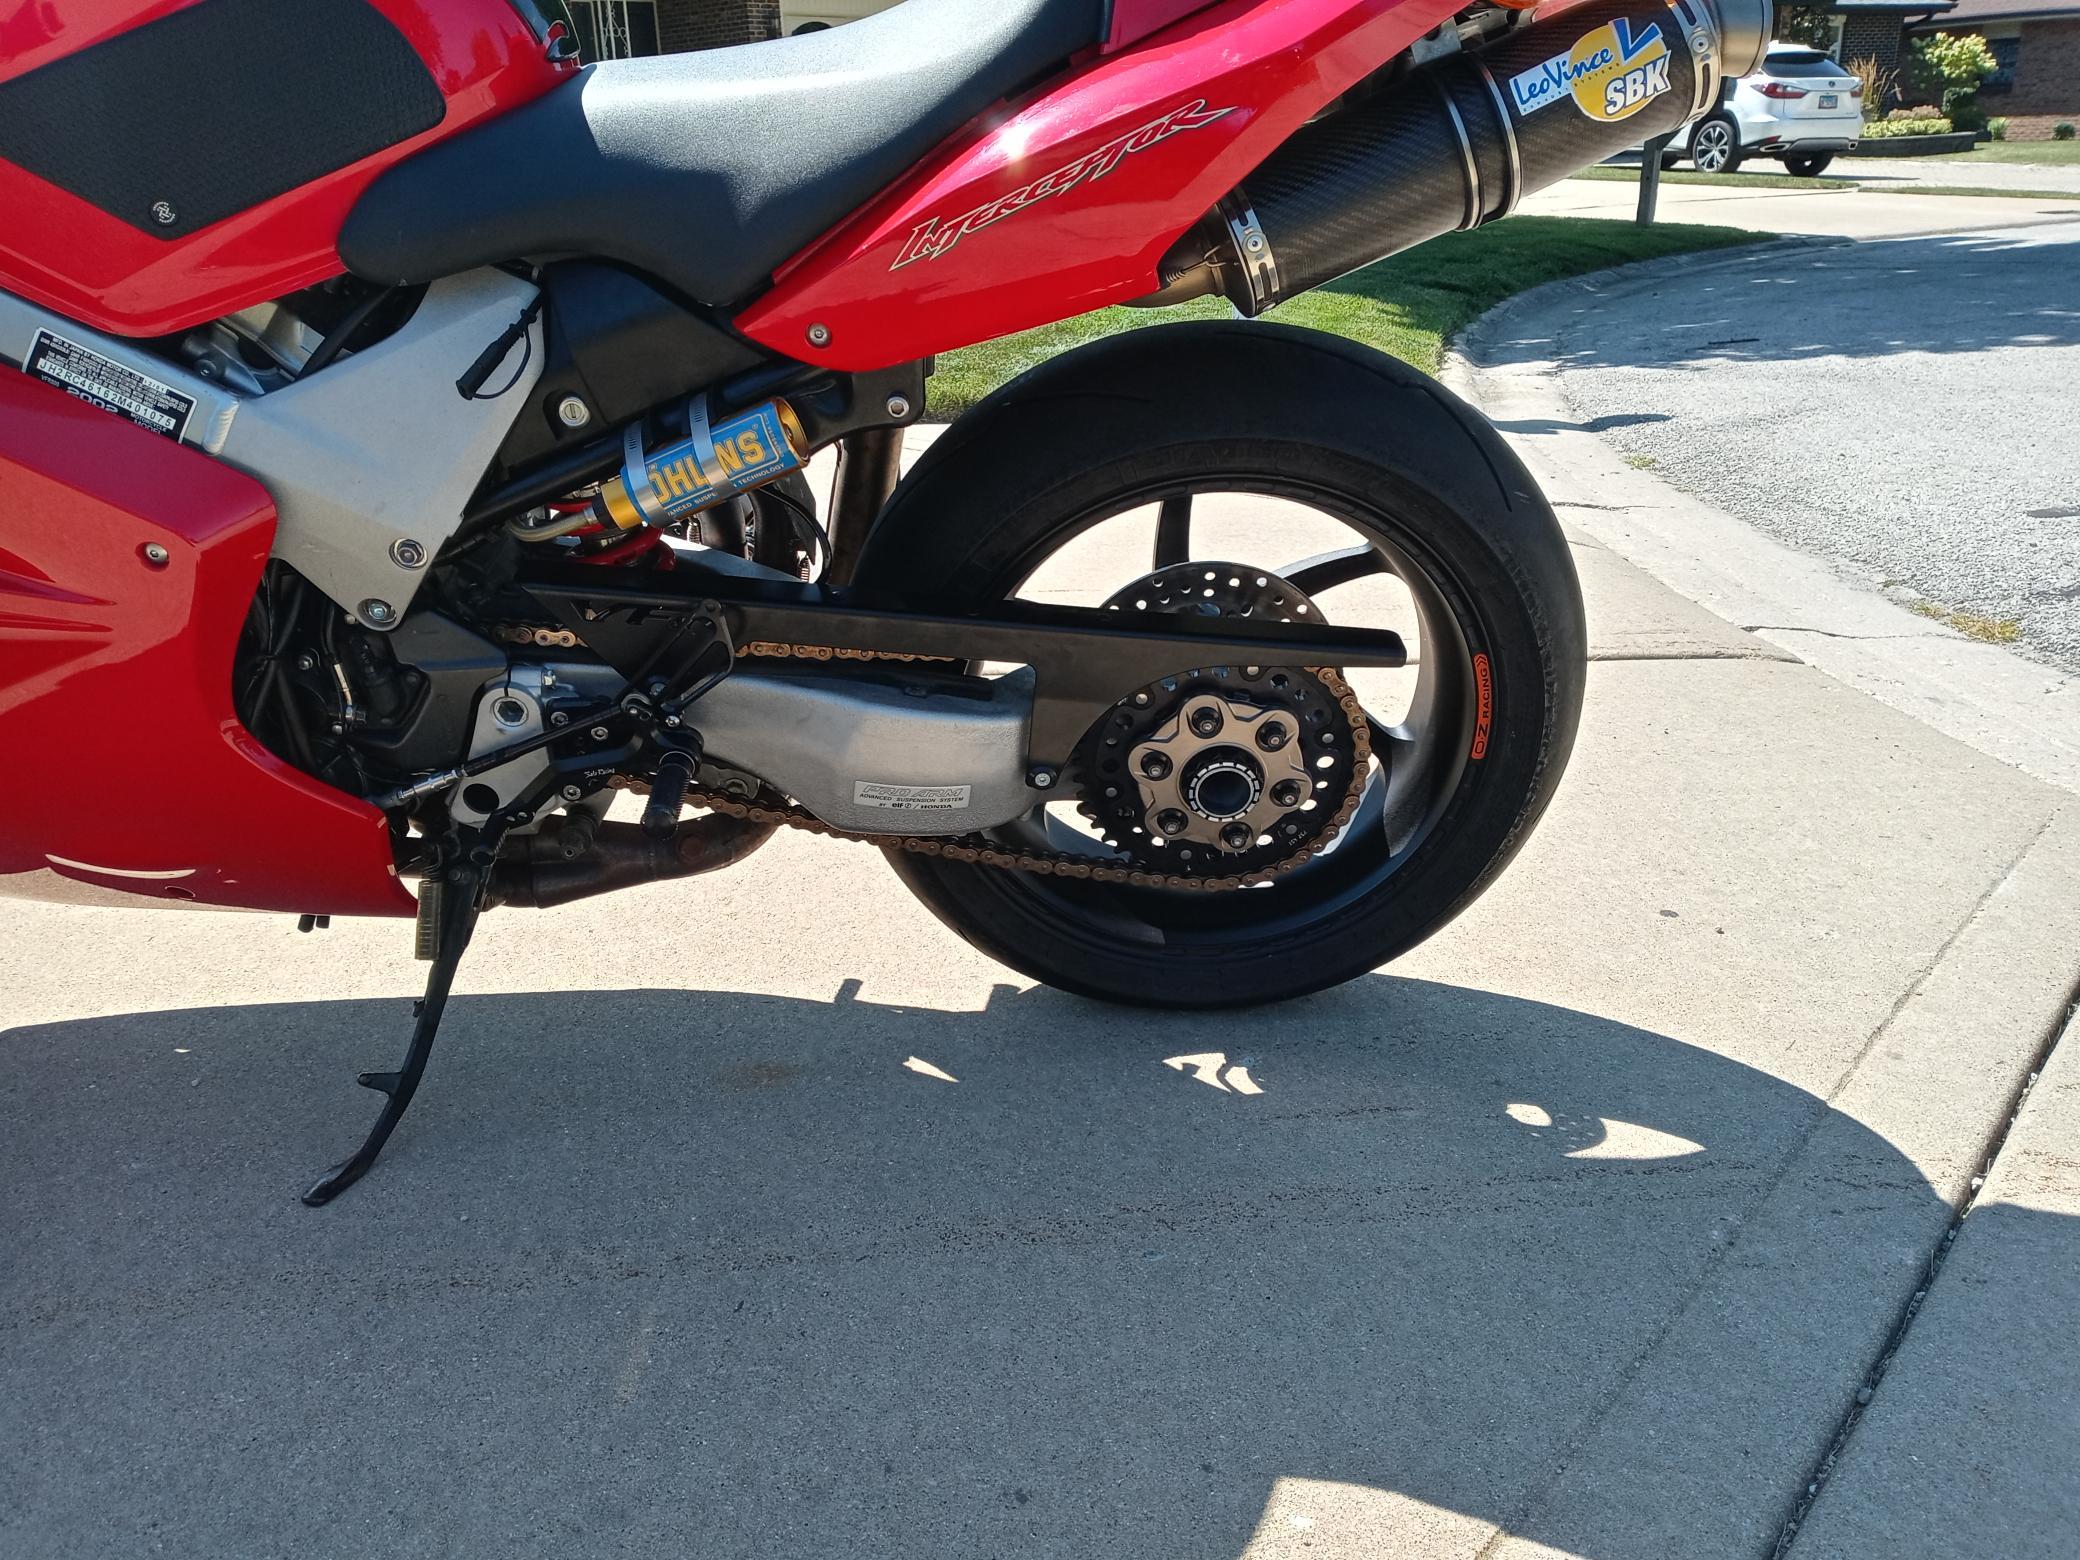
Almost done been busy doing other things ie RRR.
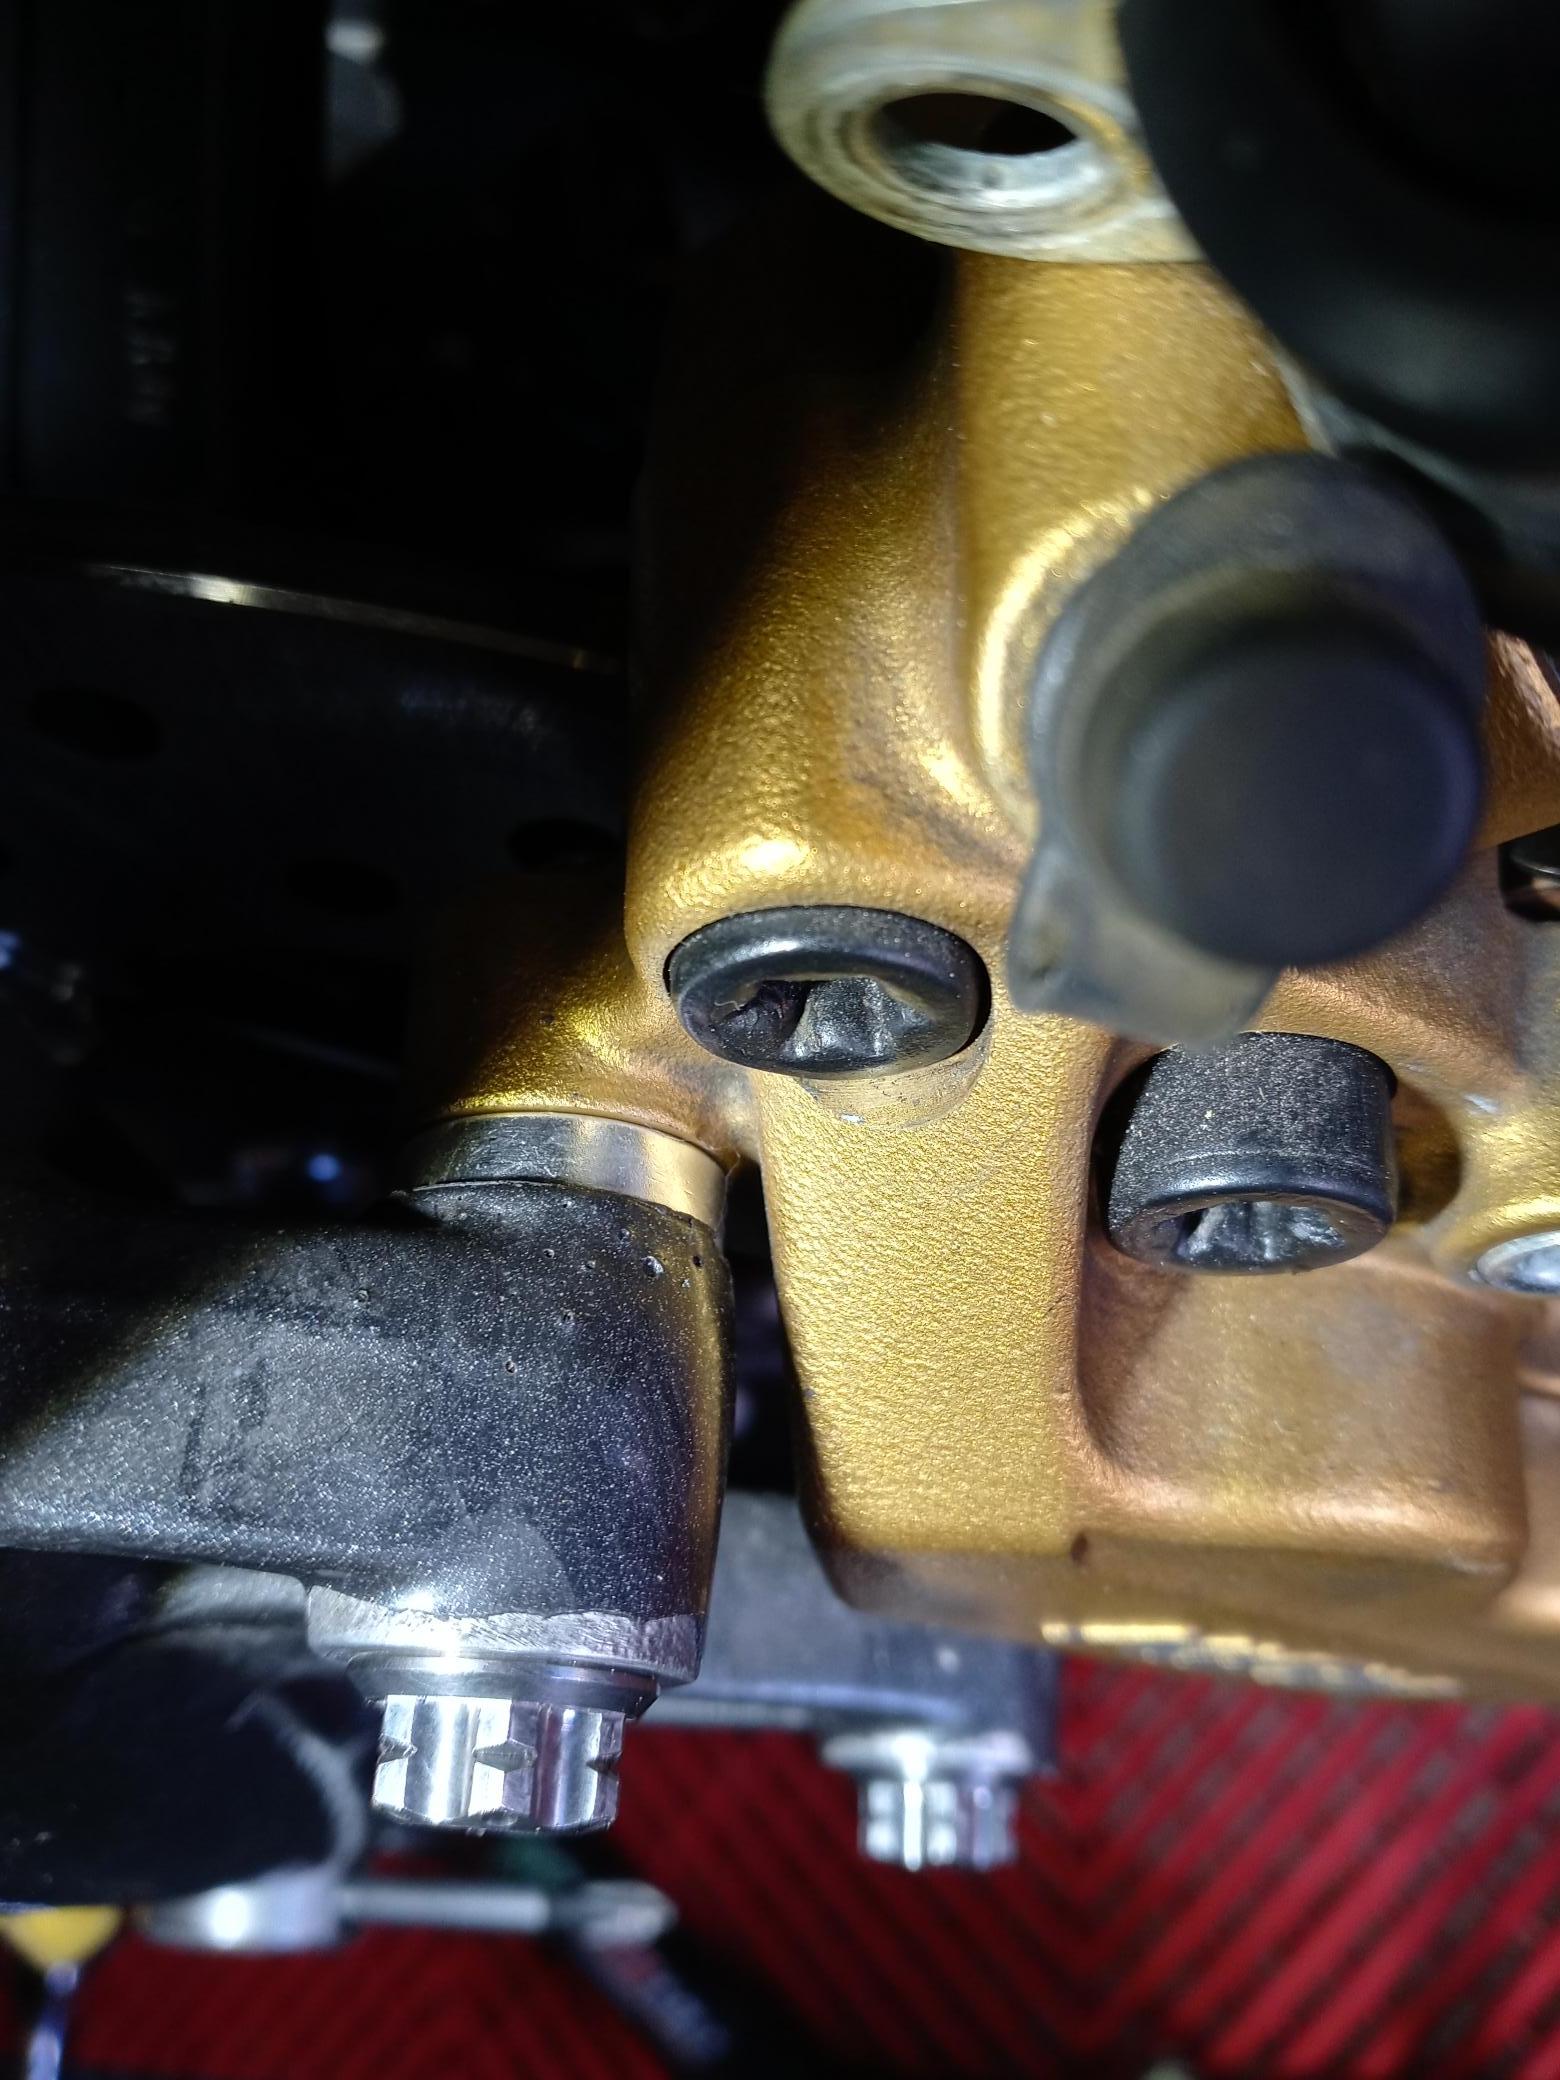
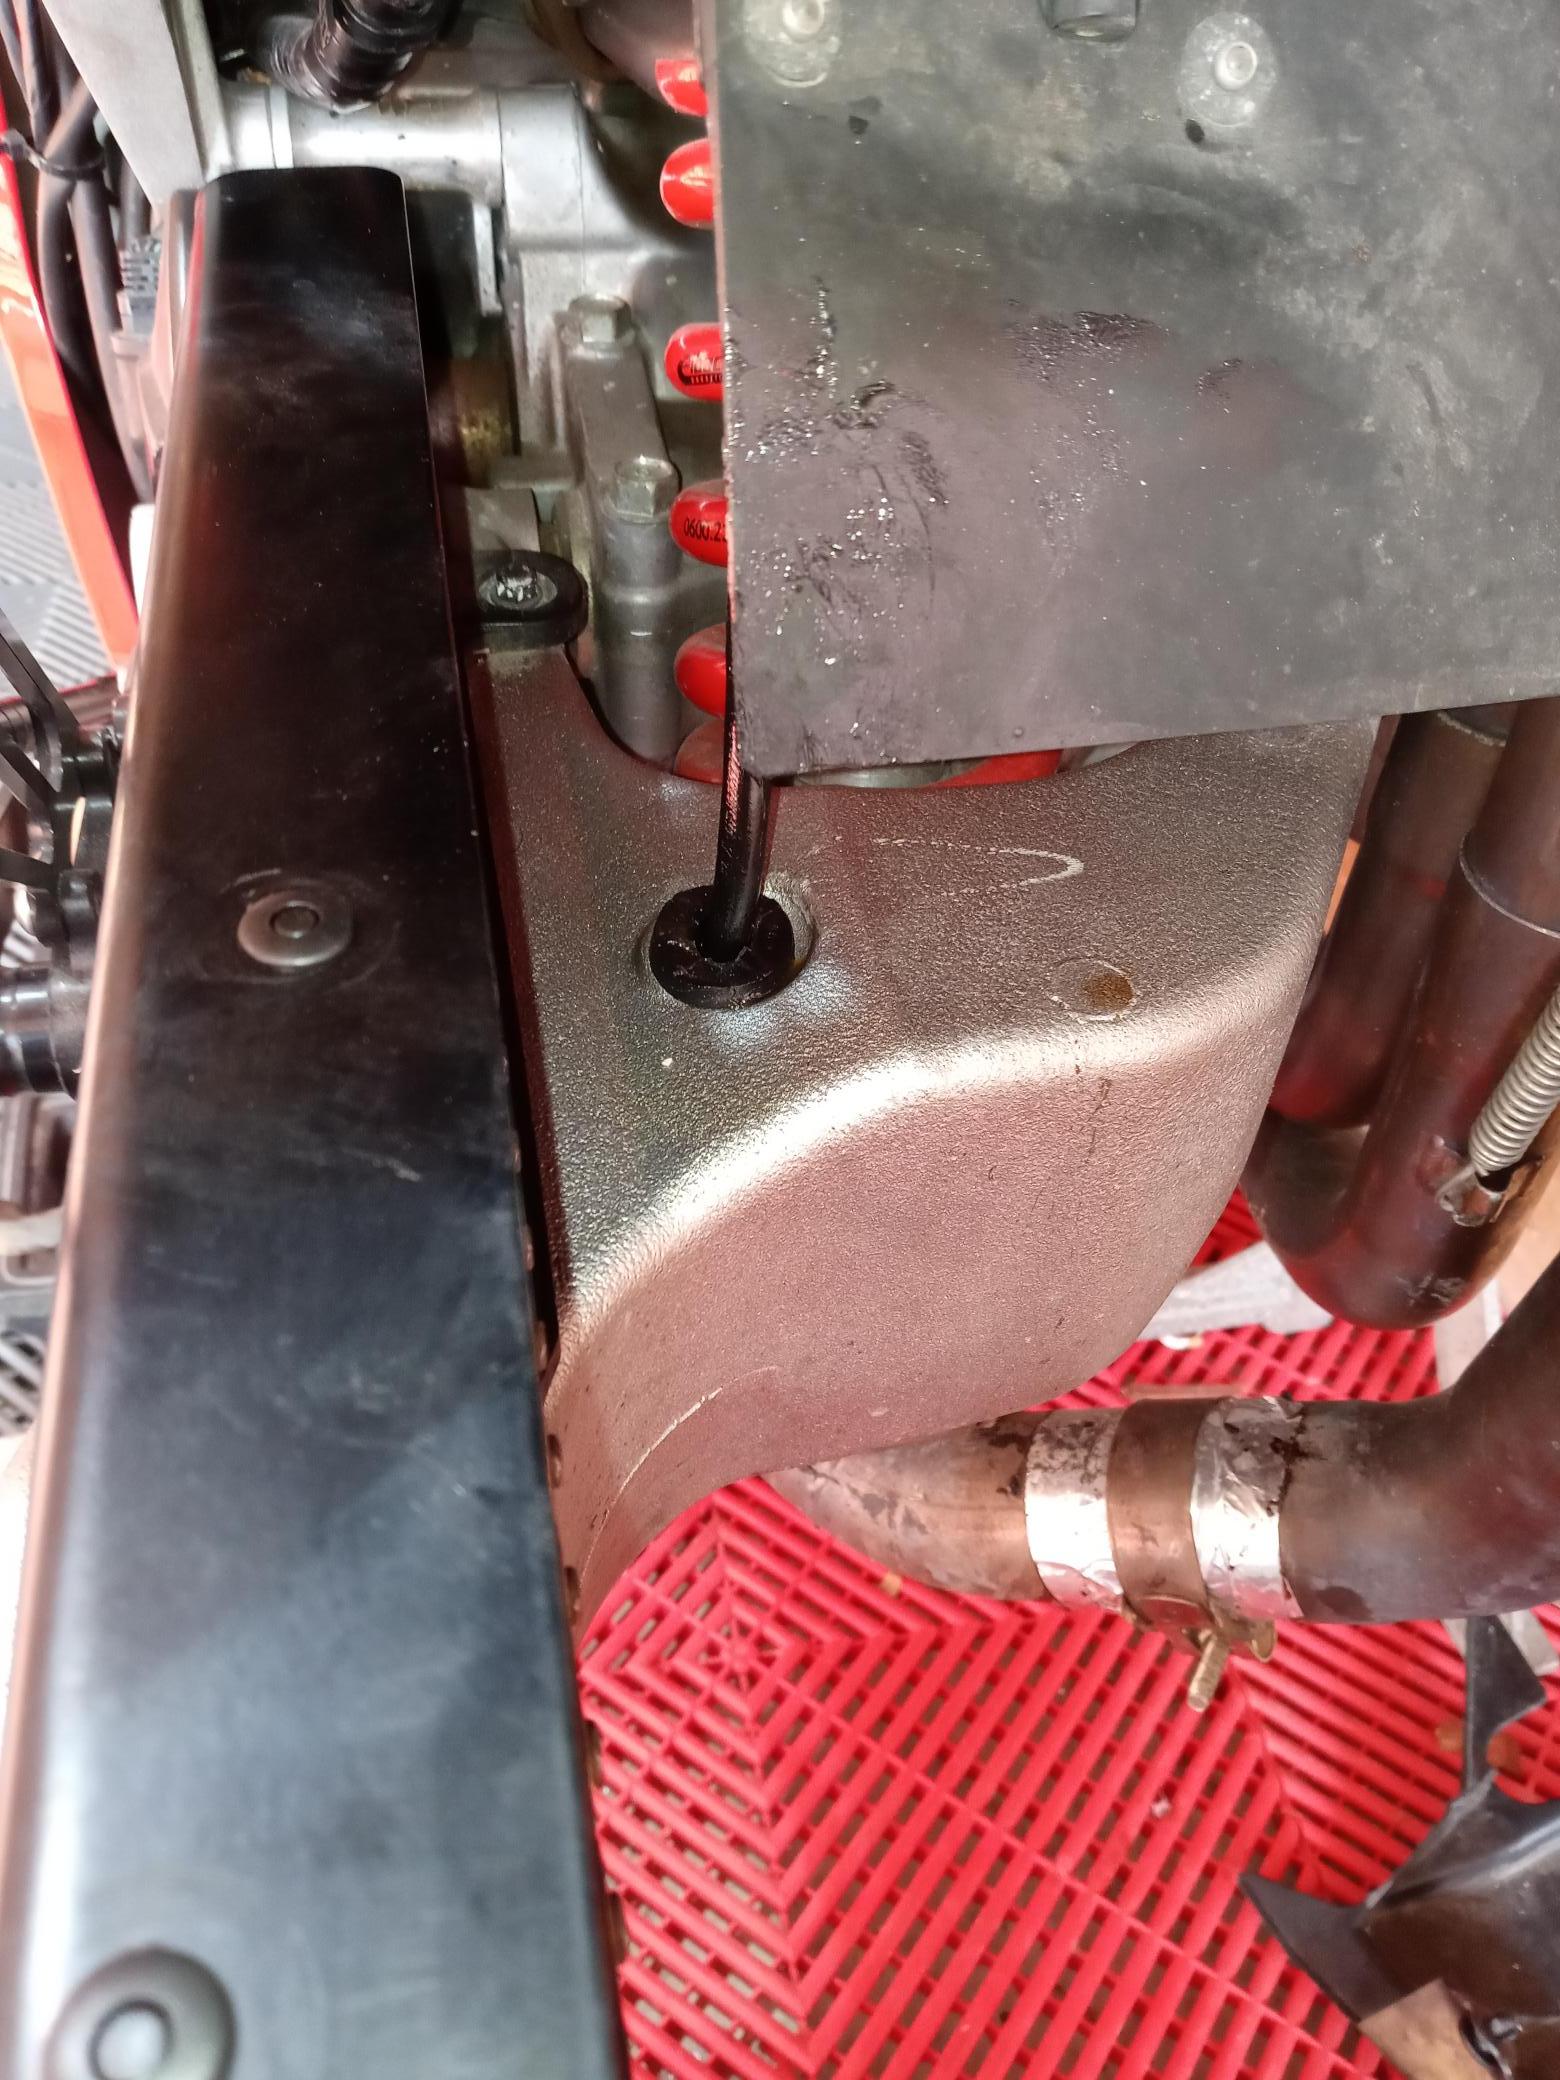
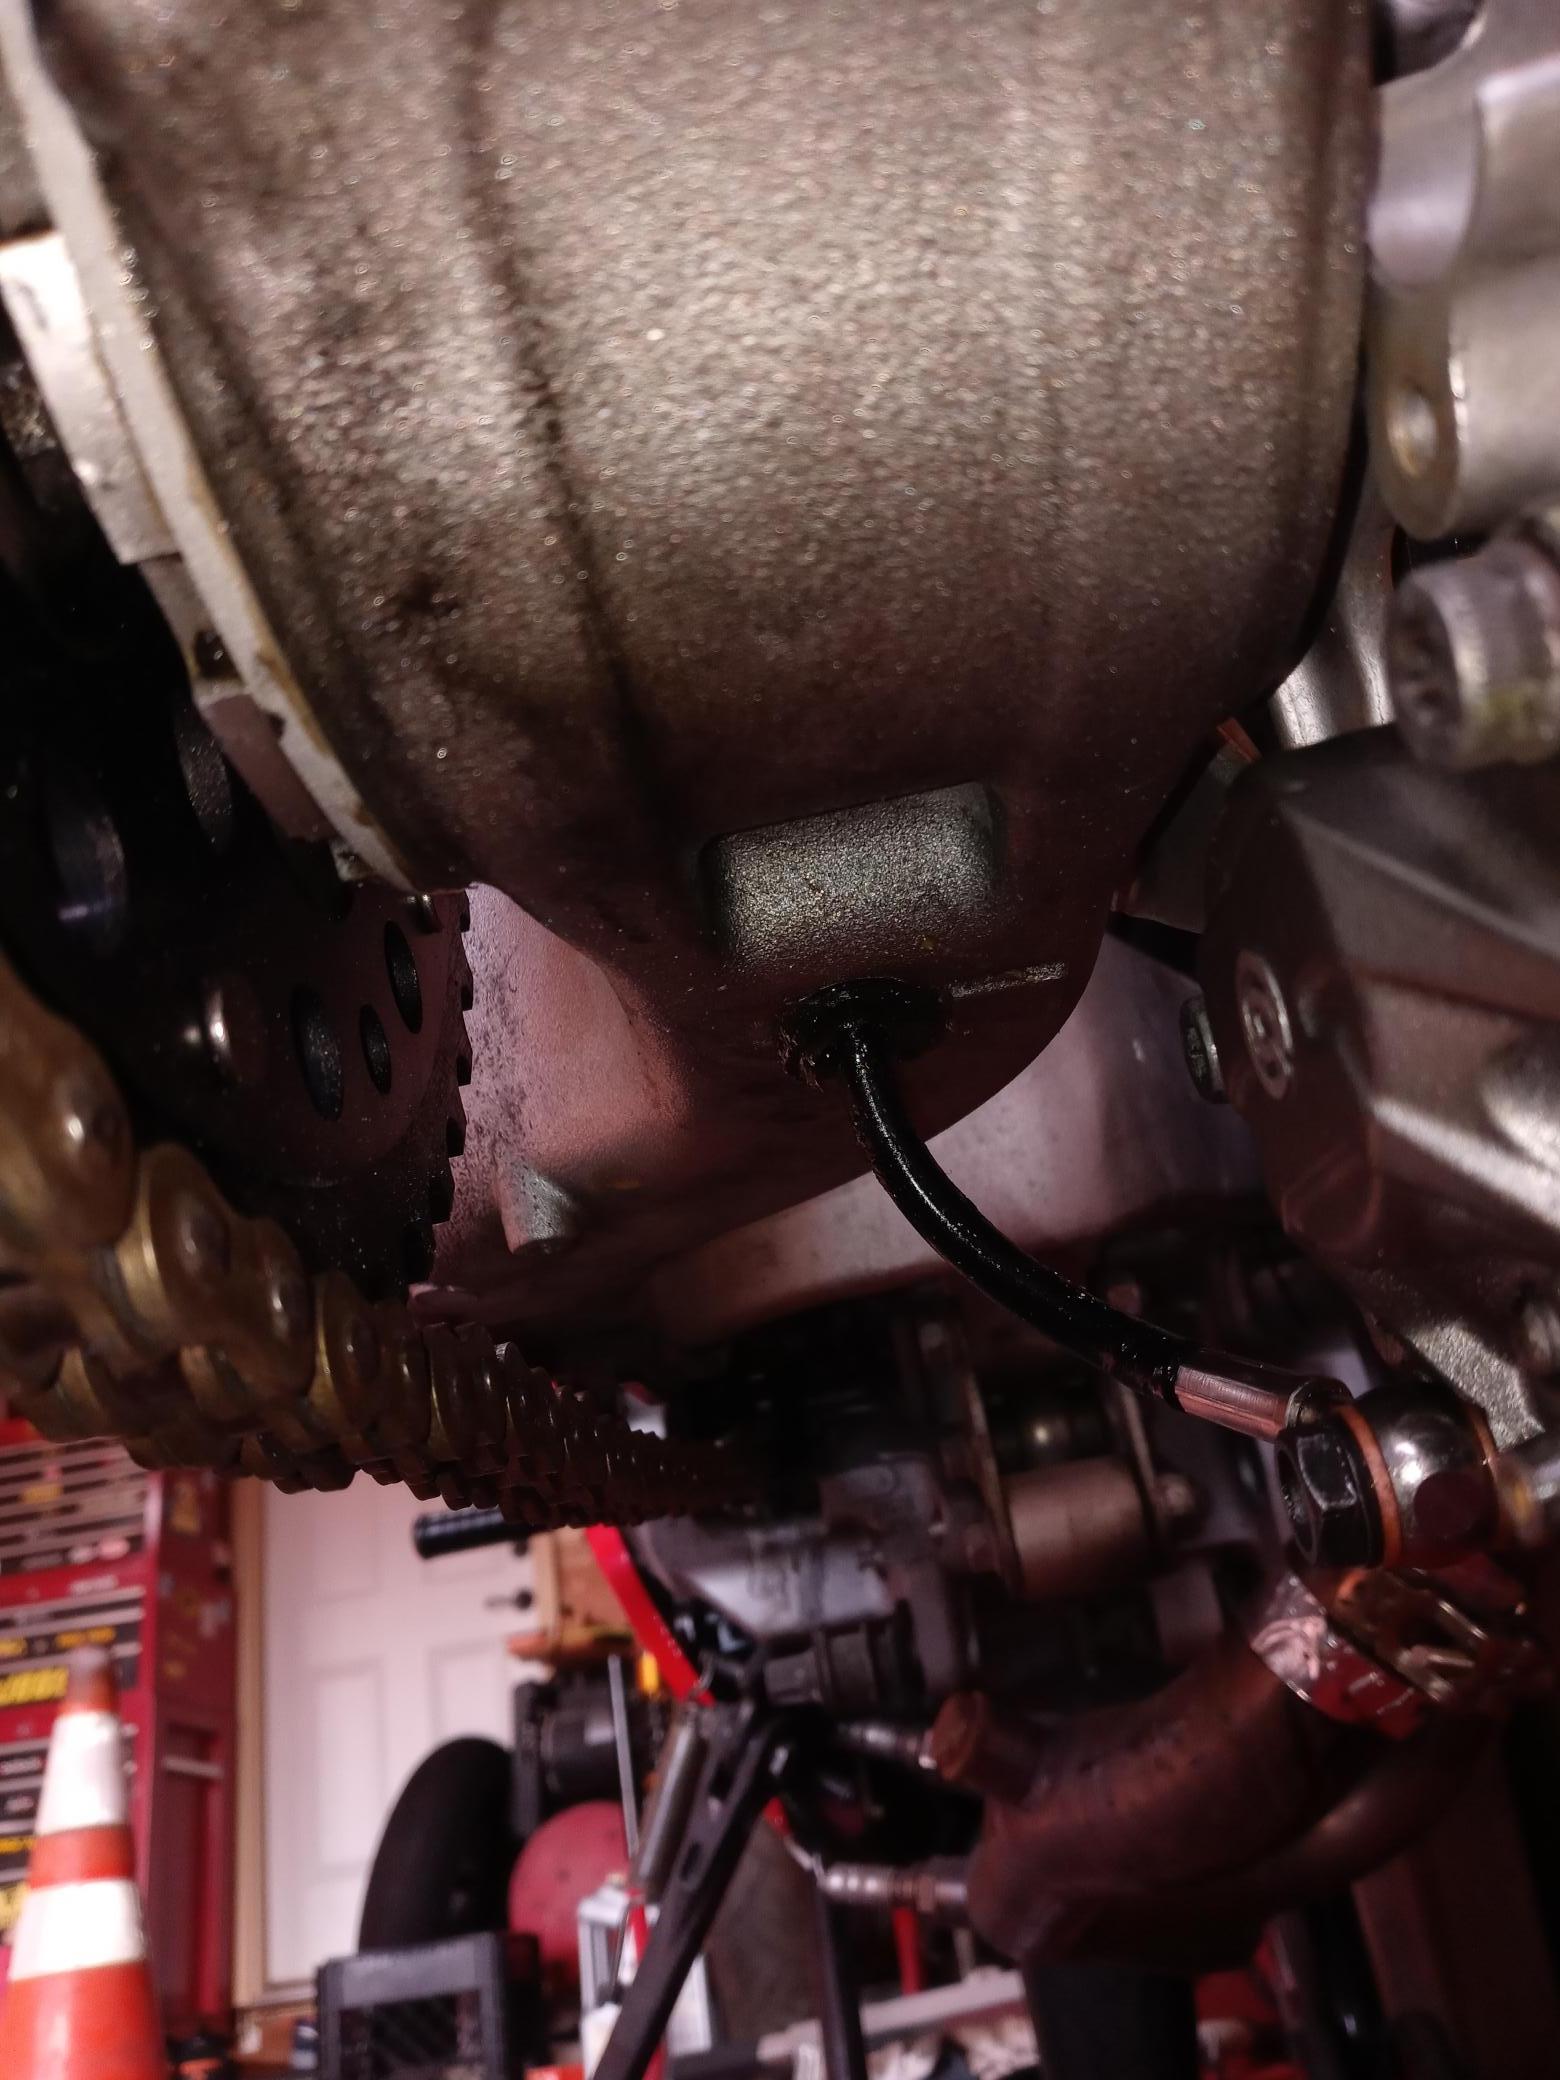
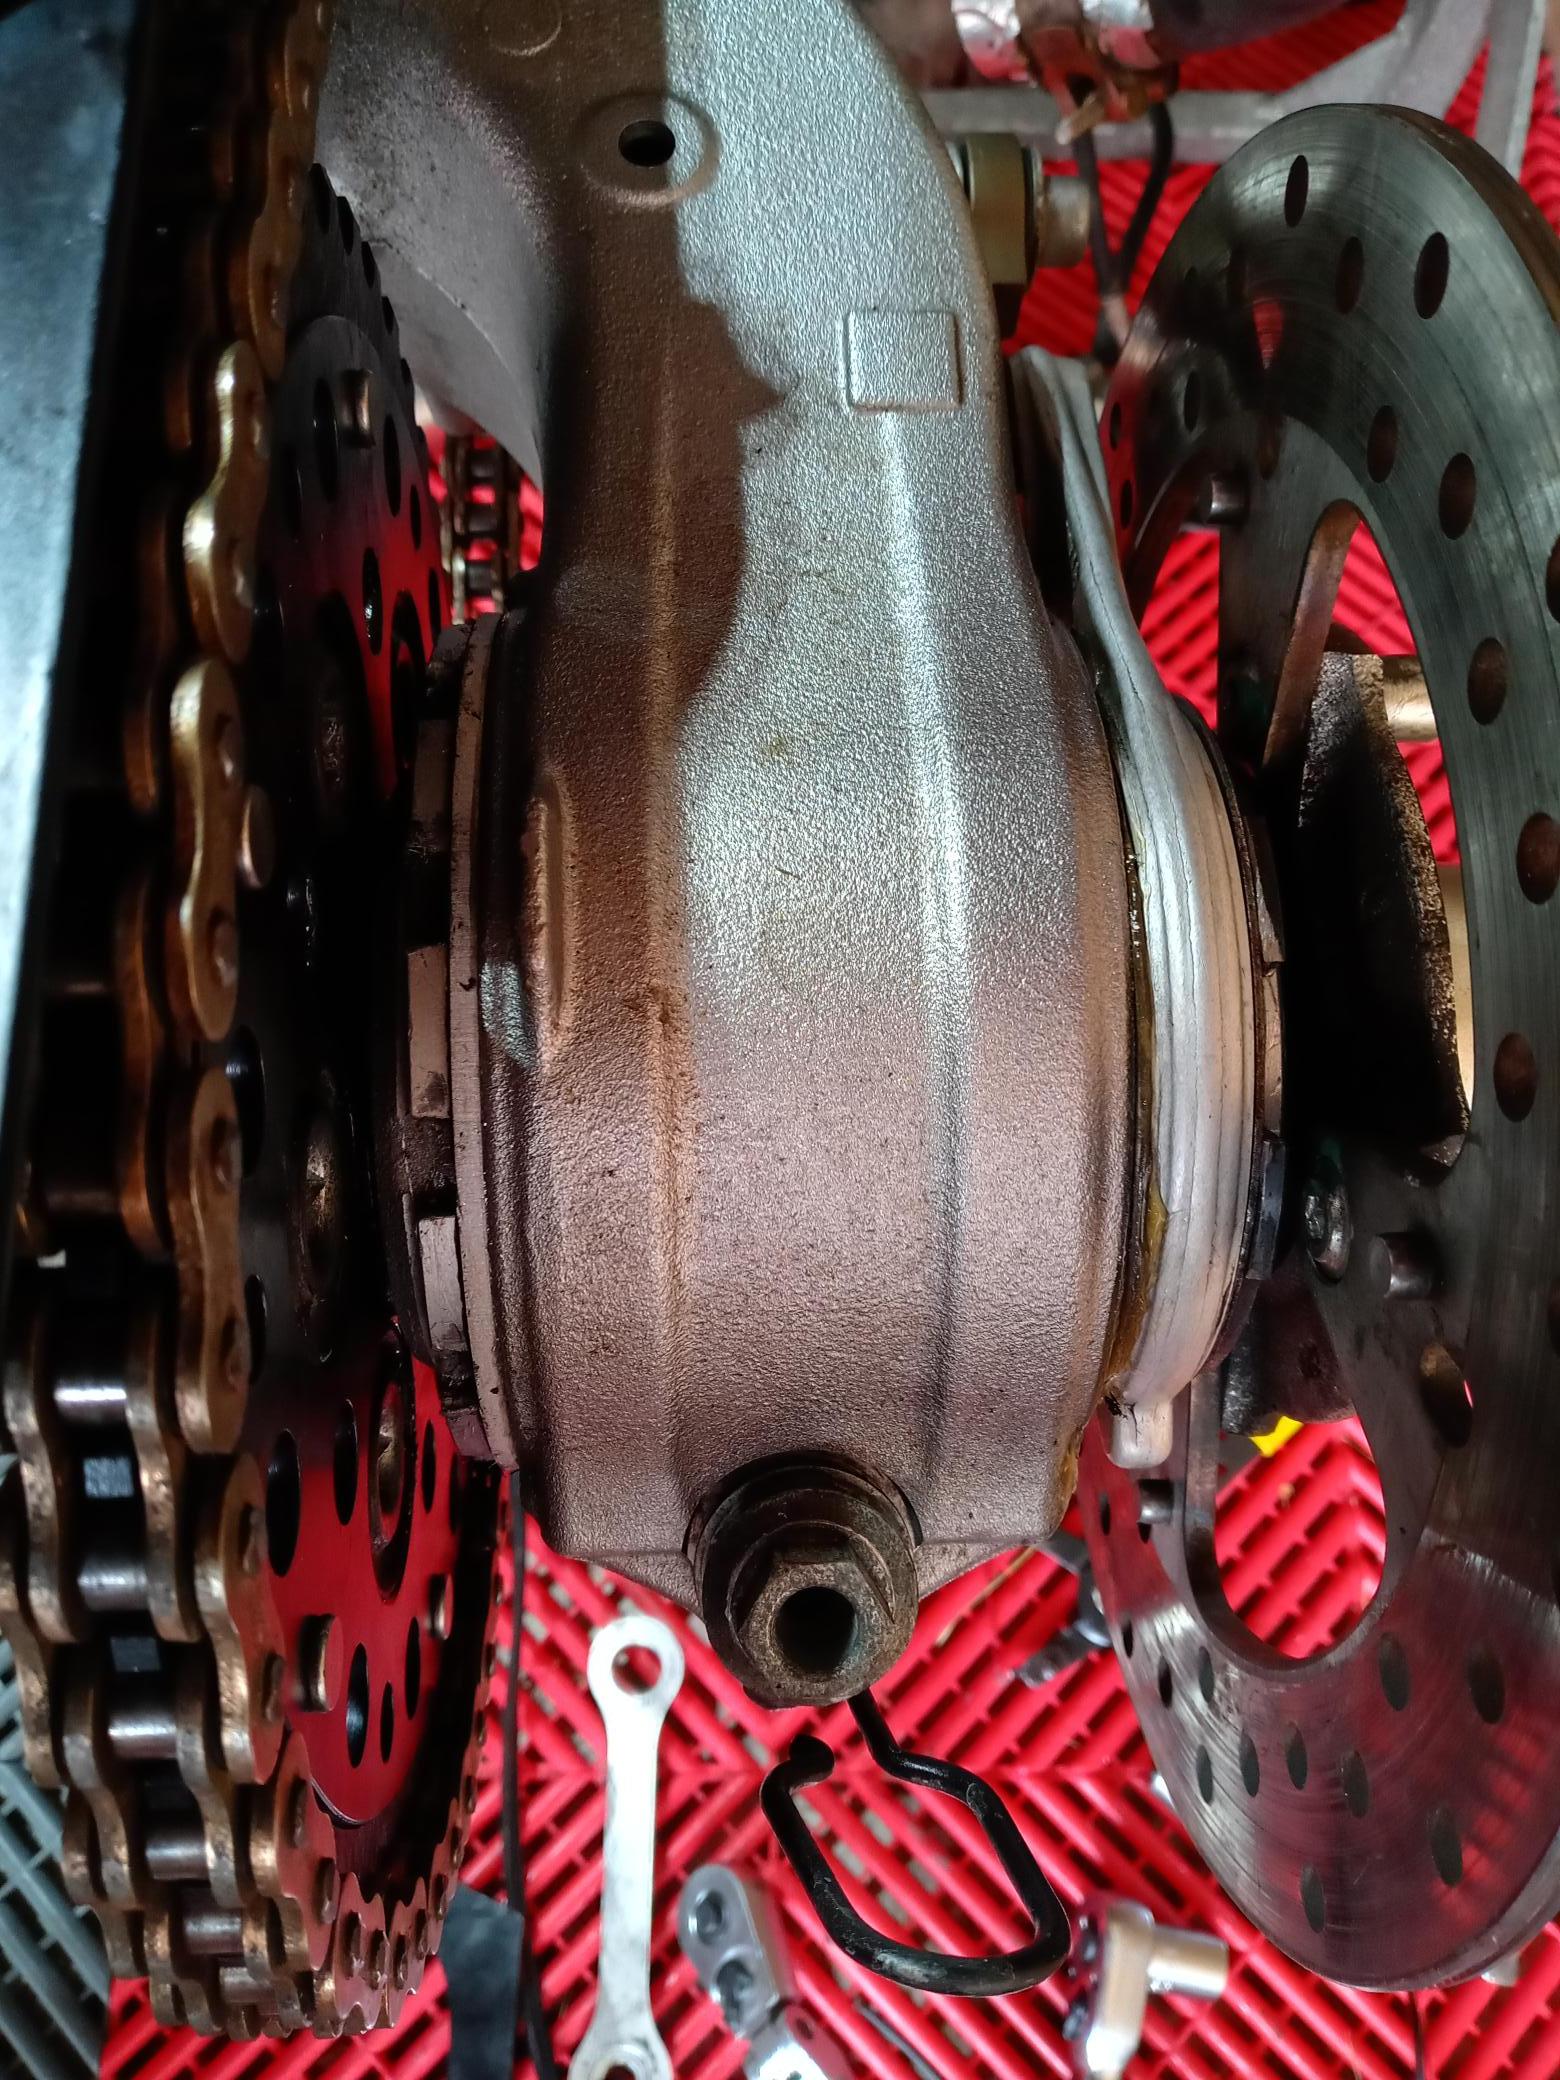
I did not install the additional item Seb sent me. It is used to keep the rear caliper from not moving a little front to back in the caliper hanger. The stock Ducati has movement built it to it also. I researched the forums regarding this and it is normal. Who uses the rear brakes anyway. I have not bleed the system yet and or replaced the rear master cylinder which I have. Also waiting for some black wheel and axle nuts and also a new master link. I had to cut two links off the chain so my wheelbase will probably be around 56.0". This should definitely help handling and also the swingarm is angled more ie which will increase ride height. I routed the rear brake line through the swingarm and used some grommets see pics. I also put some grease on the brake line so it can slide a bit and so the grommet can go in easily and not dry out which probably will not happens anyway. I will also be replacing the front with a OZ GASS RSA from a CBR600RR. I will need to buy some 296mm rotors 94 mm hub size 5mm thickness and 12.5mm dished to fit that wheel and shim the calipers inwards or go with 320mm rotors and go radial calipers or get a caliper bracket to use my 4 piston Nissins. I am not sure yet. The swingarm hub pin for the stand, swingarm rear hub adjuster spanner and axle nut tool were purchased on aliexpress. It took me a moment to figure out I had to remove links from the chain because I had too much slack. I had a senior moment.
-
1
-
-
I have been on a journey through many motorcycles there Captain. It get to a point you do it right the first time or you just end up doing it again that is zero stress. By the way your restored motorcycles look like you took no shortcuts. The cost of the gasket btw is another $25 bucks. I enjoy reading about modifications but something the road less traveled does not always make a difference..
-
I am still puzzled why you just did not purchase the correct parts needed which I offered to you. It seems like a lot of work.


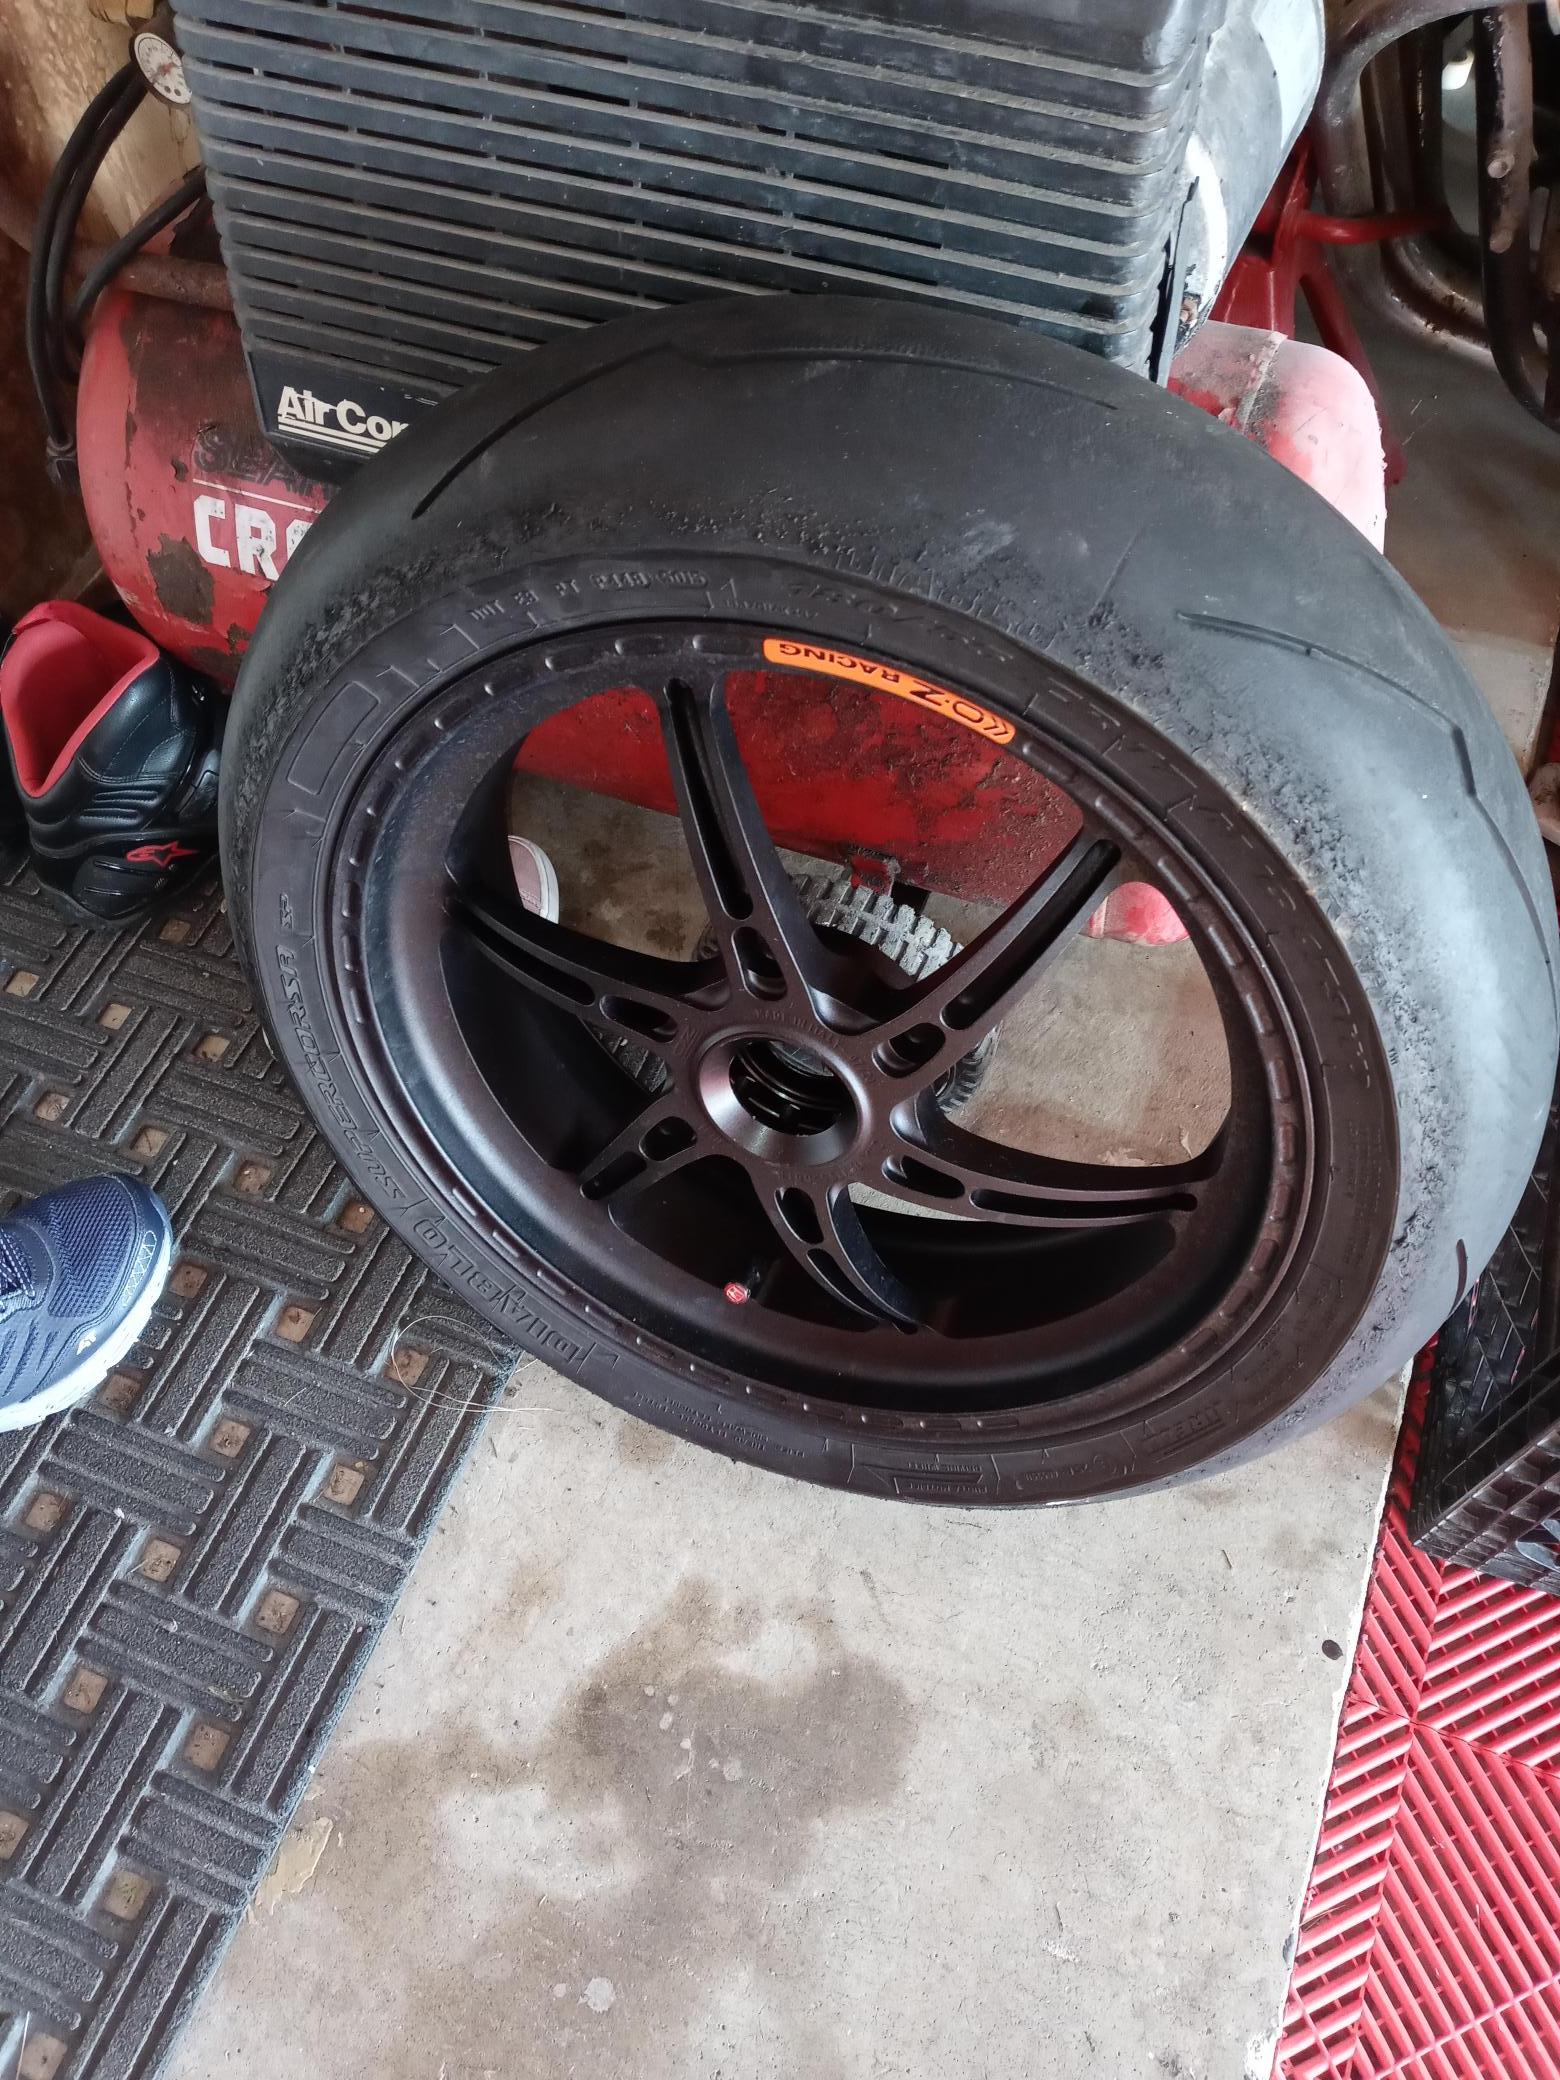
ZIP TIES AND SPRAY PAINT
in Body and Paint
Posted
I watched a video on you tube and gave it a shot. Putting on a tire with 8 zip ties from the dollar store. Some broke I used a belt tensioner flat tool to get the rest on because I had half the tire on before I put the zip ties on. Rust oleum works great also. I used 2X Semi gloss and gloss clear. I also changed the valve stem. On the rear I left the tire on and used painter tape after breaking the bead. I would of used a deck of playing card which I later found that I did not use. BTW we have a tire changer and a balancer which is at my friends house but i wanted to try something different.