AnikMankar
-
Posts
908 -
Joined
-
Last visited
-
Days Won
5
Content Type
Forums
Profiles
Gallery
Blogs
Downloads
Events
Everything posted by AnikMankar
-
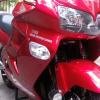
From the album: Headlight Upgrade to HID
-
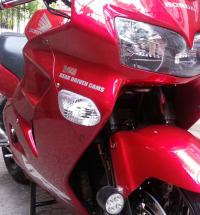
From the album: Headlight Upgrade to HID
-
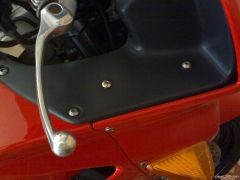
From the album: Headlight Upgrade to HID
-
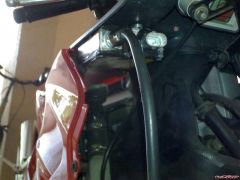
From the album: Headlight Upgrade to HID
-
From the album: Headlight Upgrade to HID
-
very very smart and shining :fing02:
-
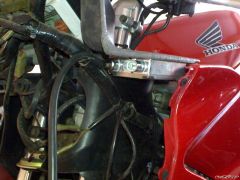
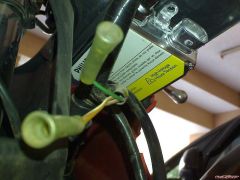
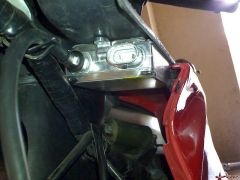
hi Guys Finally got the HID fitted on the bike. It took me about 3 to 4 hours to get it all fitter (finding the correct place, wiring routing, to see if it really works) but eventually got it going. I used a Philips car H4 bulb HID kit. It will come with 2 Ballast,2 Bulbs, 1 Relay wiring harness, Wire tags etc. 1) Remove the UPPER and LOWER COWL along with the meter panel 2) Disconnect the HEADLIGHTS, SIGNAL LIGHTS etc. 3) I fitter the BALLAST under the upper first with double side tape as its easy to take out incase the placement is wrong. Lucky i did that as i had stuck it too close to the SIDE COWL. (if i had screwed them in ...that would have been quite a mess) Front view Lower view Side view 4) Repeat the same on the Right side Side view 5) Now fit the bulbs, I first tried fitting the bulbs first and then to the HEADLIGHT UNIT. Trust me thats very tough as its very difficult to put the lamp locks afterwards So i took the bulb out of the HID socket and fitted the holder first. Lock the holder using the RETAINER. Now fit the DUST COVER and then insert the bulb(s), this was much easier. 6) Mount the wiring harness Since its all plastic i fitted the the relay and the wiring harness on the inside of the INNER PANEL. use the wire tags to hold all this together. 7) Connect the Wires (no images) - Connect the Positive wire (red) to the battery - Connect the Negative / ground (Black) to the chassis) - i used the horn bracket. - Connect the wiring harness to the BALLAST. - Connect the Bulbs to the BALLAST along with the Hi/lo socket. - The harness also comes with a bulb SOCKET (female type) which is connect to the existing /origninal bulb SOCKET. This triggers the power, high and low 8) BALLAST location finalize - once the location of the BALLAST has been finalized, drill holes on the UPPER COWL. Bolt the BALLASTS into place. I used match bolts like the one on the upper cowl. 8) Switch on to see if all is ok. (ususally is ) Lights getting warmed up 9) Fit all the cowls (had a tough time getting the UPPER and SIDE COWL, the rubber screws kept falling inside. (but finally eventually got there) 10) Adjust the beams Lights fully warmed up Front profile Also changed the Parking lights to LED 11) Total Cost : $180 You are done.
-
-
-