

Stock Shock Removal, Modifying The Clevis

Entry posted by y2kvfr
977 views
March 2, 2009
Bike is on the operating table. The rear wheel and slip-on have been removed (more on the slip-on later). It's time to remove the stock shock.
The triangle and bottom shock mount bolt are removed with out much to do.
I pulled the front tank bolts and rear tank bolts. I propped the tank up and forward to gain access to the top shock mount nut.
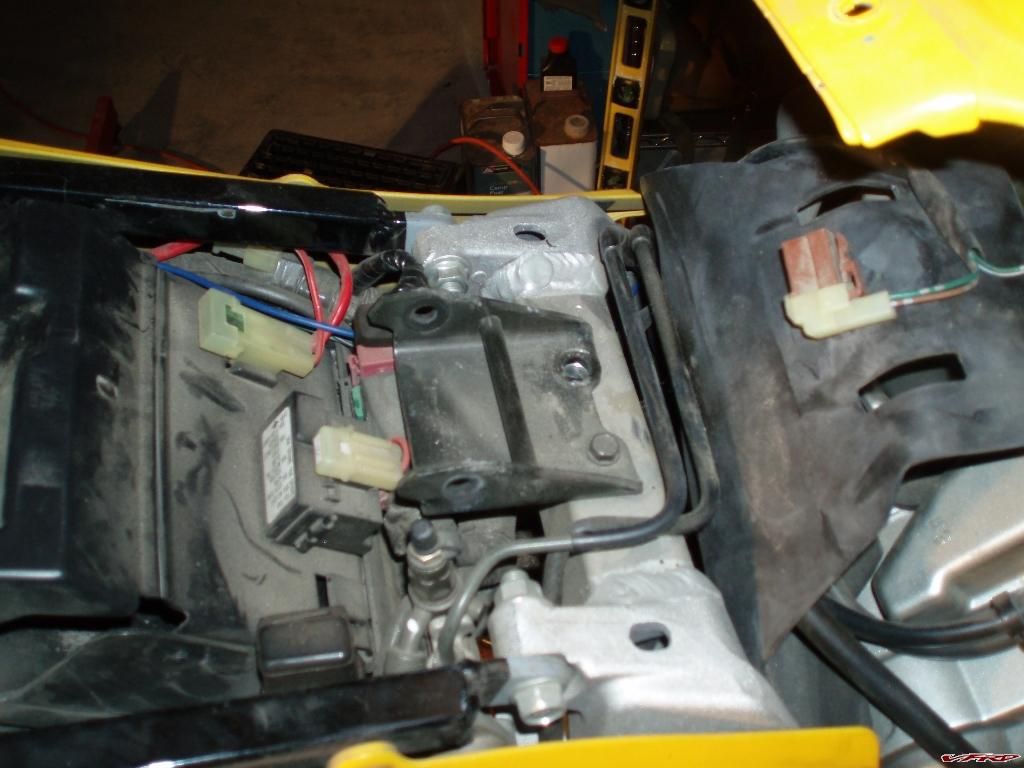
P3020012.JPG
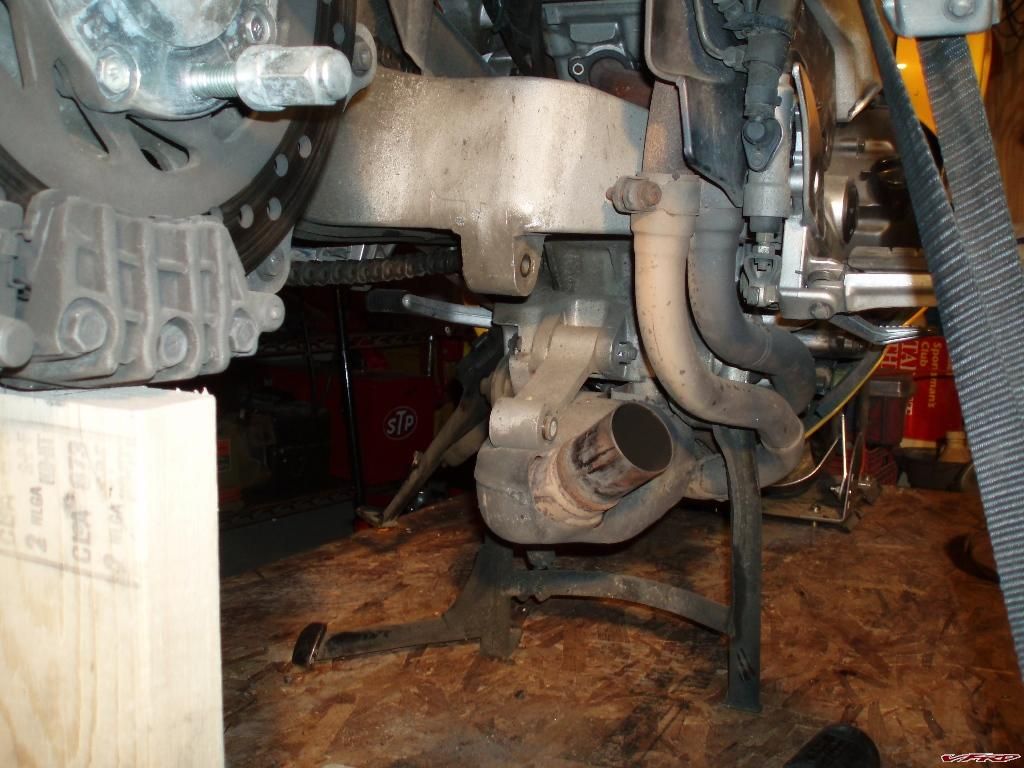
I had a lot of trouble removing the dog bone, so I coaxed the shock out with a punch and a ford wrench (dead blow hammer).
I propped the swingarm up with 2x4 cut offs from building the table to get more access for removing the shock.
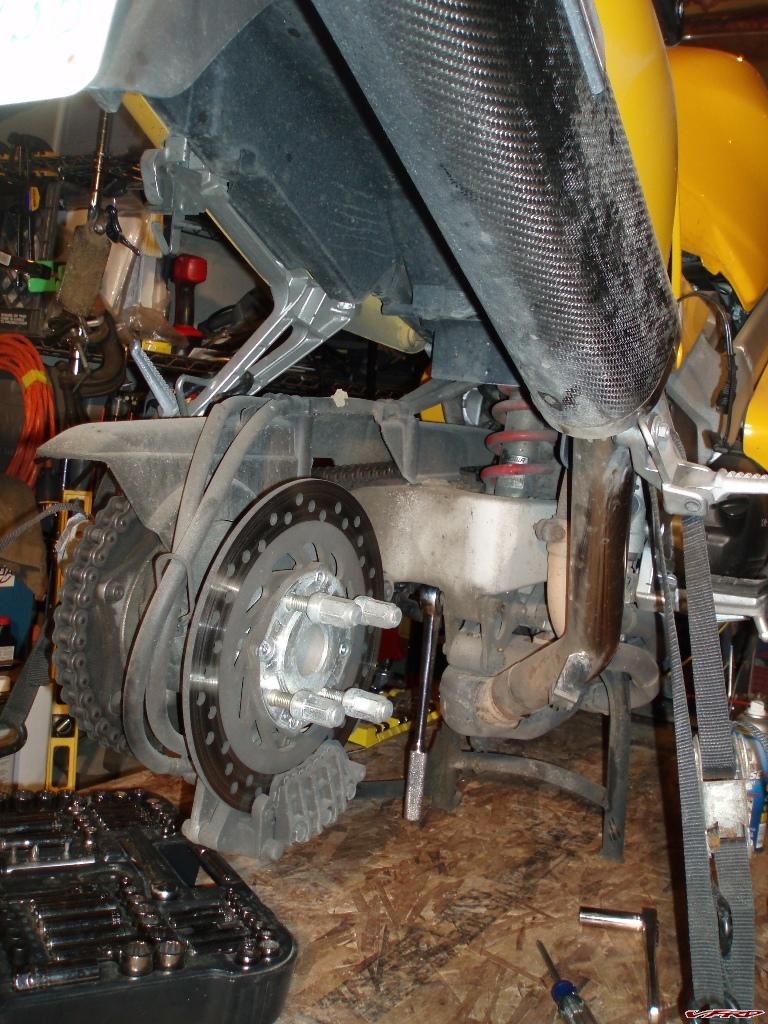
P2250010.JPG
P3020011.JPG
Now that the shock was removed, I separated the clevis and the shock.
I chucked a grinding bit into my drill press to clean up the dog bone ends. I cut both off, figuring someone else may want a freebie spacer for their project.
Milled dog bone ends
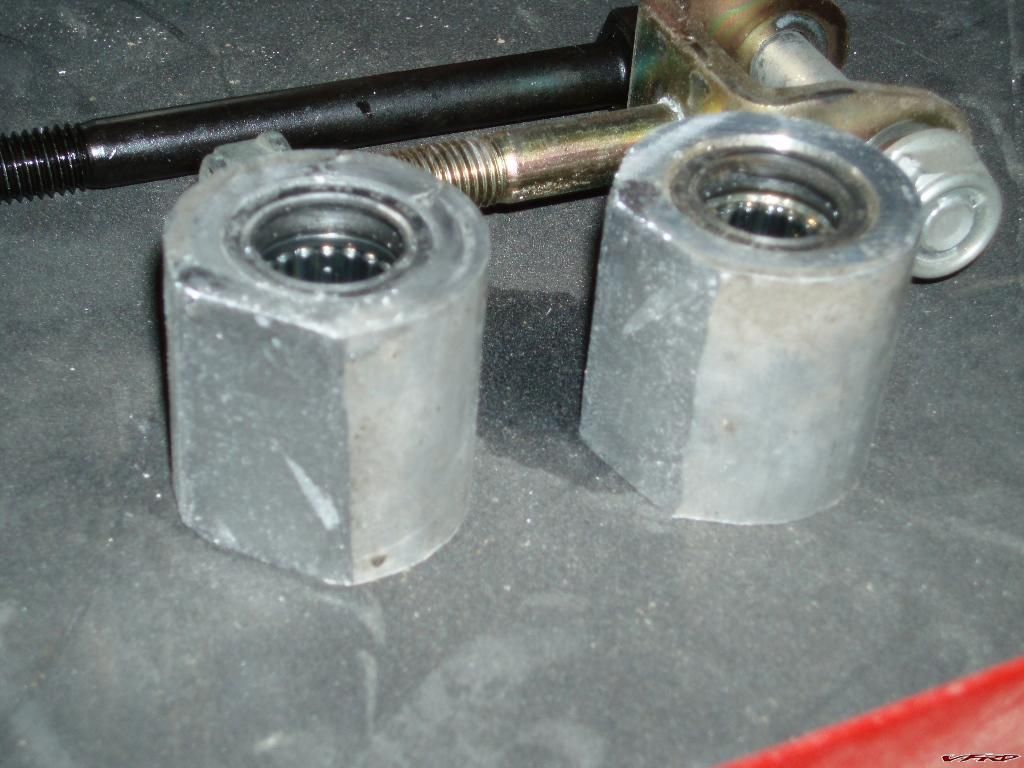
I wanted a quick check to make sure my spacing would be about correct, so I placed the M10-1.5x110 hardened bolt & dog bone spacer next to the stock clevis.
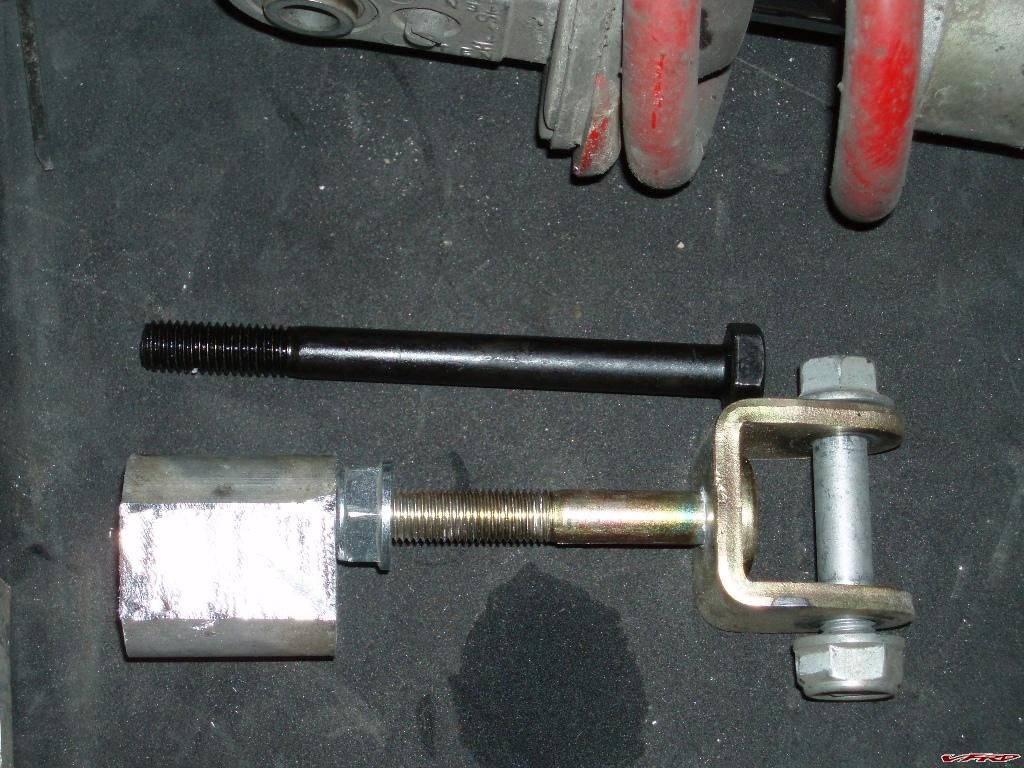
P3020015.JPG
Now to remove the OEM bolt from the clevis. Another Christmas present in action, the 4" Ryobi grinder popped the tack welds without issue. I also ground down the head of the new bolt to gain the clearance needed for the top mount eye.
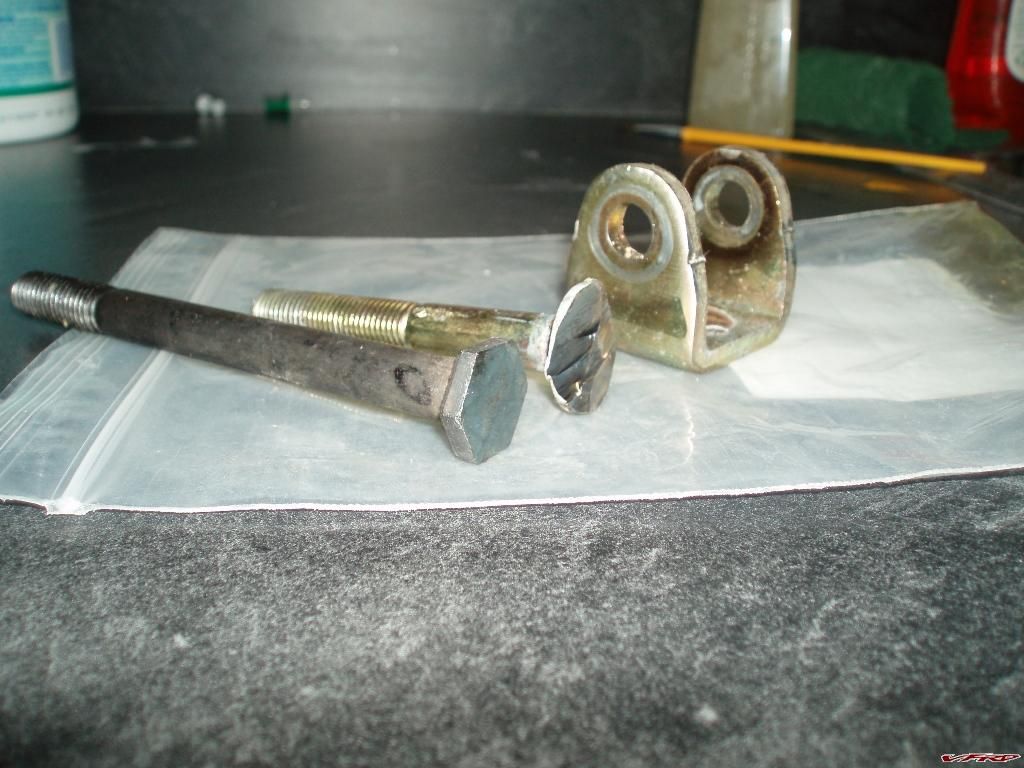
P3030018.JPG
March 3, 2009
A buddy's brother runs a garage, so he took my new bolt & clevis and welded them together for me. (I owe :beer: ).
My buddy didn't like the look of the clevis, so he cleaned it up after the weld and painted it with 'hammered silver' primer 
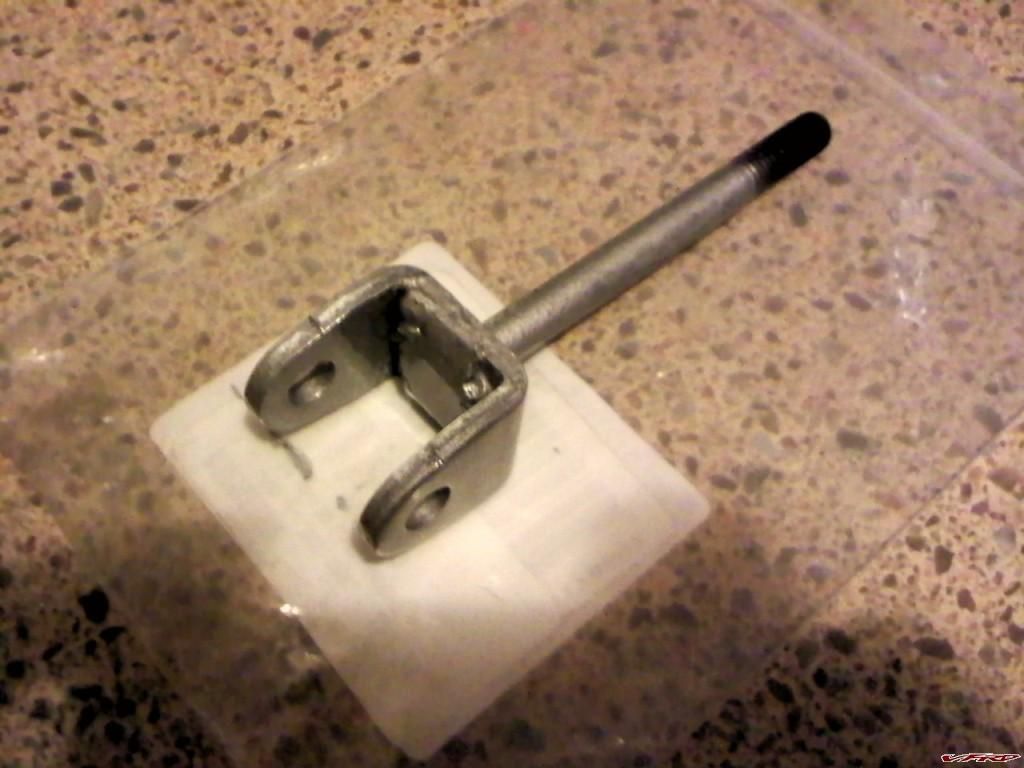
0303091925.jpg
0 Comments
Recommended Comments
There are no comments to display.