Search the Community
Showing results for tags 'k&n recharge oil air filter maintenance'.
Found 1 result
-
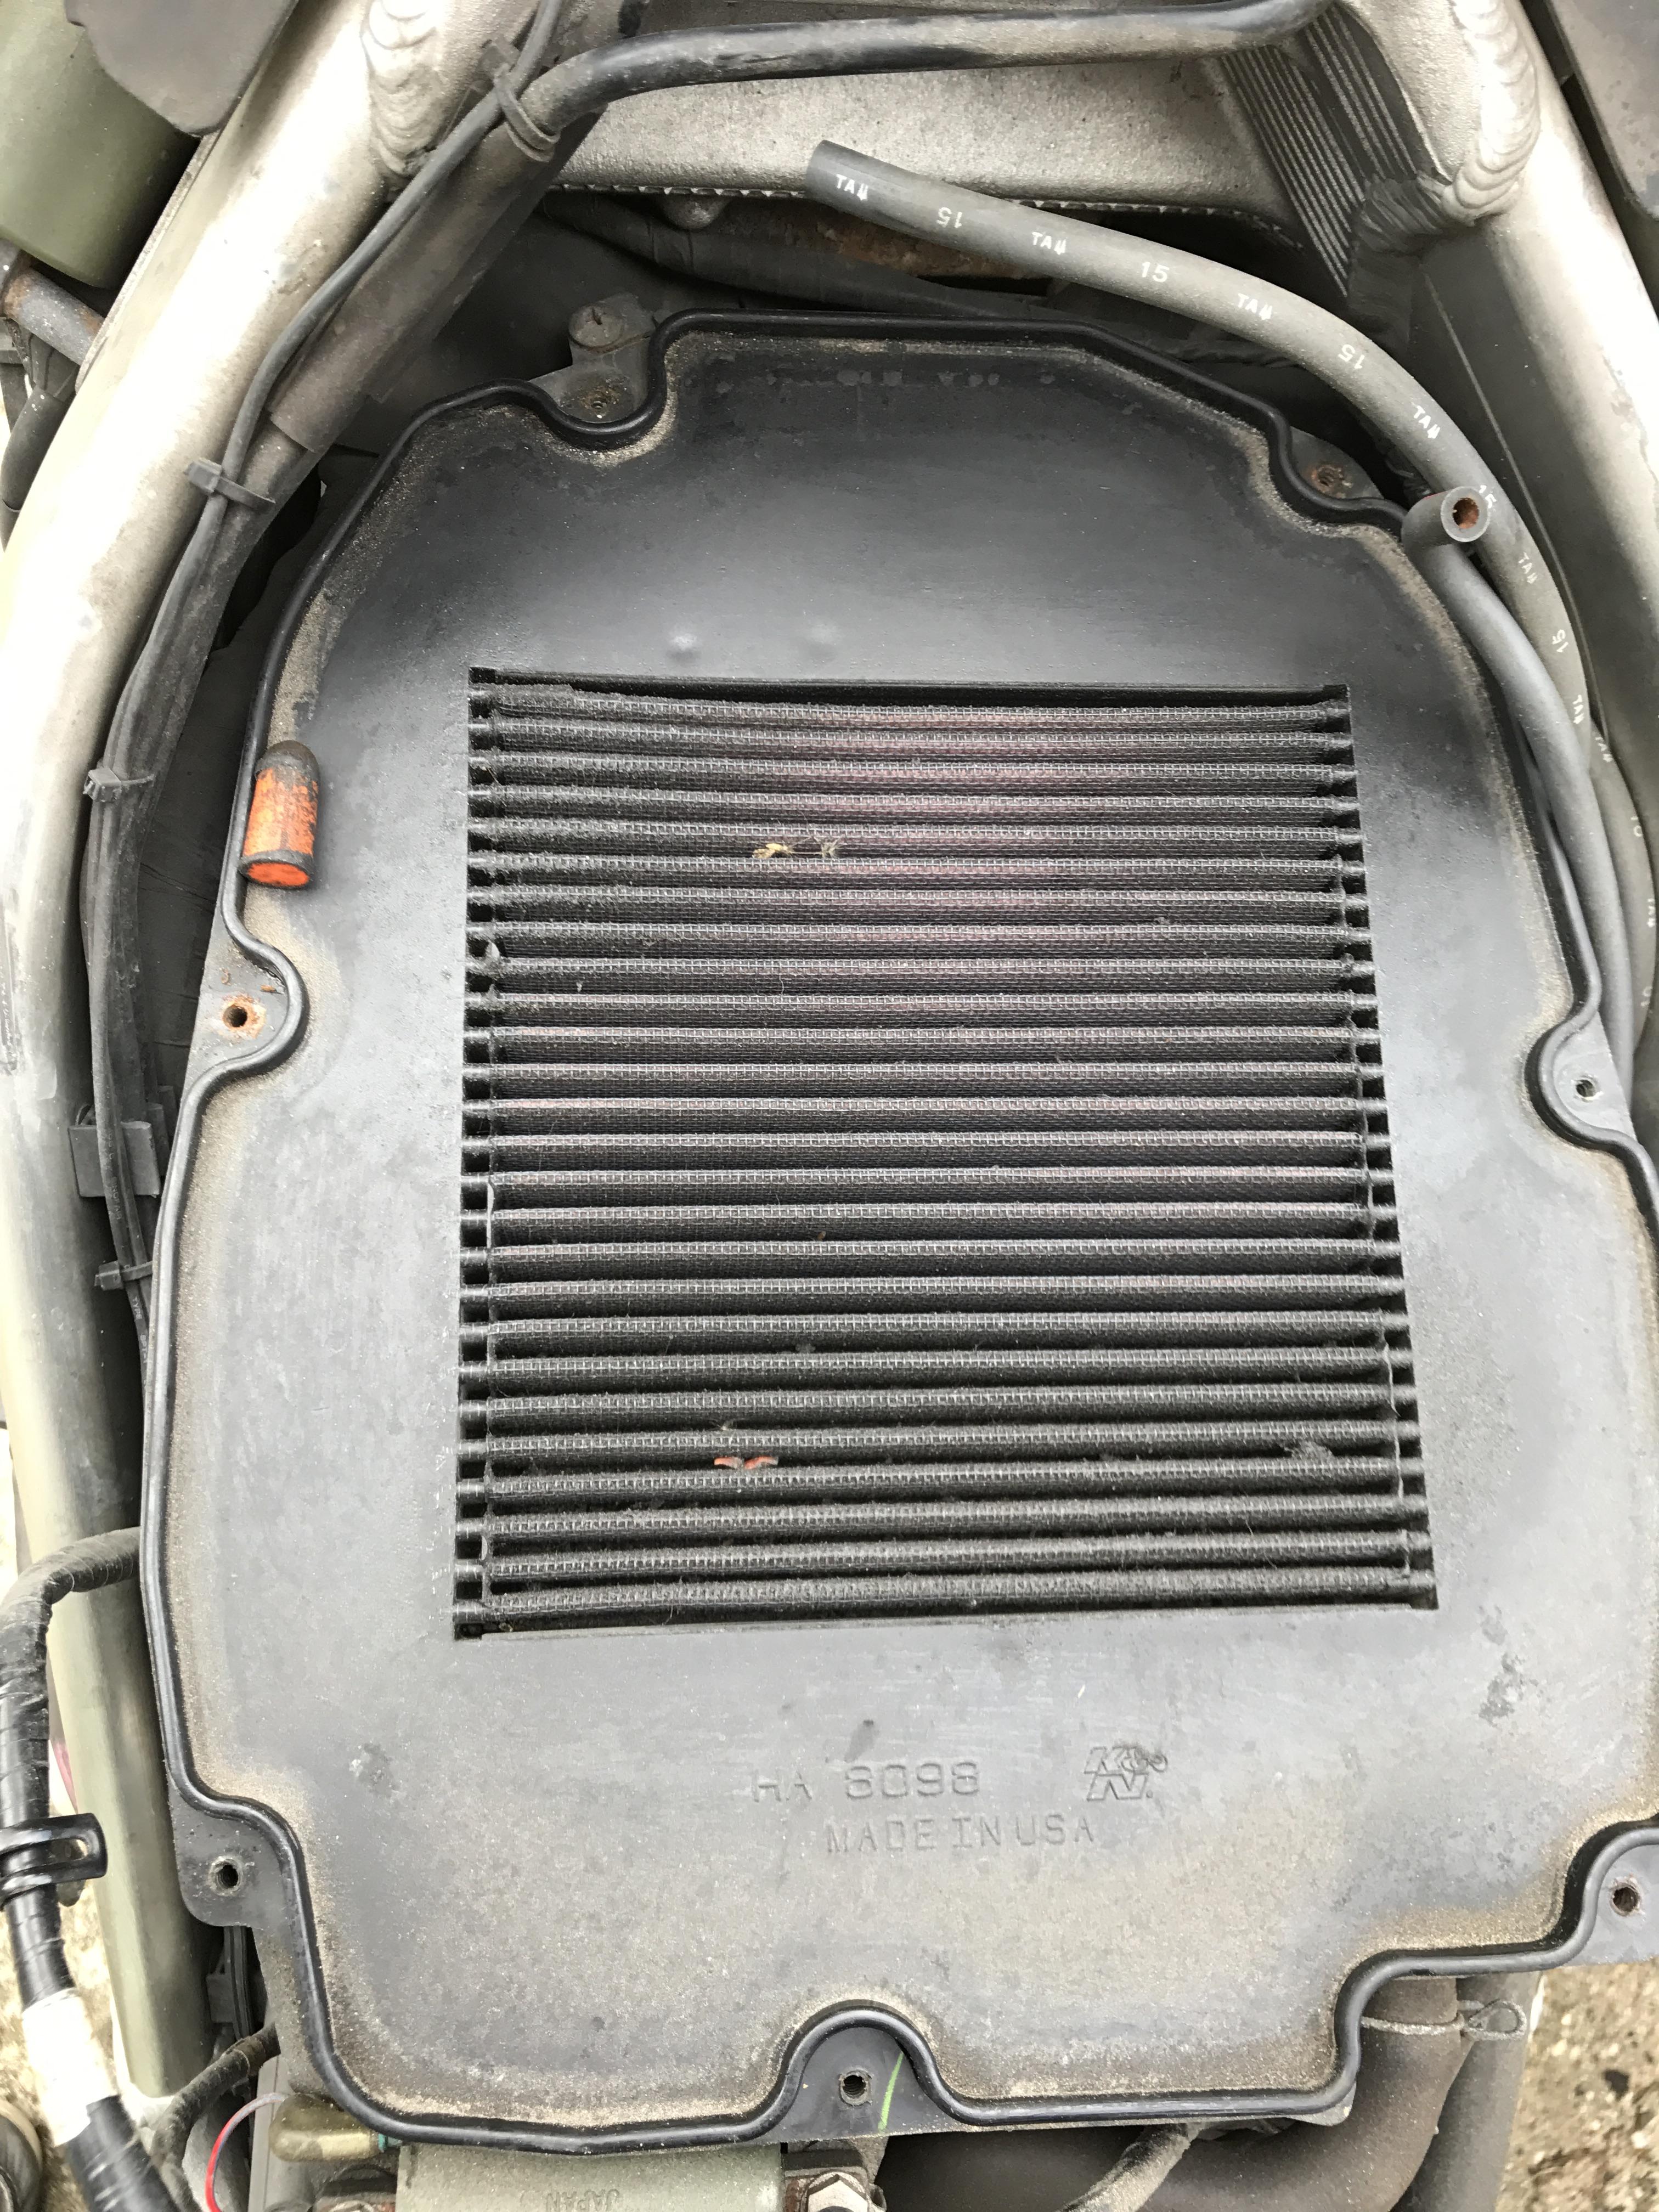
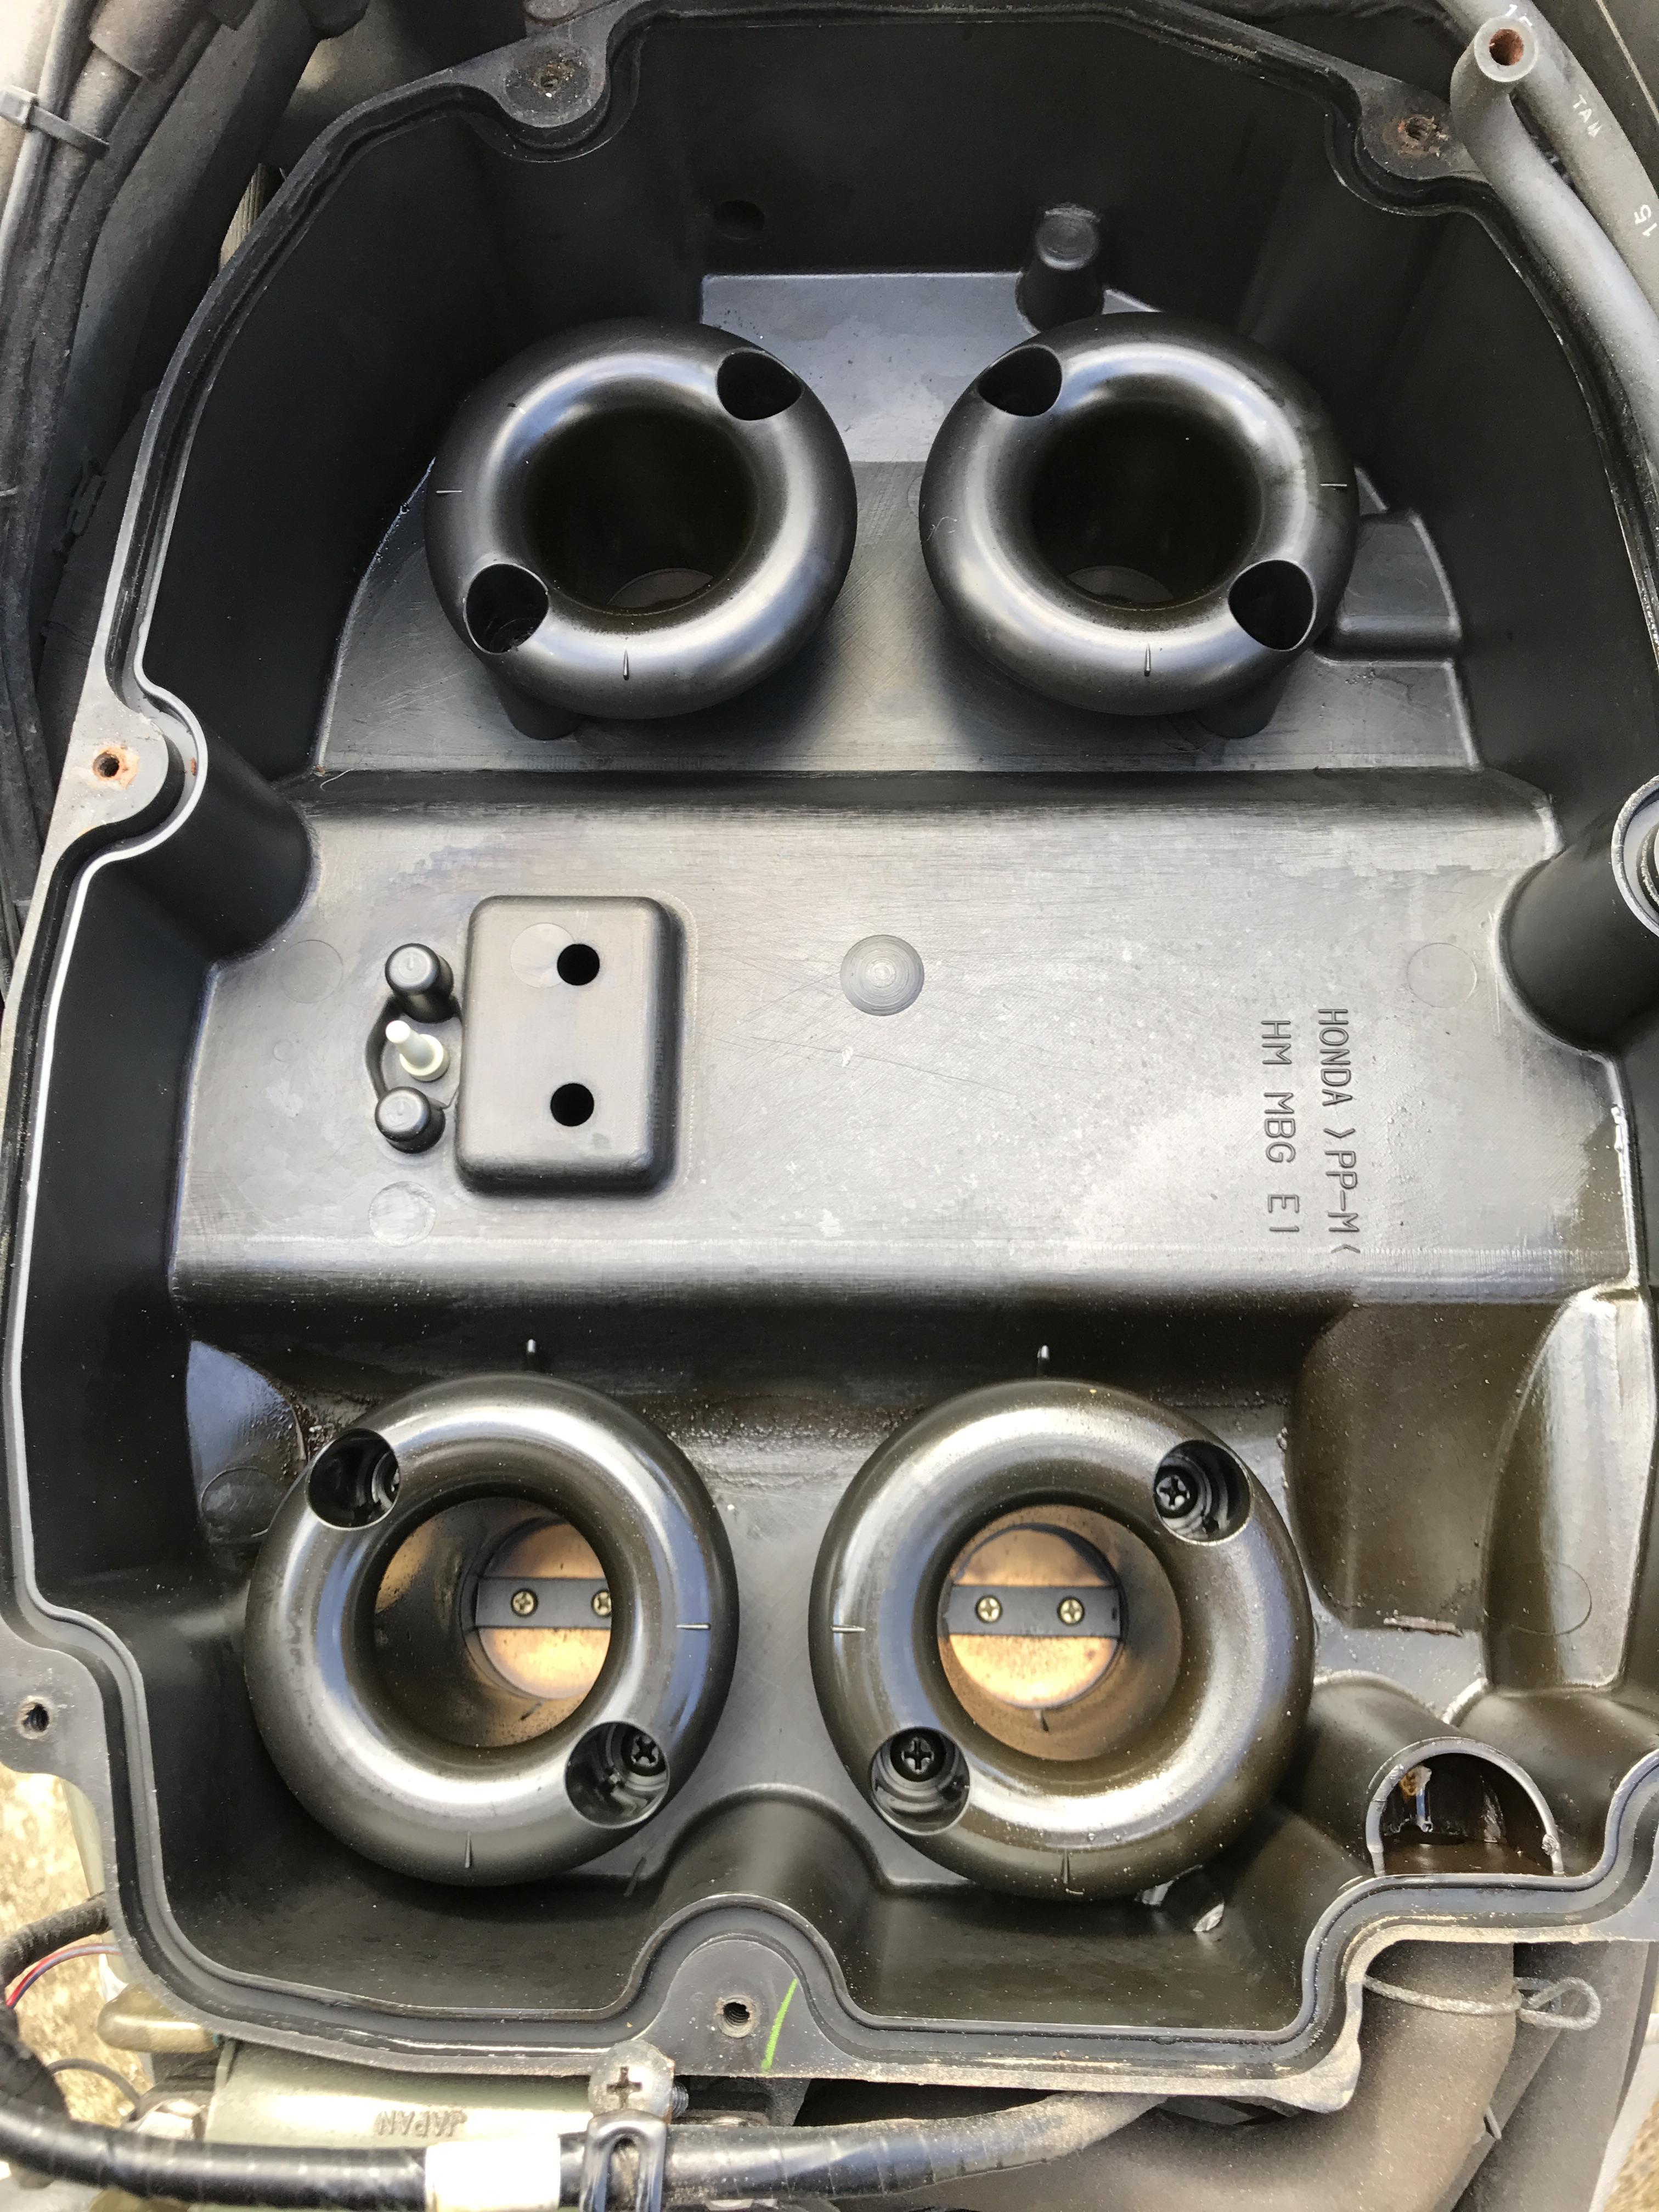
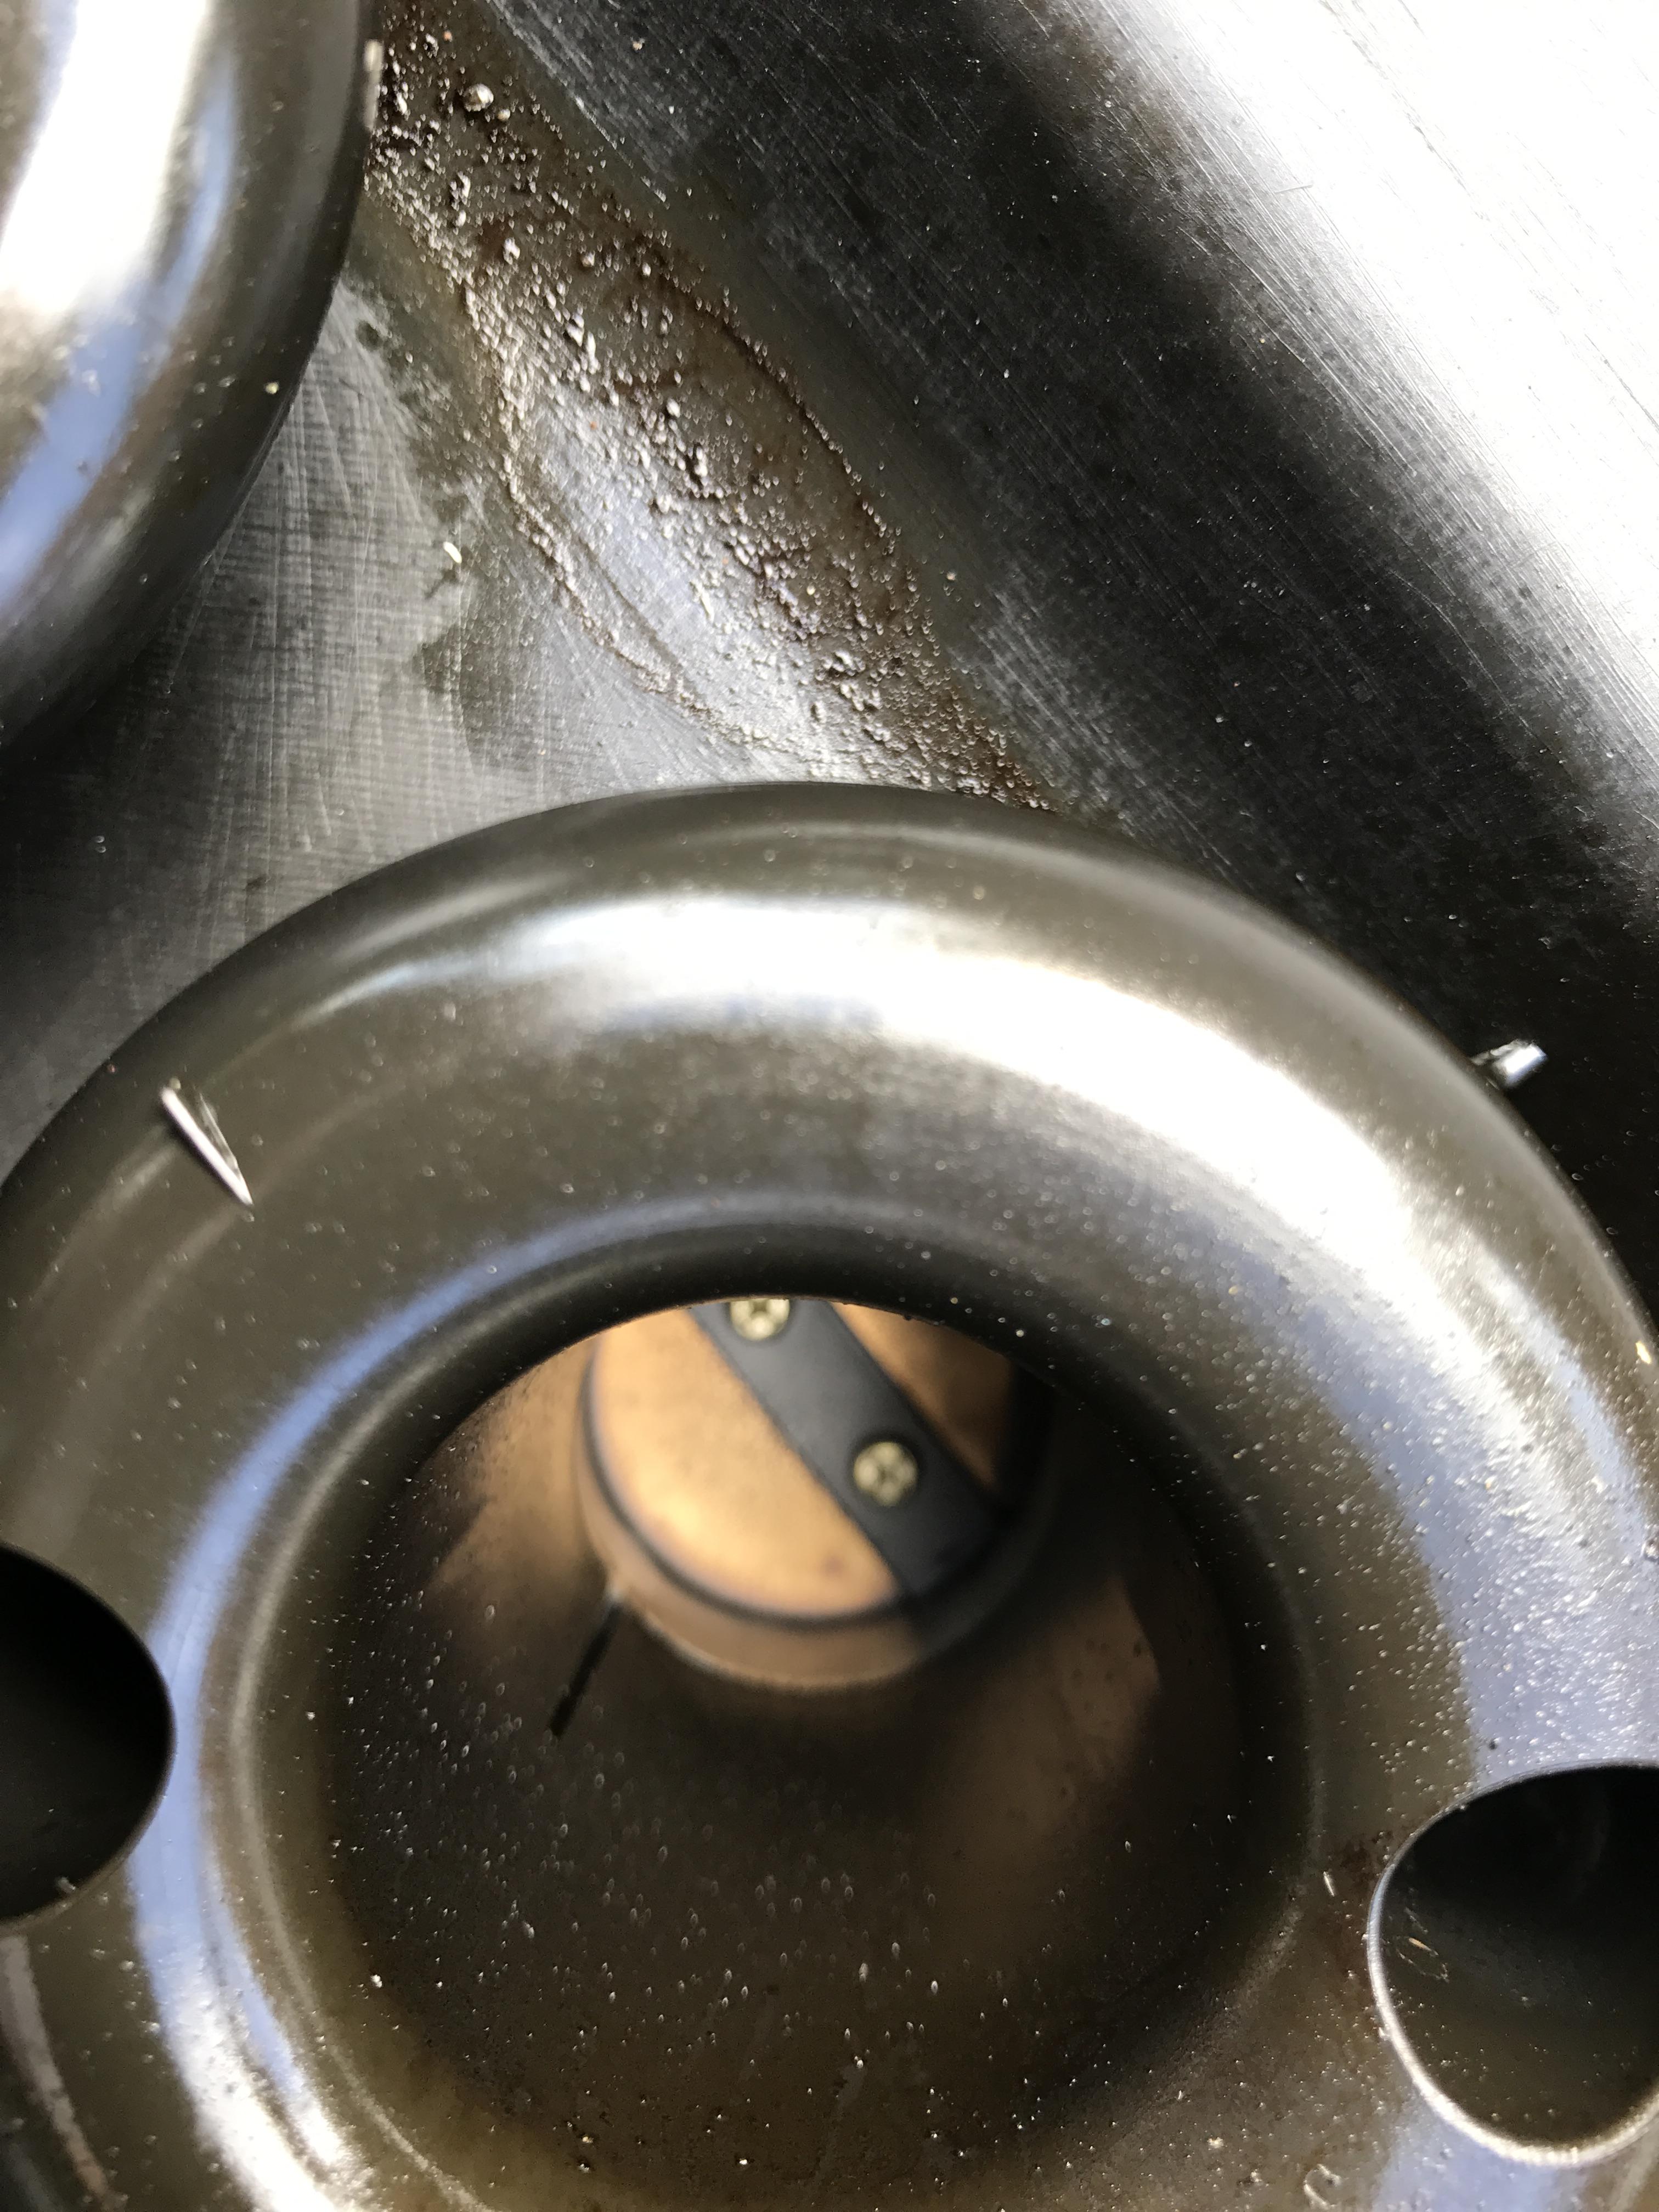
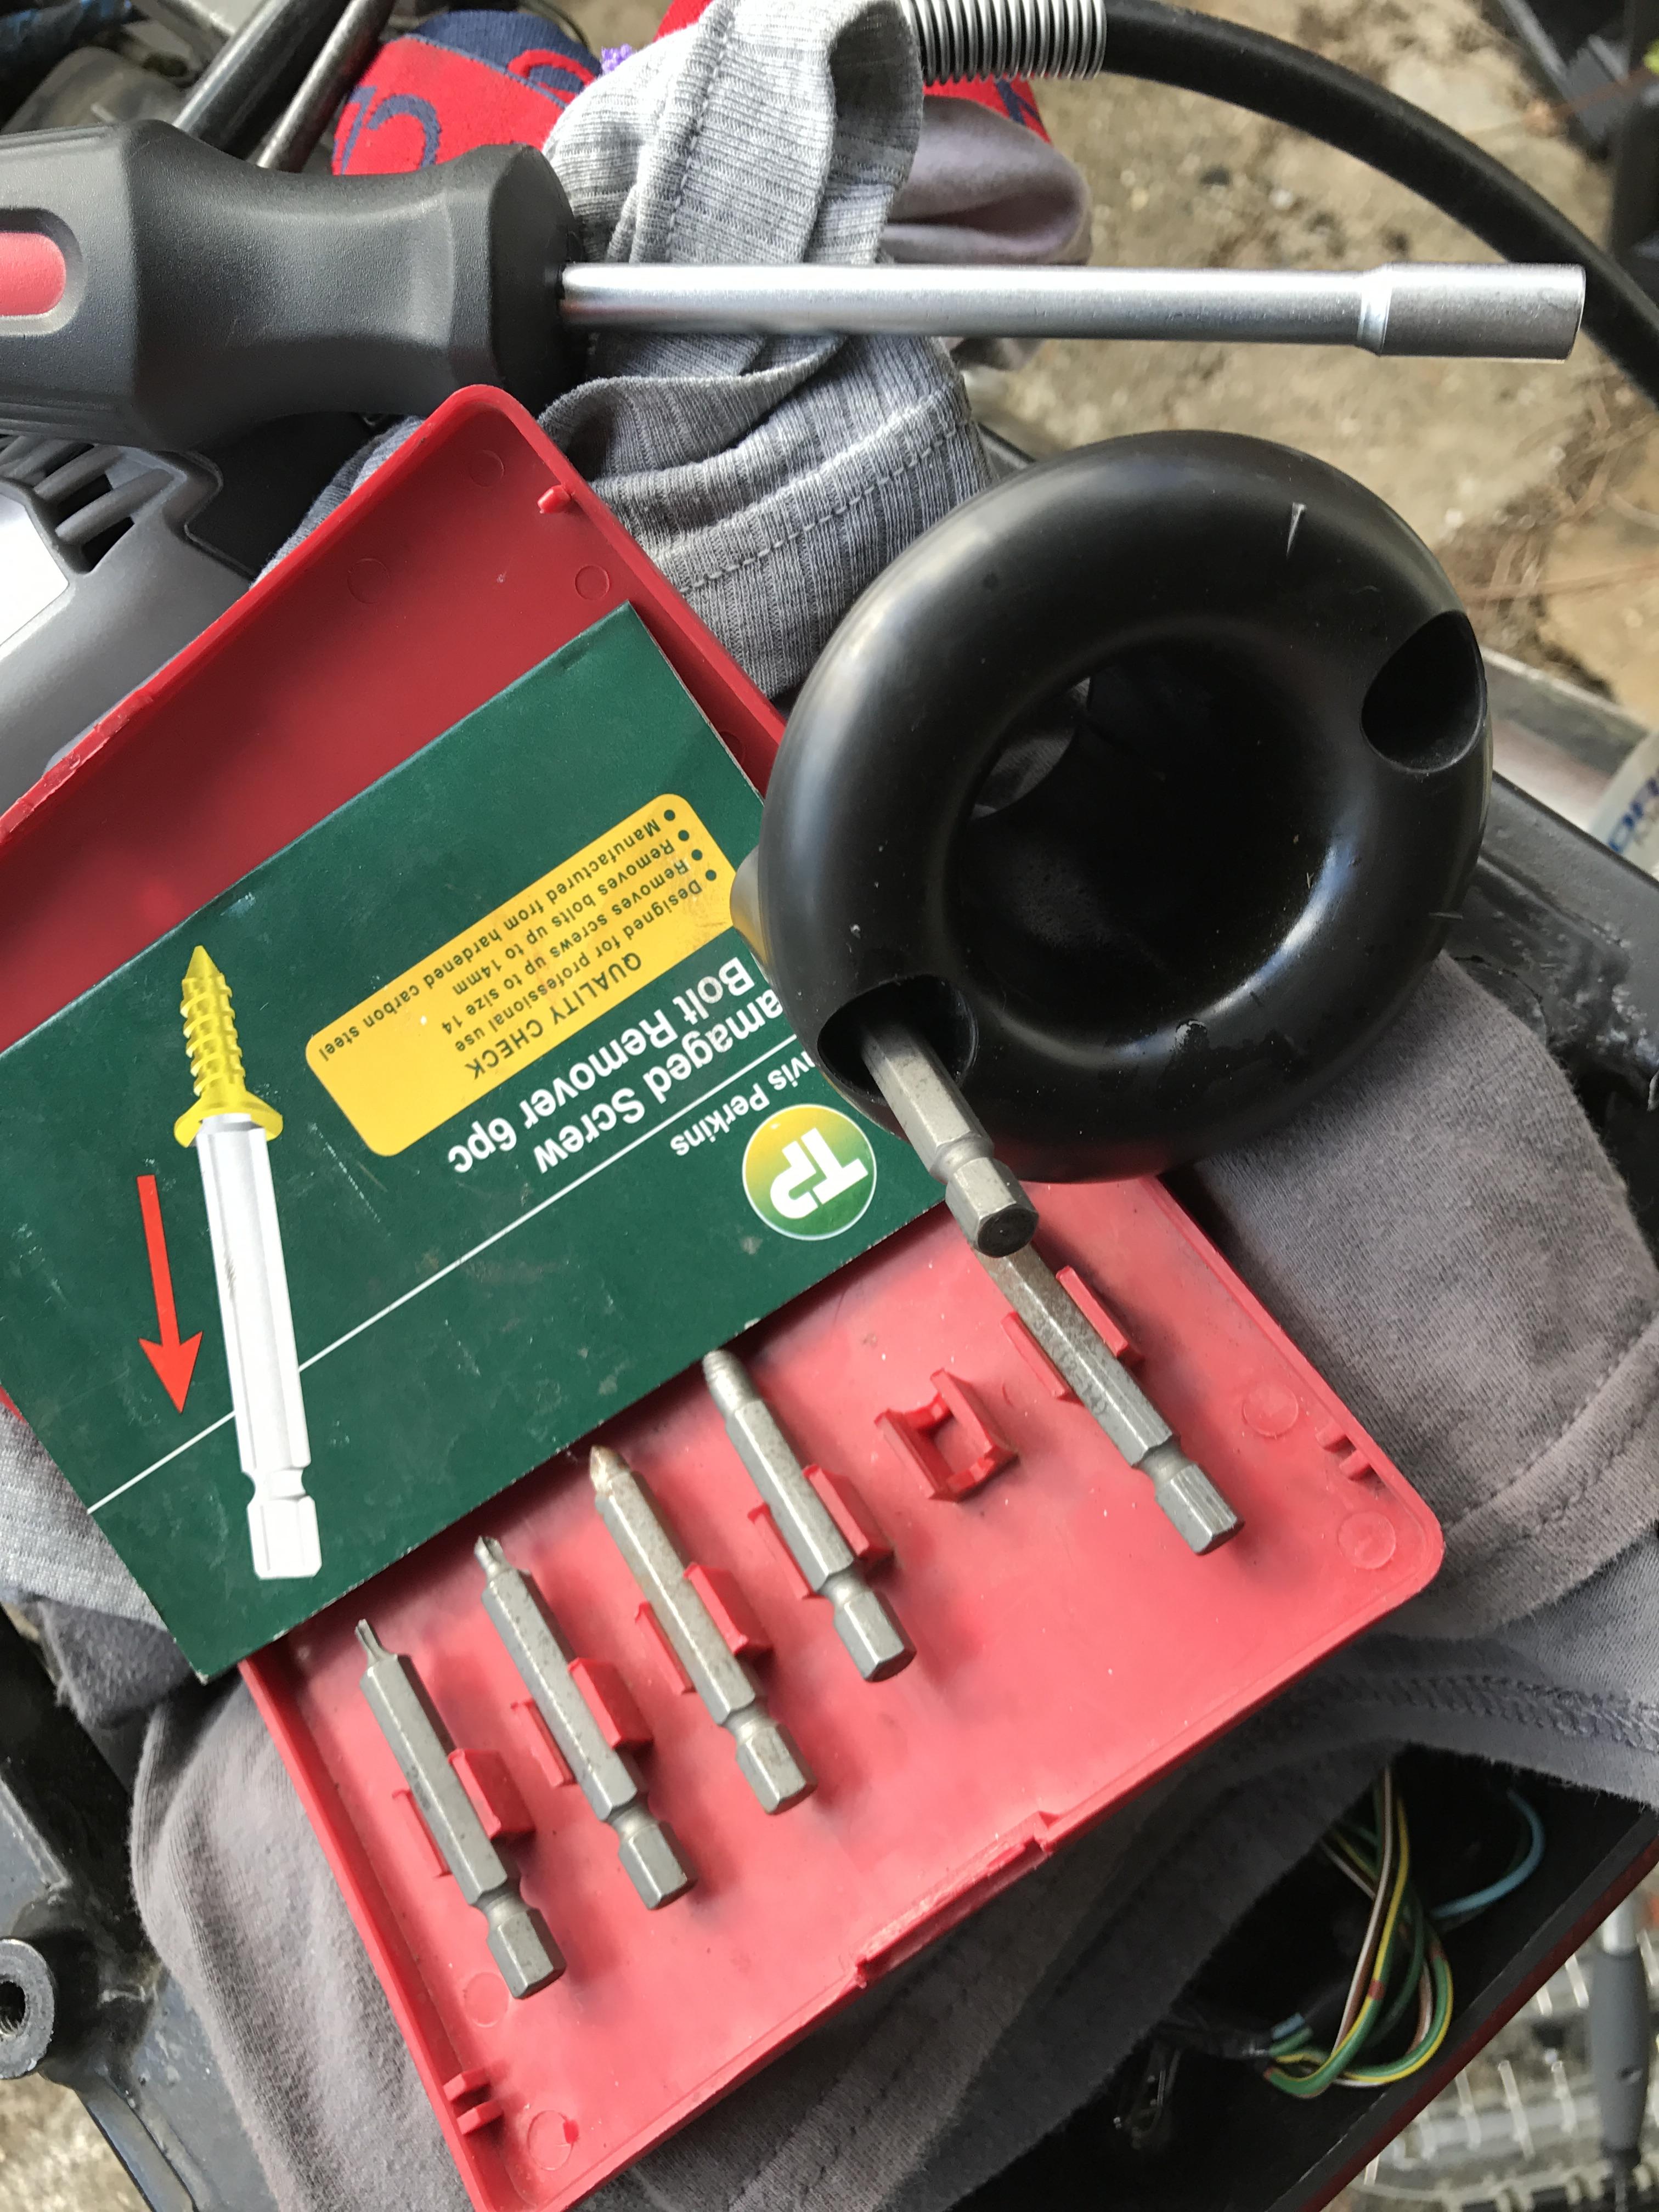
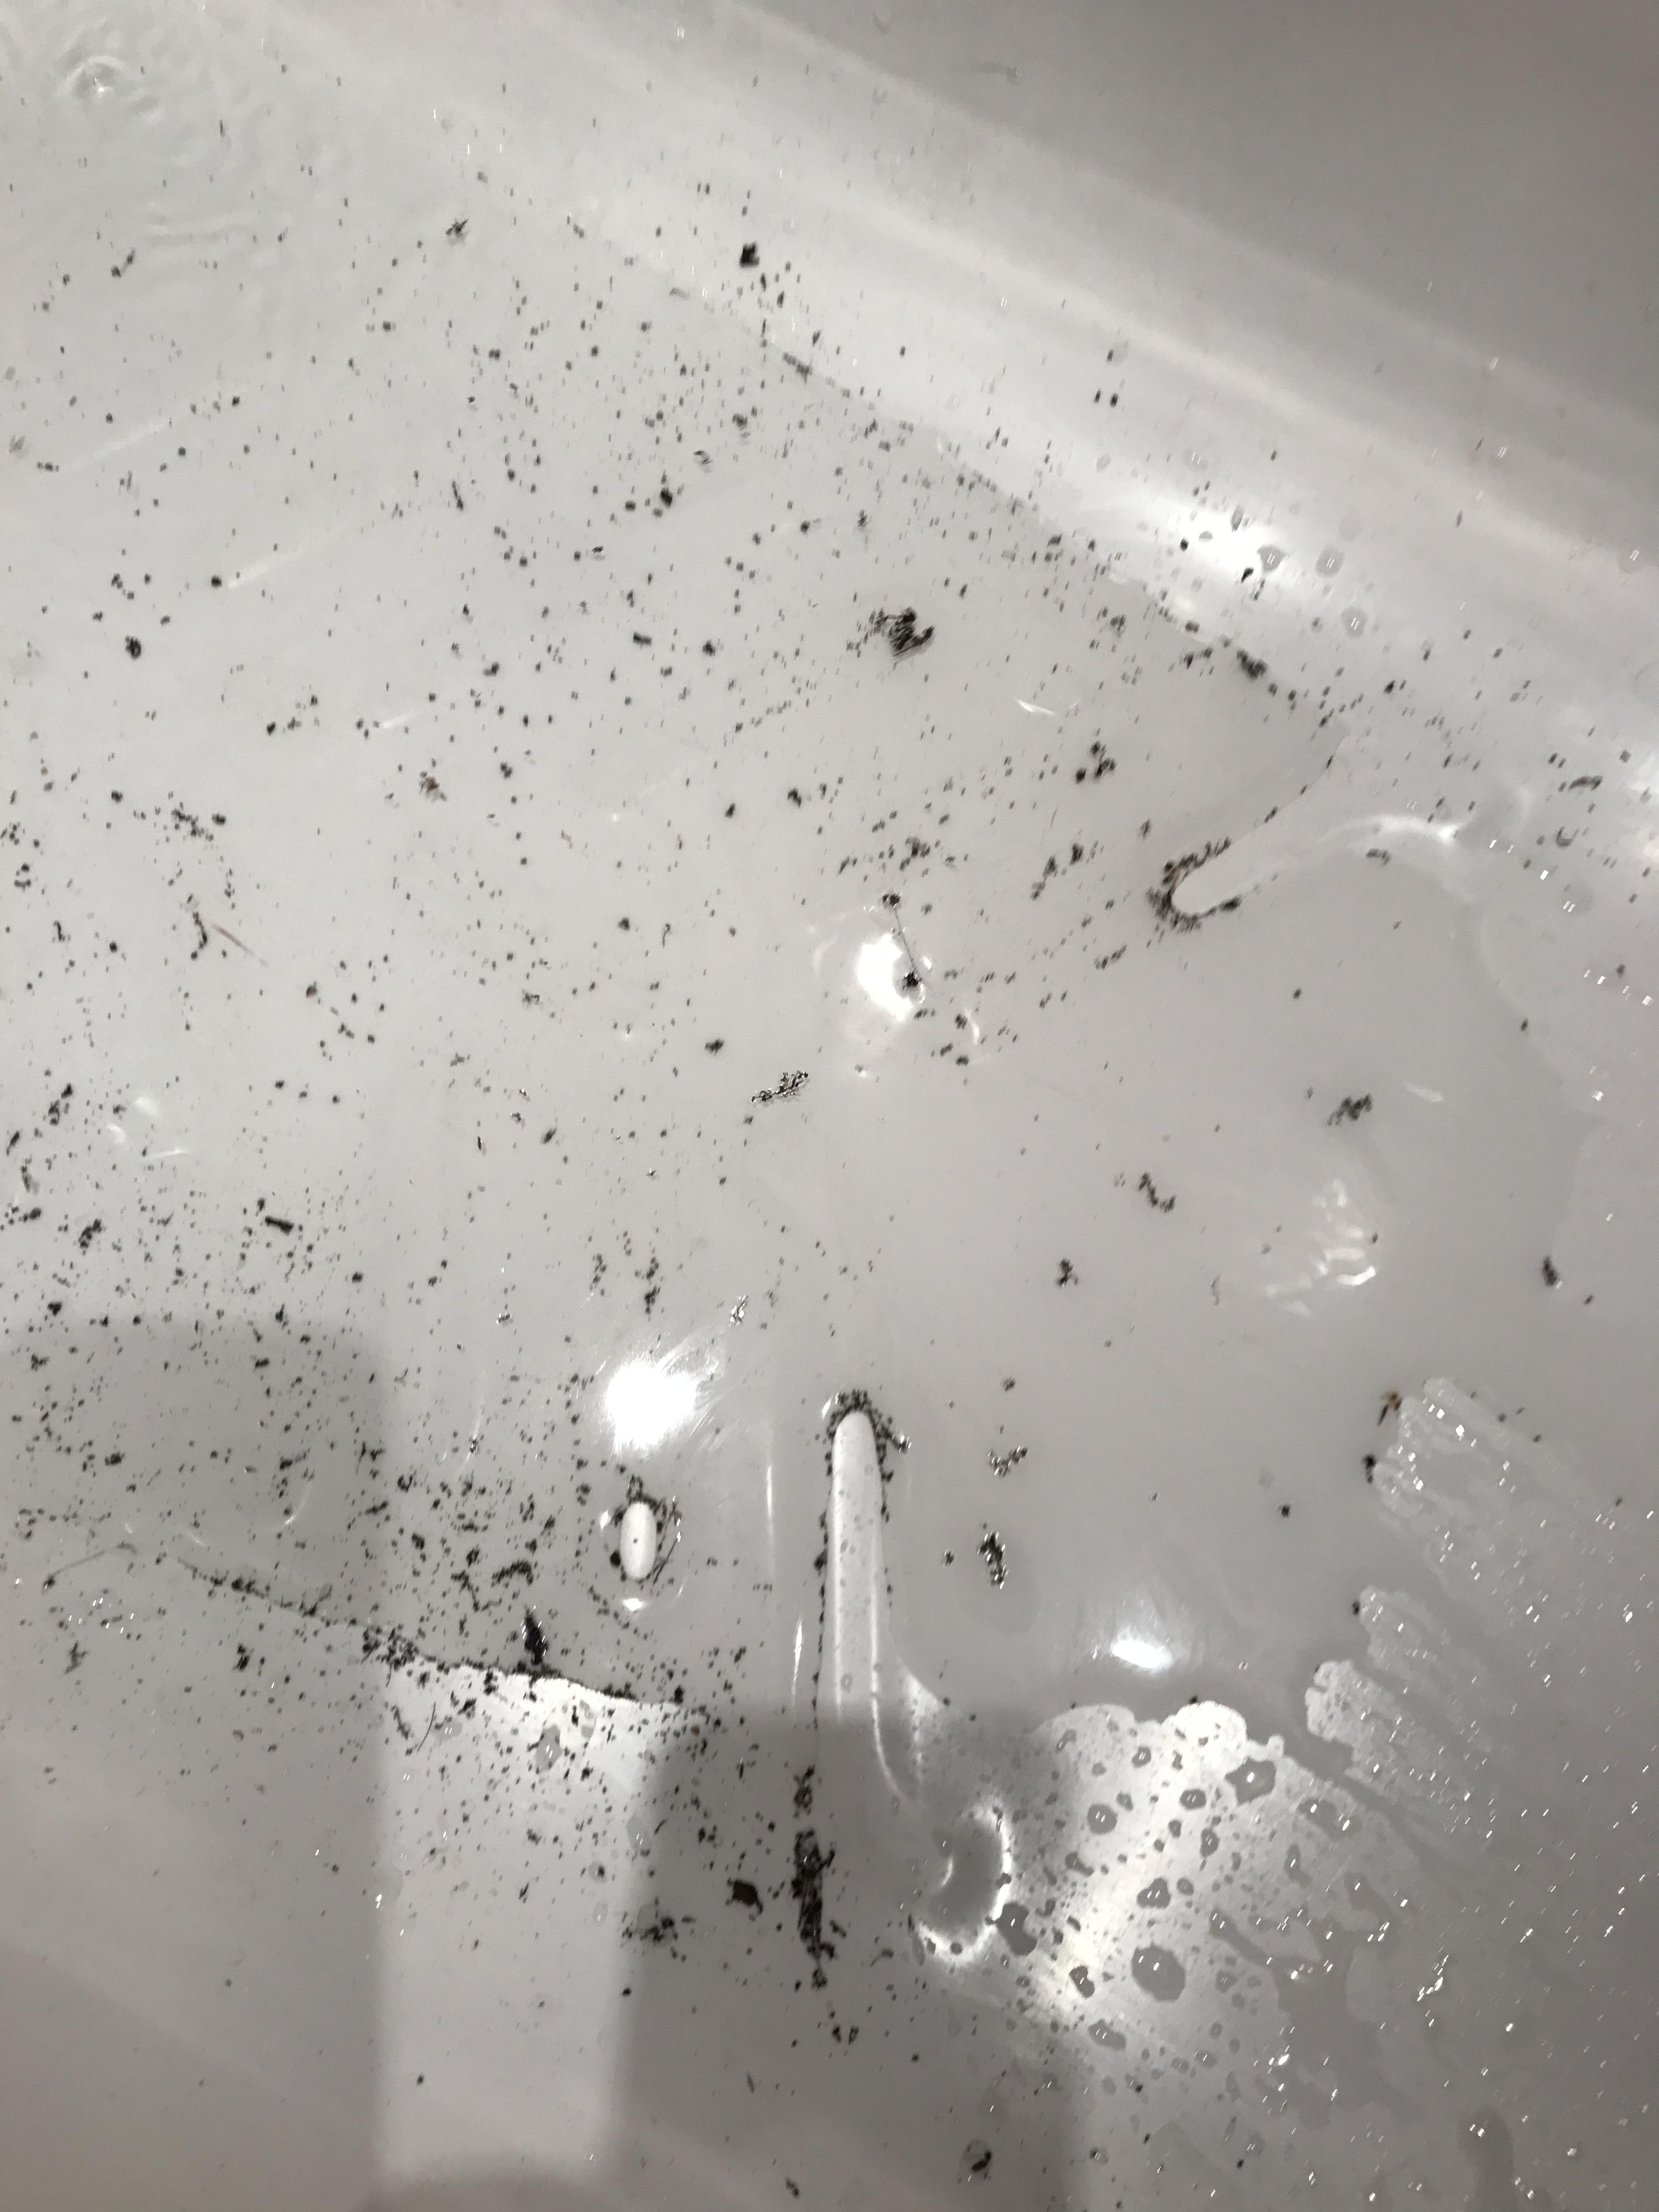
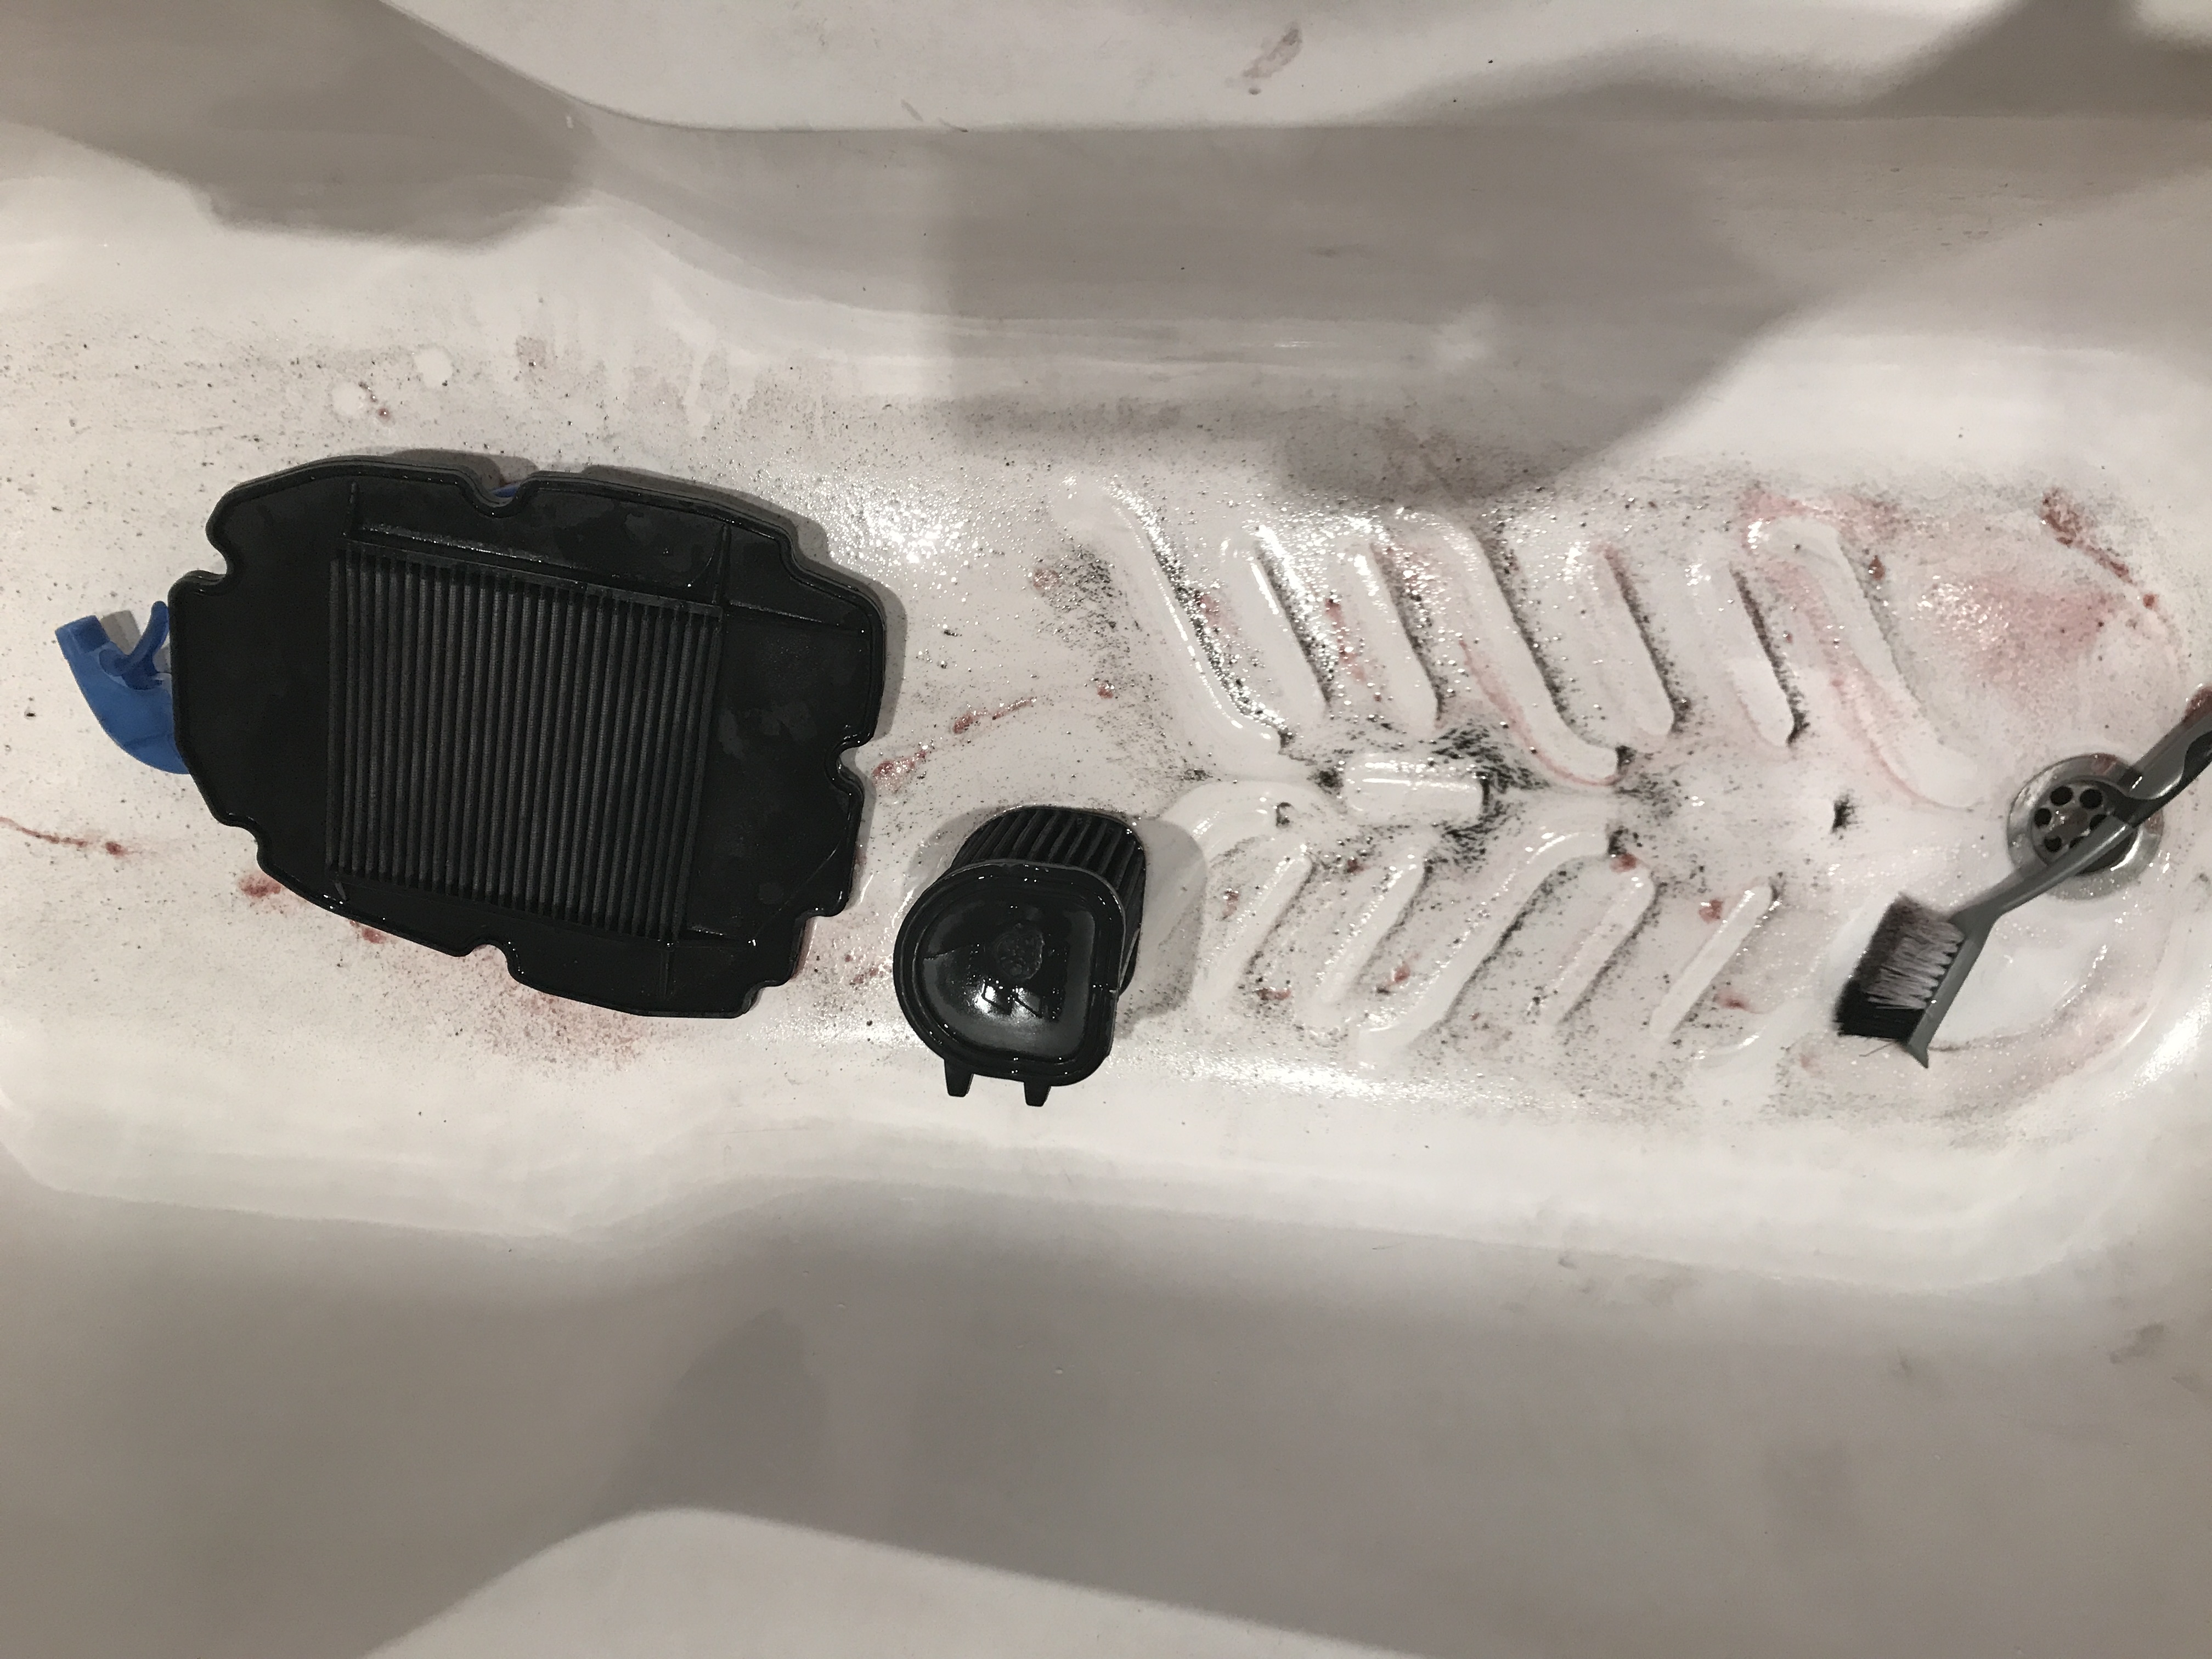
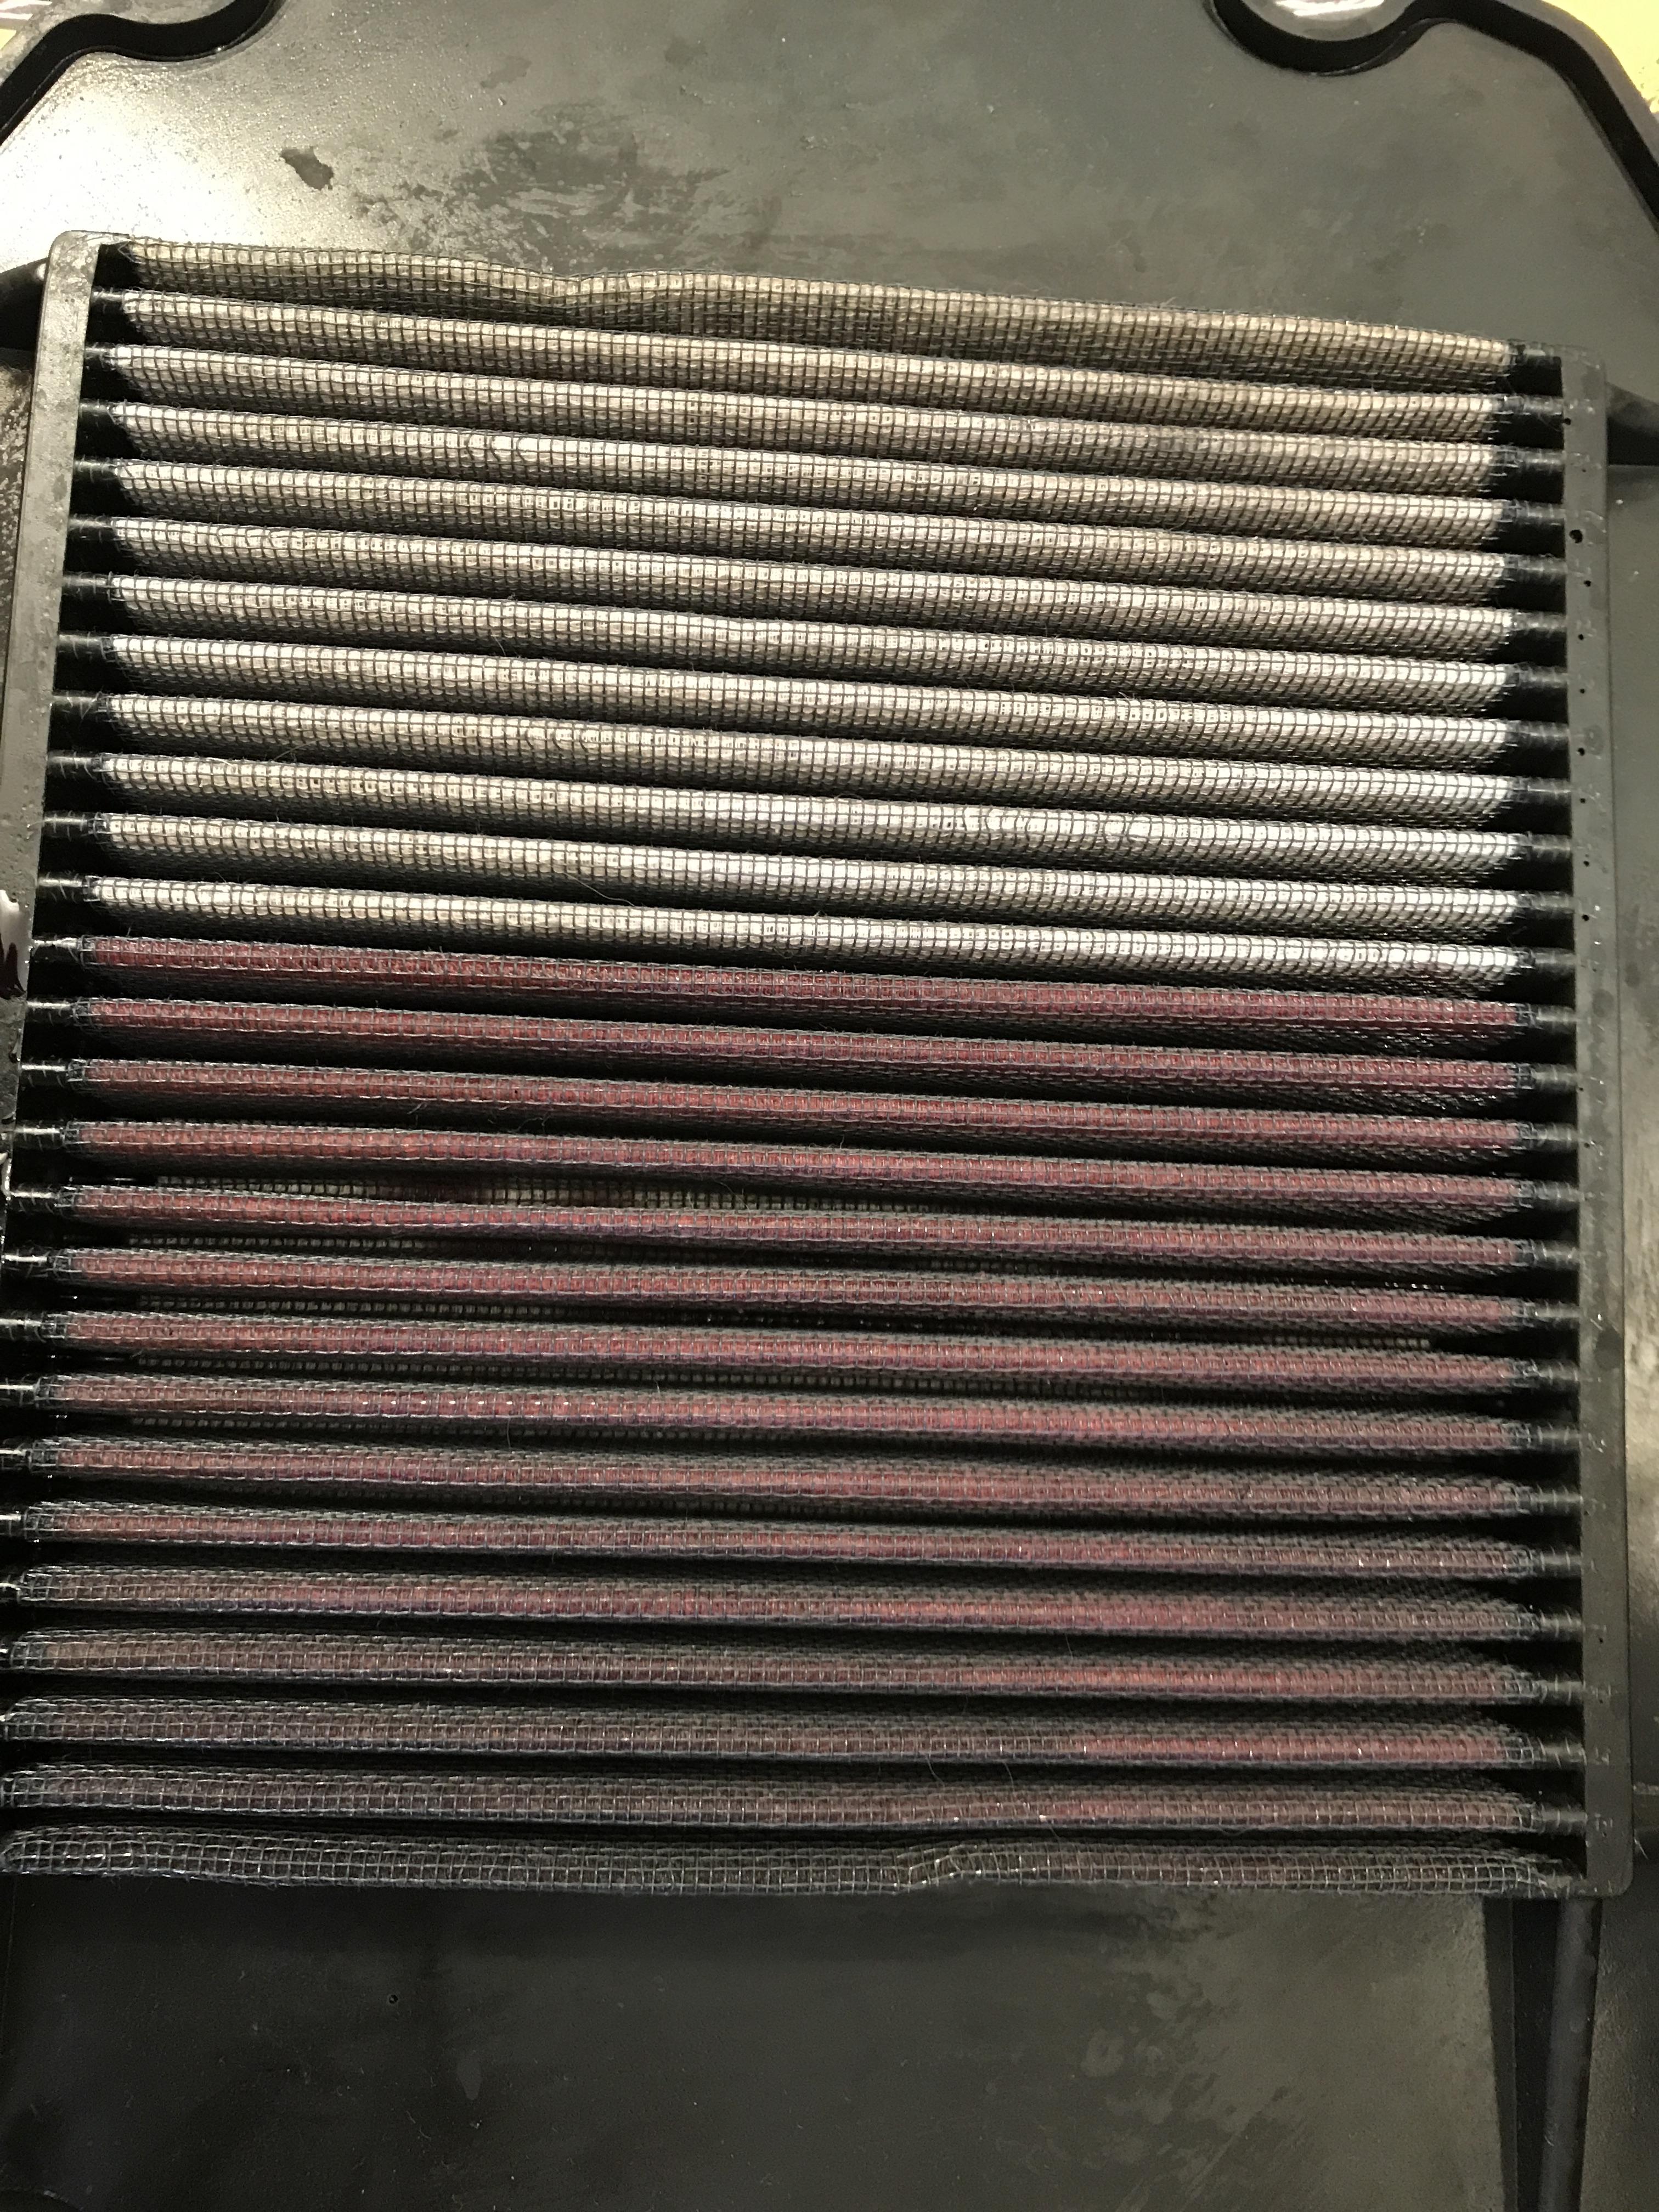
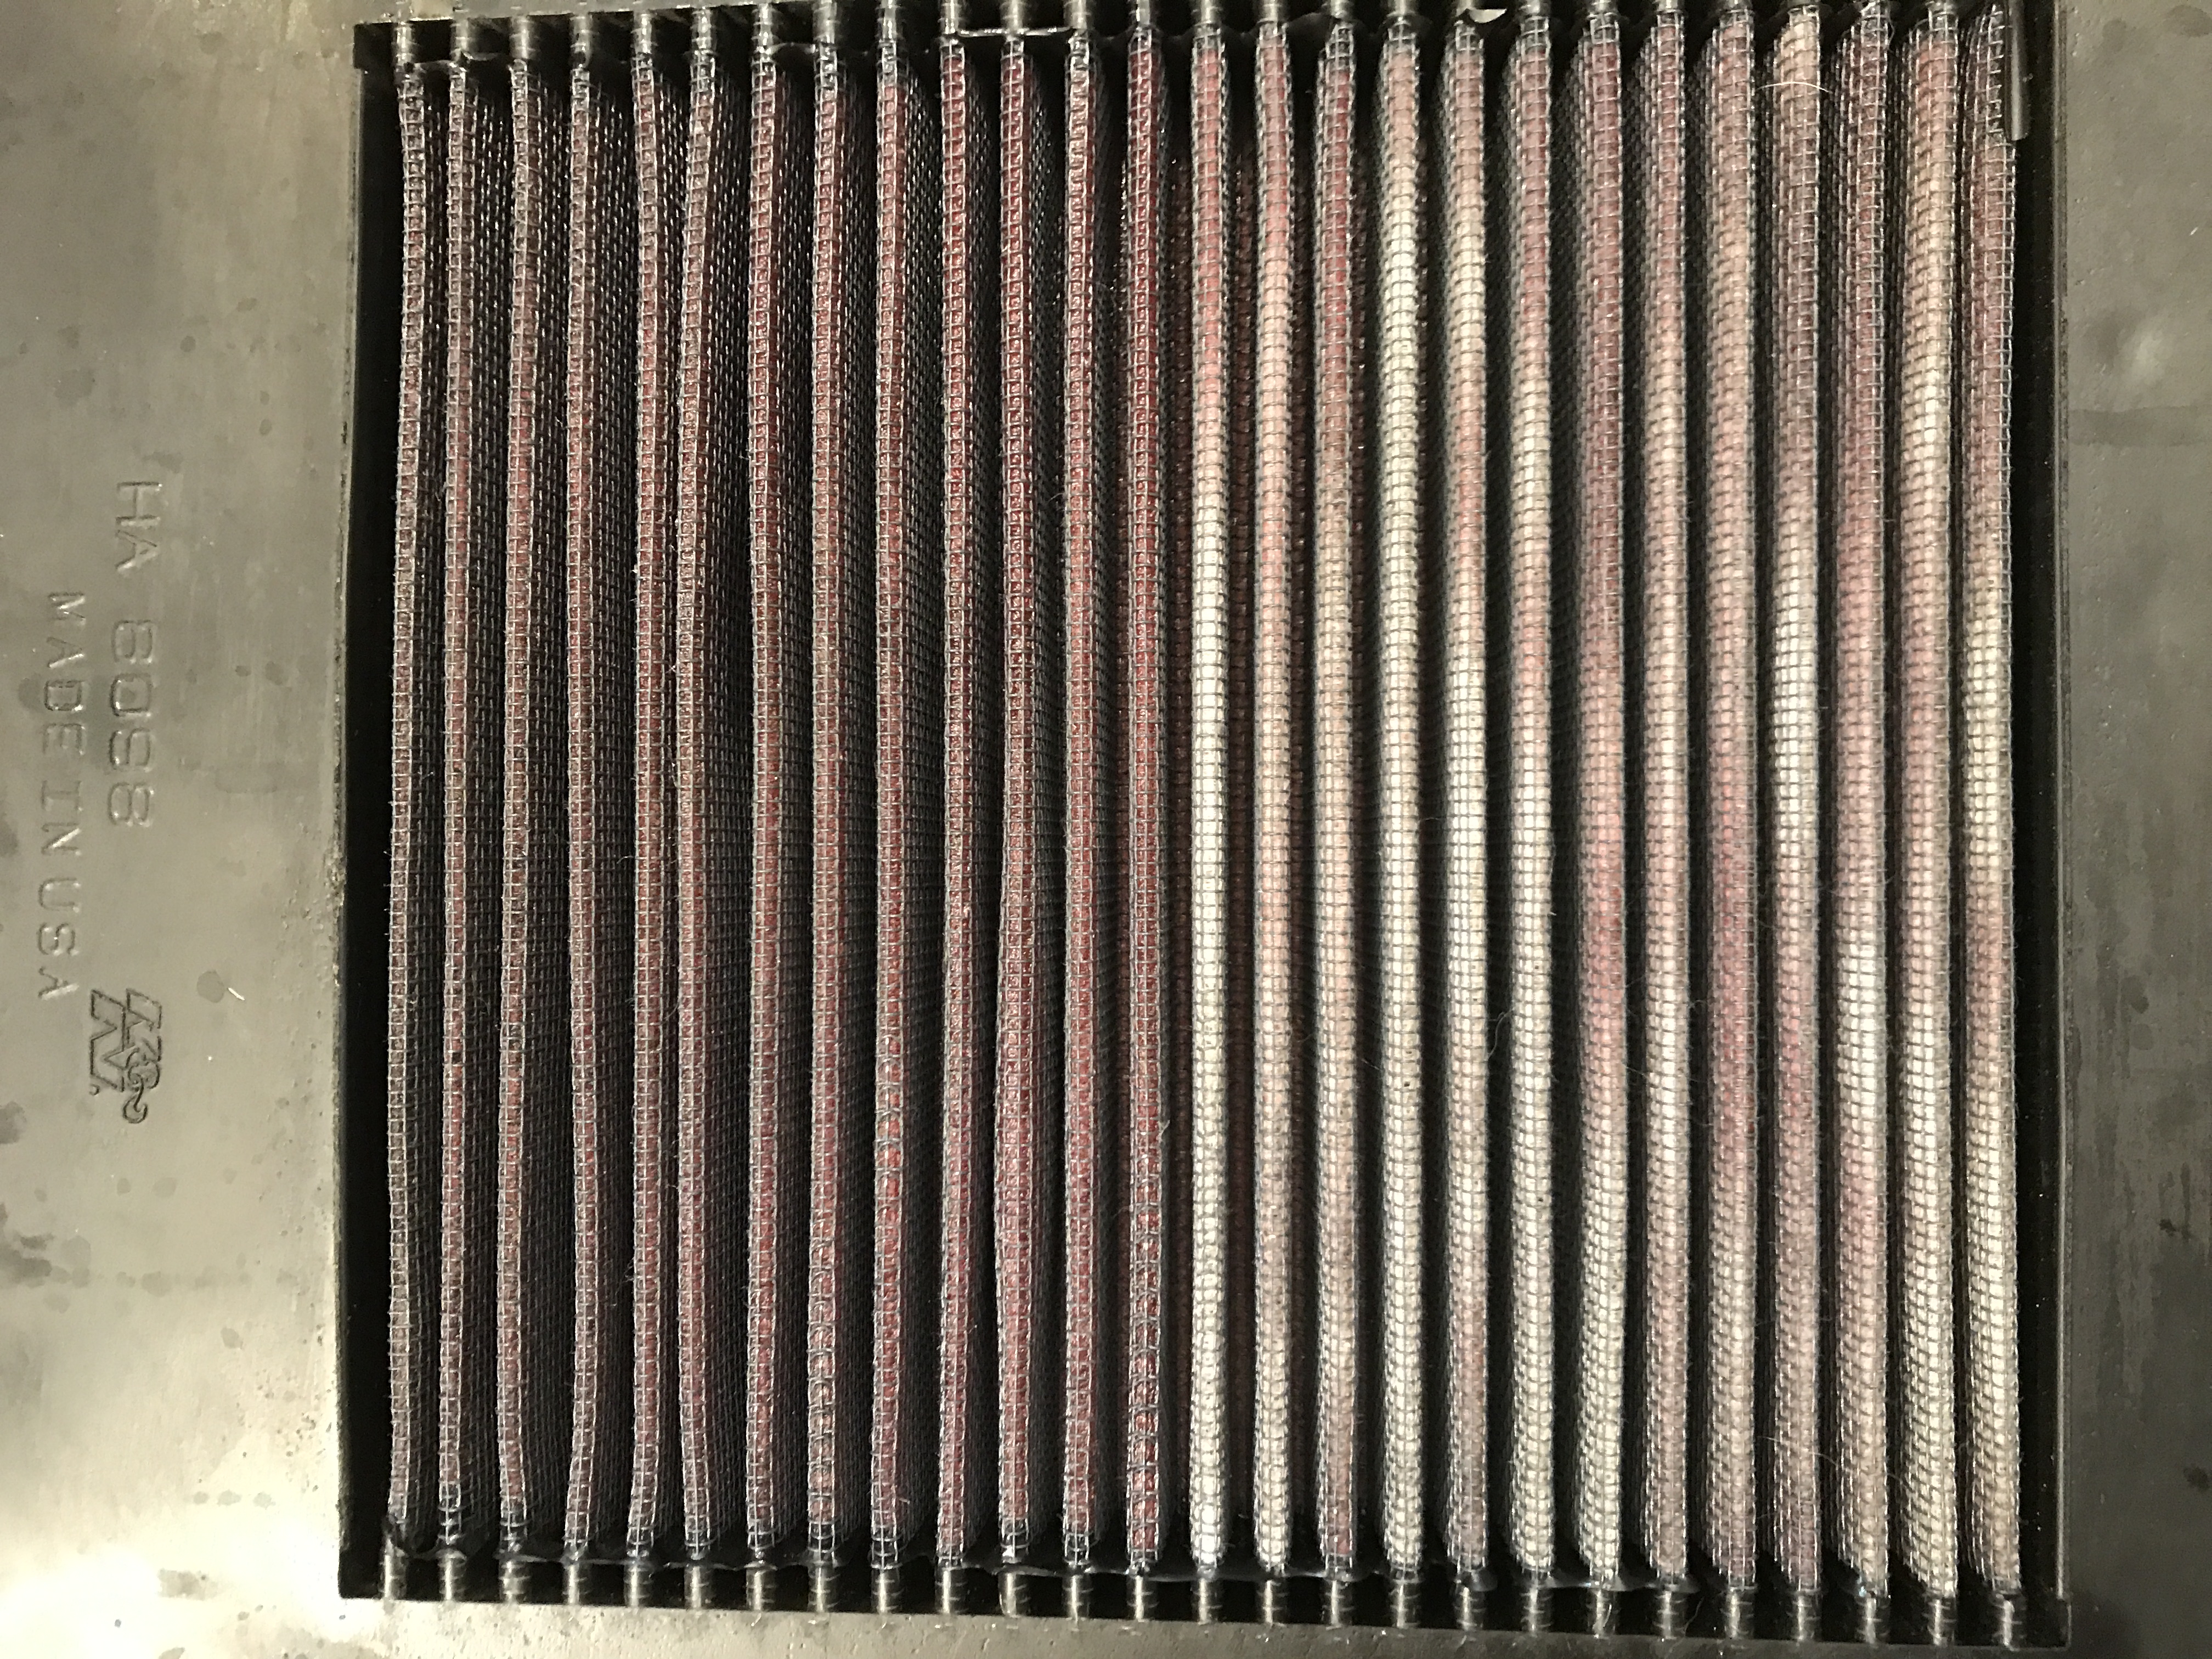
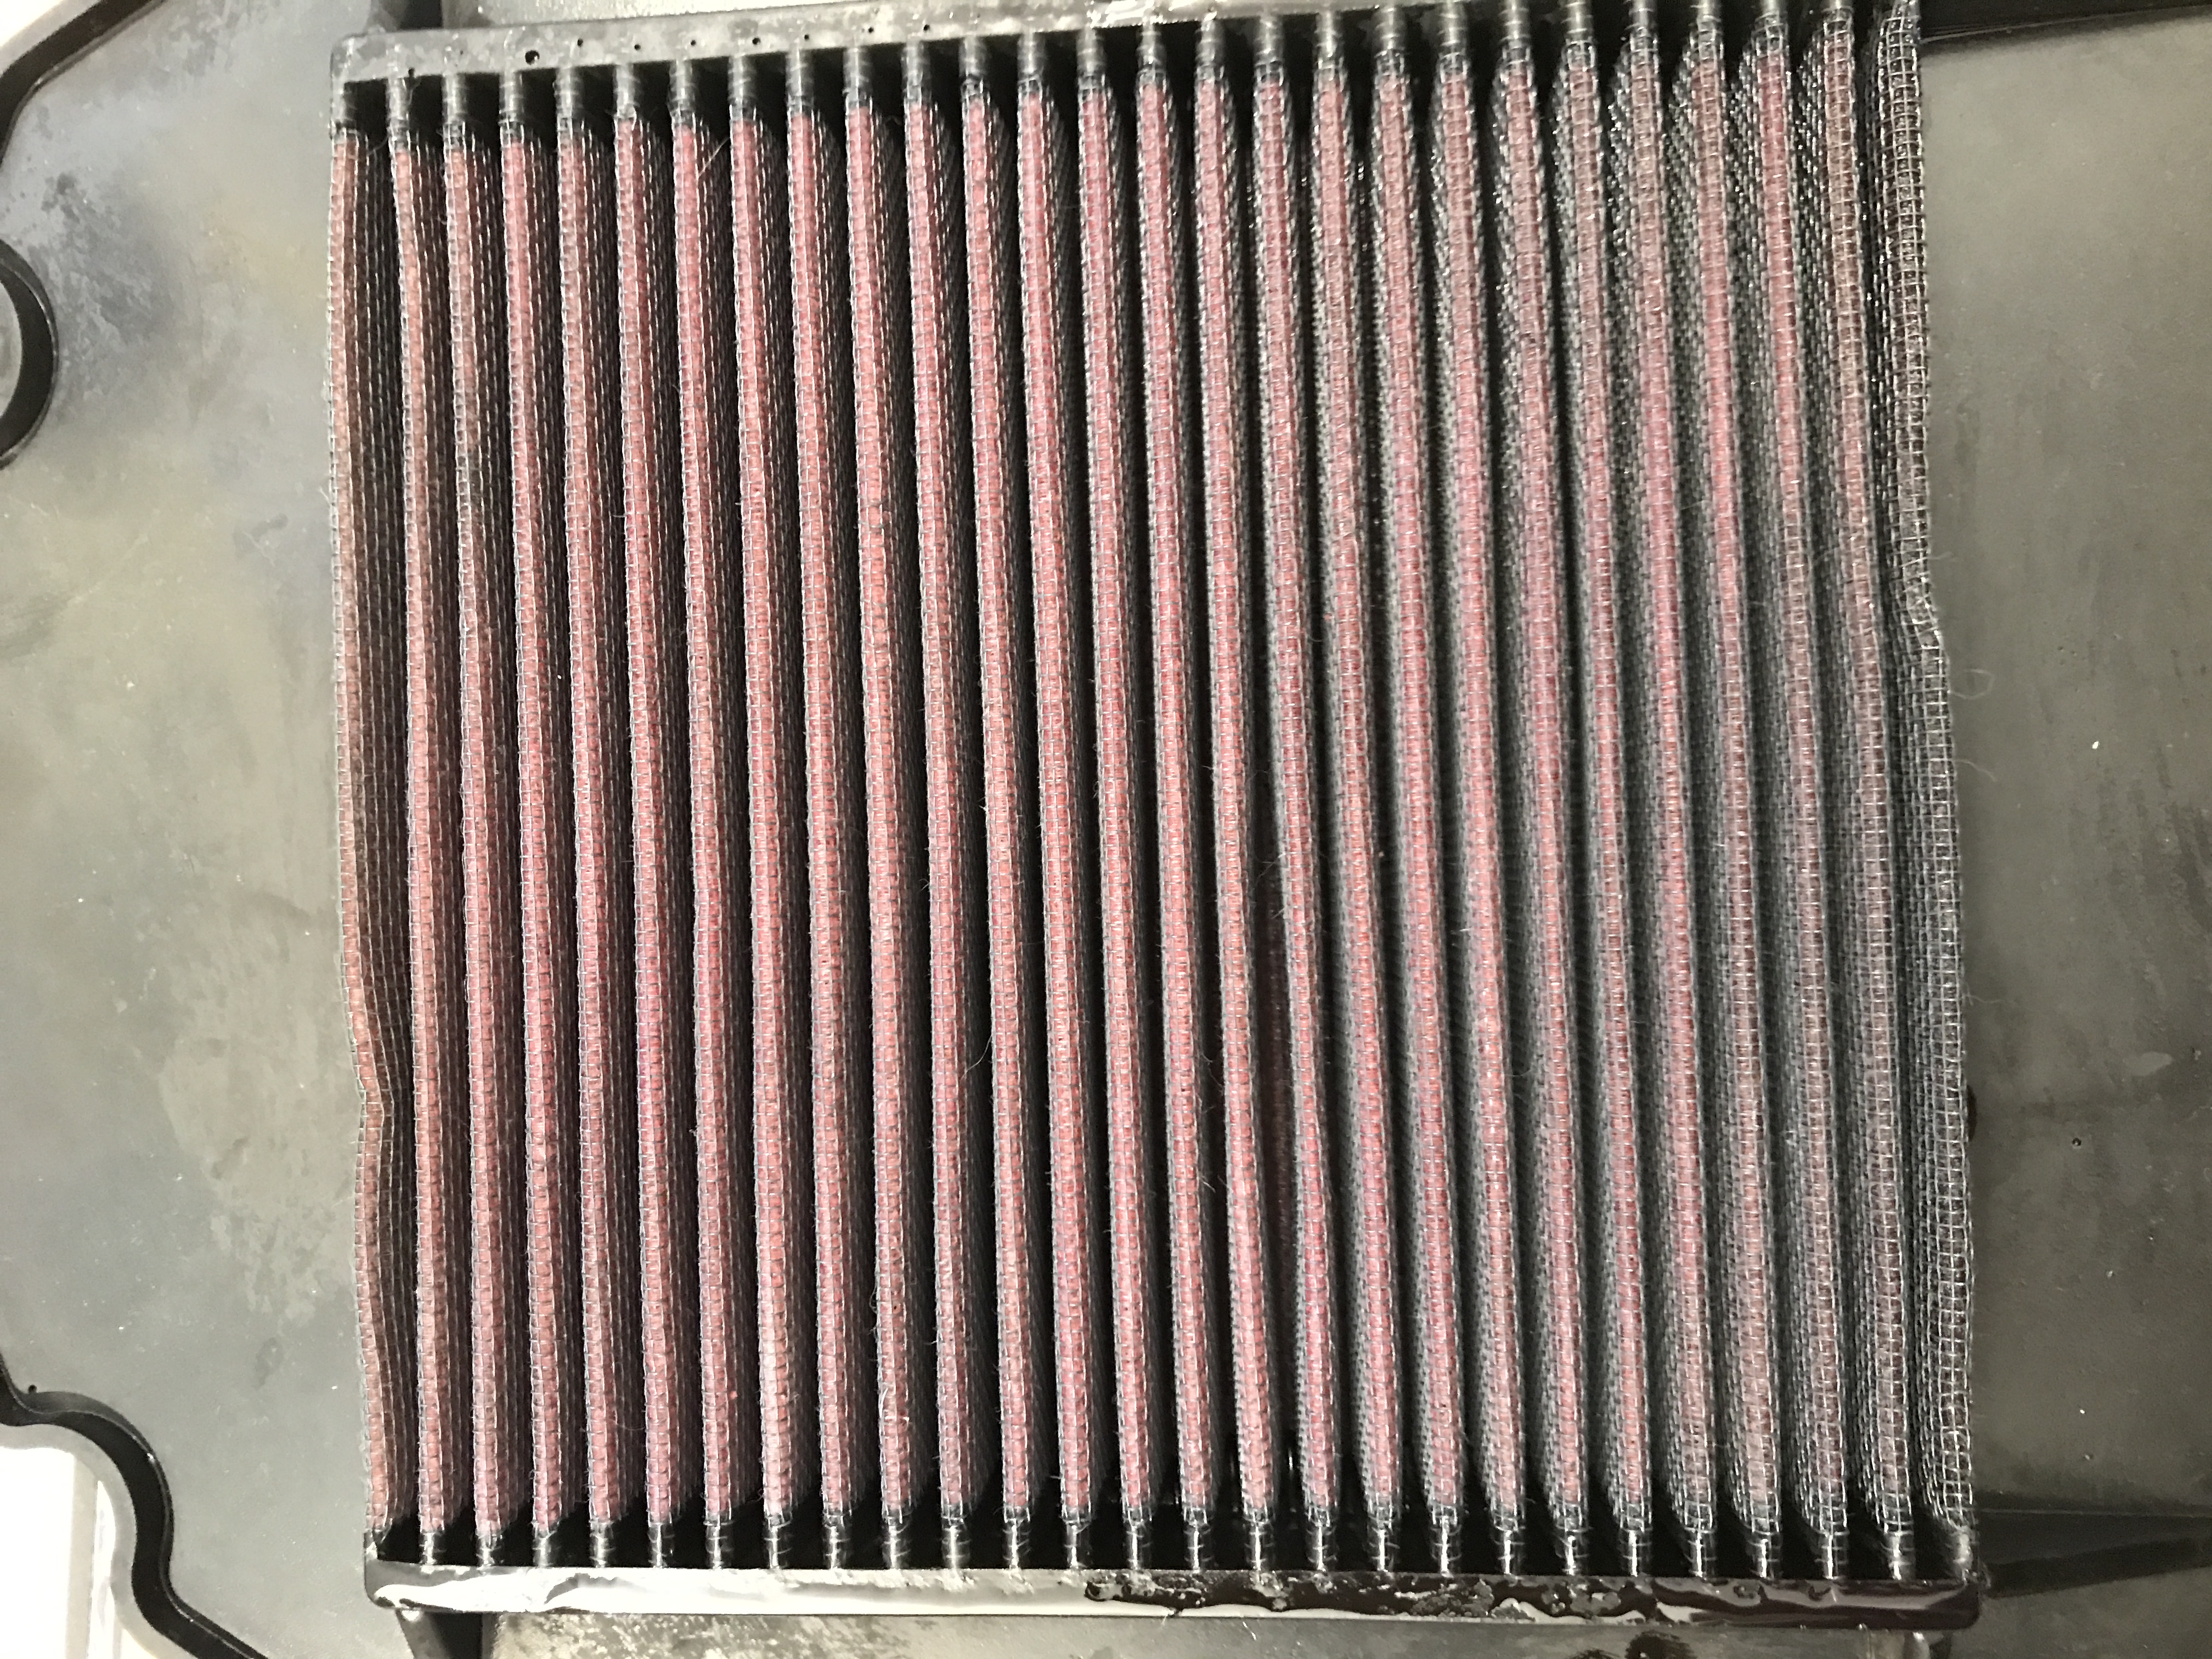
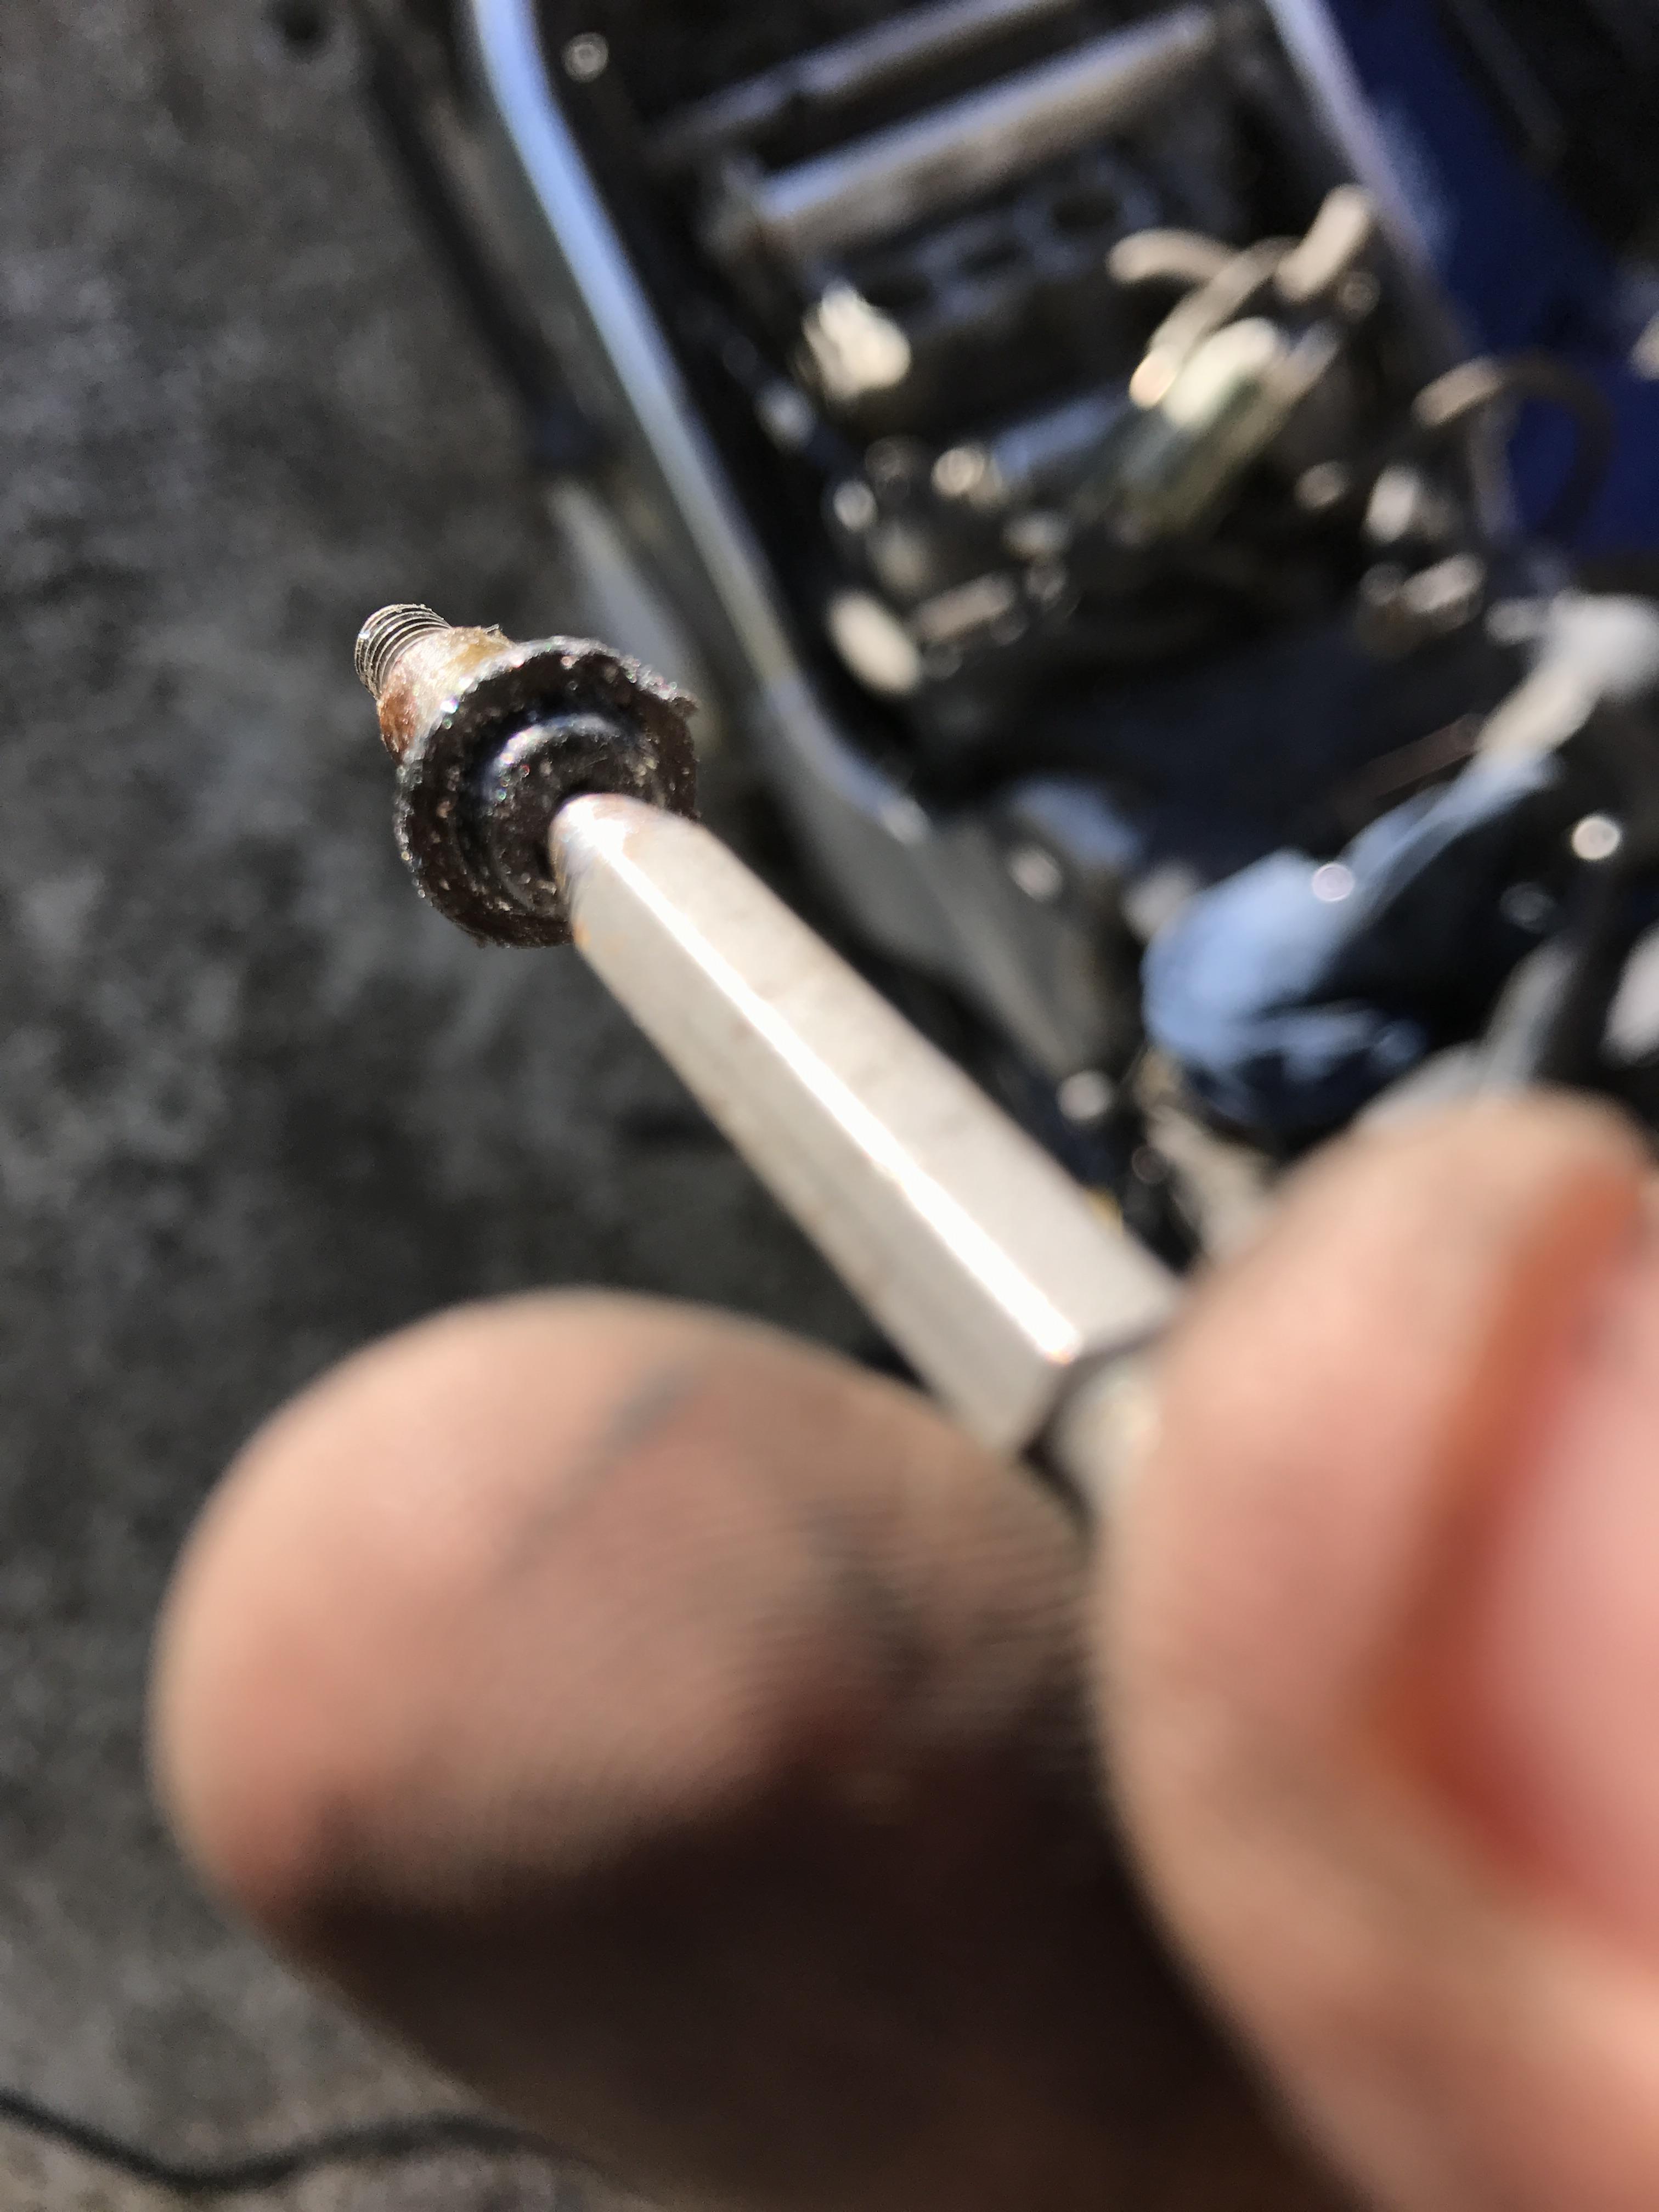
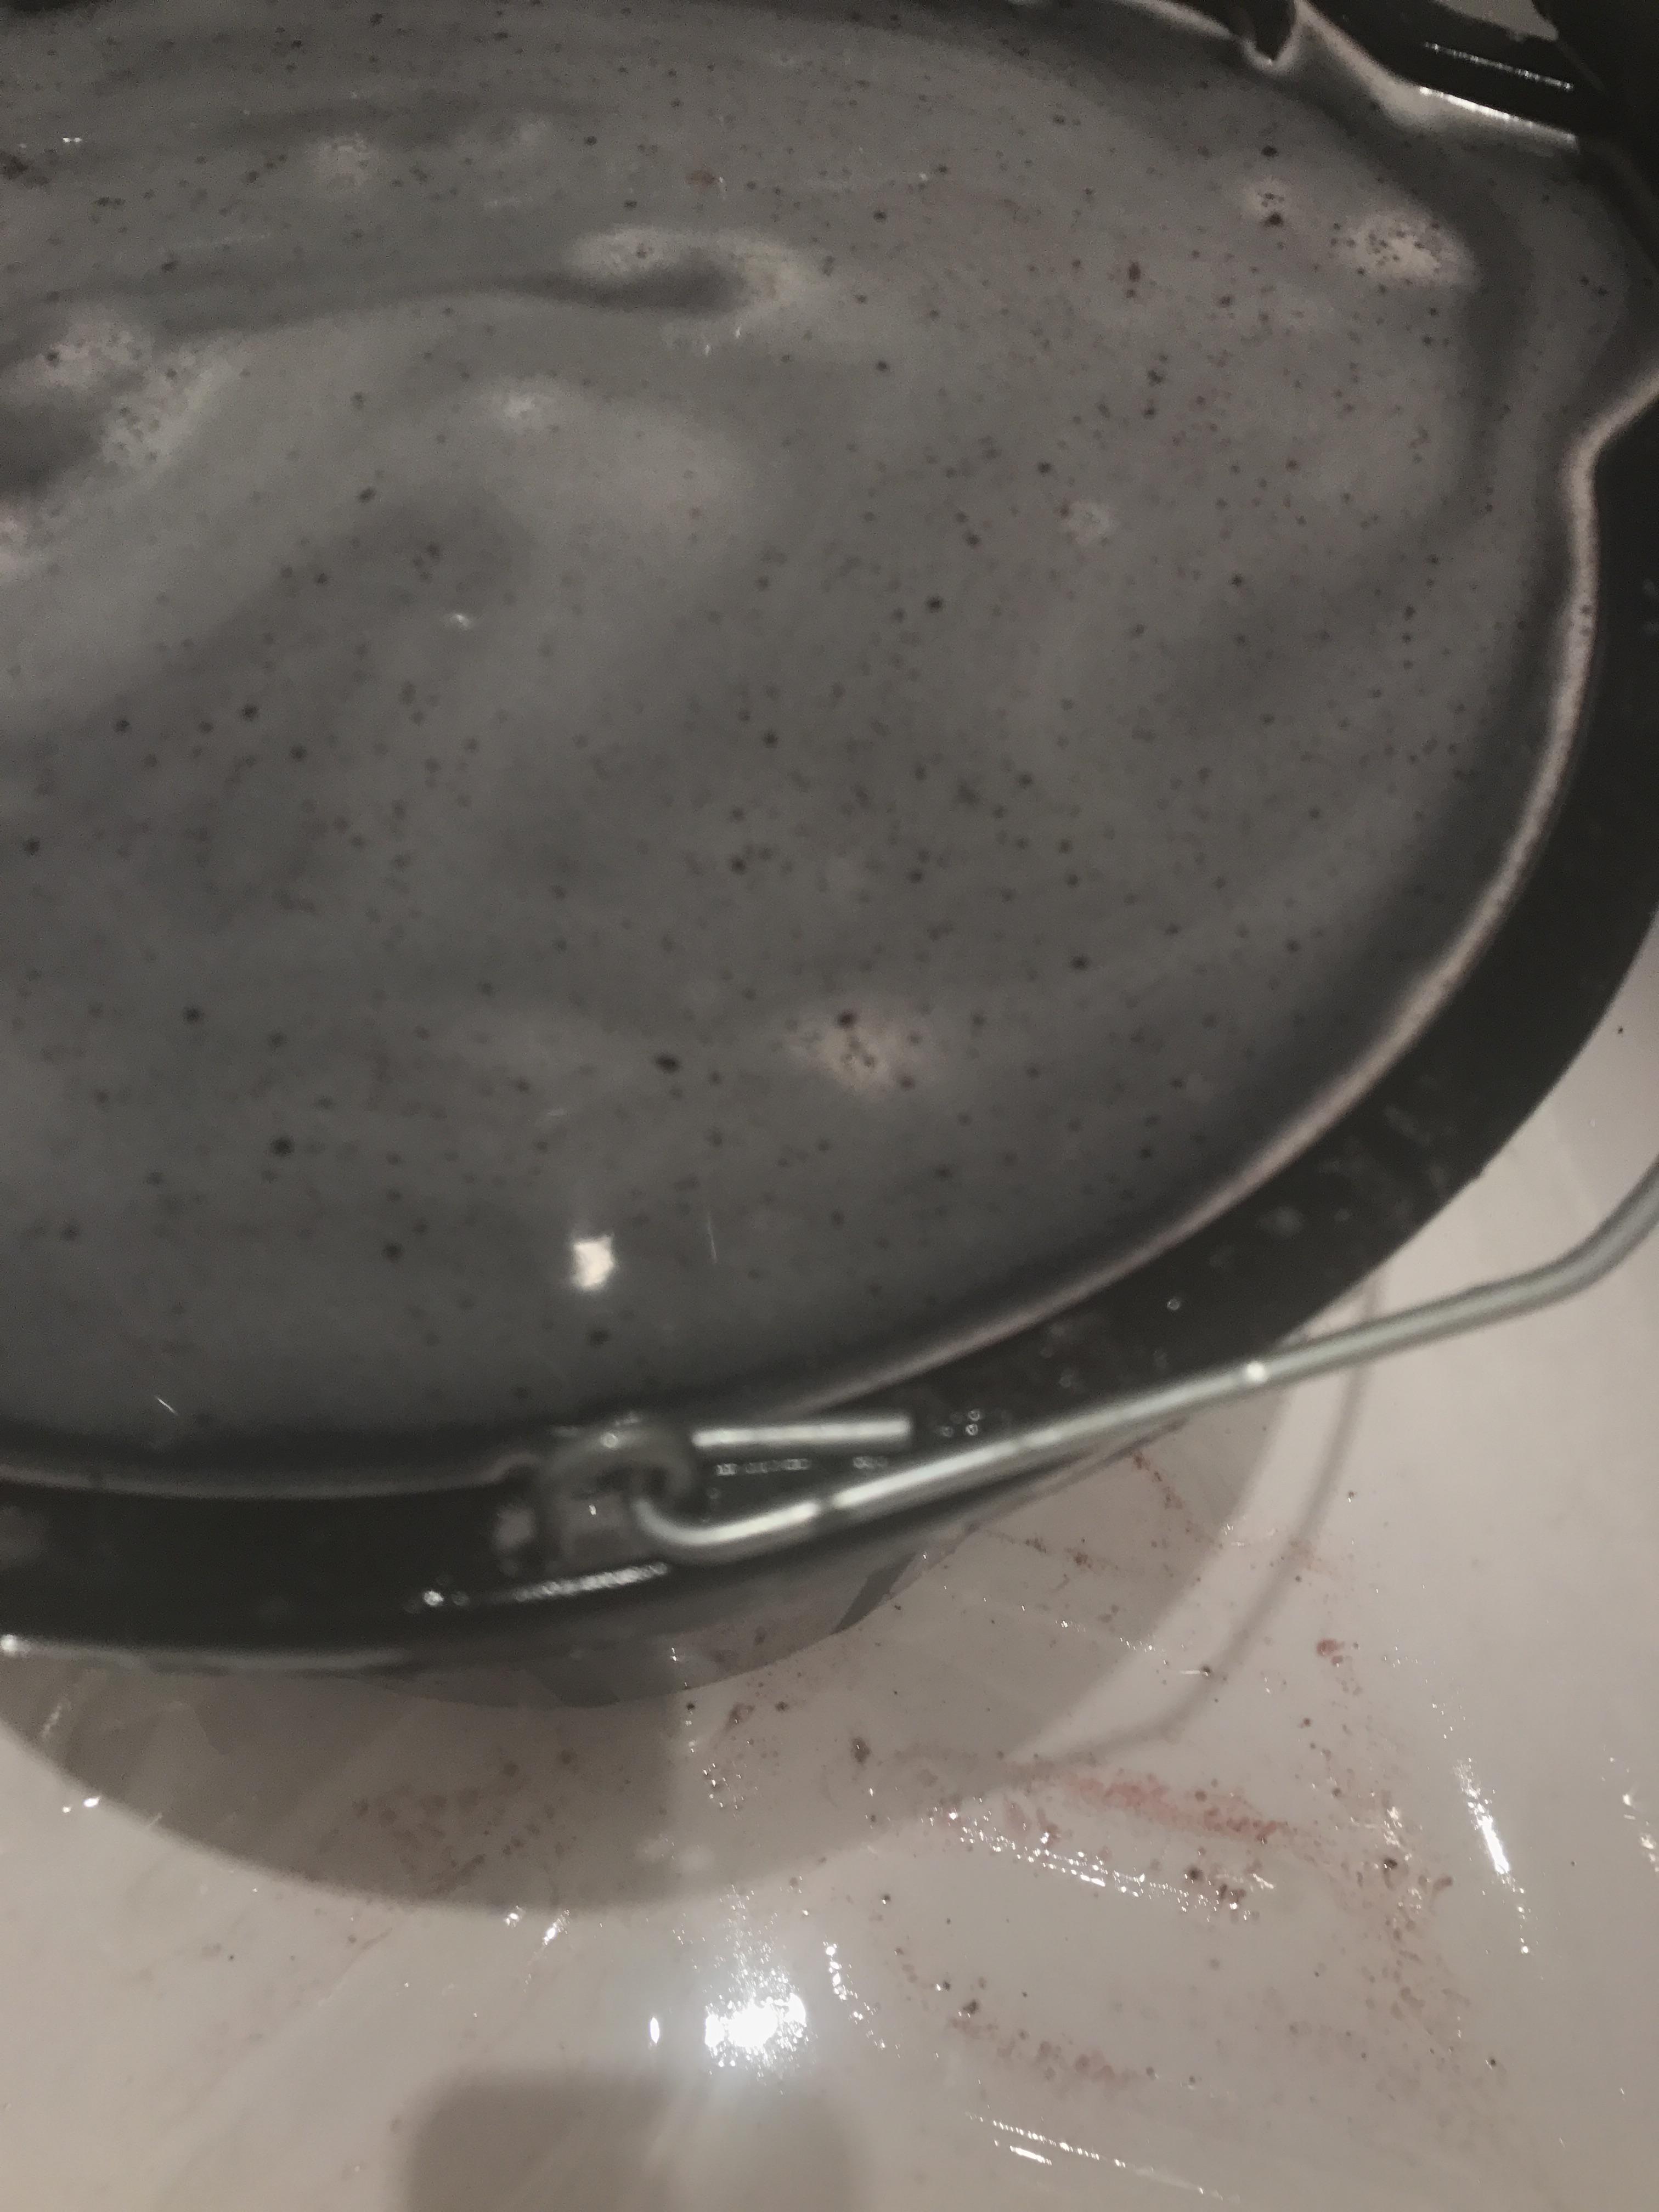
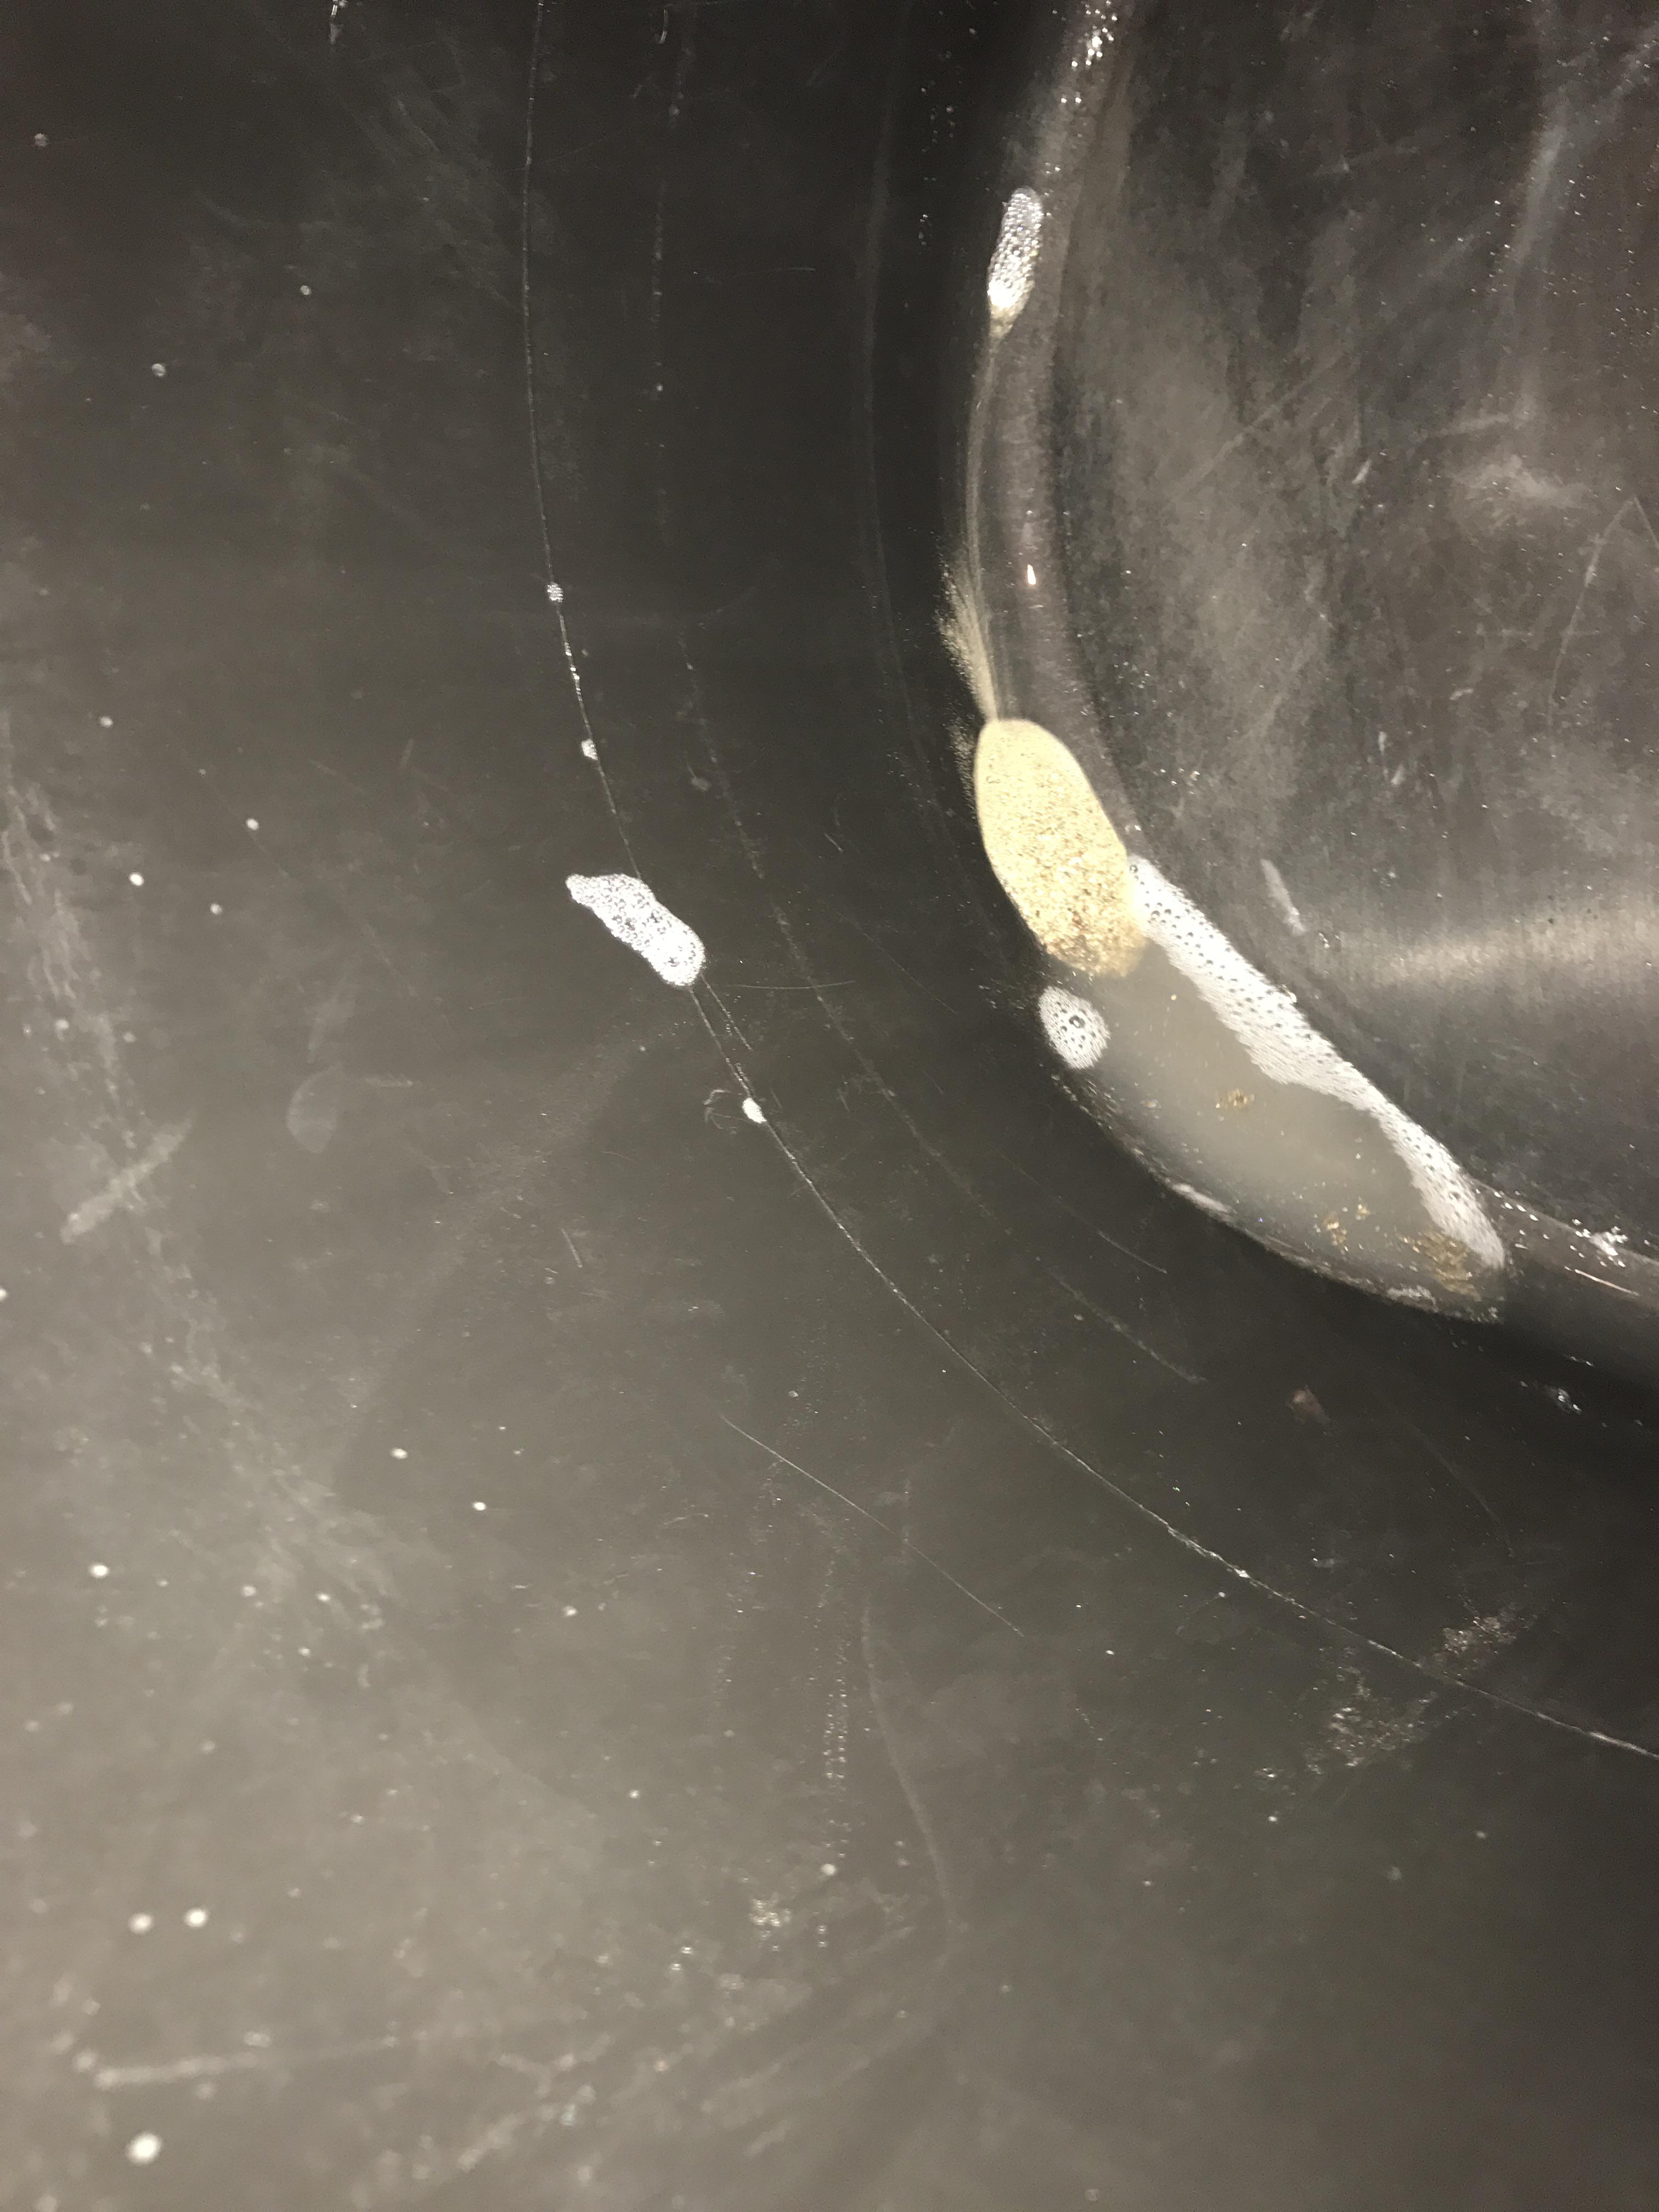
Hello All, A quick guide on how I refreshed a K&N air filter on the 5th Gen. This is not the only way to do it and may not even be the right way - it's the way I did it and it came out great. First you have to remove the tank and the air box cover. No pics of that but the front left screw on the air box was a b@stard. It's also usually the most rusted (exposed to salt spray) and most likely to strip, so go easy. I bought new stainless screws m5 x 20mm x 7 units panhead, if anyone is interested. Thats when you get the first look at your air filter. Mine looked like it had been there since the Ark touched dry land but I was pleasantly surprised to find it was K&N. I know many members don't rate these very highly and personally I wouldn't have installed it but this is a budget machine and rechargeable filters fit the bill. It it was loaded with crud and insects. Some of these bits had combined to form solid big chunks. Nasty! I also removed the velocity stacks and bottom air box housing to do a valve check (in another thread). They have markings on them showing orientation for reassembly. The stacks are held in by blind shoulder bolts one of which had to be drilled out. Used an old Travis Perkins bolt extractor to get it done. Having completely removed the air box I now turned to cleaning the air filter. First job was to turn it over and gently tap the edge so the loose bits could fall out. Then I ran a vaccum cleaner over each please to suck out whatever I could. Make sure you vacuum the top of the filter to lift dirt out the way it went in. Vacuuming the bottom gets dirt trapped in deeper. The amount of debris removed through these methods truly surprised me. Most of the grit was ingrained so I decided to wash the filter in warm water with liquid laundry detergent. Yes, laundry detergent. The filter media is a cotton gauze and can be washed with the same stuff as your cotton under-crackers. Liquid is is better than powder detergent because the latter sometimes gets stuck in the fibres whereas the former is completely dissolved and washes out. I let it soak in a strong solution for a couple hours, throwing some dishwash soap in to dissolve the greasier bits. This is the cr@p that washed off easy. This is what floated to the surface during the soak. Best way to get rid of it is to overflow the bucket and the crud spill out over the top. Otherwise you lift the filter out of the bucket right through the dirt you just removed, thereby reinserting it. This is what sank to the bottom of the bucket and looked like dense, dirty beach sand. Then the filter was hosed off in the shower (don't tell the missus) and immersed in a fresh bucket of soapy water. I got a soft long-bristle nylon brush and set to working it along each pleat with soap, gradually loosening more crud. Between the gentle brushing and tapping this is what came out. The other filter belongs to my other bike. Thought I'd do them both at once. With the oil and dirt removed the filter took on a dull grey appearance. I was pleased with how clean it came out and inspected it closely for any hidden trapped dirt. There was none so it was left to dry overnight. The next day I applied genuine K&N oil pleat by pleat using their squeezy bottle applicator. Some say it is just normal ATF, and they might be right, but I'm not clever enough to know for sure and it wasn't exactly expensive so I used the real deal. This pic shows the difference between oiled pleats and dry grey pleats. When the first side was done I flipped it over and started again. Note how I am halfway through on the second side and you can see some oil from underneath seeping through. Some say if you leave it 15 minutes it will soak throughout but I thought it was still a bit too dry so applied oil on both sides. The final pic shows filter fully oiled. It still had some dull spots but those got redder after a while when the oil wicked through. Hope this helps people doing the same thing out. I'm no expert but believe any rechargeable filter could be done the same way. Just remember that dirt is removed the same direction it went in otherwise you're driving it further into the fibres. Stray