


2FAST4U
-
Posts
559 -
Joined
-
Last visited
-
Days Won
3
Content Type
Forums
Profiles
Gallery
Blogs
Downloads
Events
Posts posted by 2FAST4U
-
-
Some places get it and some places don't.
Here's an excellent example of one that doesn't: If you look on cycletrader right now, there's a dealership in Oregon that's got a new 2010 VFR1200 on "clearance" for $17,499. Don't believe me? Look it up.
-
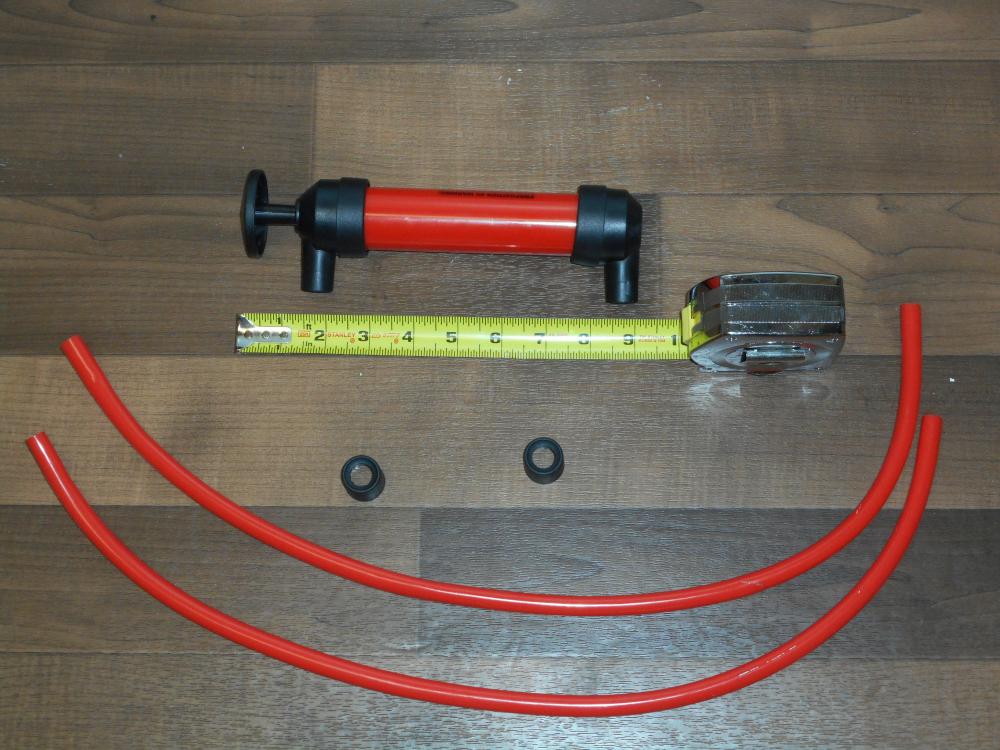
This is a self-priming siphon I bought at Lowe's for $13. It weighs next to nothing and, as you can see, it's only 9" long. The hoses are flexible and take about 10 seconds to fasten onto the pump. If you go on 1/2 day or all day rides with a group, it's handy to have.........just in case. It works well.
Put it in a plastic shopping bag and into your backpack, tank bag, top case, etc.
-
@Doc4216
I'll tell you what you will want to miss: The gas station. The sole gas station in Big Sur sells 87 octane for $7/gallon. So that you don't think you misread that, I'll spell it out: SEVEN DOLLARS PER GALLON.
Disclaimer: At least that's what it was 6-7 months ago.
-
@Marsman99
I've never said or implied the DCT was a bad bike. I simply stated that I personally prefer the non-DCT. Since I didn't state the reasons why, I'll do it here:
1) The DCT accelerates noticeably slower
2) The DCT is more expensive
3) The DCT is heavier
4) The DCT's MPG isn't as high
5) When I'm driving a car, I prefer an automatic transmission; however, when it comes to motorcycles, I prefer manually shifting gears
I think I'm hardly alone: The non-DCT has outsold the DCT 2:1. In any event, I'm glad DCT owners like their bike. It's just not for me.
-
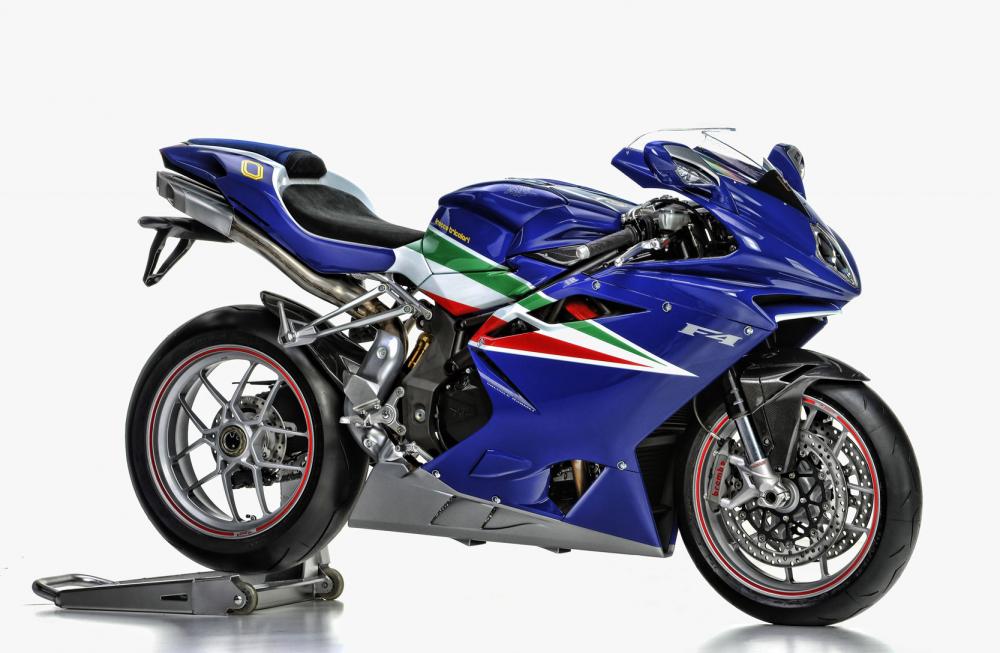
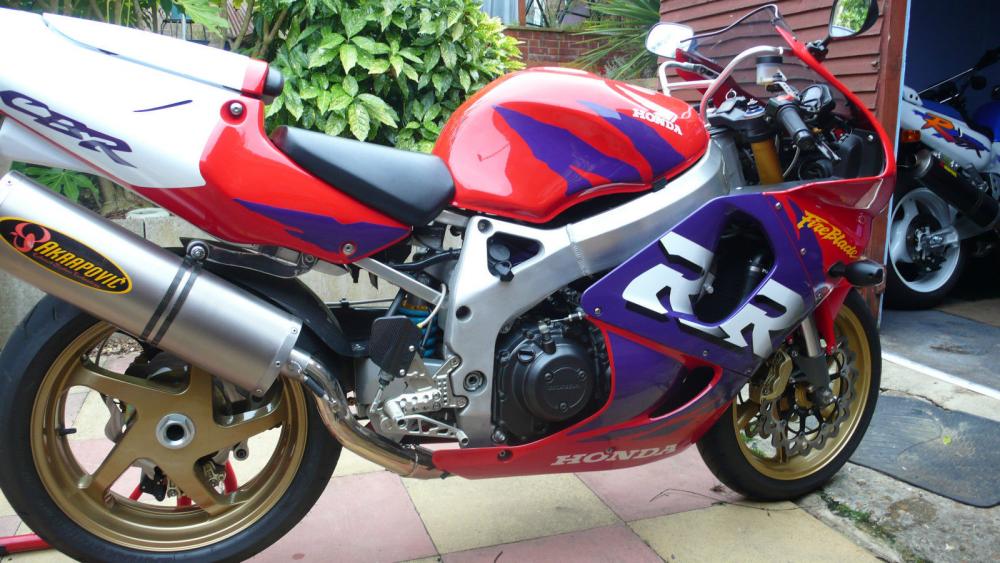
This one's my favorite. Not only do I like blue but it looks tasteful and doesn't scream "look at me." I don't like attention and some of those other bikes have colors, graphics, etc. that are too loud for my personality.
-
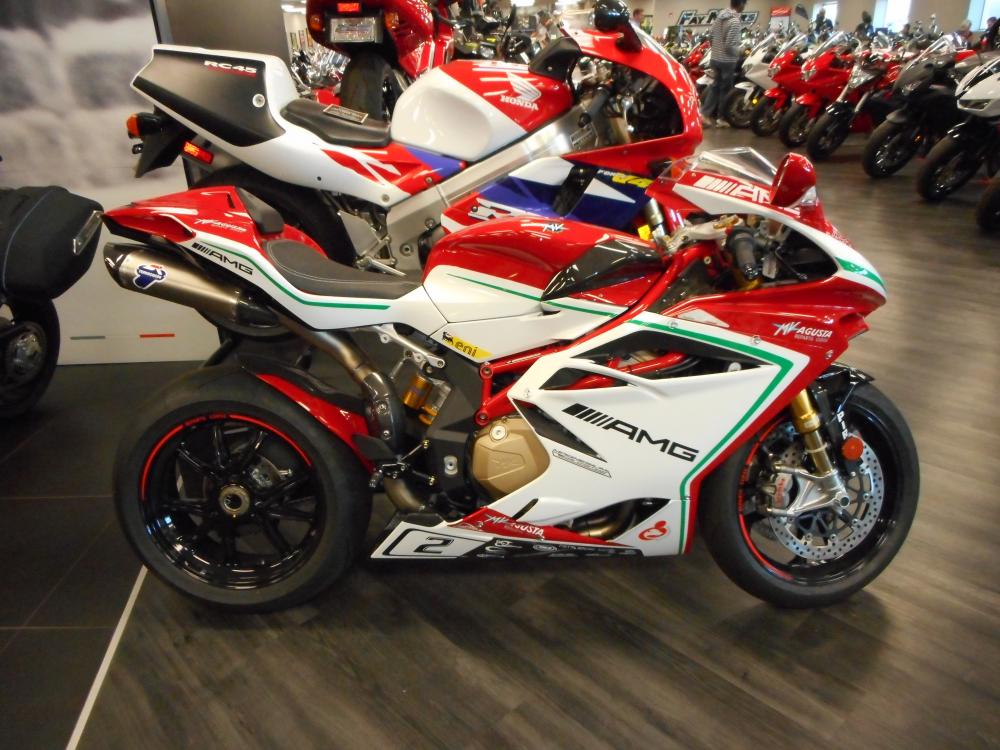
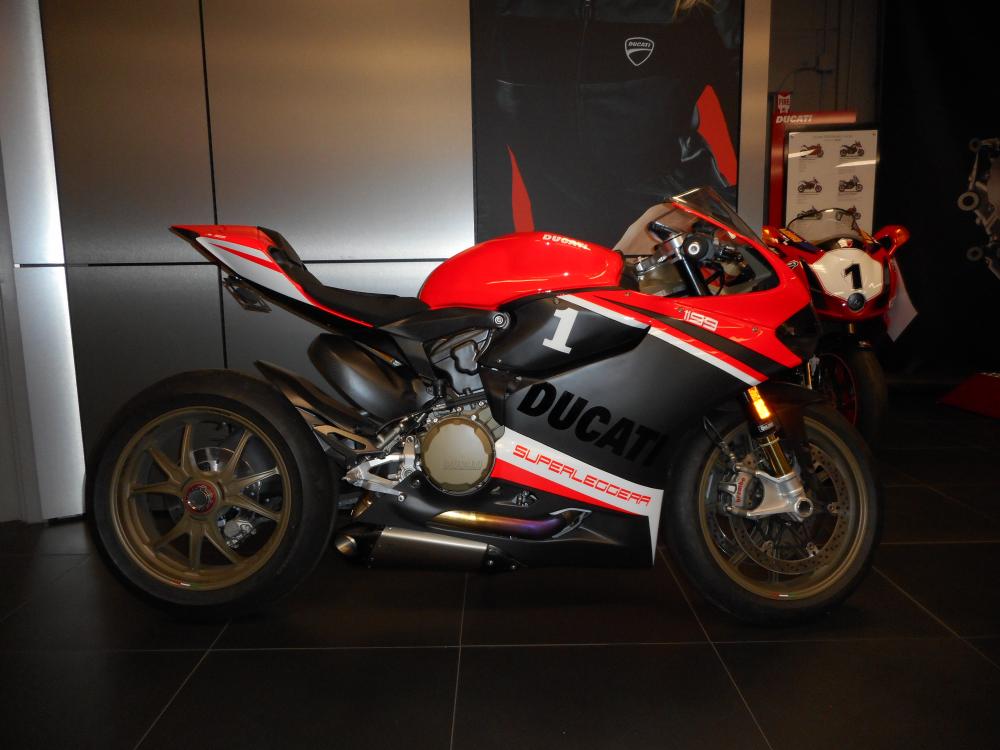
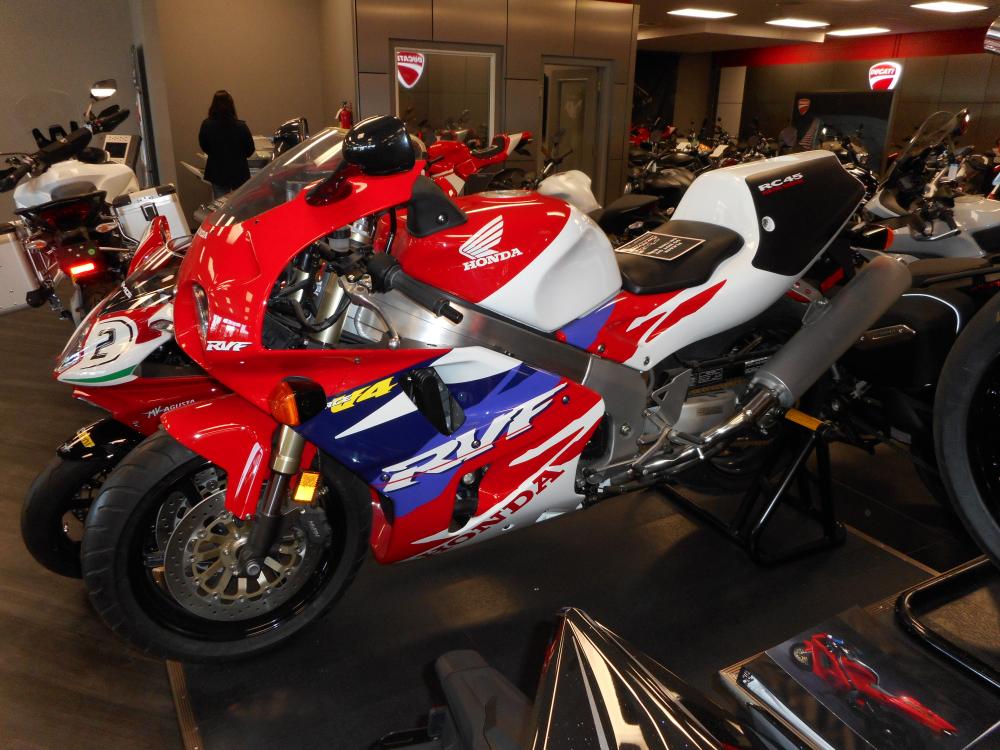
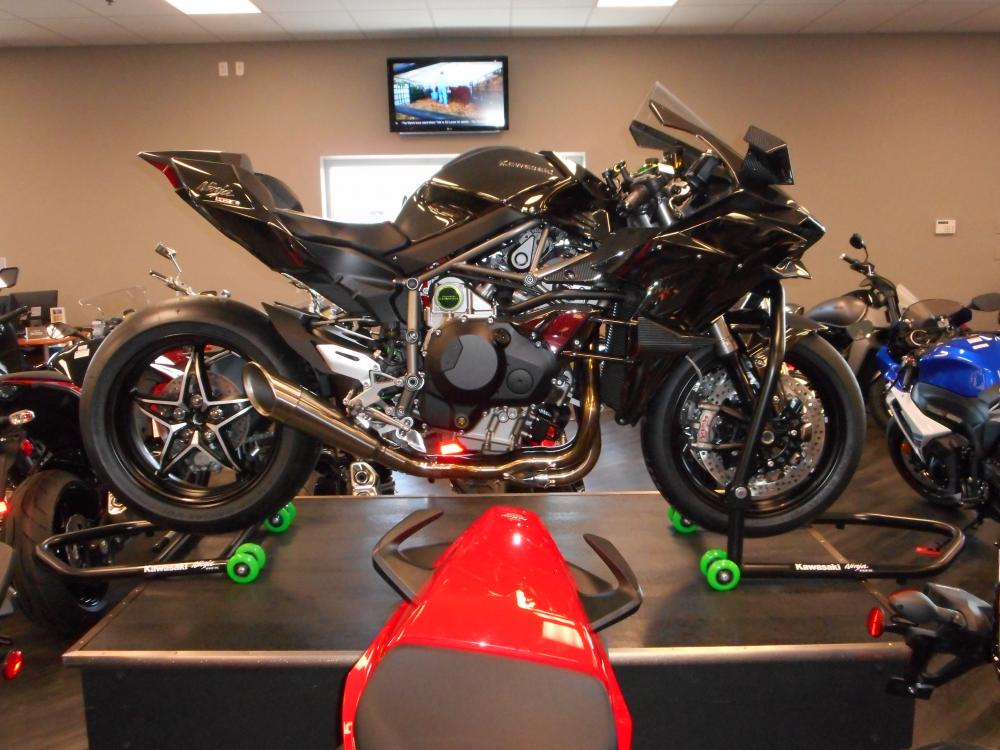
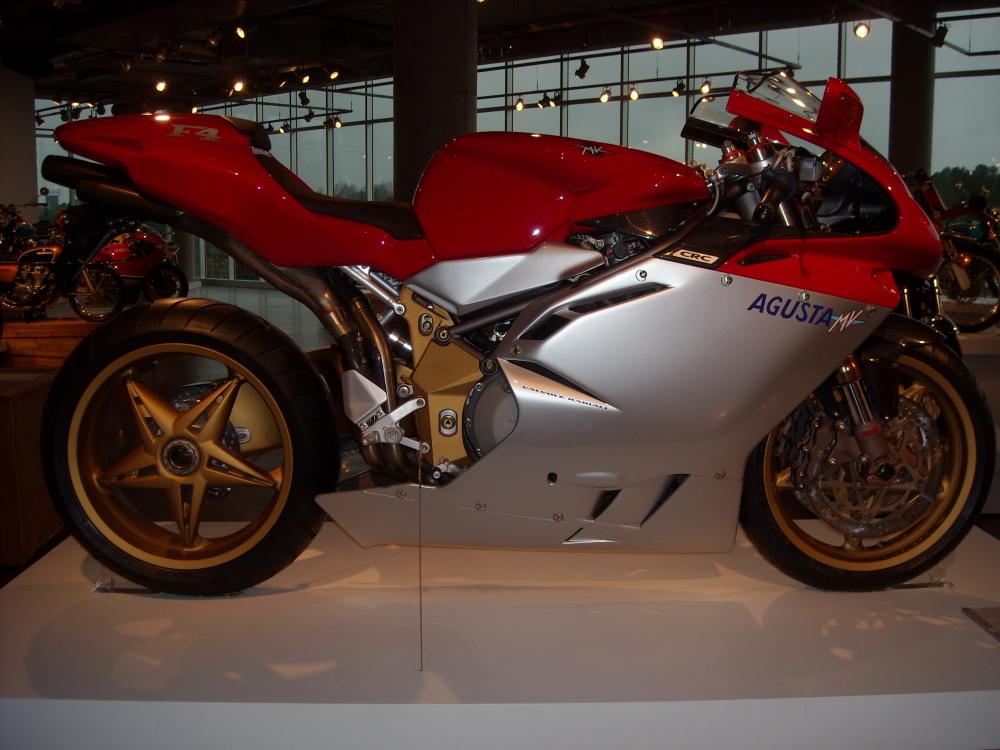
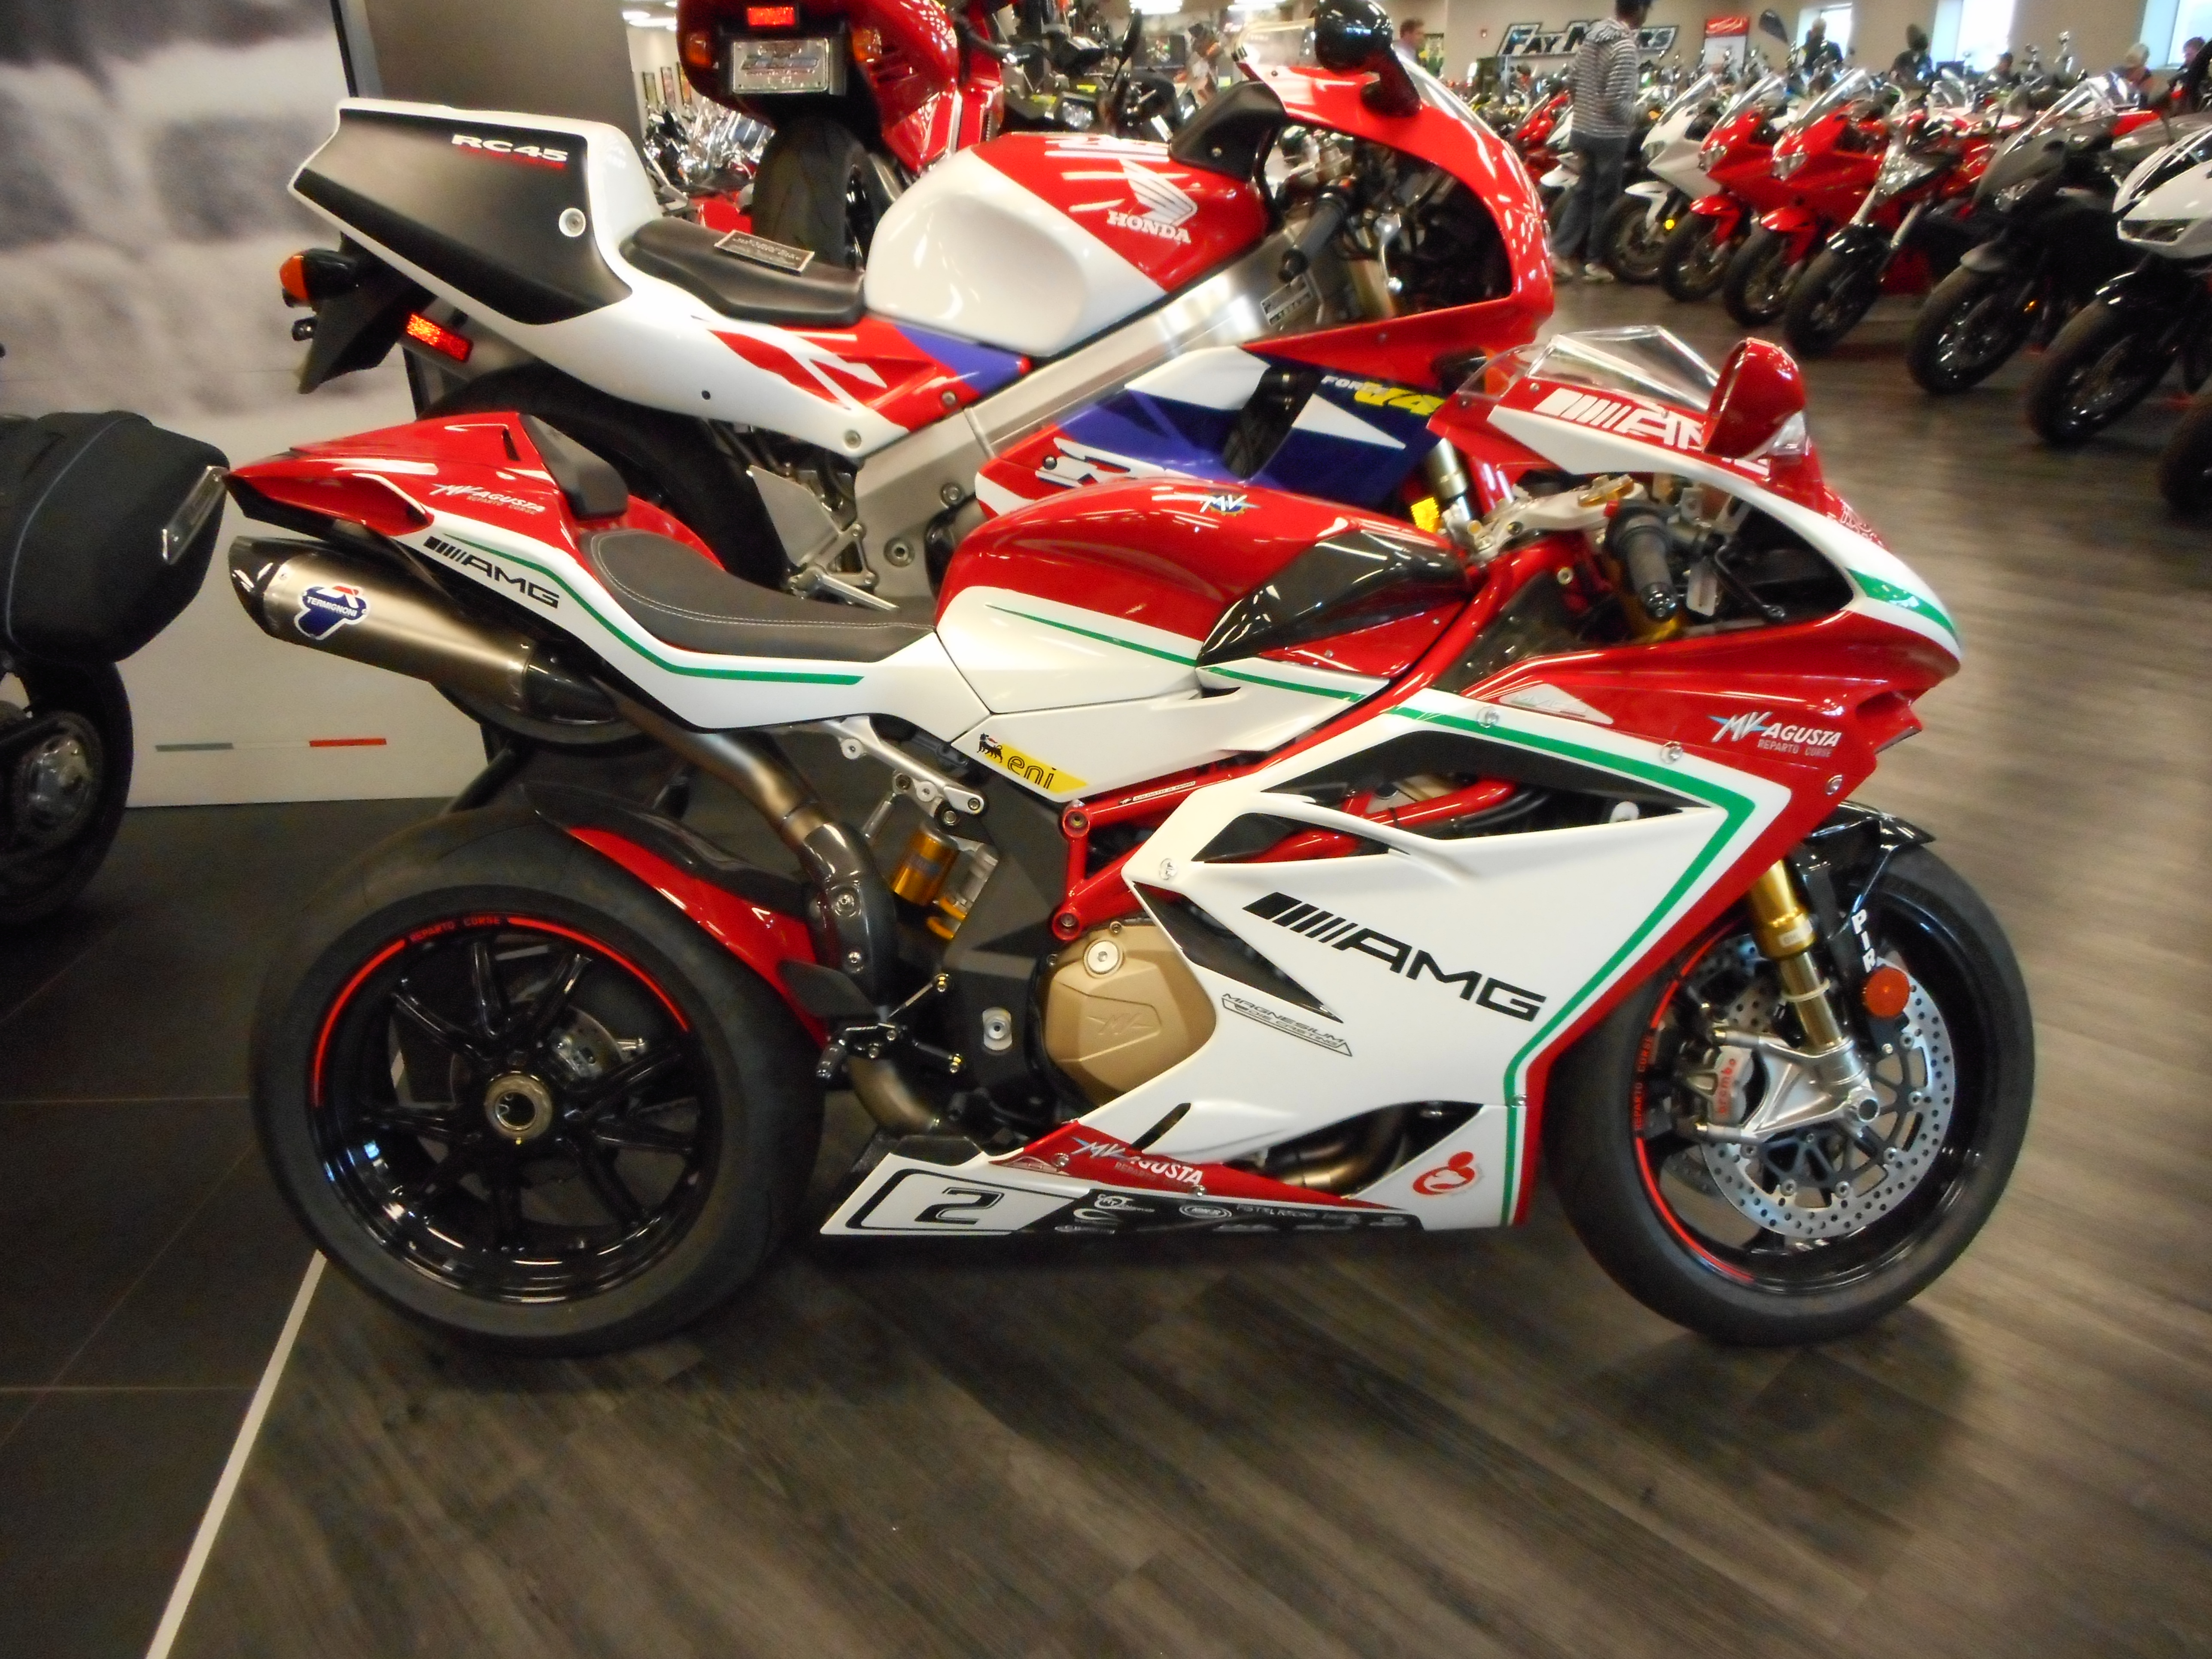
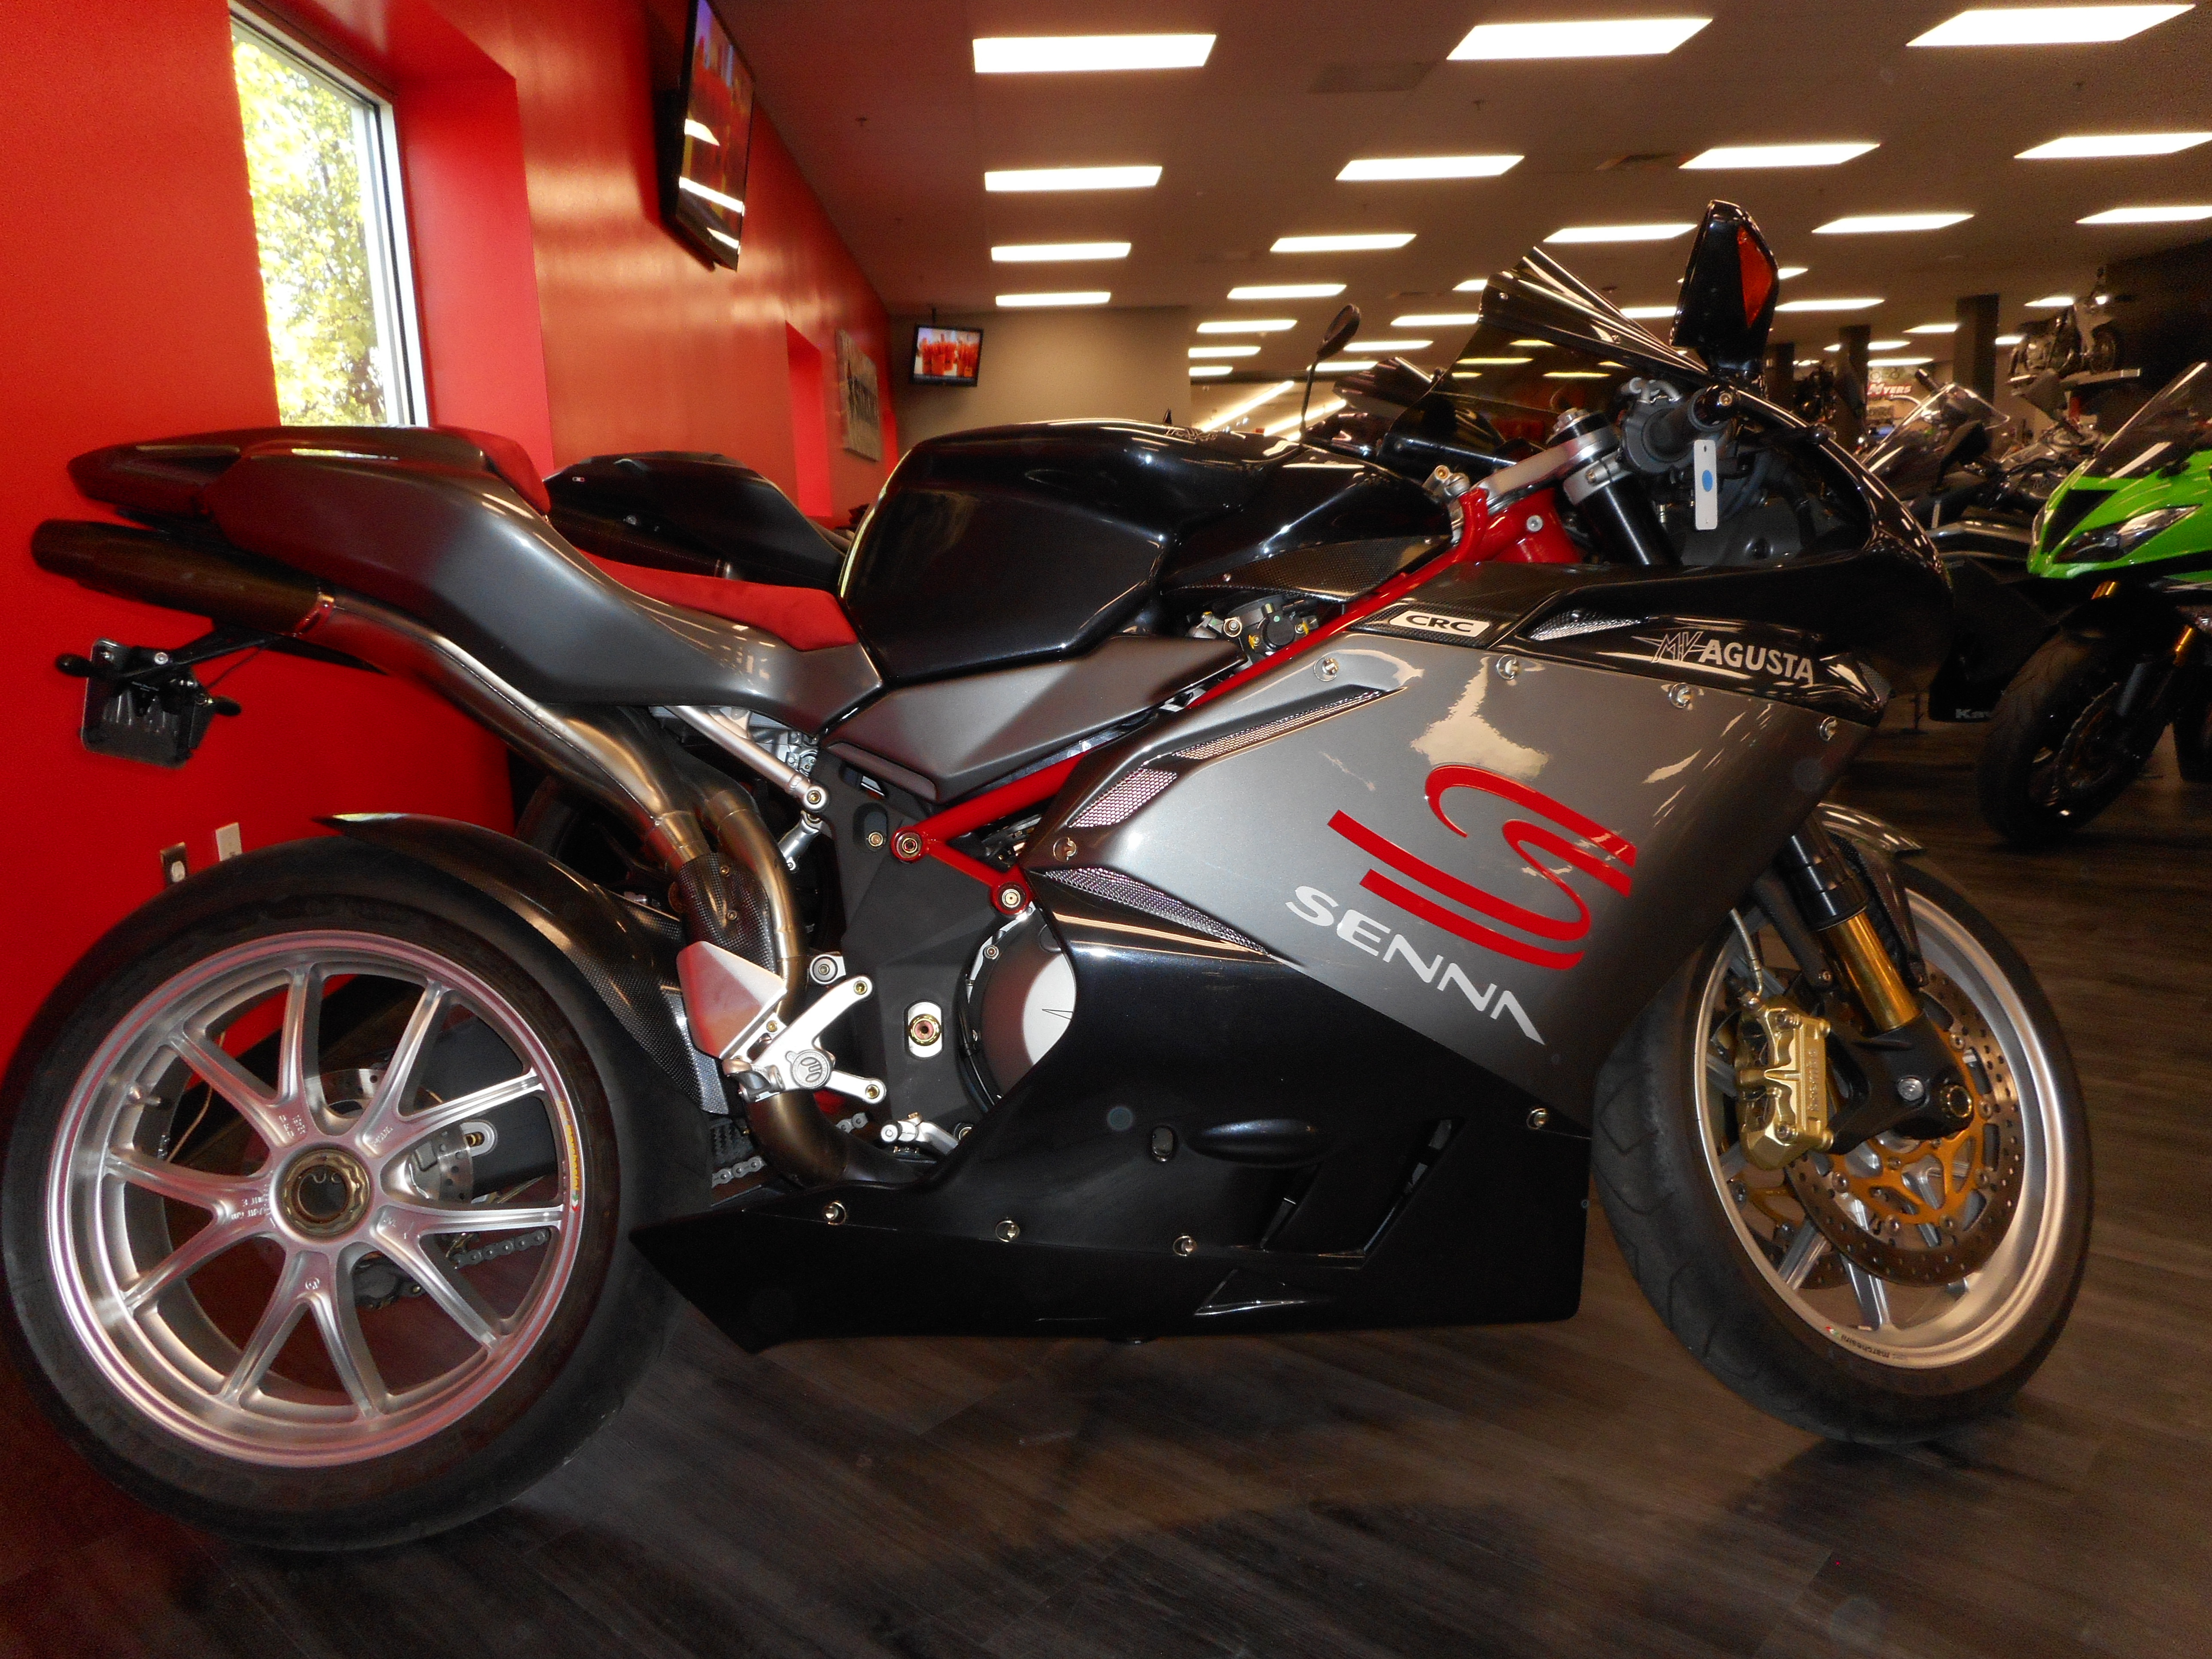
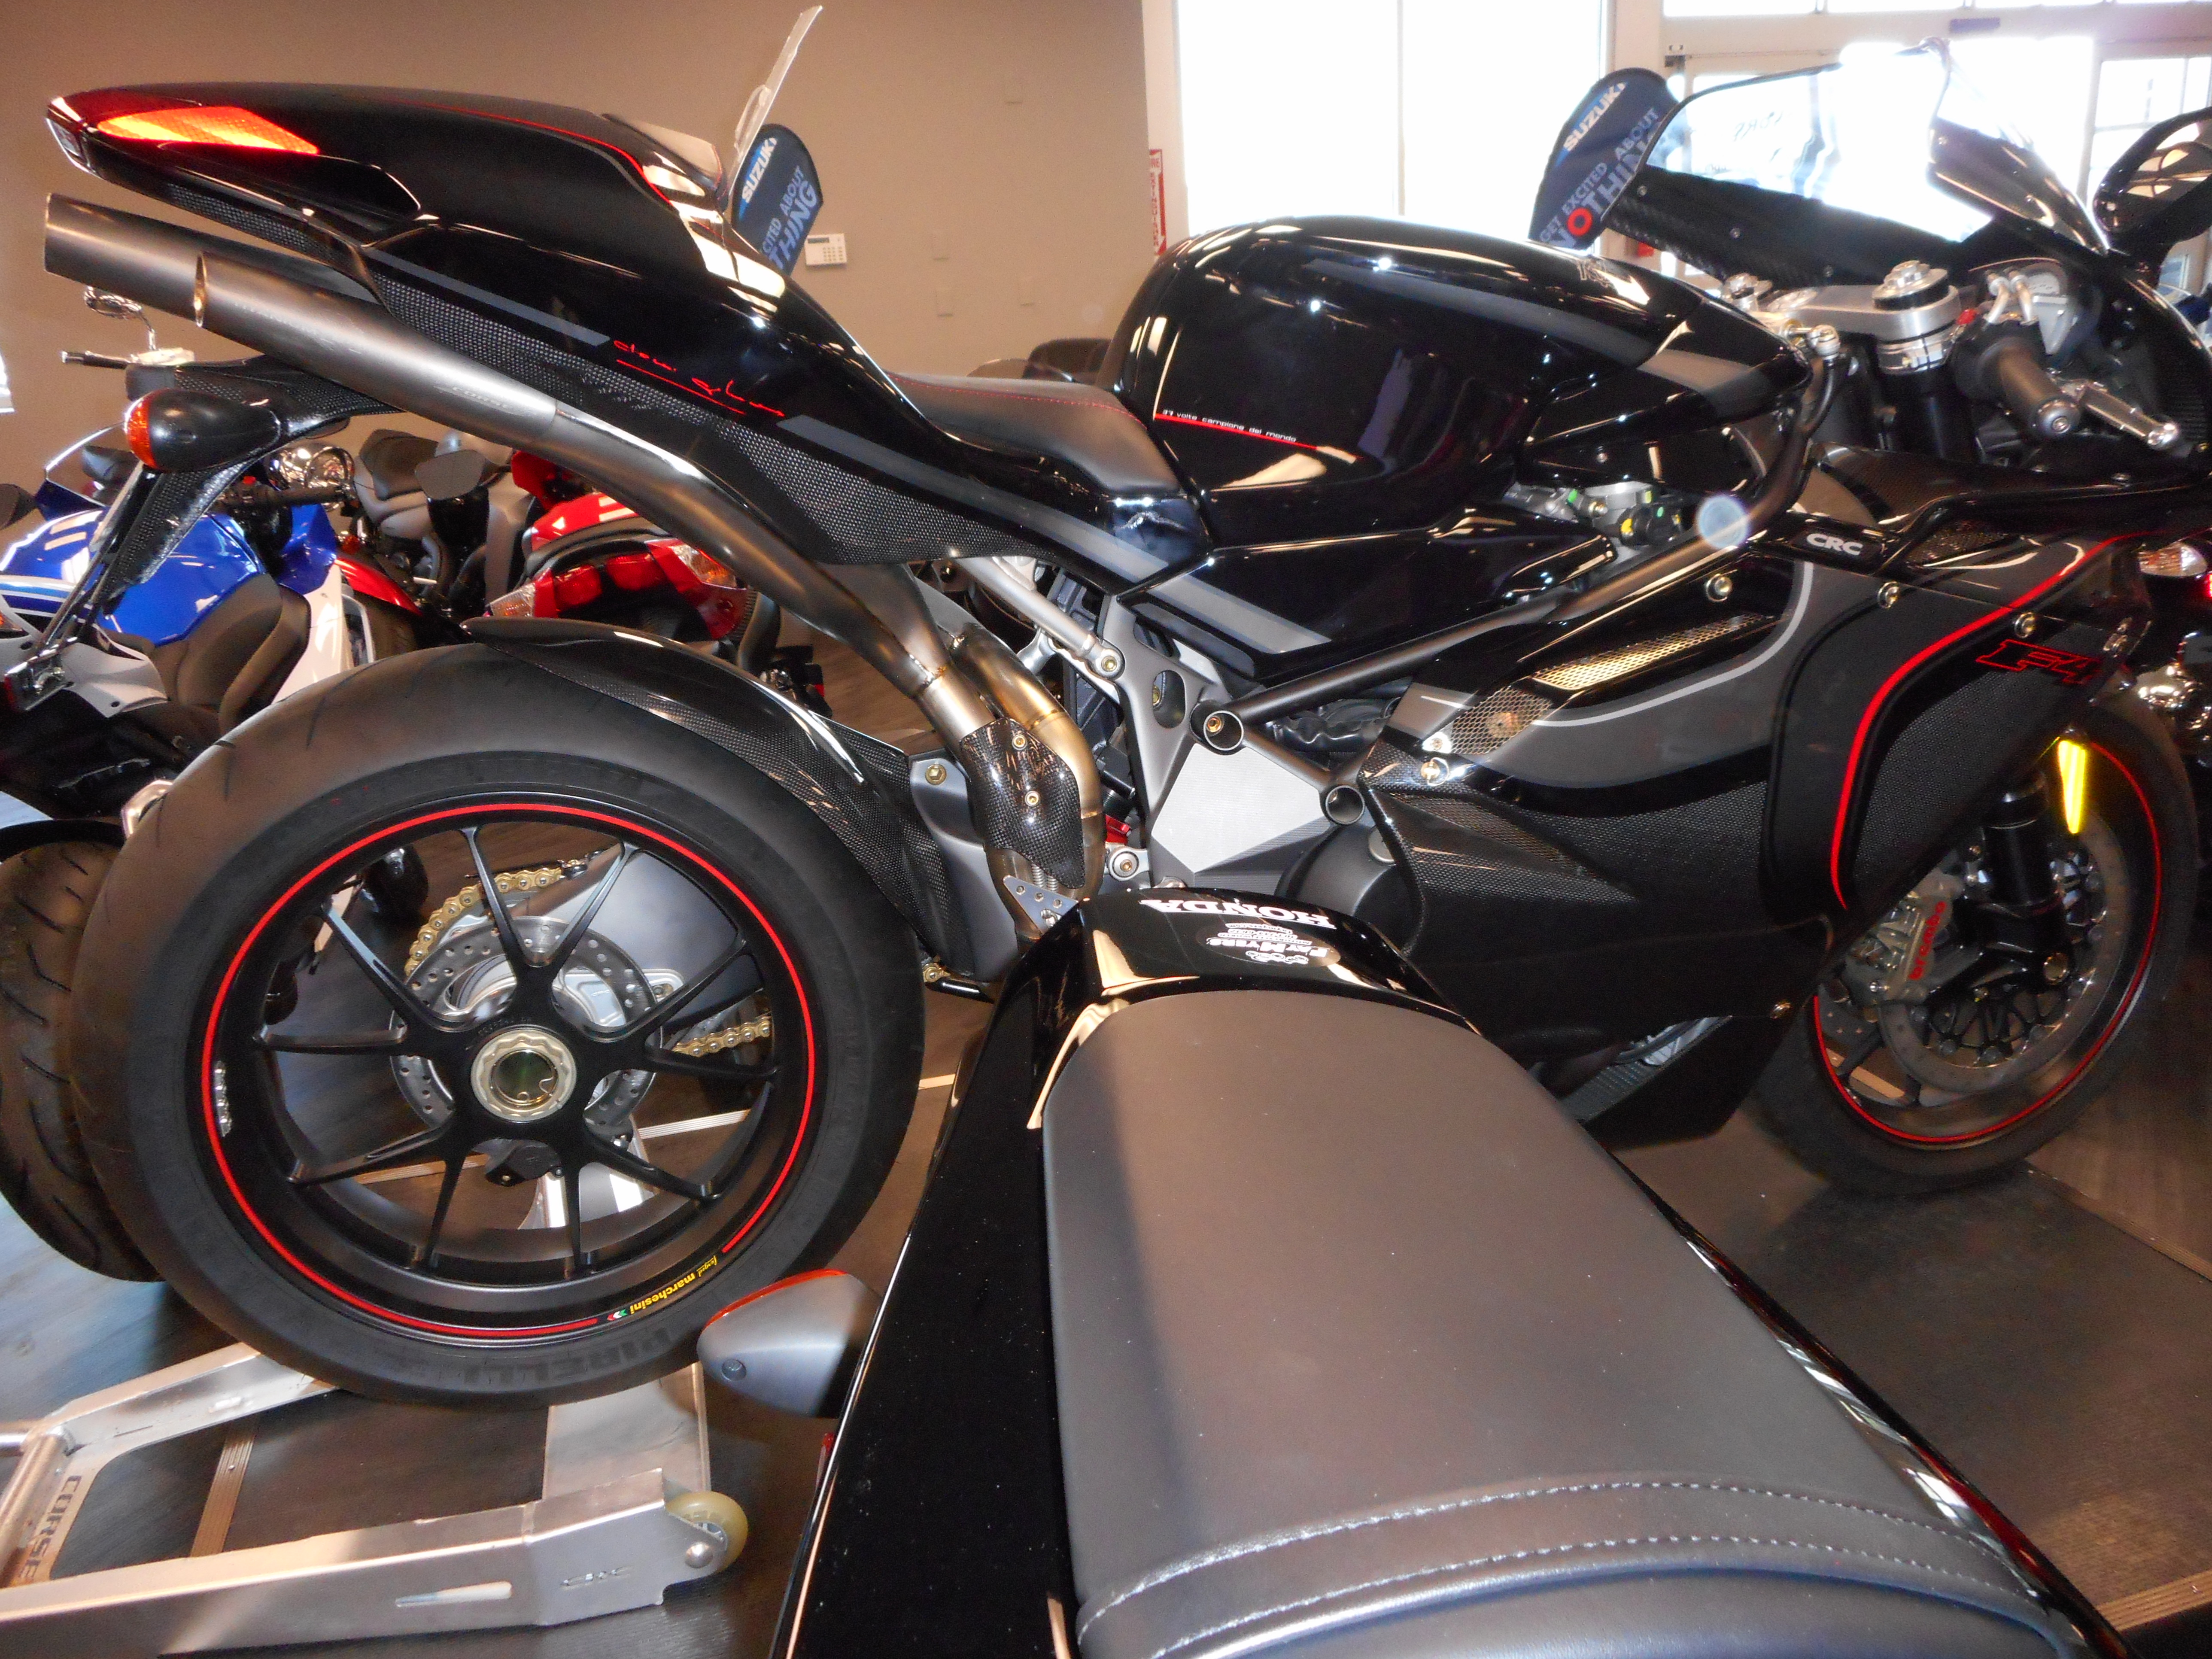
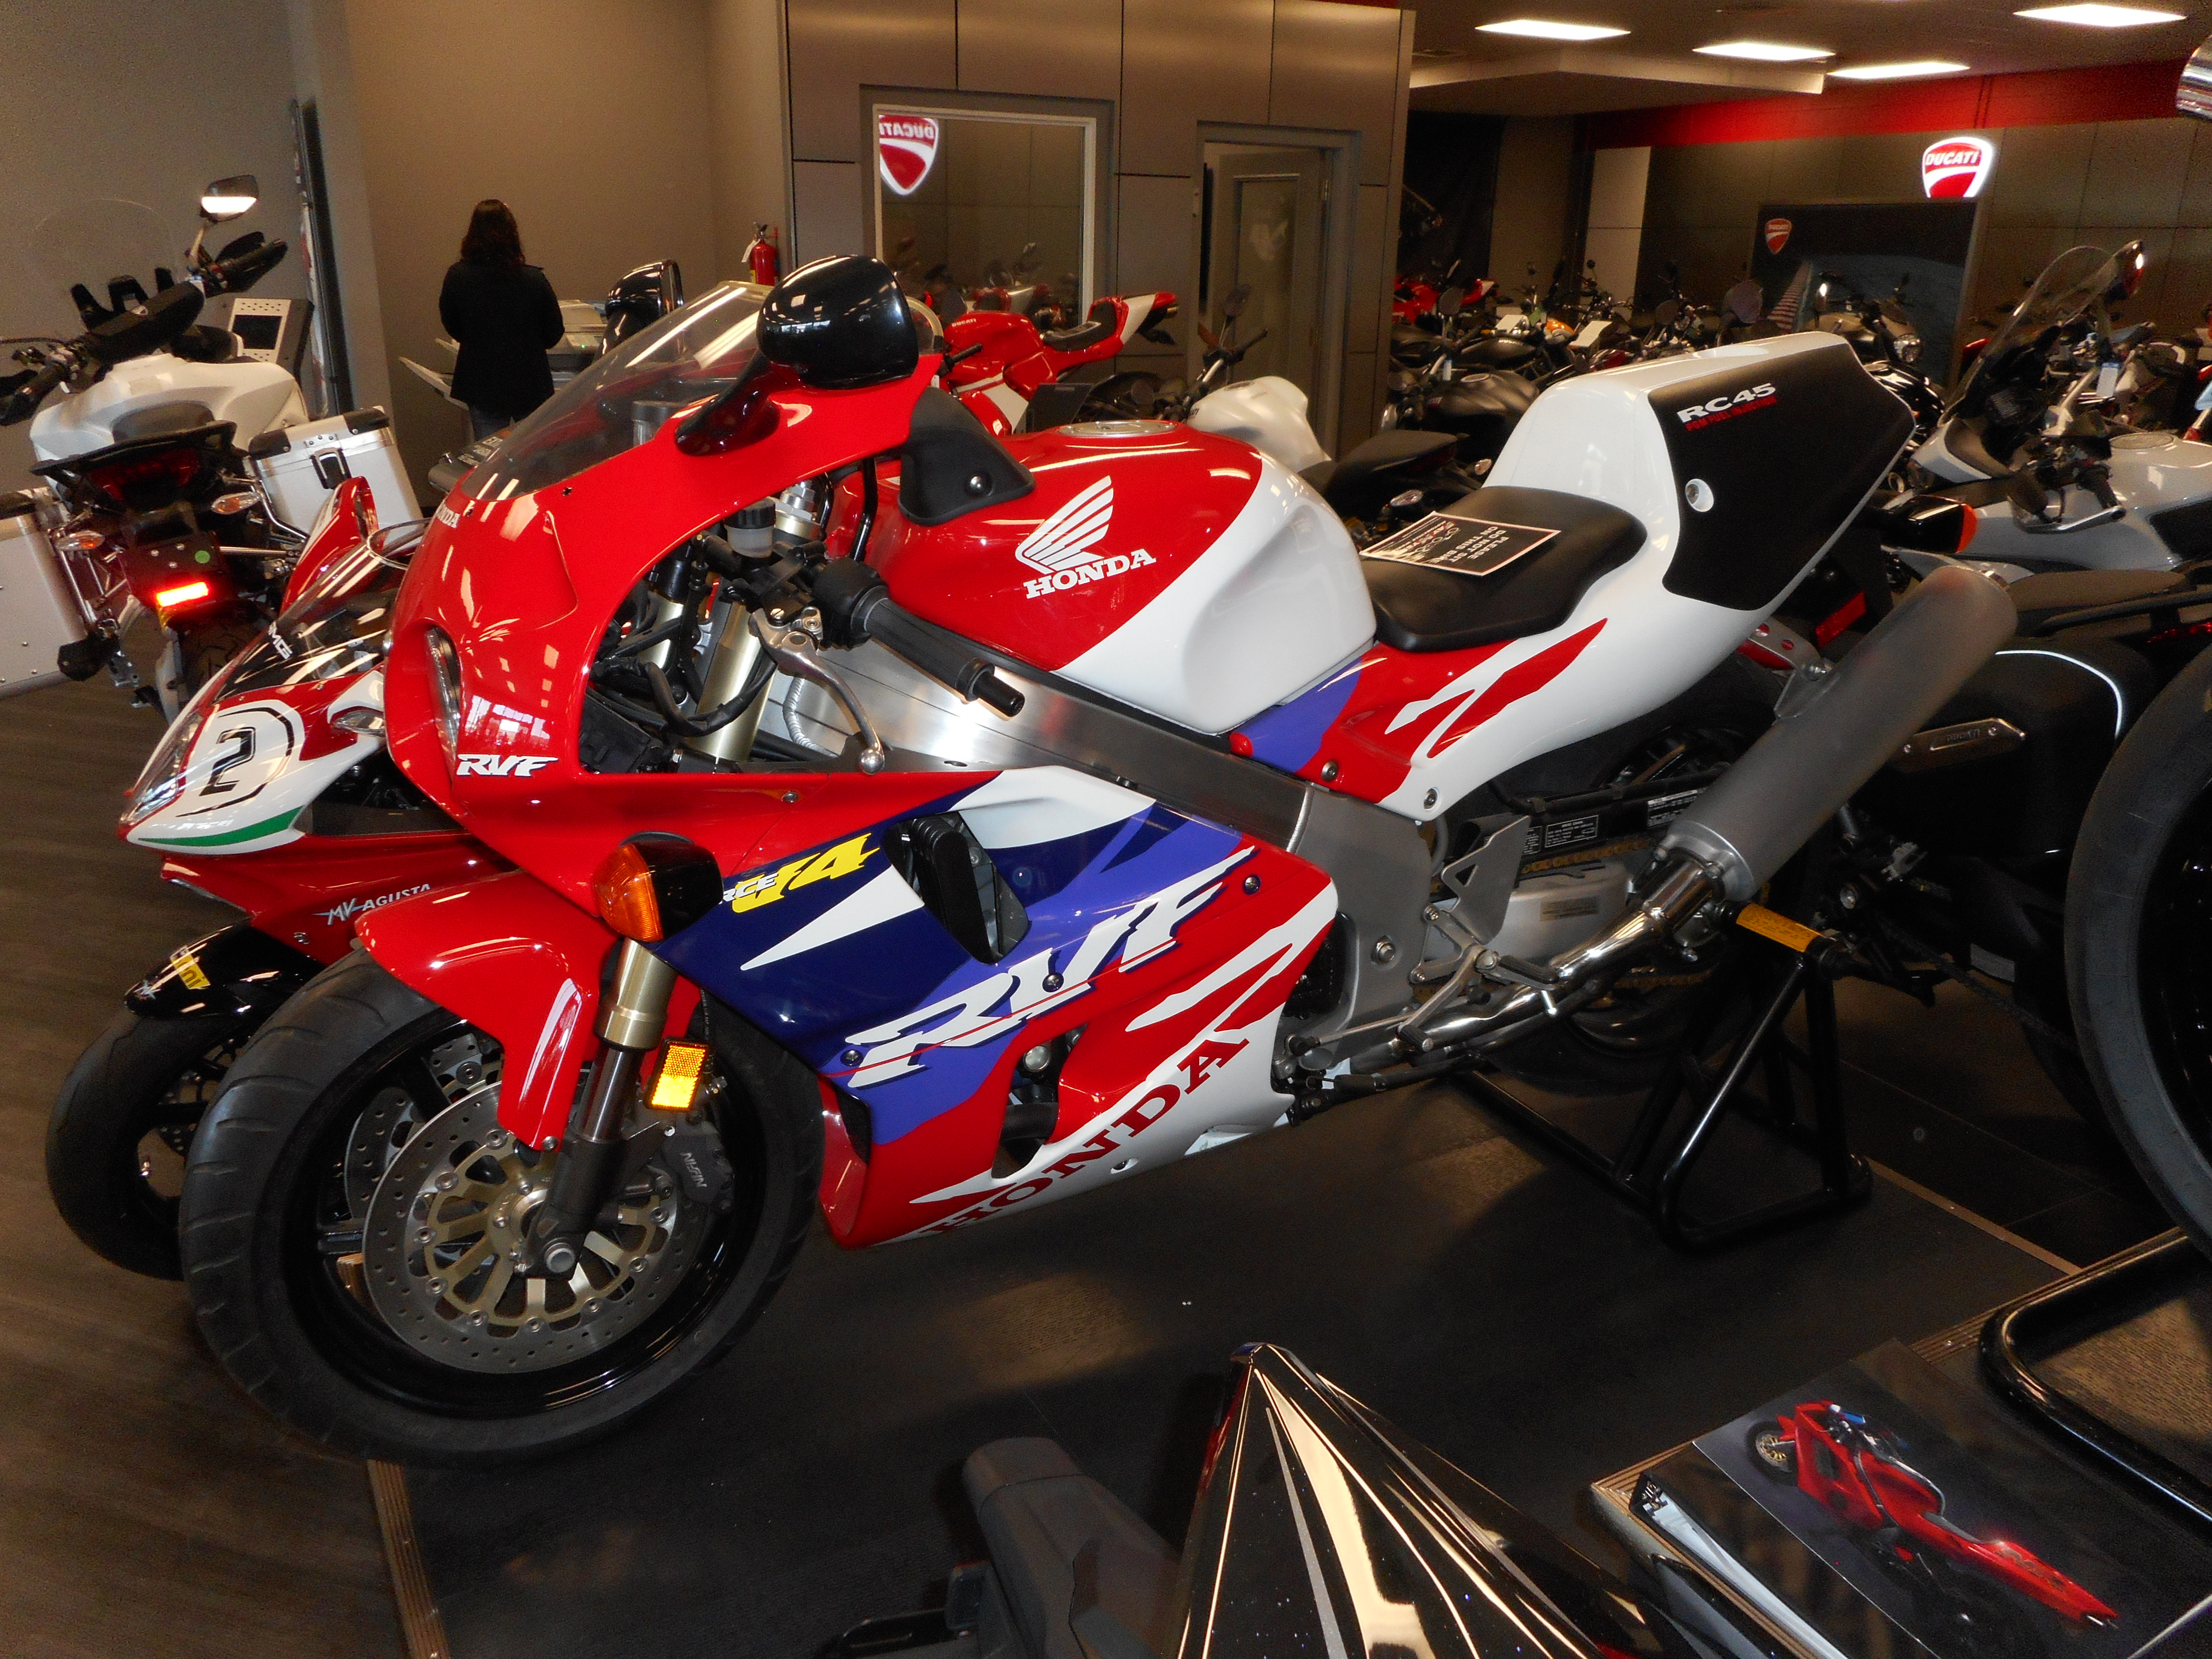
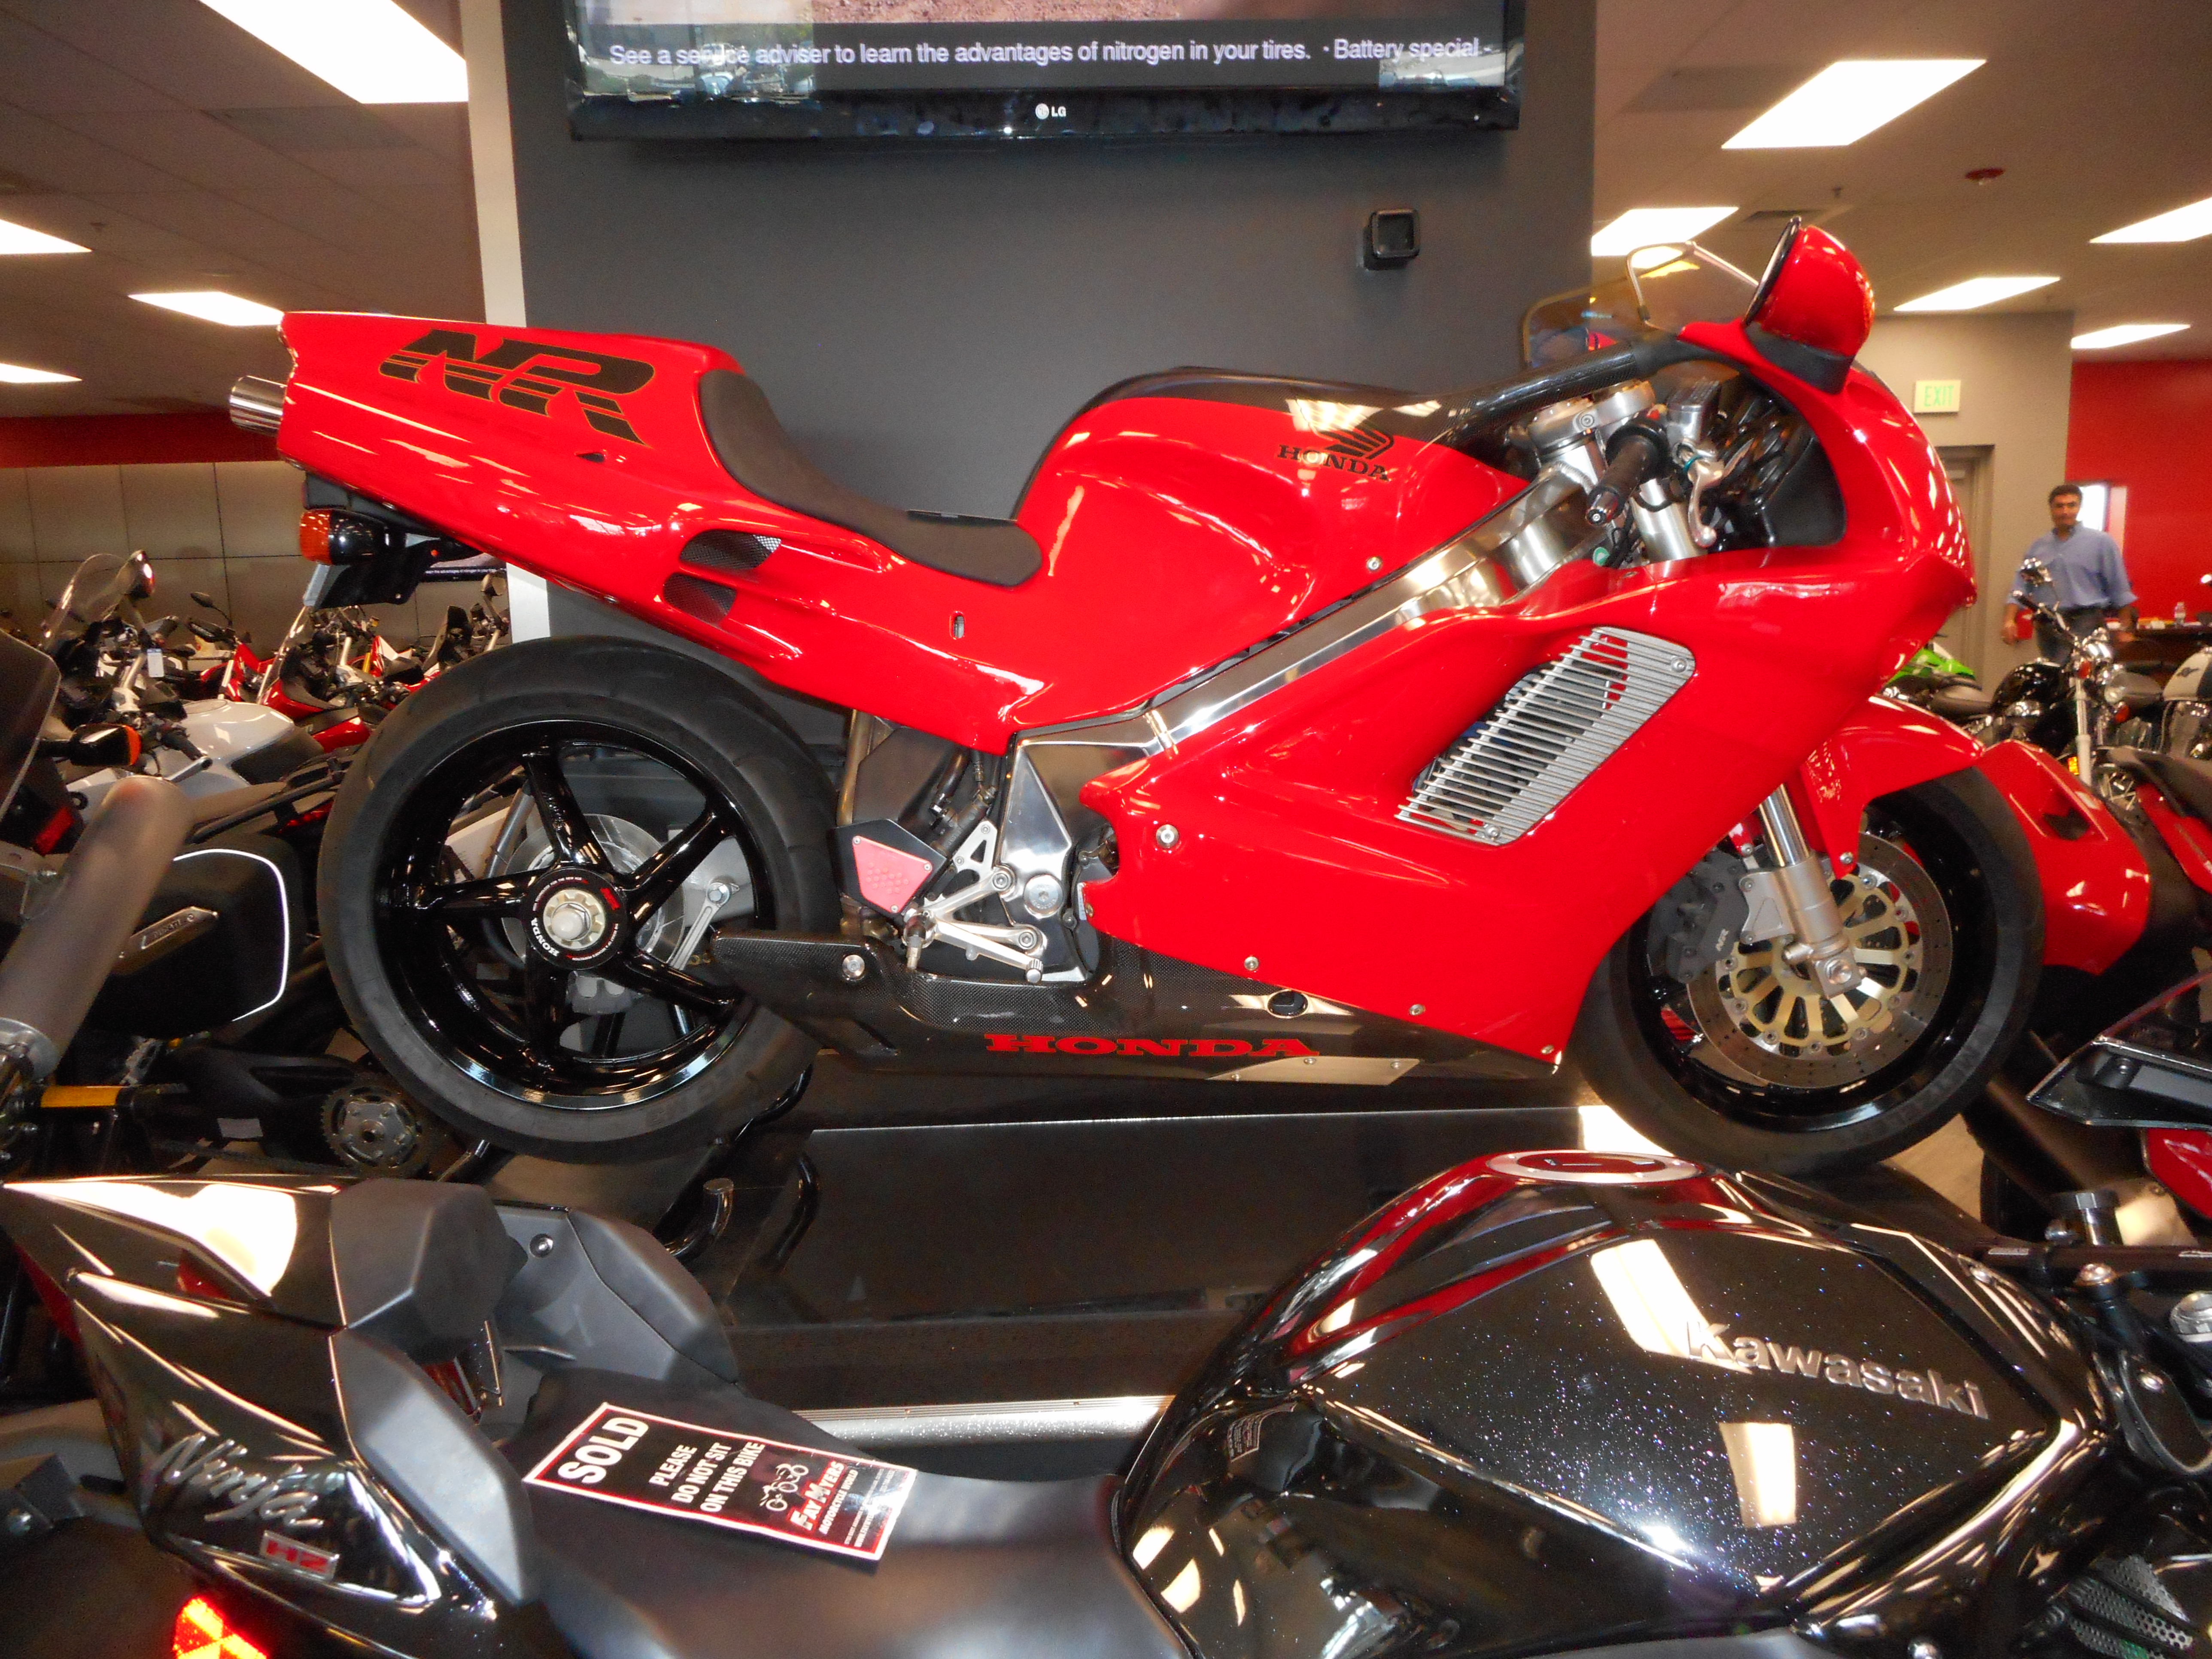
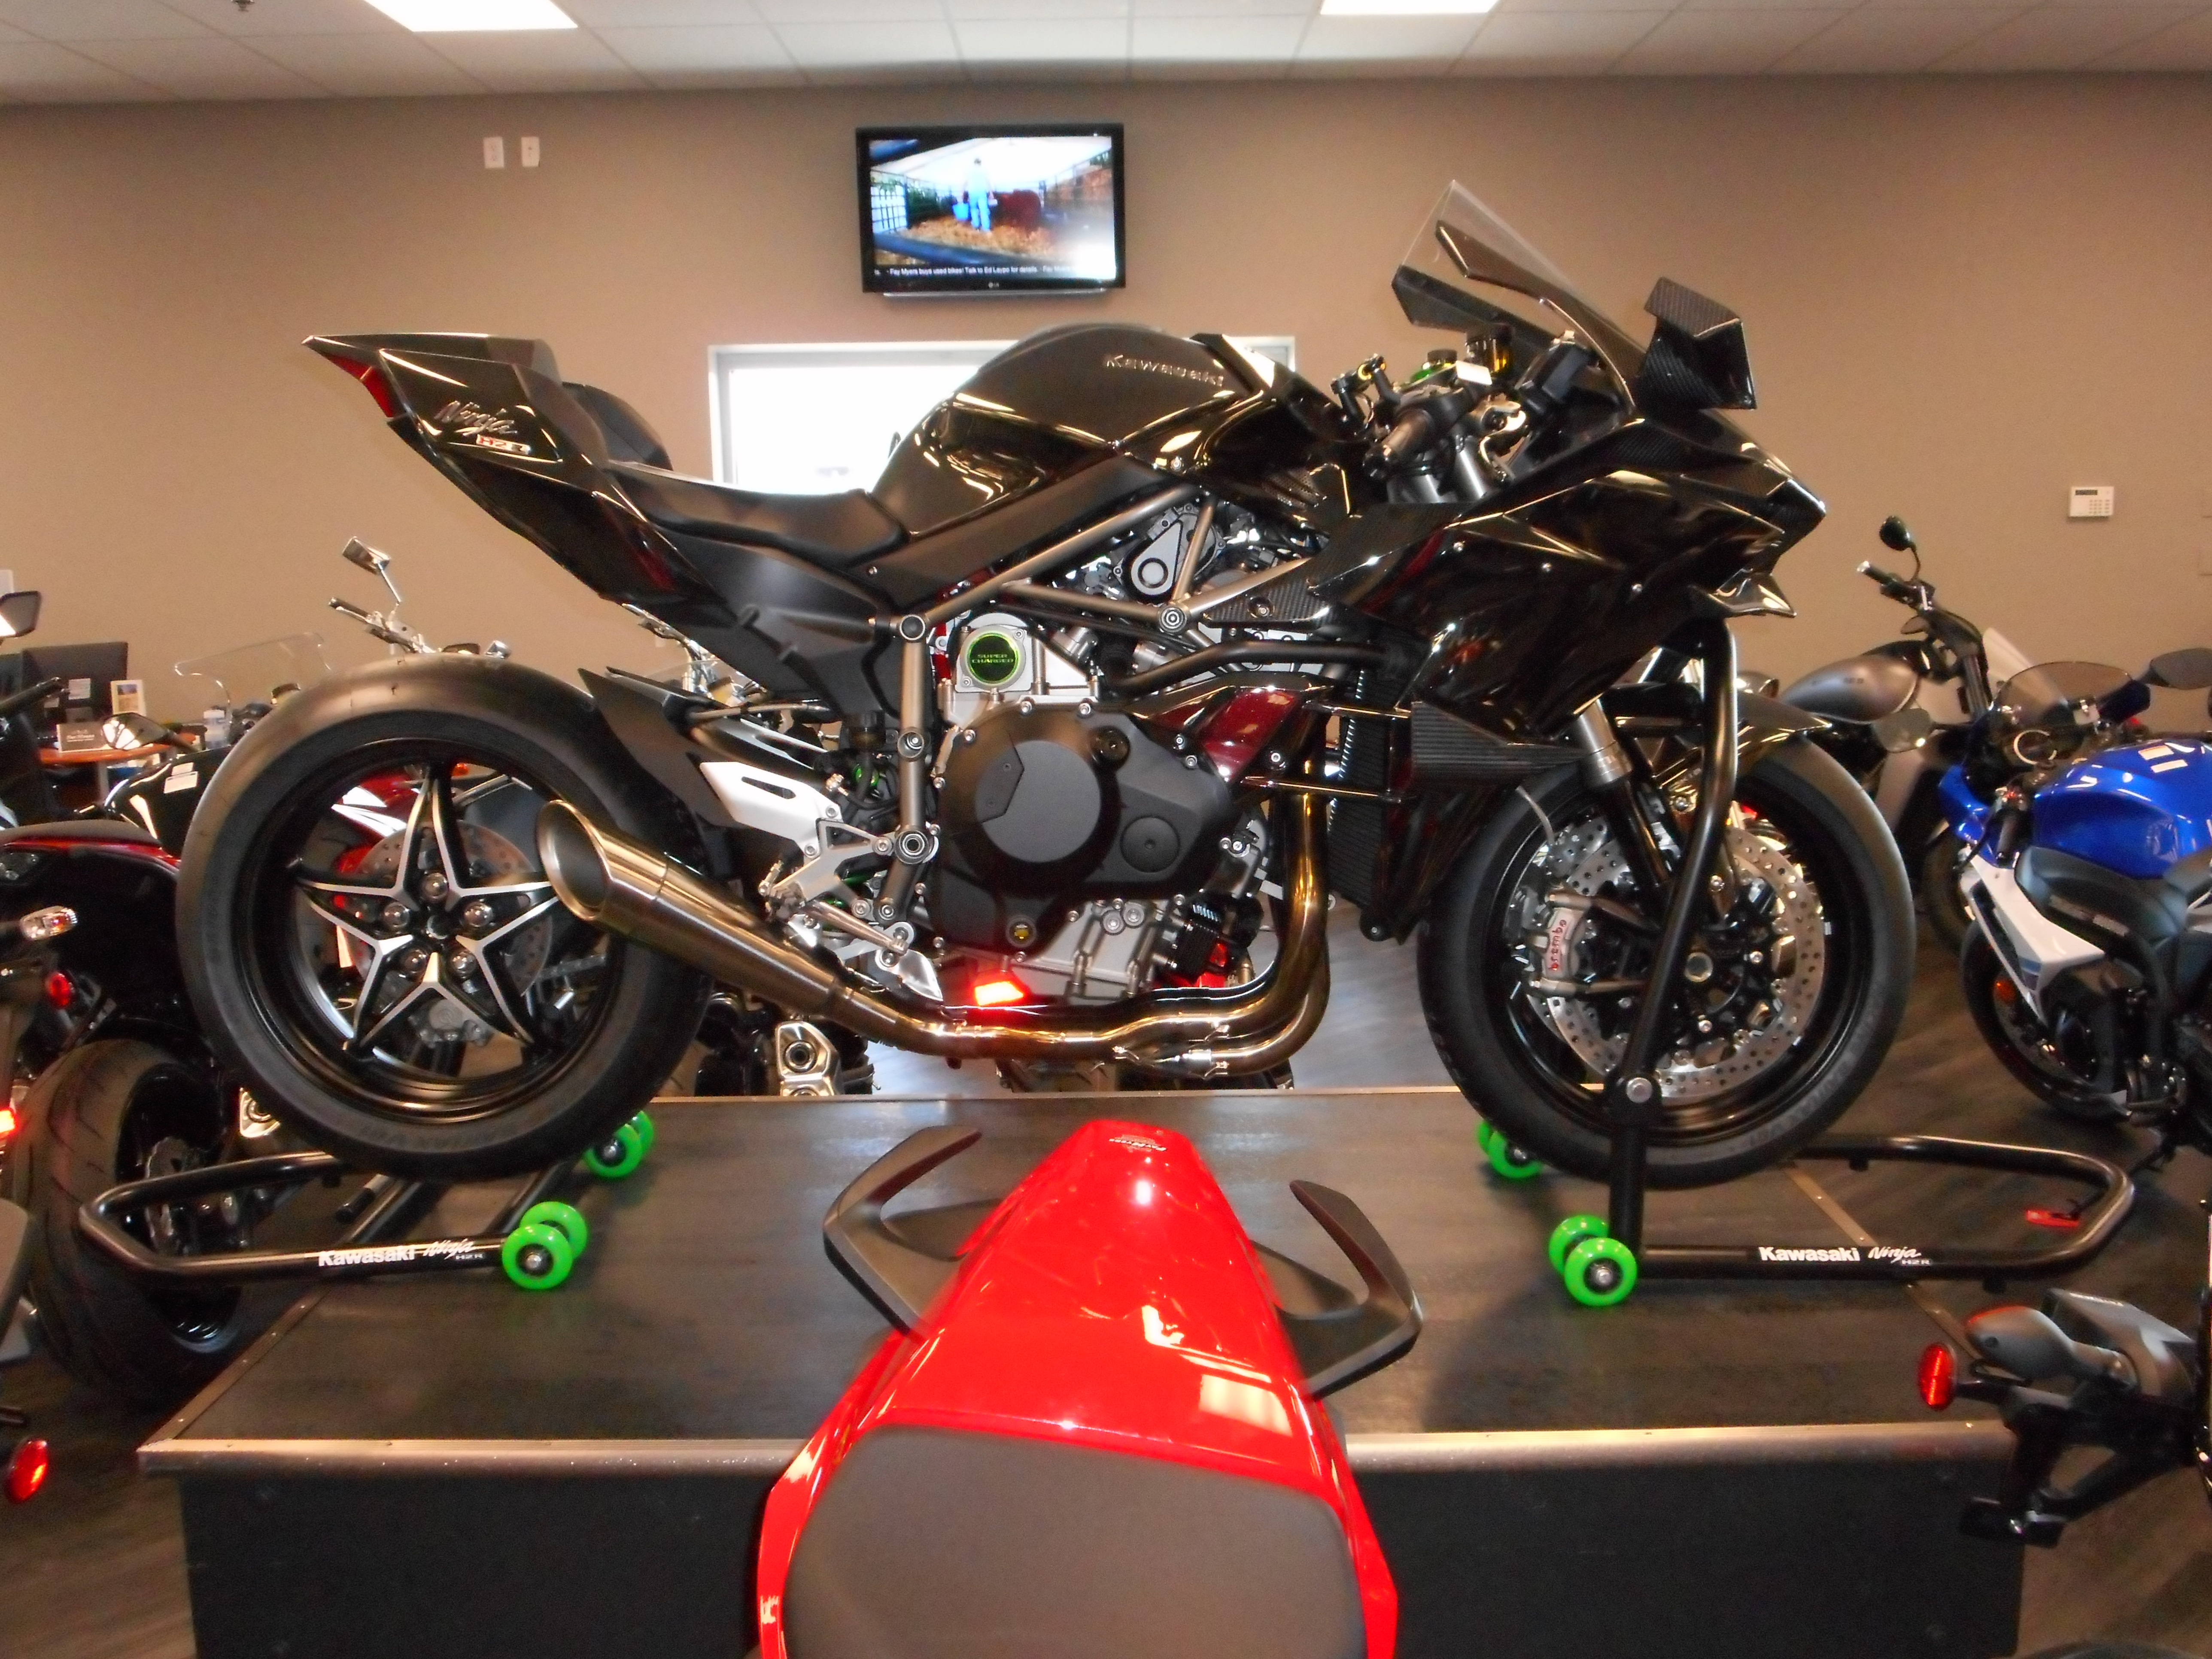
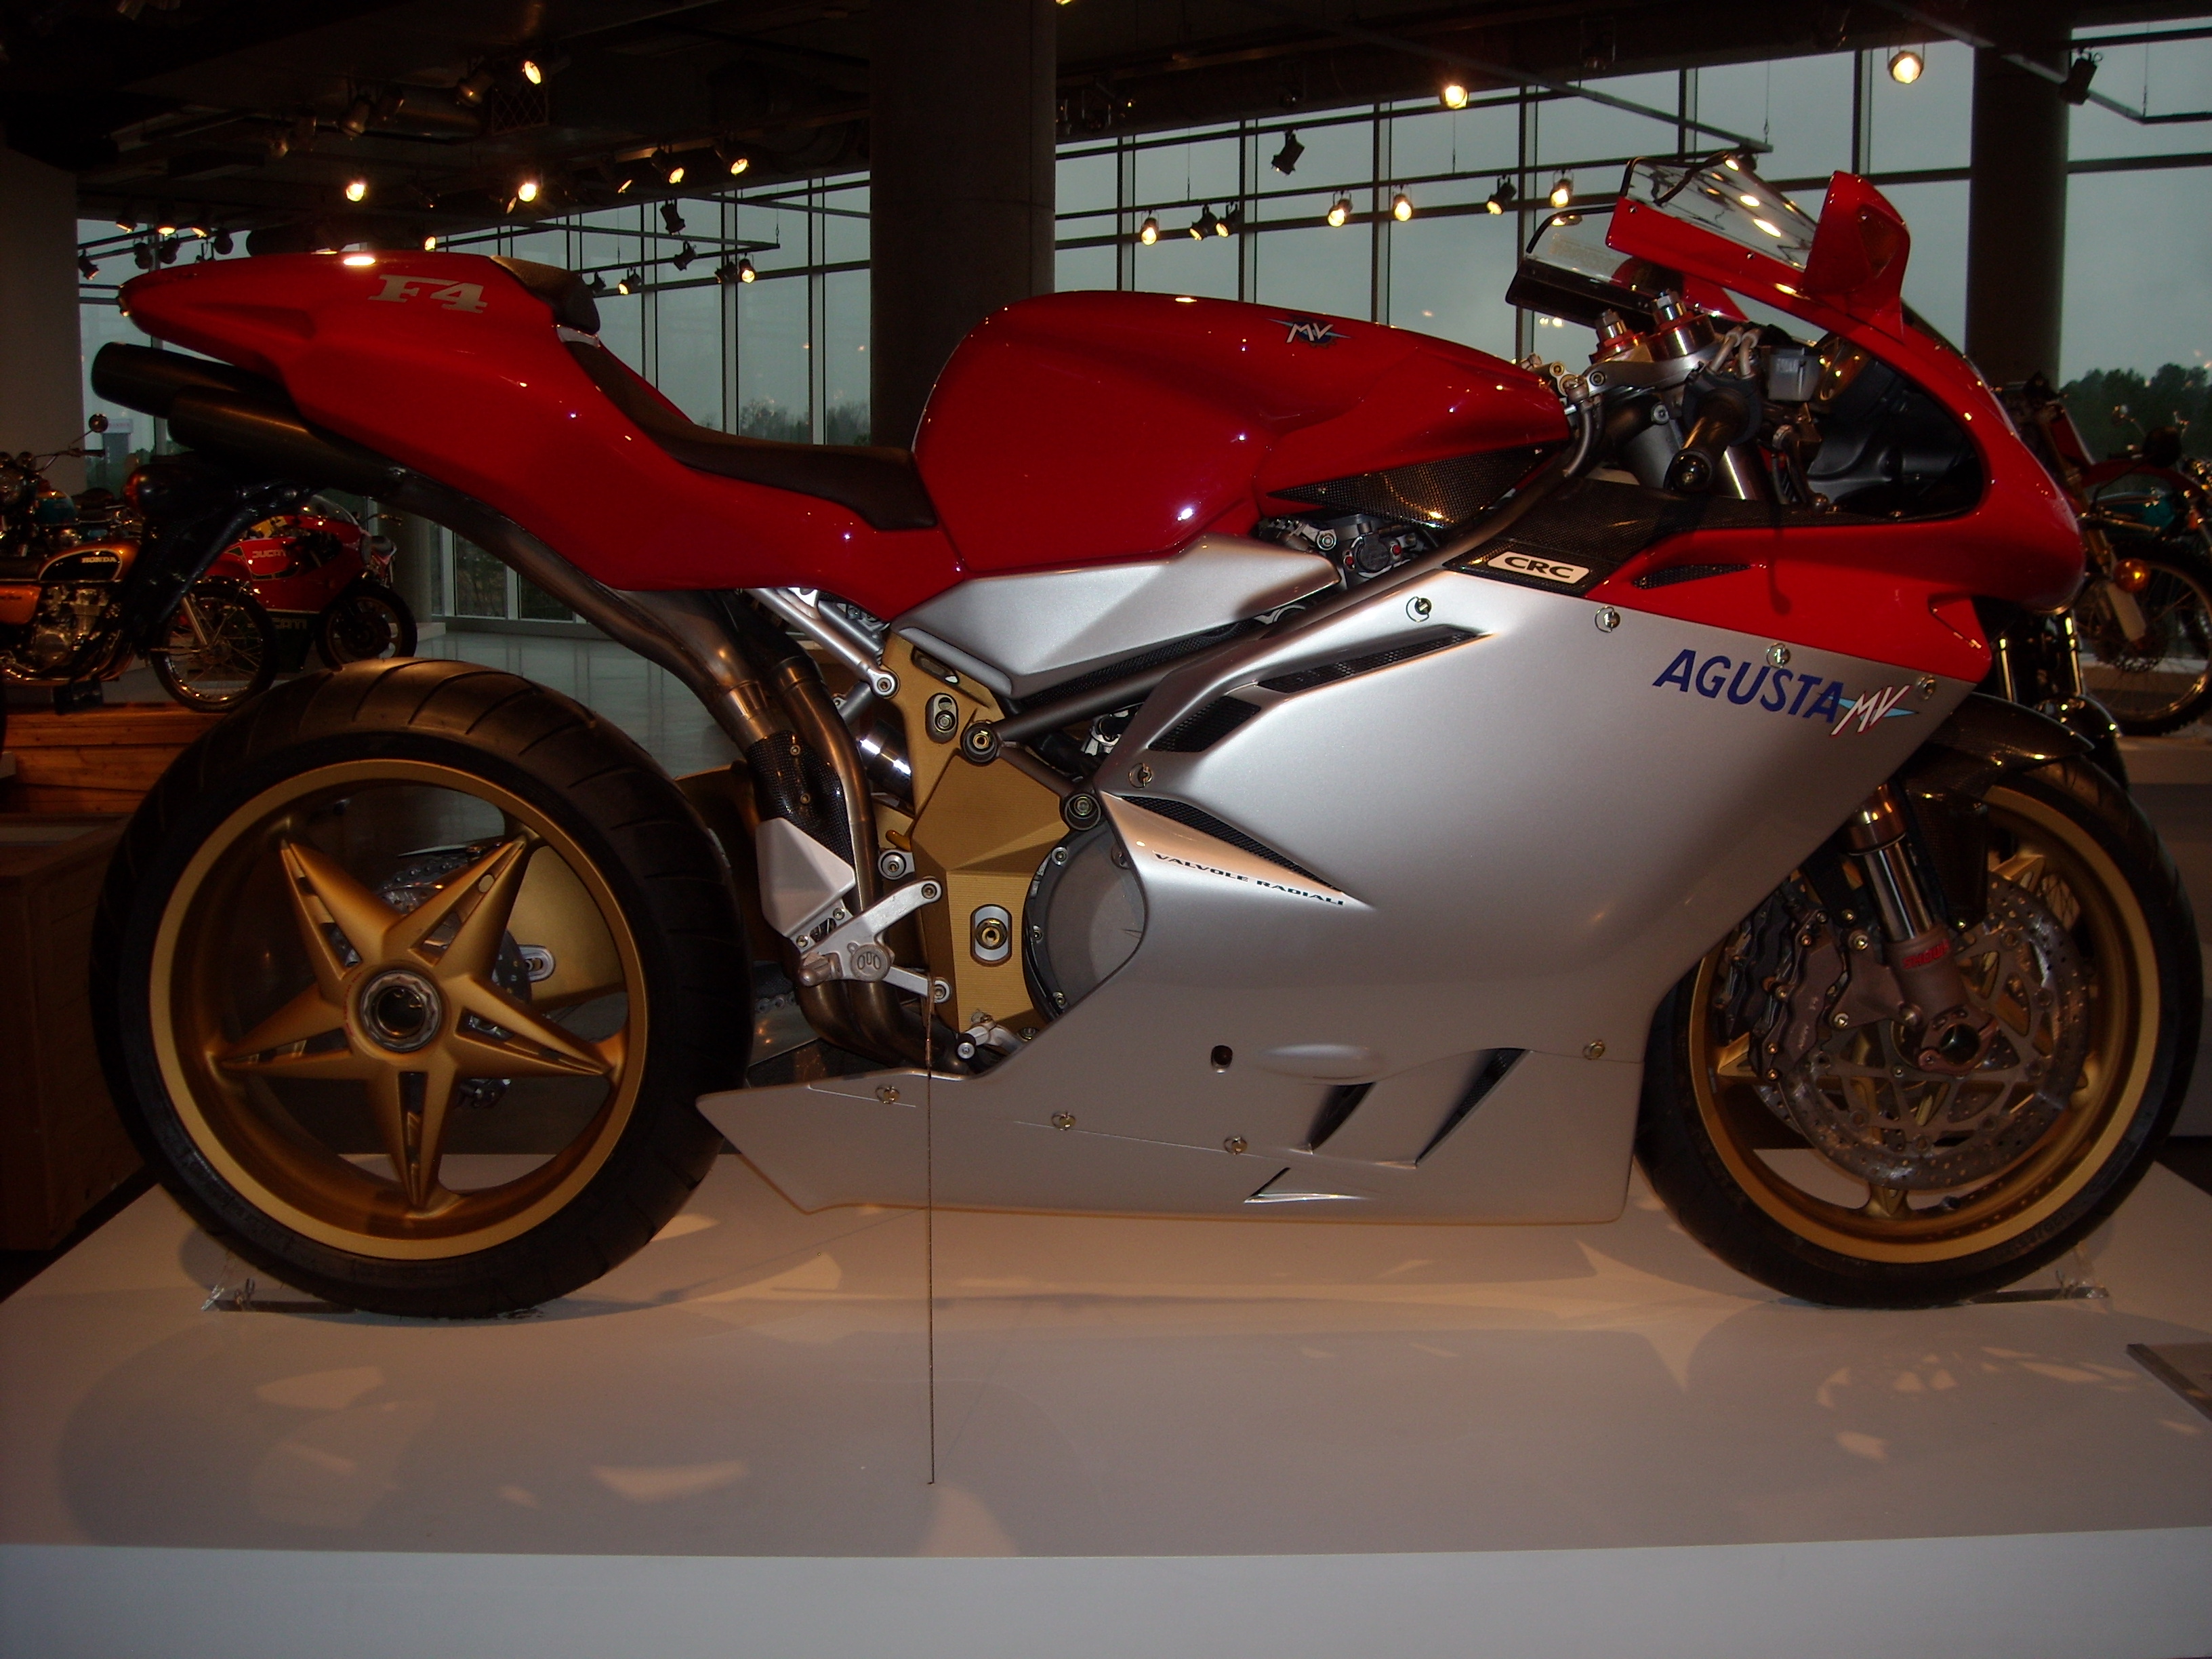
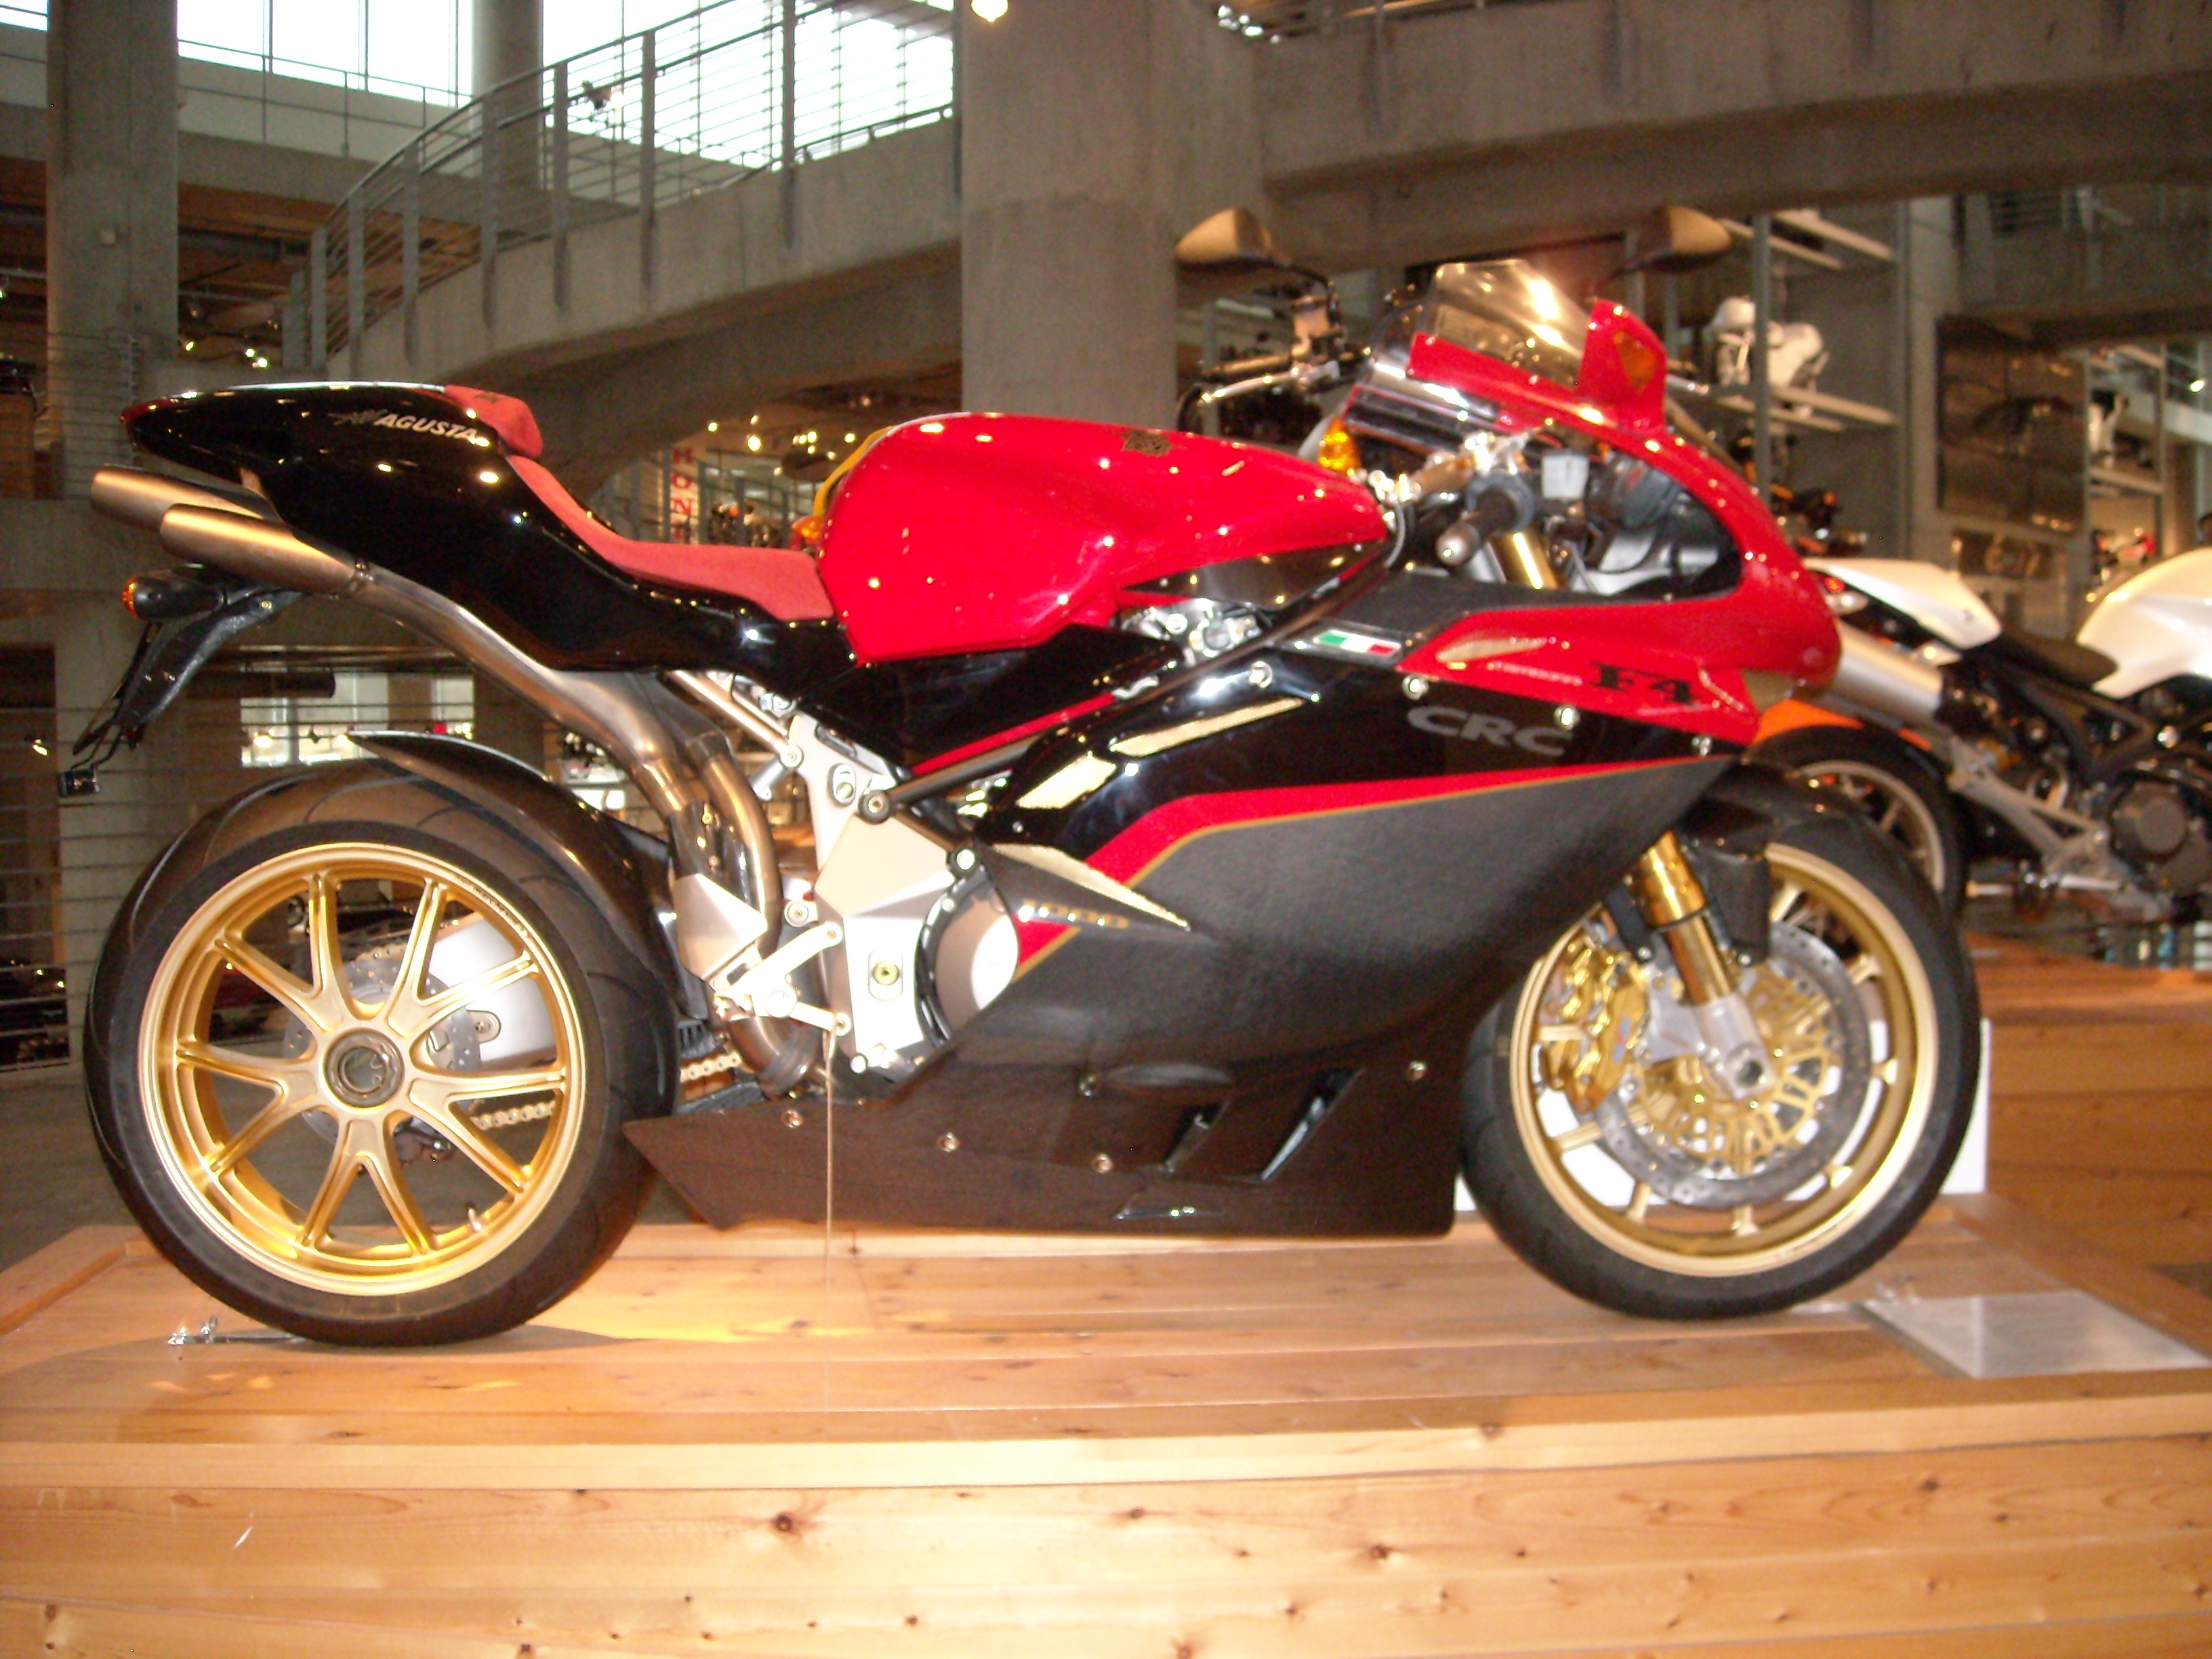
Somebody recently started another thread about an MV Agusta Café Racer. That gave me the idea to go to a local dealership and snap a few pictures of my favorite Super Bike (and a few others, too.)
1) MV Agusta F4 RC
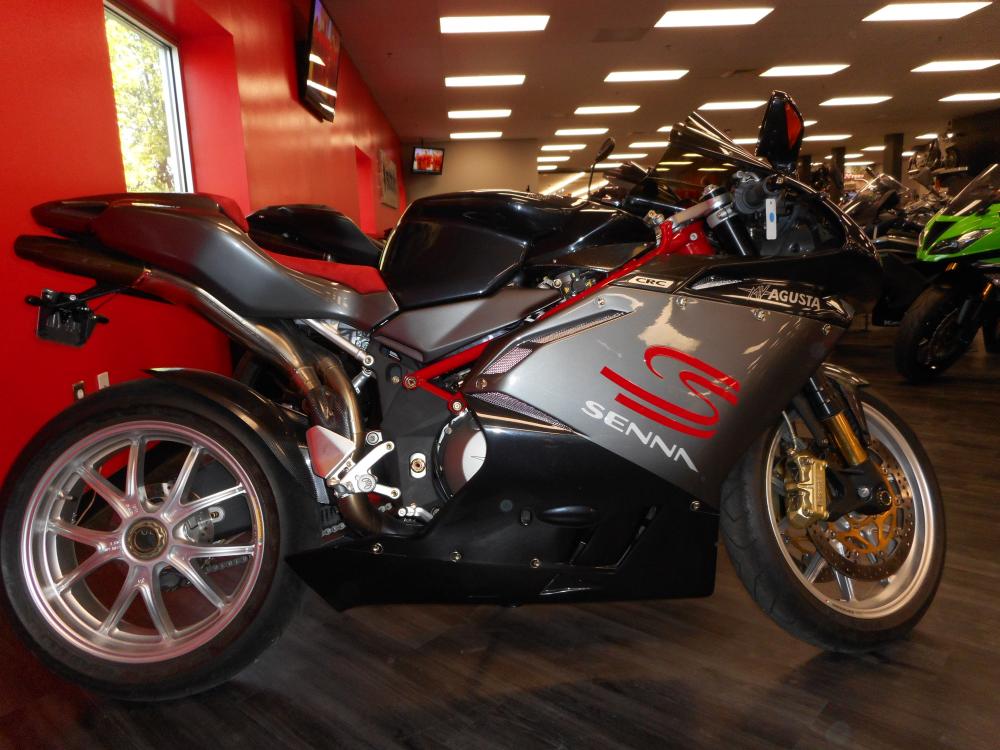
2) MV Agusta F4 Senna
3) MV Agusta F4 CC
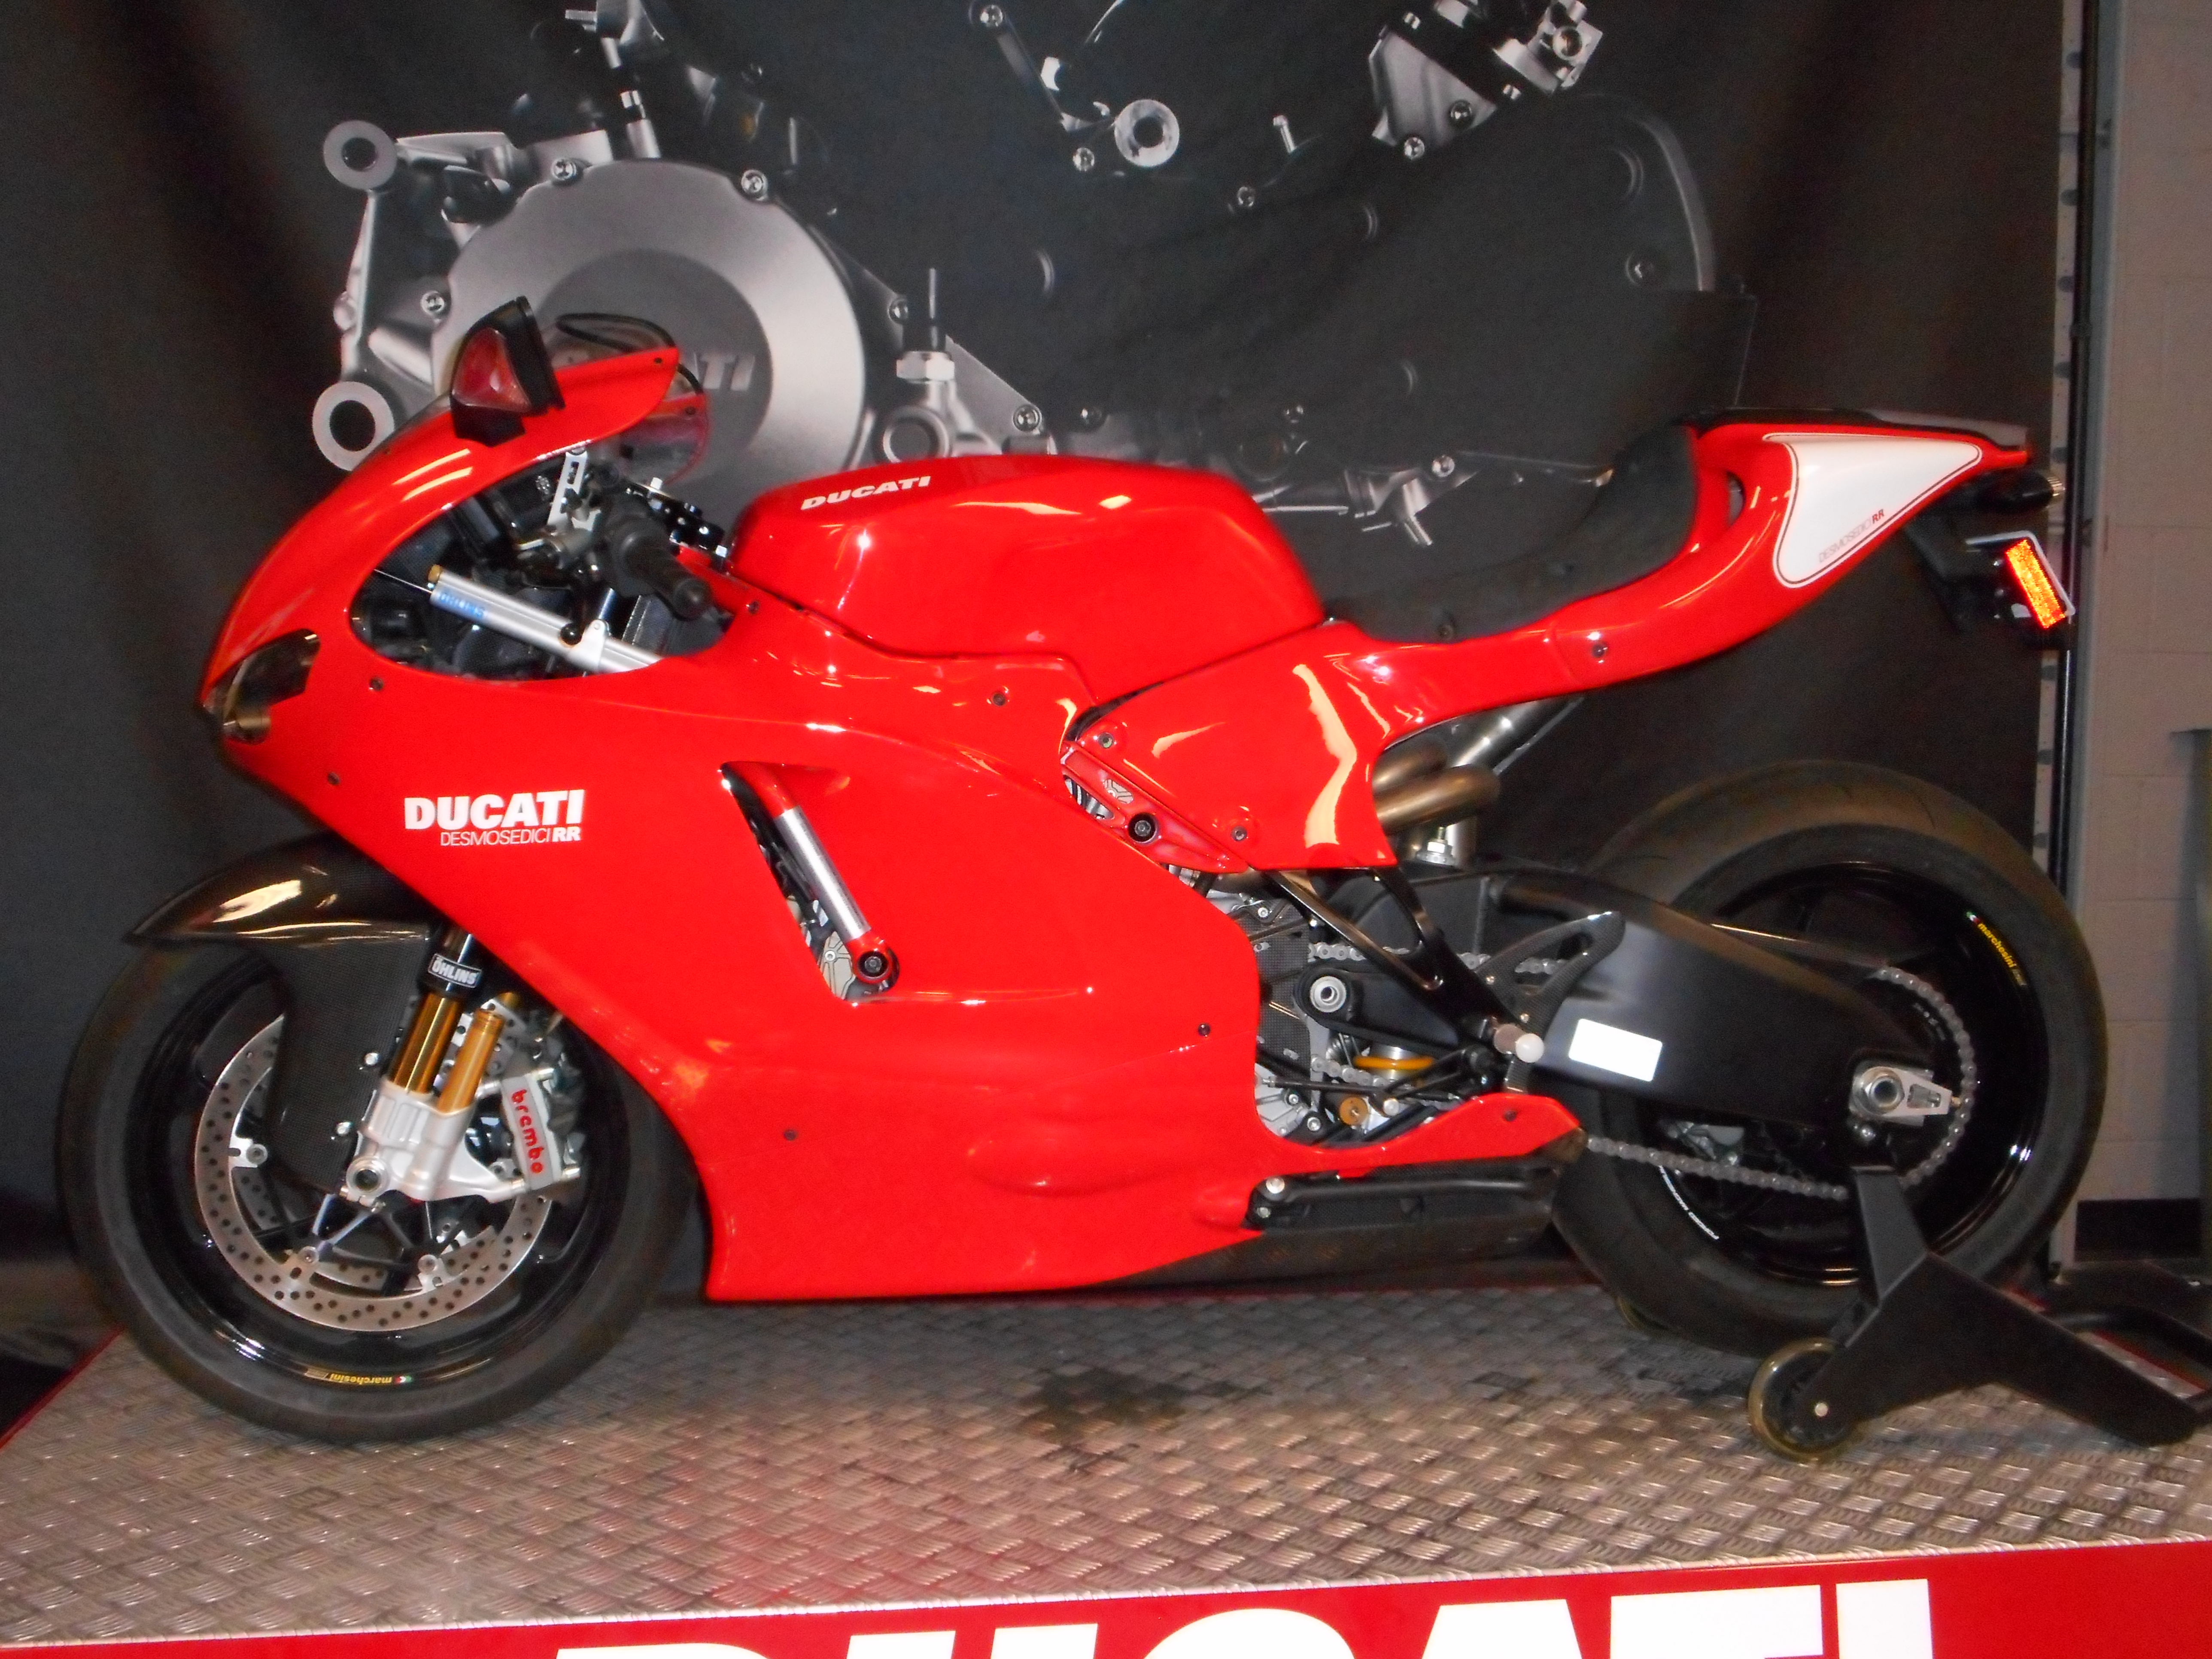
4) Ducati Desmosedici RR
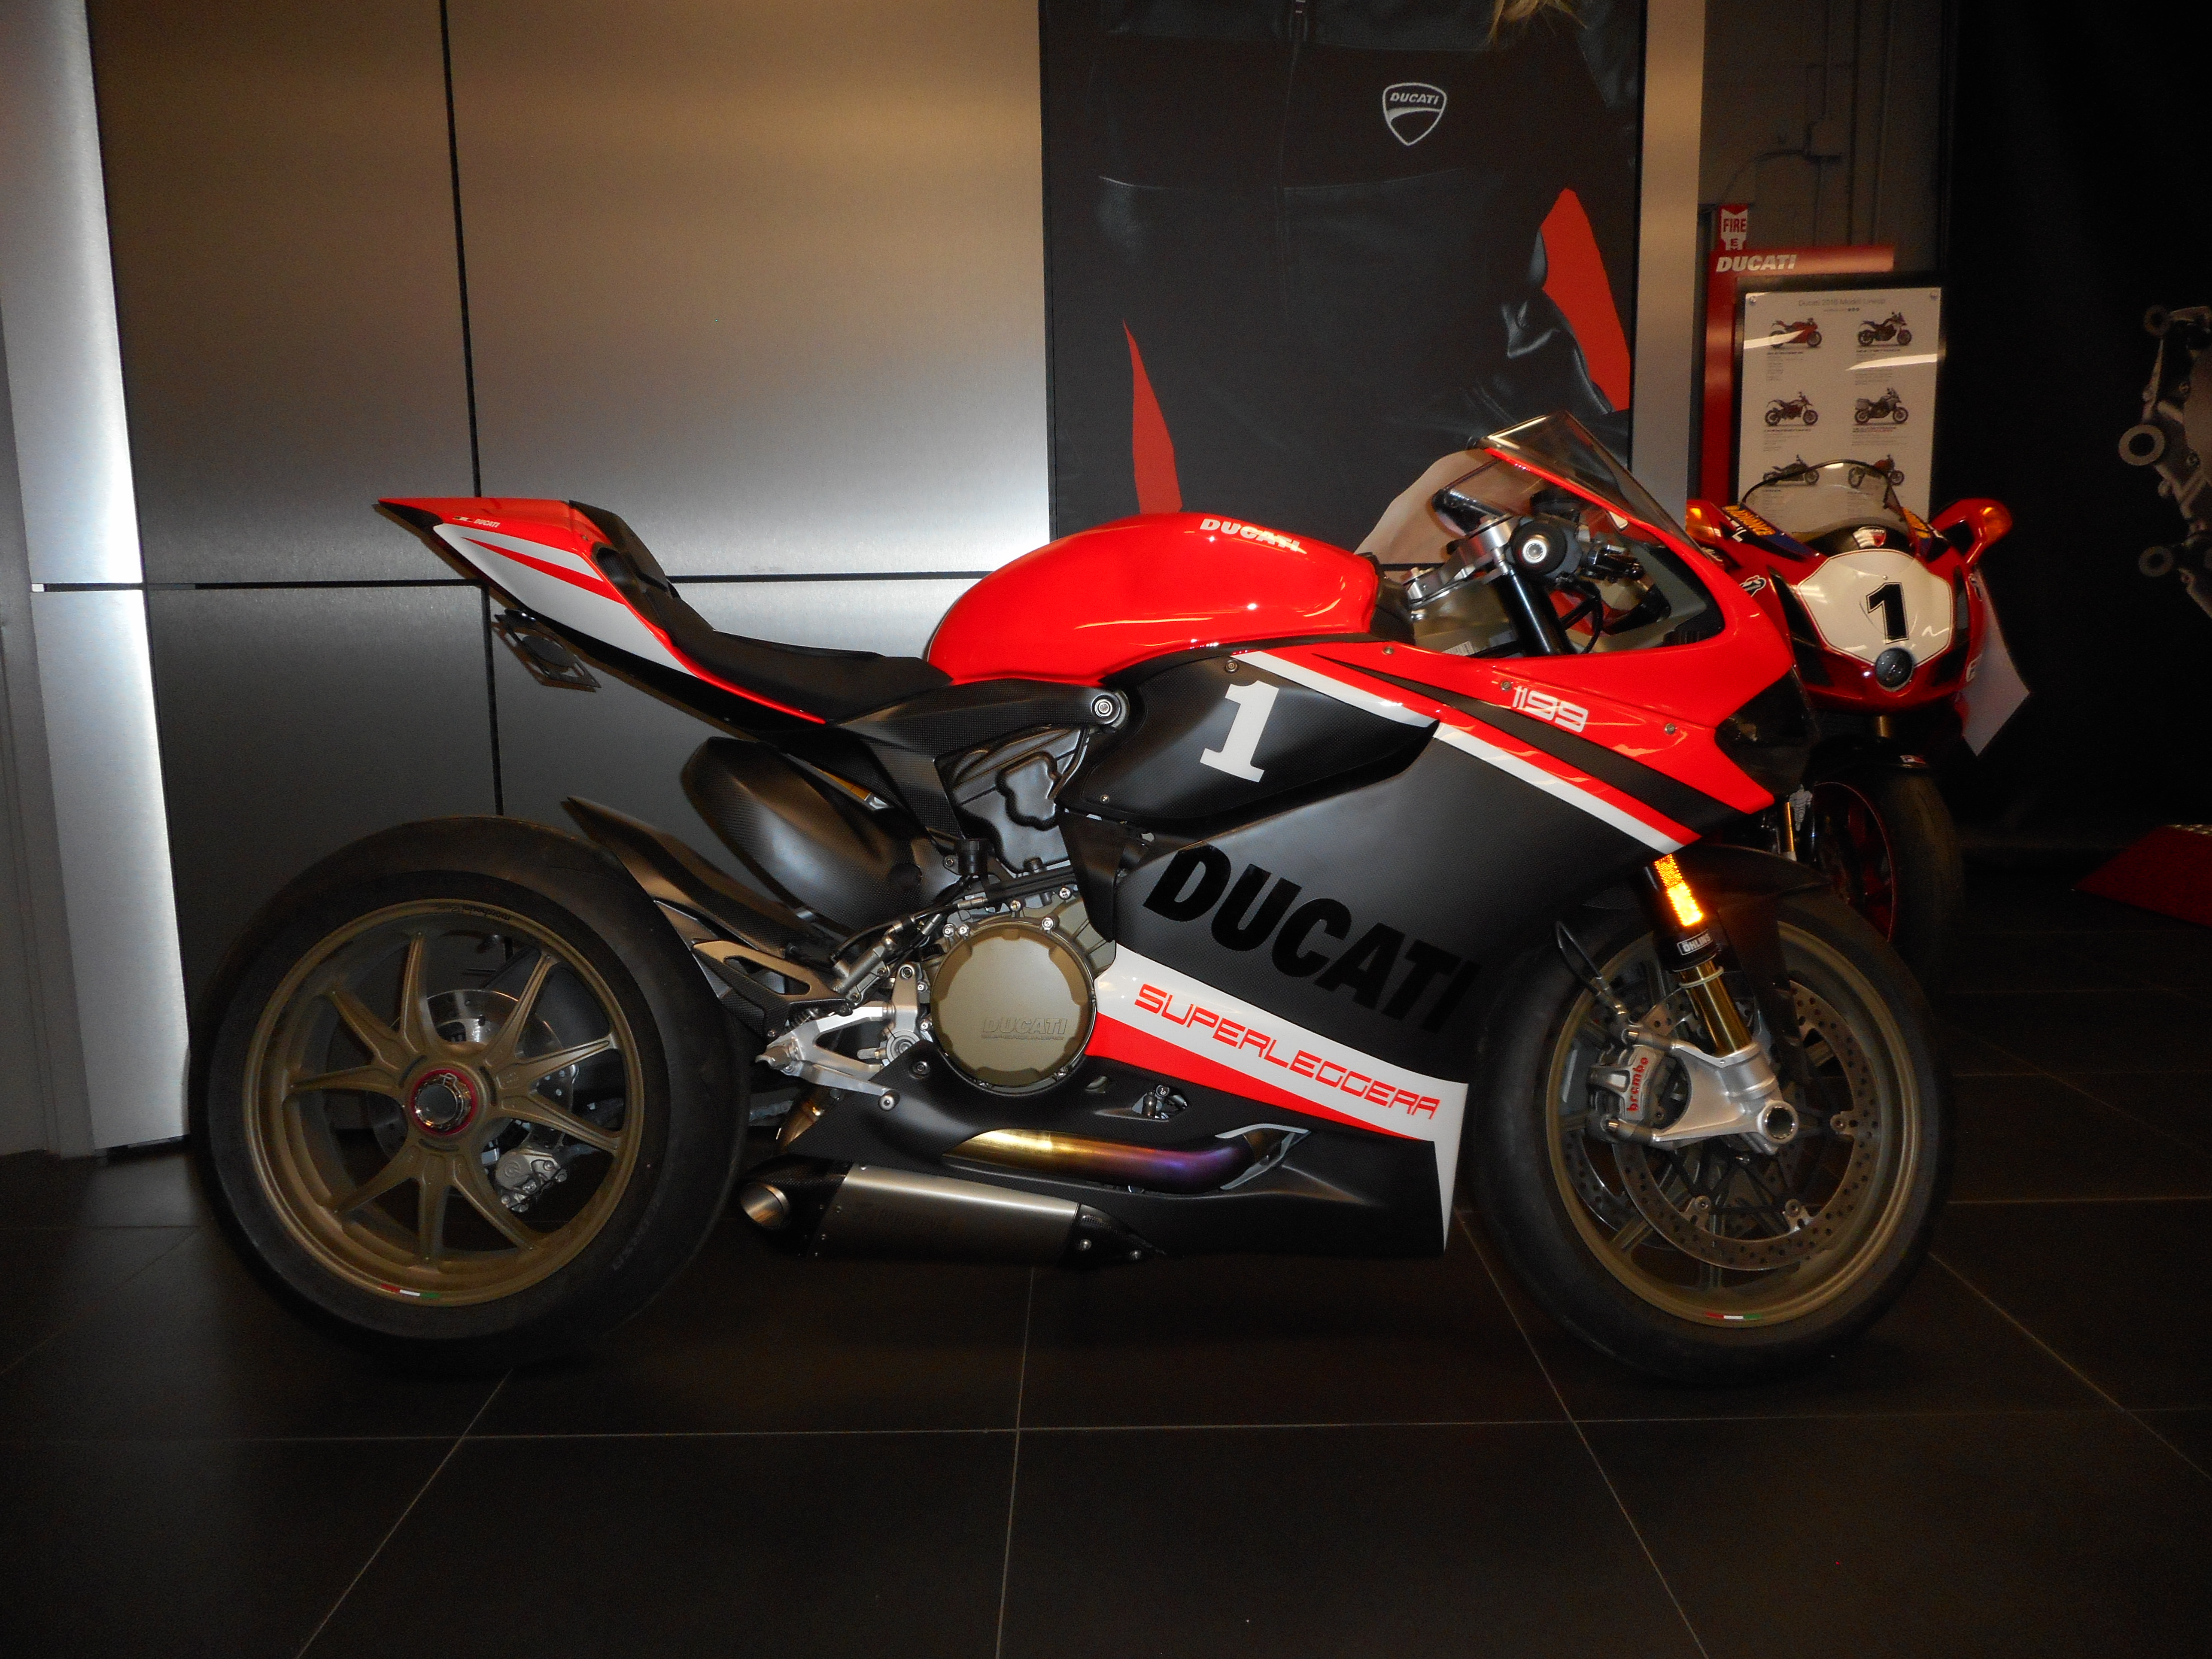
5) Ducati Superleggera
6) Honda RC45
7) Honda NR750
8) Kawasaki H2R


-
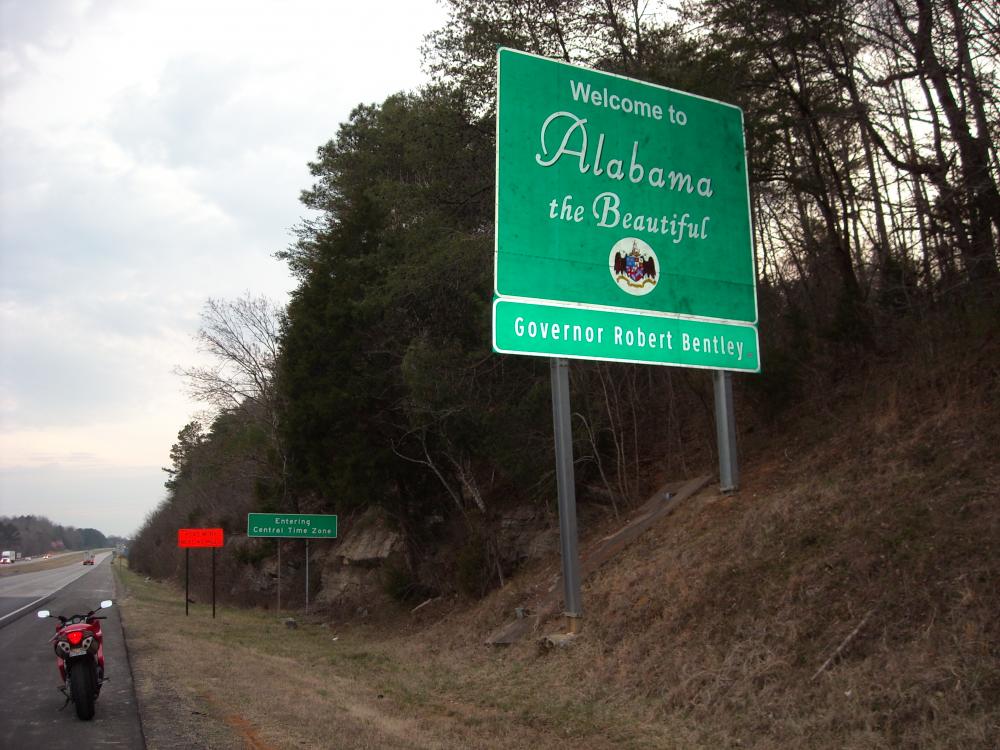
A couple years ago I took a road trip to Birmingham, Alabama and stopped by the Barber Motorsports museum. I took many pictures there. Here are two of my favorites.
Bottom pic: that's my bike to the left of the sign (leaving Georgia).

-
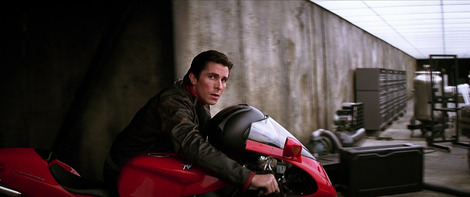
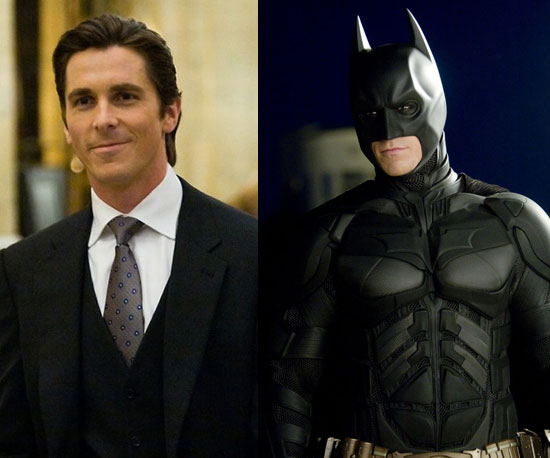
The MV Agusta F4 has always been my favorite superbike. As a child, my favorite superhero was Batman and as an adult one of my favorite actors is Christian Bale. Anybody remember the Dark Knight? I saw that movie several times. And for the record, Christian Bale is no poser. He rides a Ducati 1198 in real life.

-
Although I've always been a sport bike and cruiser guy, I've always told myself that if I ever won the lottery, I'd buy half a dozen bikes and one of them would be a Café Racer (and that Café Racer would be a BMW R nine T). True story. I've never ridden one but they look cool.
-
US $8,651 for this? I think I'll pass.

-
Has anybody painted the lower cowl on an 8G? I can't help but think a red one would look good with a black lower cowl (especially with the goldish-colored wheels.) And maybe a white one would look good if the lower cowl were left white and the rest of the bike were painted another color (blue, for example). Again, with the goldish-colored wheels, I think it would look good (and certainly different from every other red or white one out there.)
-
12 hours ago, lshark said:
i paid around $500 for my 16K service on the 2010.....the spark plugs looked like brand new and i don't think too many 1200s have needed valve adjustment at 16k....mine were all within specs....i never went back at 32k....she died at 45k no noticeable valve noise ....i don't think i'll check valve clearance at 16k on the 2012
I remember calling several dealerships and all of them quoted me prices in the $800 range. Maybe the service is more expensive in my area.
......she died??? Your bike suffered catastrophic engine failure or you went down and totaled it? Either way, it sounds like you're OK.
-
Over the years there were a couple times I came close to buying a 7G. When I was looking on cycletrader, I noticed an above average number of 7G's with (in the neighborhood of) 15k miles on the odometer. The reason for that is the first major service is scheduled for 16k miles and runs $800+.
If you haven't already, keep that in mind.
-
Rice is right. The difference between a 5.0 gallon tank and a 4.9 gallon tank is no more than about four miles.
I do know the 2012 & 2013 models have traction control while the 2010 doesn't. Just pick the one you want based on your color preference and budget. Strictly speaking for myself, I'd stay away from DCT models.
-
I once test rode one of those and really liked it (I think it's been around since '04 and so it's in dire need of an overhaul, though.) I hope they don't discontinue it.
That's the bike the VFR1200F was designed to compete with and the VFR1200F consistently beat it in shootouts. The VFR1200F had so much potential........if only Honda had played their cards a little differently. The fact that it went to 1,200 cc's and shaft drive never bothered me the way it did some people.
Congratulations on your new bike.
-
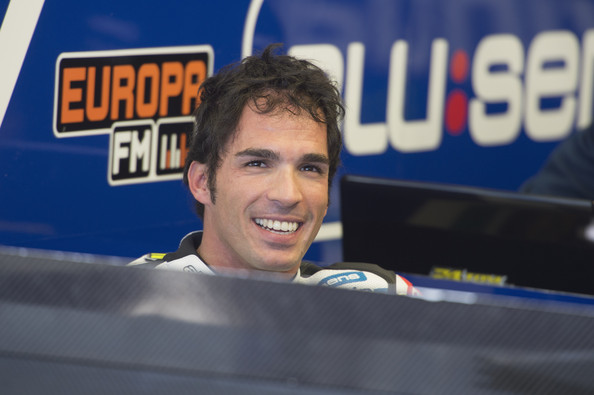
I saw another interview on youtube where Márquez is speaking what is probably Catalan (it sounded Latin but it definitely wasn't Spanish). I saw another video of Lorenzo speaking Spanish (but since Catalan is the primary language spoken in Palma de Mallorca, common sense tells me he speaks that, too.) Barberá is from Valéncia and so he probably only speaks Spanish.
Anyhow, enough of that. Going back to what I said in a previous post, I can't understand how so many of the world's top motorcycle road racers all come from a part of the world smaller than Maryland. In the current MotoGP season, six of the top seven riders are from there. That's been the same story for years.
I think I can speak for my fellow Americans in saying that we're eagerly awaiting our next Kenny Roberts, Jr. and Nicky Hayden so we'll have an American to root for. I'd also wish Triumph and BMW would hop onto the MotoGP bandwagon so we'd have more than just Japanese and Italian manufacturers out there racing (although I thought I read somewhere that KTM -an Austrian company- will be racing at the premier level soon). .
-
Spanish is actually the most widely spoken language in that region of Spain. I have no idea what other languages Lorenzo or Márquez speak, but Márquez is clearly speaking Spanish in this interview. I have absolutely no problem understanding anything he's saying nor would I have any problem holding a conversation with him.
-
Viñales is from that region of Spain, too, i.e. Cataluña. And I did know Lorenzo is from Palma de Mallorca (an island off the coast of Spain but still only about 150 miles from Barcelona.)
For the life of me, I've never understood how so many of the world's top motorcycle road racers come from such a small part of the world. Cataluña is smaller than the state of Maryland (one of the smallest states in our country.)
-
On 4/30/2016 at 5:11 PM, HispanicSlammer said:
The SV1000 was a DUD I am sure the honda folks watched that release from Zooki like a hawk. Perhaps why they keep repackaging the VTEC into different models. Like said above same engine, same frame, different body, and suspension
I could have sworn the SV1000 had a Twin. And even if it didn't sell that well, it was a good bike.
-
4 hours ago, reighnman said:
Great info thanks, while Im still leaning towards the VFR its just a bit scary that the dealer has 8 in stock even while selling them rather cheap. As for the 80lbs, from what I searched the 650f was 75lbs less wet. I'm 6'1" 210 and when putting around it didnt seem that noticable.
Is there a 2016 my and honda just chose not to bring it because of bad sales or are they giving up on the vfr again?
Have you considered a 7G? If you've never ridden one, you at least owe it to yourself to take one out for a spin. As recently as last year I was seeing some unsold 2012's going for $8.5k. I've ridden both the DCT and non-DCT and much prefer the non-DCT. It's a bigger bike than the ones you're currently considering, but someone your size can easily handle it. And since you mentioned 1/4 mile e.t.'s in a previous post, the non-DCT runs a mid-10 in the quarter. There's a world of a difference between a 10.5 and an 11.3. Trust me on that.
-
@reighnman
The 650F hasn't been around that long. It was introduced in 2014 and my understanding is it's truly an all-new bike from the ground up. Although its gotten good reviews, it's still considered by many to be a budget bike (steel frame, non-adjustable forks, 85 horses, cable actuated clutch, limited number of accessories, etc.) It's also manufactured in Thailand (as opposed to Japan) which might also explain it's relatively low price.
A quick internet search on Honda 650F yielded many hits. Read up on it as much as you can and ask the dealer for a test ride. If you like it, buy it.
-
In the United States, sales-wise, the VFR1200F was a disaster. I've ridden one and in my opinion, they handle well, brake well, and have ample power. I think what hurt the bike's sales were its polarizing looks, high price tag, relatively short range, and, overall, it was too radical a departure from any VFR that came before it. It simply wasn't what a lot of people wanted or expected. And the fact that, here in the States, it was only sold in one color for each of the three model years it was available, certainly didn't help. Honda had so much unsold inventory of 2010's that for 2011, they didn't export a single VFR1200F into this country. The 2012 and 2013 models didn't sell well, either. Honda was losing so much money on the 7G, they had to come up with something to replace it with. Quickly.
Here's what I think happened next: Honda didn't have the time to develop an all-new 8G to replace the 7G and so they used existing technology from the 6G to build the 8G. The 6G was introduced in 2002 and so, by motorcycle standards, it's old technology and has no place in a 2014+ model year motorcycle. This, along with the fact that most people don't seem to care for VTEC and would like a motorcycle with at least 1,000 cc's and inverted forks, is why the 8G isn't selling well. Although there are some improvements from the 6G to the 8G, most people, like myself, still consider the 8G to be nothing more than a 6G with new body work. Had the 8G been built with a 1,000 cc V4, ditched VTEC, used inverted forks, and put out 140-150 rwhp, there's no doubt in my mind it would be selling significantly better. Speaking of rwhp, another reason the 8G isn't selling well is it's grossly underpowered compared to the competition. Motorcycles like the Kawasaki Ninja 1000 and Suzuki GSX-S1000F are putting out 130 and 140 rwhp respectively. The 8G puts out a dismal (and embarrassing) 98 rwhp.
My guess (and it's only a guess), is the earliest we'll see a 9G is the 2018 model year.
-
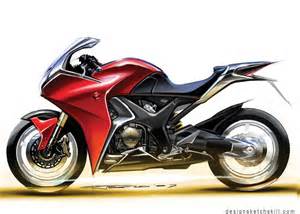
I've always liked the 14 (more so than the Busa, anyway). Now imagine if Honda had increased the VFR1200's displacement an additional 63 cc's (for a total of 1300) and had gone with the alternate design they had in mind (see below).
The current generation Busa has been around since '08 and the current generation 14 has been around since '12. The K1200S/1300S has been around since '04. It's gonna be interesting to see what Suzuki, Kawasaki, and BMW come up with to replace them.
-
There must be something in the water in Barcelona. Márquez, Pedrosa, and the Espargaró brothers are all from there, too. And Lorenzo's home town is only about 150 miles away.


Paint Color, Matching Helmet?
in Eighth Generation VFR's
Posted
You know what I've always wondered? Say you've got a red 6G painted in R157. Now let's say somebody wanted to power coat the wheels the same color. When somebody takes wheels to get powder coated, it's my understanding you can't give them a paint code (like R157). Instead, you'd be presented with a bunch of samples of various reds and it would be up to you to pick the one you think looks closest to R157.
Isn't there a better way to ensure you get an exact match? This is not something I plan on doing. I'm asking because it's something I've always been curious about.