RhodeMoto
-
Posts
57 -
Joined
-
Last visited
-
Days Won
2
RhodeMoto's Achievements
")


-
Just weighed the old guts that I removed. That was 5lbs, plus whatever was removed prior? The perf tube plus packing was about 1lb. So will call new perf = to prior gut and say this is 5lb lighter?? 6.2 kilo = about 14lbs So 30% lighter +/- To Zarquon - I am a novice welder so 50% of my time was practice on scrape. Also spent too much time head scratching. Should be an easy day project.
-
1st run. Very pleased. May be a little on loud side, but got that bark. Tryed DB test with app on phone. Compared stock 3rd gen to this can on 4th gen. I had expected; 1 - to see meter climb in relation to rpm. In fact remained relatively the same to 6K rpm. What I now surmise is that each exhaust wave is the same as 1 person clapping. A single clap may be 75db, continuous clapping may seem louder but actually is no greater in DB? 2 - that this mod can would show much higher DB on meter. In fact there was only about 5Db difference. Understanding now is that 10DB would equate to a doubling in sound. Or 100% greater. If true then I am now about 50% louder than stock. Summary,...verdict out on weight compared to gutted can, but lighter than stock. Slightly reduced noise than full gut, but with nice tone. Still a straight full flow exhaust, so whatever gains that brings. Good chance to practice TIG, and seems more "professional" than a bunch of metal left in can,... Now for some new rubber. This one must have sat for awhile. Good tread, but10 years old. Picture would just look stock, other than the larger 2" tube peaking out. Anyone know if video or sound recording file can be attached? Try this,... 20190126_143035.mp4
-
Should have checked weight before and after. Assume I have less metal with perf tube than what I extracted,....But with packing material may be close to a gutted mod. This spanned too many days, but finally complete and ready to test. Warm day on New England, so hope to have chance to assemble and run!

-
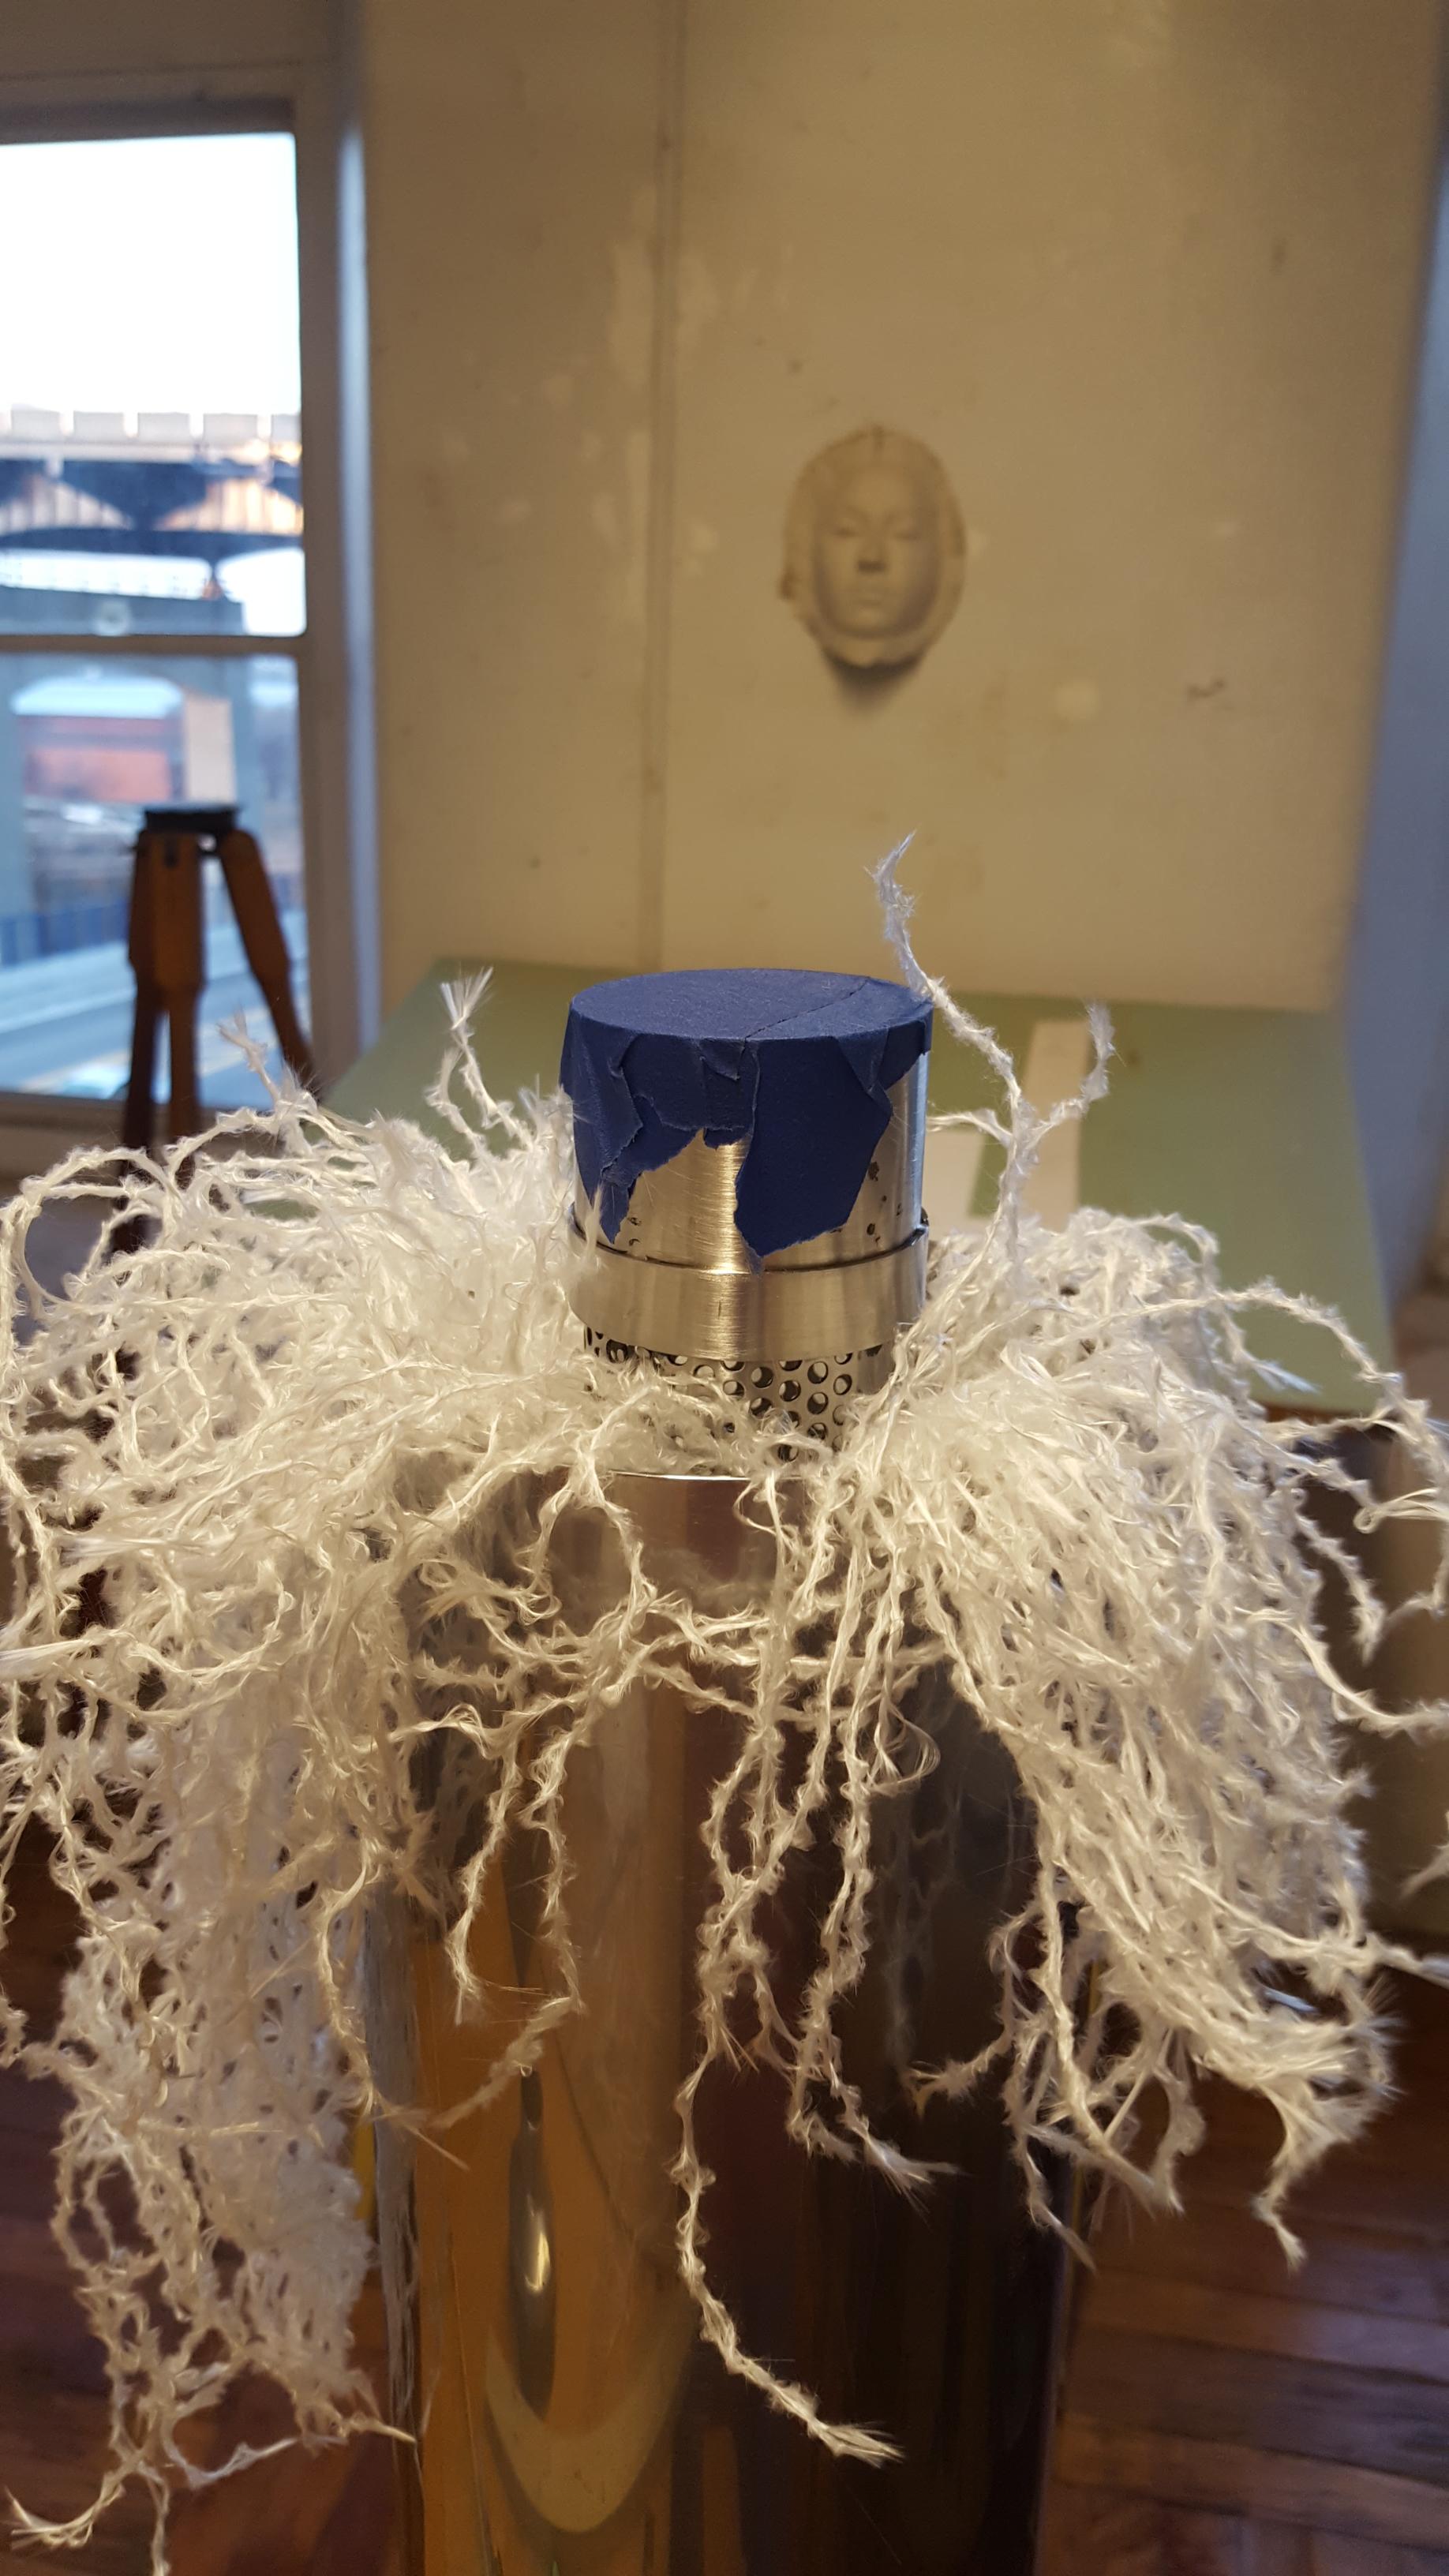
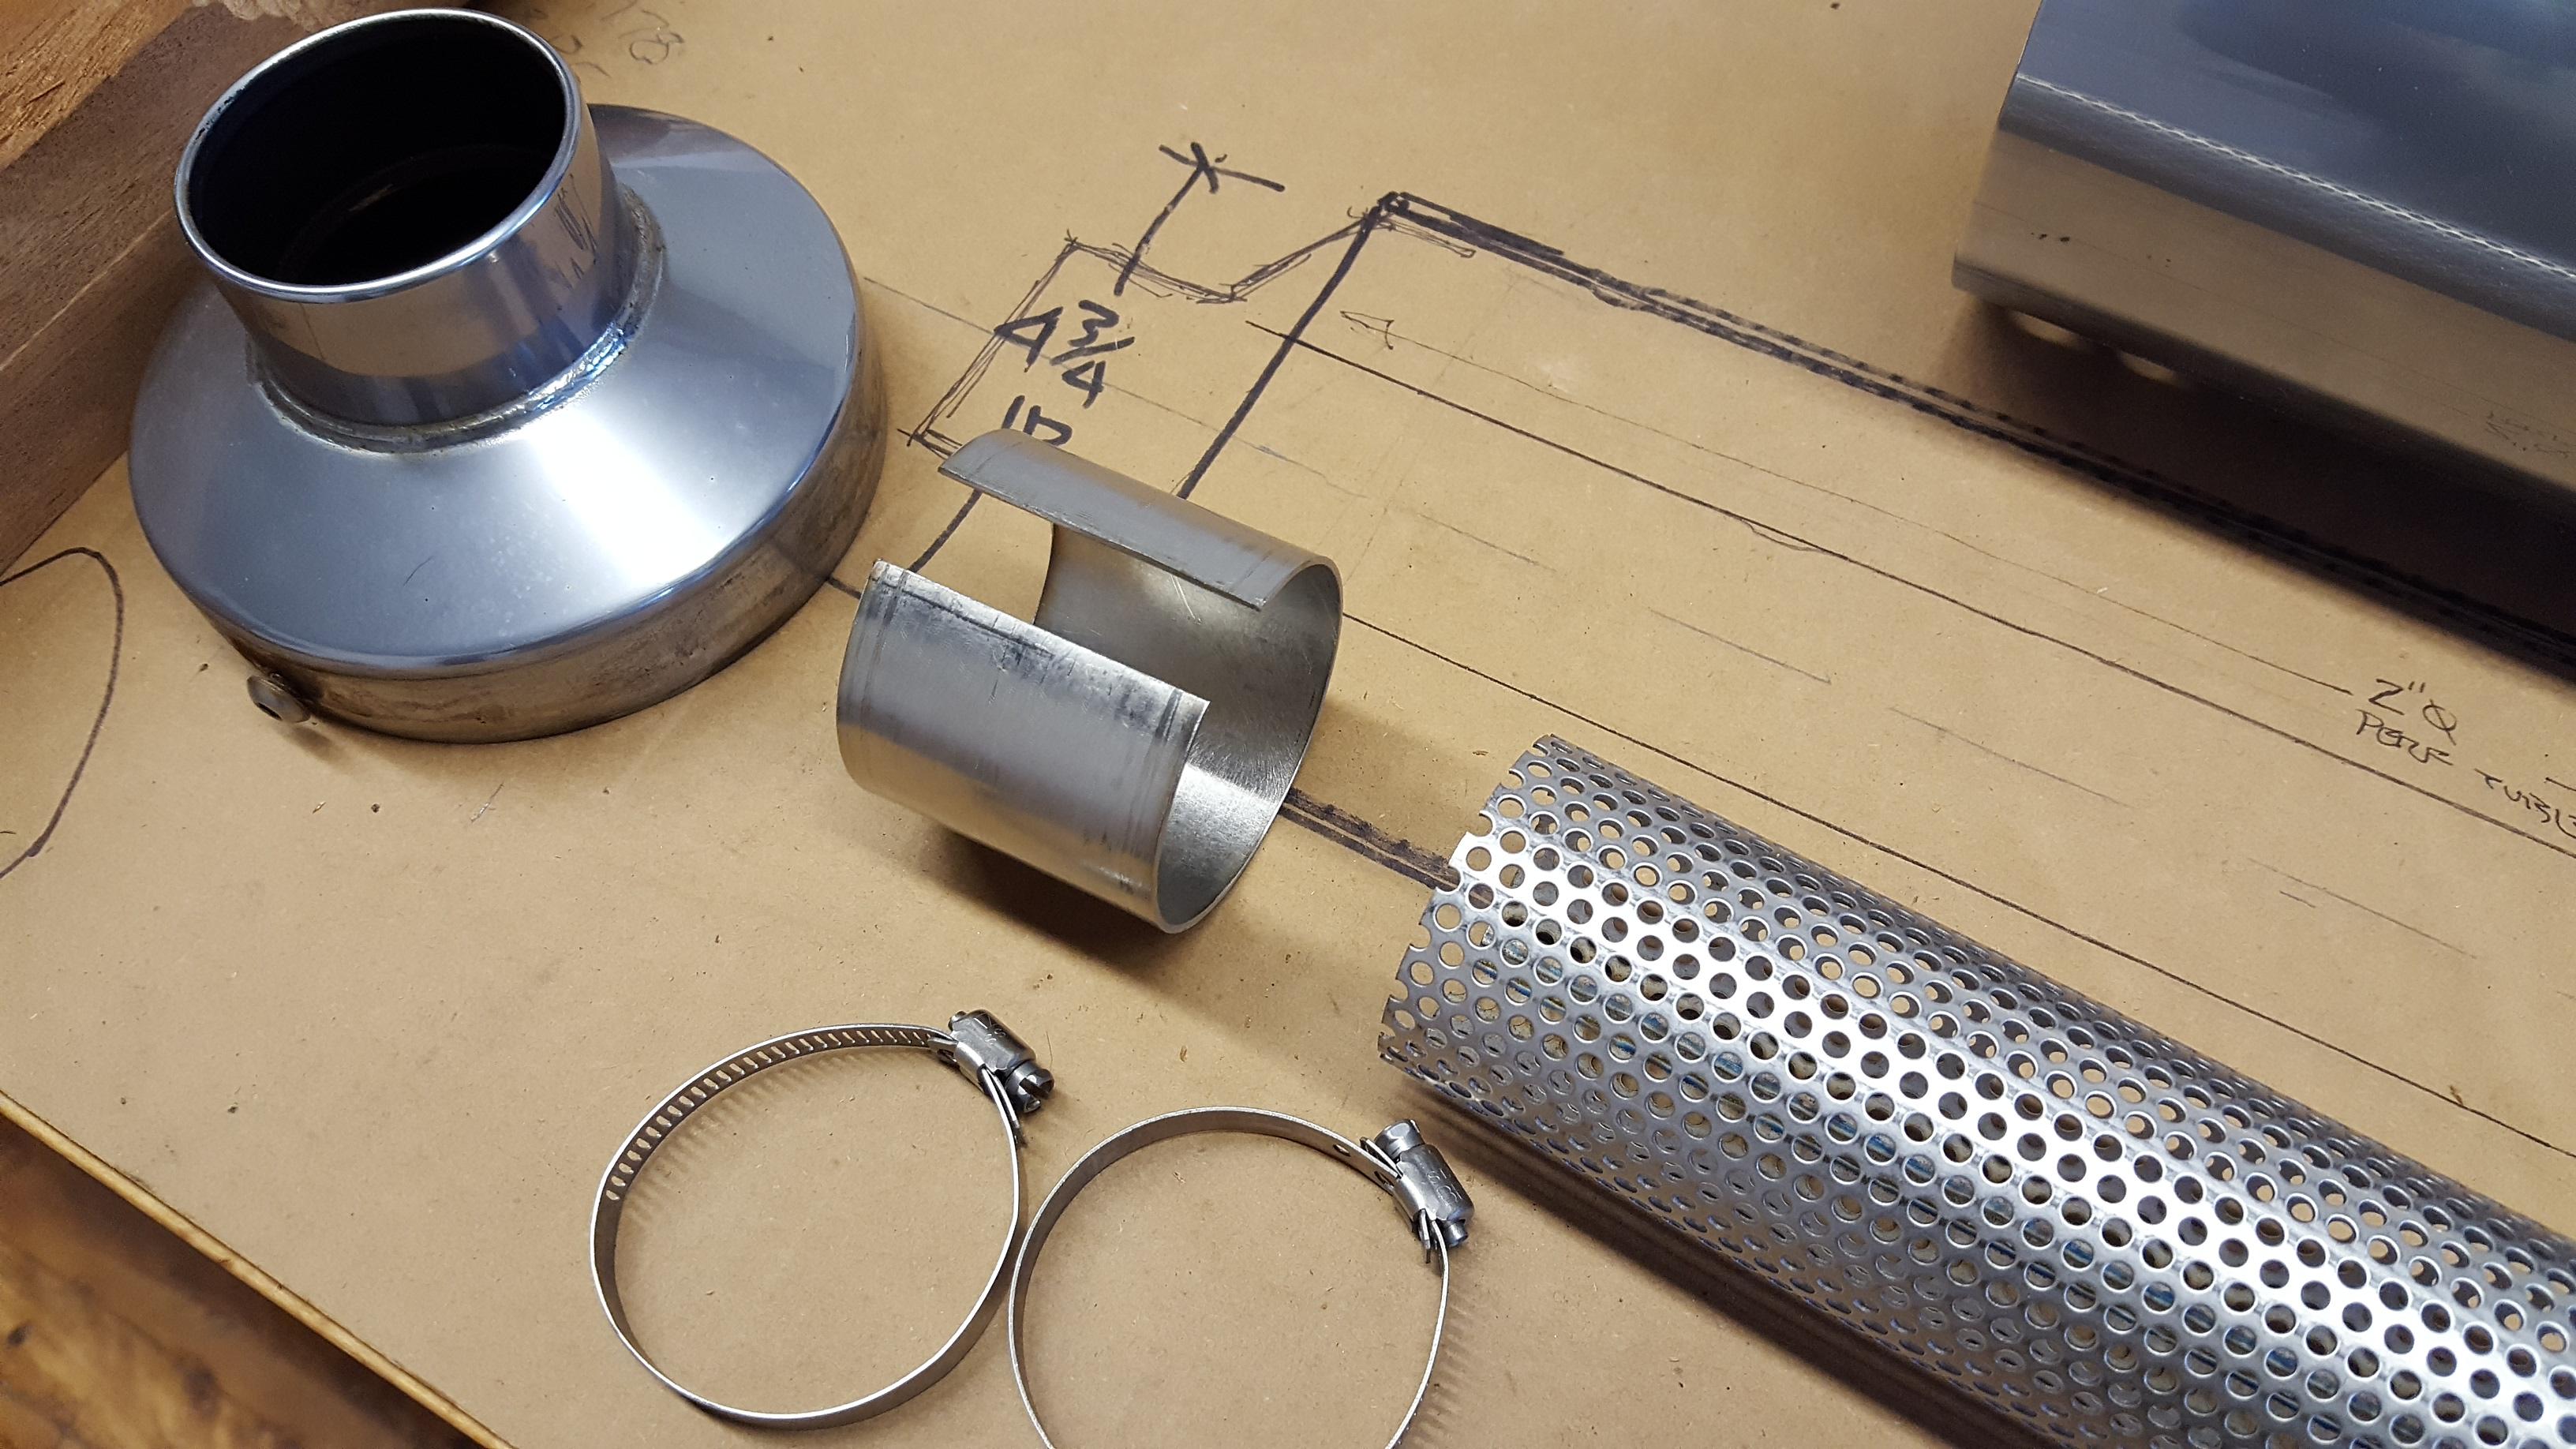
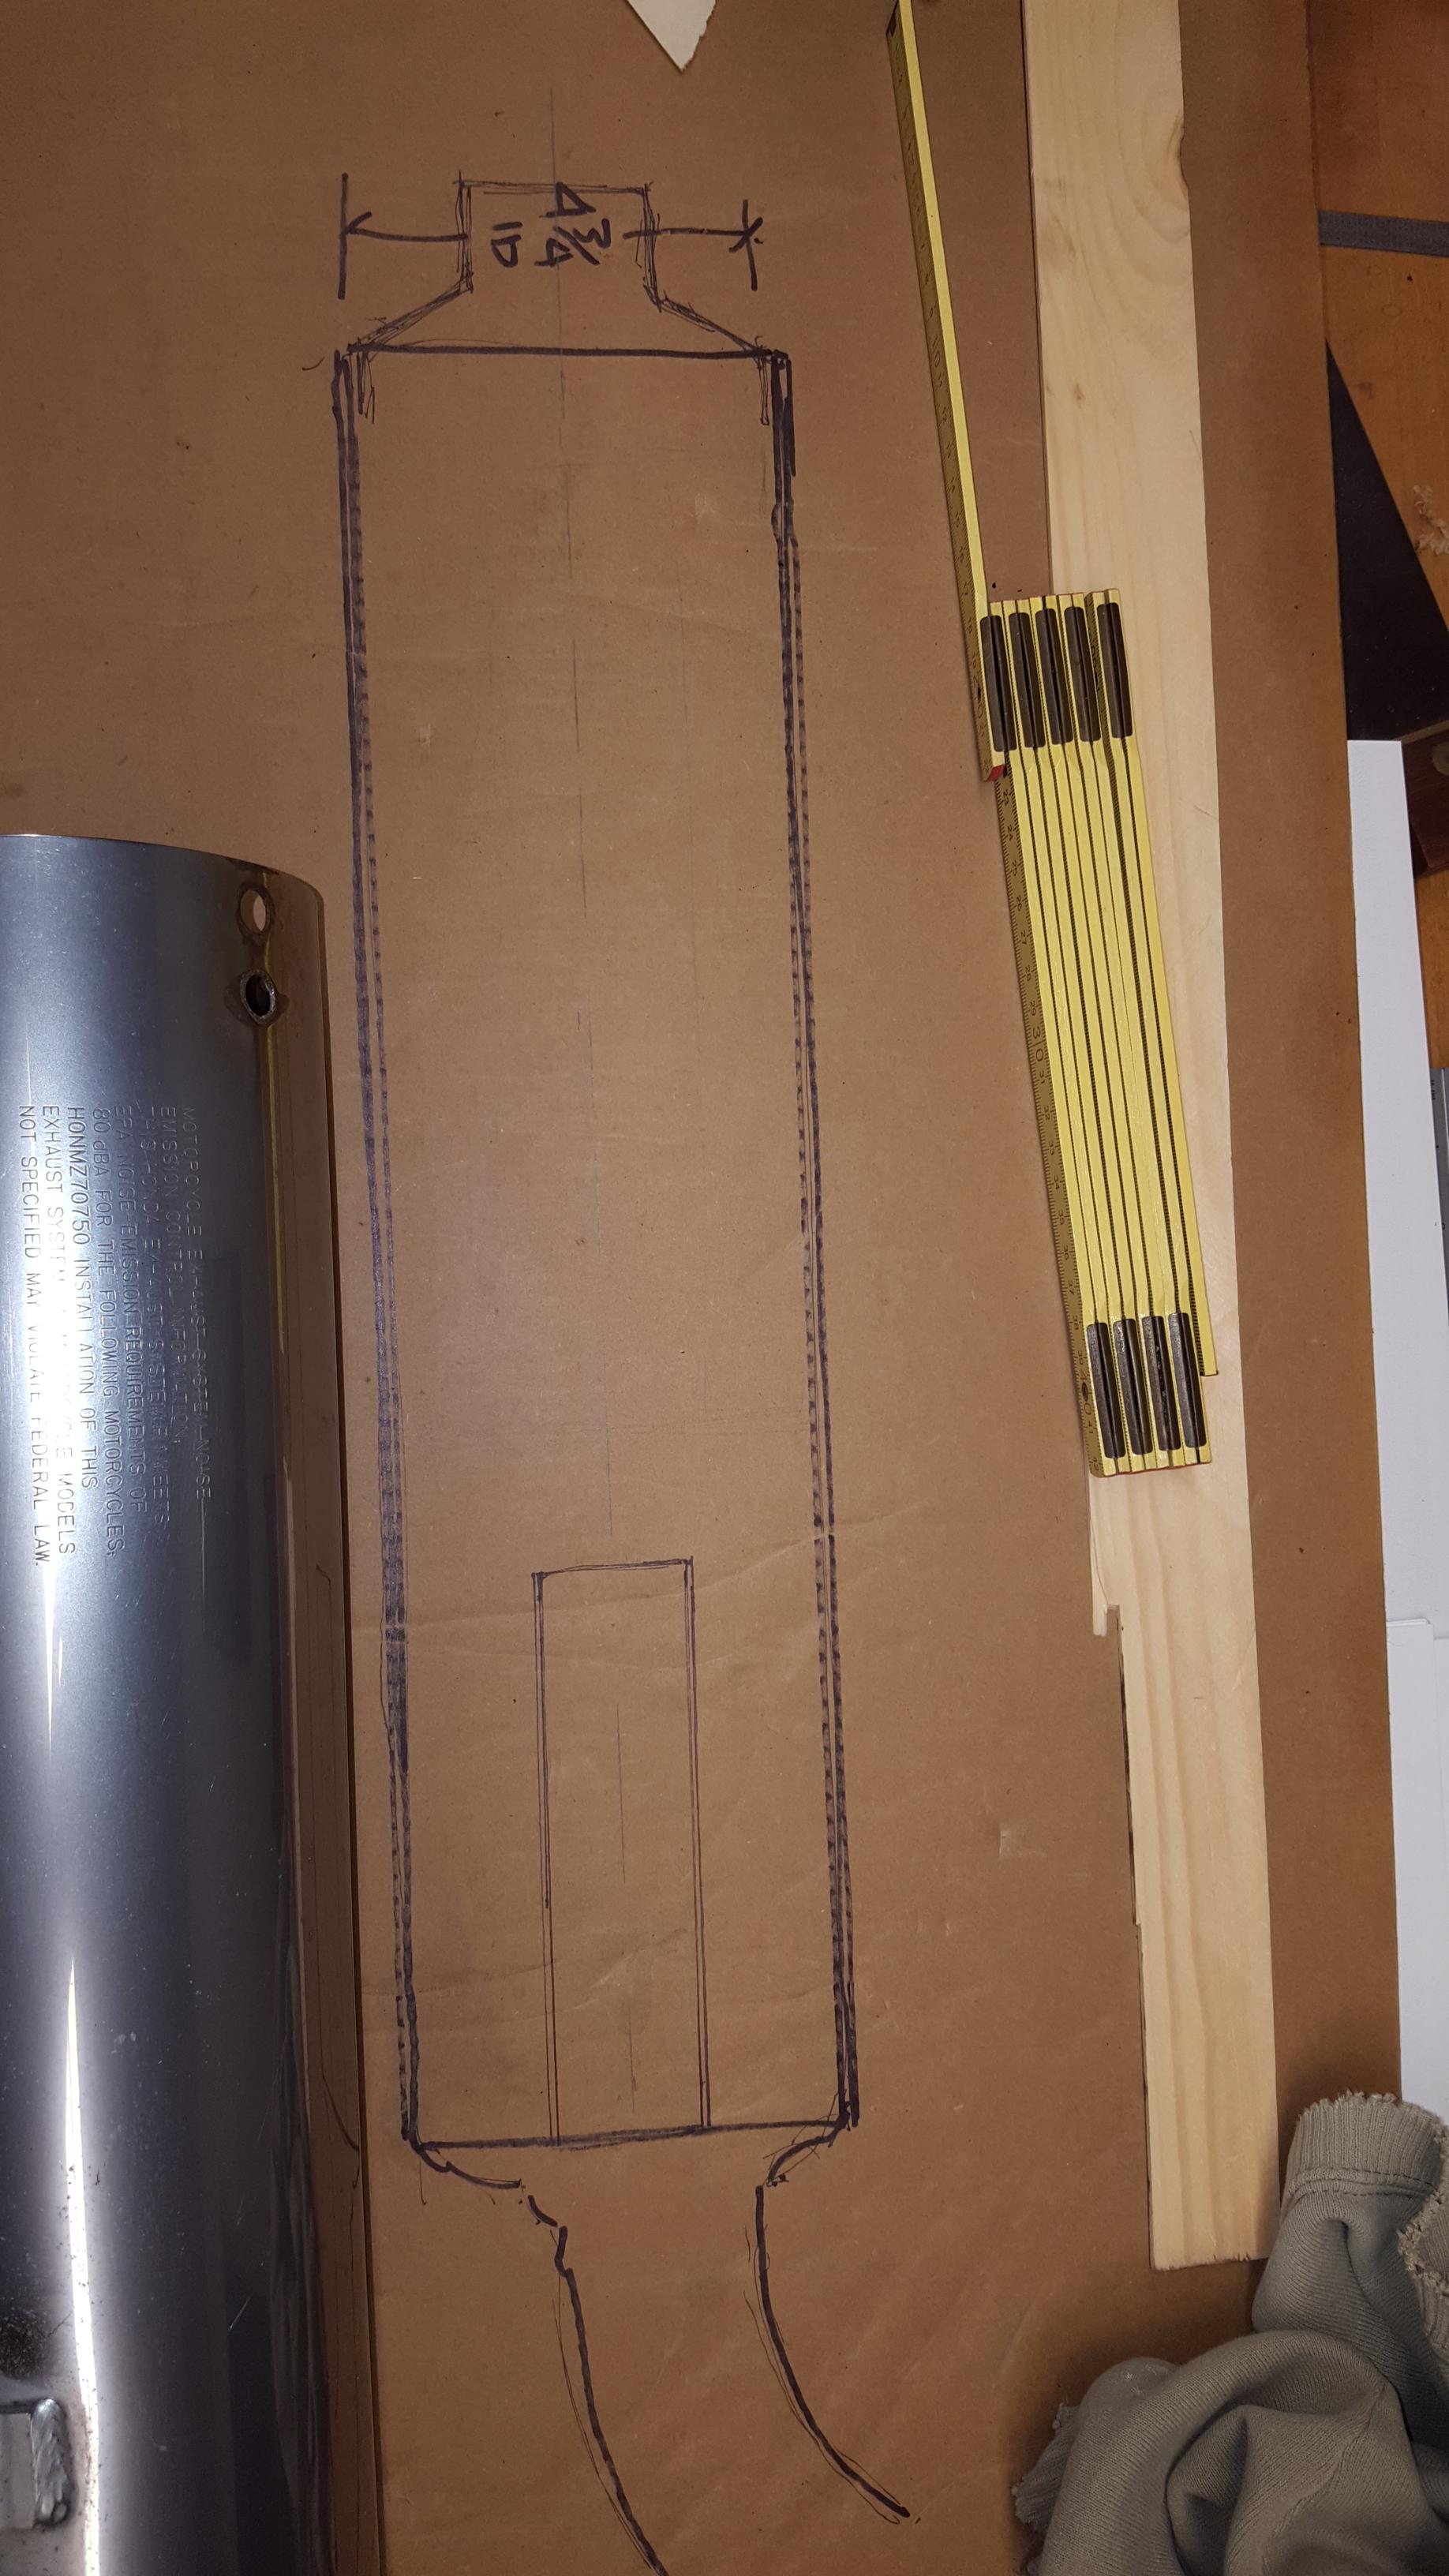
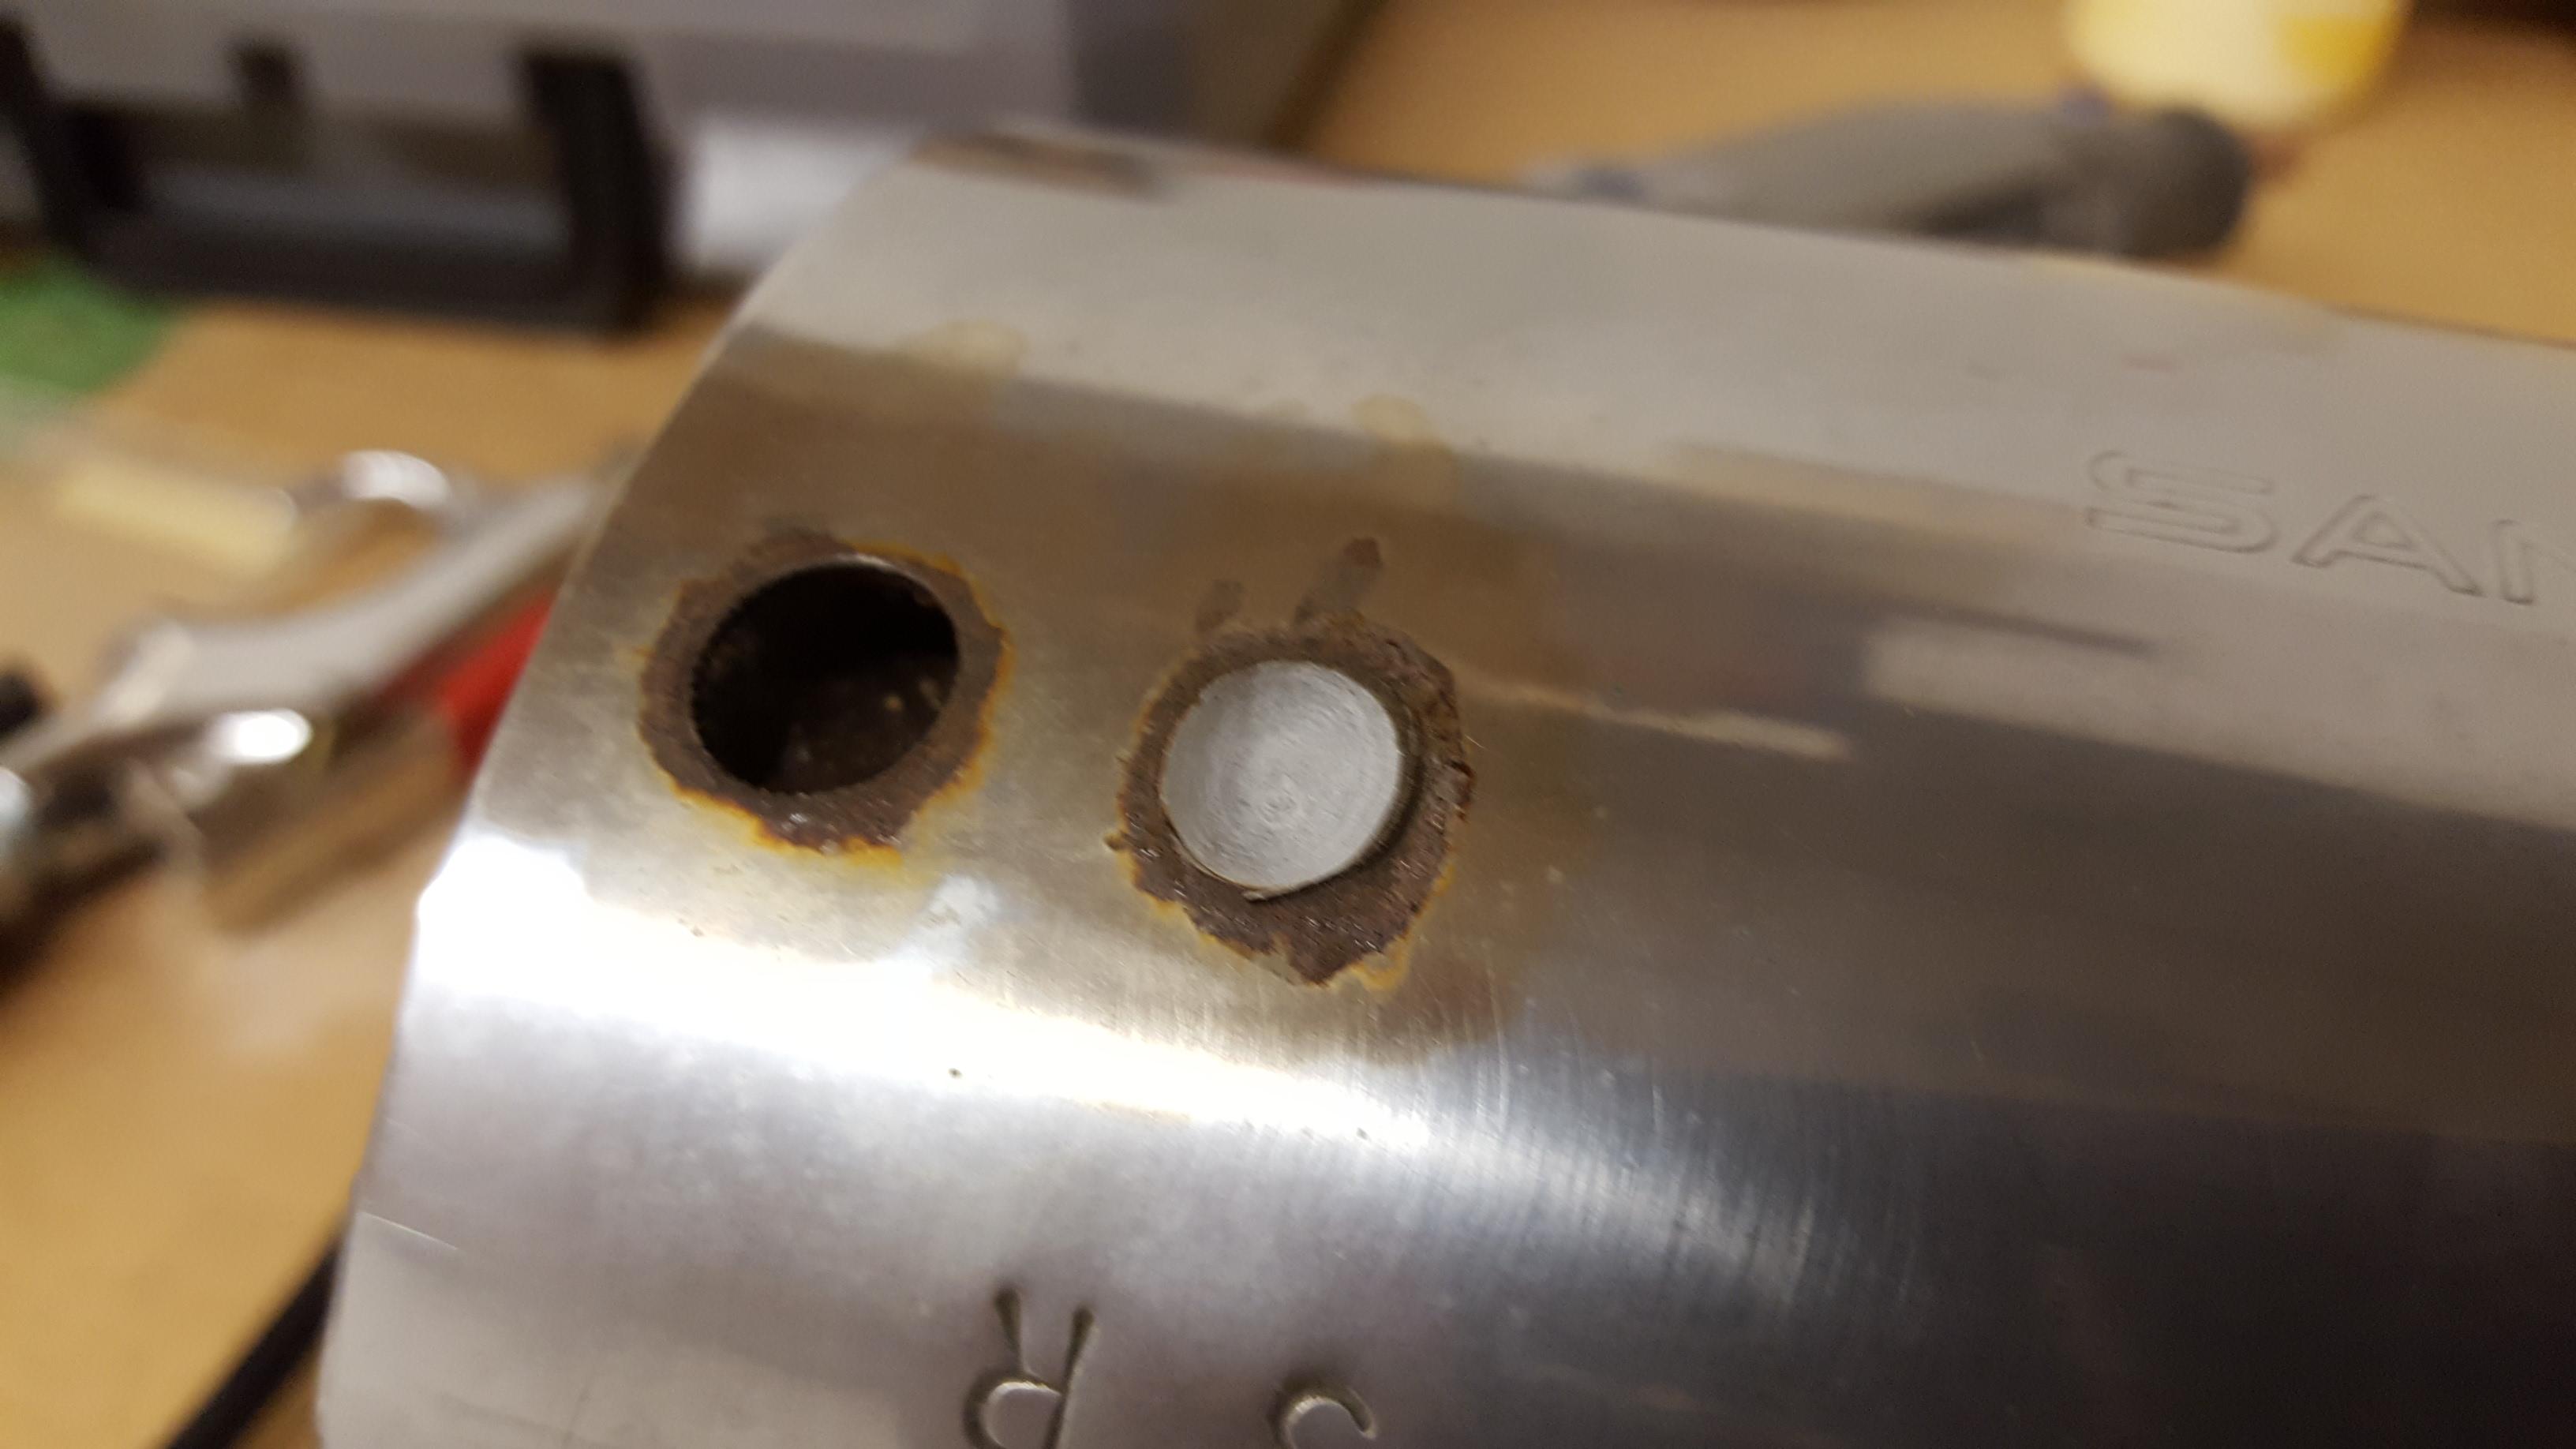
Back at it. Ready to assemble. Welded short fabricated tube to the perf, then added a ring as a stop. The stop ring will go against the inside of tail cap and push tube onto the existing entry stub. The tube will extend slightly out of tail piece. I added 3 tabs to the tail cap. These will get drilled and tapped for additional screws. This is just to have a way plug 3 holes left from removing interior sleeve. Tomorrow pack? I have some strand fiber material from "Area 9", exhaust systems in California.
-
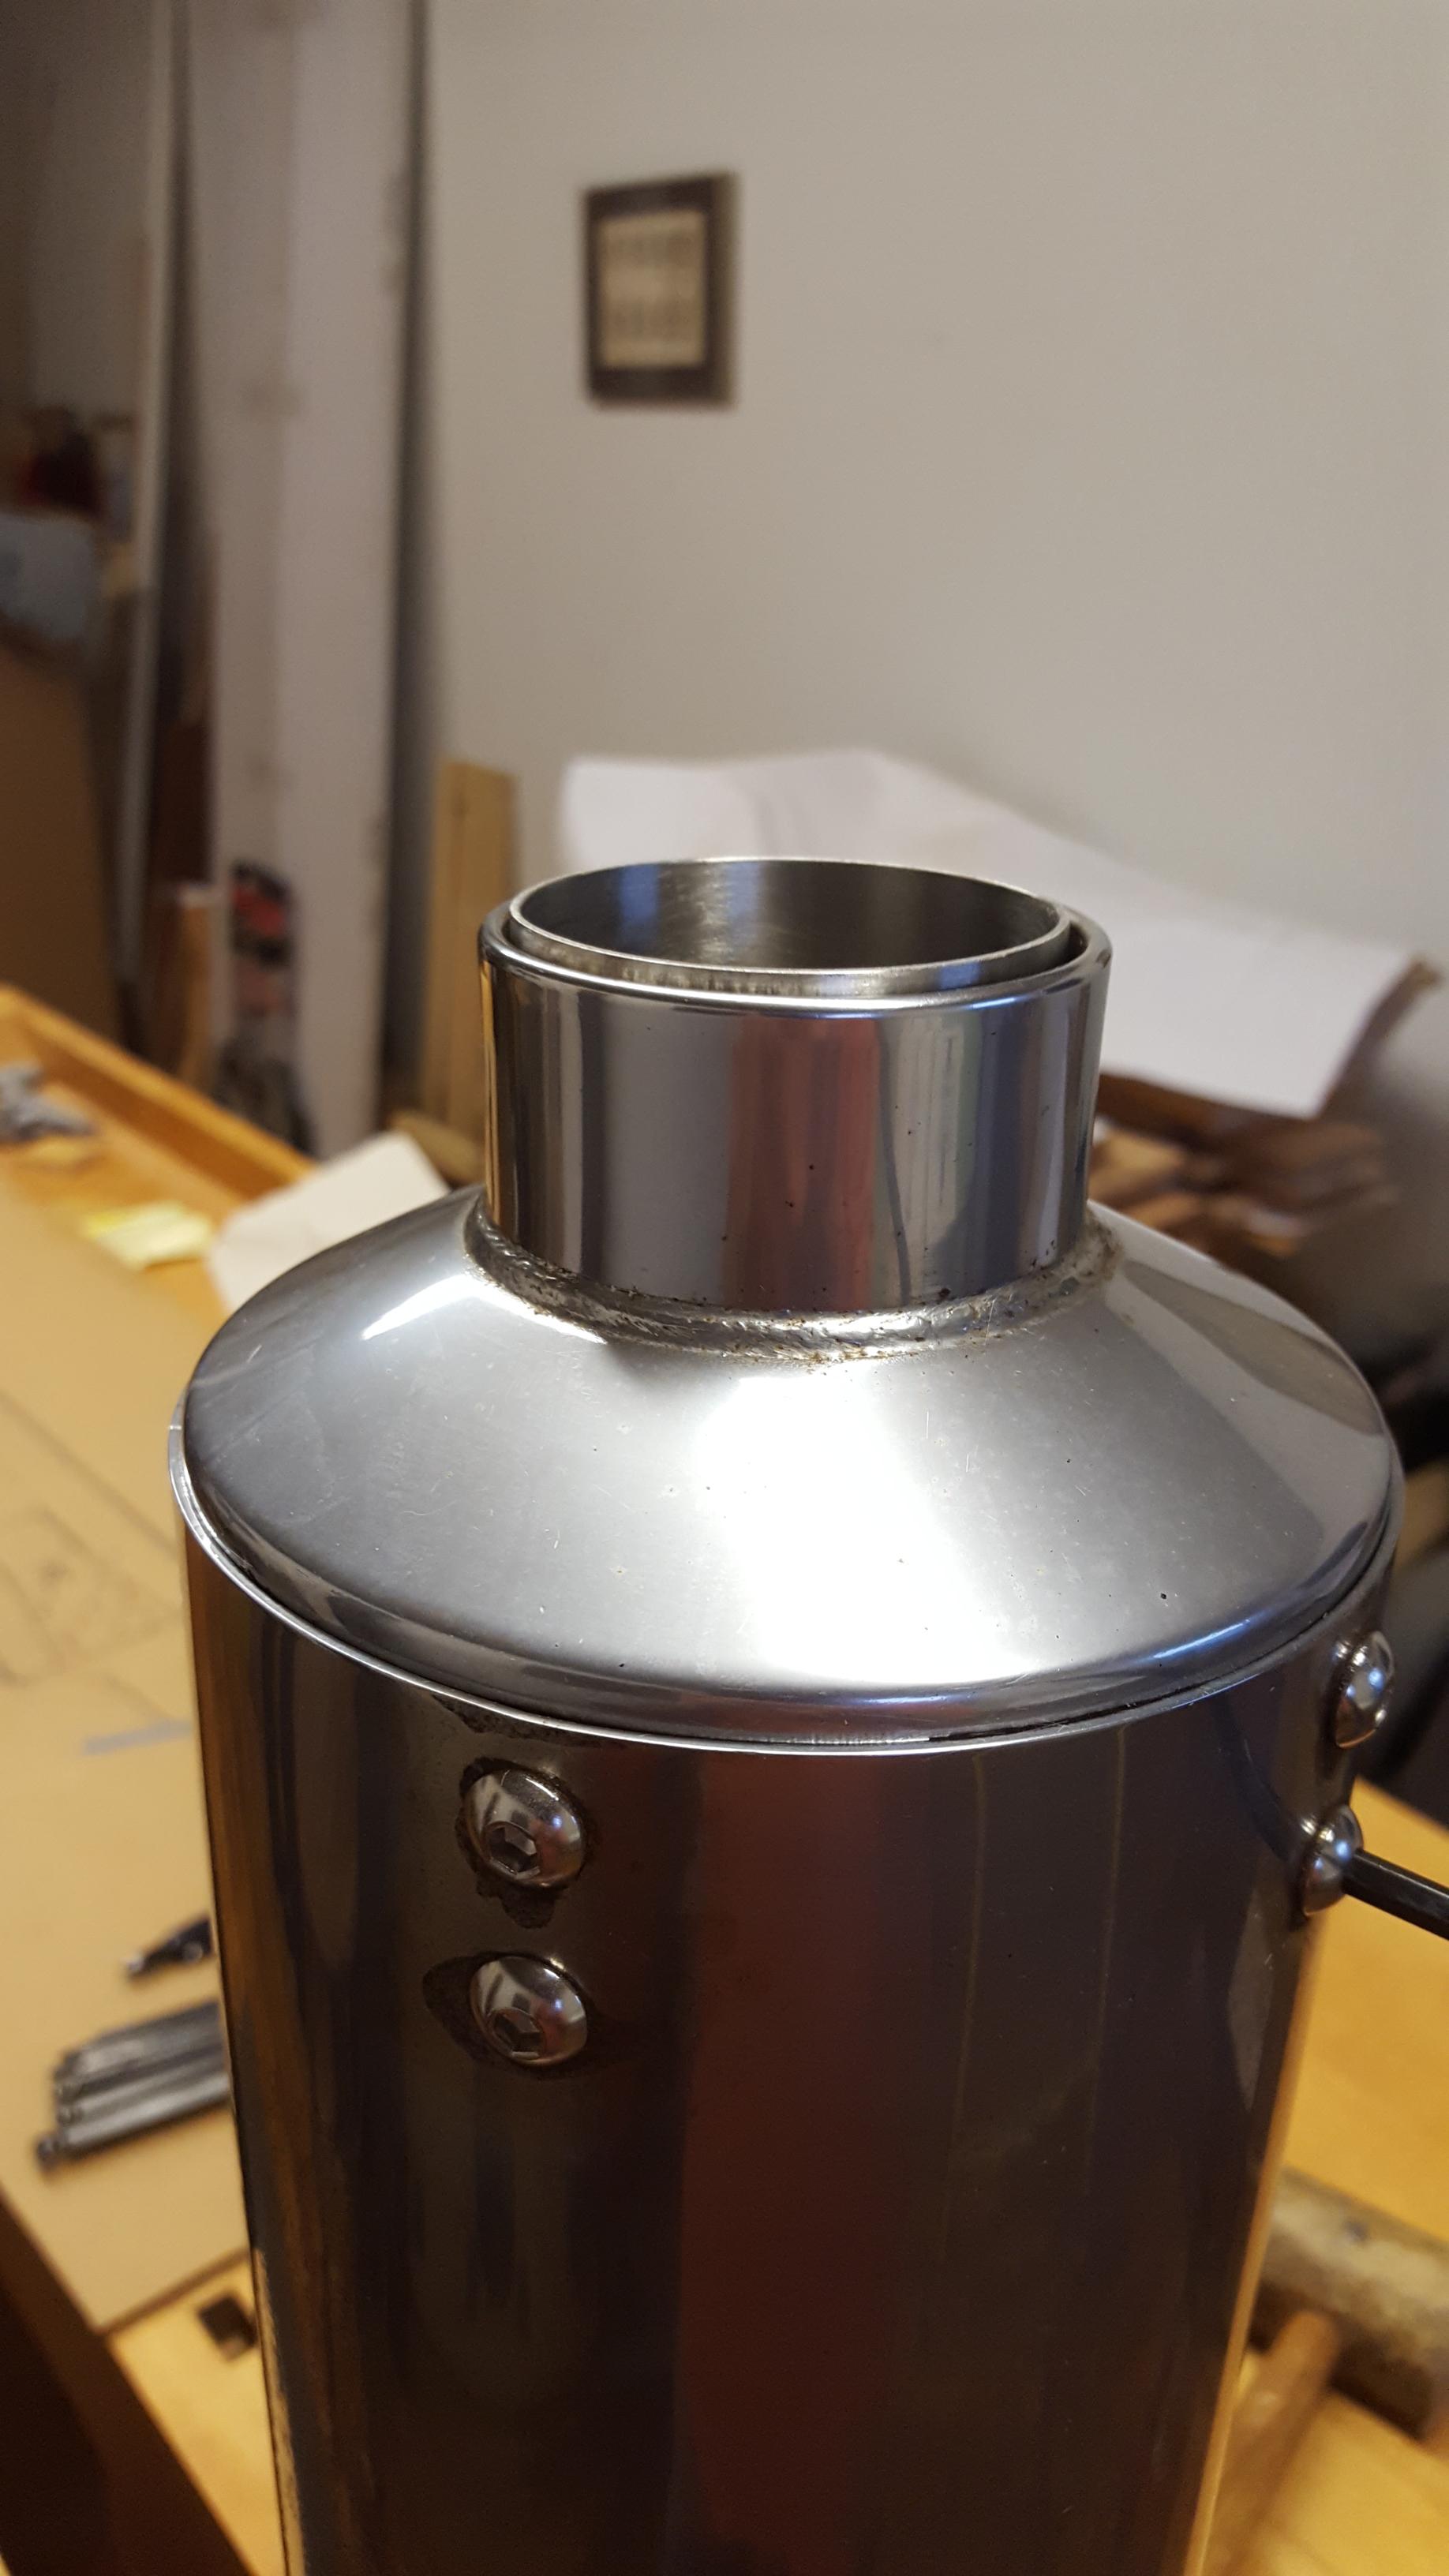
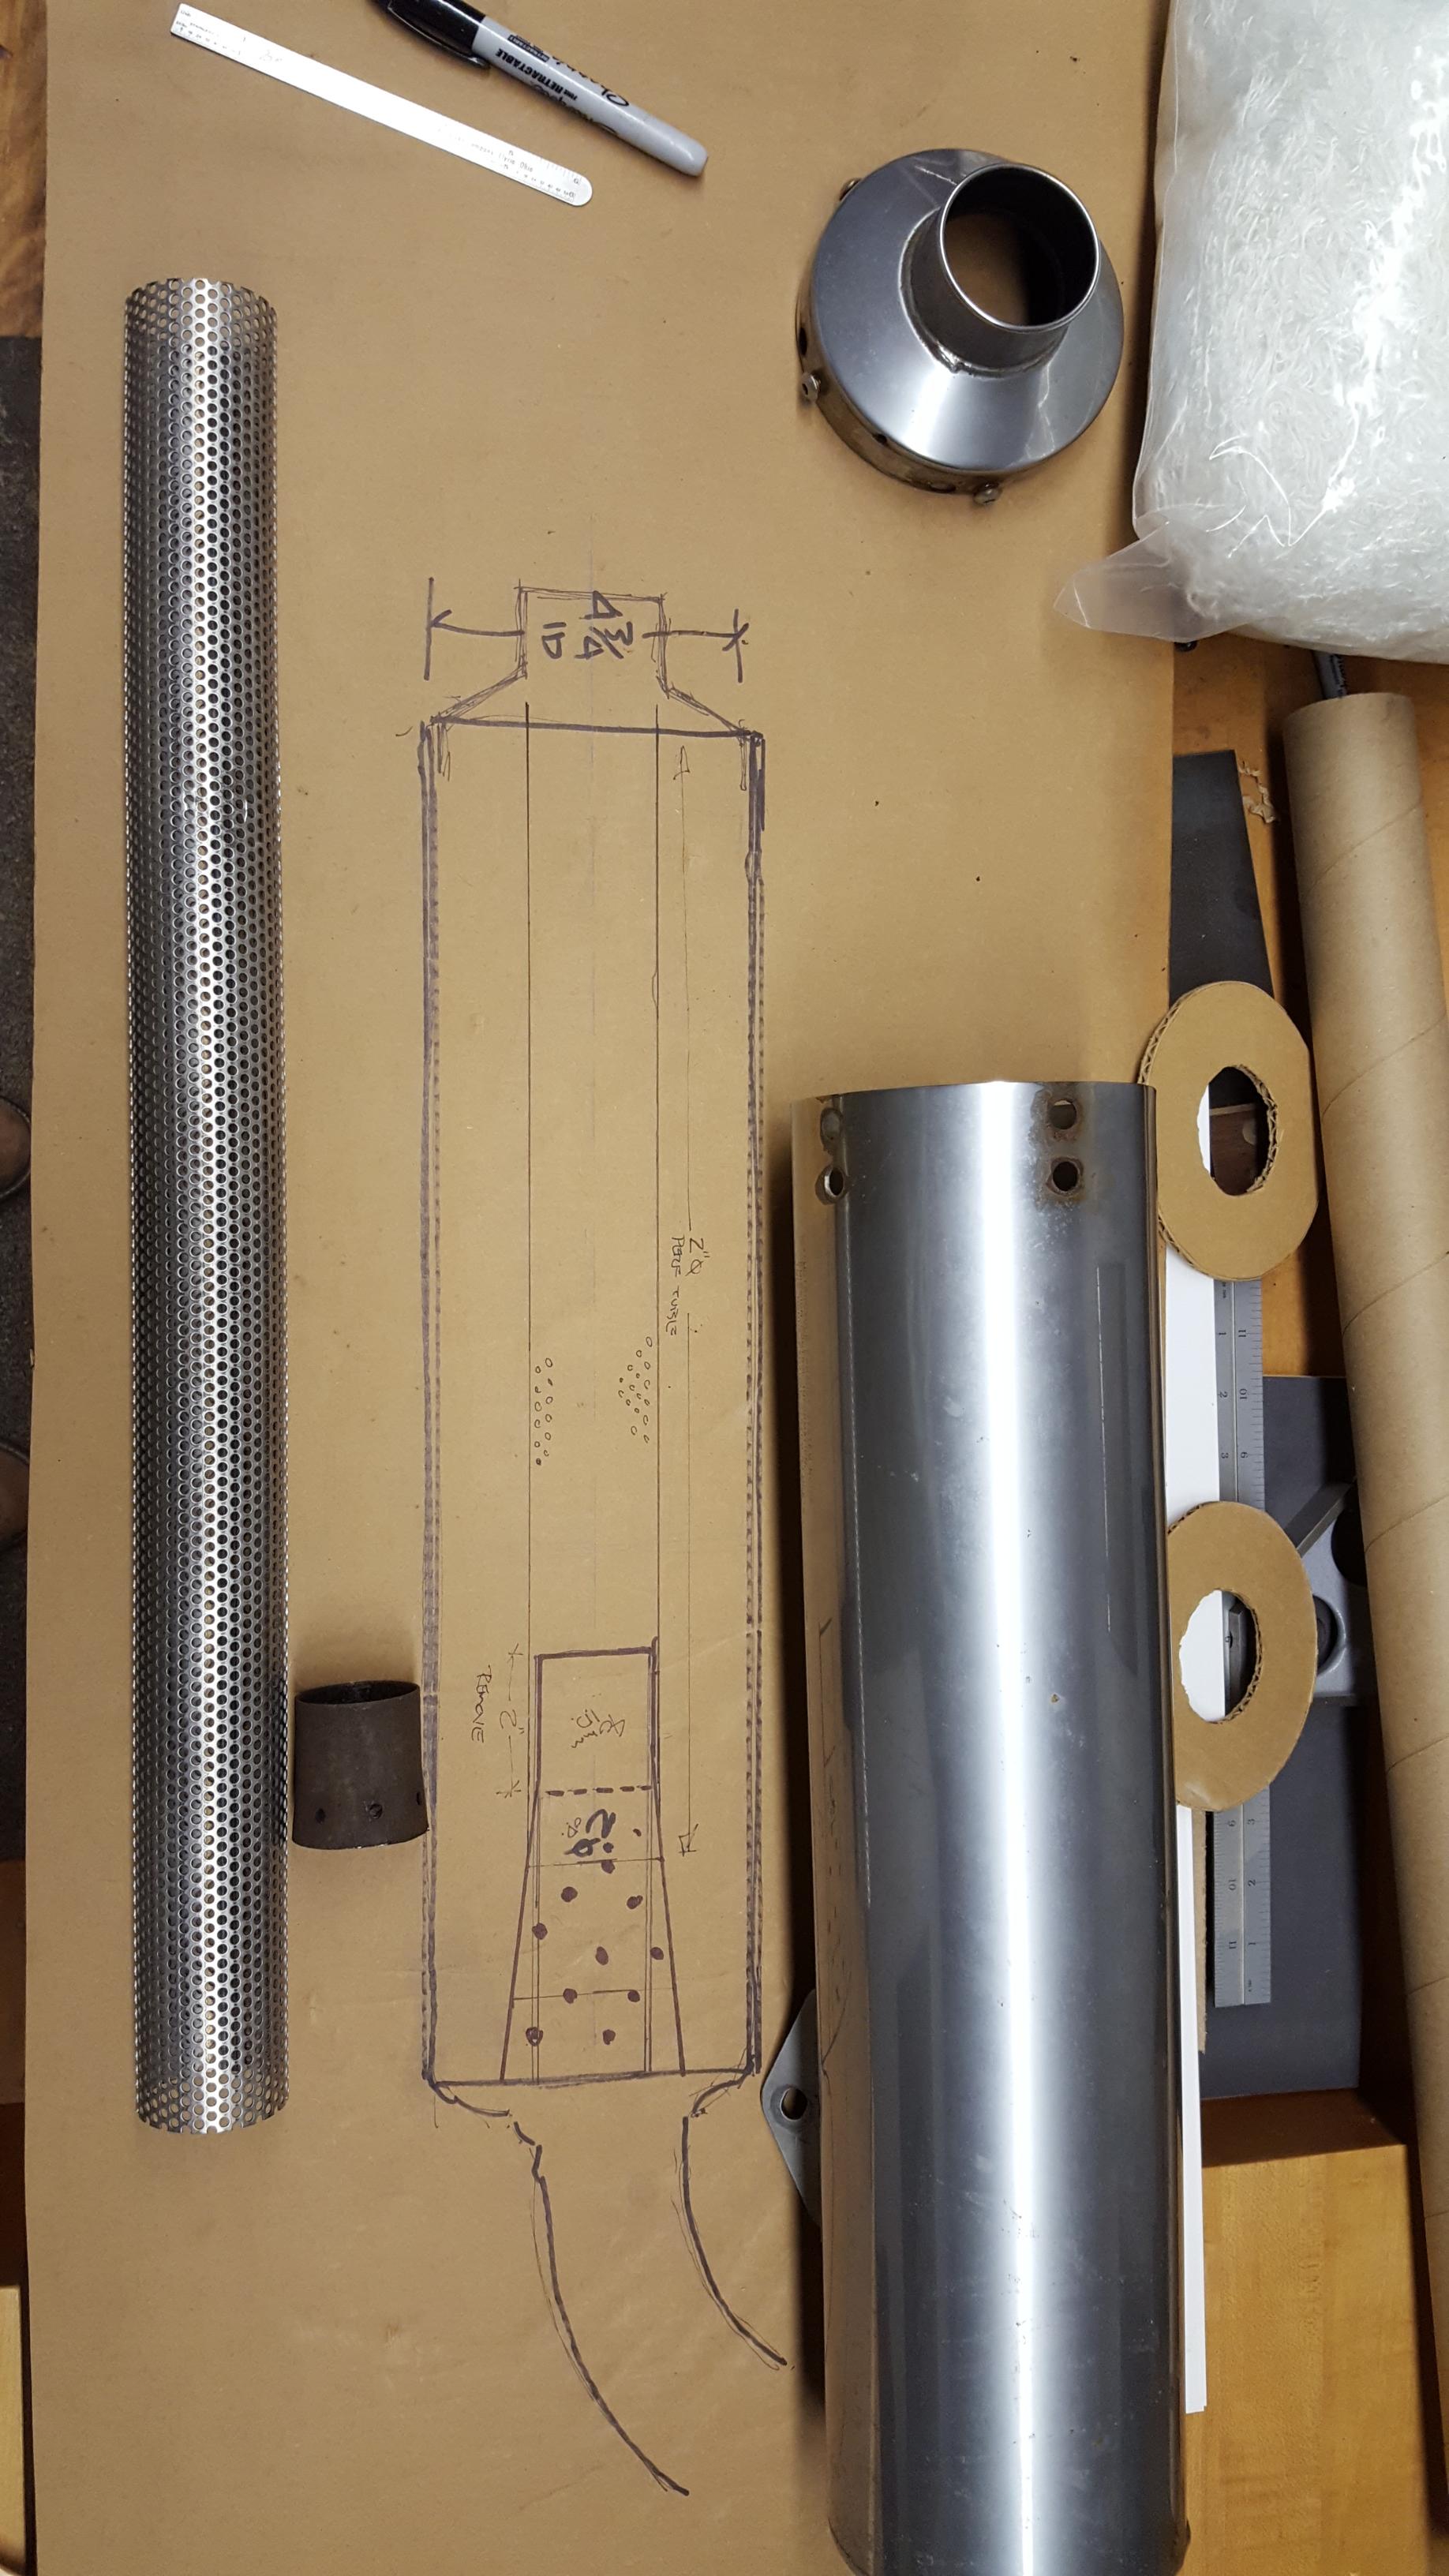
Not much to report. Wanted to have short tube at tip to pass through the tail piece so the perf pipe will not be visible. Too cheap to buy, so fabricating from .045 stainless. Once this is welded, will tack to perf. Was thinking of cutting the can shorter, at least 1.5" to eliminate the 6 original rivet holes. I had thought the can was stainless, but now realize it is chrome steel. Cutting will leave edge raw, how to keep from rusting,....? May leave it, for path of least hassle.
-
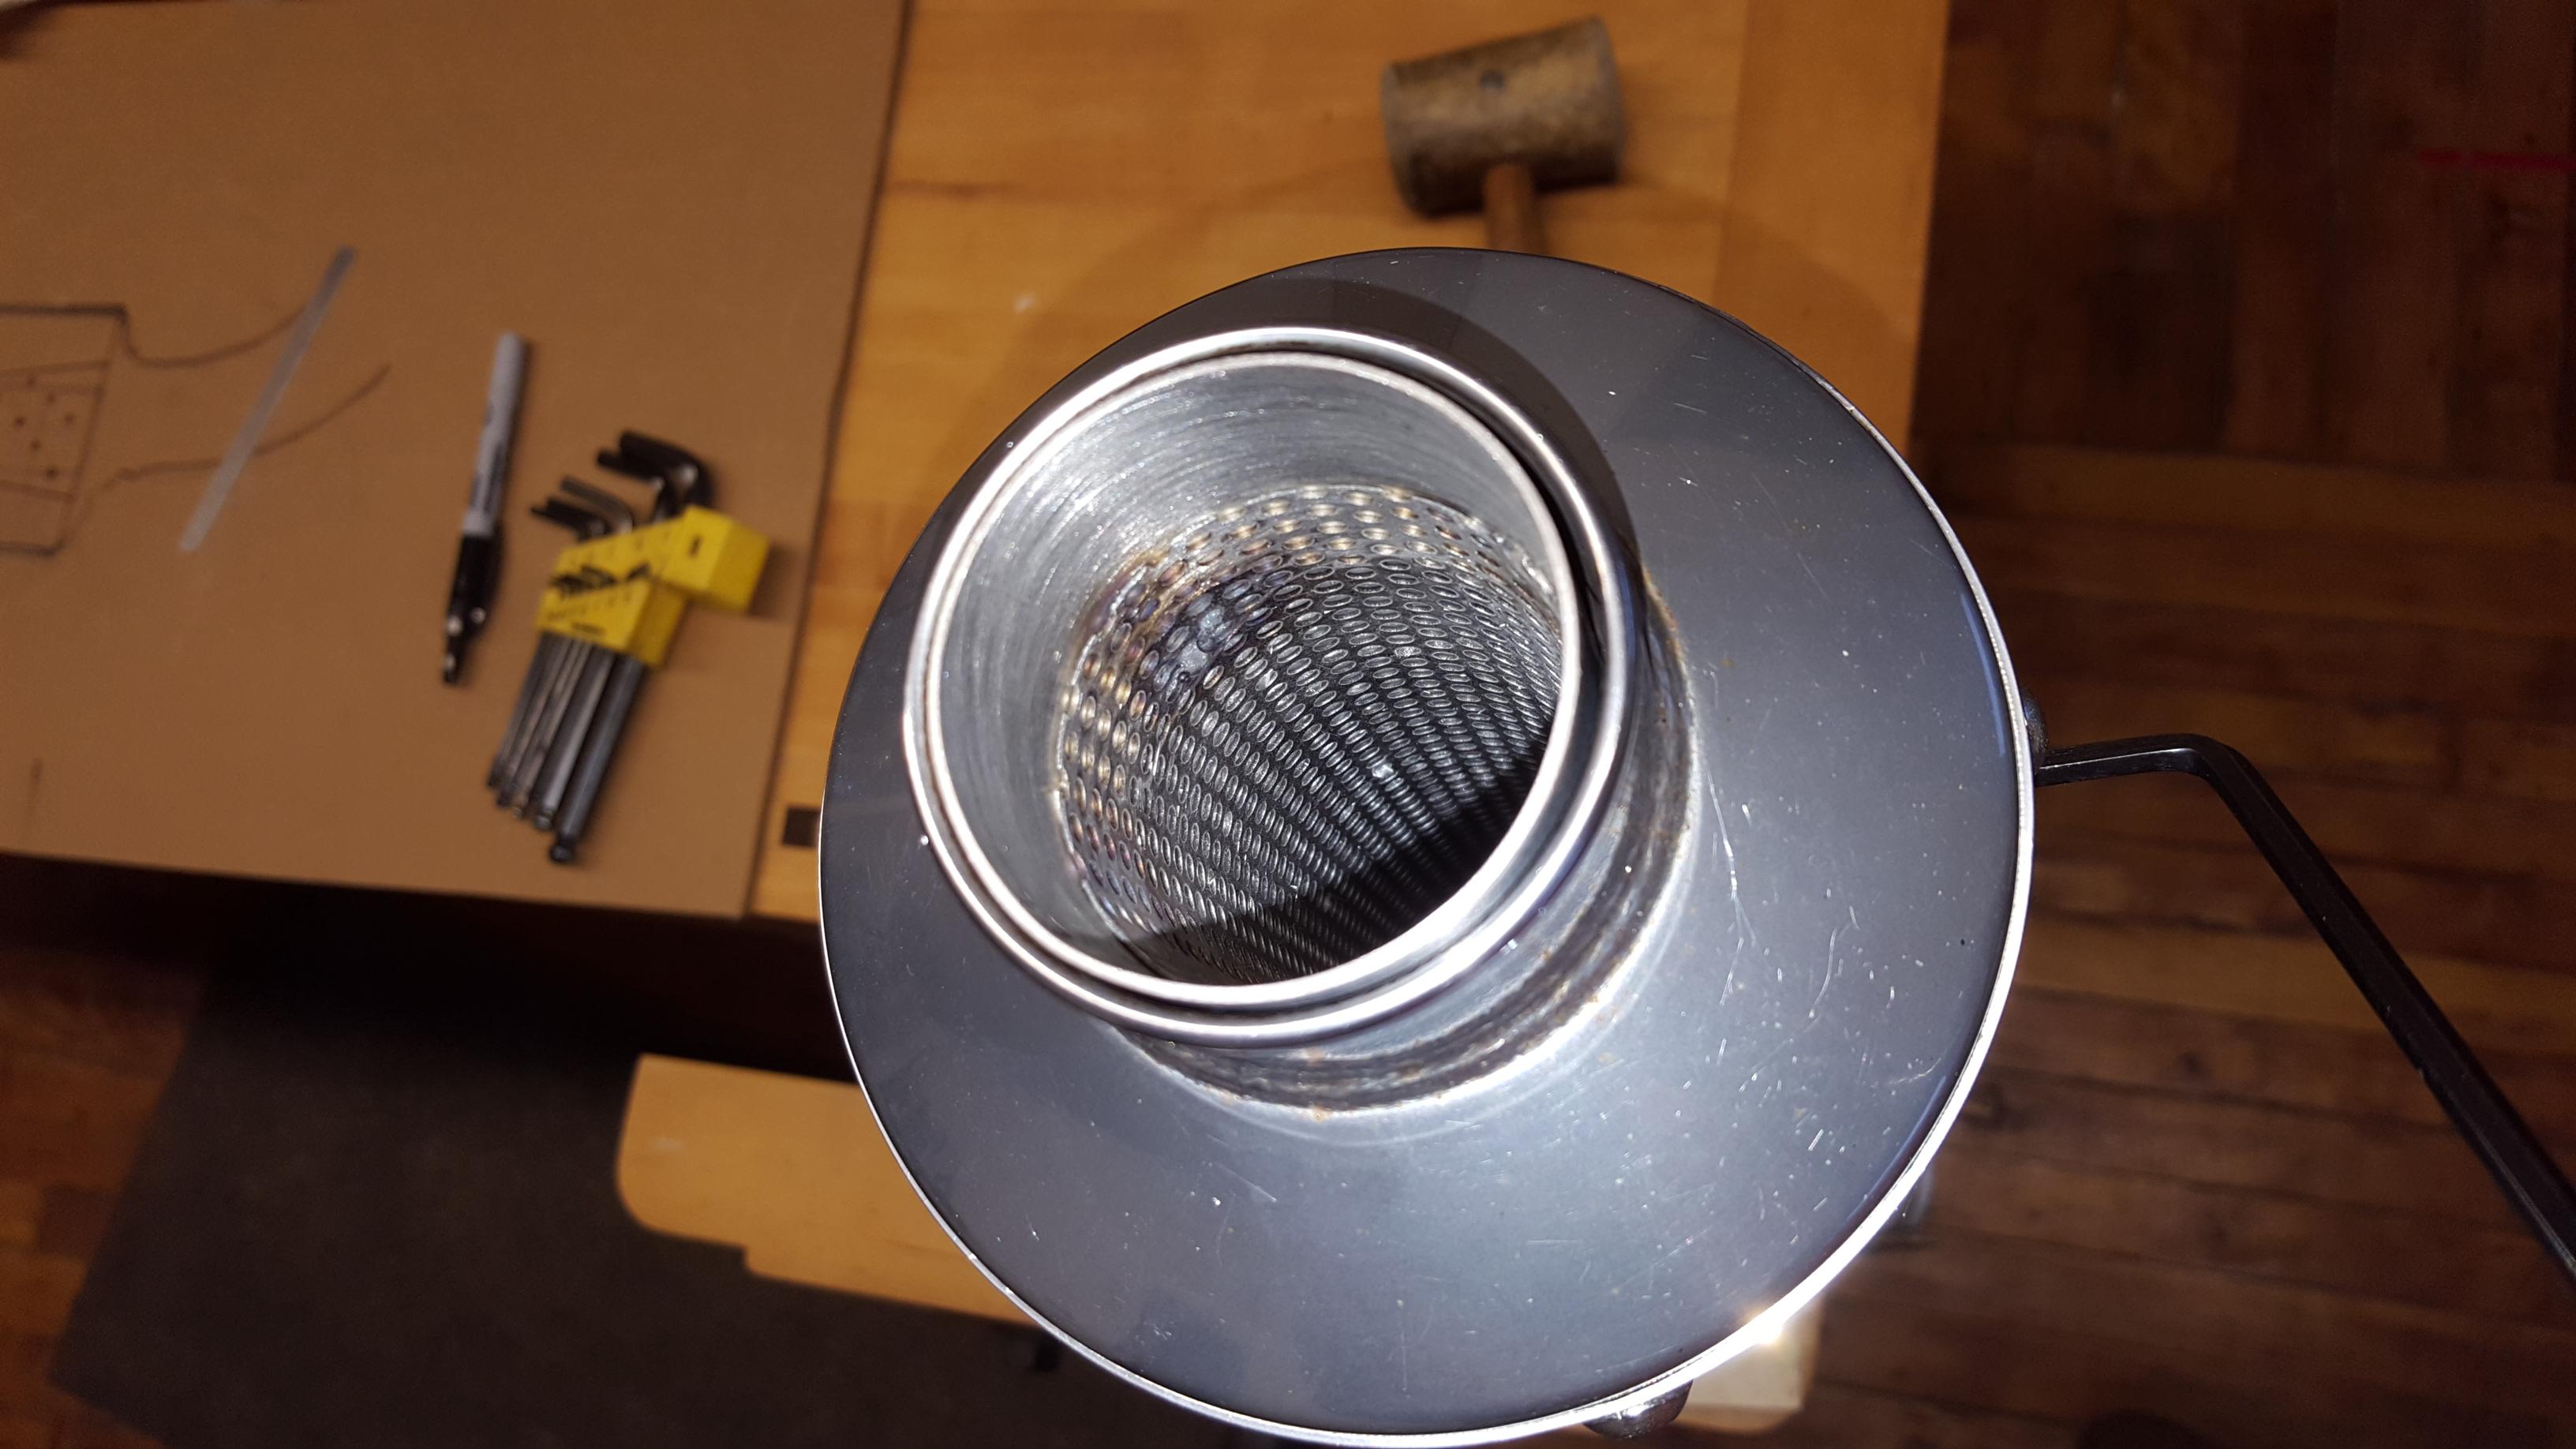
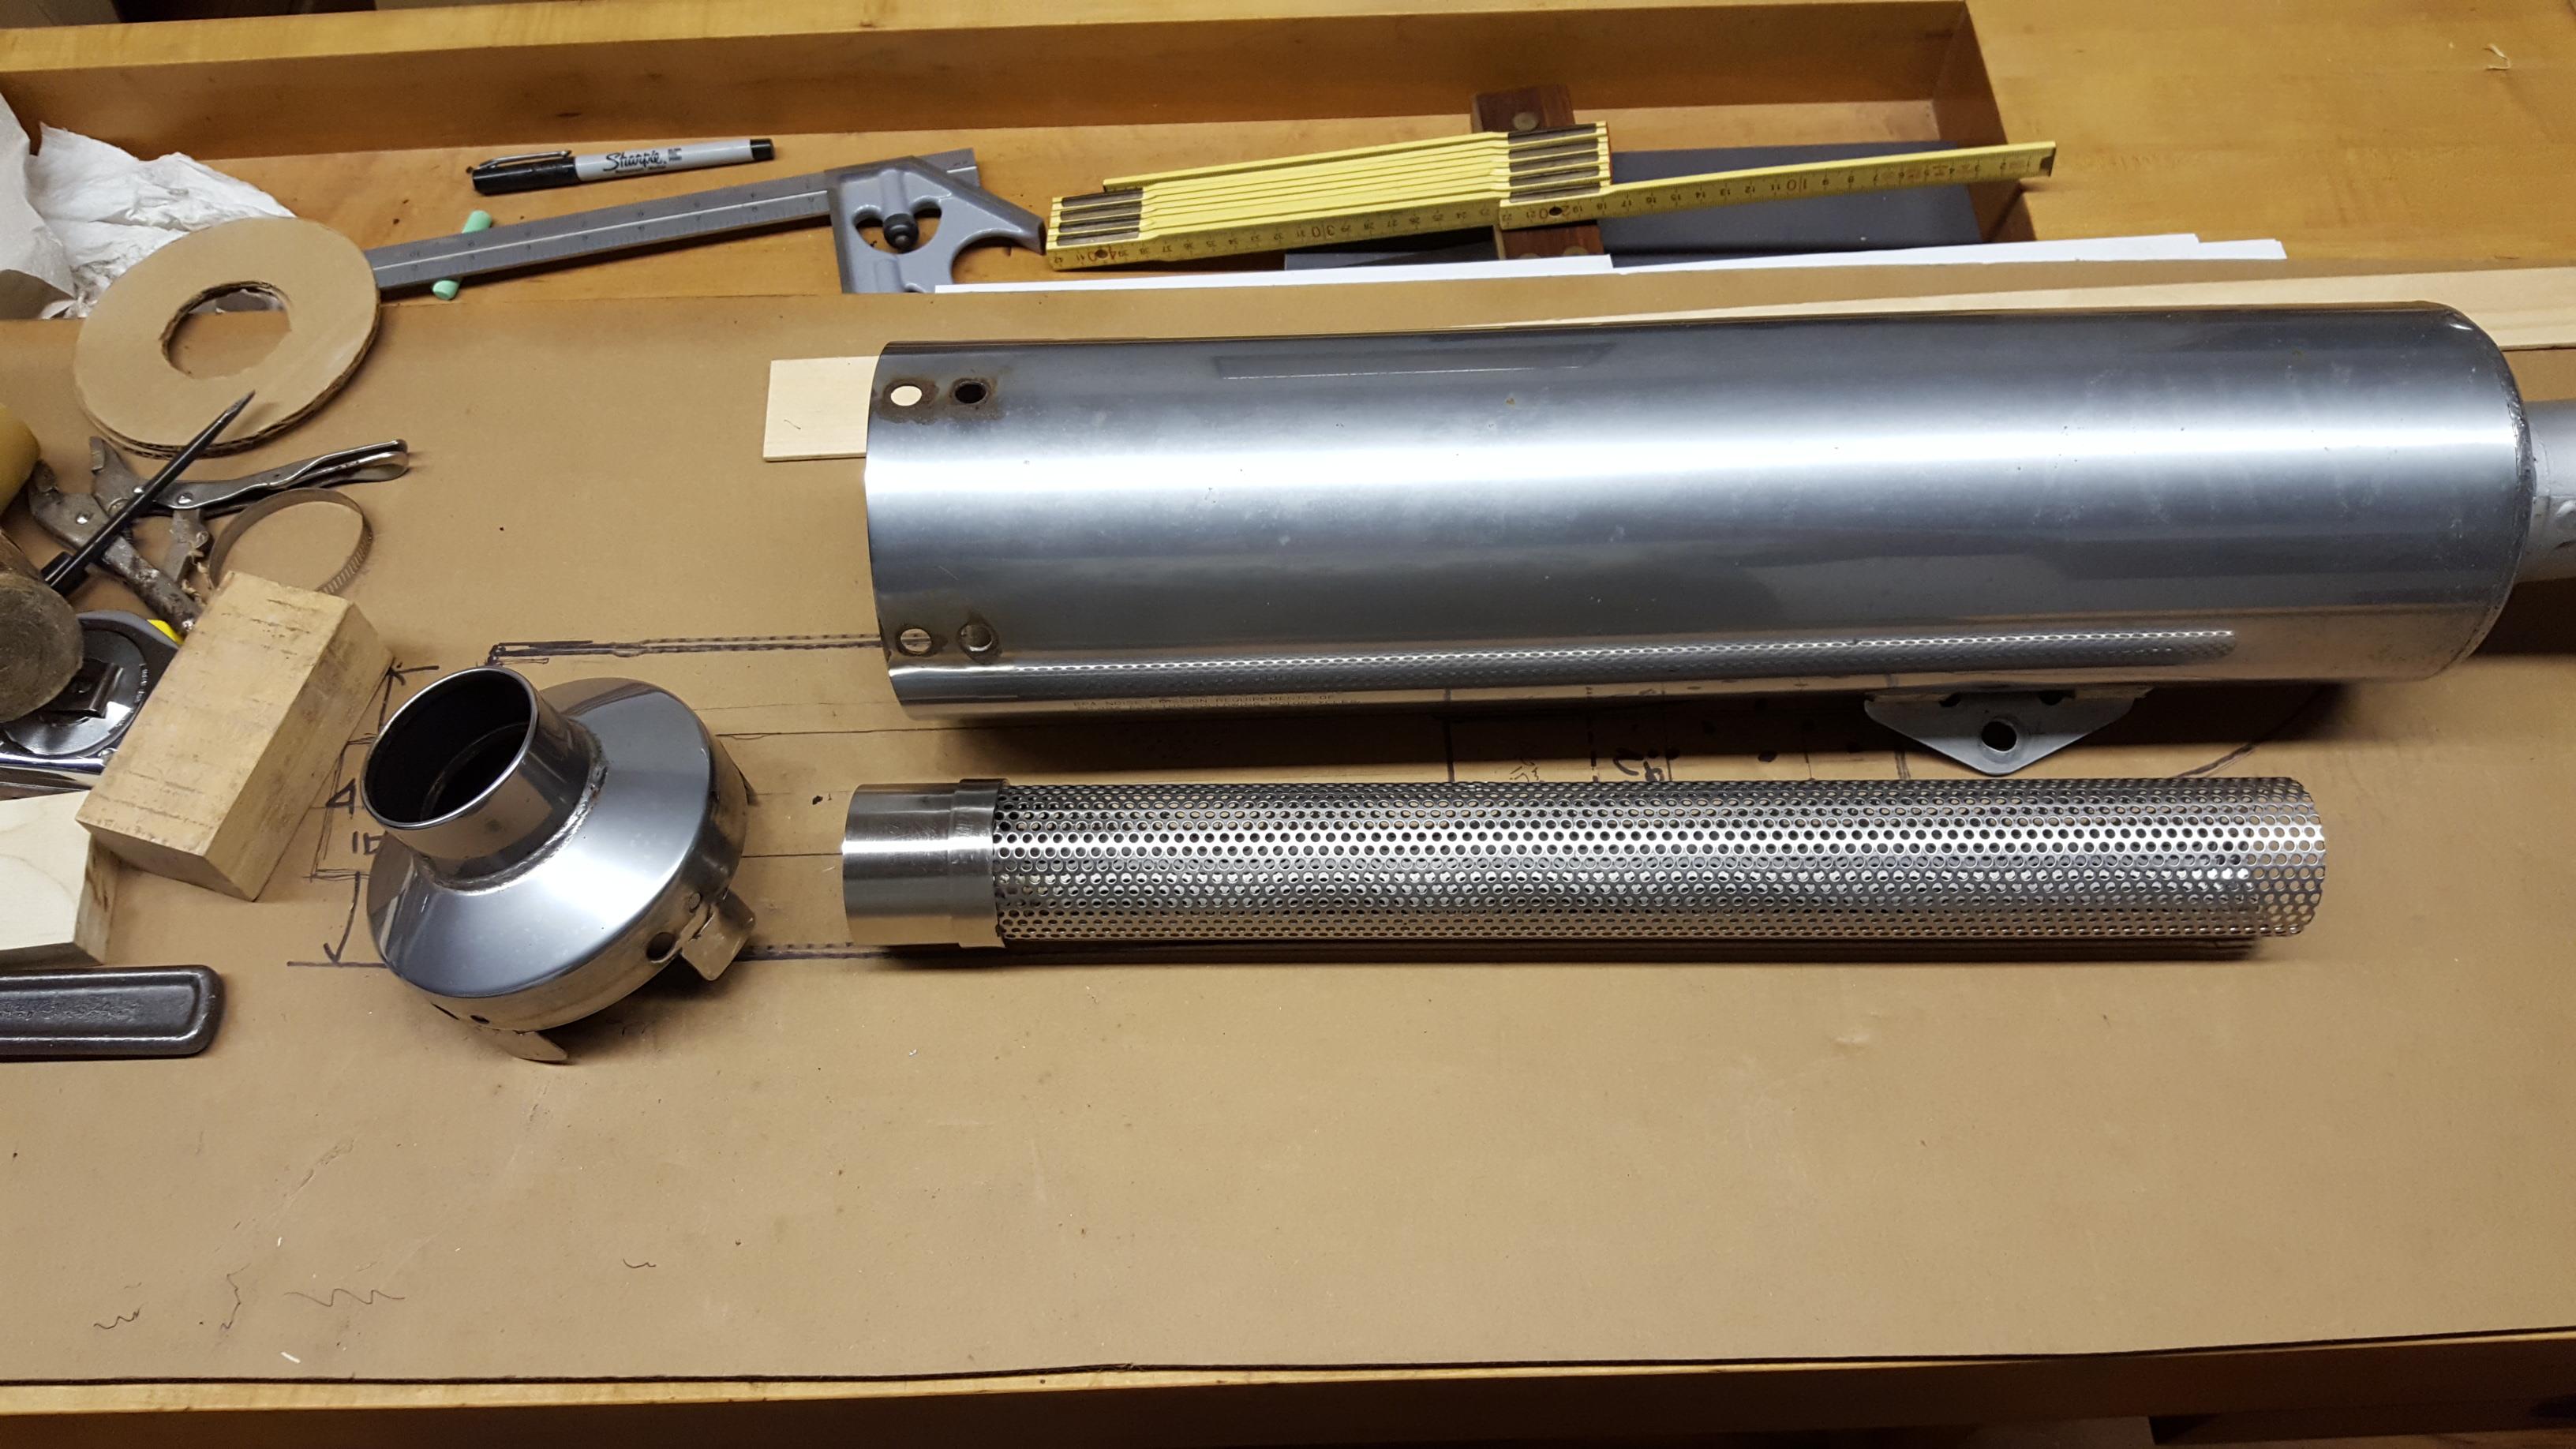
Dear readers,..... May be addressing an empty room? After much reading and head scratching have decided to eliminate front reactive chamber and go straight through with 2" stainless perf tube. There is a tapered tube at entry. This was the first entry chamber. It tapers from 2.5 down to 1.5. It is perforated with .25 holes. I cut 2" off its length to allow the new perf tube to slip over the stub but without the reduced dia. Will need to figure a way to secure and center at tail. Pack and cap. Optimistic. Shed some weight even off an already gutted can. Hoping to get the perfect sound,....
-
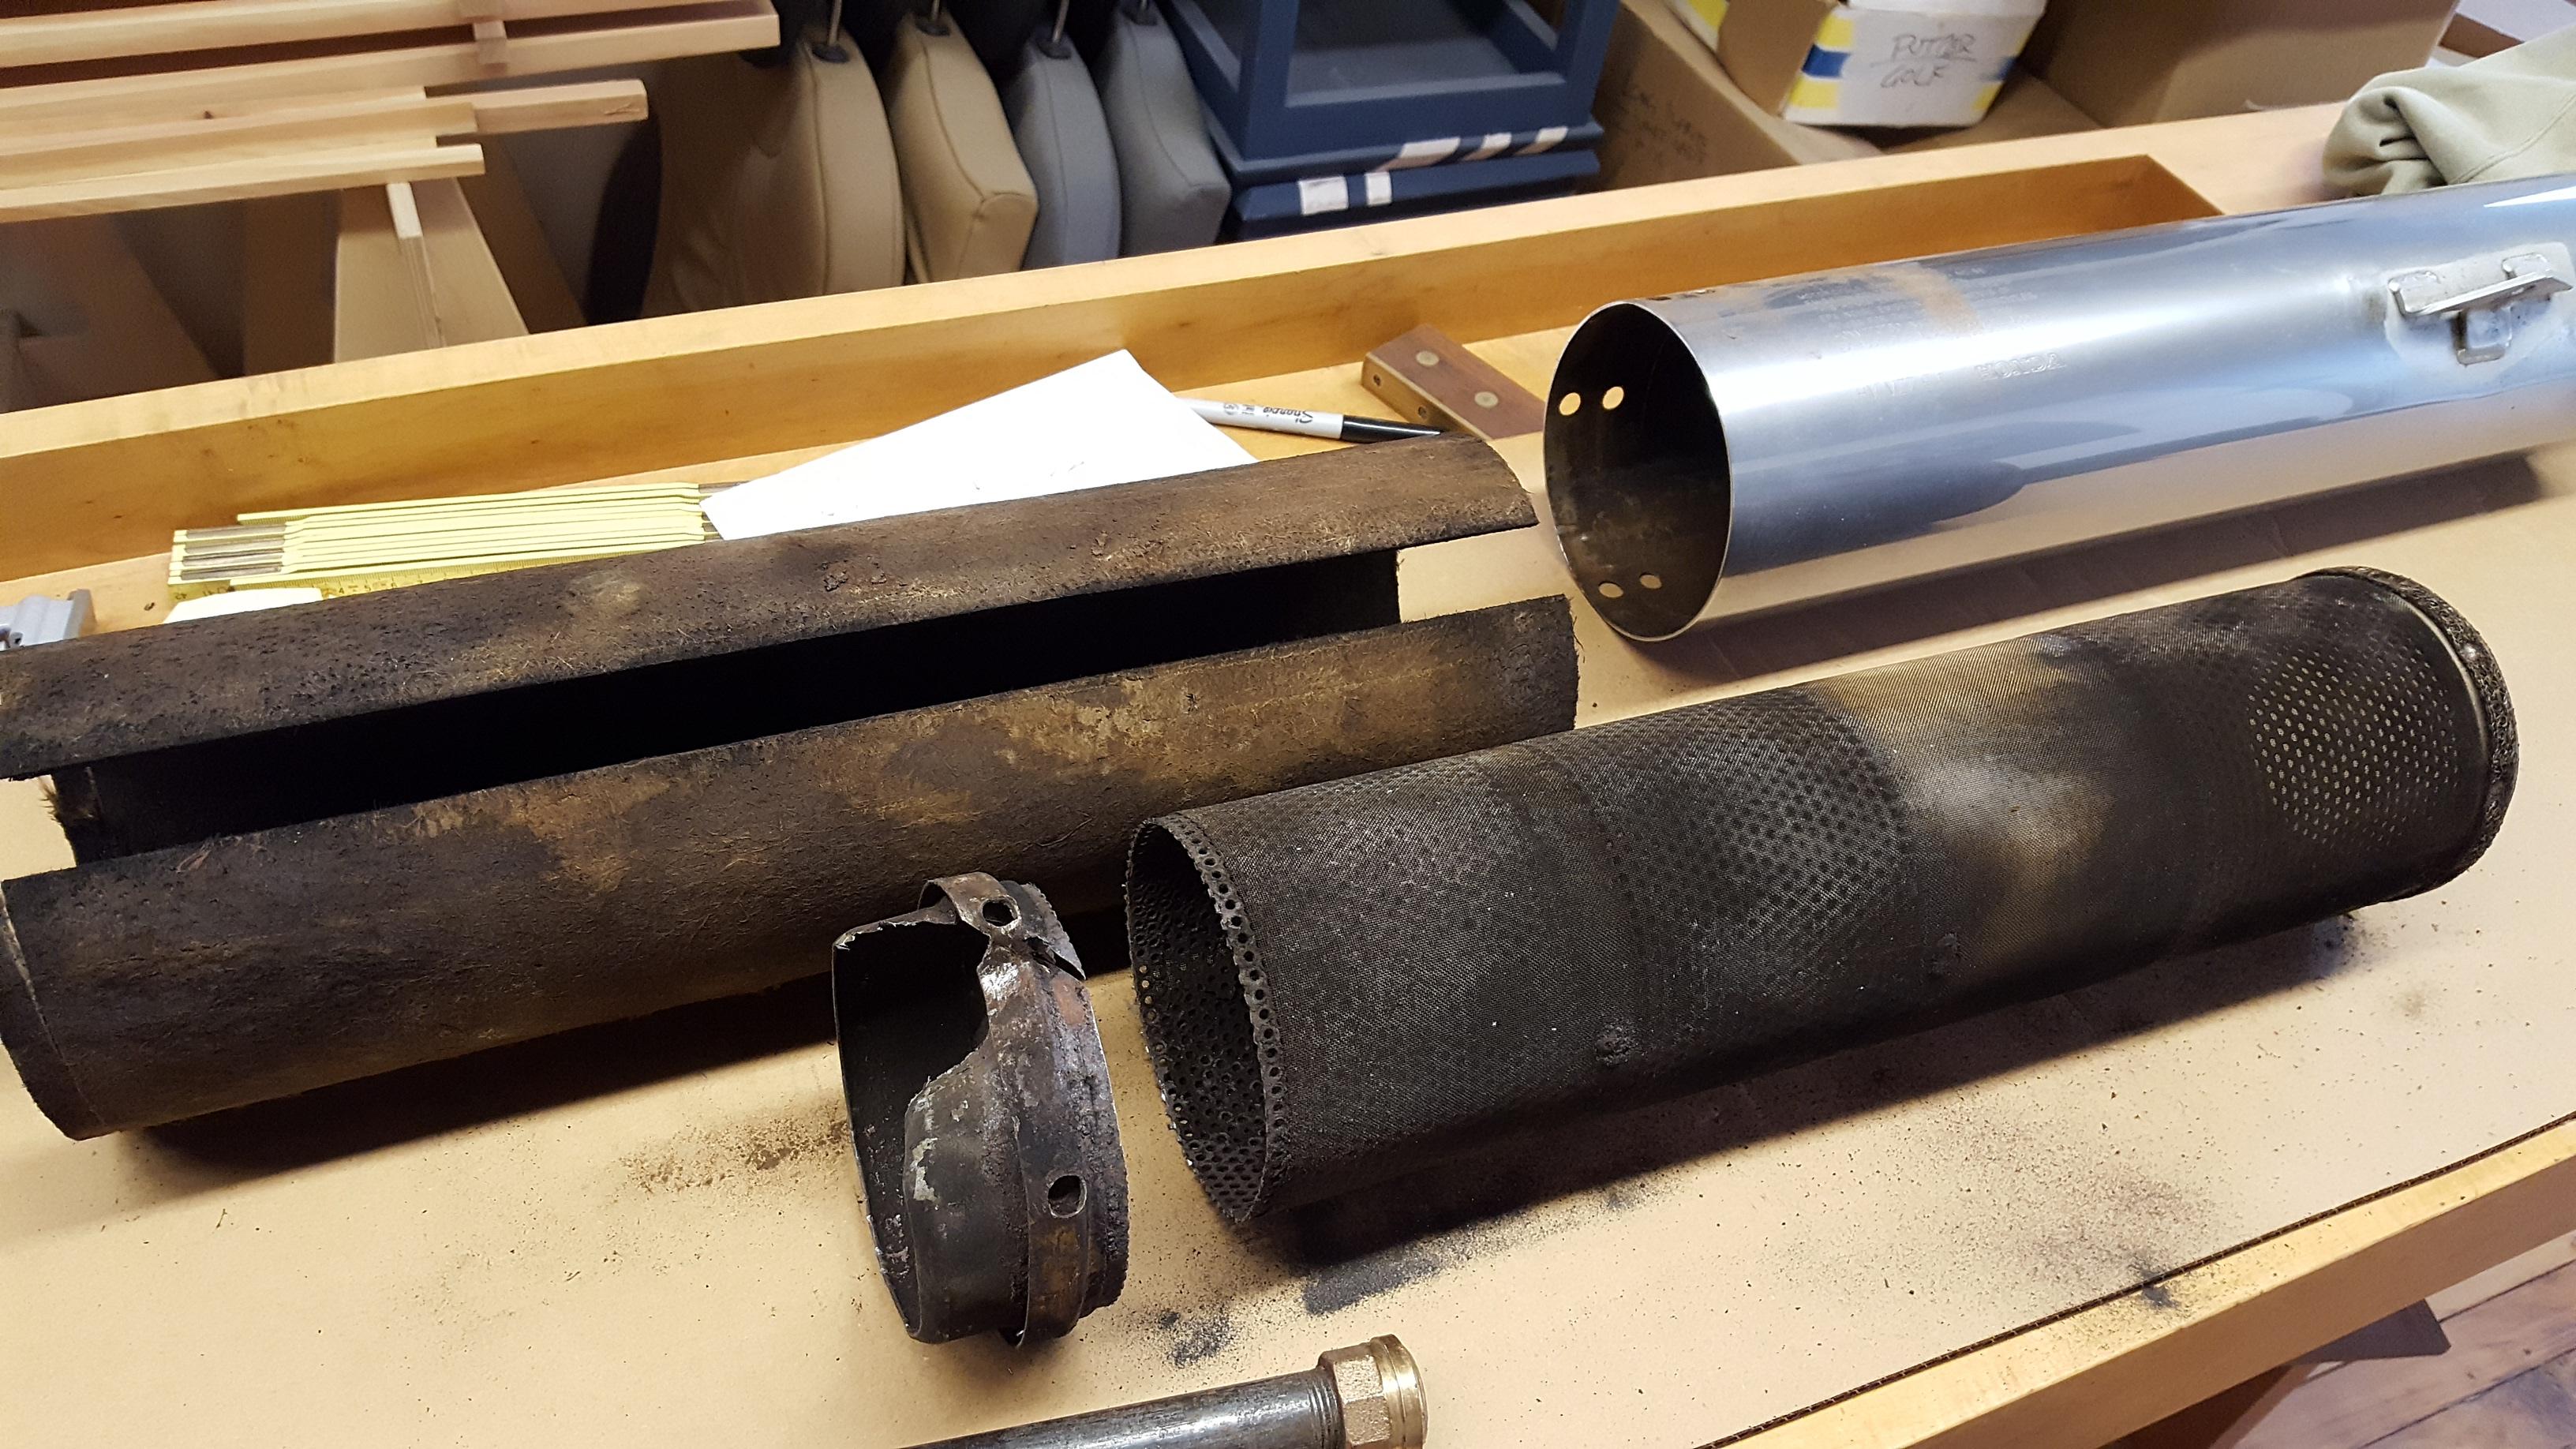
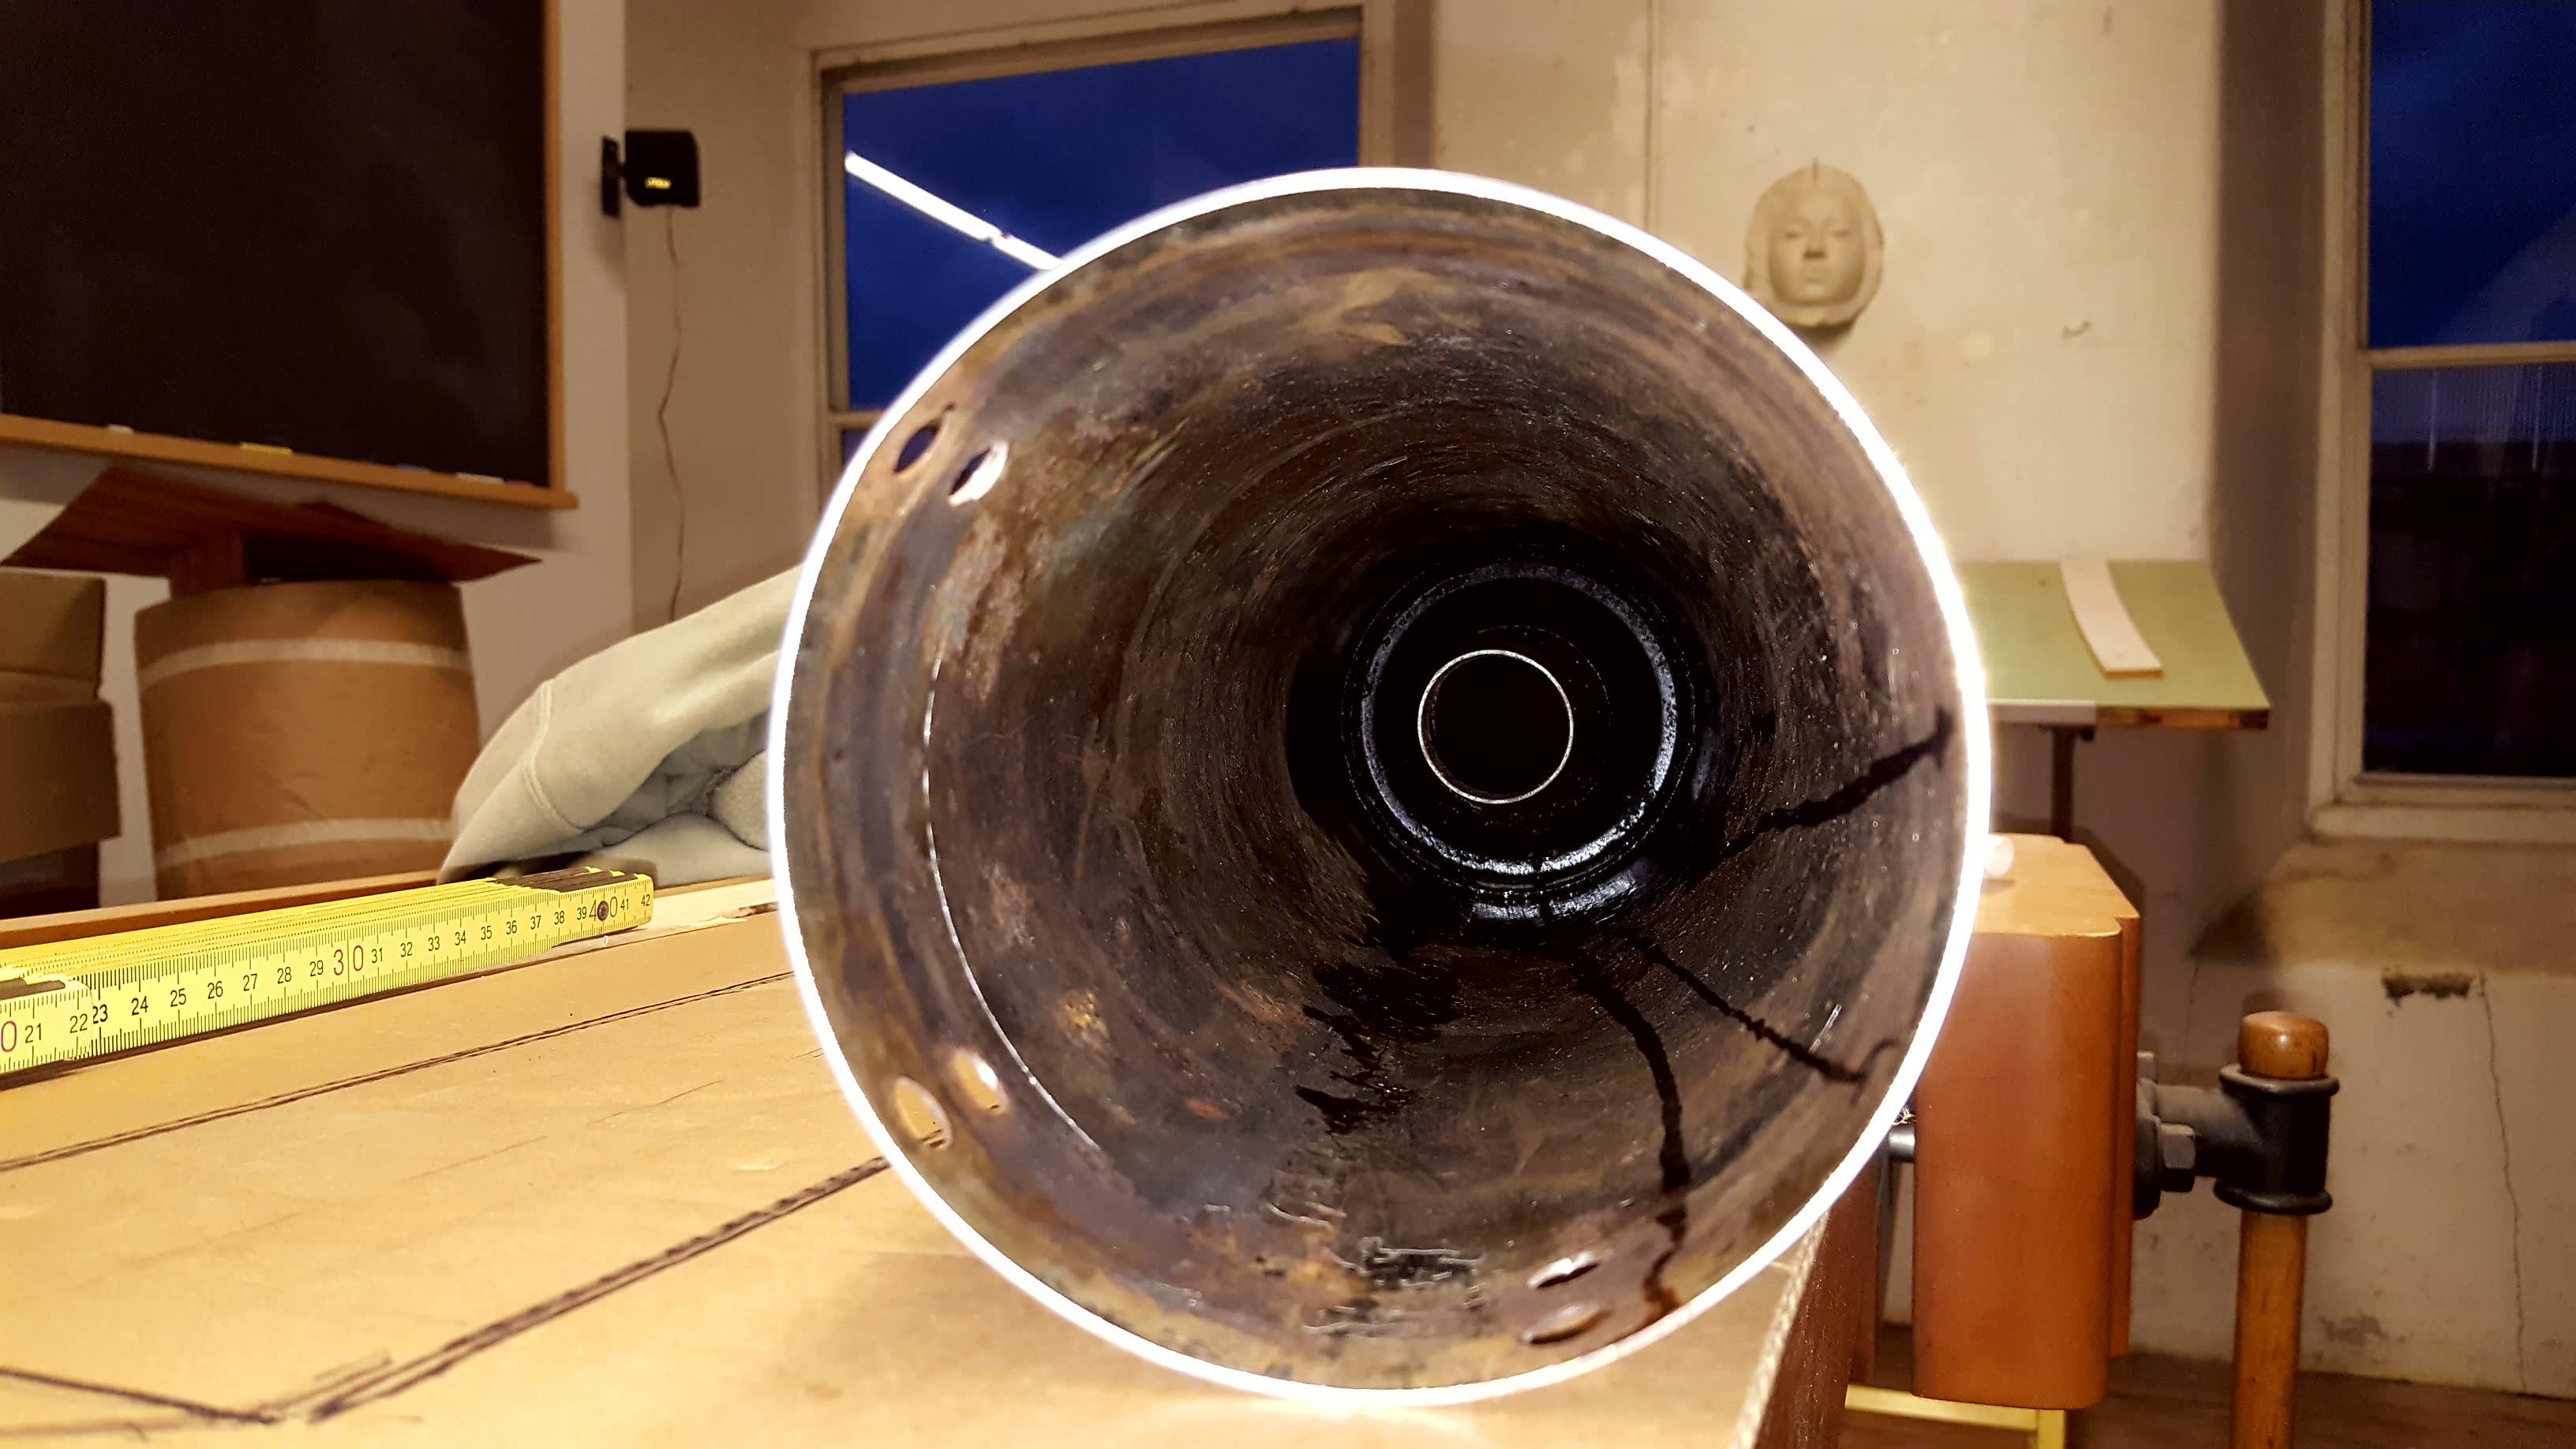
Update,... I ground the 3 epoxy filled spots that retain rear flange. Felt entire inner sleeve should pull out. Probably could have with enough pull. Cut flange and mangled it out. Using a pipe rigged as slide hammer the rest slipped out. This is about half the weight. All that is left is a 6 inch tube at entry that may be double walled but has holes around its circumference and 1.5" ID. Design idea is to have a front expansion chamber followed by perf tube and pack.
-
Thanks for moral support,.... This thing even chopped up still weighs a lot. (IF) I can extract the now useless metal and clear a path to install a 2" diameter perf pipe that will get packed, I hope to shave some weight and get a reasonable DB tone. Basically following design of a yosh system that i had on a FZ600. Who knows, may be shopping for a new silencer soon. Will post progress, or lack of for any interested parties.
-
Still hoping for input on this and specifics on how stock can is assembled. Have gone ahead with gutting the already gutted can. Discovered that what I had thought were rivets securing the inner flange, or what is left,....is epoxy. Easily ground out. Thought that might free entire inner perf sleeve and partition discs. Not so. Did cut a slit in the flange of this tail piece and removed. Now clear to extract perf, thin insulation packing and guts if it not secured by some other means. Just amusing myself with self reply,..
-
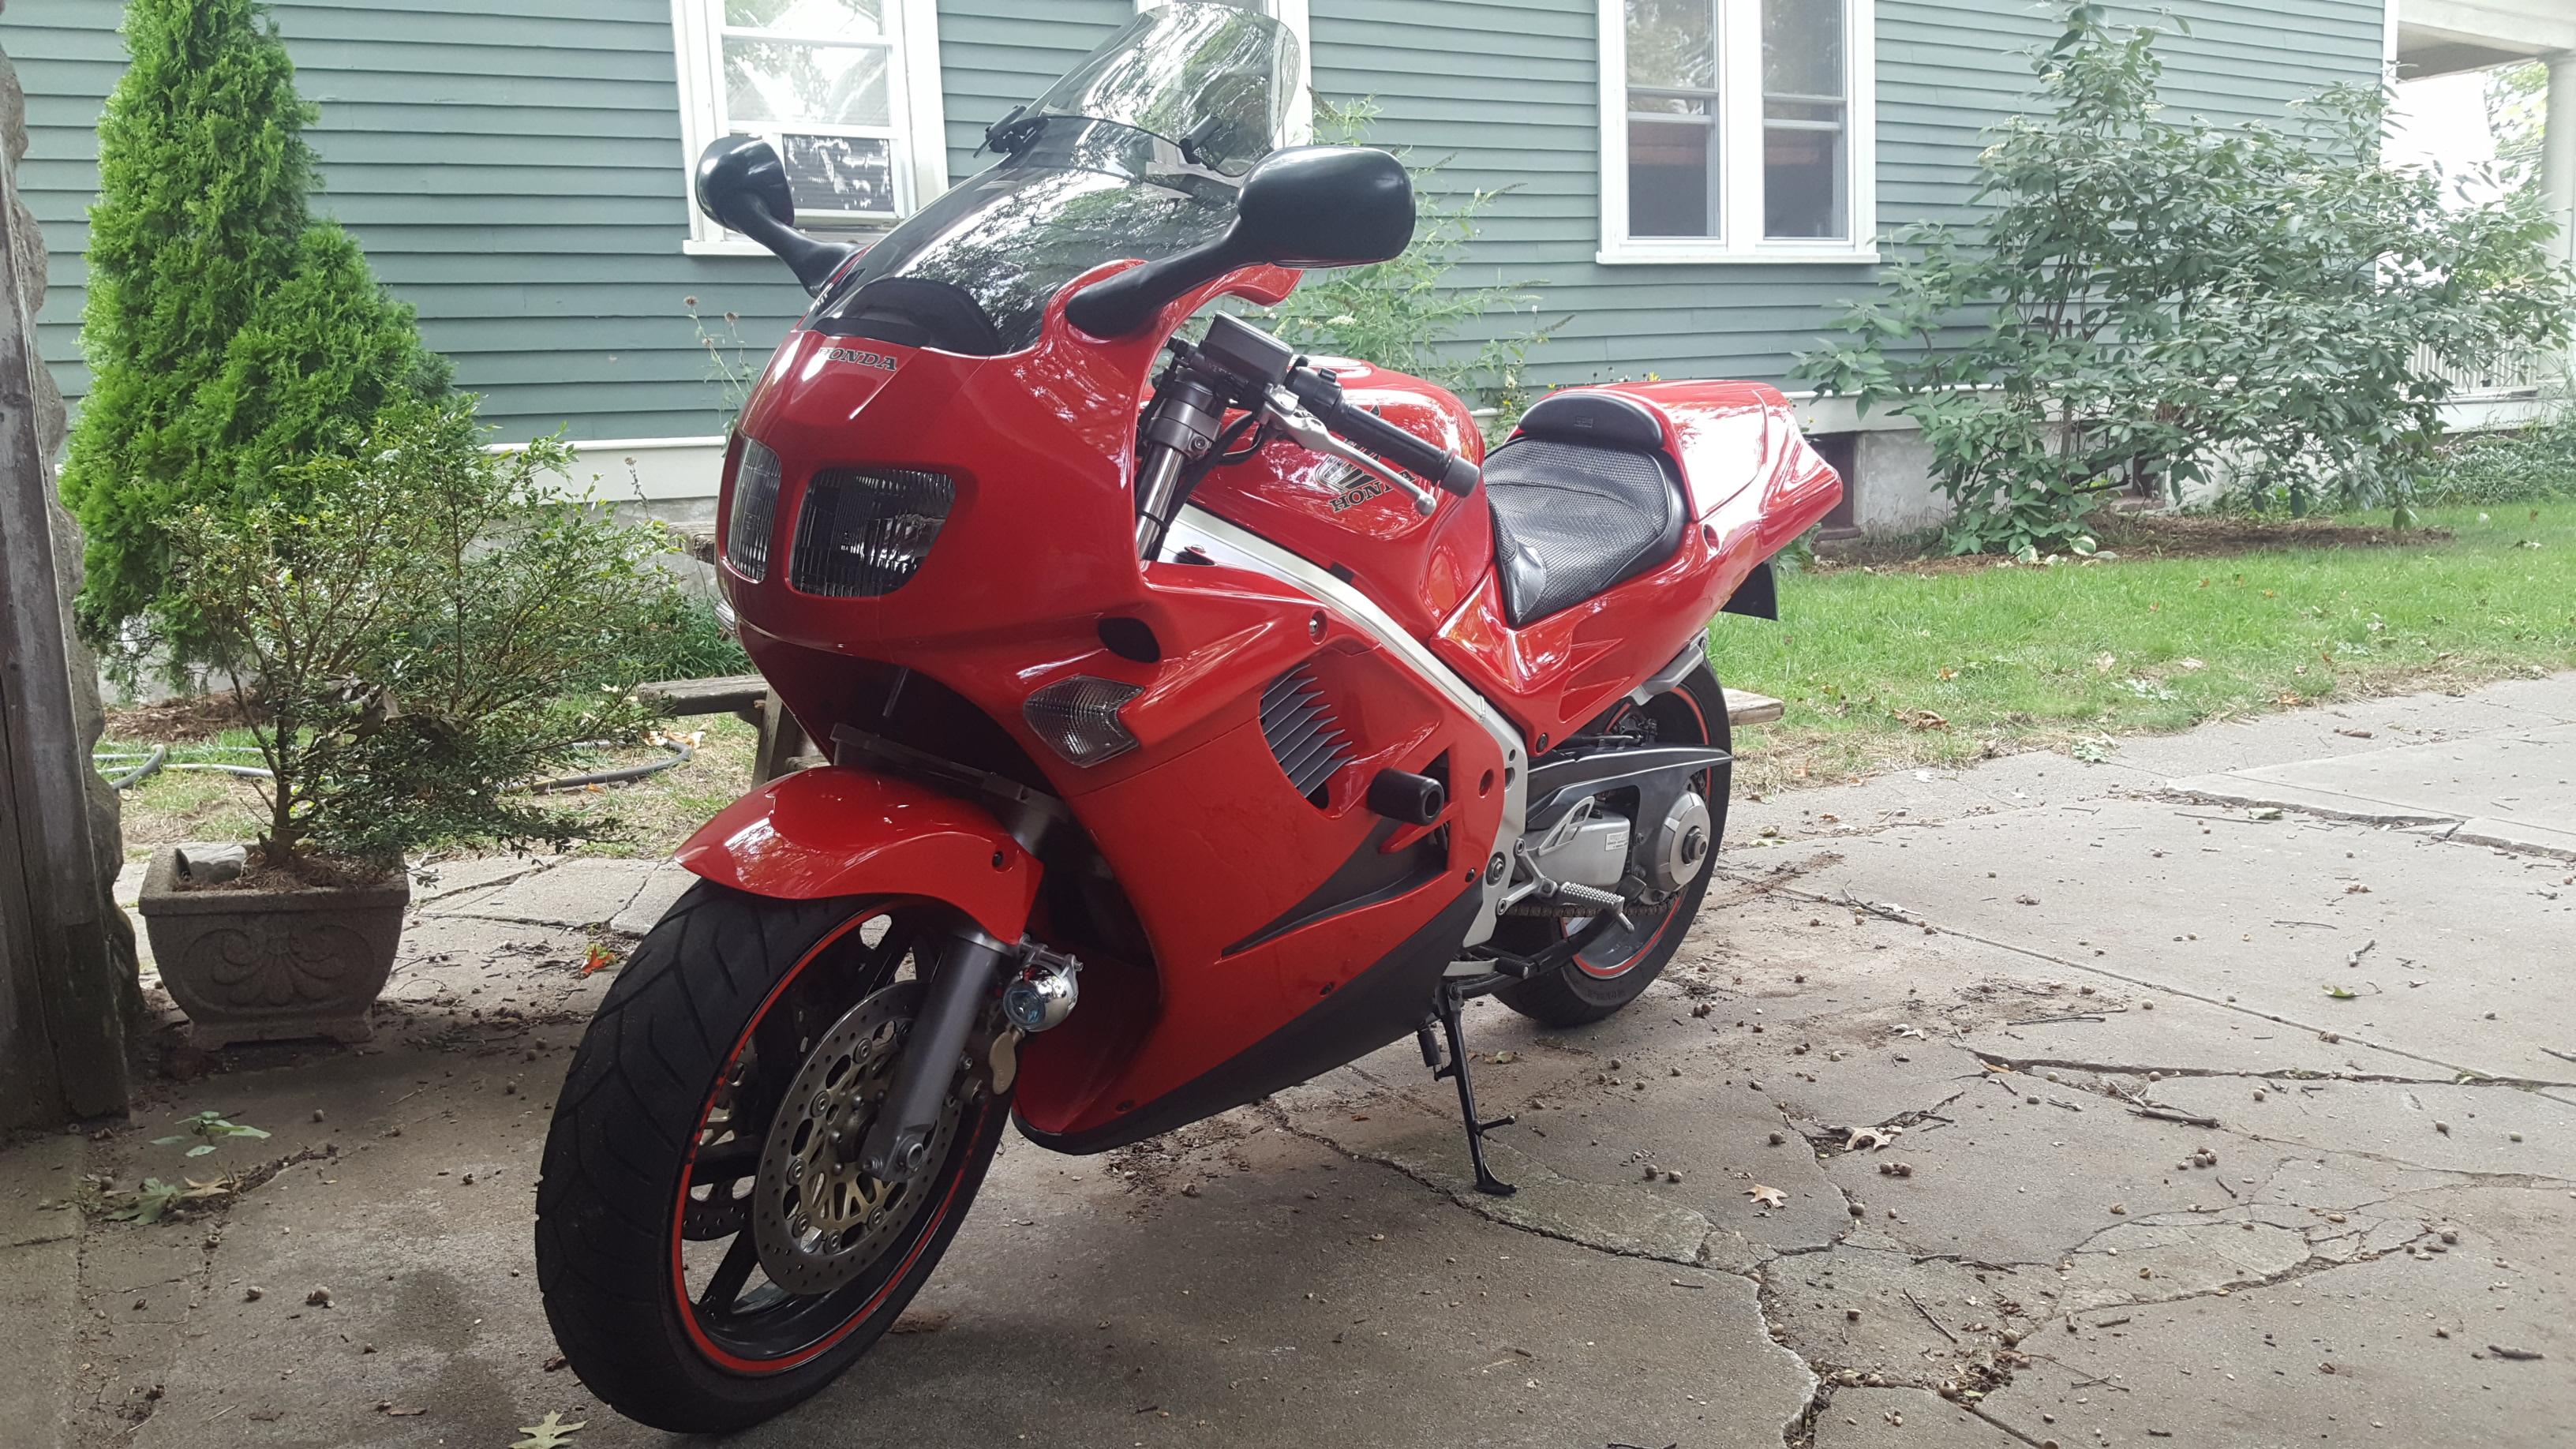
I have had the 3rd gen for a few years. Did a bunch, new fork tubes, bushings, seals, head bearings, has racetech shim stack and gold. (See earlier thread.) New Pirelli angel gt. Floating rotors on front. Plastics fair. 74K miles. Will be for sale this spring. Along with or separate, extra front and rear wheels, corbin seat. Came across 4th gen listed as "non running with fuel leak". Gambled it would be minor. Thought it would be carb rebuild. Turned out to be hose from filter to tank,...Checking and tweaking, but seems solid. Will need new rubber. Good tread but 10 years old.
-
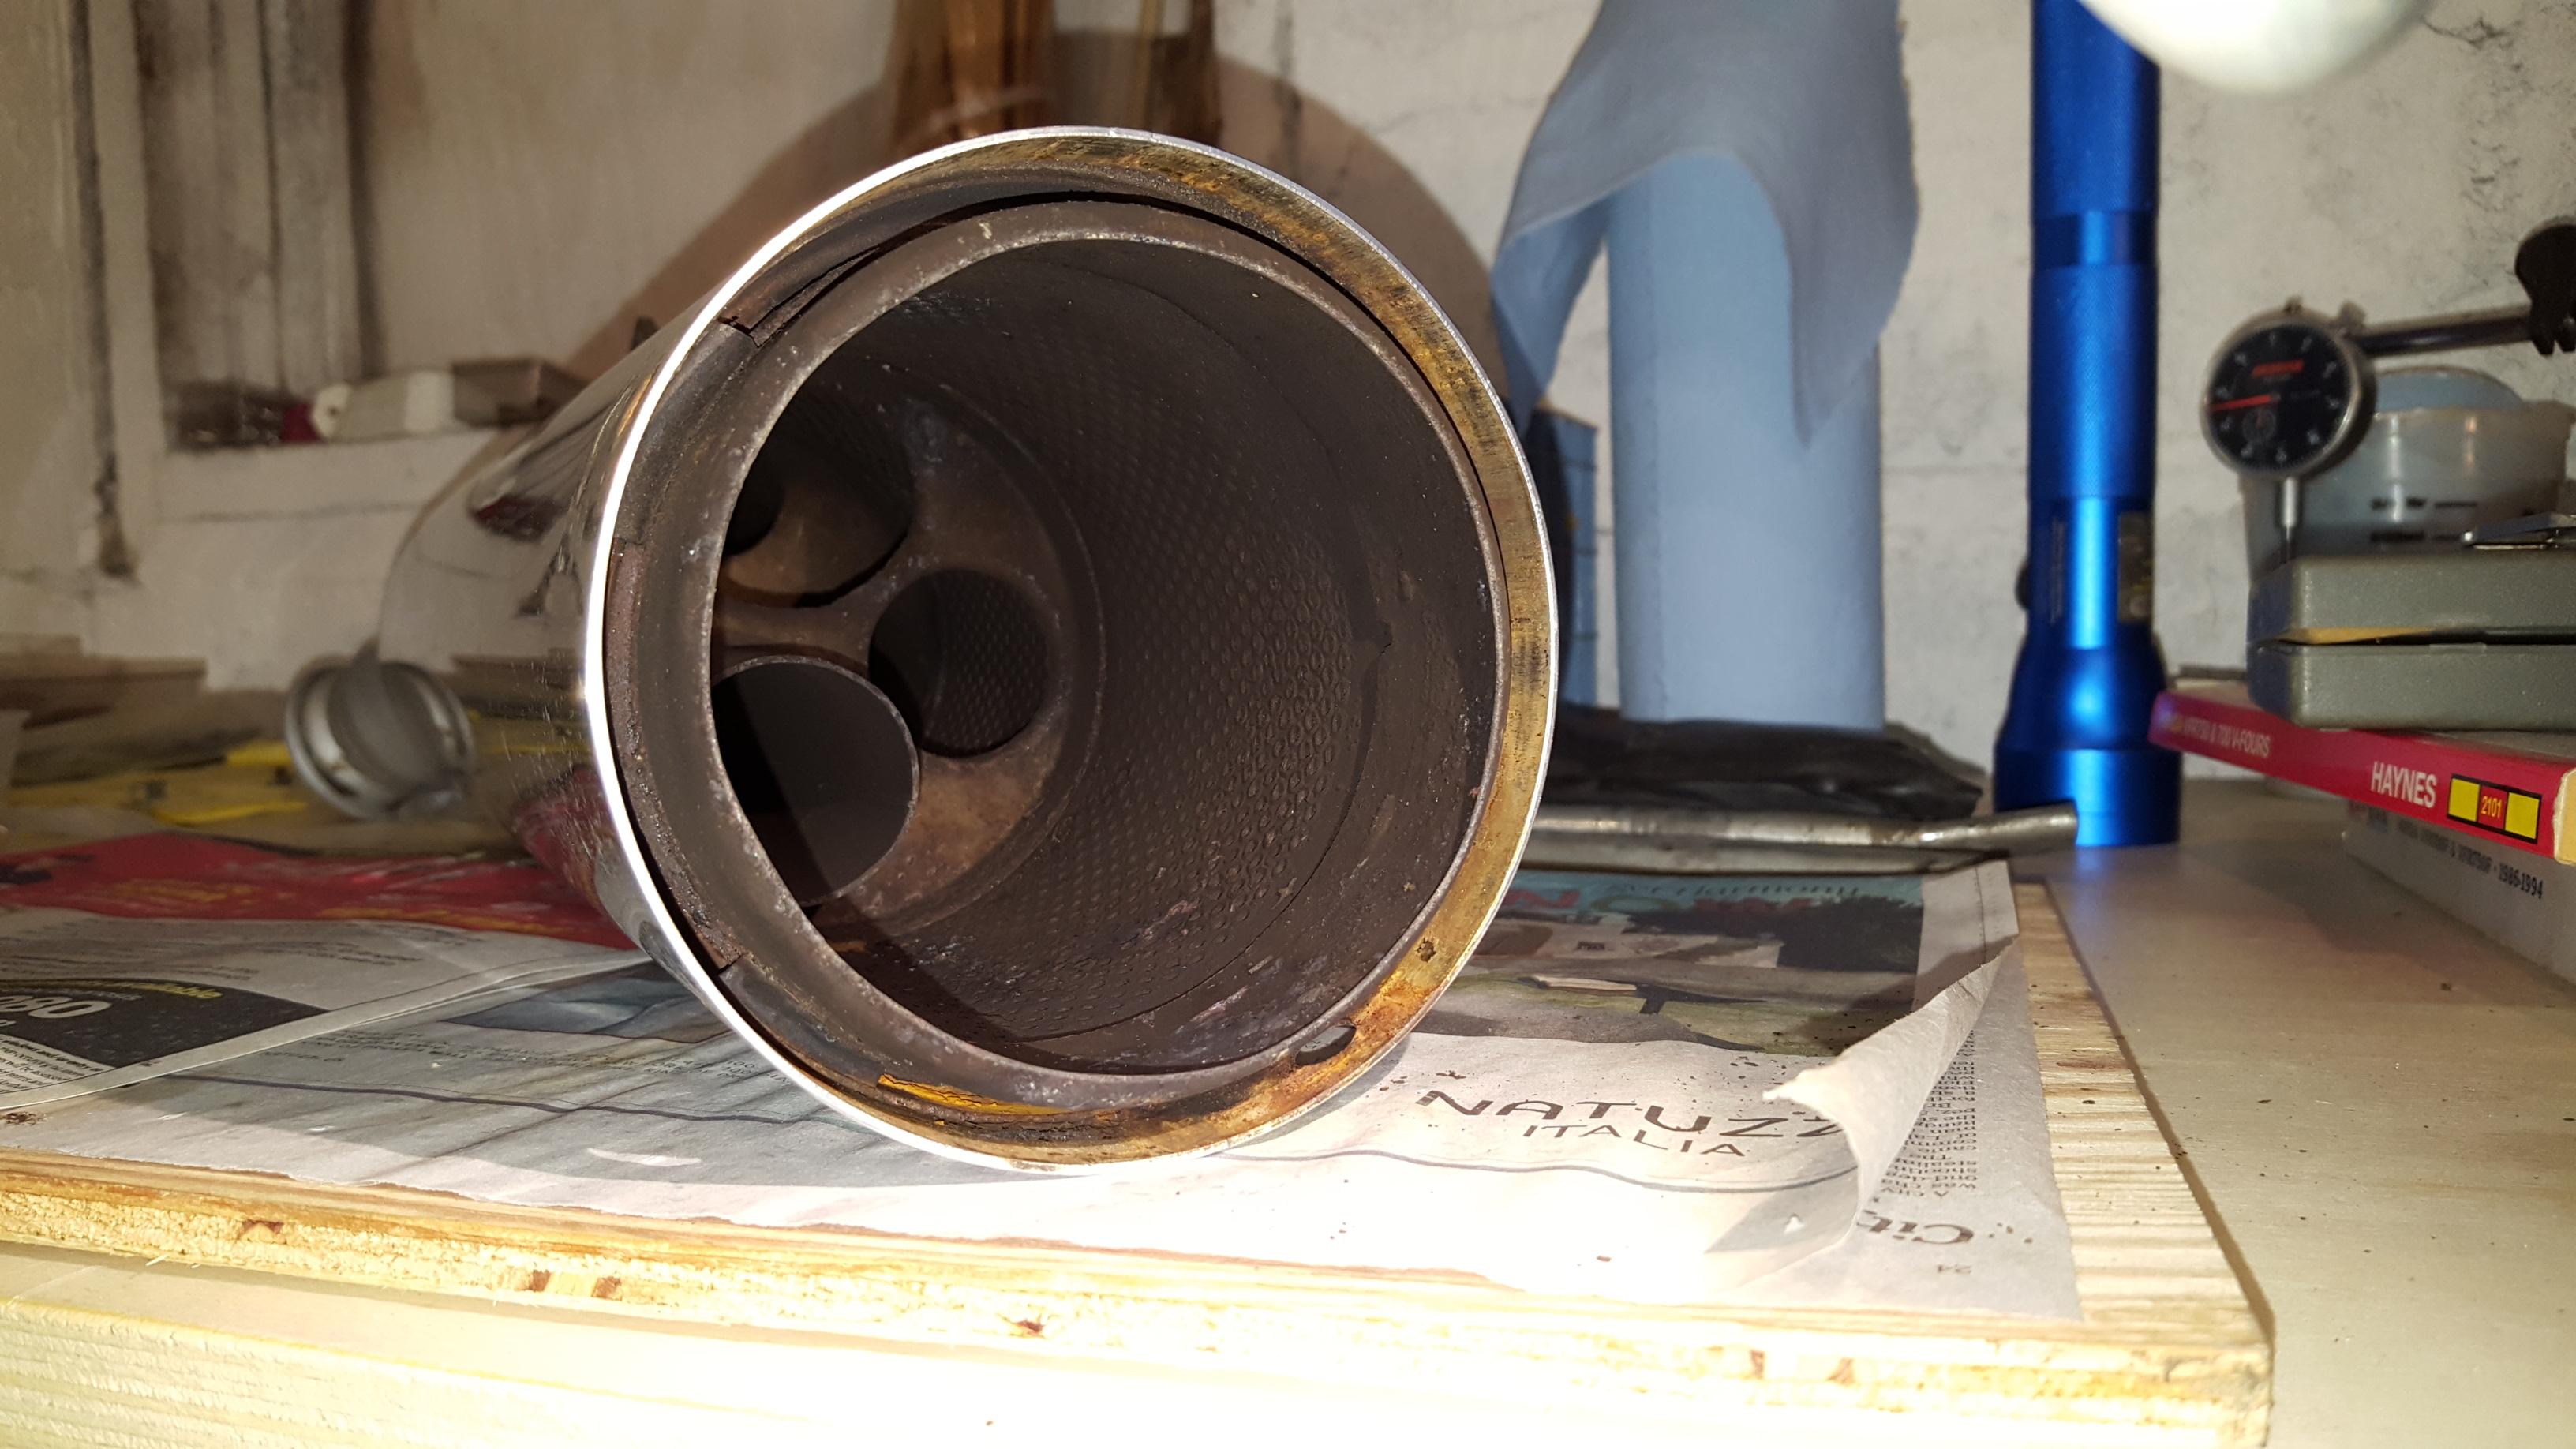
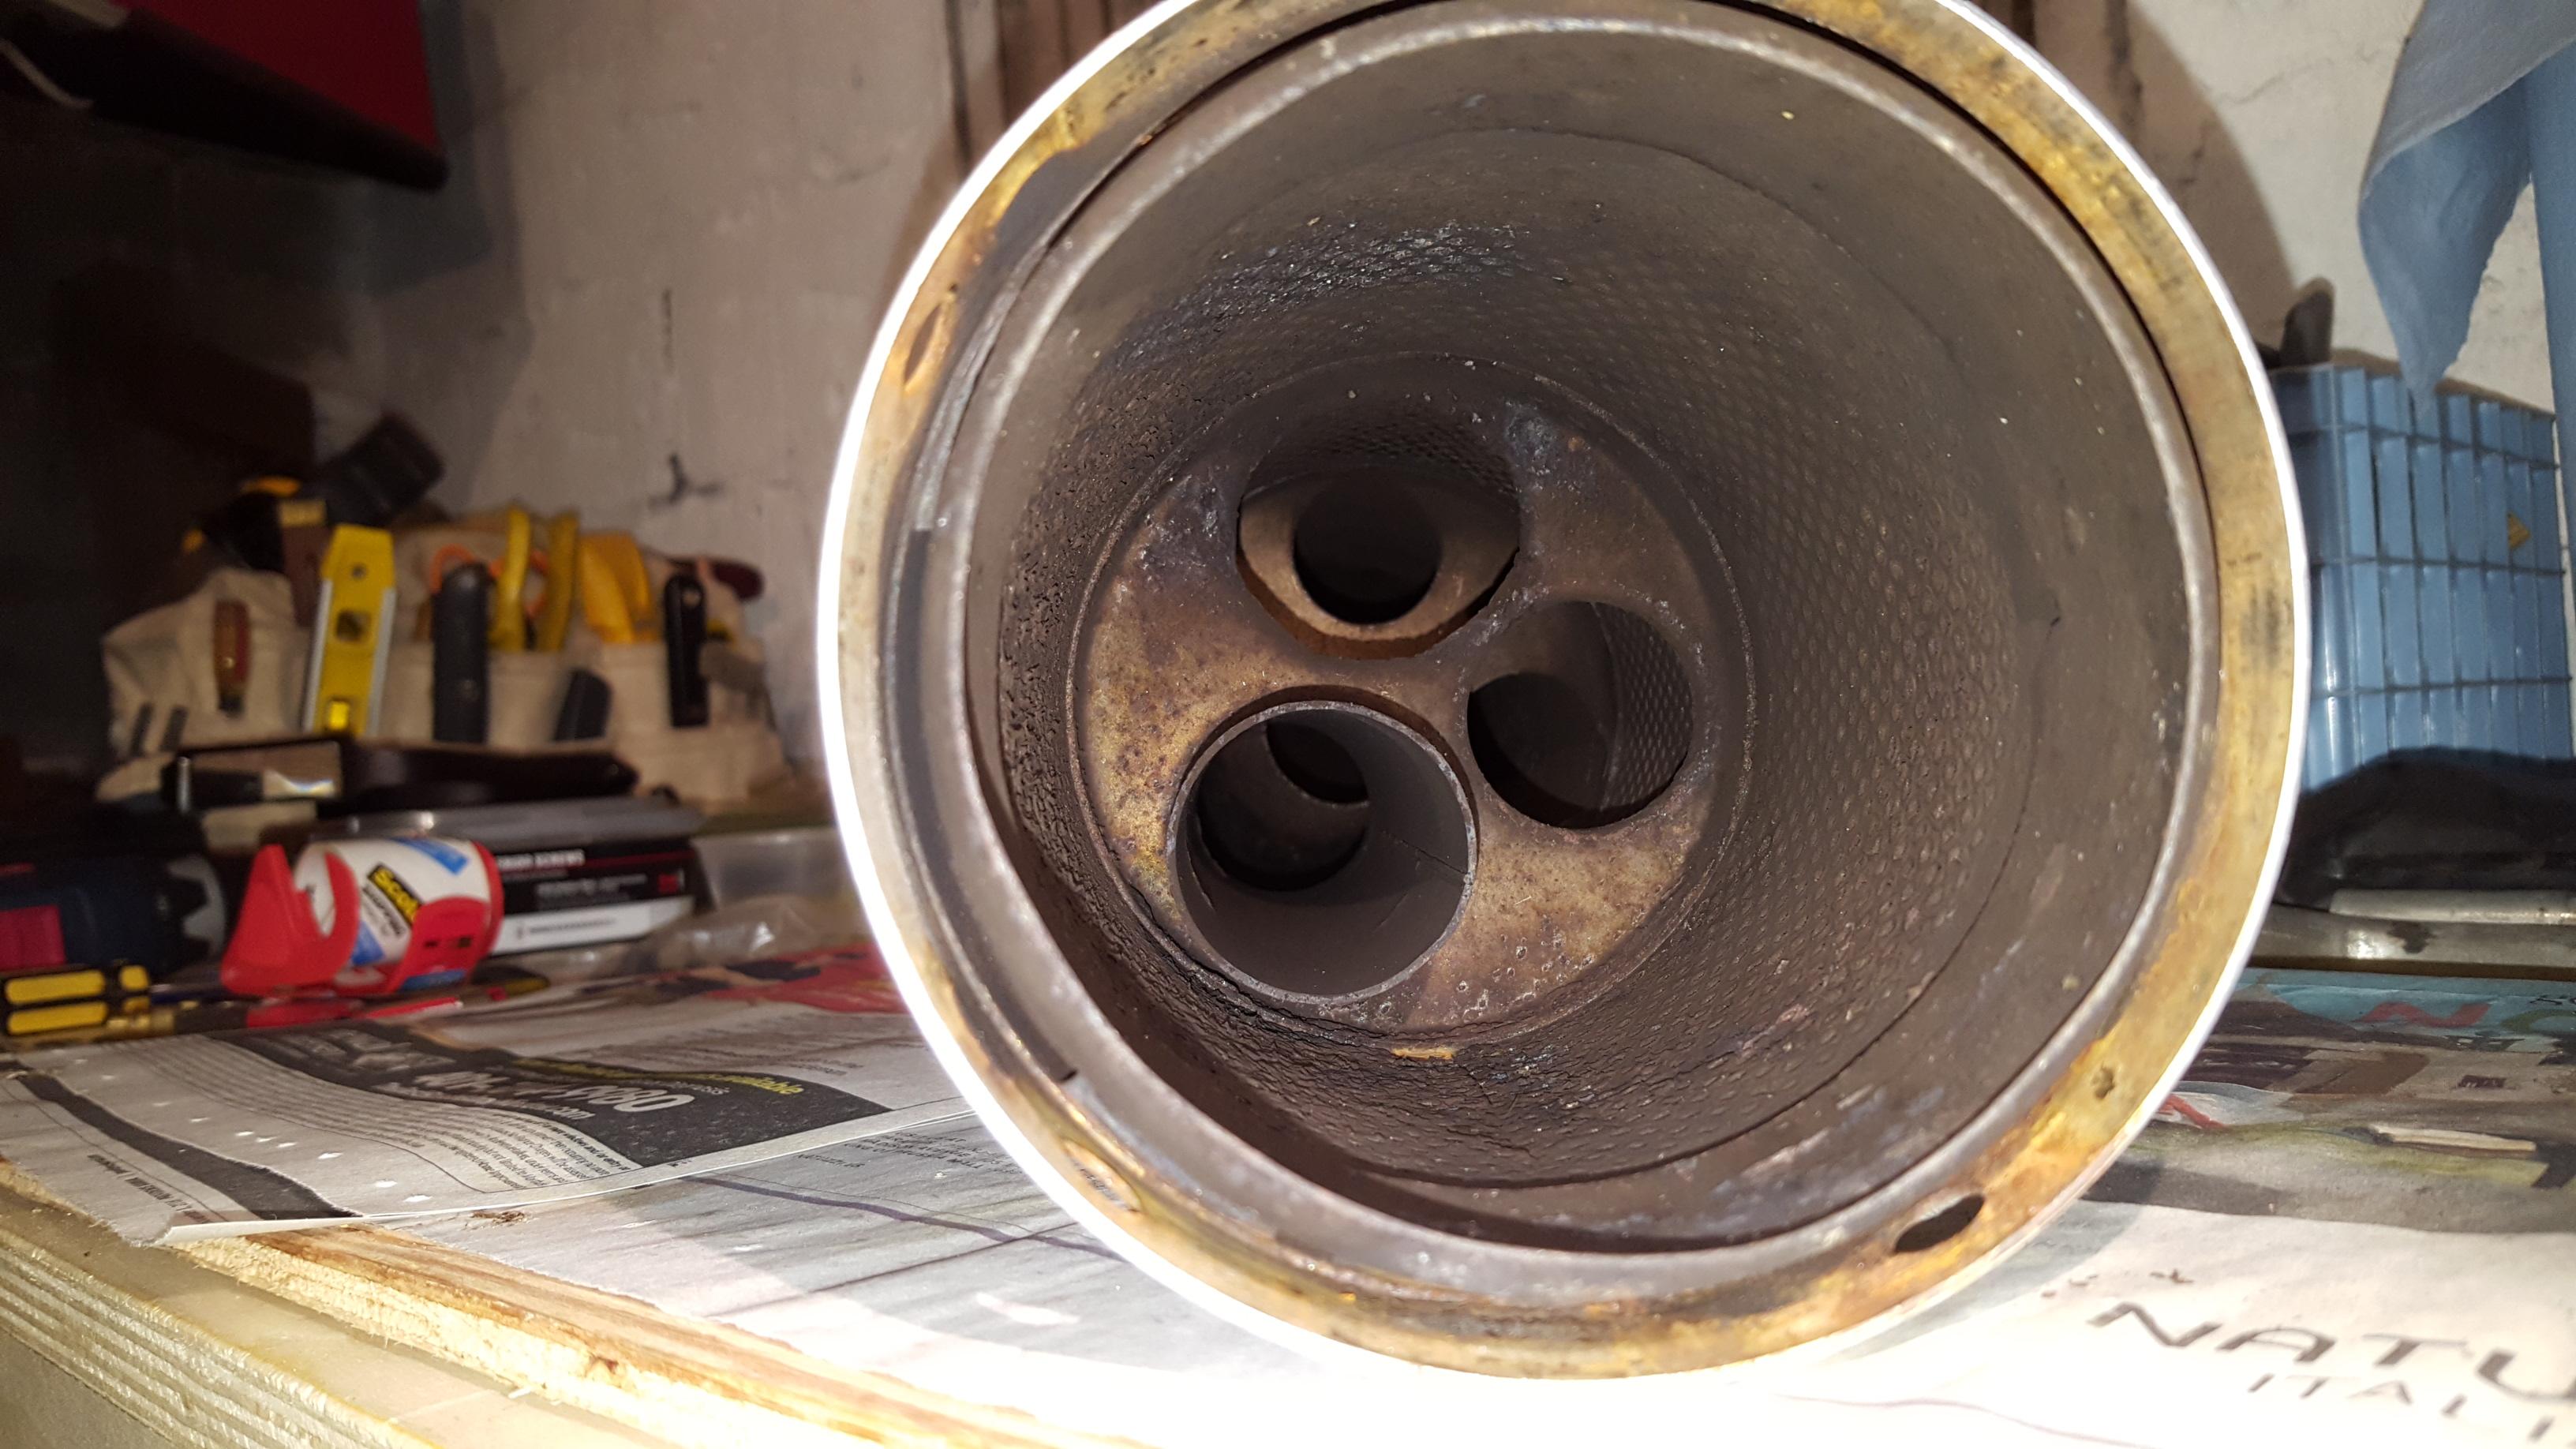
Added a 96 4th gen to keep 91 company in garage,.... Stock silencer that has been gutted. Have read just about every post on topic and still in dark. I will post a couple of pics of existing with back cap removed. I am 3rd owner. Work was done cleanly by 1st. Cap is retained by 3 stainless Allen head screws. One pipe seems to have been removed and I assume there was a plate at tail with exit port that has been cut. My goal would be to modify to achieve DB somewhere between this gutted can and stock. Currently this must be acting a total straight pipe as what is left has no affect. My plan would be to remove what is left, install a perforated tube and pack. I am thinking of a front space to allow expansion. This would be a disk with OD equal to ID of can, with 2" center hole, set back 5" from front. Perf tube into that and carry to tail. Use tail cap to center and hold all pushed to front. ? - Can the entire existing inner perf sleeve be removed by drilling/grinding the 3 rivets that are directly behind the rivets that secured the rear cap? If I go with a 2" center perf tube that will be packed then this sleeve is just weight,... Any thoughts, info greatly appreciated! Any science in layman's terms?
-
Thanks to all. Limited time for investigations since picking this up. Duh,....popped a cap off and all is clear! Think i will remove risers and set to normal to start. Then experiment with dropping front for quicker geometry. I am transitioning from an old but fast and fun Yamaha FZ600. Handling on that was effortless. Again - thanks to all. I will attempt to do due diligence in future before crying help! Now,...about that gas leak. Any ideas?
-
Thanks, Ahhhh,...I had seen what looked like a spacer. Was going to measure and compare to other bike. So what has been done, raised bar height but ride height/rake is standard? These spacers must thread into tubes where caps should be. What caps and retains spring now? I assume they must now have fixed pre-load spacers. I am pretty comfortable with previous bike and standard bars. Will most likely convert back. Will after market adjustable caps work, or need OEM? Anyone have a pair? There are some mods that have been done by original owner. That knowledge has been lost as he passed away. I purchased from 2nd owner (6 yrs) who used as is. More mysteries to find.
-
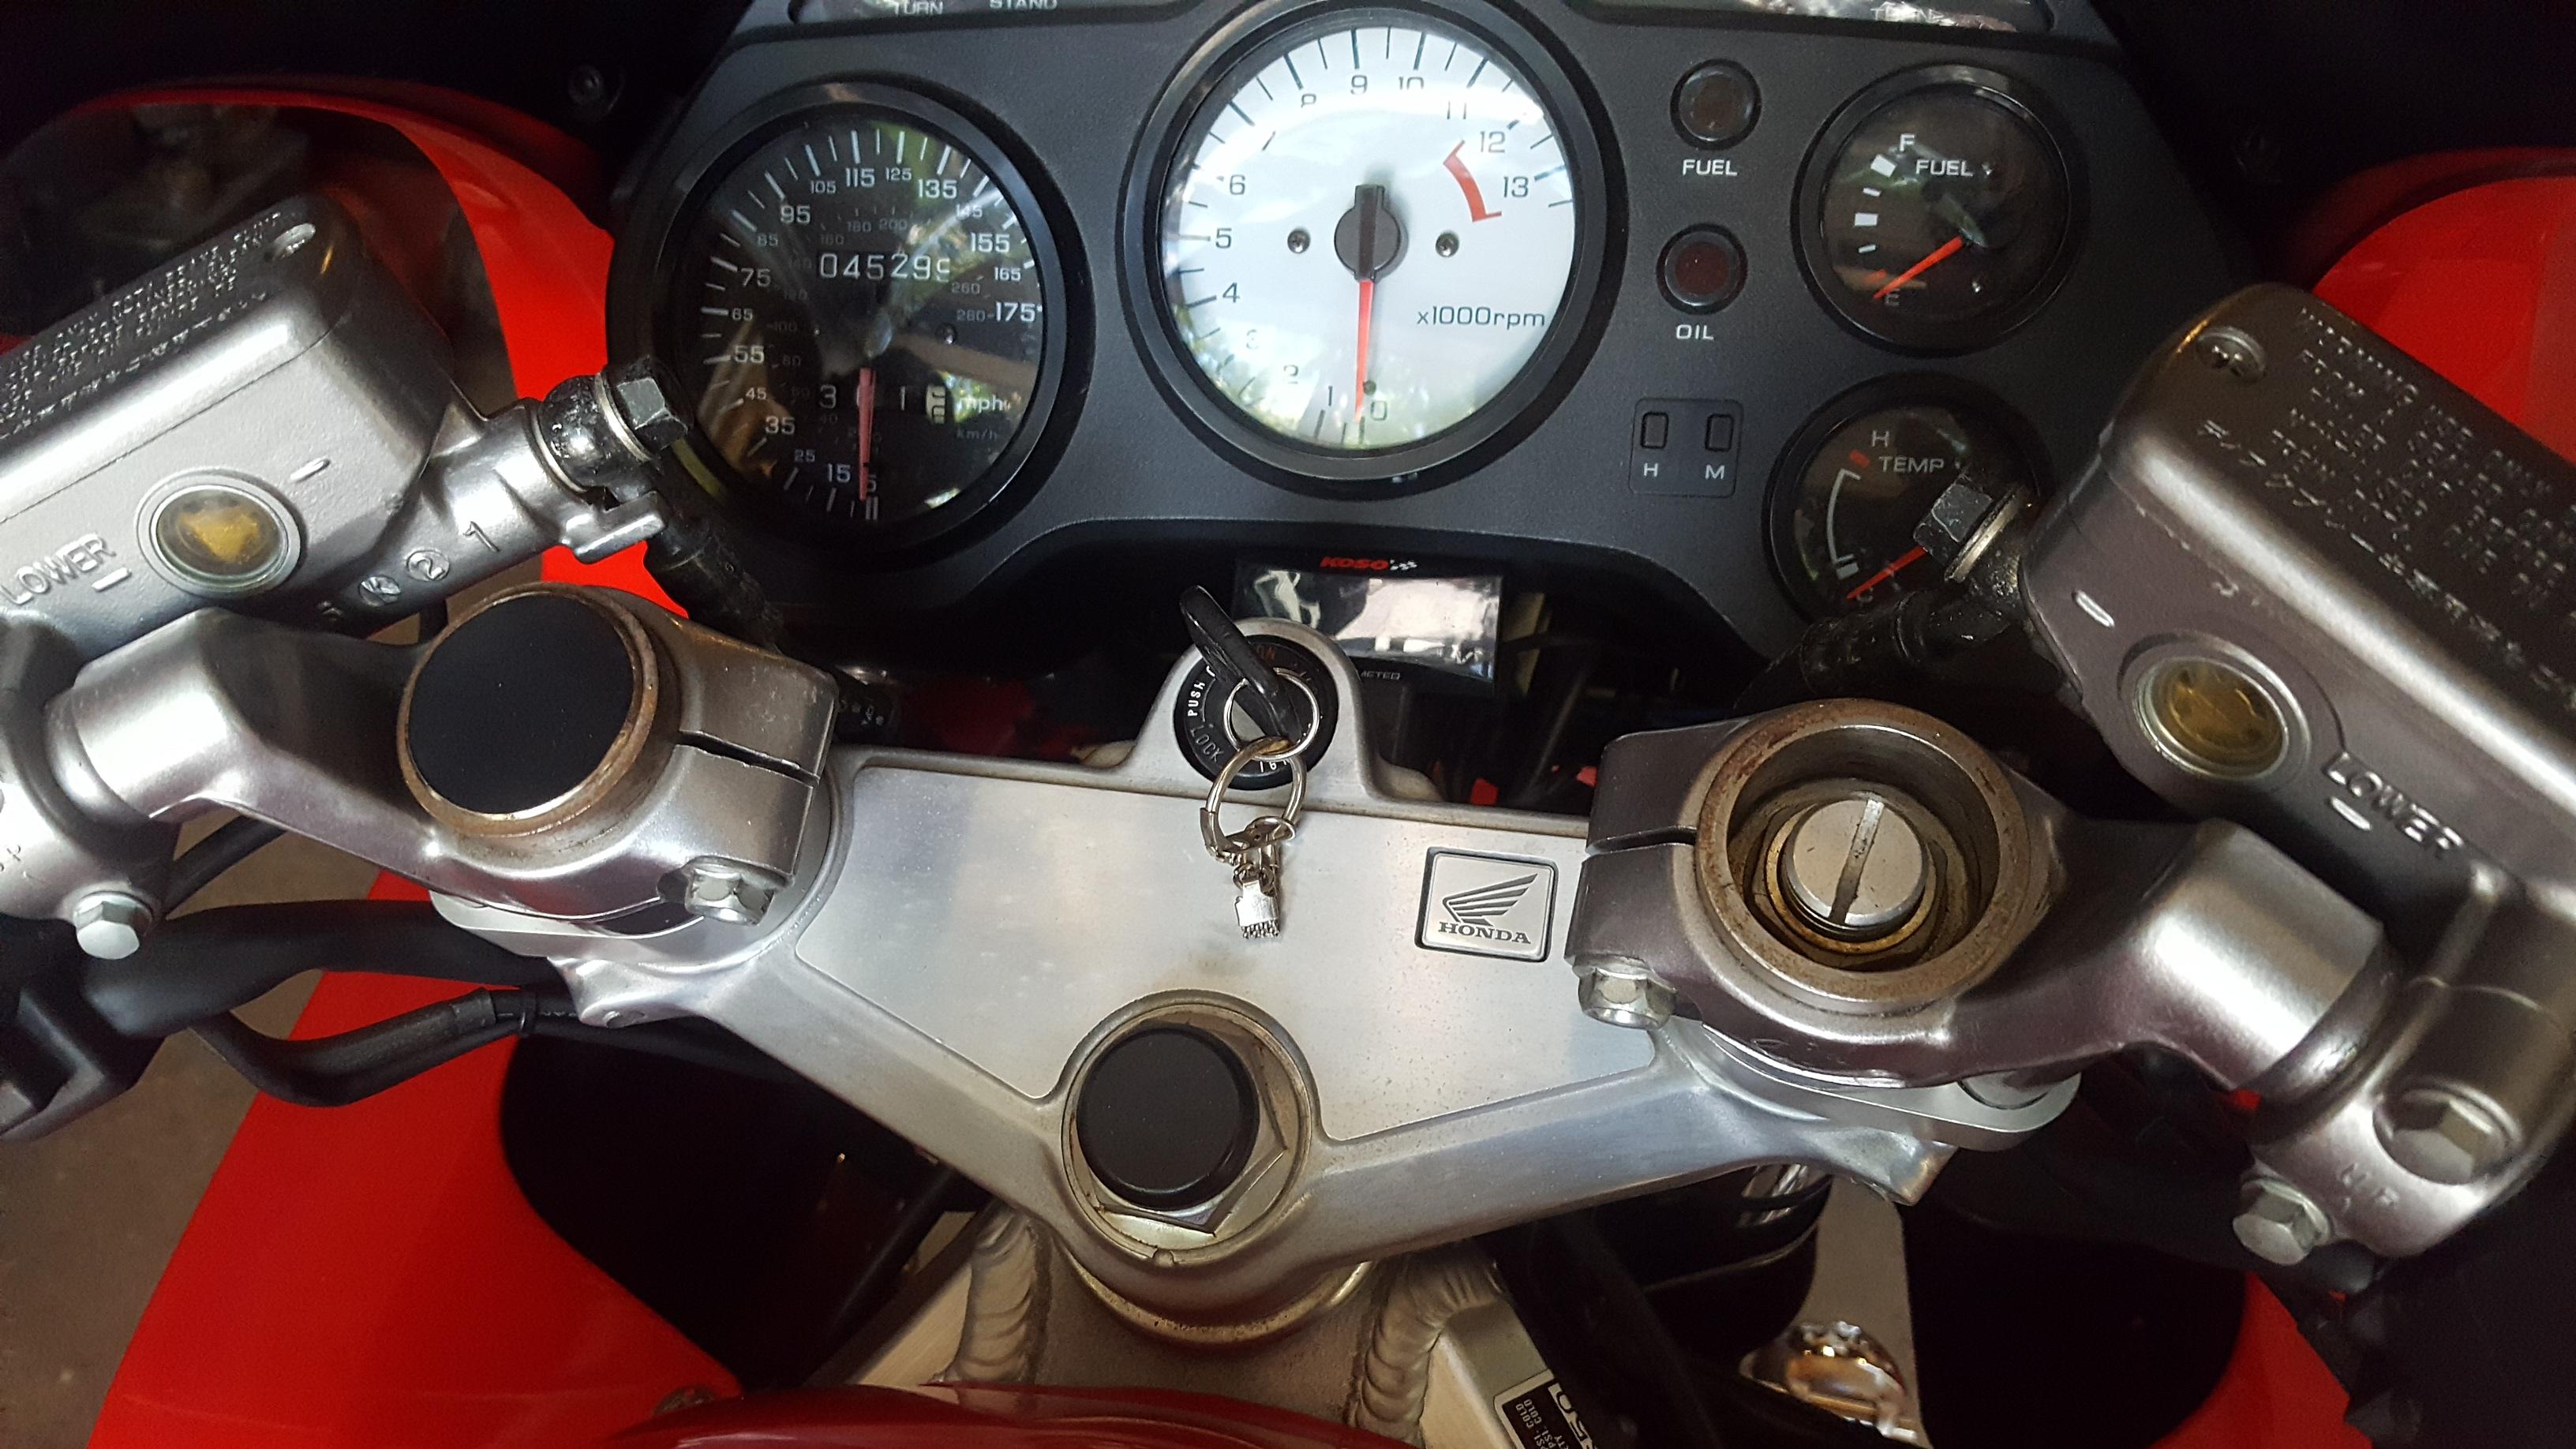
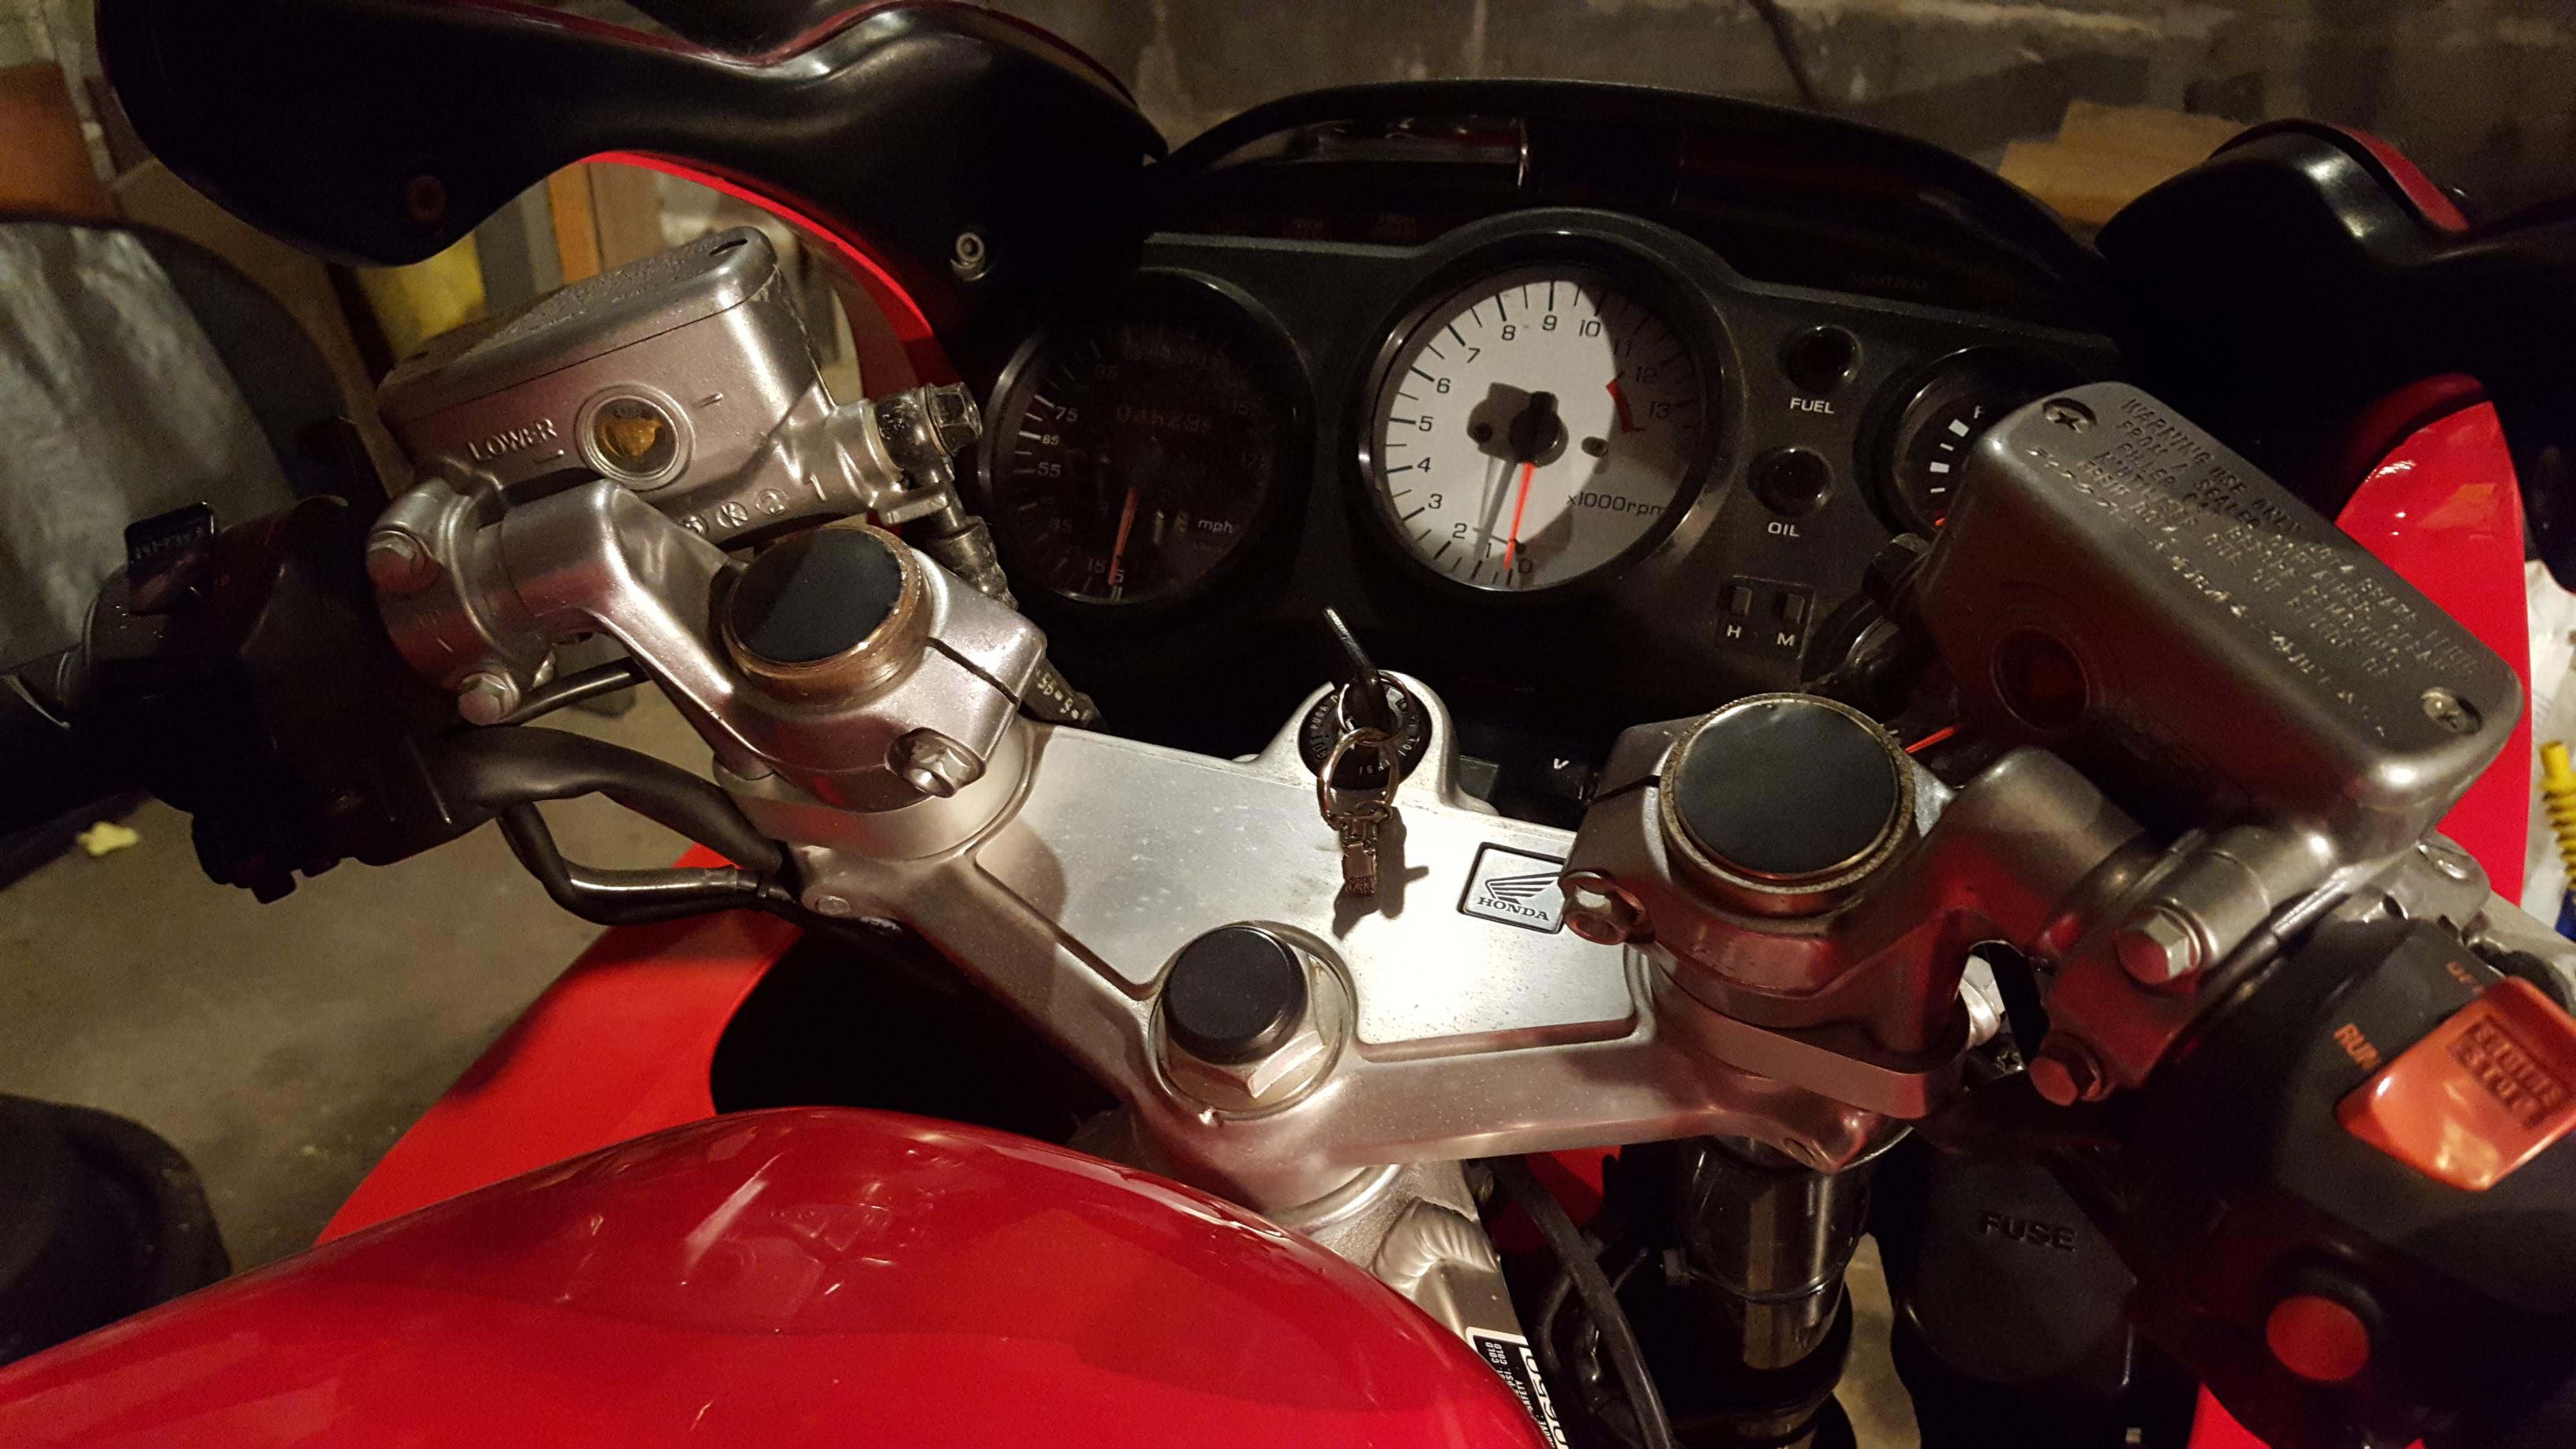
Just acquired a 96 4th gen. Possible replacement for a 91 3rd gen that I have been working on. Have some issues with the new one. Picked it up for a "bargain" as it is leaking gas on start up. Hoping to be simple o-ring or float? If this works out, will have VFR with fewer miles and plastics in excelent condition. Just getting a good first assessment before tearing into carbs. Tonight's question: What are these forks capped off with? Flush black plastic? No visible means to remove? My 3rd gen has hex nut caps, and is my understanding that 4th gen should have adjustable pre-load caps.
-
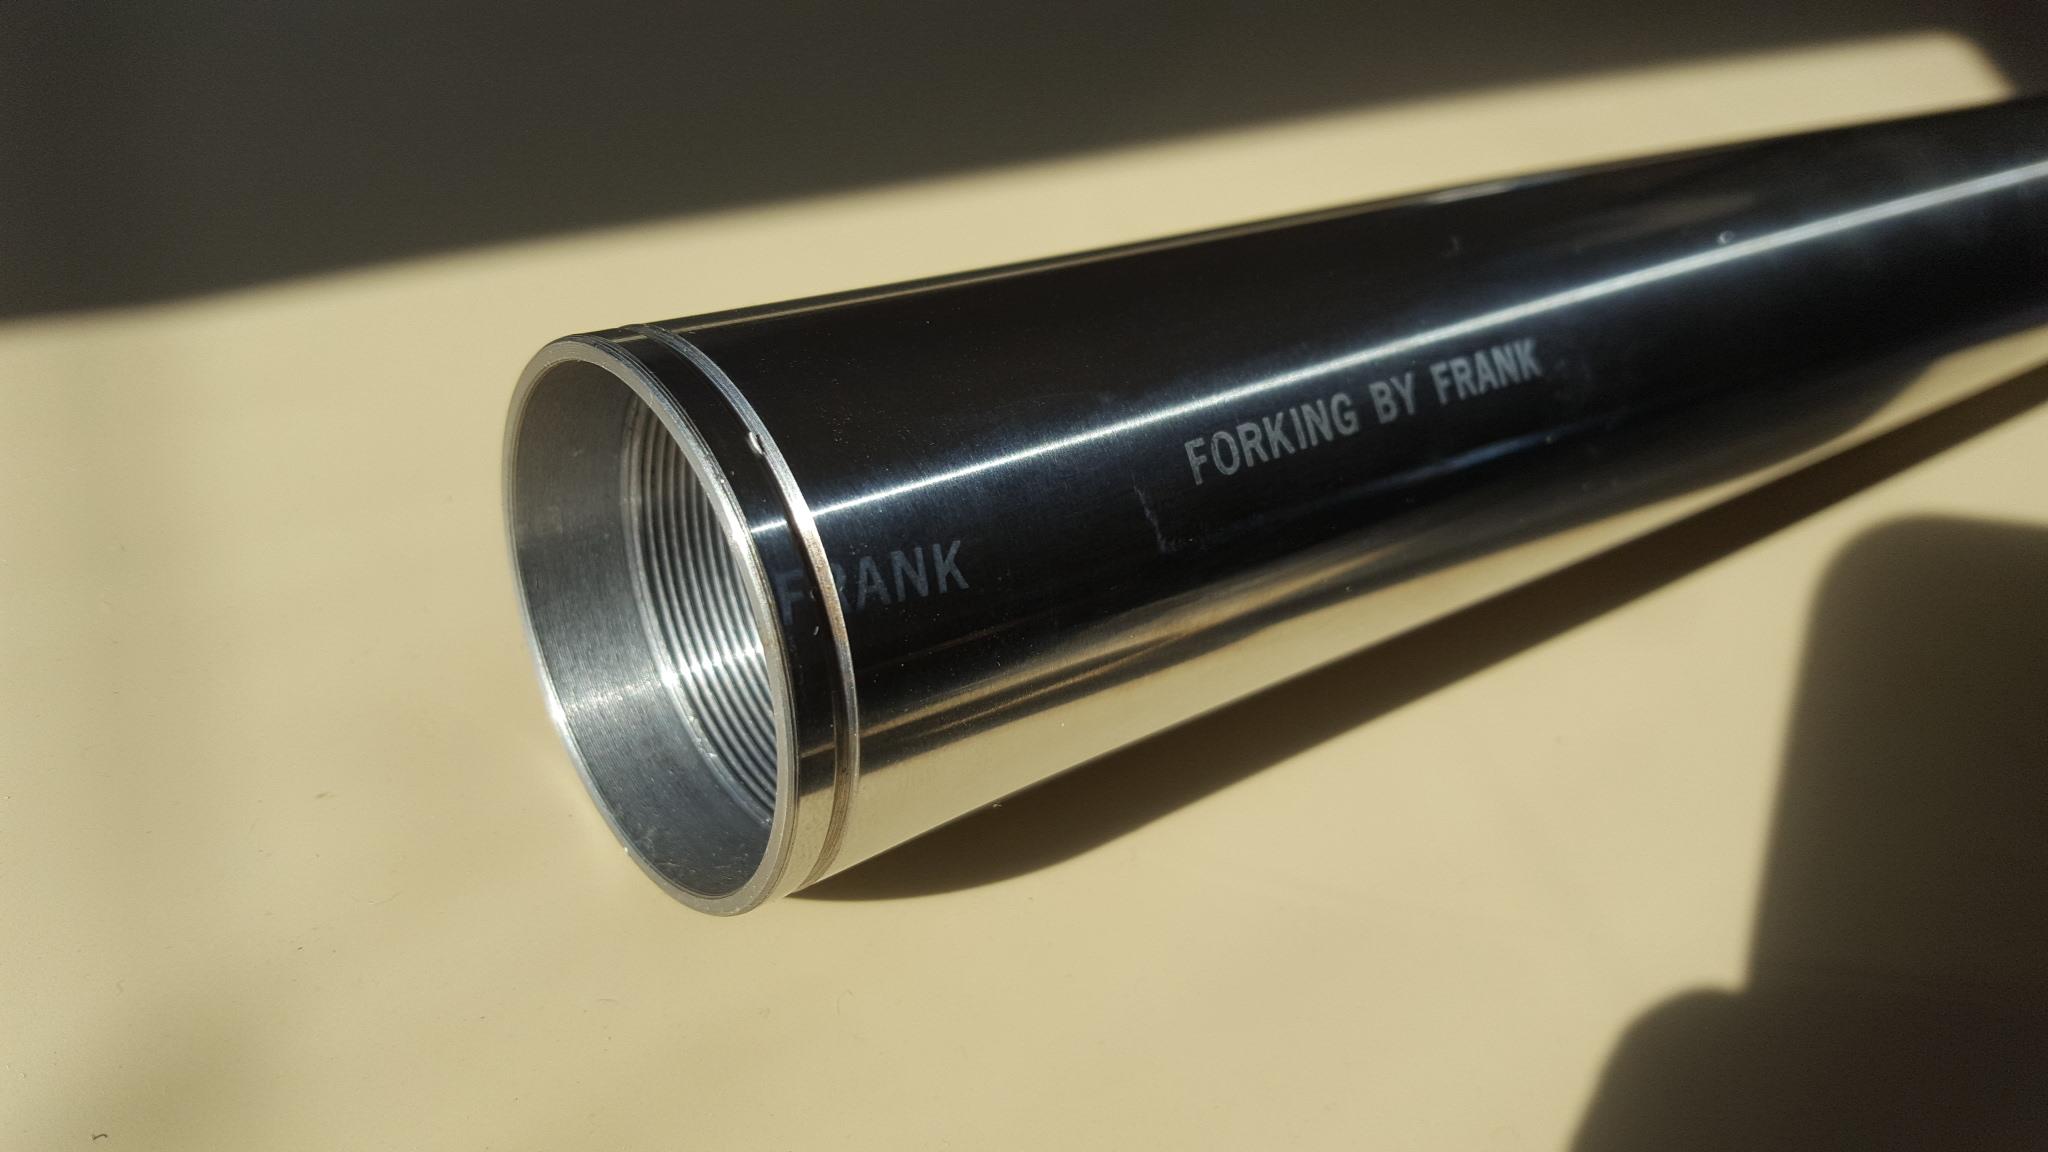
I have a 91 3rd gen that i acquired with bent tubes. I went with "forks by frank". There has been pro/con regarding them, and apparently there was a period after Frank passed away that things were sketchy. I talked to new manager/owner got a good feel and ordeded. Turn around may have been 2 weeks. Cost was around $300 usd. Was very pleased with custom craftsmanship. They use a thicker wall tube. This caused a bit of an issue with racetech springs. I dressed down the OD to achieve clearance. I had a thread a while back? Have some photos as well.