

fink
-
Posts
1,228 -
Joined
-
Last visited
-
Days Won
4
Content Type
Forums
Profiles
Gallery
Blogs
Downloads
Events
Posts posted by fink
-
-
2 hours ago, SubyRS said:
Here you go. It was a very difficult project, but I eventually found a few areas to affix my LED's.
The colors look very vivid in person and can fade in/out or even from color to color.
Red looks the best to me on the red bike, but on a white VFR all the colors would look incredible.
A

Any chance of seeing this out of the road and in the dark. As in no street lights
what does it look like from a riding position?
-
Take it out for a long run so the engine can heat up properly and burn off the condensation.
-
Well done. I'm just over the 32k mark on mine. She is getting used more than she used to these days.
-
Bastards.
-
 2
2
-
-
On 8/12/2021 at 2:31 AM, Bluehawk said:
Did something today?? Yes.
Checked chain slack on both 6th gen and 8th gen....neither needed adjusting, which i'm pleased with. The single ELF designed arm makes this look soooo simple to adjust. Not had the 'pleasure' of using it yet, but one day, something to look forward to soon!
Buuuut, tell me please, why does the manual for the 6th gen say 'on the main/centre stand' and the manual for the 8th gen says 'on the side stand'?? For years i've always checked and adjusted chain on the main stand, never a side stand!?
Any comments plse?
Becaust the good ole USA got a model without a centrestand, and no doubt Honda would have to deal with a resulting liabile case. Thats the only reason I can think of.
-
 1
1
-
-
On 8/7/2021 at 1:36 AM, Bluehawk said:
Cheers Fink. Toooo bad if i haven't. She arrived earlier with a large box of parts 🙂
I'm in Glasgow, how about you?? You might be my nearest vfr neighbour?

I'm a bit closer to the West coast, out on the Ardnamurchan peninsula nr Fort William. There was one other but he has sold his now. Enjoy your new steed.🏍️
-
5 hours ago, Bluehawk said:
What did i do? Bought one! A 2015 in clean-looking pearly white.
Being delivered this evening. Leaving work early haha.

Guess i should also read the manual like "Dalemac", or "Thumbs" will notice i haven't a clue about seat heights either, or how to adjust them! haha. We all have to learn; never had an adjustable seat before .... my arse always stays in the same place

Anyone want a 2009 (6th gen) in candy red with 12,900 miles?
Well done on your new purchase. Make sure you get the stuff Grum listed. Whereabouts on the West Coast are you?
-
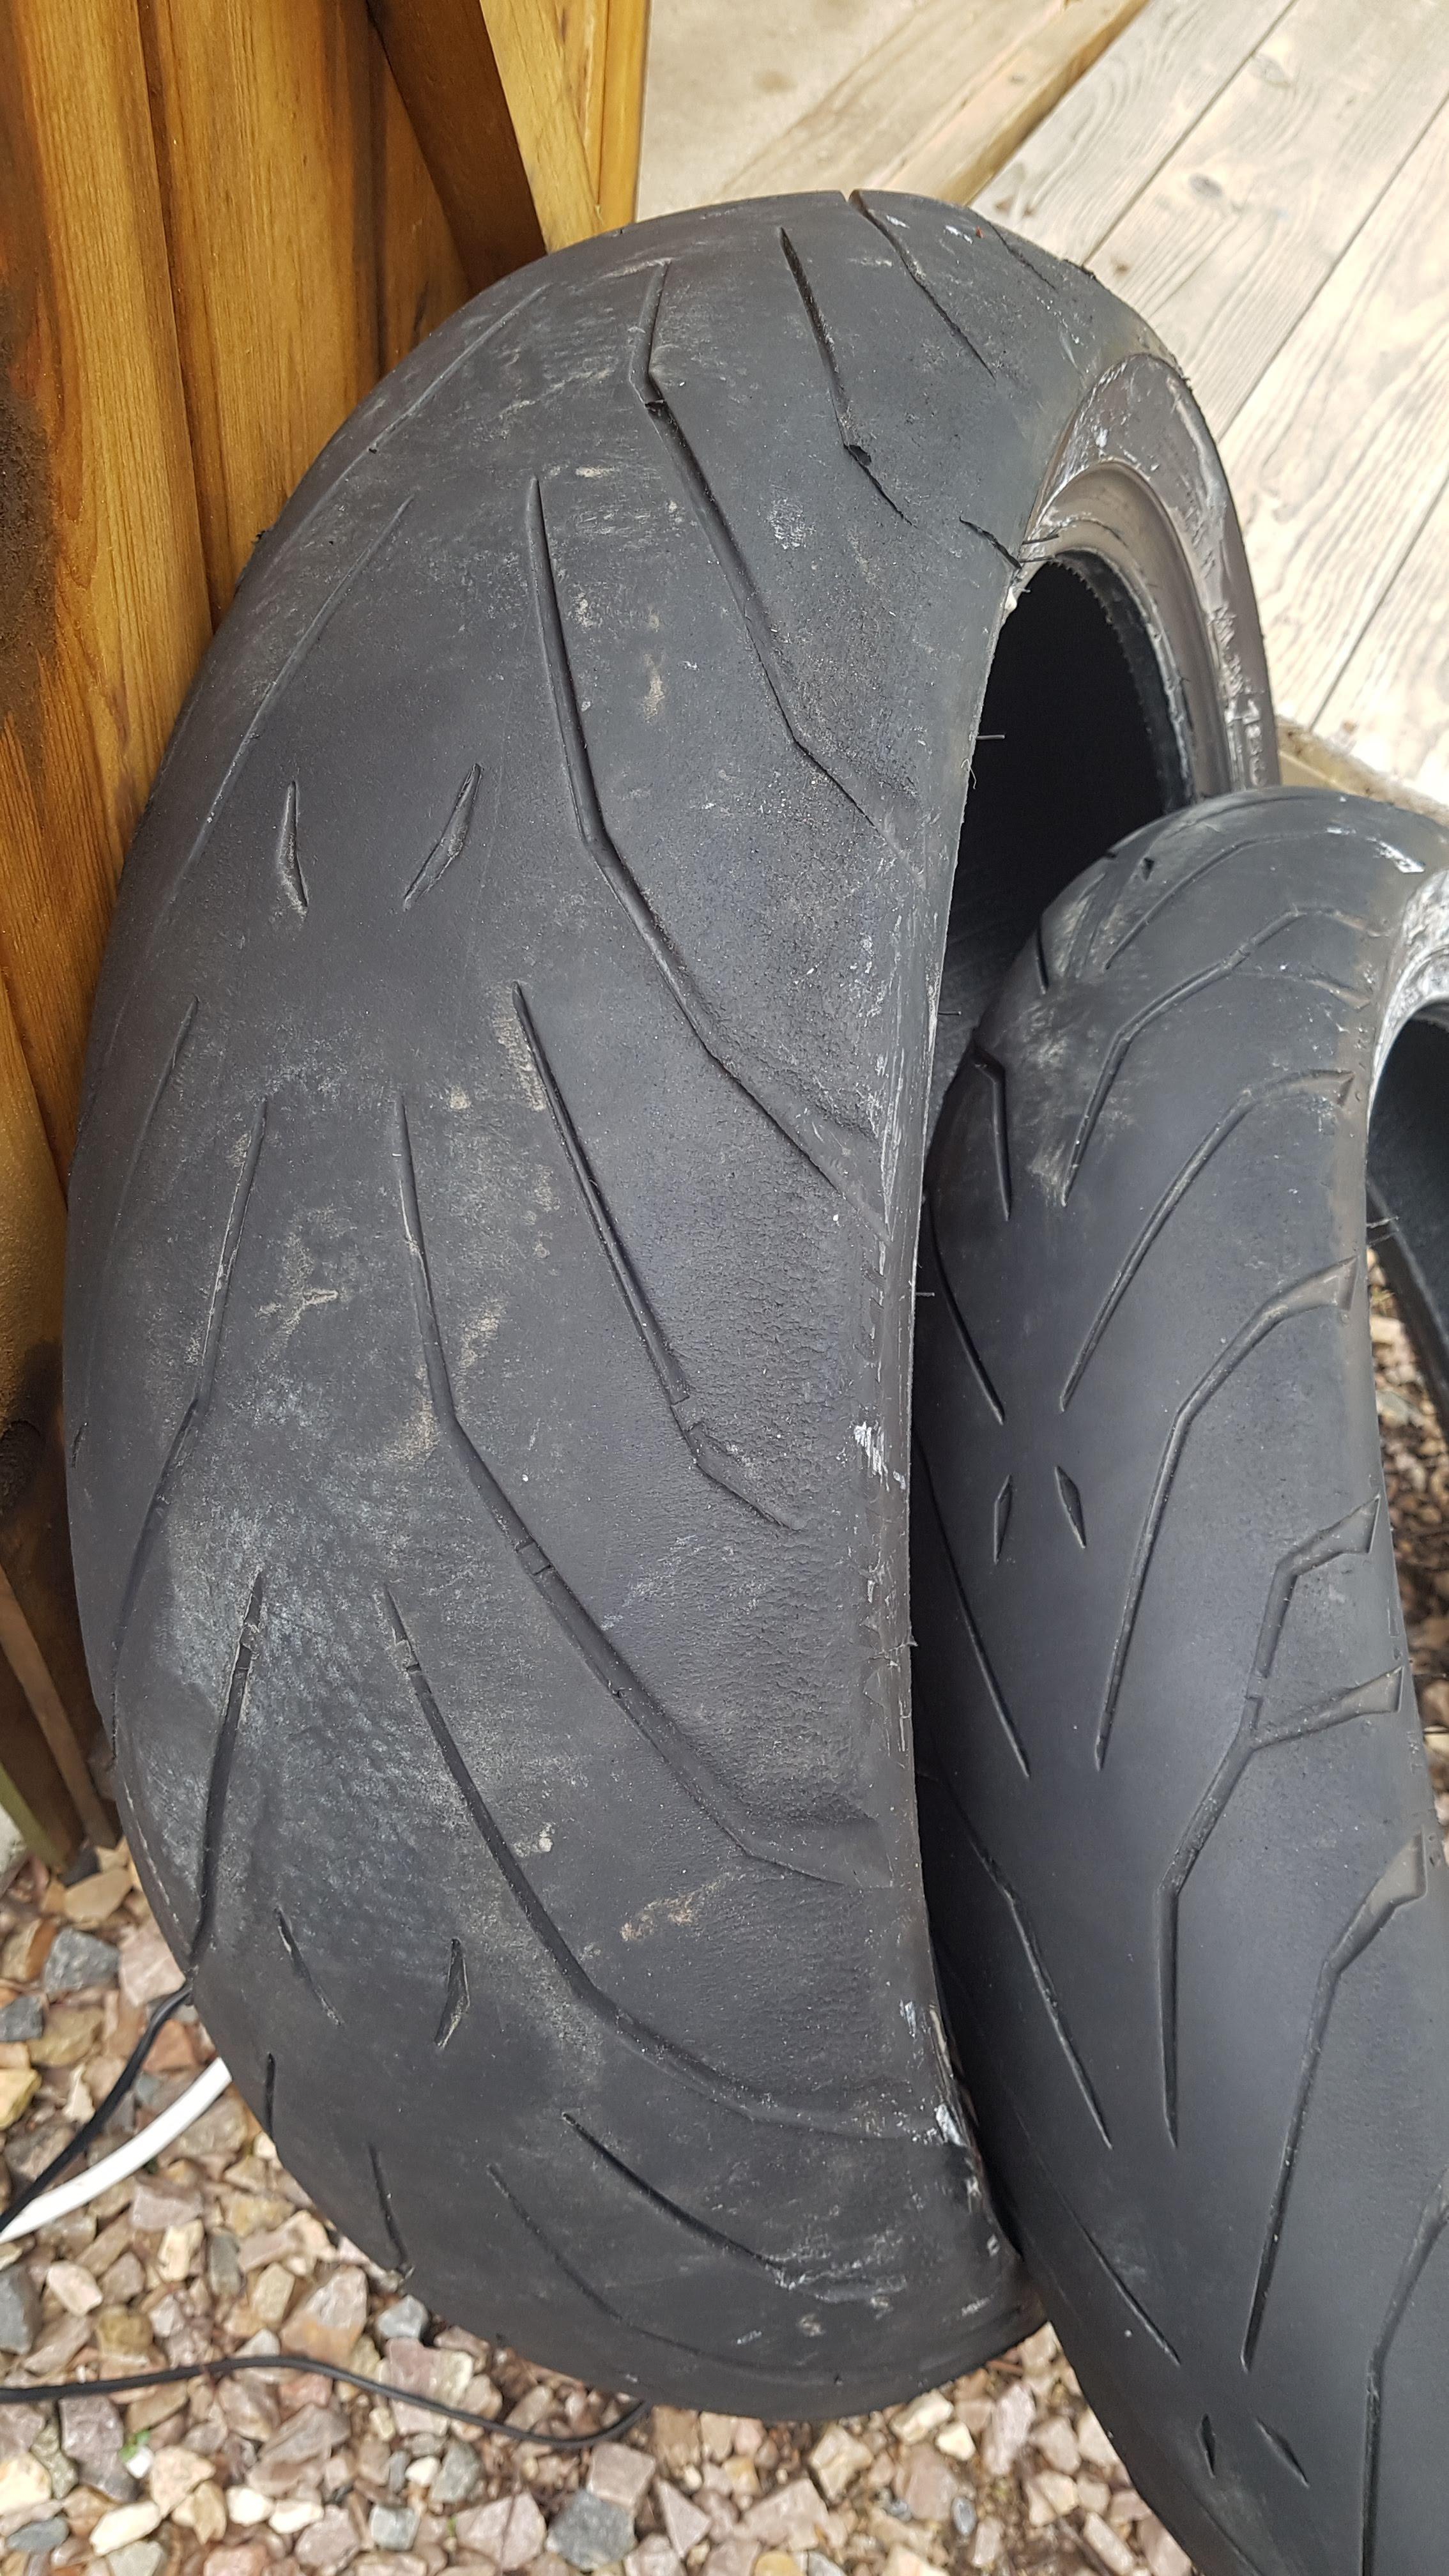
Replaced a set of worn out Pirelli Angel GT (1950 miles, Yes 1950) with a set of pilot powers that I got at a very reasonable price . Bedded them in today. Not having used sports tyres in over a decade last set being Bt016, I quite like them but no doubt will kill them off in no time.

-
Fitted a new battery Motobatt as the original from 2014 was on its way out. Pirelli angel gt fitted tomorrow if its a good day.
-
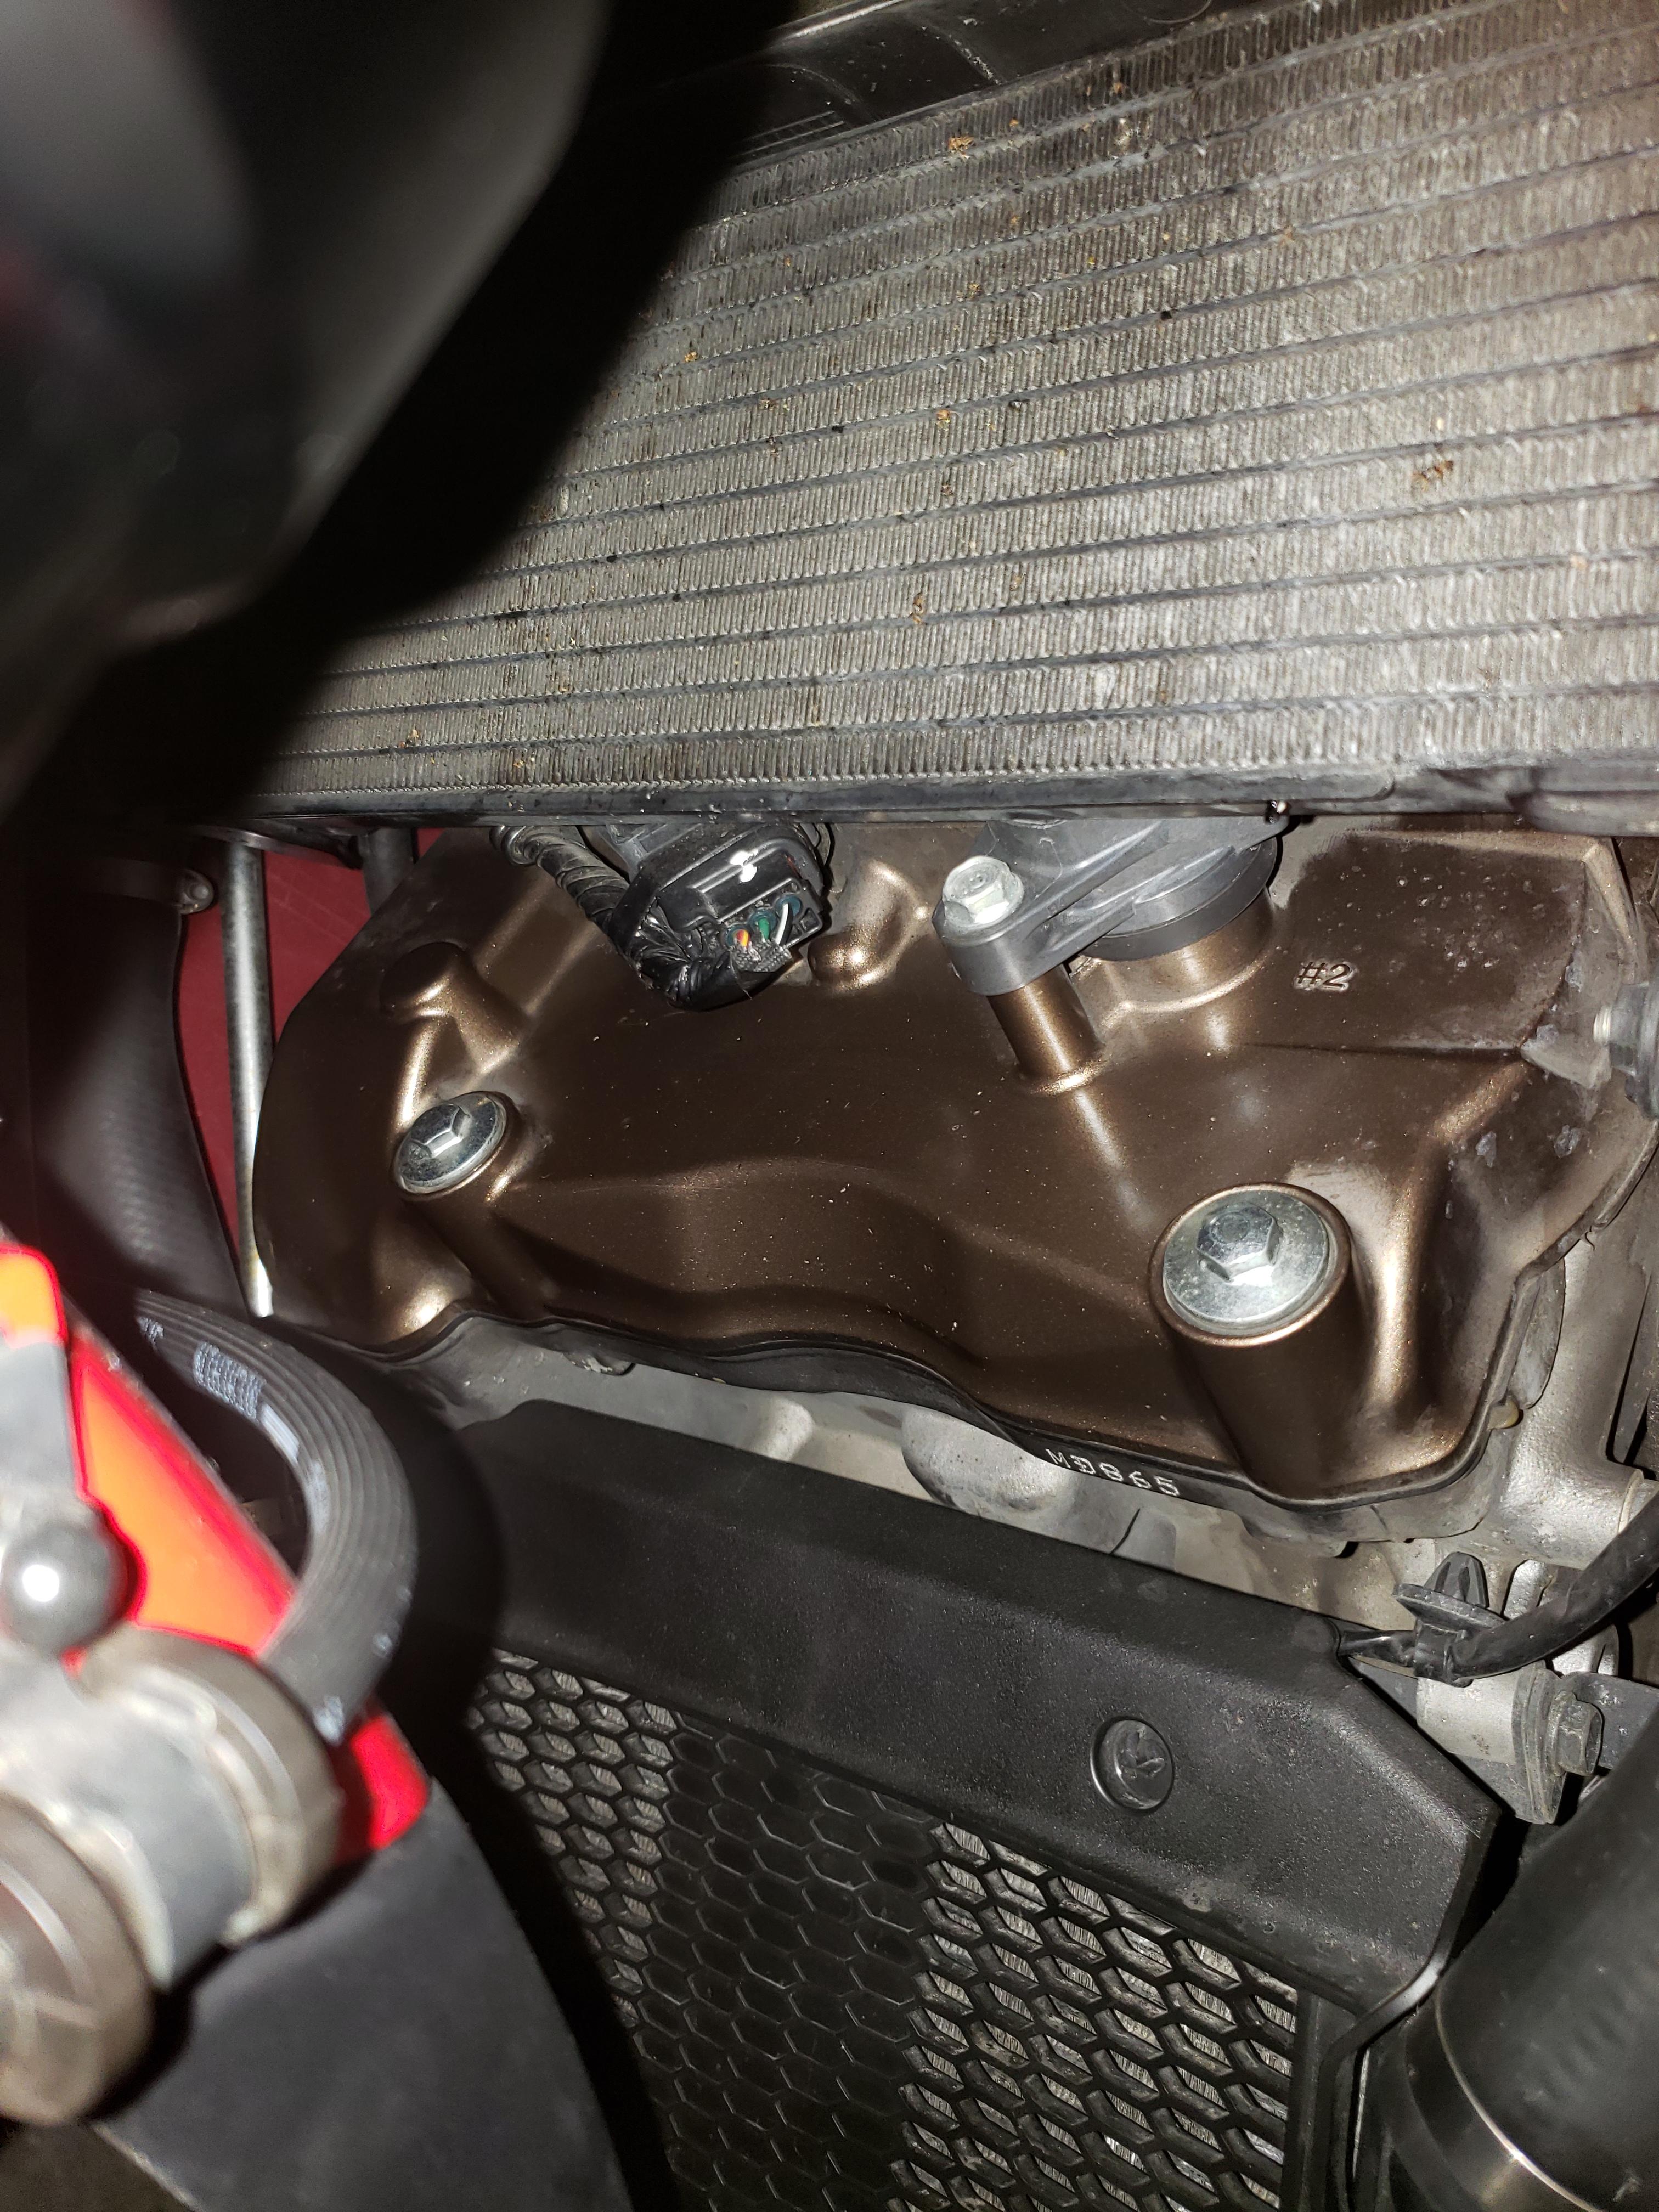
On 2/13/2021 at 10:10 PM, Badger1 said:
After a ride, there used to be grit on the valve cover. I wanted to prevent the beautiful bronze from getting sandblasted over time.
Wish my front cover looked like that. Despite a fender extender the British winters have taken its toll.
-
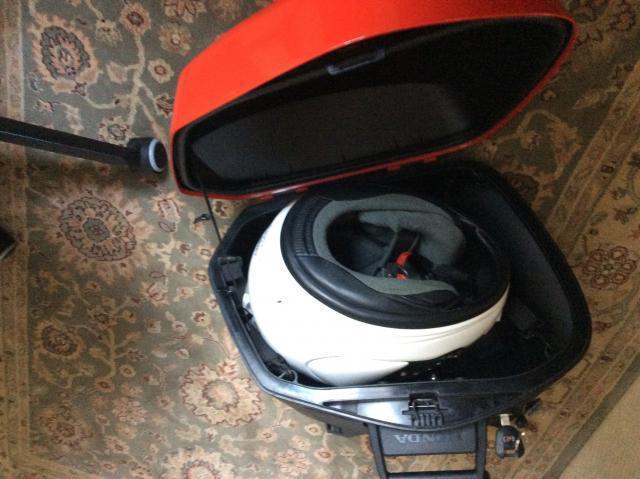
It’s a medium.
-
5 hours ago, Goldcrown44 said:
THat's almost as far as the lid will close with my Shoei RF1200 in it. What make and model helmet are you showing in this photo?
It’s an Arai chaser,
-
You can get a lid in the side case.
-
1
-
-
Two bolts and stops need to be added to the front. They should come with bike. Instructions are in owners manual.
Removing & Installing Body Components u Front Seat ❙ Removal
1. Remove the rear seat. 2 P. 64
2. Remove the mounting bolts and collars,
and then pull the front seat back and up.
❙ Installation
1. Install the front seat by aligning the recess for the current seat height position (low or high) with the front stay.
2. Install the collars and mounting bolts.
3. Tighten the mounting bolts securely.
4. Make sure that the mount positions of the
recess and the adjust plates are the same
seat position. 2 P. 92
5. Install the rear seat.
Make sure that the seat is locked securely in position to pull it up lightly.
For the front seat height adjustment, see “Changing the Front Seat Height.” 2 P. 91
Front seat
Recess (low position) Mounting bolts
Front stay Collars Recess (high position)-
1
-
-
Put the optimate on the battery that I thought had died a while back (I had stuck it on the charger and brought it back to live) and removed the Innov k2 to put on the Bmw
-
5 hours ago, RC36B said:
Right, you already passed our tallest mountains (about 173 meters) a couple of times in that video.
I think it does say Spain in one of the other videos from "FLASH FLASH".
We will be passing your way in just over a months time.
-
On 2/11/2020 at 6:59 PM, RC36B said:
I'm definitely getting too old or simply too lazy to replace mirrors and peg wear bolts... Of course, the chance is I'm too much of a chicken as well 🙂
Nice Video ,doesn't look like Denmark to me more Spain.
-
Took the battery out. Dead as a door nail not bad considering it has been neglected for past few months and is. 5 years old.
-
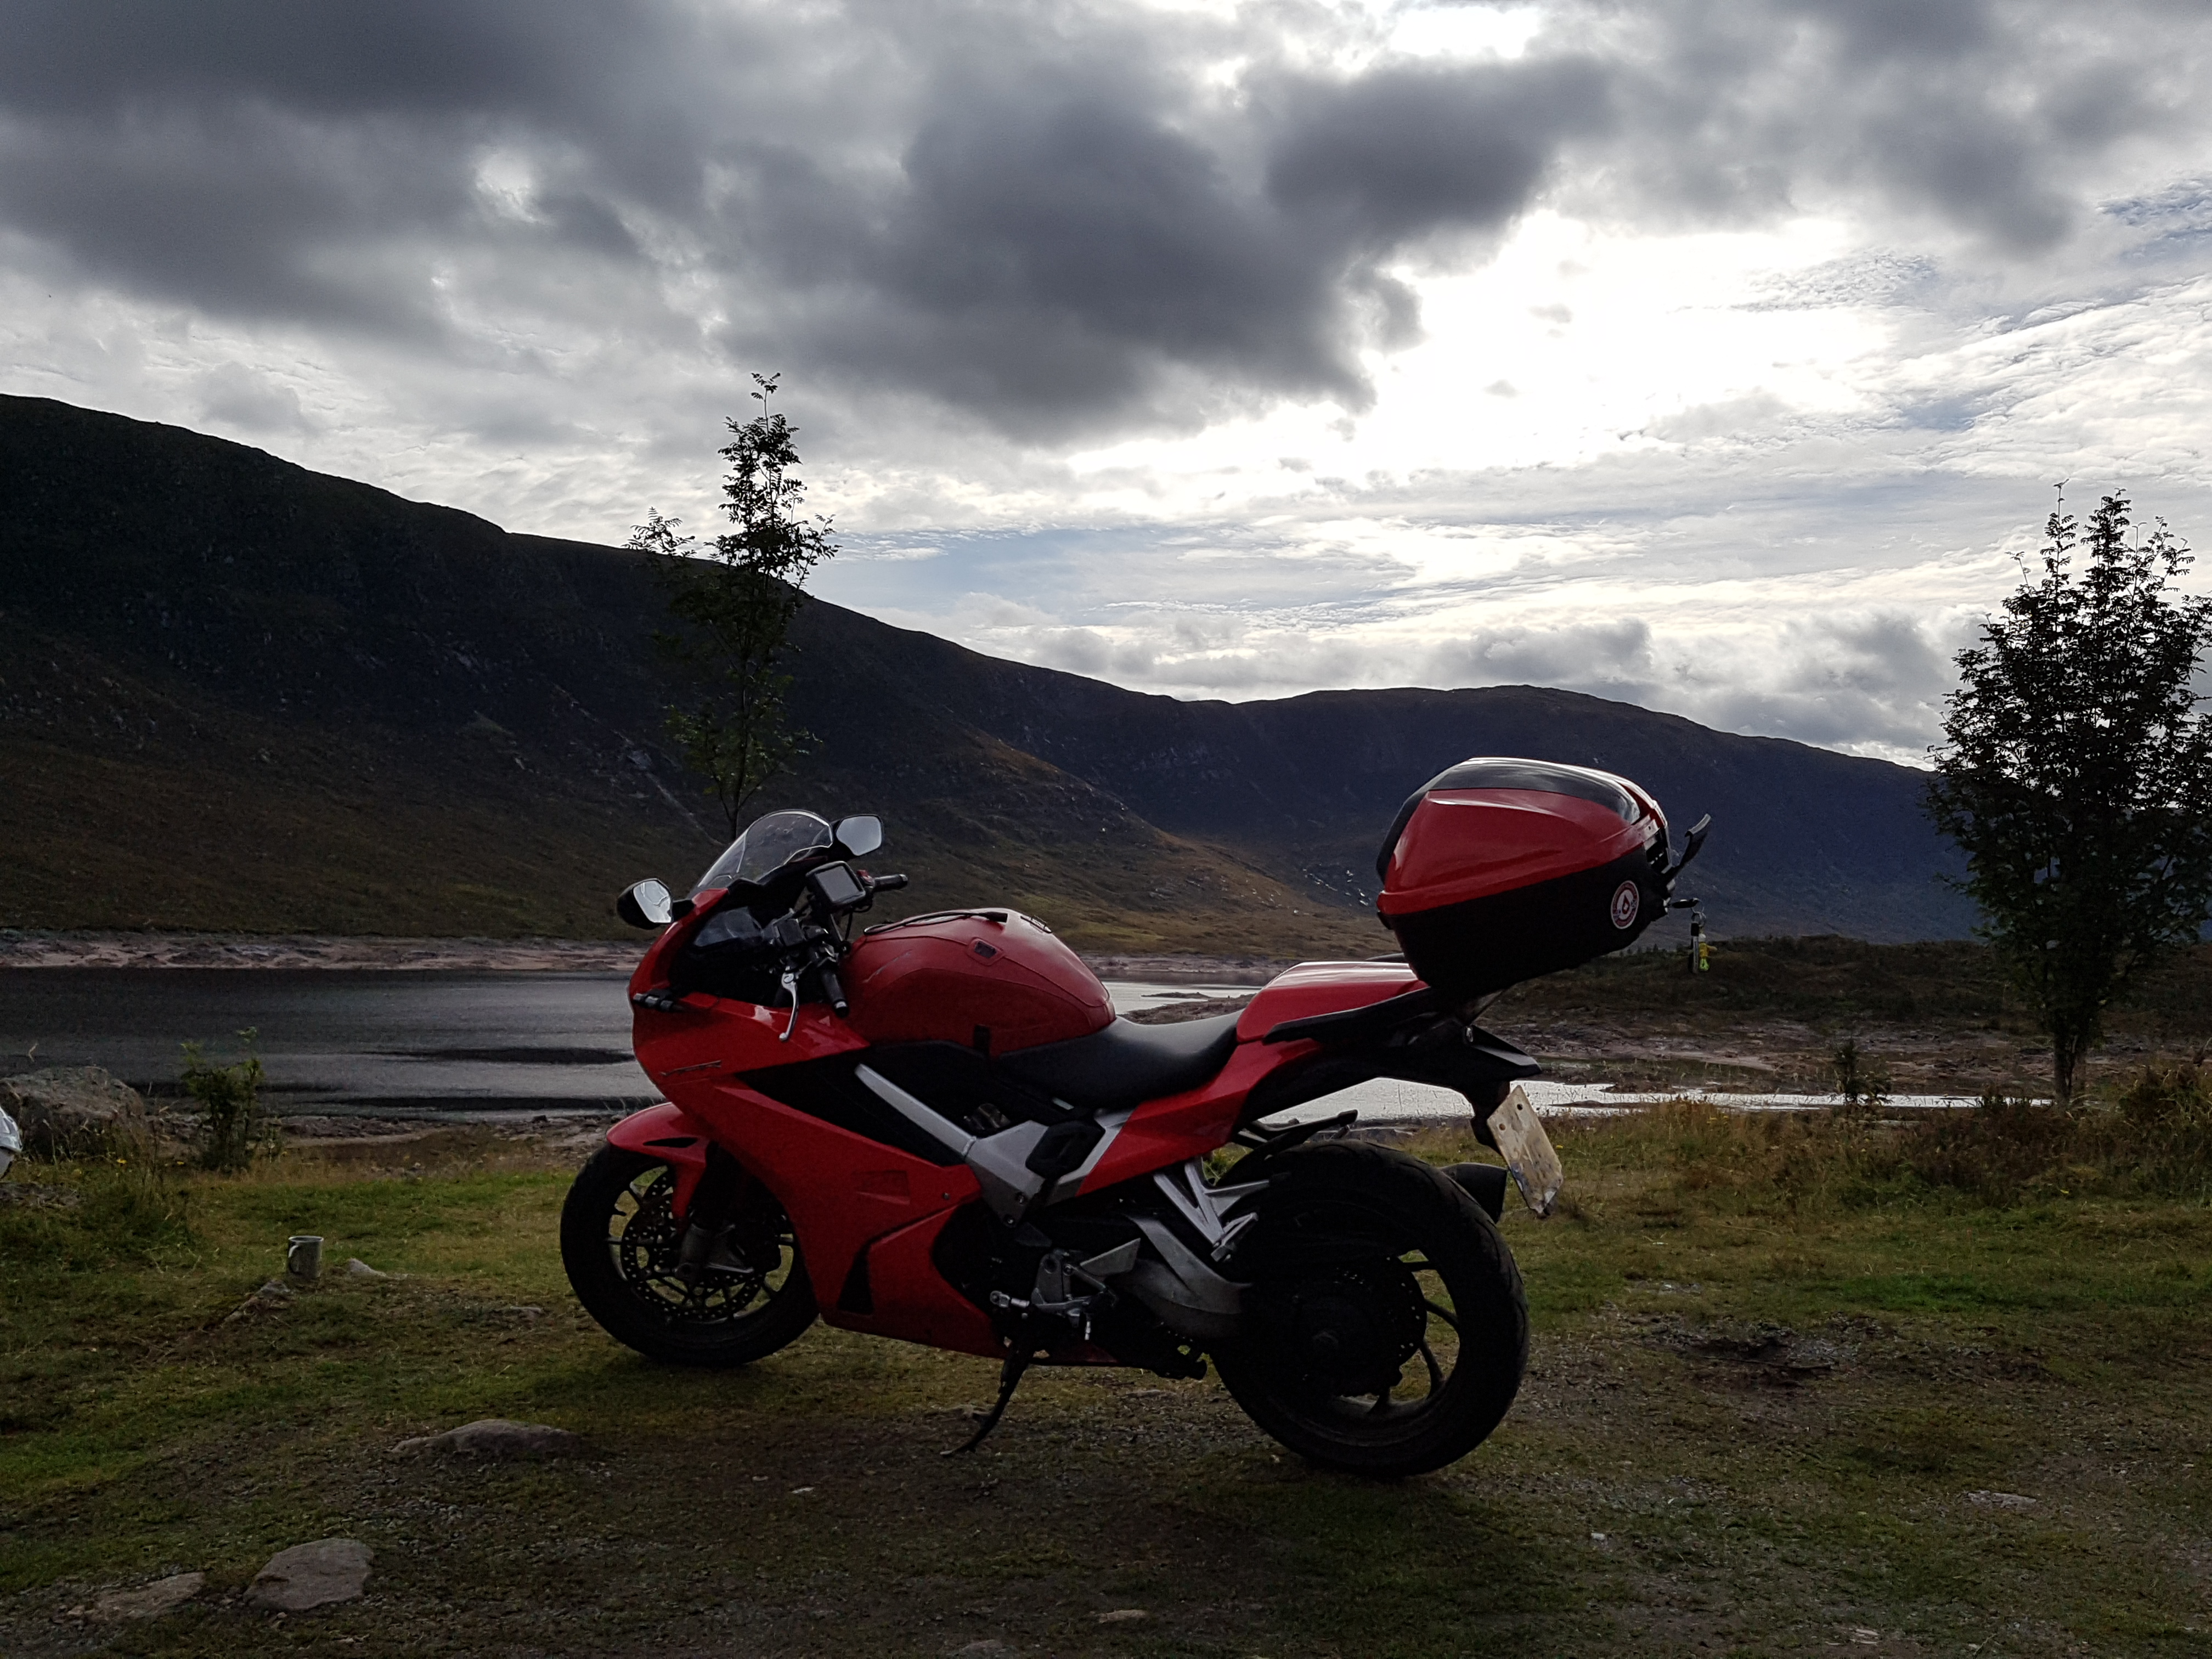
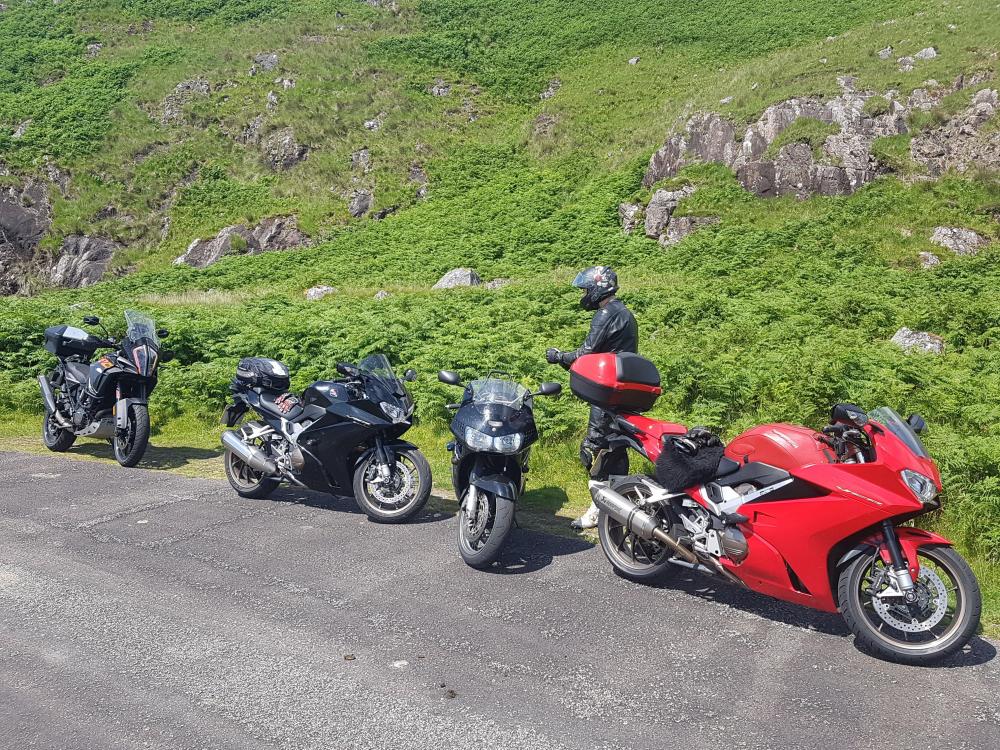
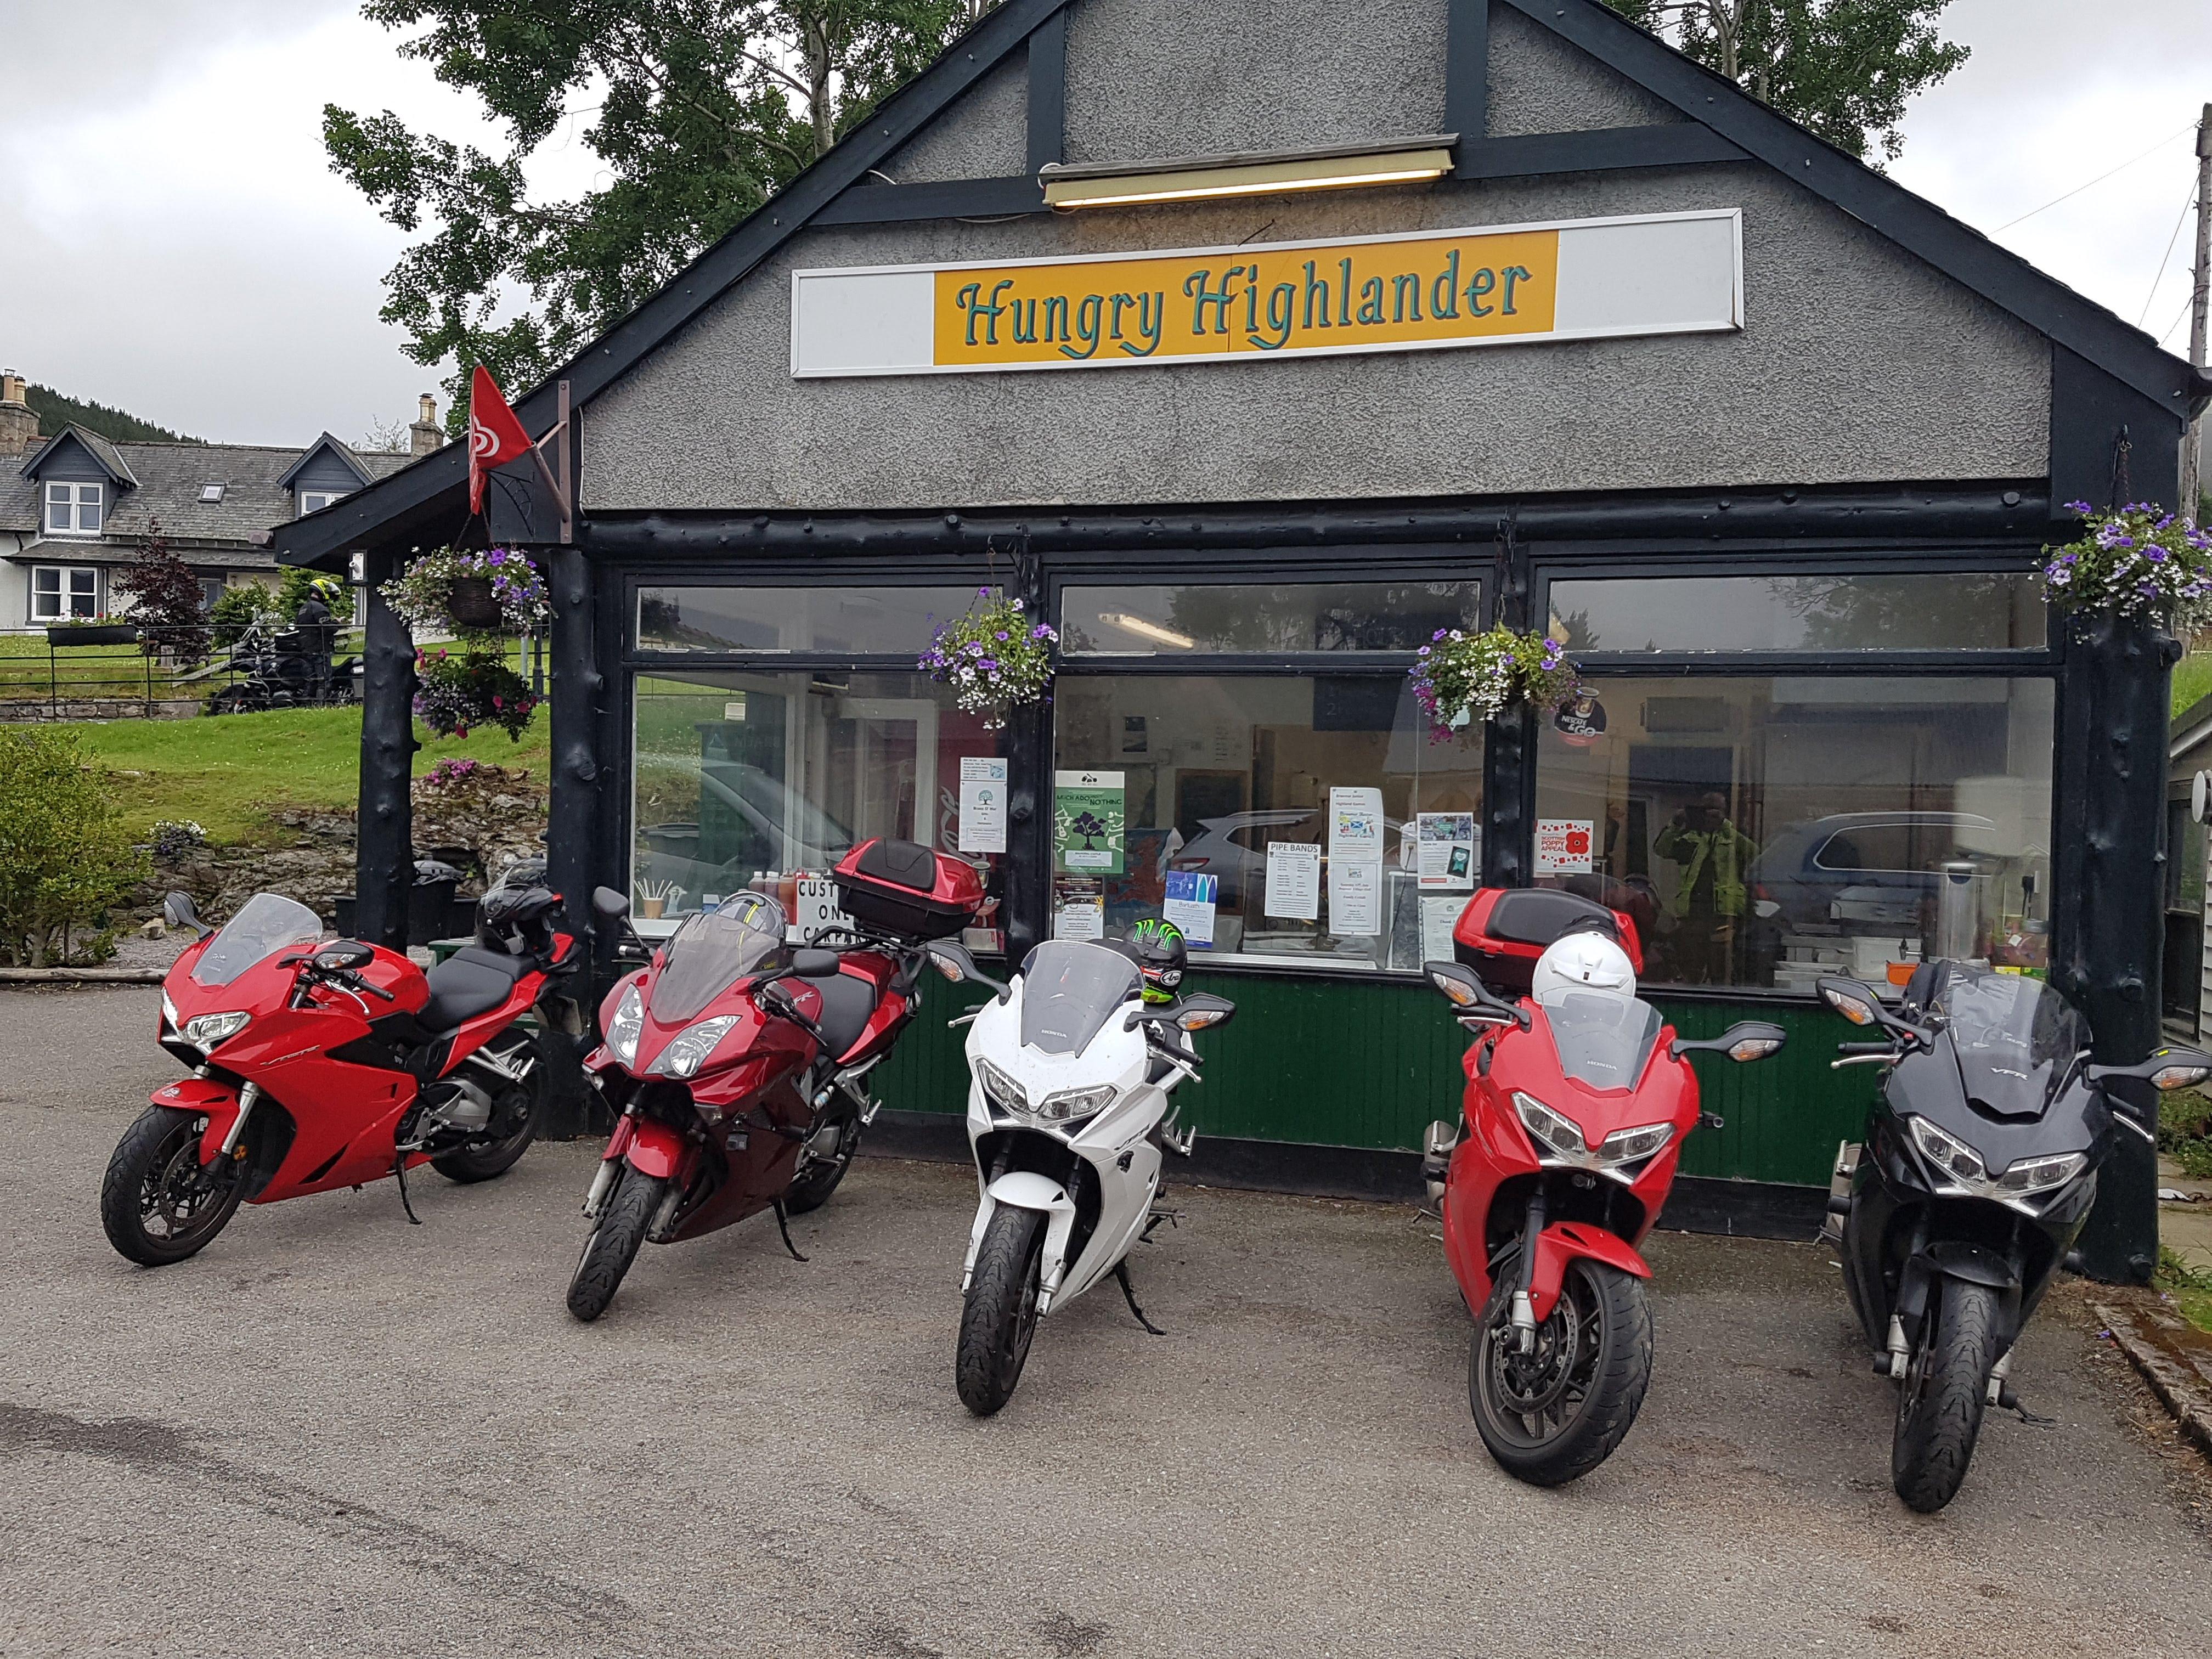
Last week. Got together with a few mates for a week of enjoying the fantastic roads we have in Scotland. 4 of us for 6 days followed by another 10 arriving on Thursday for a further 4 days.
5 vfr in group 4 of them 8th gen.

-
3
-
1
-
-
Tweaked the suspension a bit the other day. Got rid of rear chicken strips yesterday.
-
2
-
1
-
-
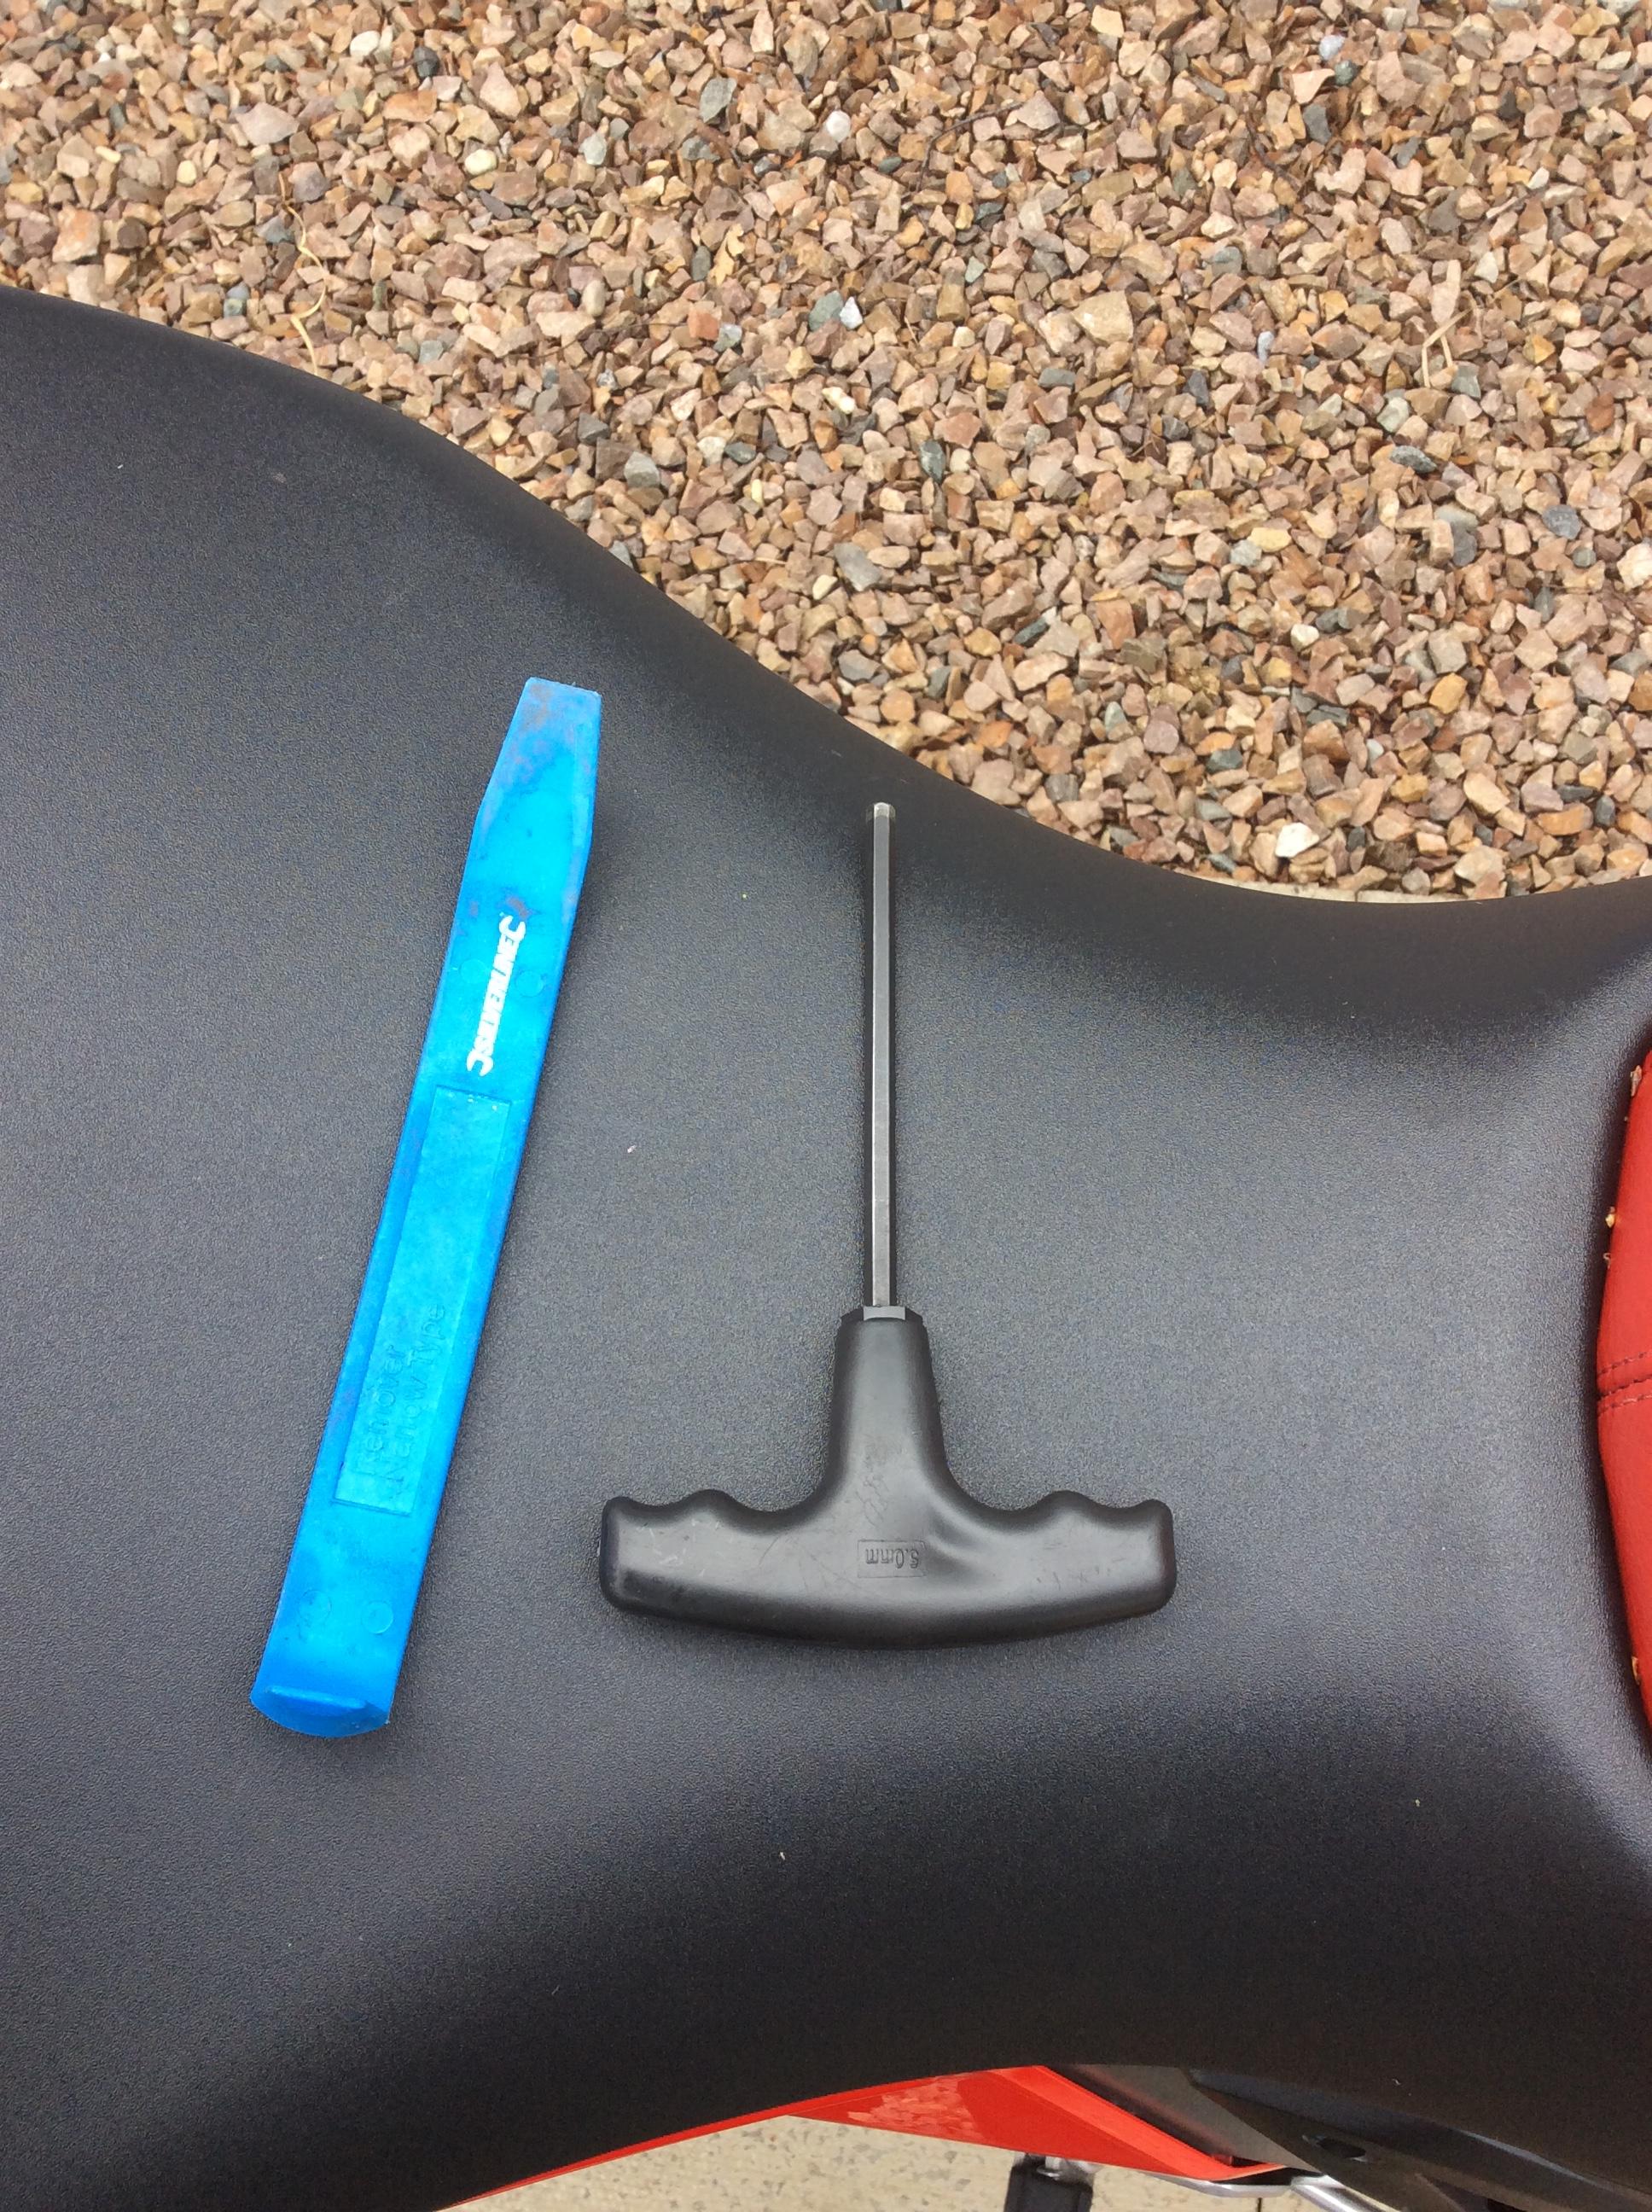
10 hours ago, BrianL said:
Hi Fink, what's involved in that? My understanding was that taking the original 8th-gen screen off (or putting it on) was very simple. I happened to be in the dealer's yesterday and asked the service manager's advice. He made it sound quite difficult and told me the mirrors would have to be removed. Given that they have wiring it all started to sound more involved than I'd thought.
Pretty easy to do. 2 tools correct sizes Allen key and a fine edge trim tool although have done it with a screwdriver.
I was was going to do a how to next week when I get home as I have been trying out a few screens.

-
Replaced a faulty zumo cradle.Can now hear directions, listen to tunes and if needed talk on the phone.
putting the original screen back on for another test before doing a screen review of several screens.
-
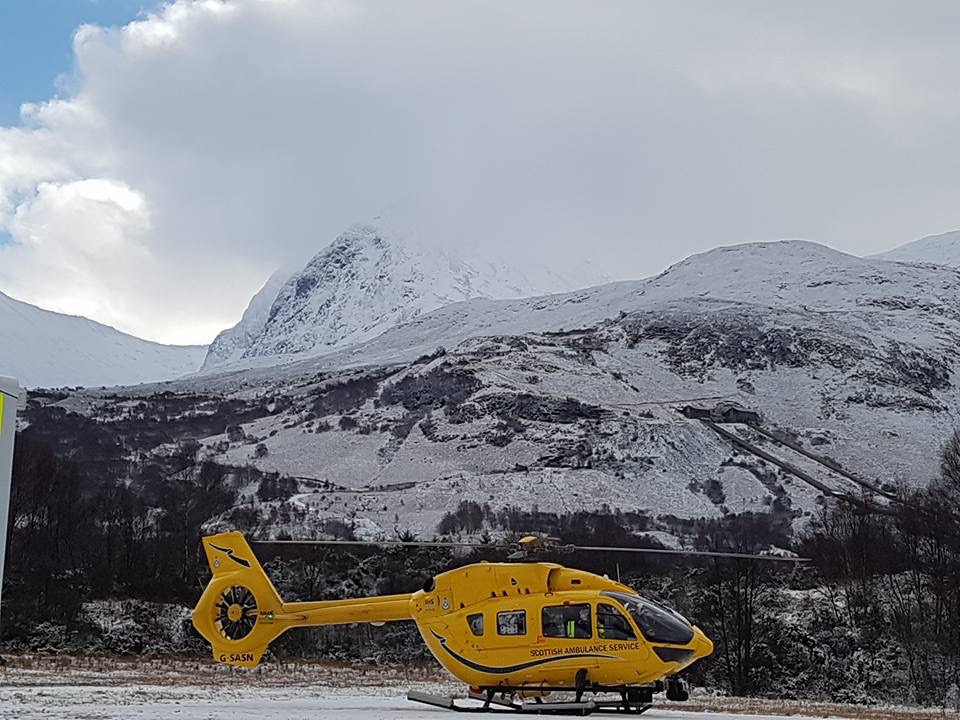
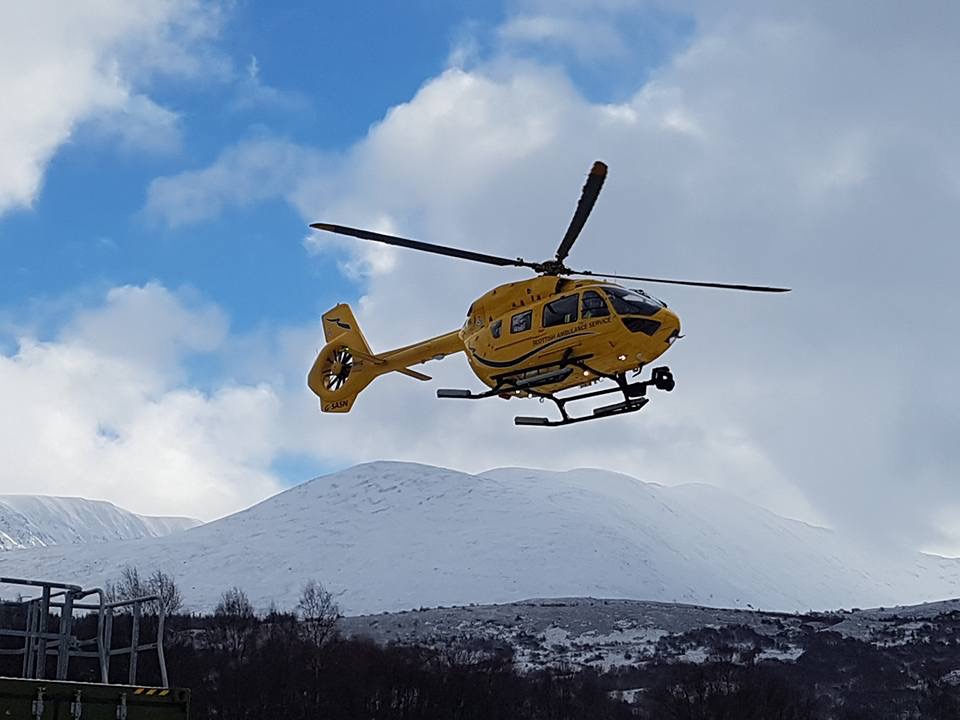
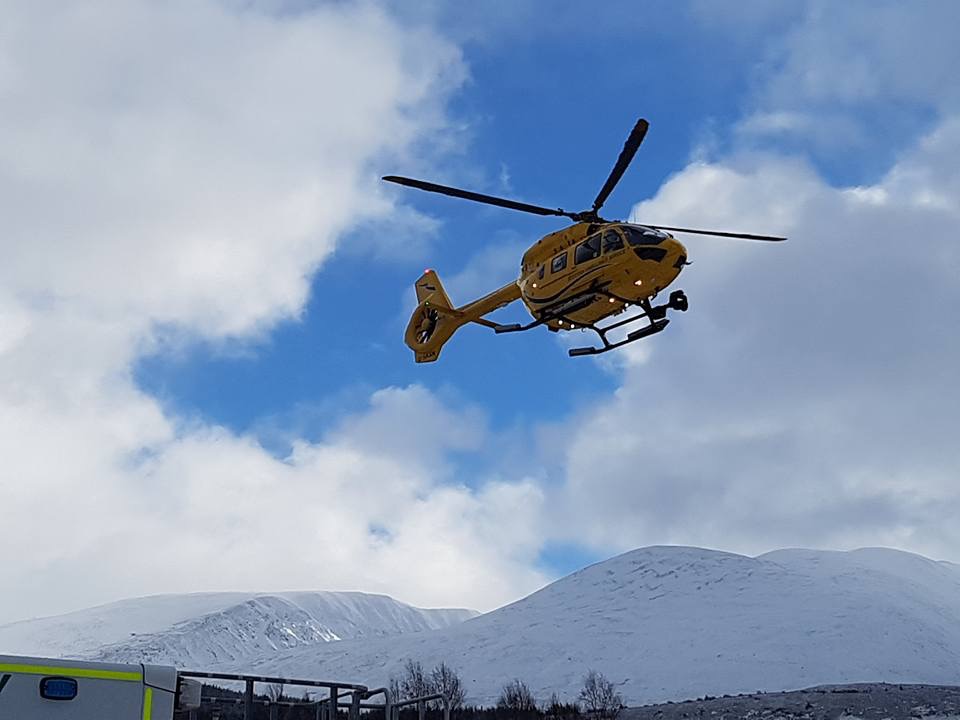
Not much, I was at work. About 5 mins after that you couldn’t see your hand in front of your face due to a whiteout.
-
8 hours ago, boOZZIE said:
-1/-2 at about 6am on my way to work other than that I'd have to go to the mountains
Would have been nice to have that the other day at lunchtime. BRRRRRRRRRRRR


Clutch and brake fluid flush - Springtime
in Eighth Generation VFR's
Posted
Nice write up unfortunatly, 8th gen doesnt have the cbs system and is a different set up.