

Baileyrock
-
Posts
5,264 -
Joined
-
Last visited
-
Days Won
51
Content Type
Forums
Profiles
Gallery
Blogs
Downloads
Events
Posts posted by Baileyrock
-
-
Haha... I'm not brave enough for this one.
I got a bag of 100 little clips and have the fairing-removal exercise down to about 5 minutes... That's my technique. :biggrin:
:fing02:
Sounds good! :biggrin:
-
You must be a dwarf. AIN'T no way my big mitts will fit in there.
I'm 6', 190 lbs and wear Lager size gloves, but my hands are lean! :biggrin:
Get your wife to help! :fing02:
-
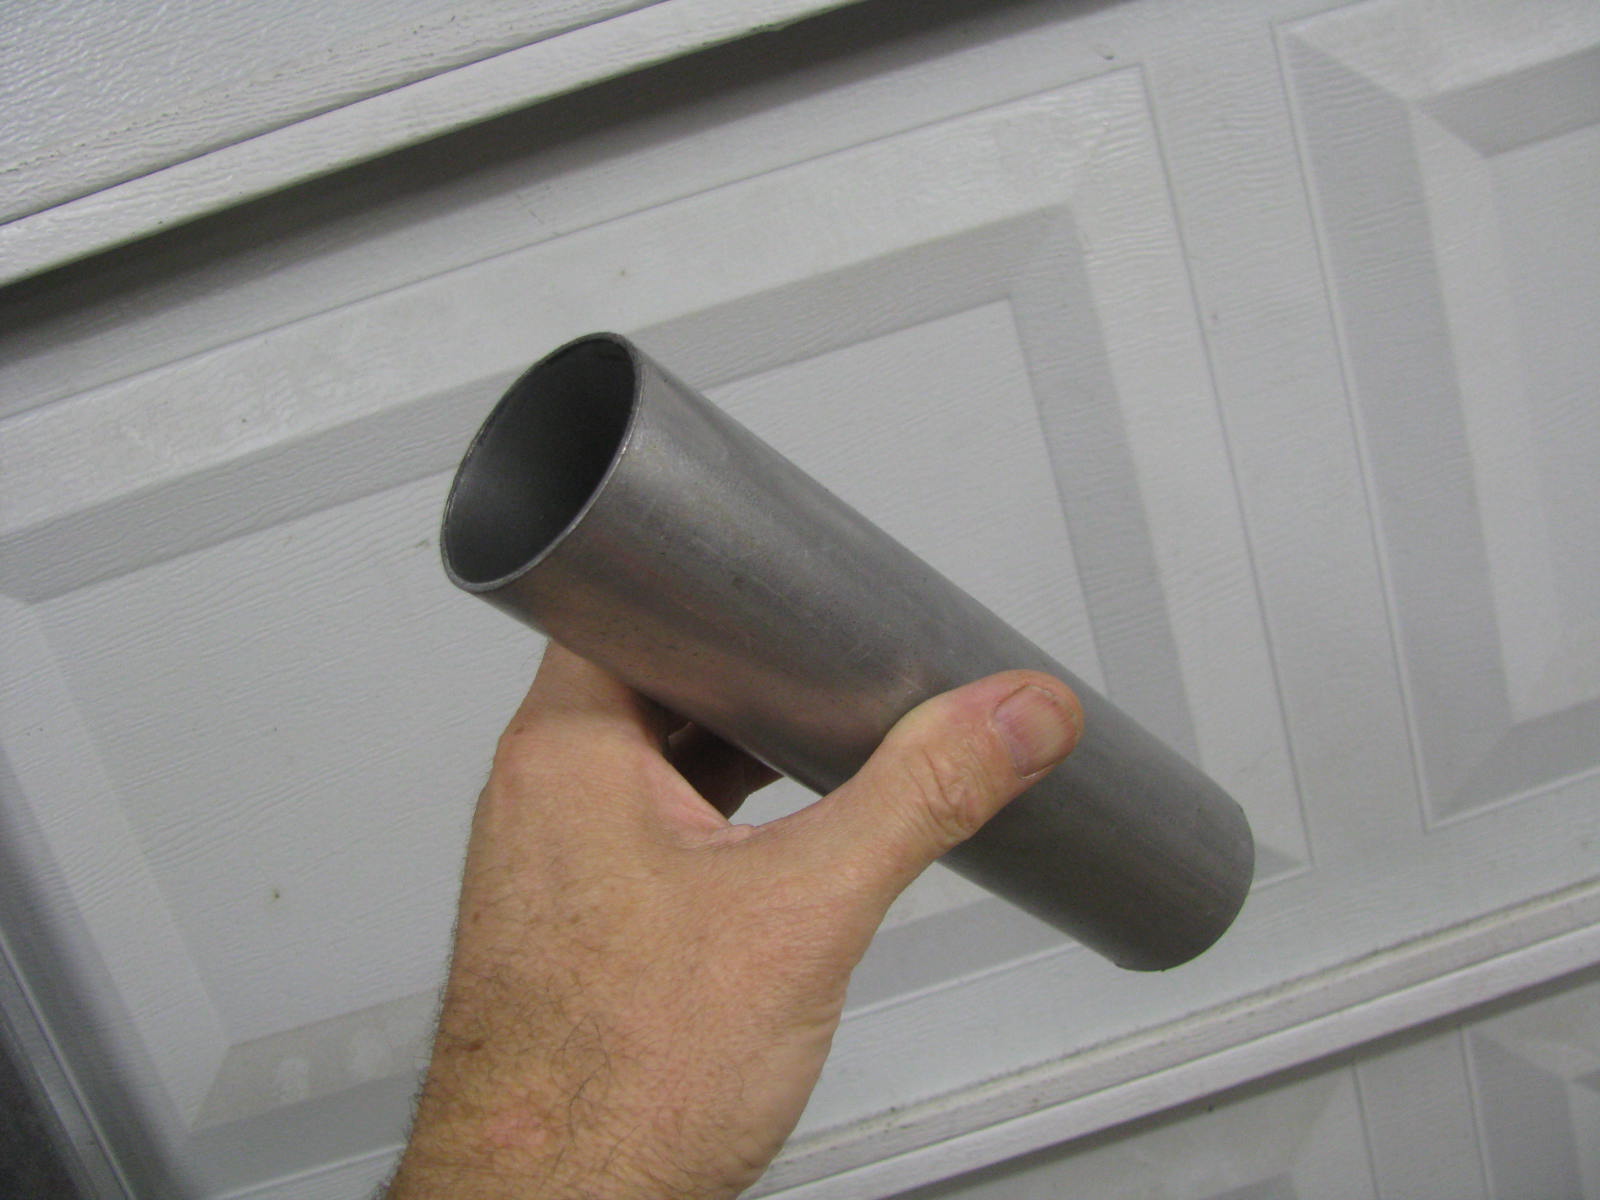
Yo, BR, can you please post a pic of what you used to pound in the bushings and washer, which lie directly under the fork seal? I presume you hammered those in, then gently hammered in the seal, correct? When I was trying to hammer the bushings and washer in using a PVC pipe, I had a hard time and had to take it to a shop to have them use their driver tool.
Here is my simple seal driver!

I think it's just a piece of 2"(OD) exhaust pipe, it works like a charm as I've used it for years w/o issue! :biggrin:
-
I don't suggest doing it Hot, slightly warm is OK. :blush:
-
I guess one to many accidental wheelies had done it's toll on my fork seals as the right one failed after some 40k miles so it was time to replace them.
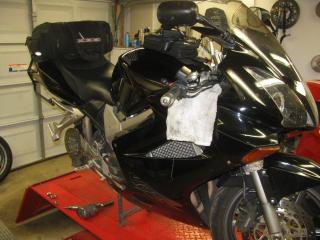
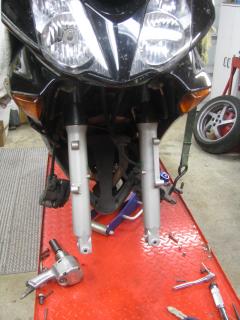
I ordered a set of aftermarket seals and had a left over bottle of Ohlins fork oil so I put the Viffer up on the lift and got started. I was thinking about modifying my "30 Min fork oil change" thread to do the seals, but the forks were so dirty on the outside I decided to just pop them off!
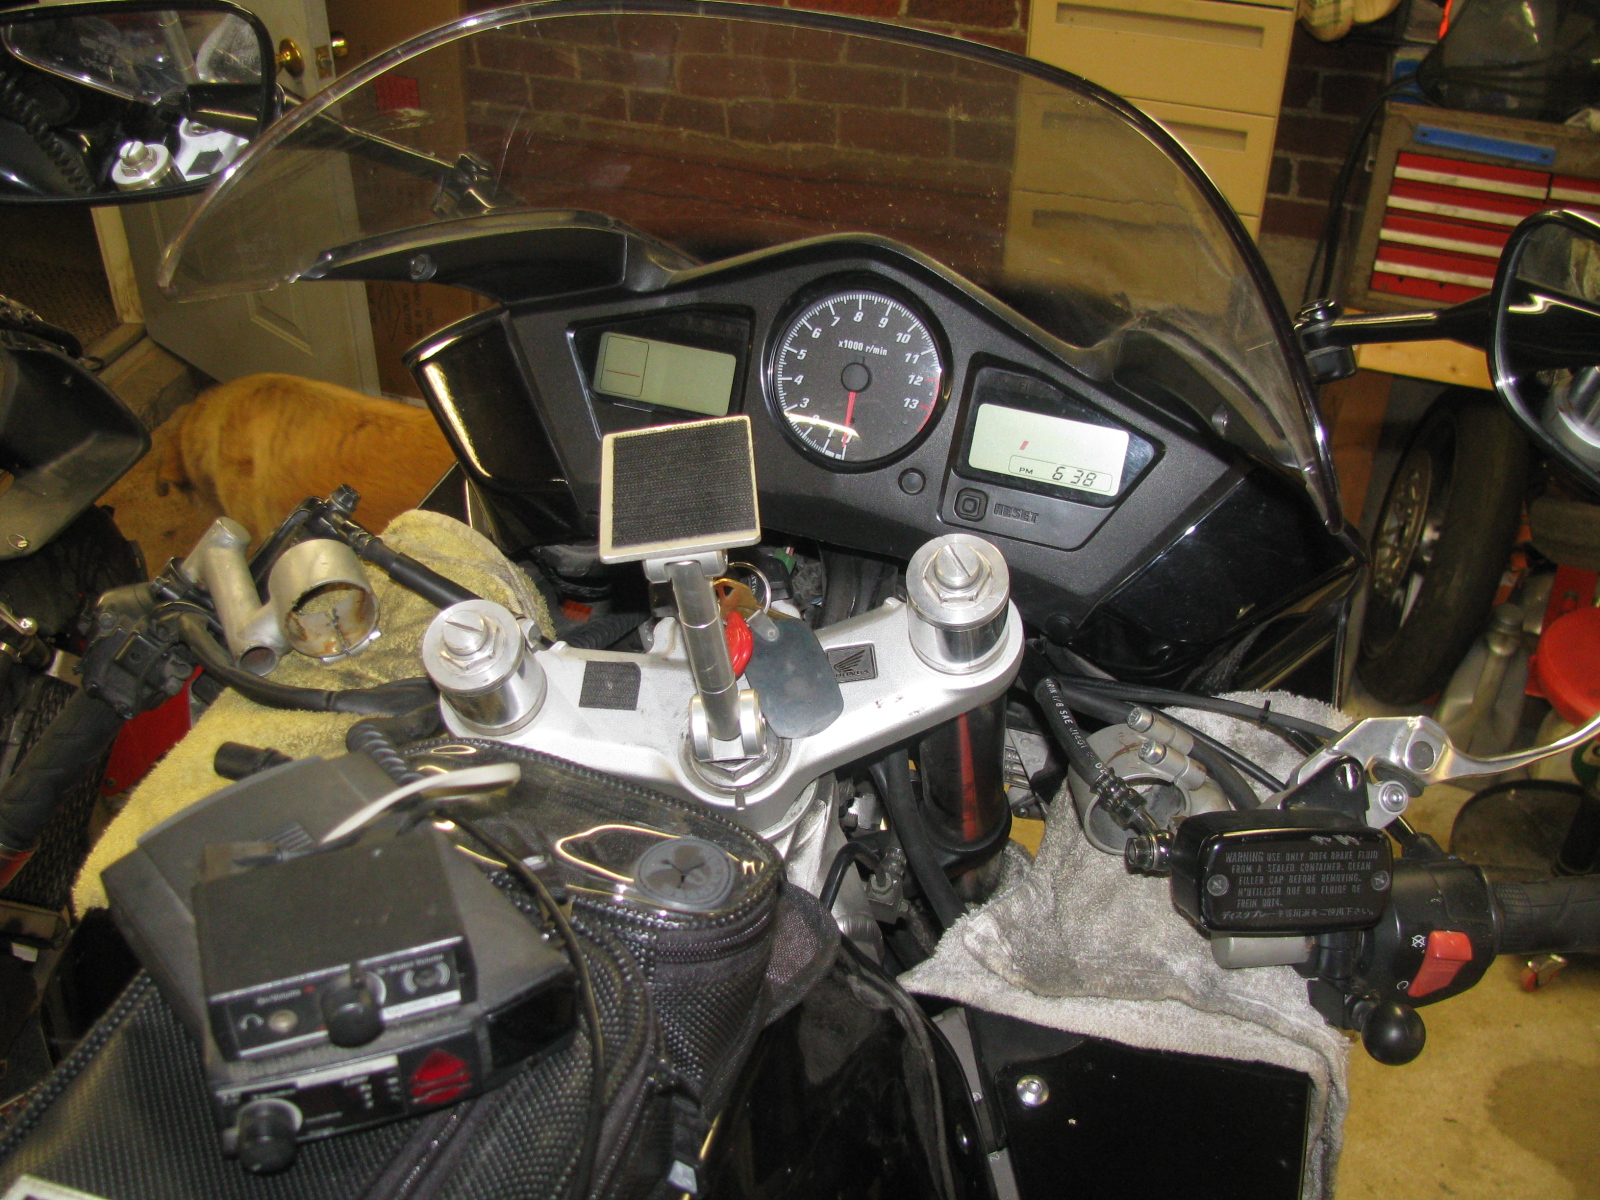
Once on the lift I removed both bars and just hung them over the sides of the fairings.

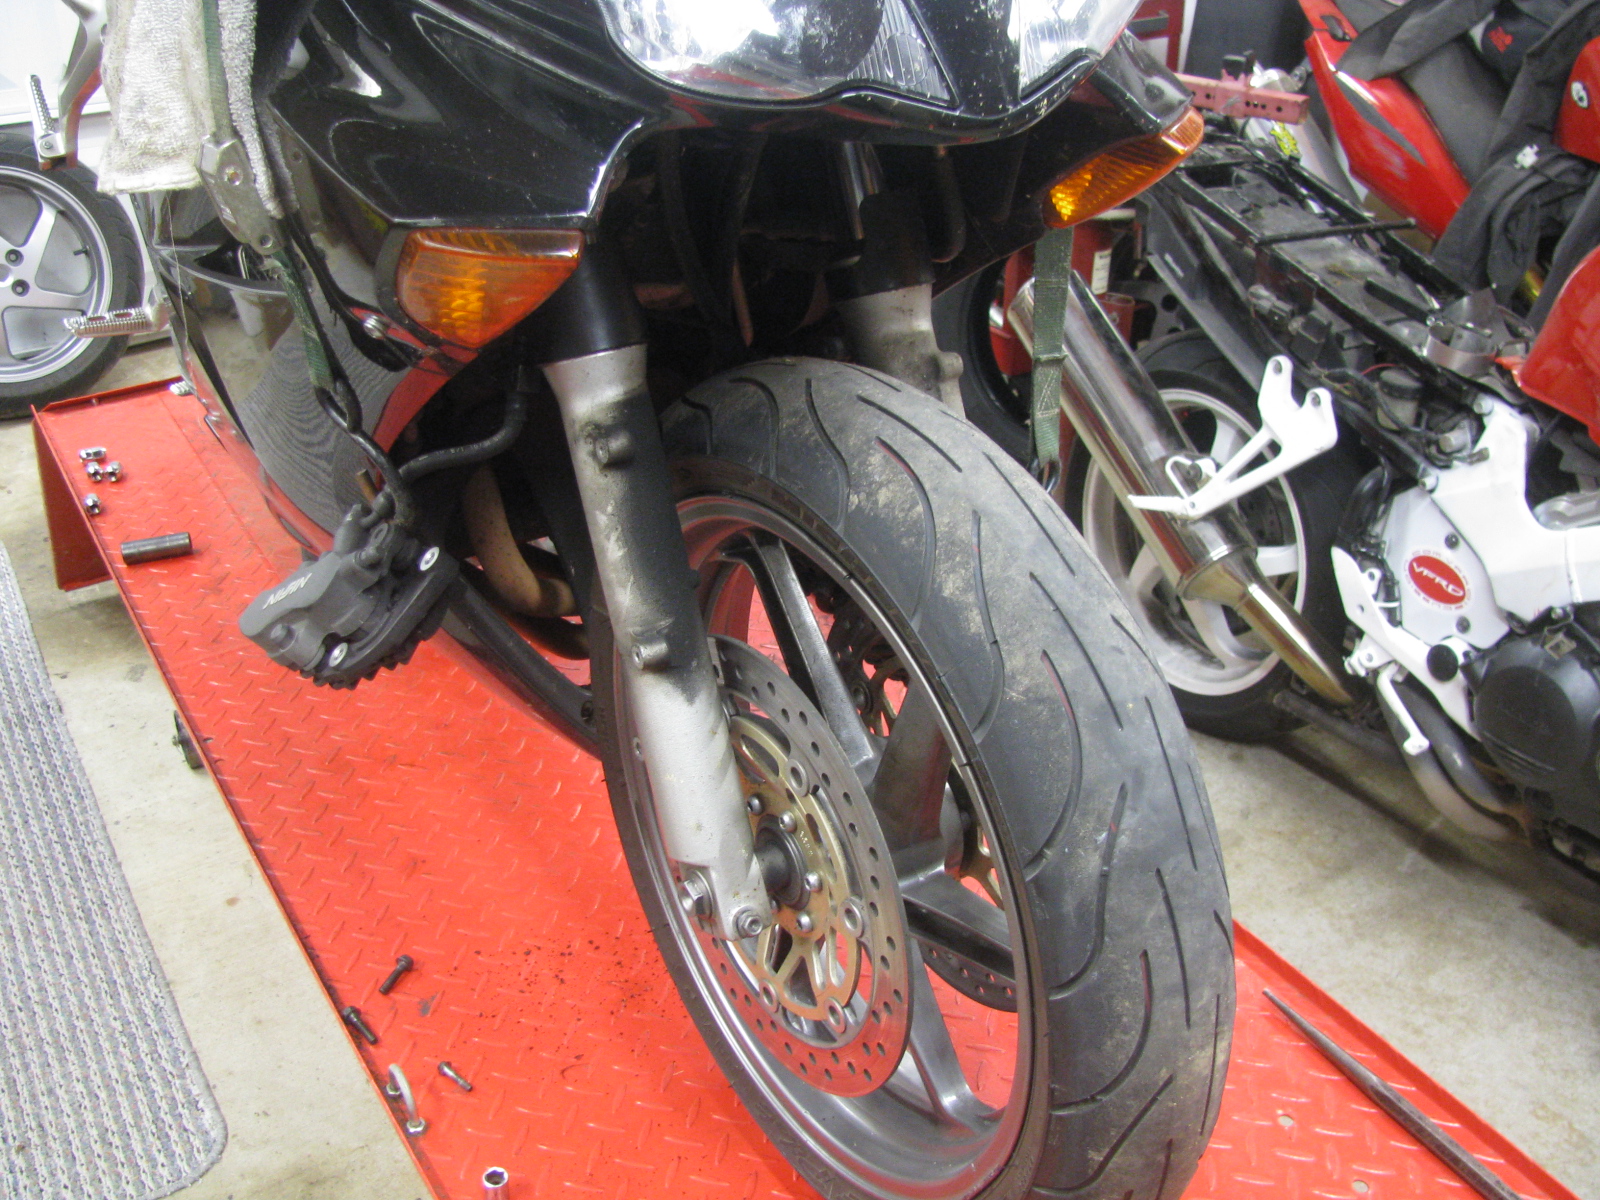
I removed the rear wheel to make jacking up the front end easier.
I removed the calipers & front fender.
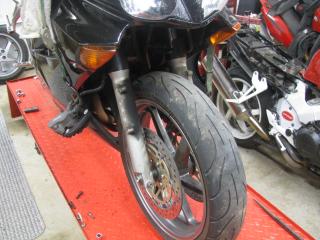
Now I pulled the front wheel, loosened the upper and lower triple clamps and 20 minutes after starting the forks were off the bike!
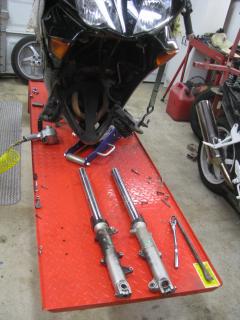
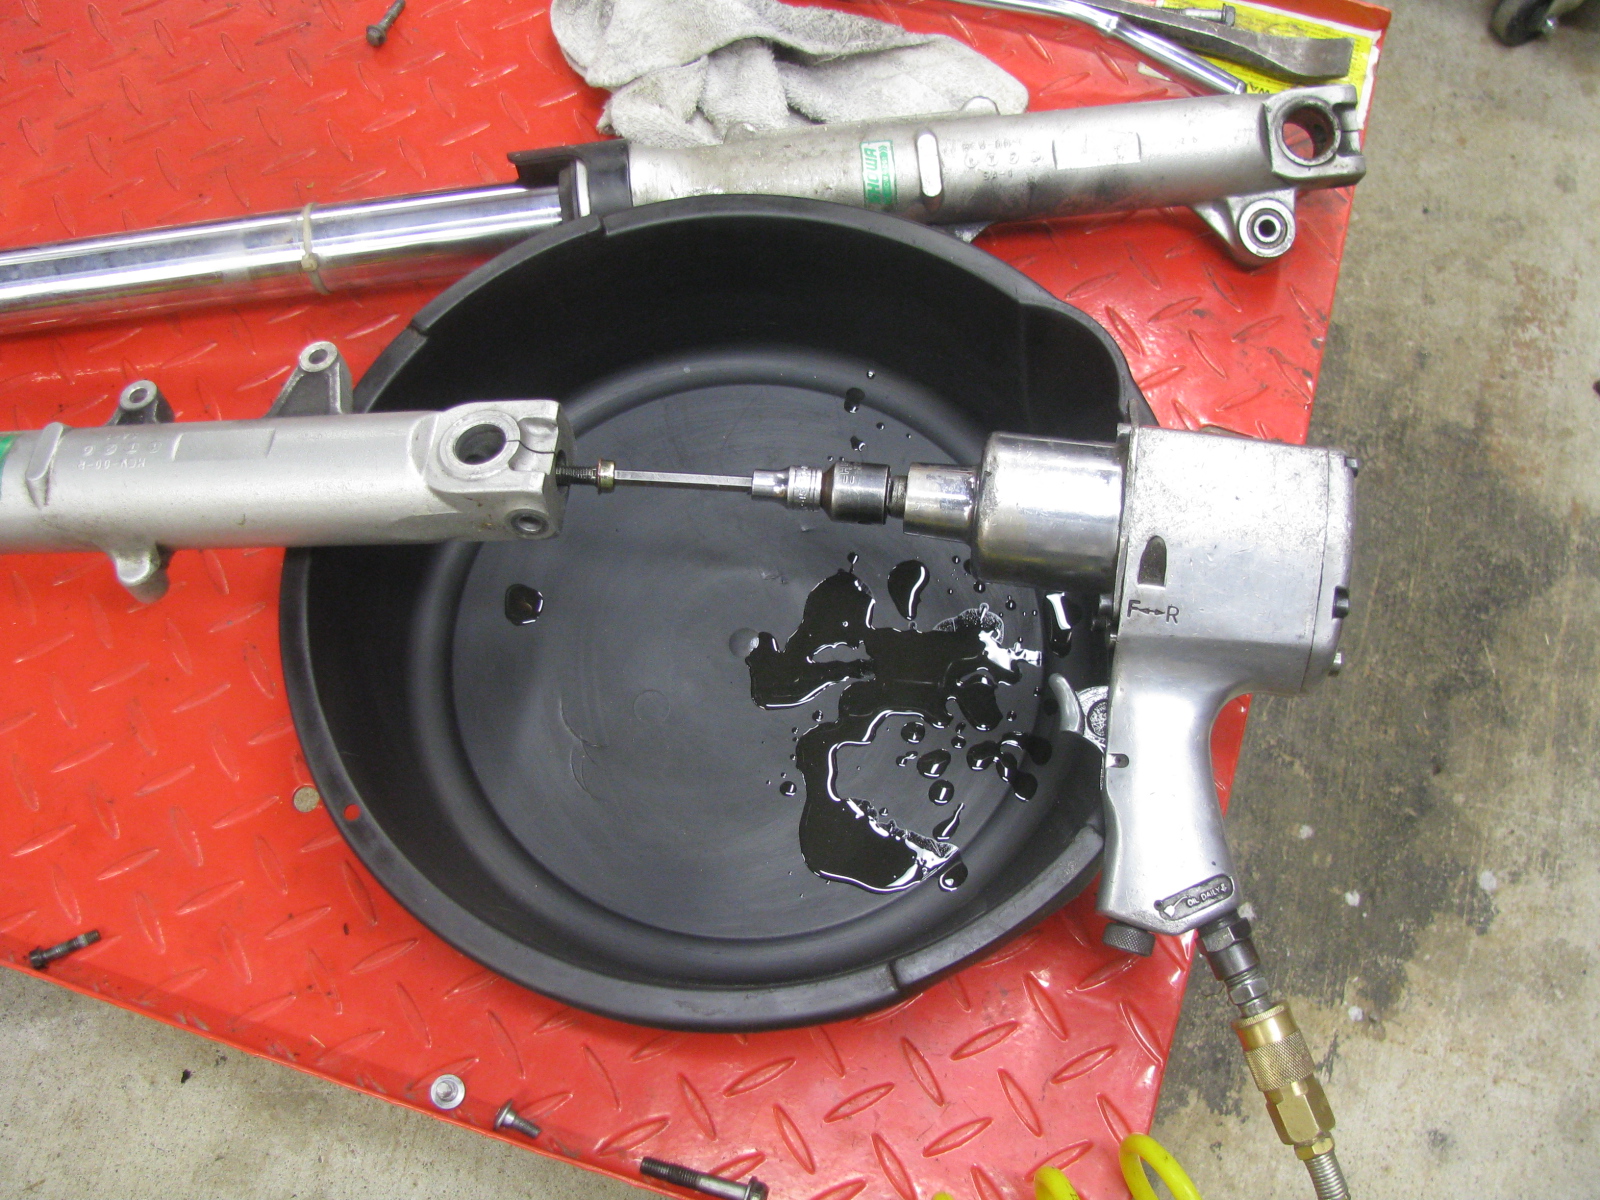
I used my Impact wrench to remove the bottom bolt while fully loaded

Then pulled the caps and removed the entire cartridge assembly
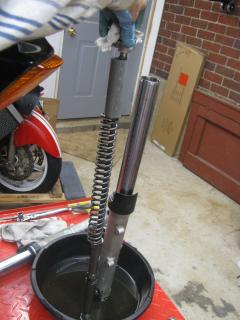
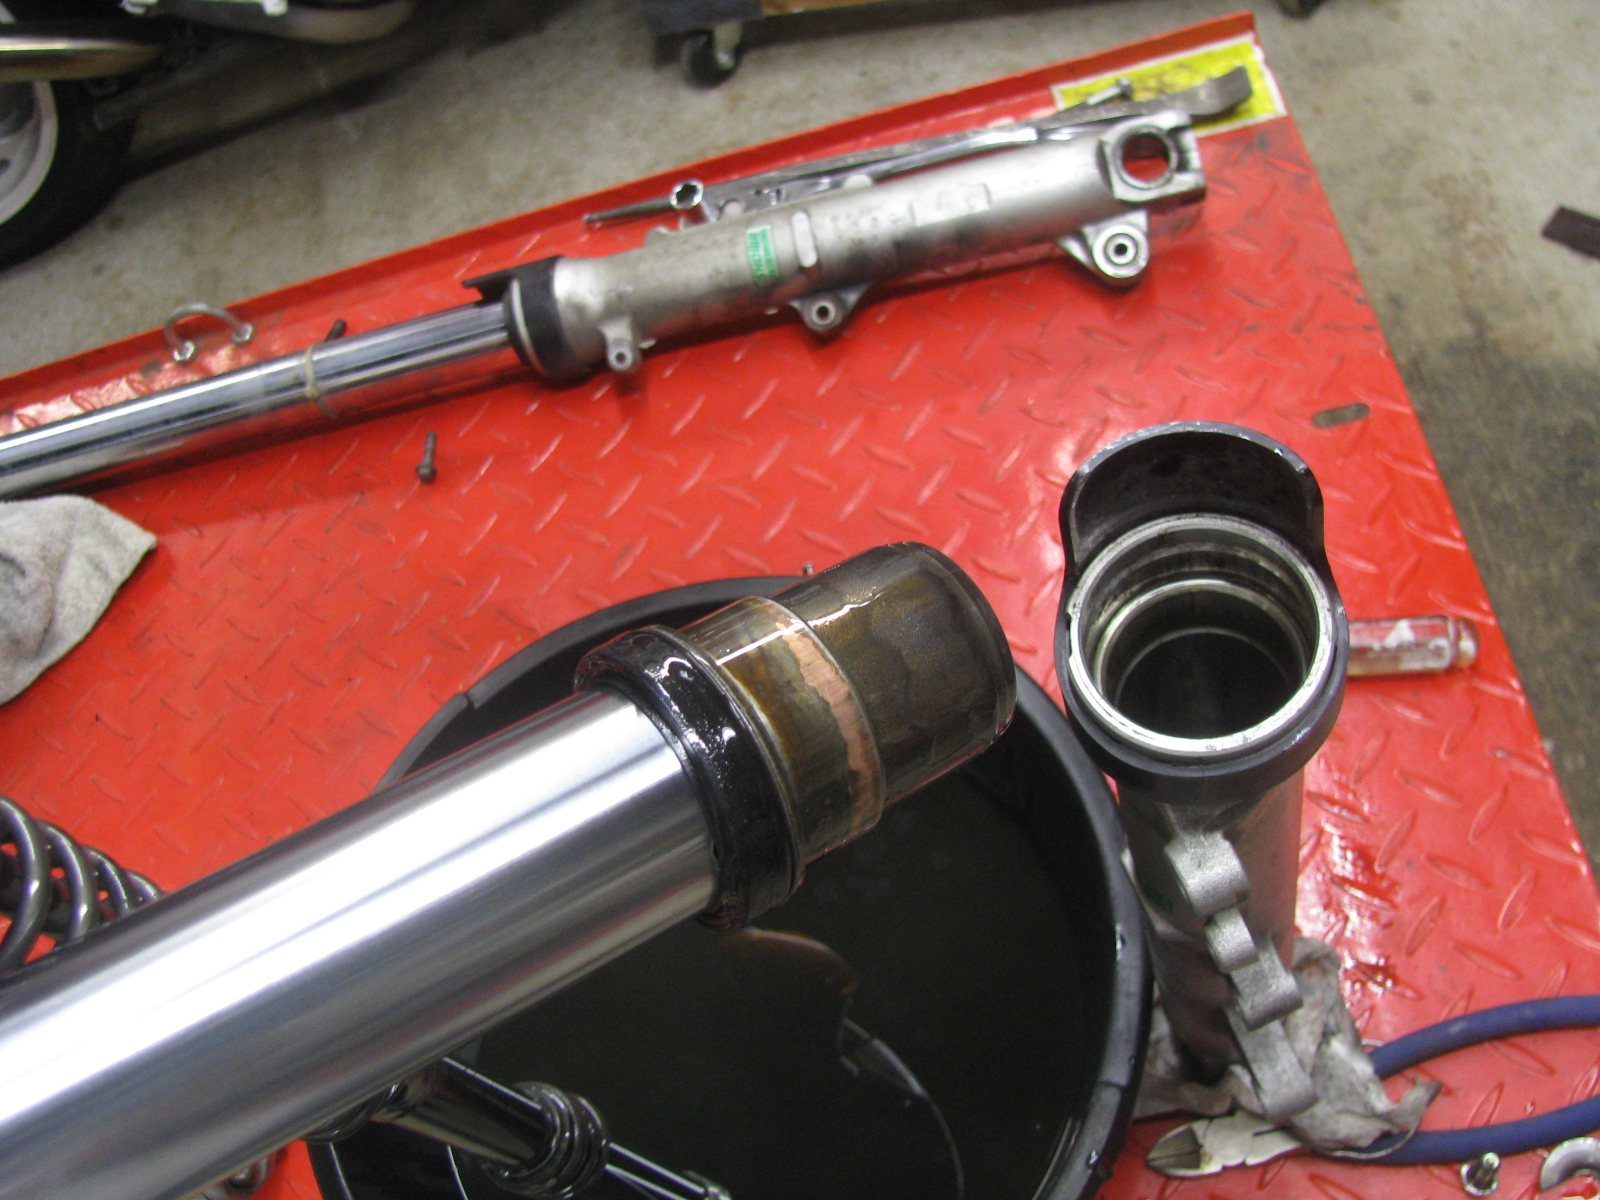
I pried off the dust seals
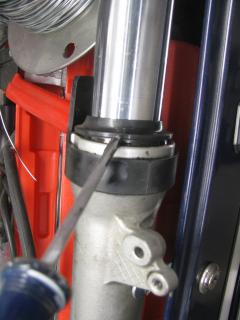
and removed the seal clip
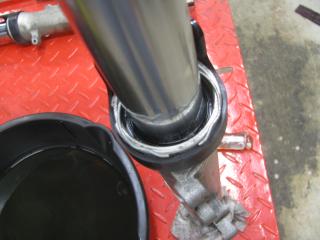
Now I just used the fork as a slide hammer and beat the seals out by sliding the upper tube against them. Once they are separated the cleaning and inspection can begin.

All clean, now reassembly. Pretty much just reverse the operation with the exception of using some type of driver to install the new seals, I use a piece of heavy wall tubing. Seals in and I temporally reinstall the spring & cap assembly so that I can tighten the bottom bolt.
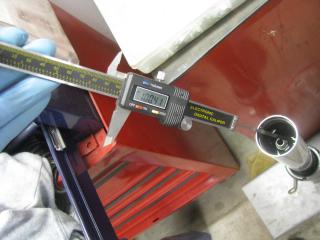
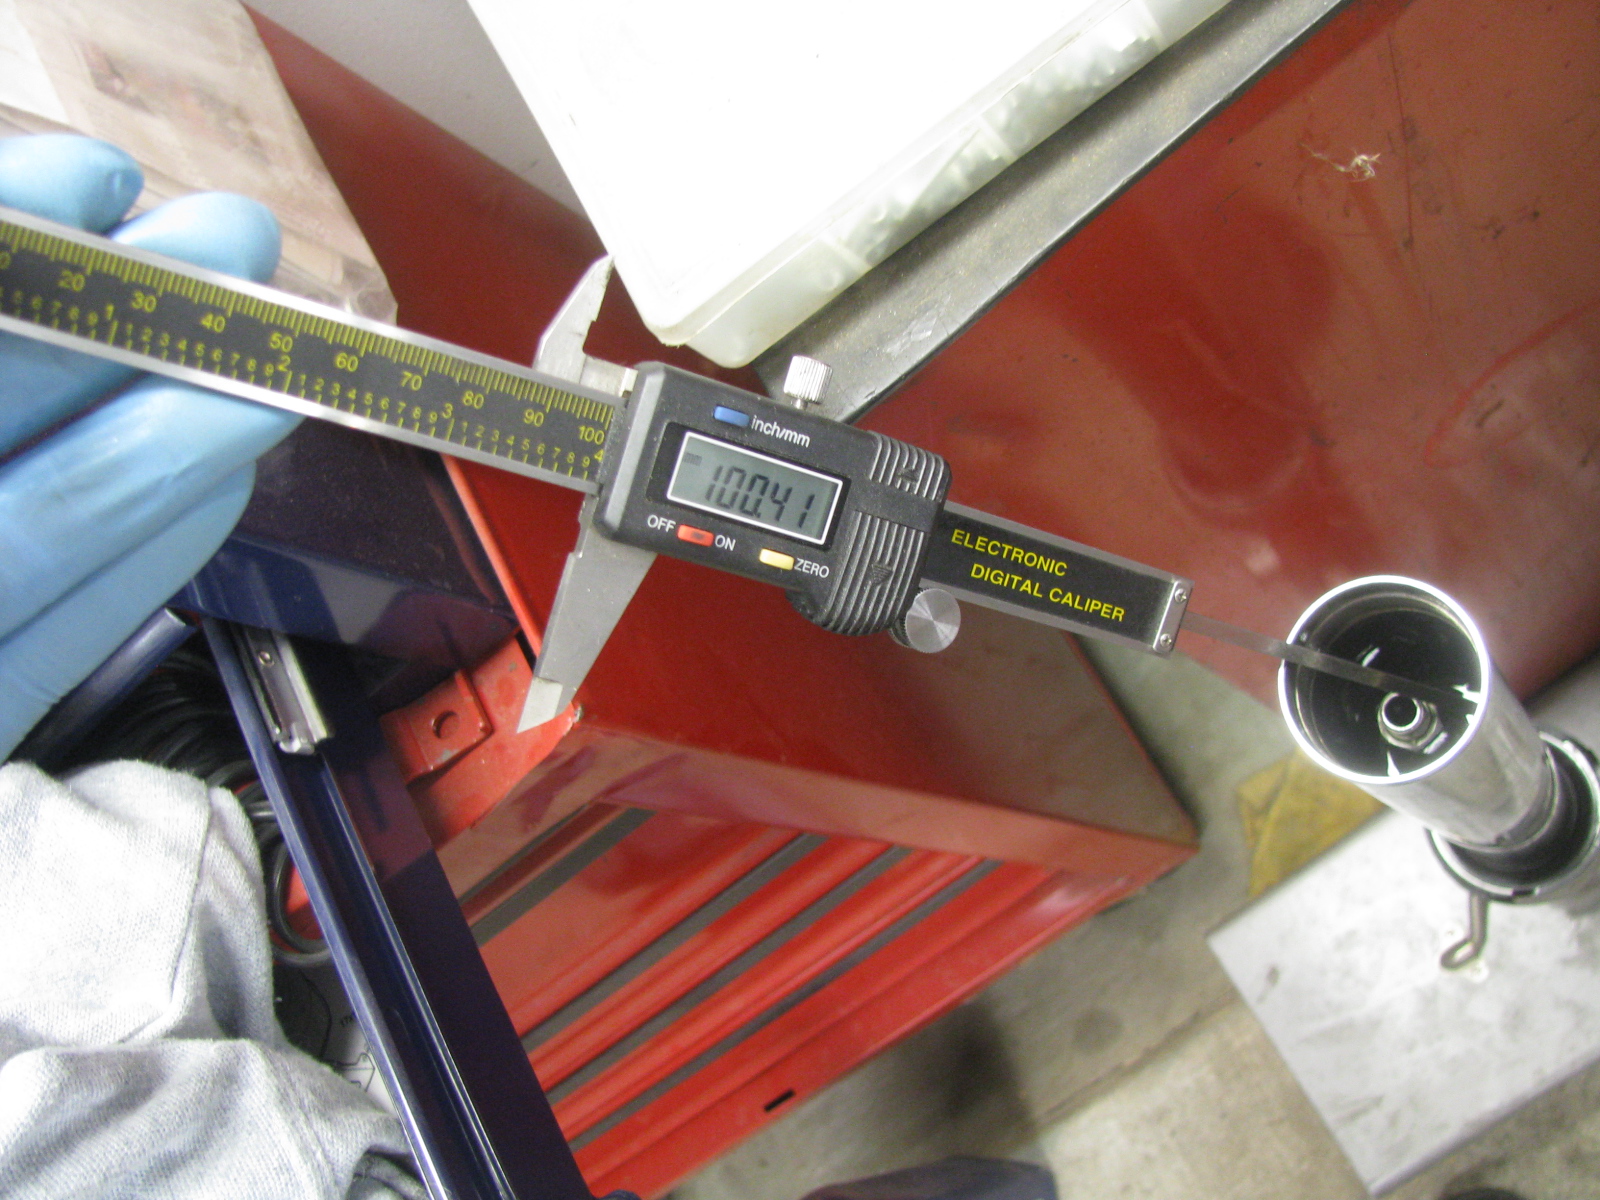
Then remove the cap and spring, Collapse the fork and add oil. This is where you measure the air gap, I set them at 100mm.
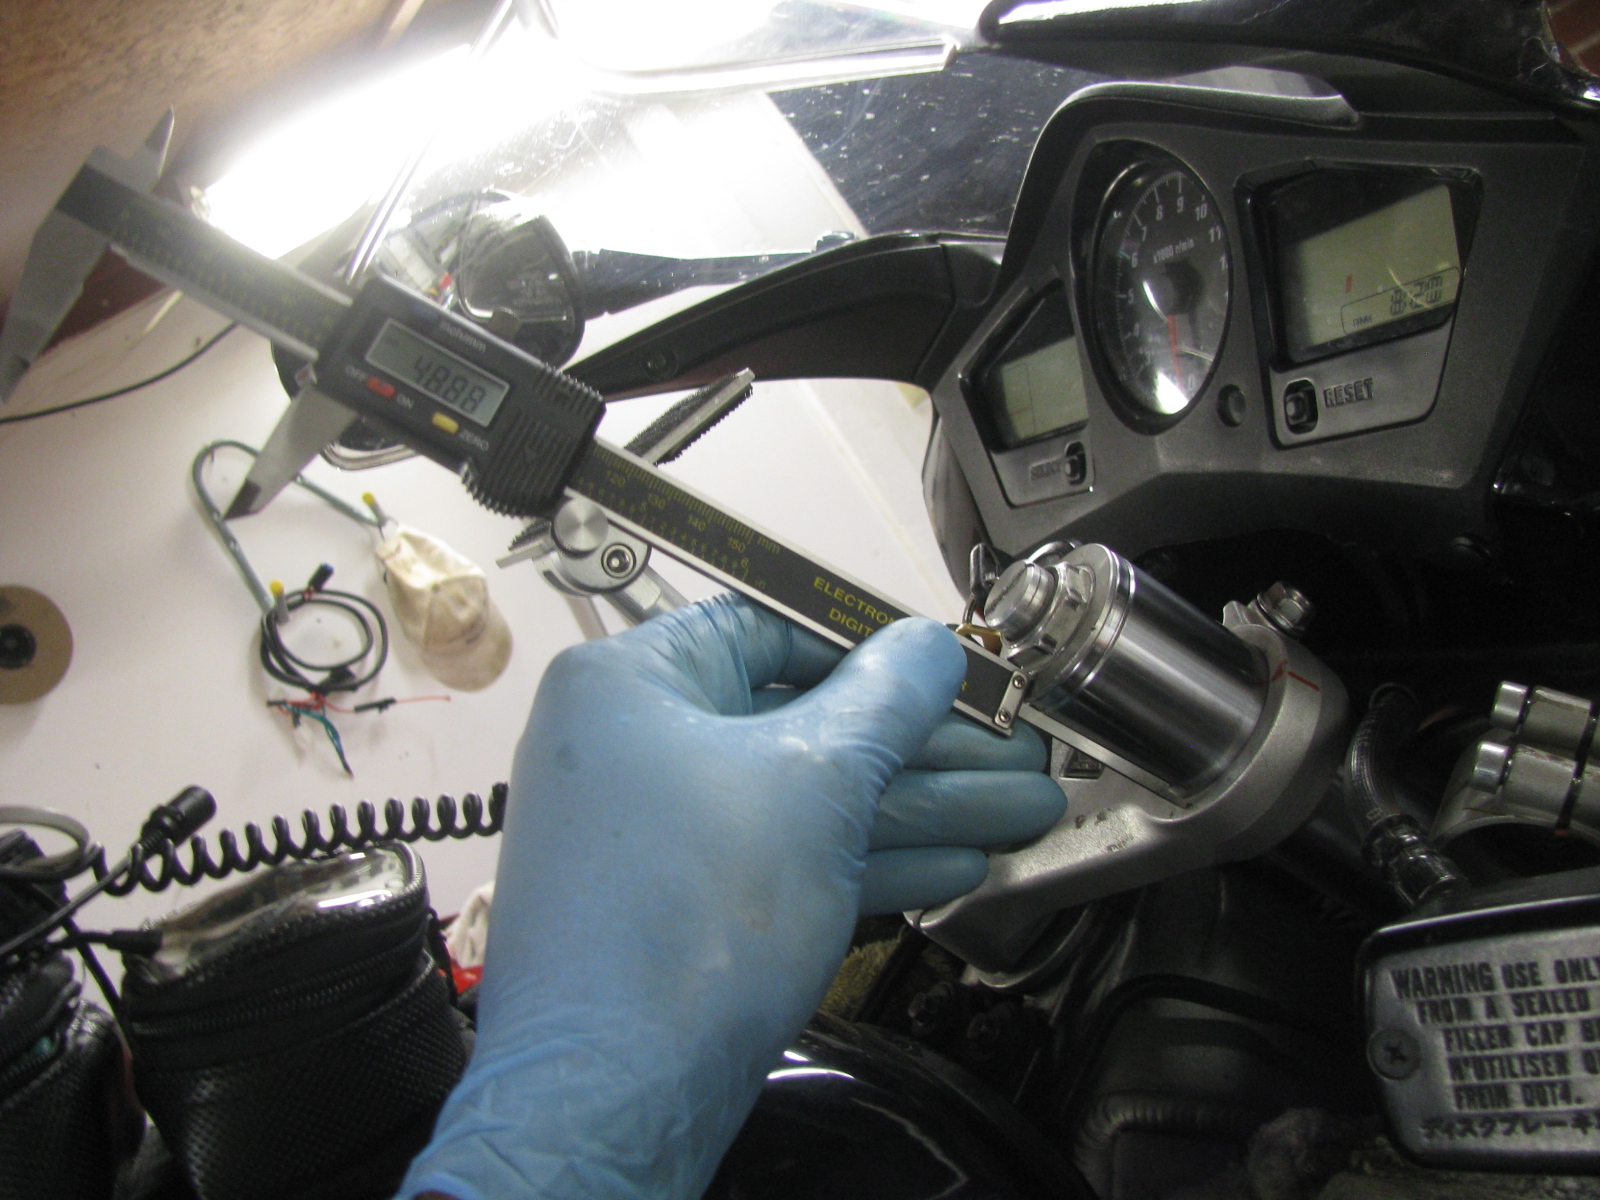
I reinstalled the spring, spaced and cap then slid the tubes back into the triples and set height! I'm running 49mm(stock 41mm)

Forks reinstalled
Now just install wheel, calipers, bars, torque and adjust everything.
Time to ride!
I left two days later for a 3 day 1200 mile twisty trip to the Fall Meet! :fing02:
BR
-
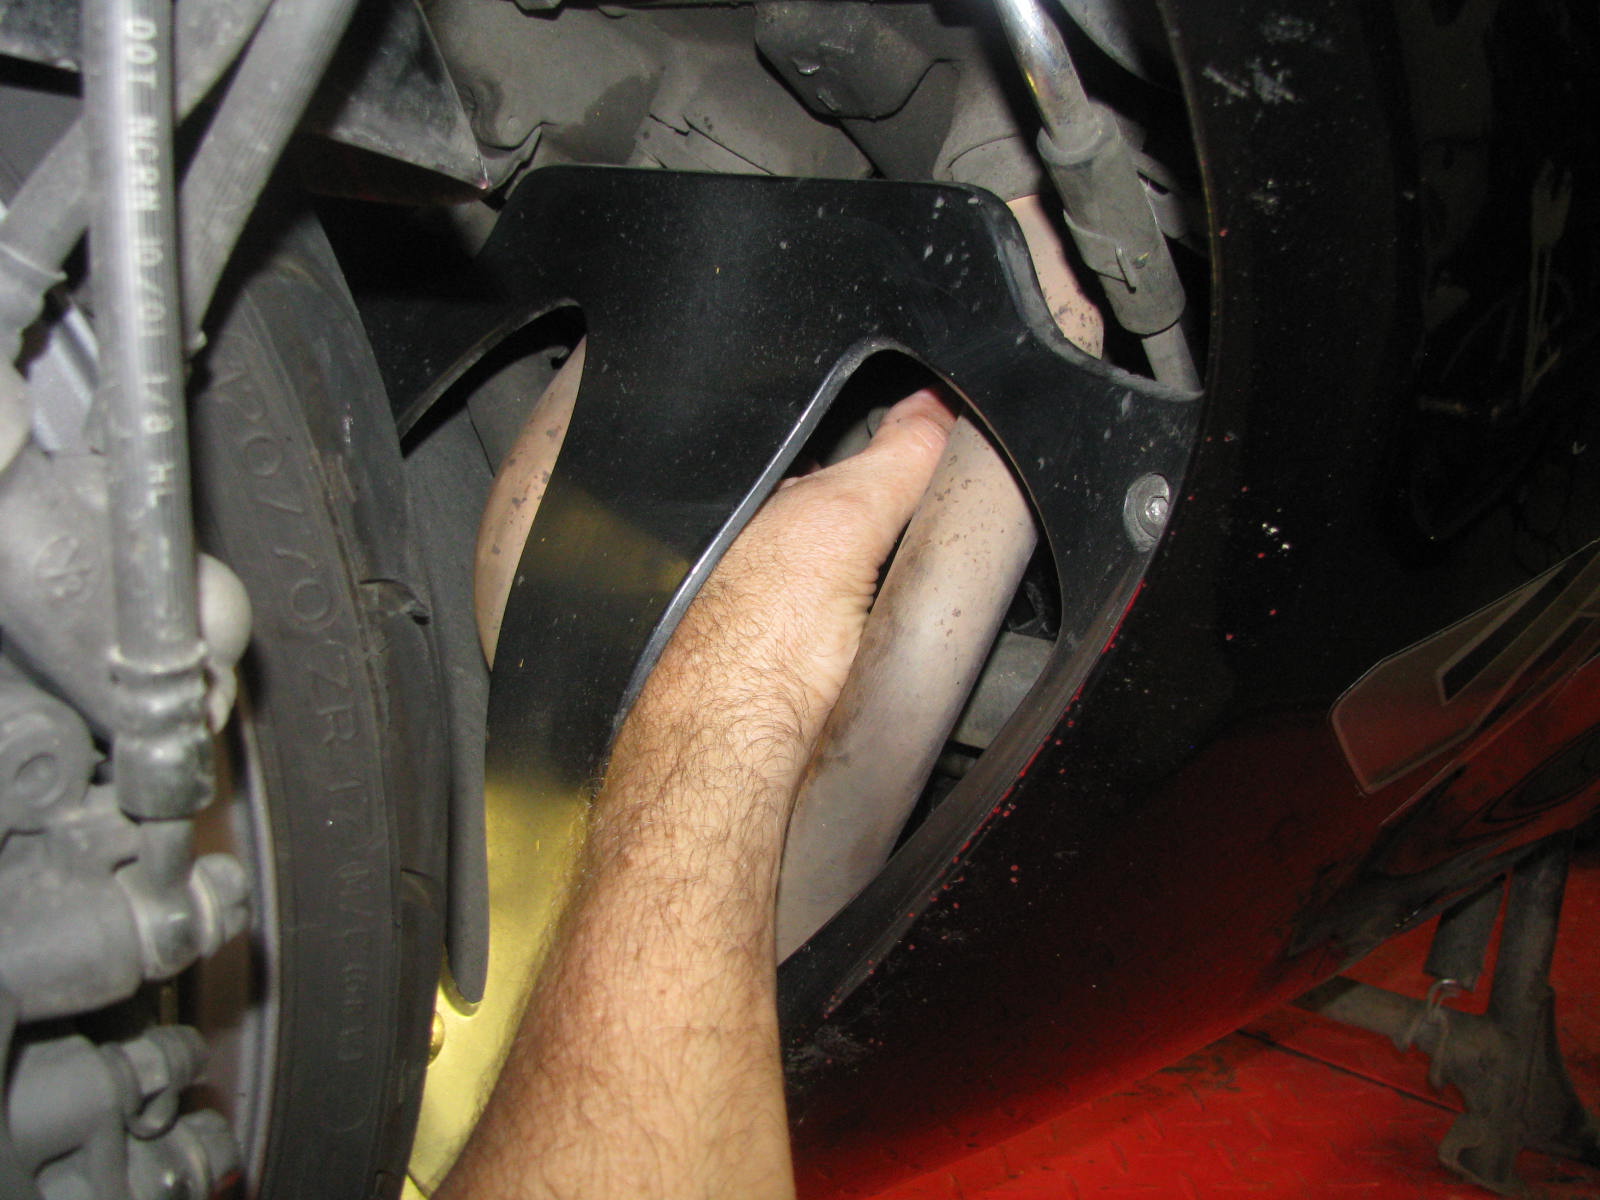
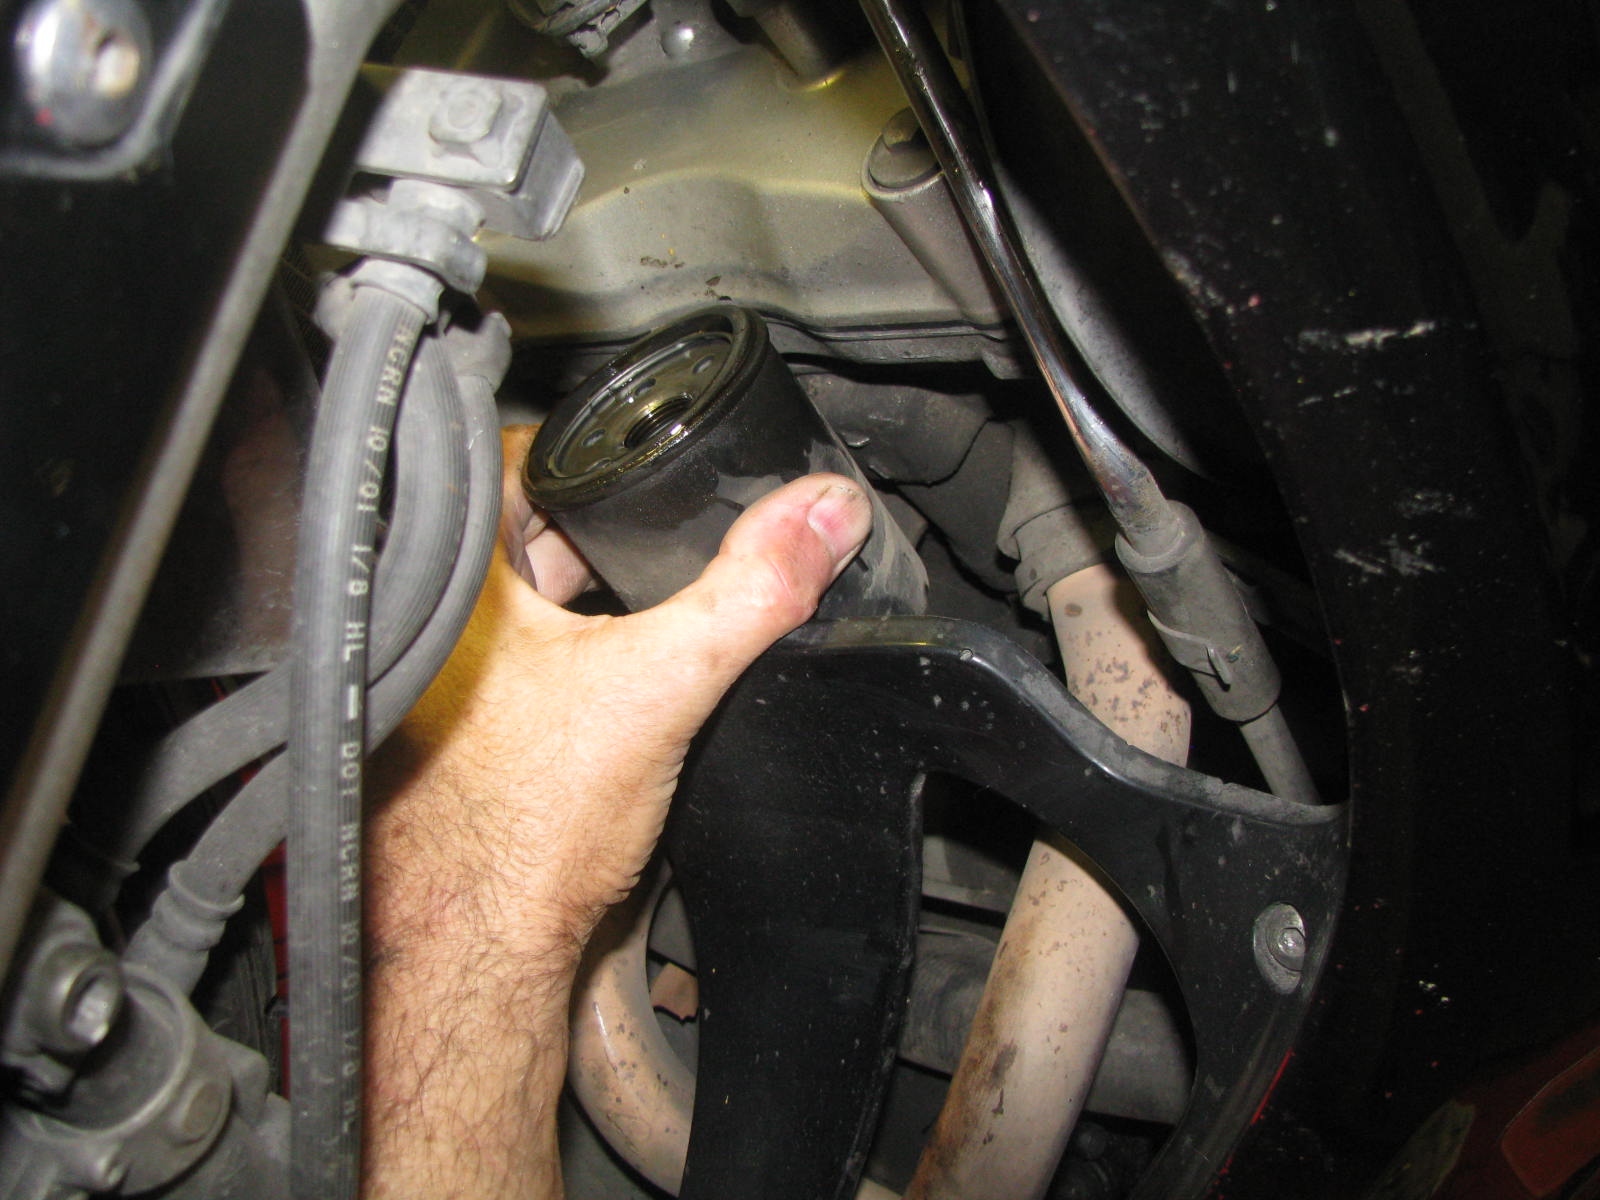
I have been doing oil changes on my vtec by simply removing the lower mounting bolts on the left lower fairing and sliding my hand in there to remove the oil filter, but while I was looking around I came to the conclusion that it looked like an oil change could be done w/o removing anything except the drain plug and oil filter.
Here is what I did.
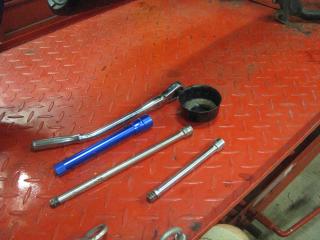
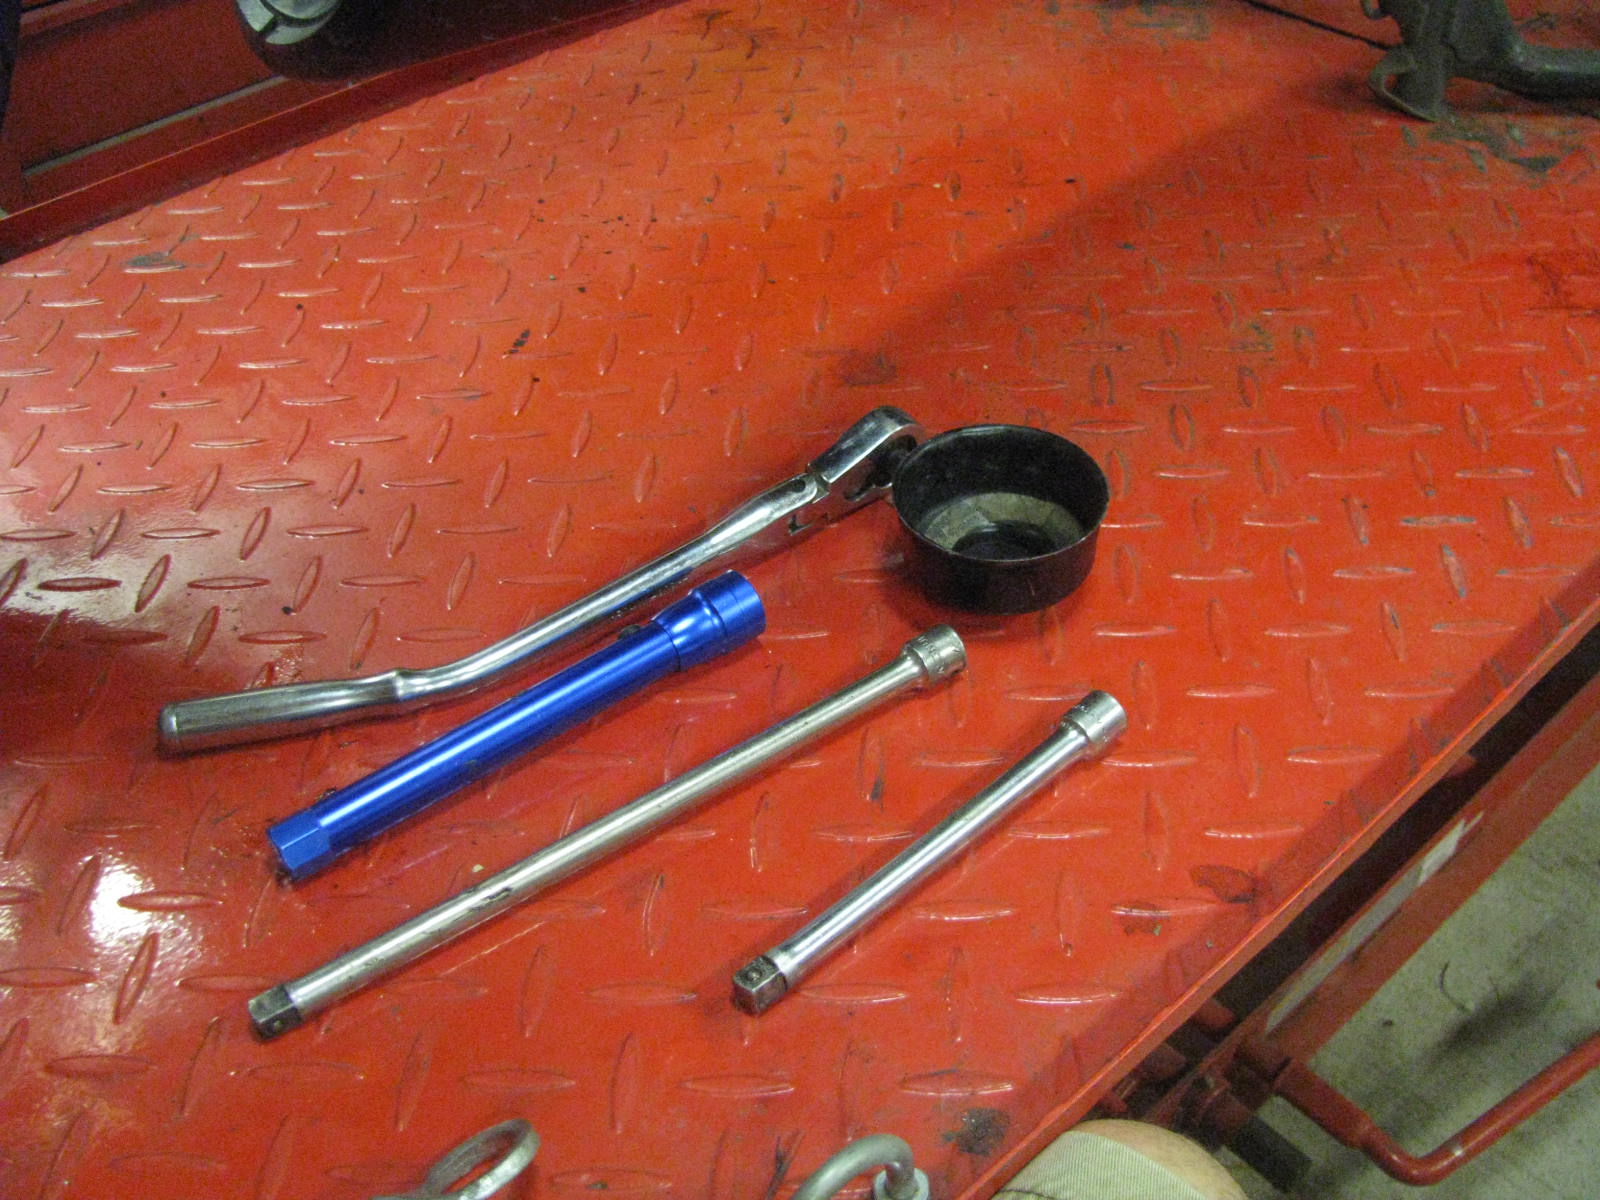
The tools needed were a filter wrench(socket type) and several length extensions, 3/8" ratchet and drain plug socket & drain pan.
After draining the oil, I fished the filter socket in place through the opening in the front V-fairing.


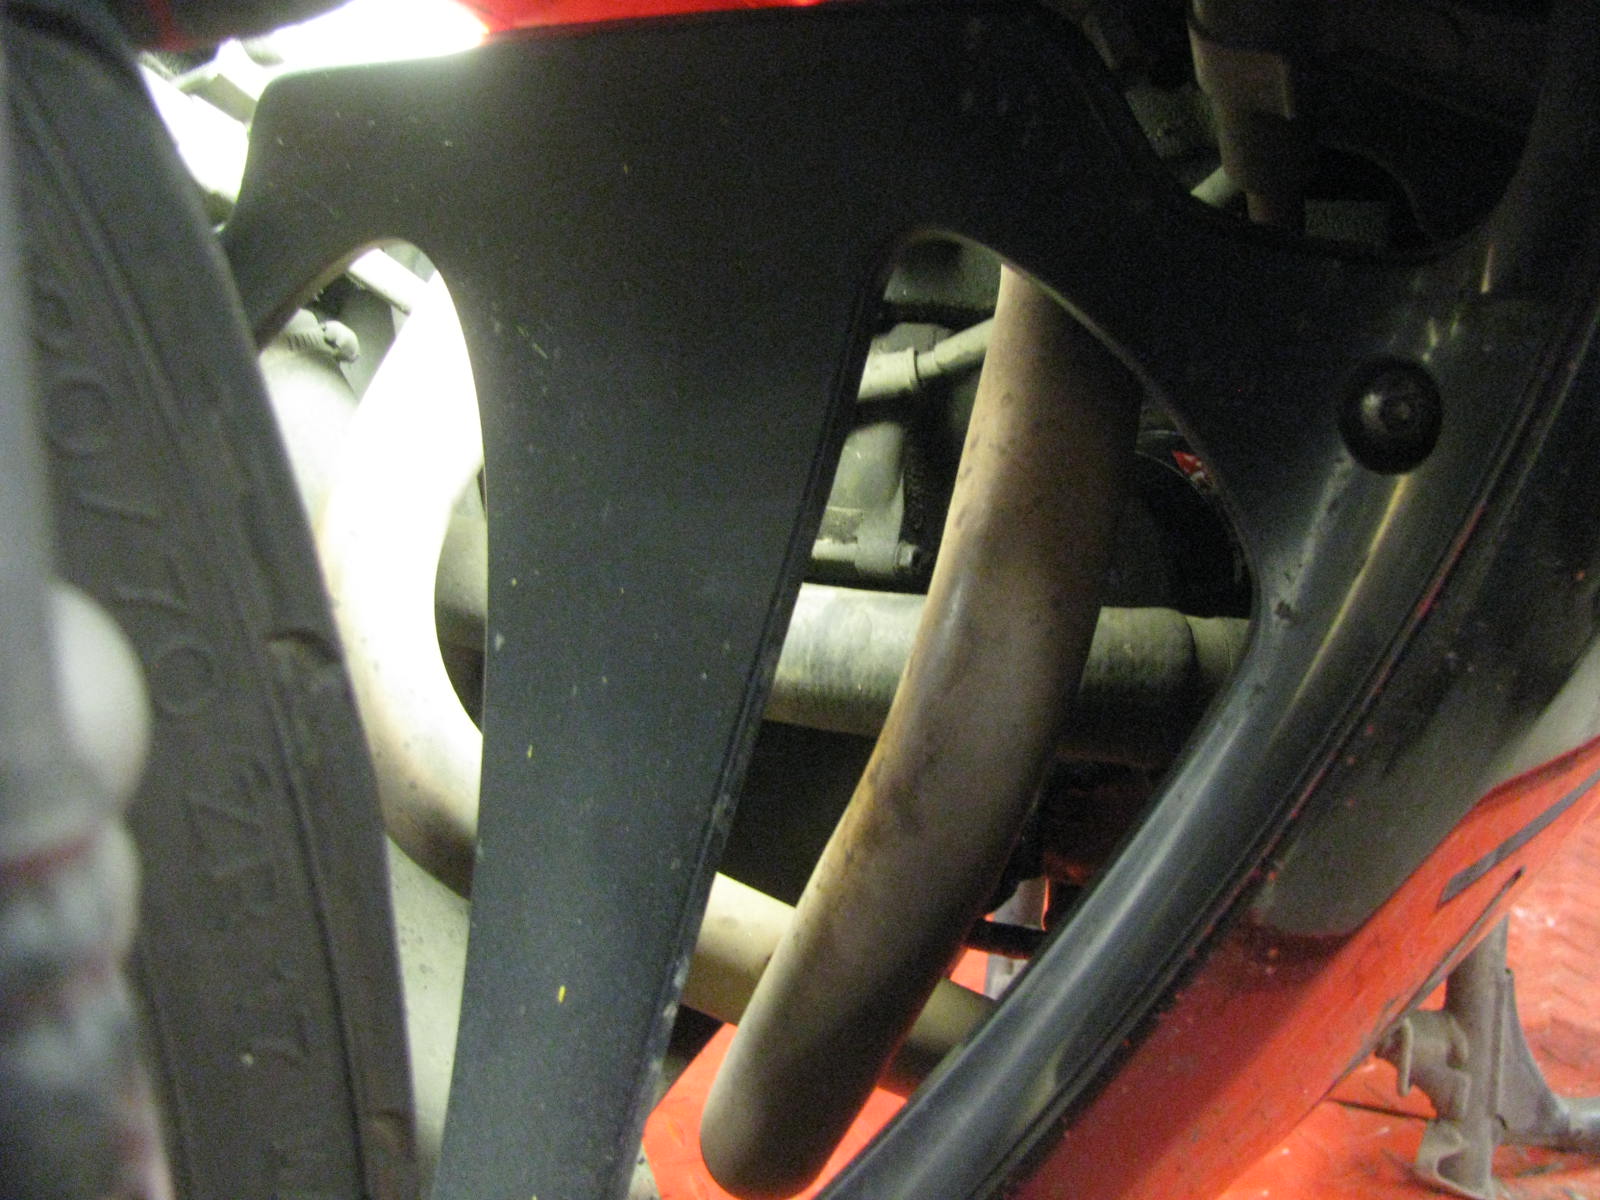
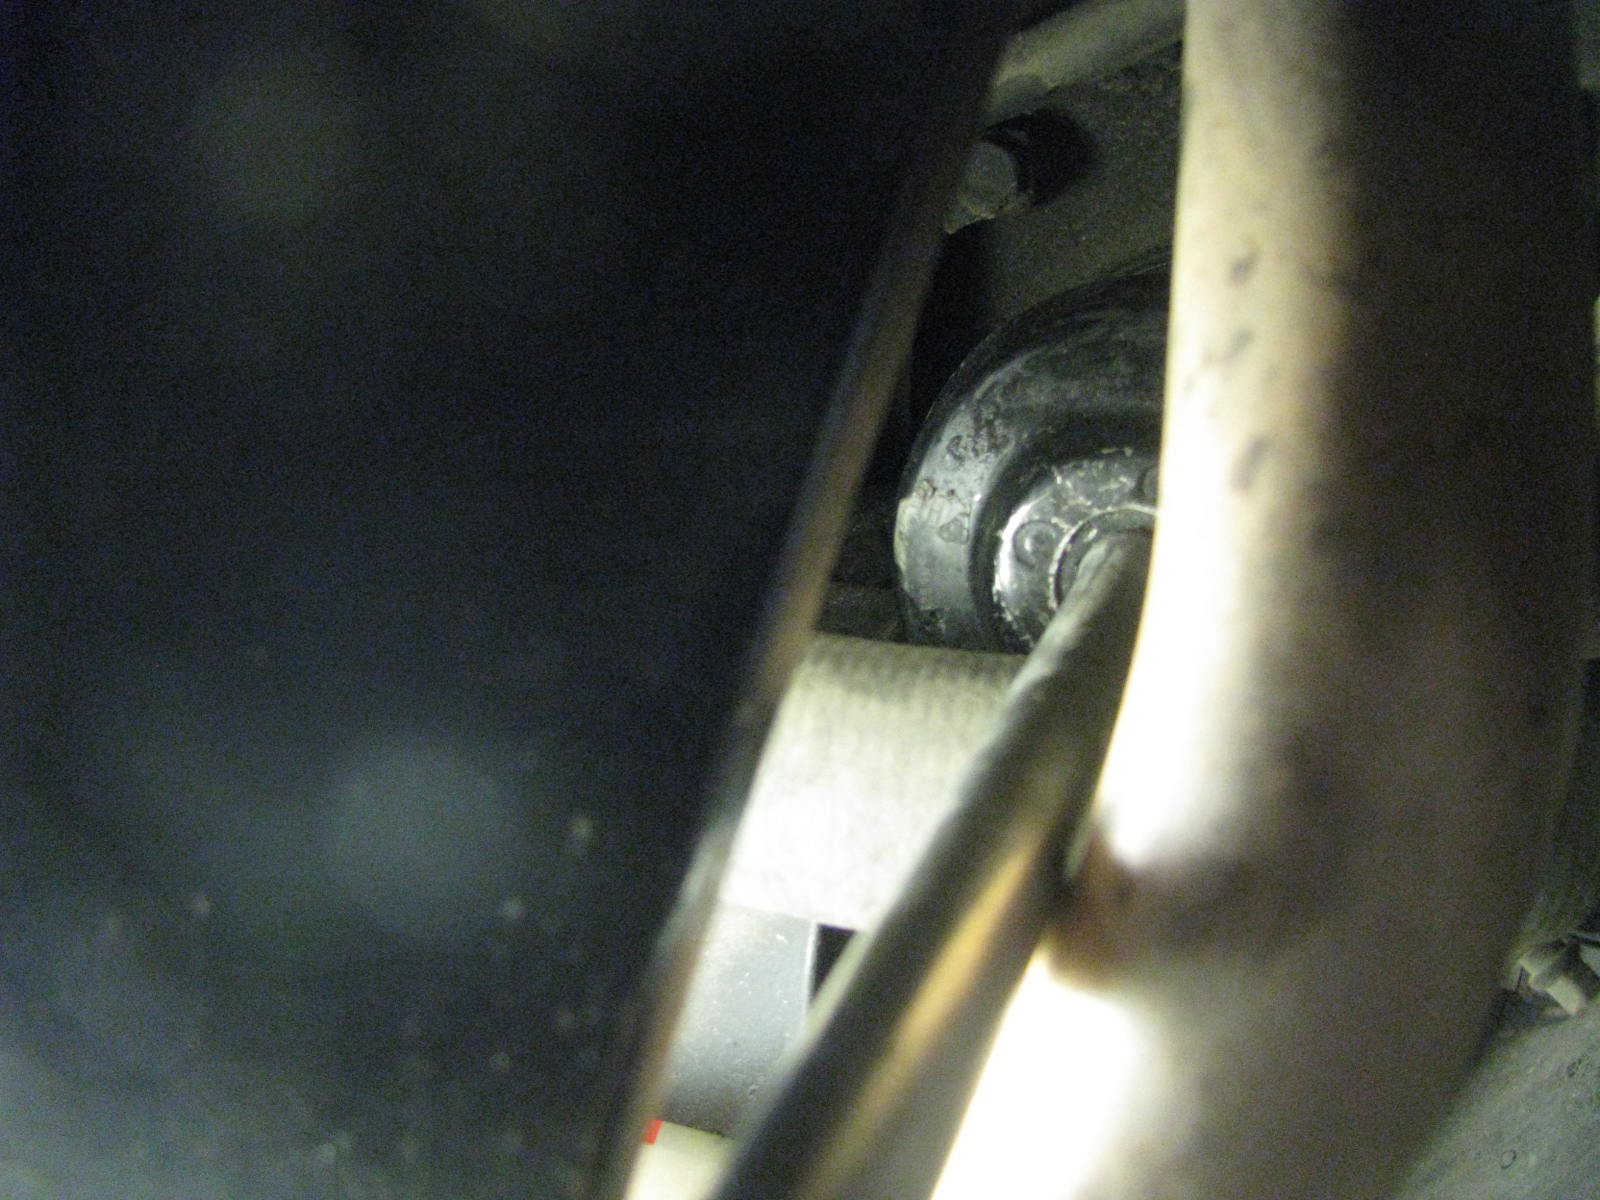
Once on the filter I tapped it on with the extension and placed the extension in the filter wrench.
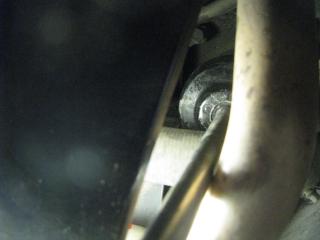
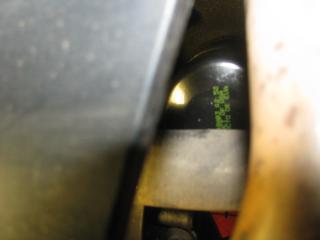
I simply unscrewed the filter, reached in(pulling/bending PVC cowl as needed) and pulled the filter out the front.

now I just reversed the operation and installed a new filter
used brake parts cleaner to spray off headers, added oil and I was done! :fing02:
BR's method 355 :biggrin:
-
Is Ralph still the guy I need to talk to? I got a list of oem parts I need to get.
Hondaparts-direct.com is back online (well its been back online) and I've ordered from them before, but they charge sales tax for Texas.
Ranger, this guy is the one you want to call. I just ordered some parts from Keith yesterday, and he beat all the best prices I found online by a large margin!
I recently purchased a new '07 VFR from a Honda dealership in Mason City, Iowa. While I was picking the bike up, I talked to the parts manager about the possibility of offering VFRD a discount to its members for Honda parts. He offered 15% over cost on Honda parts for any VFRD members. :fing02:
To take advantage of this opportunity please call Mason City Honda at (641) 422-0000 and ask for Keith, the parts manager. When talking to him, mention that you are a member of VFRDdiscussion and ask for the discount.
Please have parts number ready when ordering it can save a lot of time. A parts fiche is available on their website:
http://www.masoncityhonda.com/
They were exceptional to deal when purchasing my bike and would deal with them again in the future. Give Keith a call see what he can do for you.
Please post up how they compare to other places and your experiences if you order from them. Thanks and enjoy the new discount.
Thanks Seb, I just updated the first page to reflect Keith at Mason Honda! :fing02:
-
Nice write up and info Larry! :fing02:
-
Nice mod, thanks for sharing! :fing02:
-
Timmy is both kind and nasty police! :laughing6-hehe:
oops, er.., ehm, :goofy:...what we was talking about? What's the weather in Carolina? :blush:
No worries, Timmy's a great Guy and Good Cop with a great sense of humor! :fing02:
-
This why you are gentle and kind rider or because police is nasty? :laughing6-hehe:
Ciao, Luigi.
Timmy is both kind and nasty police! :laughing6-hehe:
-
I recently purchased a new '07 VFR from a Honda dealership in Mason City, Iowa. While I was picking the bike up, I talked to the parts manager about the possibility of offering VFRD a discount to its members for Honda parts. He offered 15% over cost on Honda parts for any VFRD members. :fing02:
To take advantage of this opportunity please call Mason City Honda at (641) 422-0000 and ask for Keith, the parts manager. When talking to him, mention that you are a member of VFRDdiscussion and ask for the discount.
Please have parts number ready when ordering it can save a lot of time. A parts fiche is available on their website:
http://www.masoncityhonda.com/
They were exceptional to deal when purchasing my bike and would deal with them again in the future. Give Keith a call see what he can do for you.
Please post up how they compare to other places and your experiences if you order from them. Thanks and enjoy the new discount.
Fresh Bumping his contact numbers! :fing02:
BR
-
So what's up with this lately?
-
Thax SF, so no need to worry about any of the unplugged wires? no Fi light or anything bad from disconnecting any of this?
BR
-
The project are in progress again.
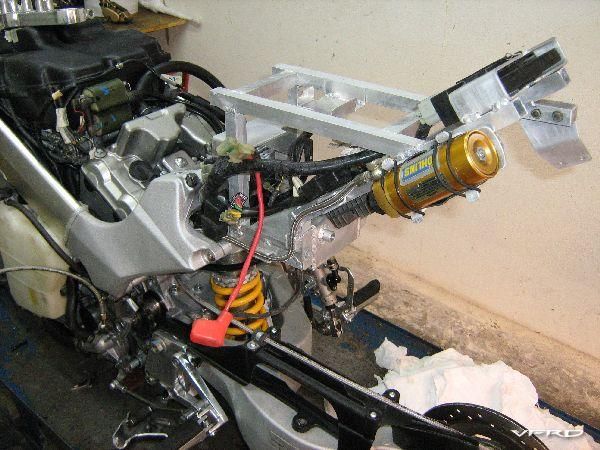
Agg VFR 20 Luglio 2010 04.jpg
Another view of the subframe
Very cool, glad your back at it! I plan on getting back to mine soon also! :rolleyes:
BR
-
[...]Originally I though all the mercury was gone, but found some in the chamber which I poured out into a container. then cleaned it up and added ATF which was a major failure as it was just sucked up into the engine no matter what I did! :dry: [...]
BR
BaileyRock, dude... Sorry if I misled you to a small disaster with the ATF suggestion. Works great in homemade manometers. I didn't know you had Motion Pro.
No Worries Whatsoever! It was worth a try! :angry:
I ended up blowing up the tool with compressed air during a second clean out attempt, so it's toast now! :blush:
-
Need a different mamometer, mine is junk! :dry:
Did you keep the mercury?? I wonder if mine is low or something. I seem to get air bubbles while running. If I shut it off, then back on, it is a solid column, then starts to get air pockets again. :angry:
Originally I though all the mercury was gone, but found some in the chamber which I poured out into a container. then cleaned it up and added ATF which was a major failure as it was just sucked up into the engine no matter what I did! :dry:
Then I thought WTH I'll try the mercury again and bingo it worked pretty decent, but ATF and other crap got all mix in and messed up it's performance! I plan to drain the merc again and try a re-clean to see what happens. :blush:
BR
-
Need a different mamometer, mine is junk! :cheerleader:
-
ps my manoneter has lost all it's fluid, whats a decent replacement?
BR
I use ATF in my homemade manometer (description) because:
- It has a high viscosity so it moves slowly and acts as a natural damper
- it is red so it is very visible
- it won't likely harm the throttle body or engine if it accidentally gets sucked in (not likely anyway with the long hoses I use
- it's cheap and readily available
Well ATF doesn't work in the Motion Pro tool like HS used, it just gets sucked out of the tubes! :biggrin:
I saved enough mercury from the tool and put it back in and it works pretty good now.
Actually attempting a Started valve synk now and having a few problems!
Idle adjustment cable broke! :idea3:
My RPM function doesn't work on my Multi tool! :squid:
All cyls fluctuate except #2 which is rock steady.
Not really sure what should or should Not be connected to do these adjustments! (Map, vacuum lines, sensors, etc.)?
:lobby:
-
ps my manoneter has lost all it's fluid, whats a decent replacement?
BR
You're manoneter lost all it's fluid! Isn't that more of an issue for a doctor and not a mechanic? :huh:
Some women like the idea of shooting blanks!
Not that I am! :mellow:
Thanks on the ATF Bart!
-
I really need to try this one day on my 75k mile 02! Good write-up btw!
ps my manoneter has lost all it's fluid, whats a decent replacement?
BR
-
Hi and welcome to VFRD! :laughing6-hehe:
Yes, lowering the VFR is very easy, at the bottom of the rear shock there are two triangle plates and all you have to do is rotate them one bolt hole and it drops teh rear about 1 1/2" if I remember correctly. Then just slide the forks up in the triple to lower the front the same amount or slightly less. :excl:
Should be a write-up somewhere on the triangle plates.
BR
-
Those Texan's are all big Showoffs! :dry:
And some actually deserve our admeration! Fantastic job Doug! :laughing6-hehe:
BR
-
Sounds like a great day, I would love to attend something similar.
Nice to see you pick out the PACE in what they taught! :fing02:
BR


BR's Vtec Oil Change
in Maintenance Guides
Posted
Small hands and a cool bike! :fing02: