


y2kvfr
-
Posts
941 -
Joined
-
Last visited
-
Days Won
1
Content Type
Forums
Profiles
Gallery
Blogs
Downloads
Events
Posts posted by y2kvfr
-
-
Dubious Chinese Pazzo Look A Like Levers
Brake pads all around
Steering head bearings
PAIR block off
Stock size rear sprocket
PC2 & 02 Elims
Clean out switch pods and regrease
clean electrical connectors and apply dielectric grease
Yesterday I started with this:

Drained coolant (new crush washers @ $2 each :( )
Replaced the t-stat o-ring (and greased it this time)
new coolant + an ounce or two of Water Wetter - Knock wood no leaks
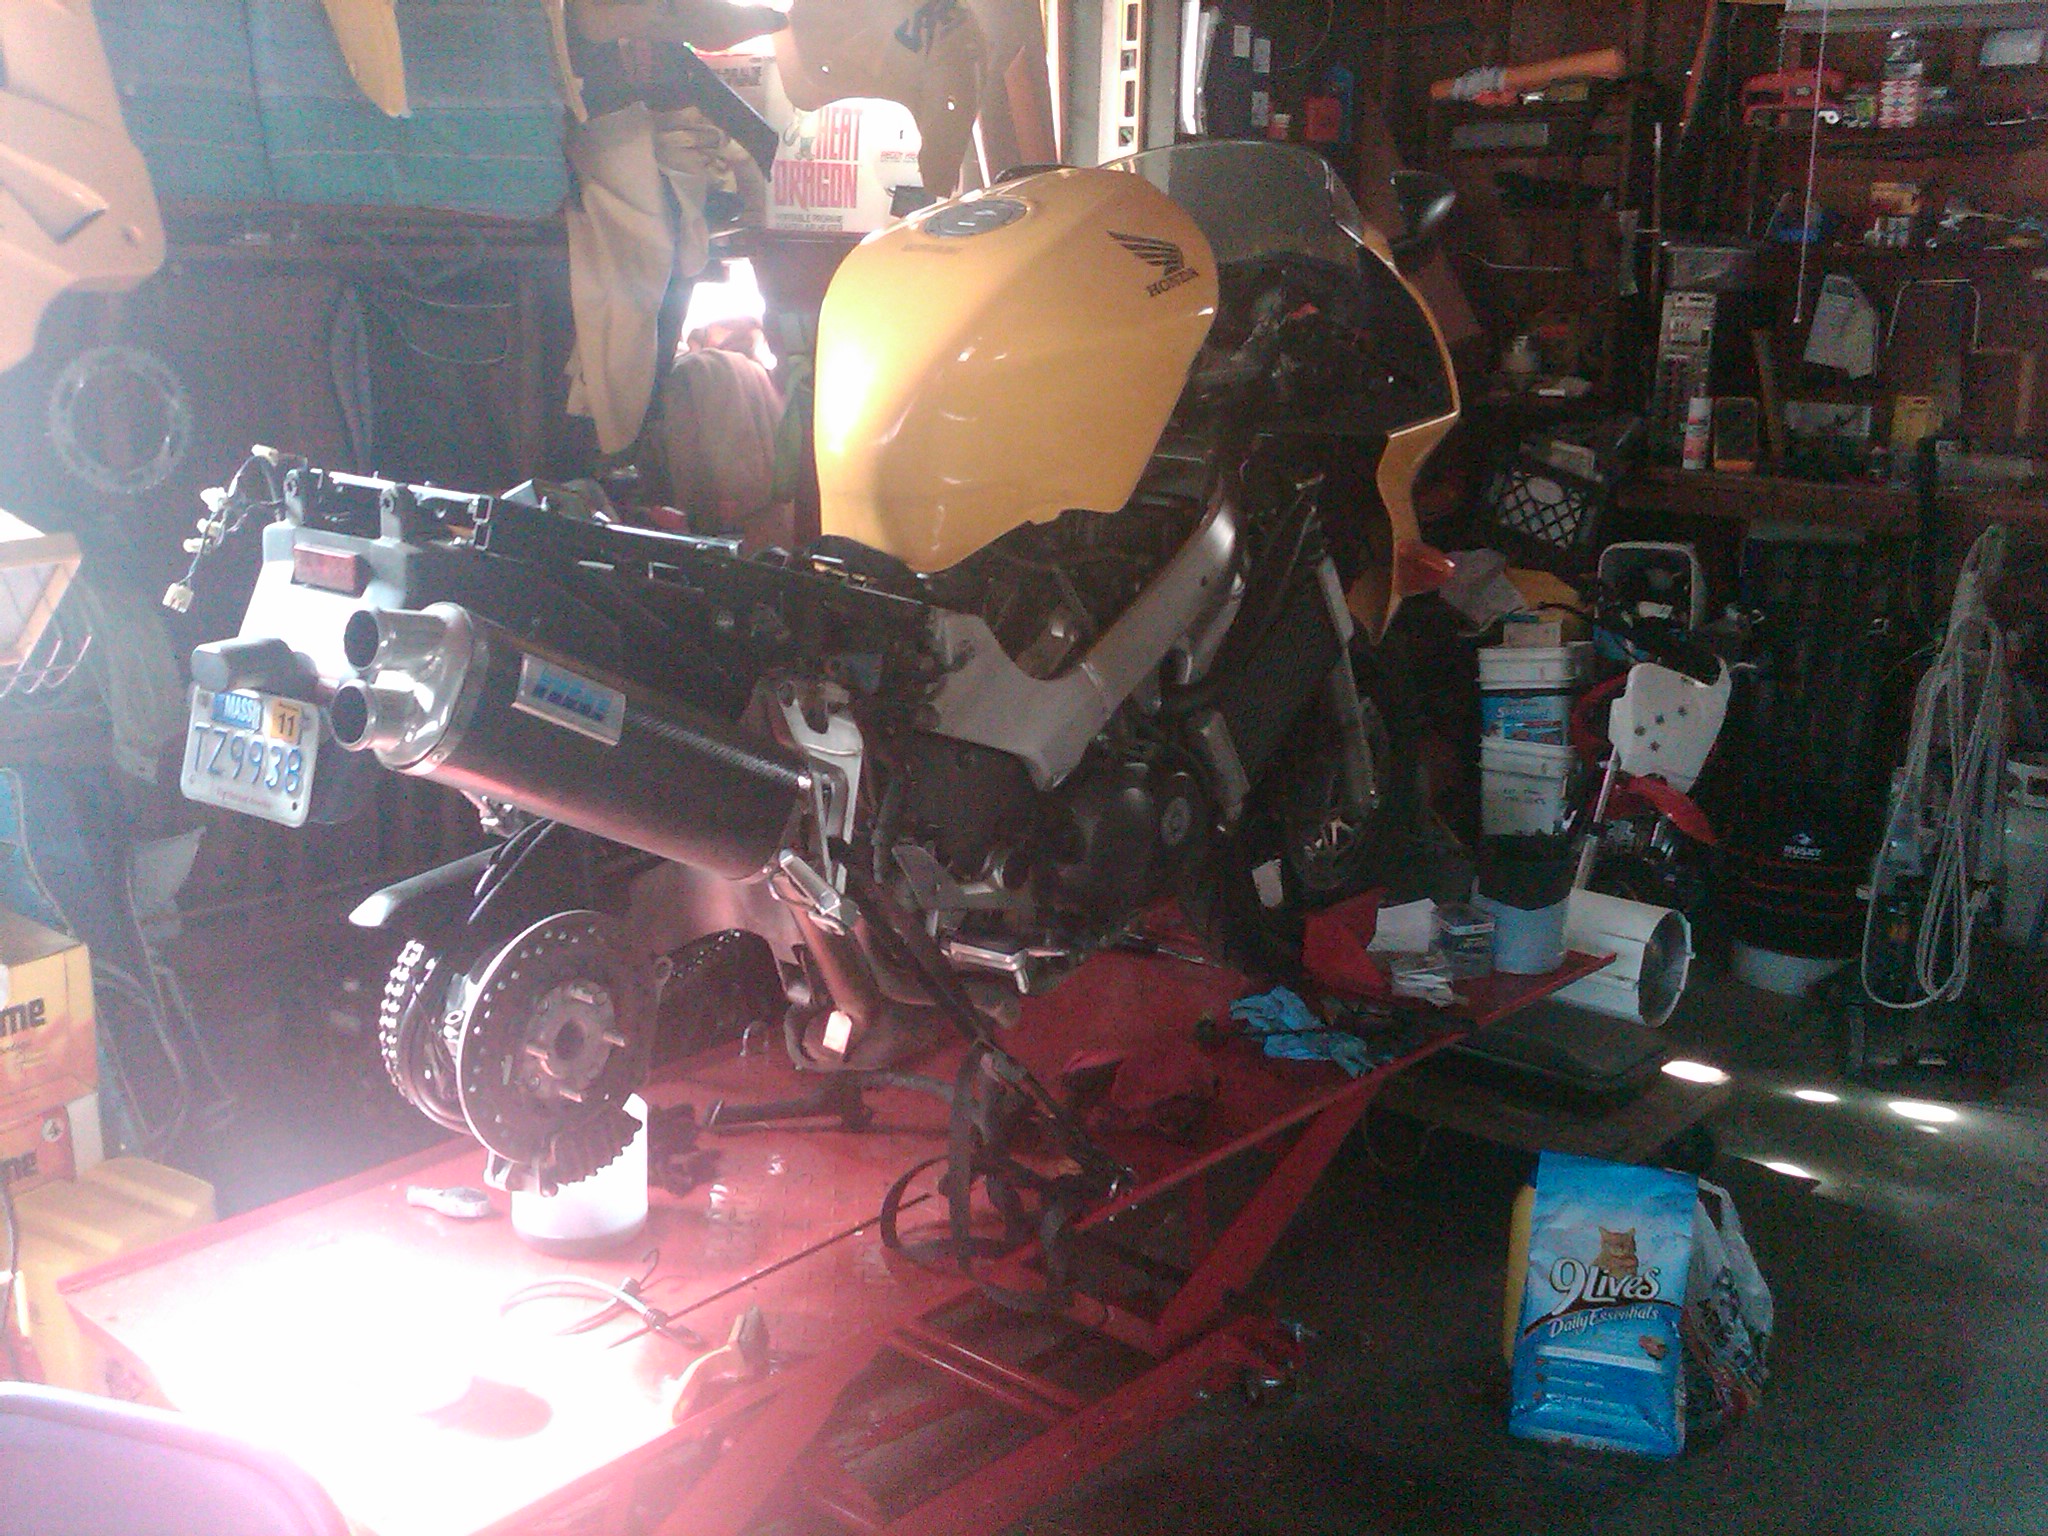
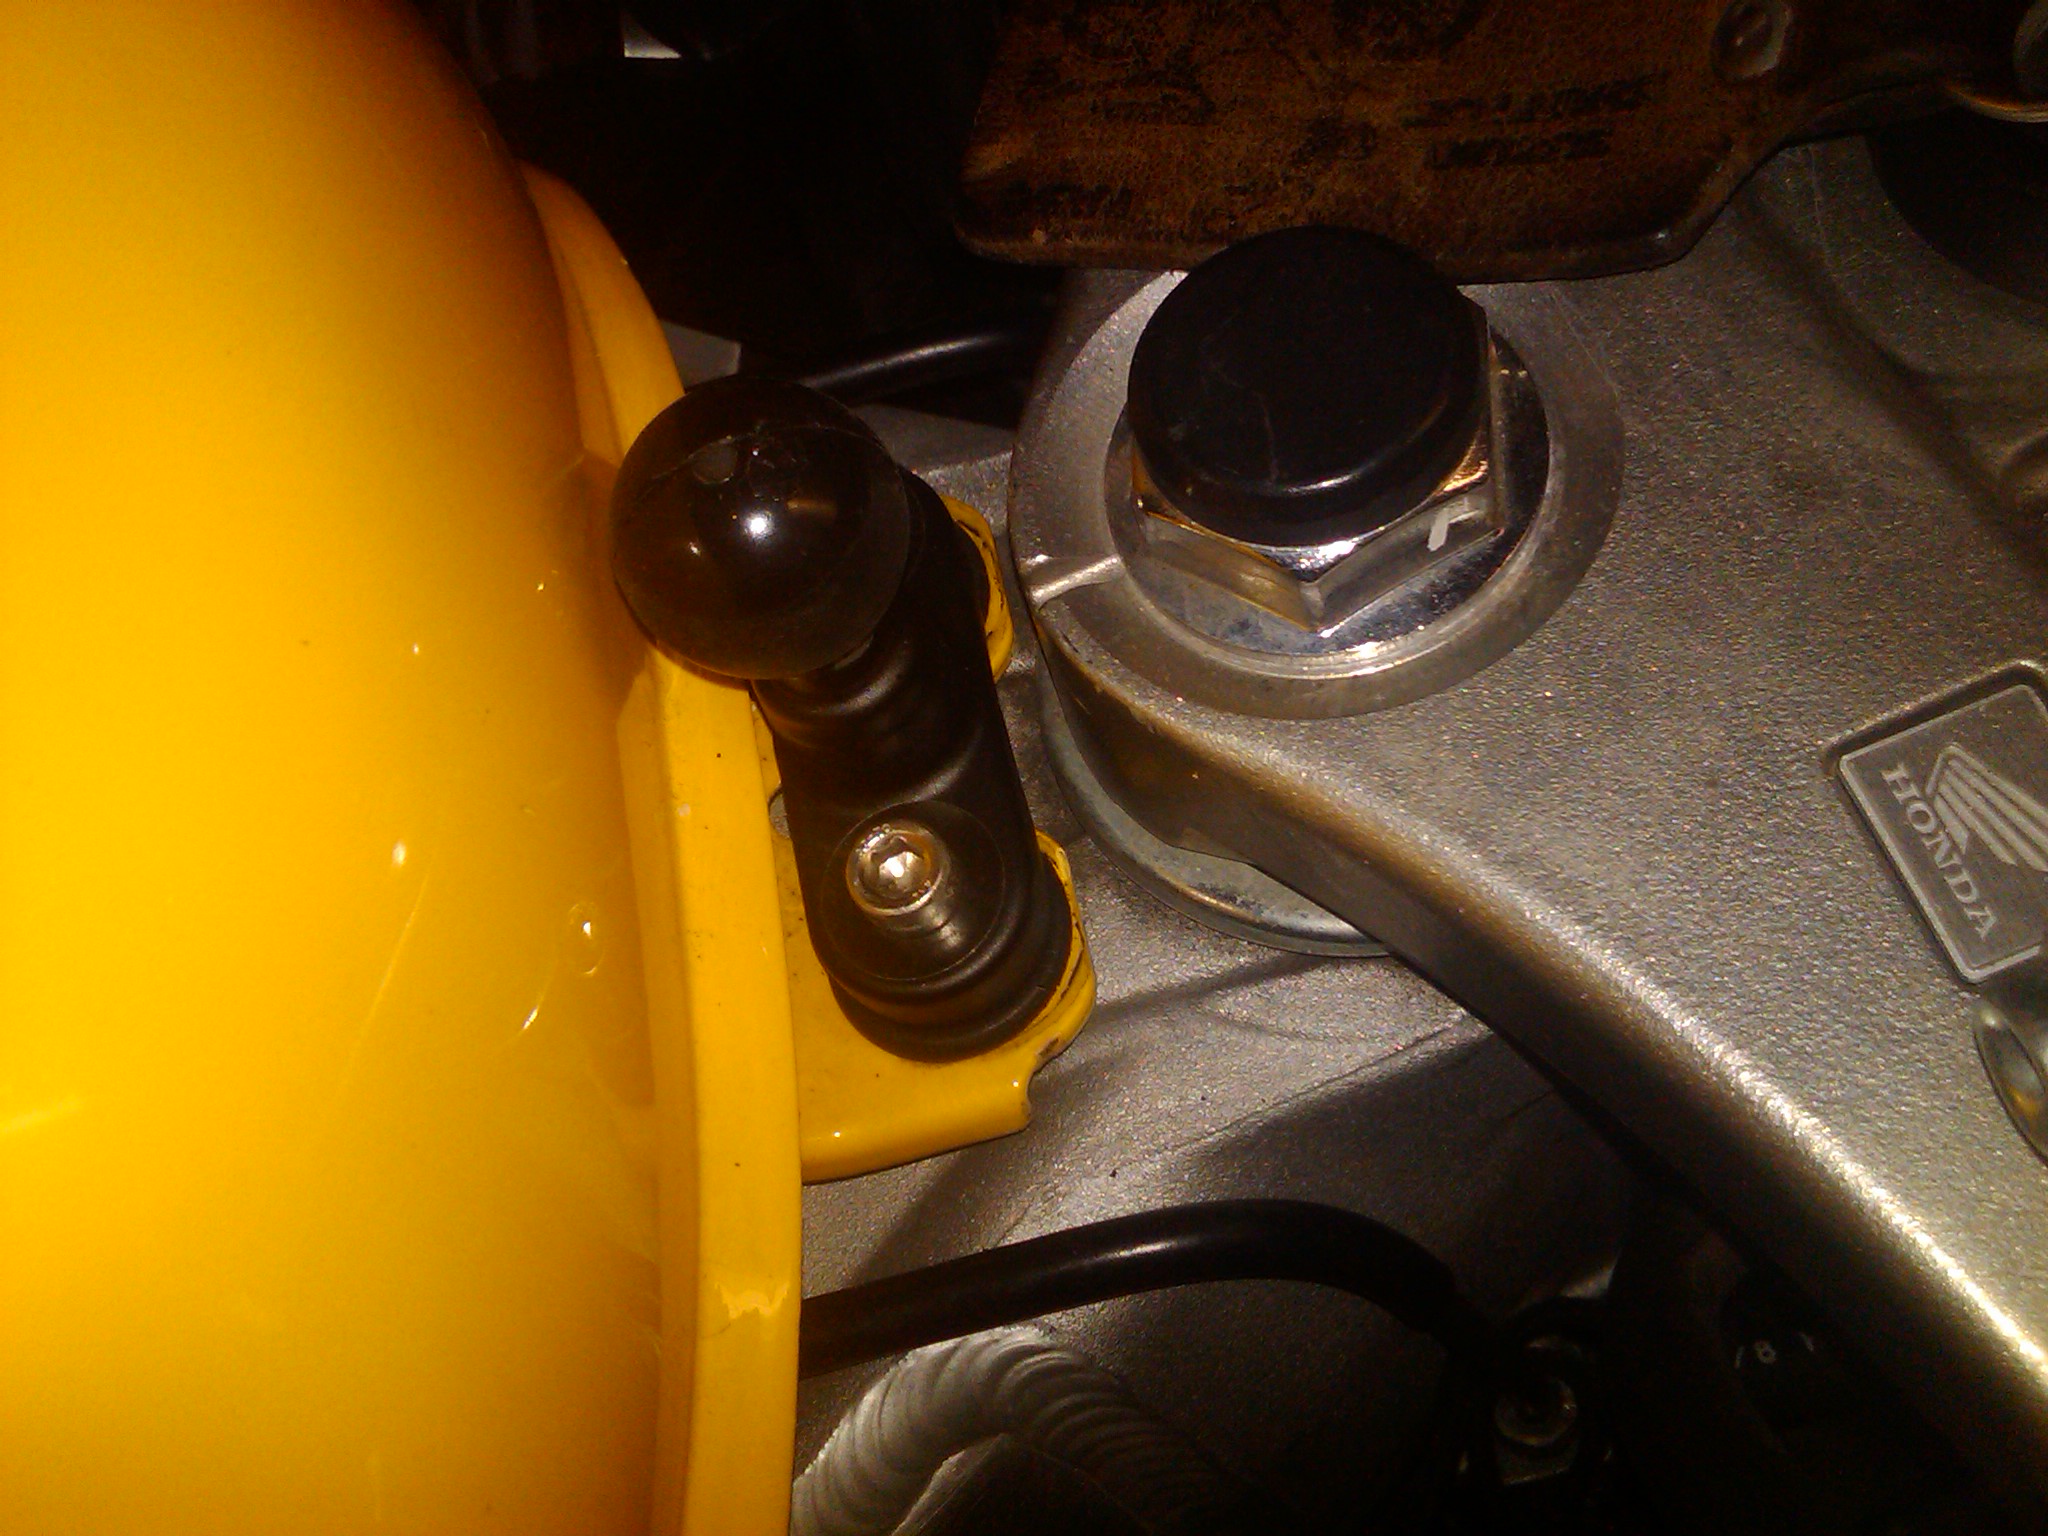
Added tank bolt mounted ram ball (I had some 40mm cap head screws from when I used to make mirror extenders, so I used them)

Cleaned the forks and calipers
Washed the tupper ware (still off bike)
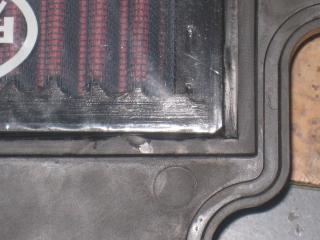
Cleaned and re-oiled the air filter
Cleaned the switch pods with contact cleaner and regreased
Rode the CHonda around a little (oh, wait, that's not maintenance).
Left to do:
Shorten chain (waiting on the chain tool)
Change oil (need to go to Wal*Mart and pick up oil, going to use a bosch filter this time)
wax plastic and tank
reassemble the body work
Figure out what the extra screws nuts and bolts are for.
Almost done!
-
Did you use any high temp gasket sealer on the plates?
Nope. Since I left the reed valves in, I figured I wouldn't need it. I did take the reeds themselves out as the screw protruded a bit and these plates are flat, not recessed on the underside.
Since the reed 'carriers' have gaskets, and they weren't cracked or brittle, I didn't use any sealant.
-
Update time....
For the 00:
Dubious Chinese Pazzo Look A Like Levers
Brake pads all around
Steering head bearings
PAIR block off
Stock size rear sprocket
PC2 & 02 Elims
Clean out switch pods and regrease
clean electrical connectors and apply dielectric grease
I put the PC2 in and it would cut the engine off at 3k rpm. I don't have a laptop with a serial connector, so I have no way of checking the map, so I took it back out.
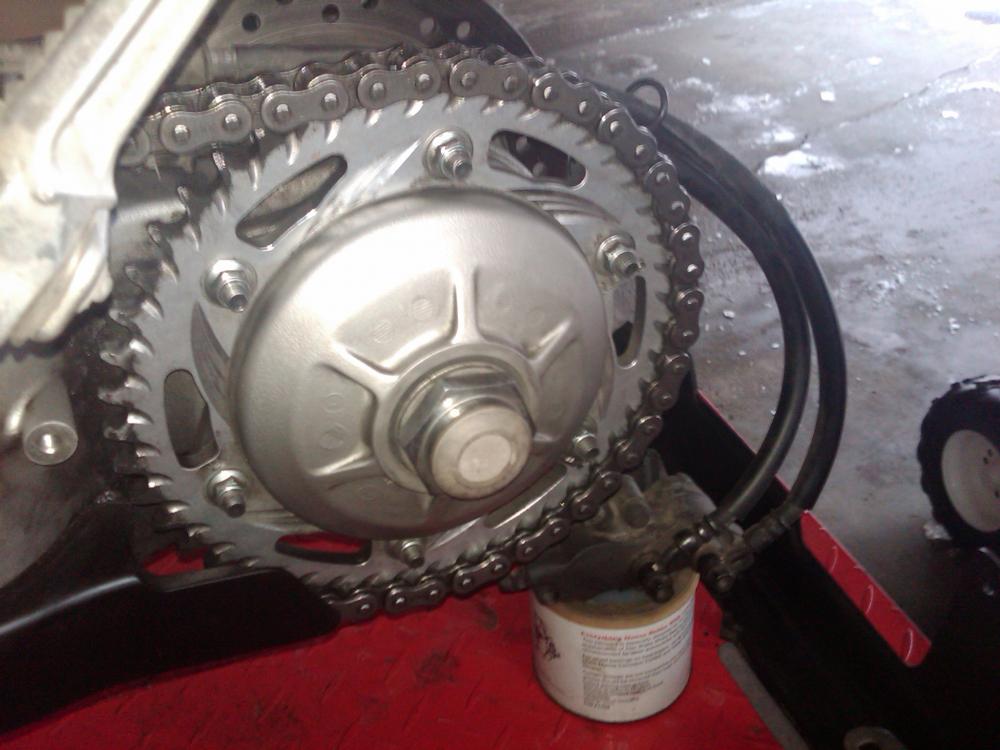
I have the new master link in hand, the sprocket is on, but I need to cut a couple of links out (What's the # of links for a stock sprocket setup?)
Been cleaning everything I touch, except the tupperware, that'll be last. Side stand was all gummed up, pulled it off the bike and completely disassembled it and cleaned it.
I cleaned every electrical connector I could get my hands on and put in dielectric grease. Cleaned and greased the grounds.
The air cleaner is currently drying (UNI foam), so I stuff some rags into the venturies to keep the mice out.
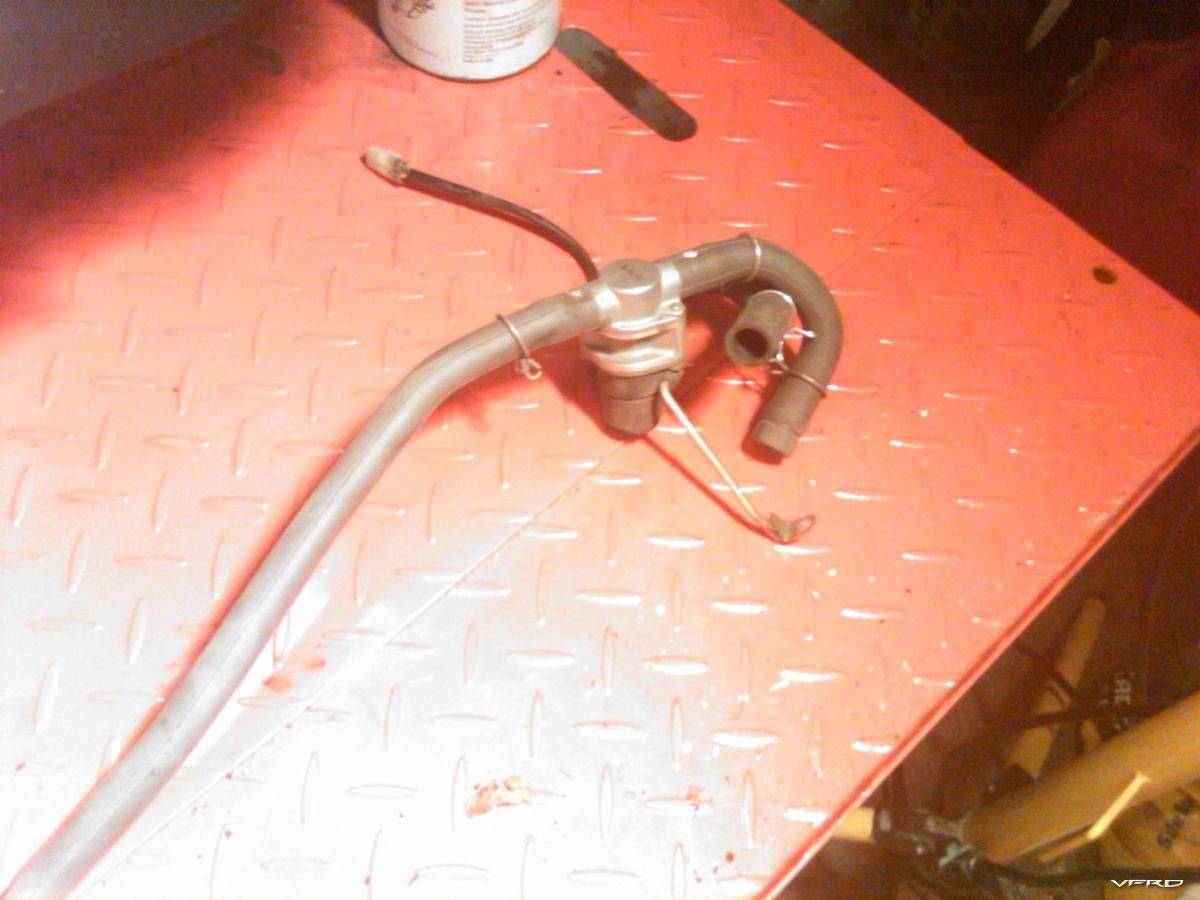
pair_tubing.jpg
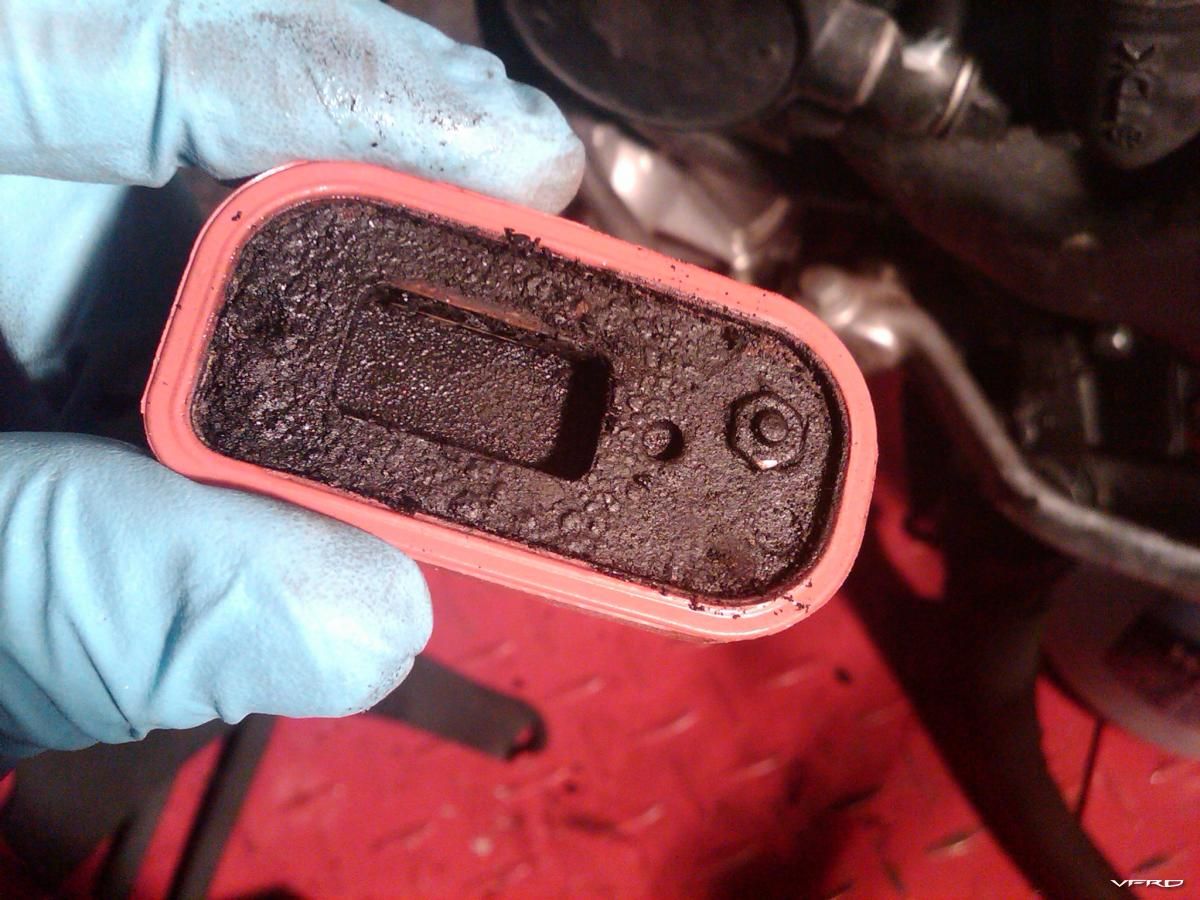
reed_valve.jpg
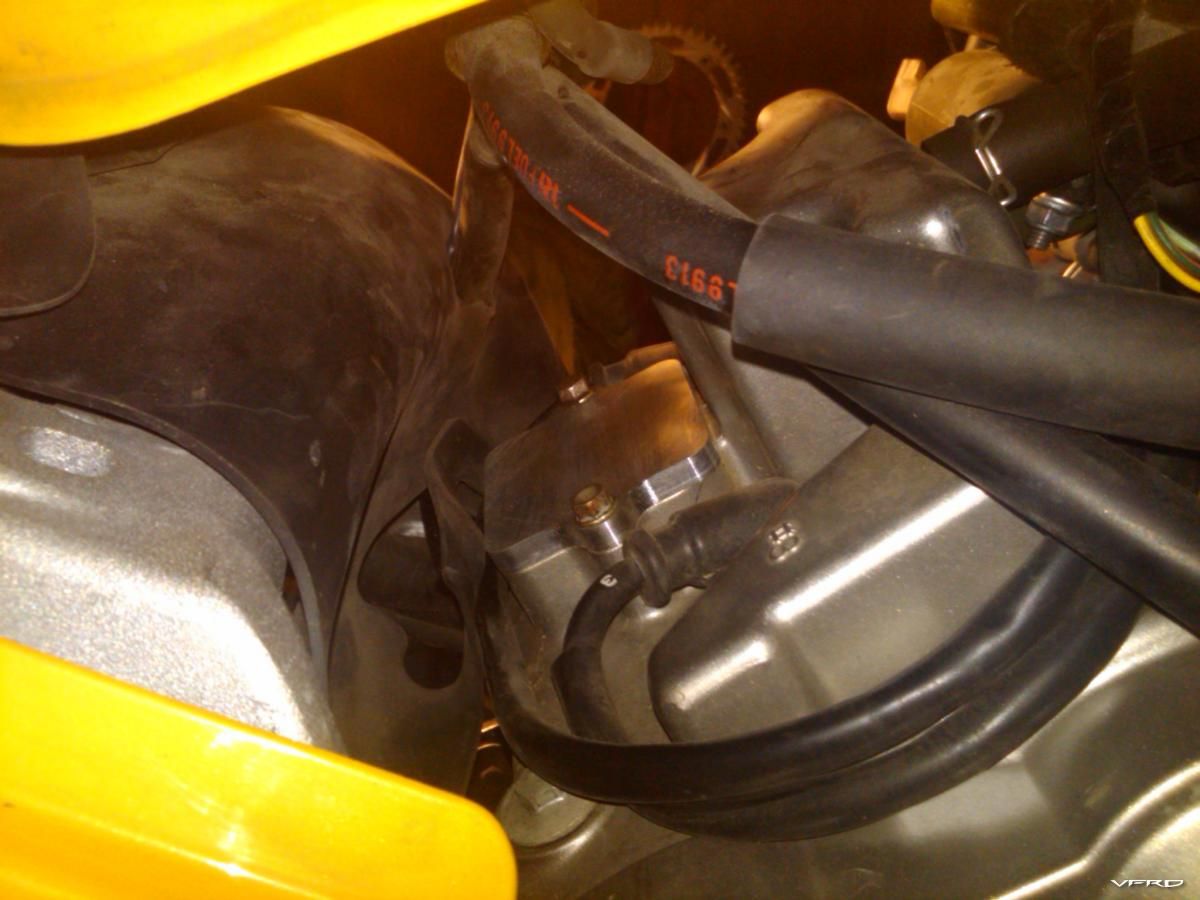
pair_blockoff_rear.jpg
pair_blockoff.jpg
-
Just for a follow up... maybe this will help someone in the future.
I finally got into the garage to do some of my '11 Winter Maintenance.
I used a 5/8" bypass plug and a zip tie for the one hole in the air box to plug:
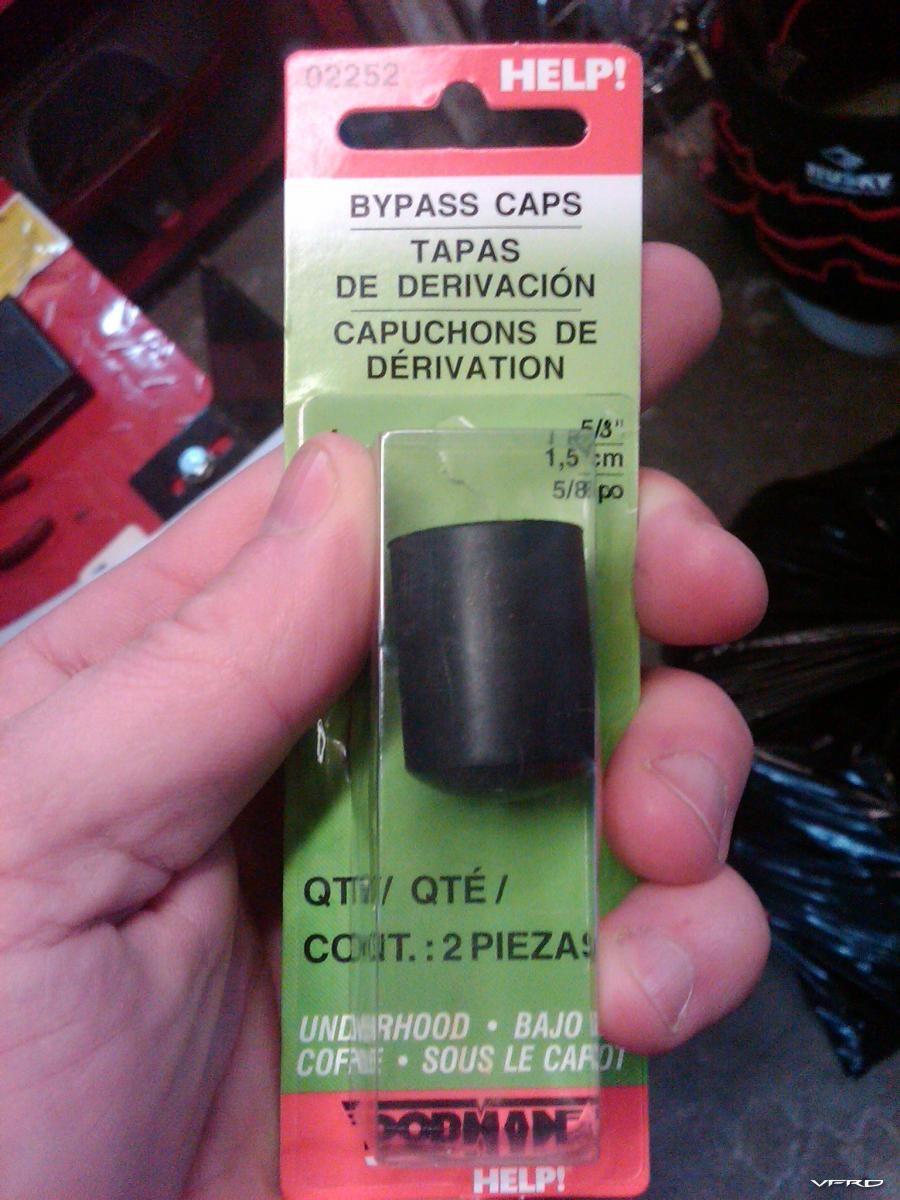
airbox_plug.jpg
The reed valves were NASTY
reed_valve.jpg
Here's the crud that was removed:
pair_tubing.jpg
And the beauties from sa1713 (Thanks Jim!)
pair_blockoff.jpg
pair_blockoff_rear.jpg
-
You guys a putting me to shame...
Each time my dog needs to go out, I open the garage door, grab a wrench, and do something 'quick' while she does her thing.
Last night in the 4 trips outside I was able to get the rear sprocket off. While I have the kids I can only really do any work after 8pm, and on a work day, I'm wiped by then. I can't believe it is already 1/2 way through February, I gotta get a move on!
-
Then I cleaned it.

Pics or it never happened!!! :biggrin:
Hub after basic WD40 rubdown.
One half of the sidestand cleaned up

Other half of the side stand.

How'd that get there? Keeps me warm when the 65k btu kerosene heater isn't on...
-
Then I cleaned it.
Pics or it never happened!!! :biggrin:
hahaaha! Will get pics this weekend...
-
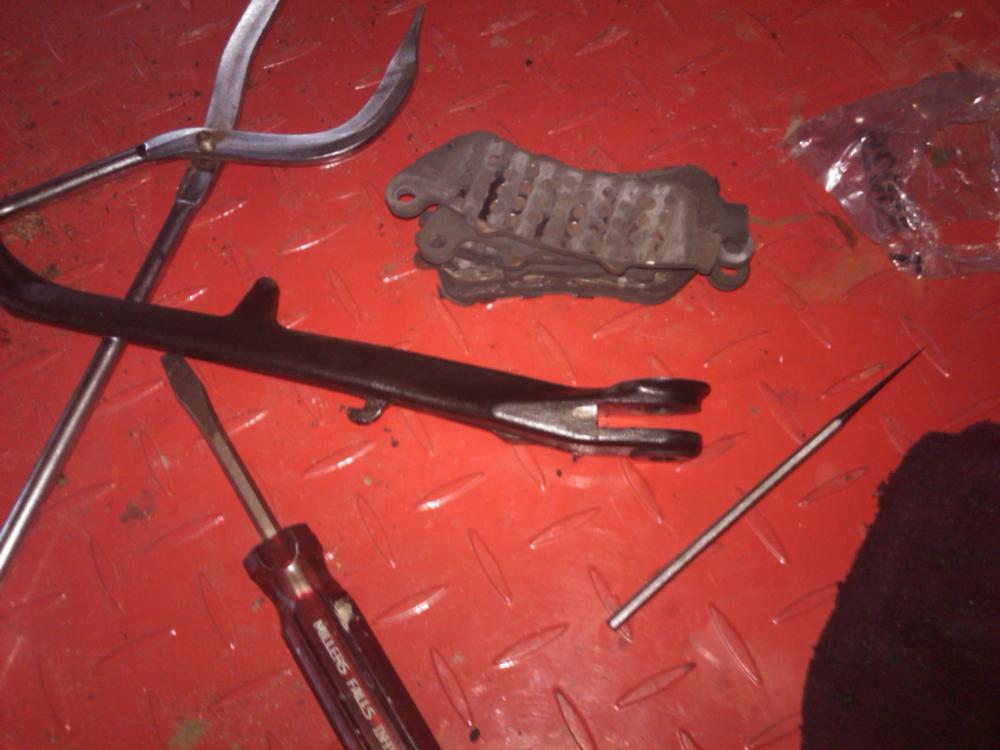
Did the front brake pads.
Started the rear (they were more worn than the fronts... guess I still use my rear a bit much).
I couldn't get the pistons pushed back in so I removed the caliper.
Then I cleaned it.
So, while I was in a cleaning mood, and since I am going to change out the rear sprocket, I took off the chain guard.
Then I cleaned it.
While that was soaking in WD40 I cleaned the swingarm.
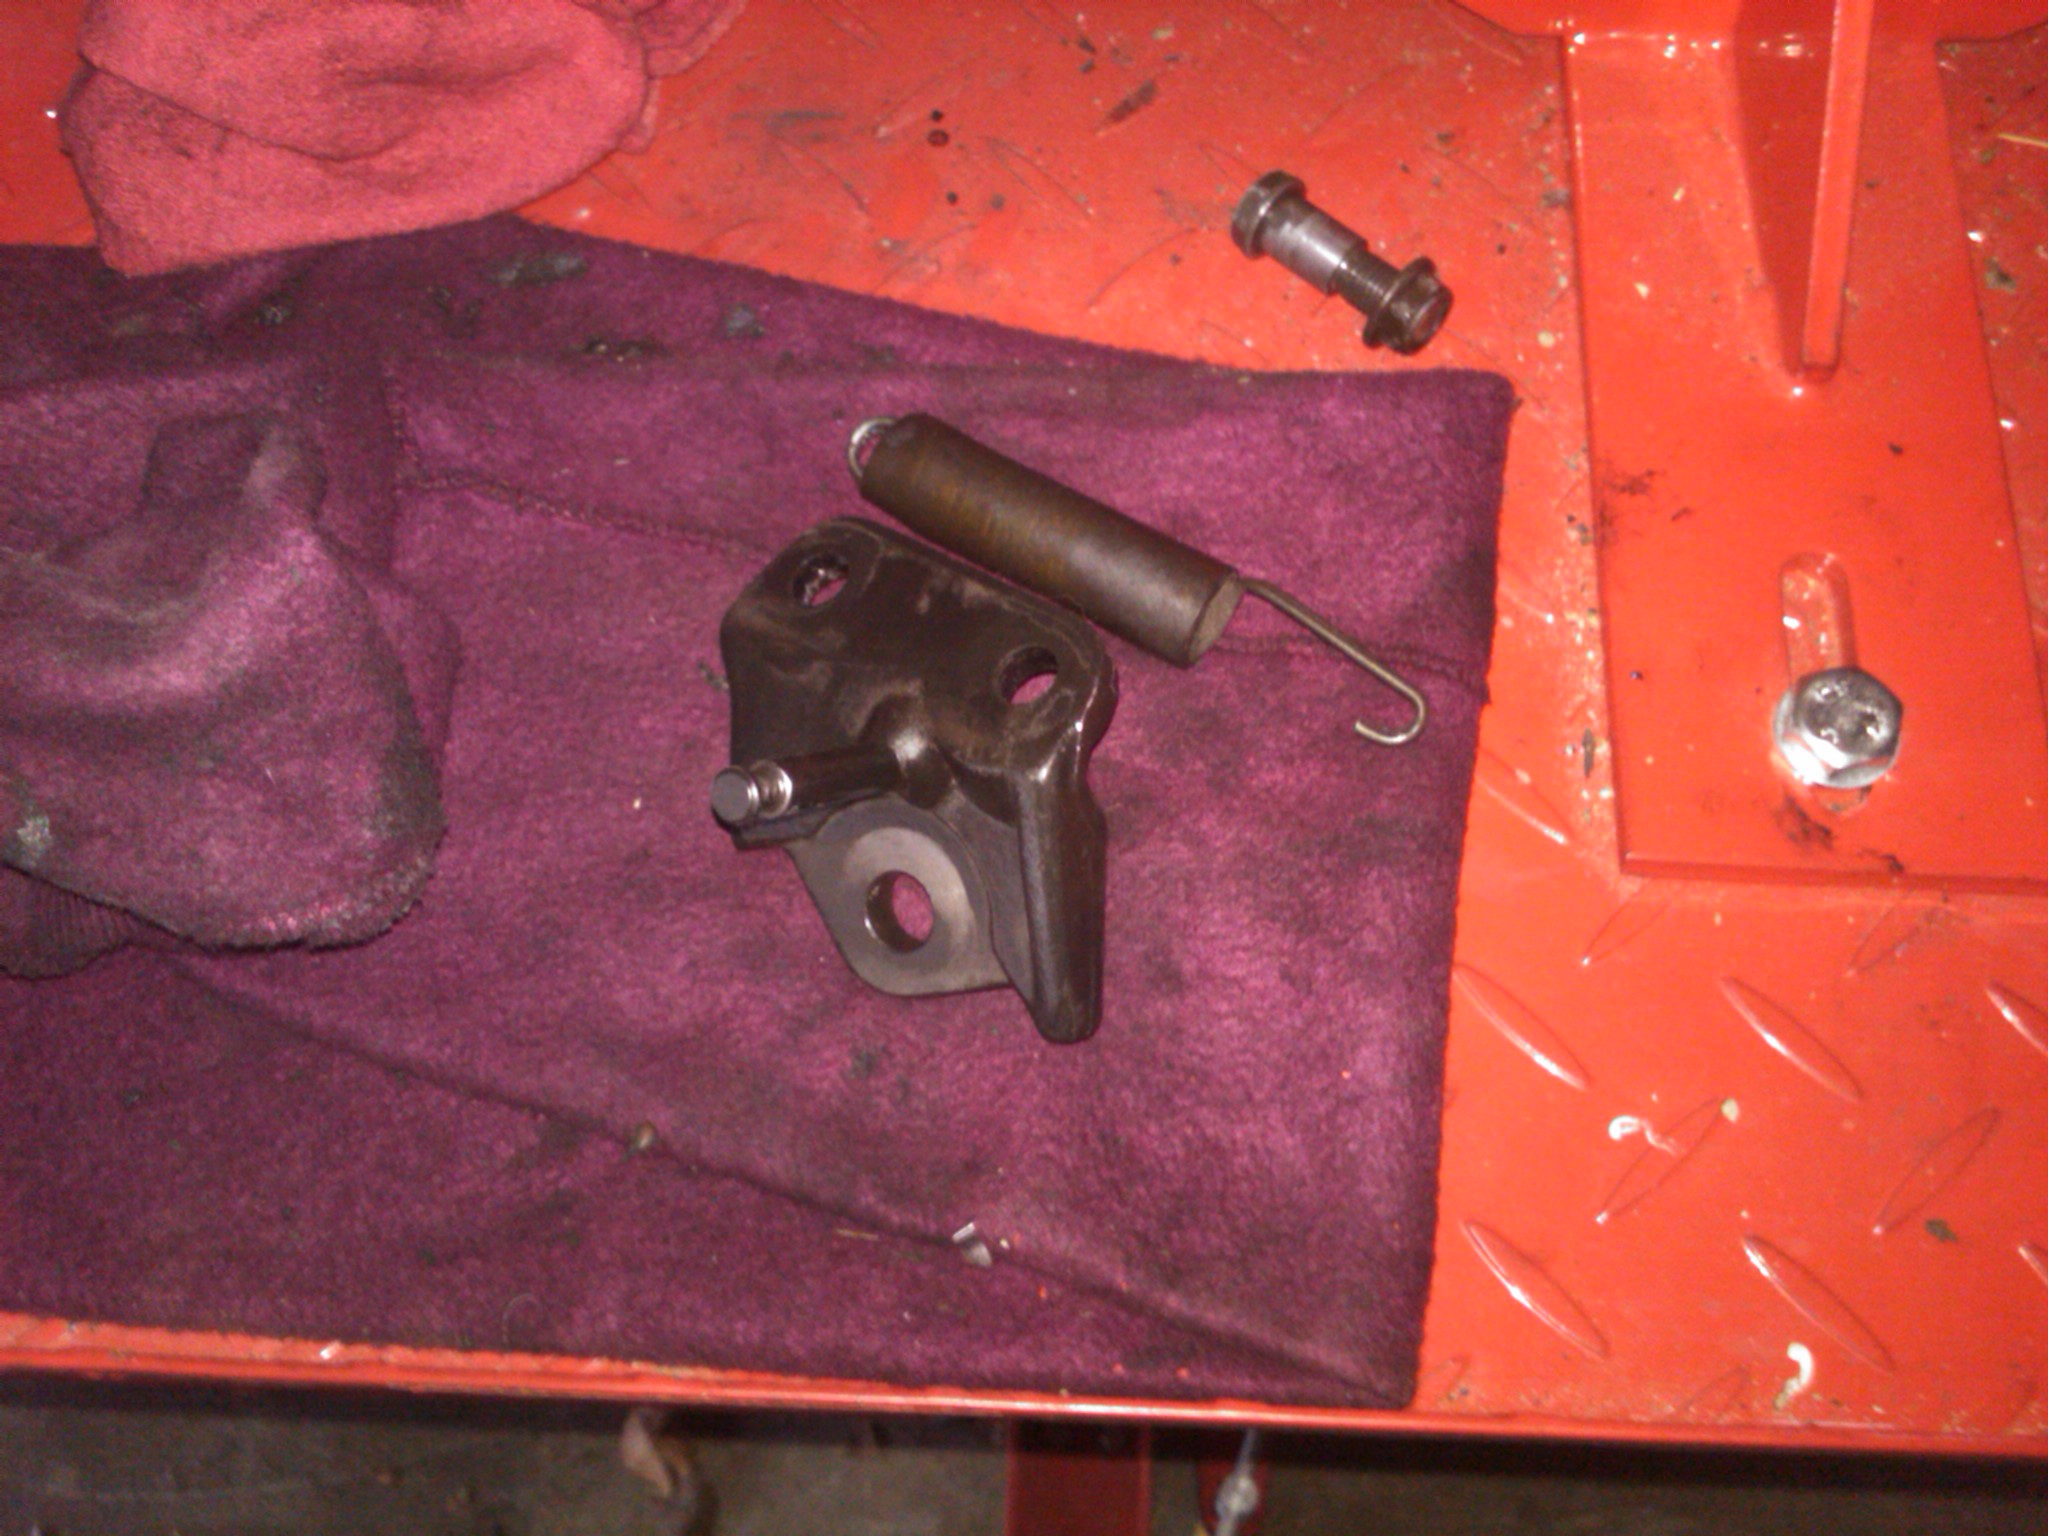
I then took off the side stand
Then I cleaned it.
Then temps got down to -5ºF, so I went to the basement to work on some wood turning.
Ok, Seb, it's over now, I'll get some smelling salts so you can come to after having passed out.
Yeah, I CLEANED stuff. Imagine that.
-
Figures, after I pull the trigger on the DCPLALL's, Seb, you have to show me these.
-
For the 00:
Dubious Chinese Pazzo Look A Like Levers
Brake pads all around
Steering head bearings
PAIR block off
Stock size rear sprocket
PC2 & 02 Elims
Clean out switch pods and regrease
clean electrical connectors and apply dielectric grease
DCPLALLs - complete
Brake pads - 1/3 complete
Parts for all others - in hand
-
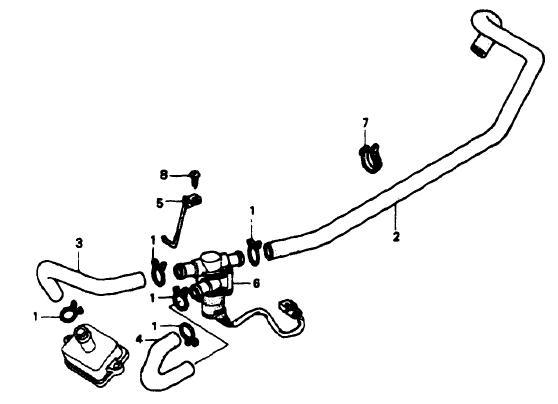
This is for the 6th gen, but I venture to guess that it won't be too different....
-
Isn't there a How To on this? I thought HS did one years ago.
I've looked, I've searched (Forums and blogs even).
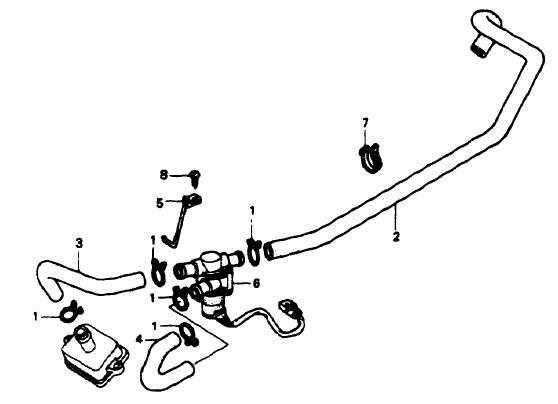
At first glance I said to myself, "Self, there is going to be a LOT of hoses to plug". Turns out only one place since I have the plates.
Since it is only one, I'll yank the hose and measure the nipple with the calipers and find a cap in the local auto parts (I got a guy...)
Thanks guys. Maybe I'll even take pictures.
-
I have some popping on decel and figured I'd give the PAIR removal trick a go.
I have the block off plates (thank you VFRd!)
Now... what will I need for vacuum caps? I figure I can get them at the local autoparts place, but I'd like to know what sizes, and how many, I need before I start digging in.
Is it simply one cap where the PAIR goes into the airbox? (right end of part #2 in the figure)
TIA,
-travis
-
For the 00:
Dubious Chinese Pazzo Look A Like Levers
Brake pads all around
Steering head bearings
PAIR block off
Stock size rear sprocket
PC2 & 02 Elims
Clean out switch pods and regrease
clean electrical connectors and apply dielectric grease
Ready for this shocker: CLEAN the bike
Oh, and I'm looking for some offroad capable stuff, I've got a bead on a fixer upper 4x4 atv...
-
Am I the only one that got a chuckle out of the fact that the first reply to this thread quoted the OP in entirety? :laughing6-hehe:
Nope. I showed a couple of coworkers, who all chuckled as well ;)
-
working on a half eaten food picture button!
Thanks HS. I have to clean the coffee off of my LCD now :laughing6-hehe:
-
BaileyRock , ive been doing the oil changes on my 04 this way sense i bought it new in 04
:biggrin:
I knew I wasn't the only lazy SOB out there! :goofy:
Can't wait to see the valve check w/o removing the covers thread :laughing6-hehe:
Oh, wait, BR doesn't do valves :biggrin:
-
 1
1
-
-
On this date, 8 years ago
8 years!!! WOW. I can understand though, after seeing your garage! You have your hands in _*MANY*_ projects!
-
Jim:
You may want to take the packaging off first tho! :laughing6-hehe:
Looks really nice. I may change my UNI foam out for something like you've done.
-
Wow. Awesome, just awesome! Please please please post up more pictures, any notes you've made along the way and tell us about how you engineered it!
Where's RiotGrrl and Stewy? They may have some tips for you!
Congrats!
-
There are quite a few folks that have lowered their VFRs by raising the folks and flipping the rear shock triangles
TinyMinds has a write up here. on raising the forks in the triple tree. Skuuter chimed in on that thread as well.
Good luck!
-travis
-
I needed a bike size vat to stick my whole bike in, boy it was filthy!
:lobby:
Mine too, right Seb?
-
Might want to try an aquarium store?
Something like this (quick google search of 4 into 1 air hose aquarium)
-
Aaahhhh.... So, you can't find the mag version on ebay?


2010-11 Winter Mods/Maintenance Thread
in Modifications
Posted
That's ok. Forecast says 3-6" of snow tonight. ugh.
ugh.