

FrankoQ
-
Posts
320 -
Joined
-
Last visited
-
Days Won
1
Content Type
Forums
Profiles
Gallery
Blogs
Downloads
Events
Posts posted by FrankoQ
-
-
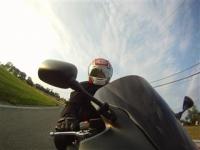
very very nice
-
Nice overall writeup. I would only add a couple of things. It's always good to warm the bike up a little to warm the oil so it drains easier. I also like to take a sheet of aluminum foil and slid it over the tops of the headers so they don't get oily when you remove the oil filter. I'm not sure I would trust those K&N filters after a couple of horror stories I've heard about them.
Rollin
Good points. I did get a lot of oil spilled on the headers when removing the filter.
Thanks for the warning about the K&N filter. I hope this one holds until the next oil change.
-
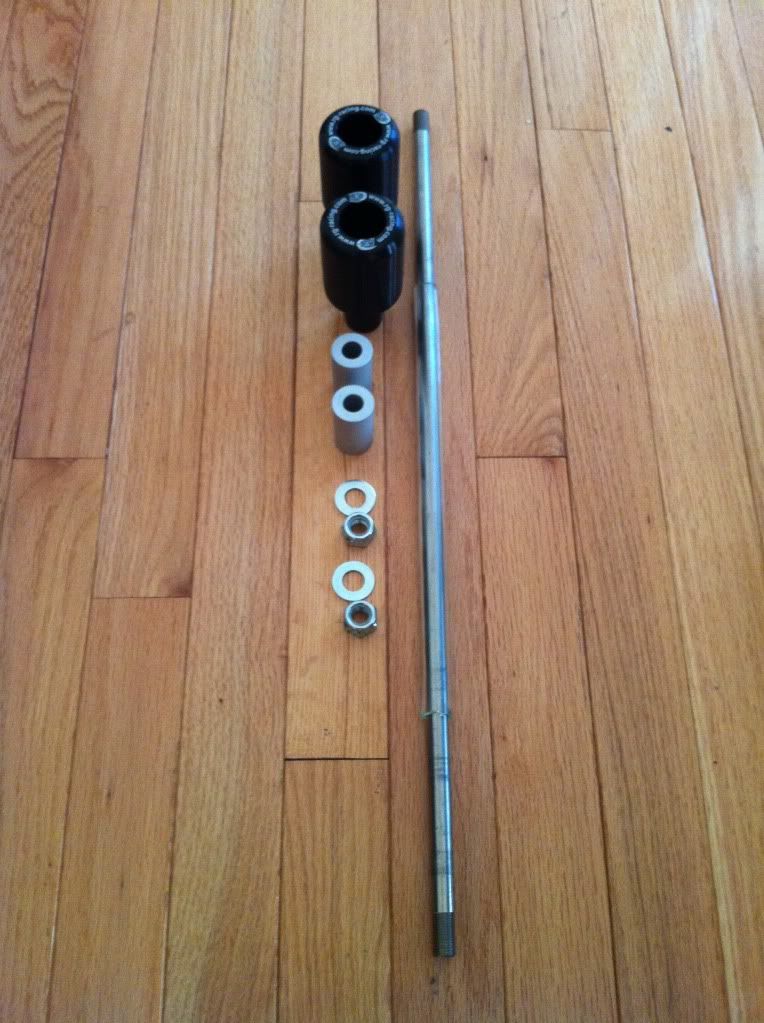
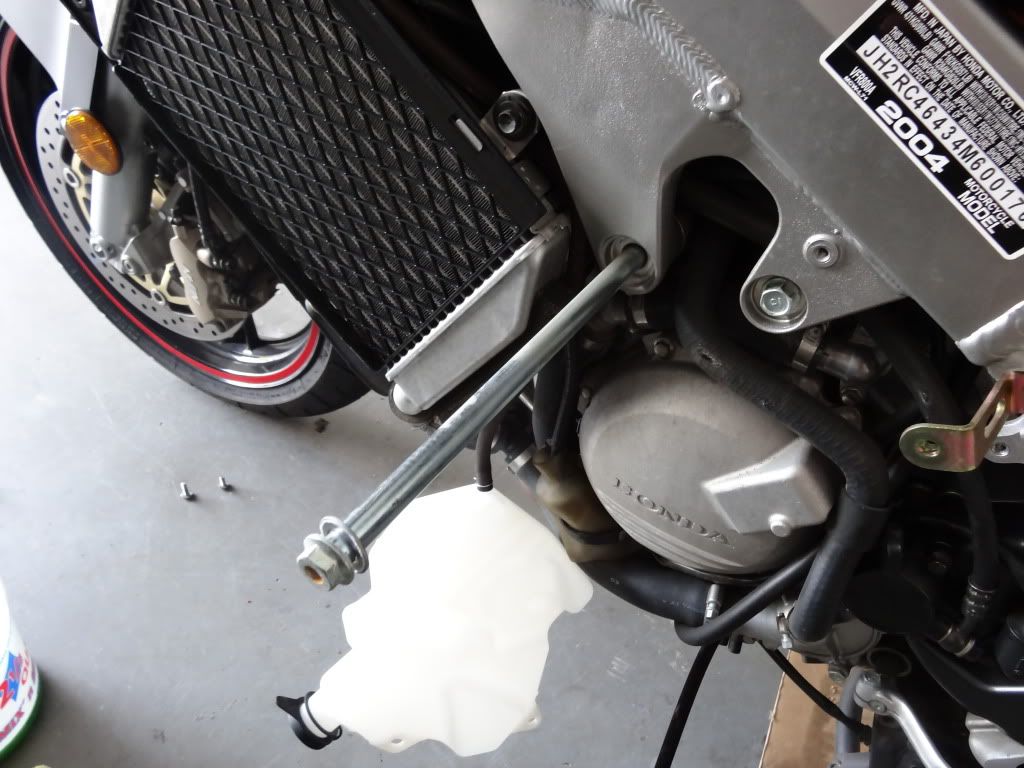
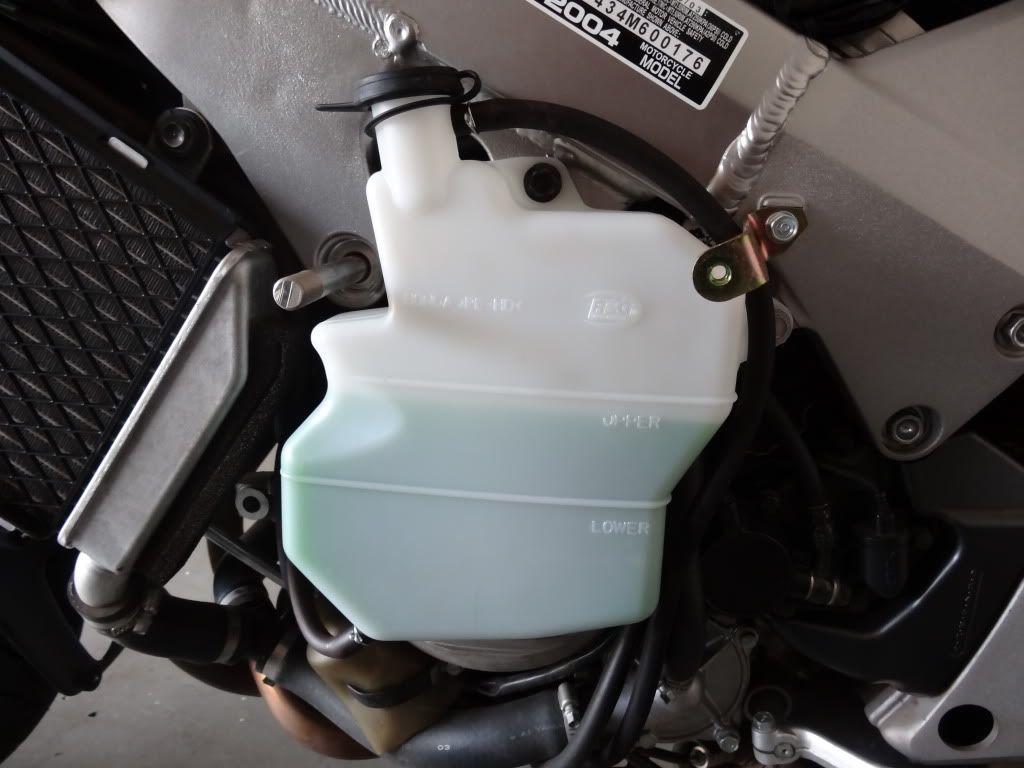
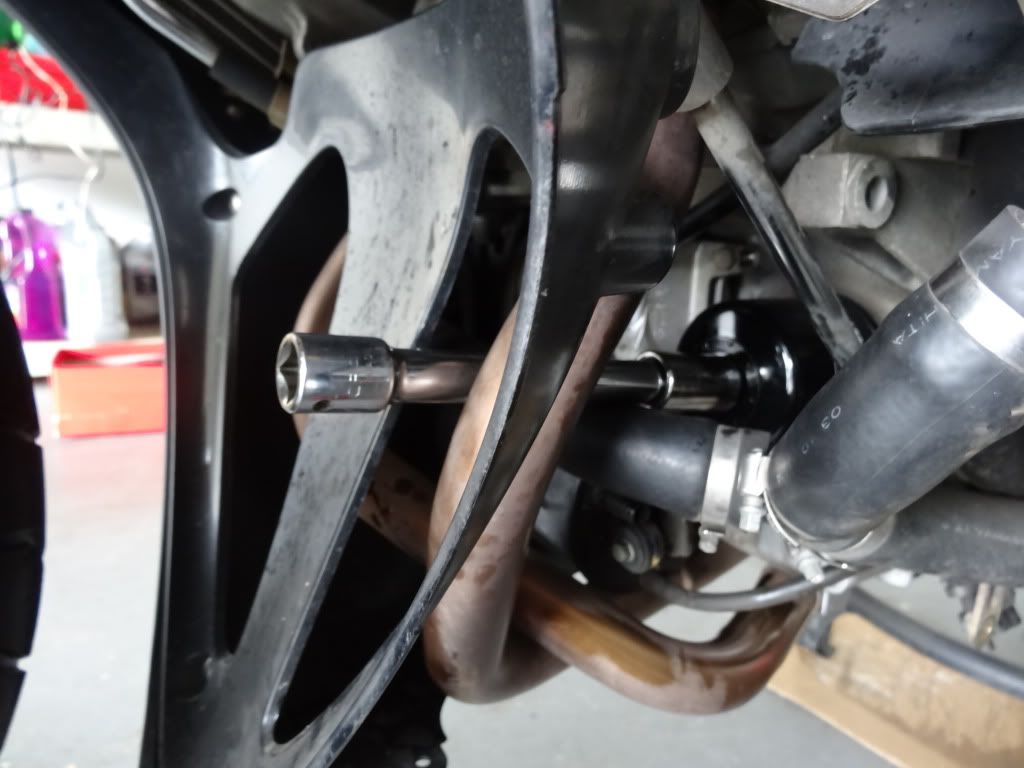
Finally got mine done. A few comments and pics of my install.
what comes with the package:
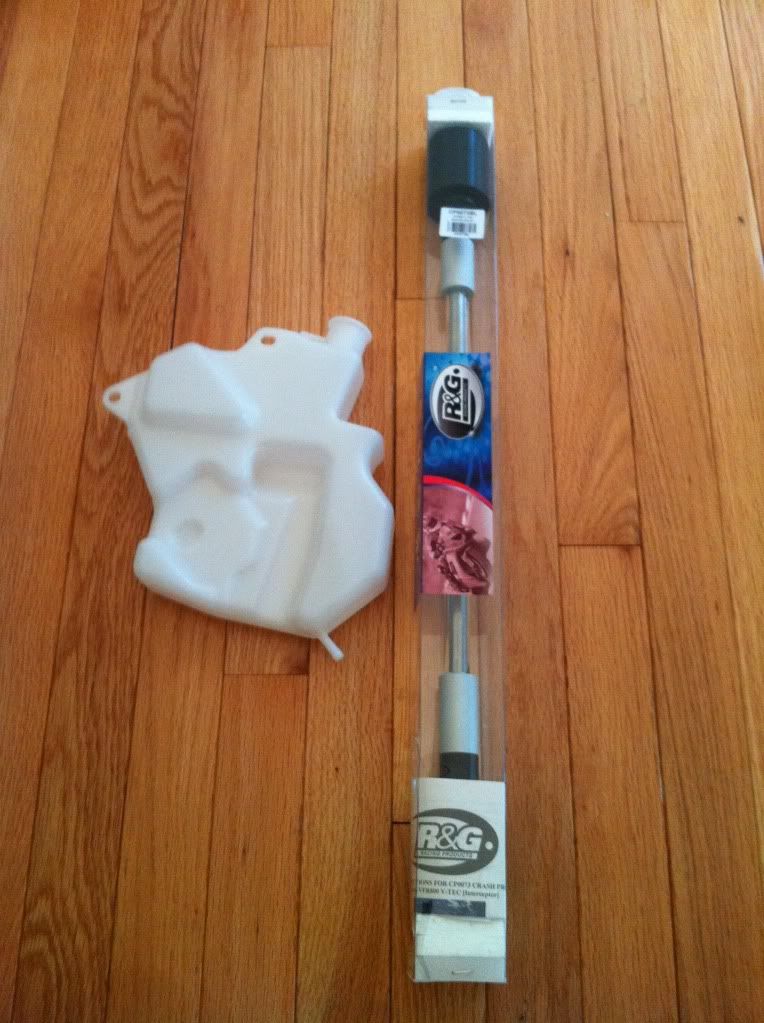
for more details, see the original install guide:
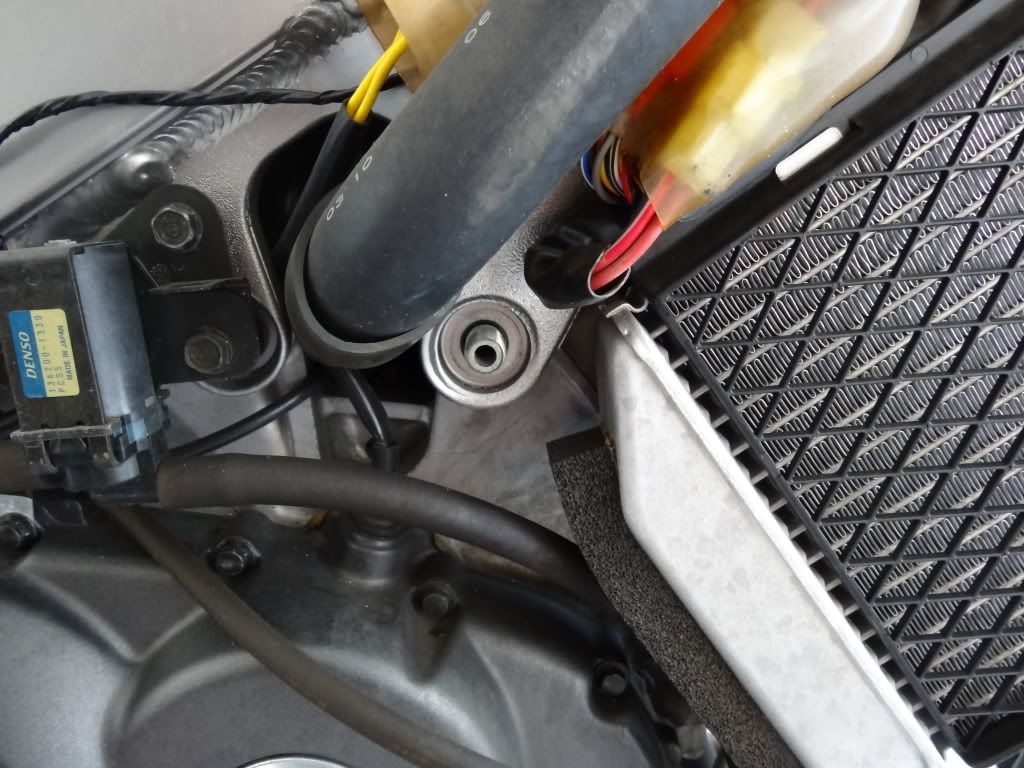
remove left and right fairings.
replace coolant bottle and install it.
remove engine rod and push new one in.
new rod going in:

Old one coming out:
It should look like this:
Now to the scary part. making holes on the fairings. I used plumber's putty. :)

this helped me know exactly where to start the holes. used a small drill bit for initial hole. then moved to larger bit and ended up using a dremmel for the rest.
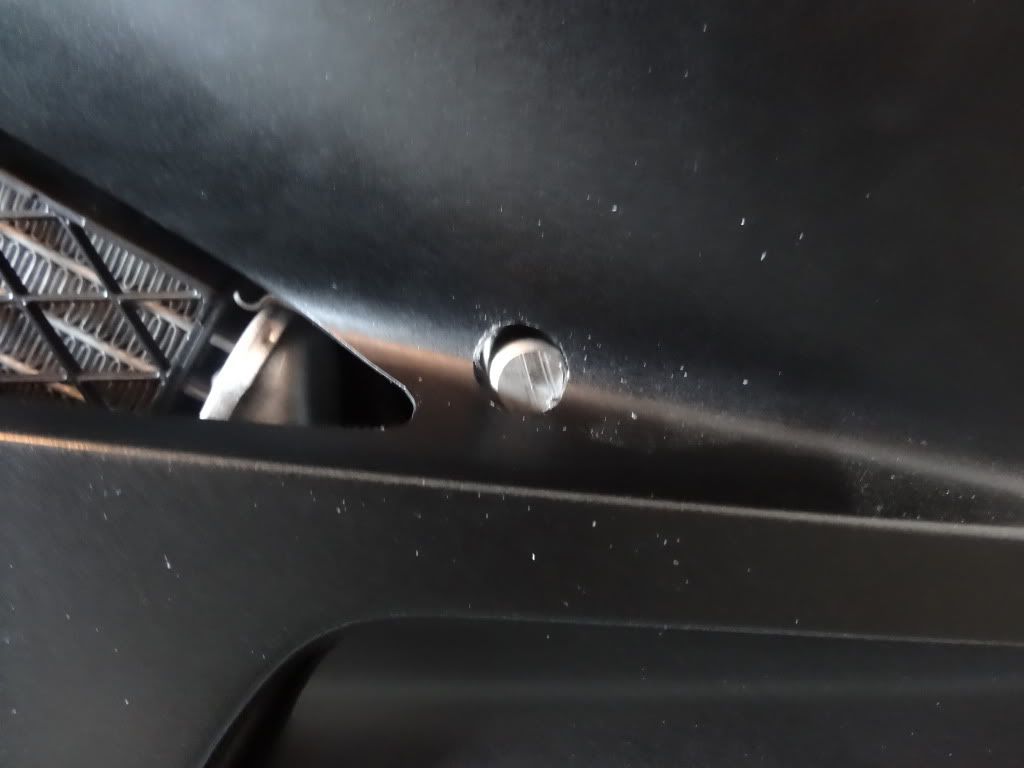

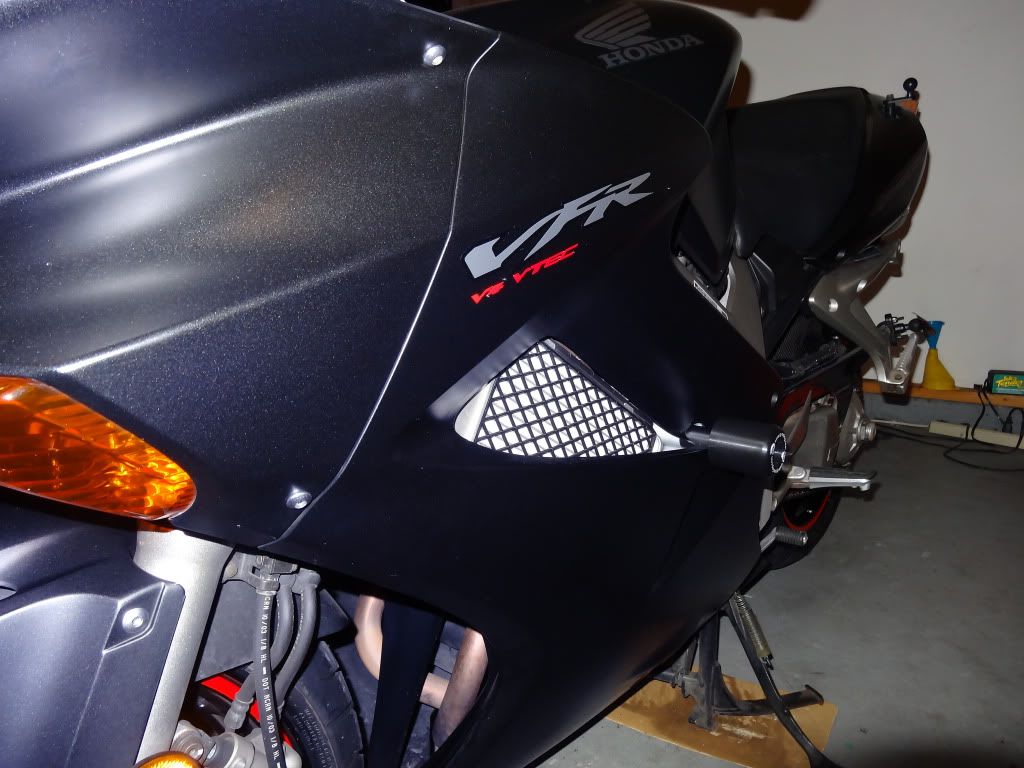
That's it. most of the time is spent making those holes big enough for the spacers to go thru.
-
 1
1
-
-
pretty easy but here are some pics
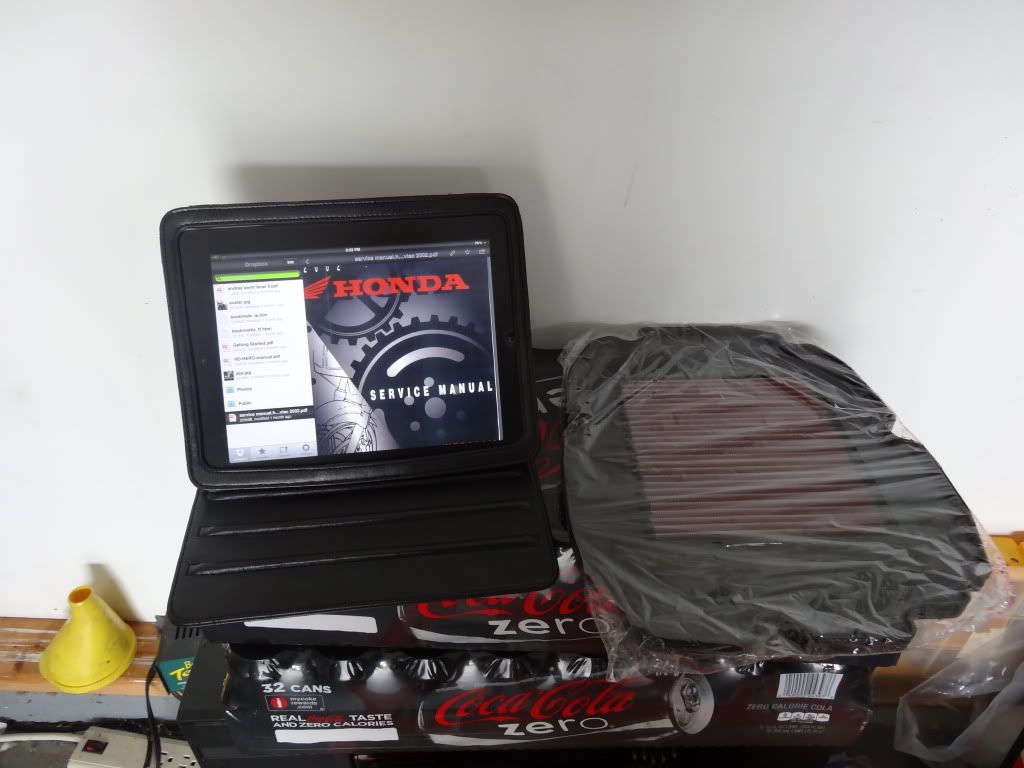
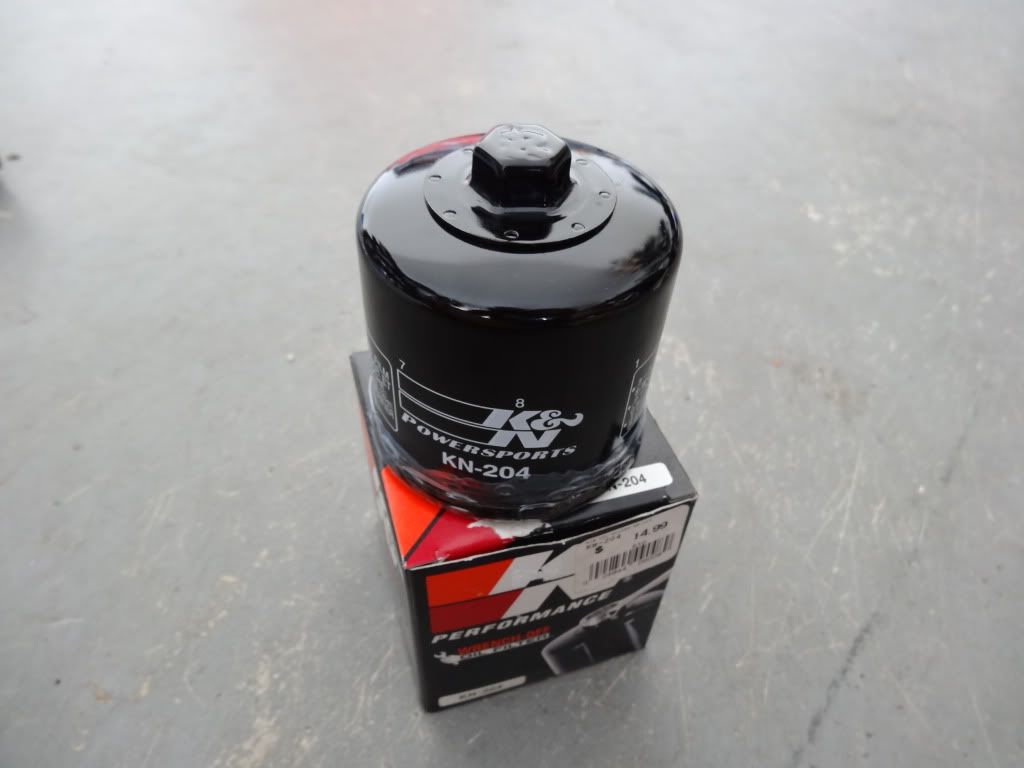
new K&N filter and the manual on the ipad.
remove these 2 bolts to lift the tank. get the tool ready to hold the tank up.
the tank is up. phillips screw driver to remove the cover.
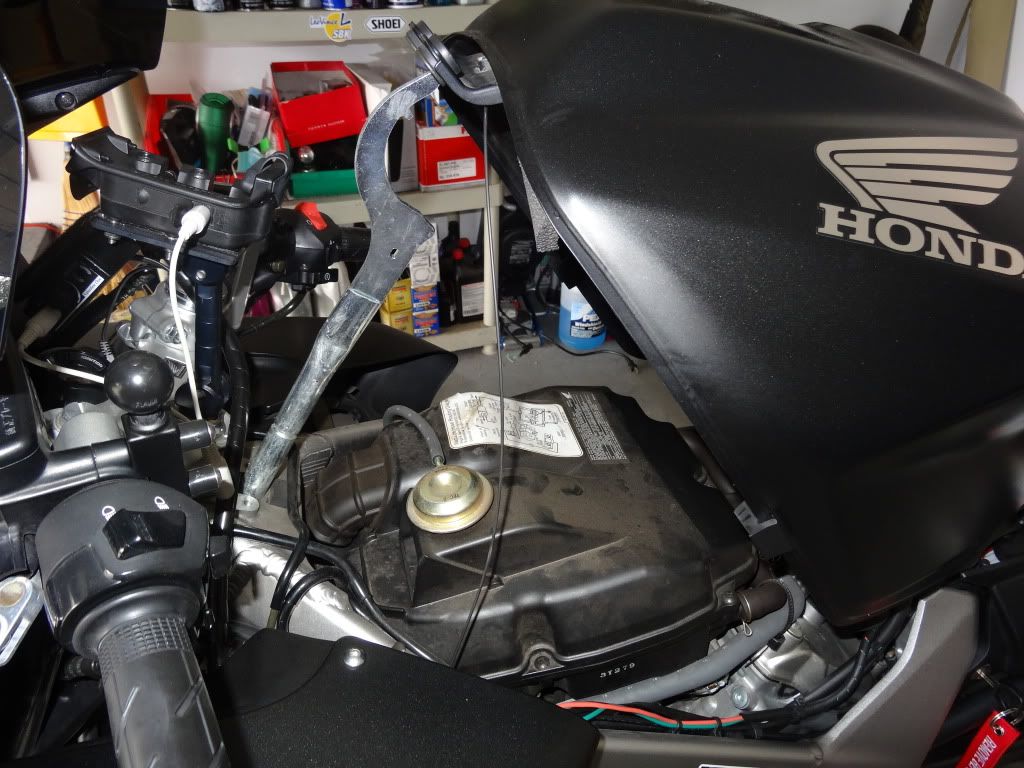
Remember to remove the "o" ring from the air filter cover.
here is the new filter. install it and put the cover back on.

screw cover, tight the tank bolts and you are done.
-
Yet another thread on how to change the oil on your 6th gen.
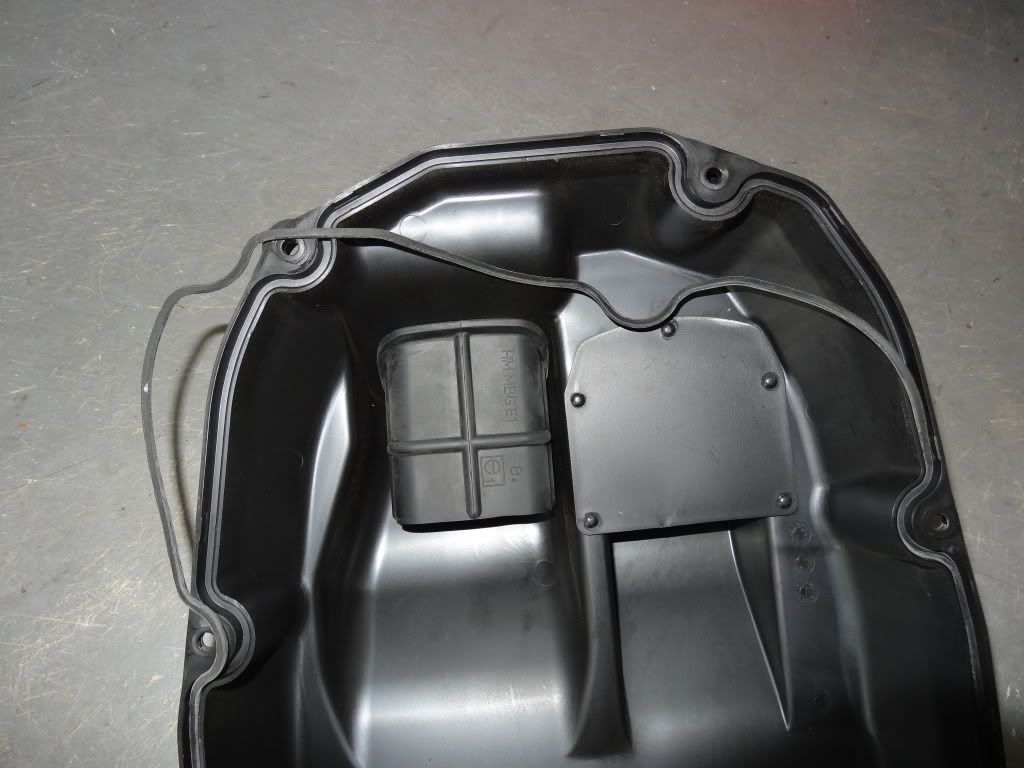
remove left side fairing.
get her ready to bleed.
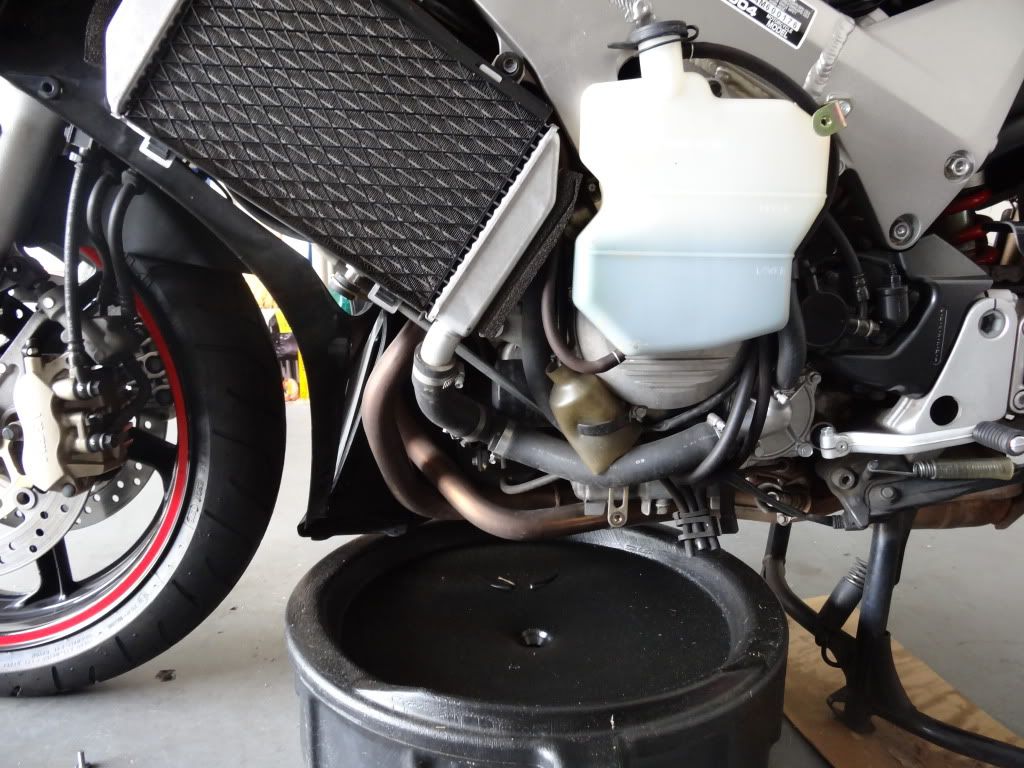
remove oil filler cap. get ready to remove plug 17mm socket.

let her bleed

removing filter is a pain. use strap wrench or the right oil filter cap. put rags on the pipes below cause it will drip a lot. messy messy
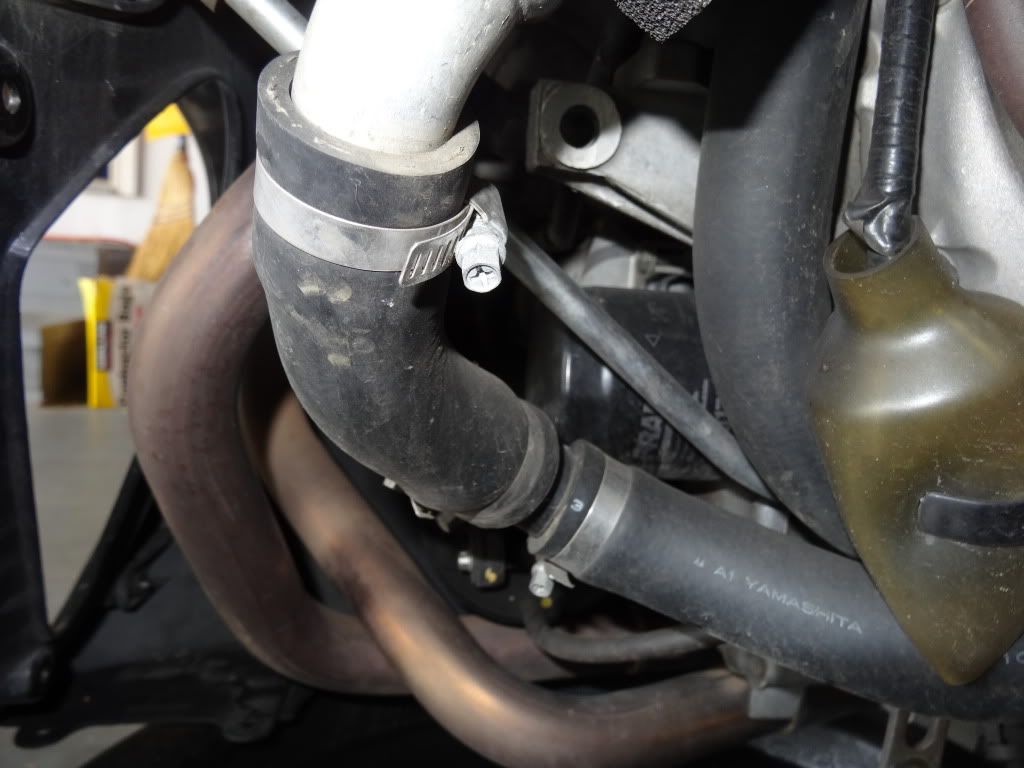
Cool K&N filter. it already comes with a 17mm top. no need for a filter wrench cap to get it tight.
Pour the oil about 3 quarters will do.
turn it on. check for leaks. have a drink.
All Done
-
Finished the install today. Pics later.
All good.
-
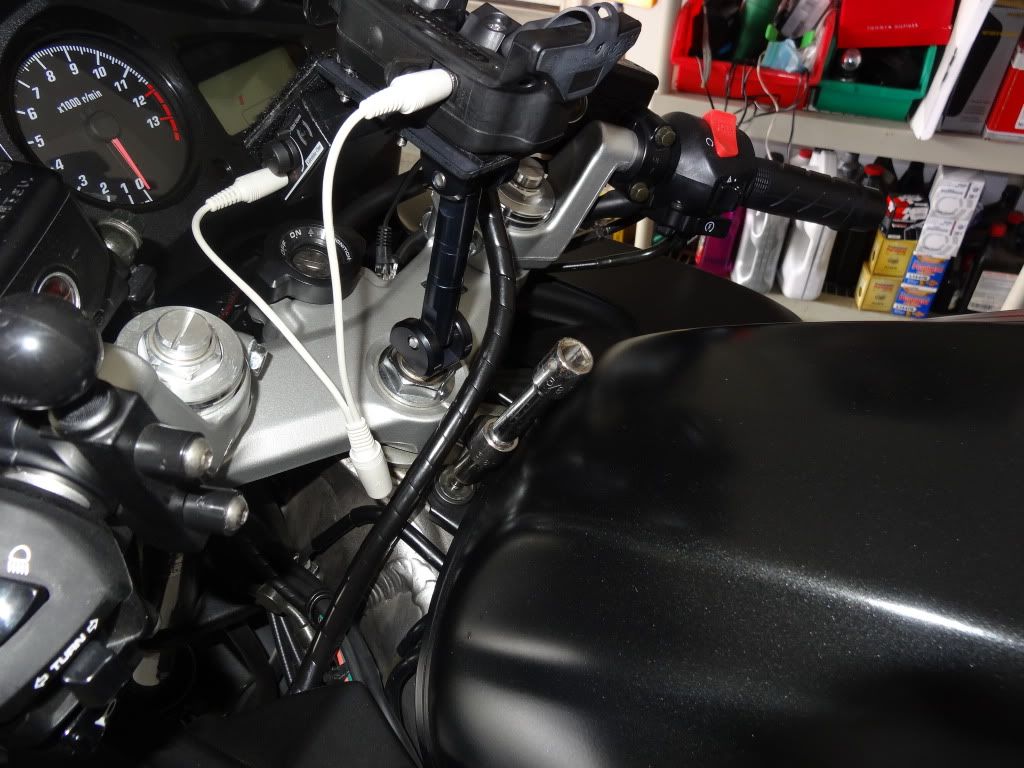
what are the switches for?
Left to right
Toggle switch to shift betweem steble horn and normal bosch
Hazard light
Fork mounted LED lights
I have changed this a little added a dimmer for the LED. Will post later
Nice!
-
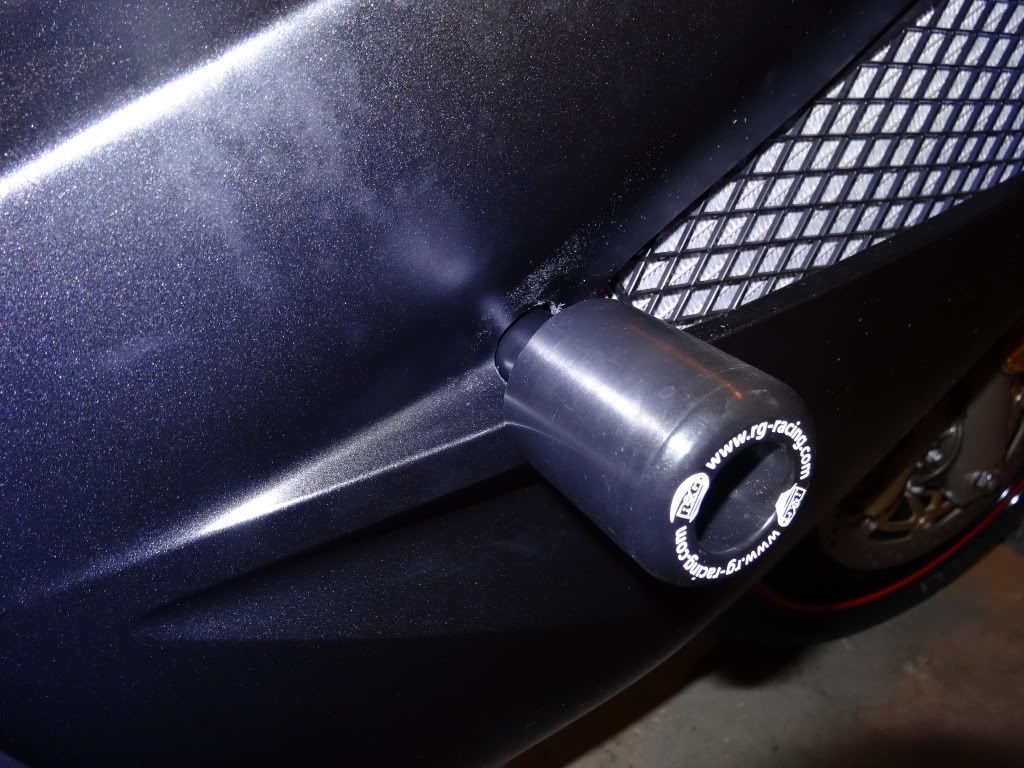
I have my RG sliders and looking to do this mod soon. I have to get over the hump of drilling holes into the fairings
 . Anyways, from Boneman or anyone who has installed the kit, when you push the RG rod thru from the left, is there a collar - shim or anything that I need to watch out for that might fall out on the right hand side once the OEM bar comes through?
I don't remember any collars or shims sitting behind the bolt head of the stock mount bolt. In any case it should not matter as you will remove all of the factory mount bolt and use all new parts that come with the R&G kit. Comes with its own spacers, washers, nuts. Very complete kit, just don't think the rubber hose on the long stud is part of the install, it's not. I belive the only reason it's on there is to prevent any possible dings or buggers to the center section of the stud so that it installs smoothly.
Thanks... I thought so, but I wanted to make sure before hand. Now, to find the time and get this done.
same here. I need to find the time and take my sweet time to make those holes on the fairings.

-
what are the switches for?
-
Nice. it looks good
-
my order came today finally.

Do we get to see pics?
here are the parts... pics of the install in July. too busy to get to this.
-
my order came today finally.
-
nice writeup!
-
Thanks. I'll be changing plugs in a couple of weeks.
-
Anyone, please help.... Thanks a lot...
Anyone gud in Photoshop please help.... to "shop" my Candy Red VFR800 with the below painting scheme - however, I 'd like the Red color still the main tone on the bike:
Thank you.
Your bike looks perfect just like it is. that color is awesome!
-
what about a Diablo rear?
There are at least 5 different Diablo models, which are you talking about? Std., Strada, Corsa,, Angle, etc.
I loved the standard Diablo, but it just wore out way to fast.
My bad. I meant the standard.
I just ordered the diablos standard front and rear. $164 for both. I could not say no. I'll switch to the PP/PR2s once this set goes.

-
what about a Diablo rear?
-
That is the cheapest I could find for you too.
Alright. Thanks for trying.
Reading this thread, it seems the PP front/PR2 rear is the ideal combination?
But what is it about this combination instead of a PR2 front and rear?
Thanks in advance.
-
any ideas on best price for PR2 rear? cheapest I see is $149
-
I've gone through several sets of Radar's sliders (blush). In every case I have judged that damage would have been worse w/o the sliders. The ultimate result will vary with the situation. They have broken off, bent, or just worn down but served their purpose well. And I've been down at some scary speeds. I went through both right and left sliders at T-mac. (double blush).
what you gonna do now that Radar's no longer available?
-
one more question, when you make the pilot hole, do you make the hole from the inside of the fairing or the outside?
-
Ordered today. hope they come quickly.
Boneman, which bit is that on your dremmel?
So you make a hole first with a drill bit first and then switch to the dremmel to expand the hole. is that correct?
Thanks for the DIY... that's all I needed to make up my mind and go for it.
-
Very nice. what is the color temperature on those bulbs?
5000K, 6000k, or what?
Dang. You've posted in almost every light thread.
If you want white stay with 4k-5k. Any higher and blue will start to show.
 desperately looking for an answer.
 I ordered the 6k for a little bit of blue.

-
Very nice. what is the color temperature on those bulbs?
5000K, 6000k, or what?
8 spoke rim ready for my 6th gen and the Summit 2012 meet
in Modifications
Posted
not from the 4th gen.