


VIFFER93
-
Posts
227 -
Joined
-
Last visited
-
Days Won
2
Content Type
Forums
Profiles
Gallery
Blogs
Downloads
Events
Posts posted by VIFFER93
-
-
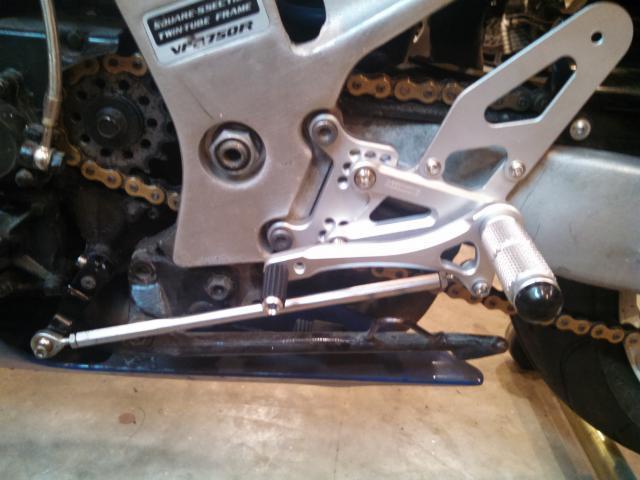
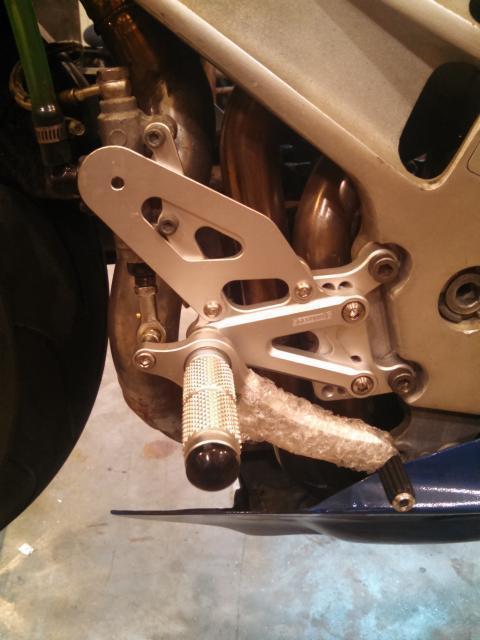
These are on my 93 track bike. I did it for extra clearance and GP Shift, rear brake master bolted on no problem. They are Early Generation 900rr pegs. I had to buy a few new bolts for fit and finish but they work well enough.
For my set up;
On the shifter side, If you need to use the back row of mounting points you will have to space the mounting plate out. I don't recomend spacing out the foot peg bracket.
On the rear brake side. You will have to space the brake master into the center of the bike if you want to use the the top forward mounting holes.


-
Viffer, would simply chaining to a Uni filter require rejetting?
What would be the resulting symptoms of the new filter? Running crazy rich?
Simply Changing the air filter and keeping the Air Box Stock probably would not require Jetting but You were talking about making everything more "open". AKA increasing the amount of air into the carbs so I would plan on re-jetting for sure.
I have been researching a similar option for my VFR track bike (I would not bother for a street bike) to increase air flow.
- The Uni Filter is the most 'Free Flowing' filter I have found (might be others,I don't know)
- Factory Pro makes a jet kit just for the use of a "free flowing" filter like thei Uni Filter
- I have a design for removing the top of the air box and still being able to retain the ability to secure the filter
- and as gll429 states you need to seperate the Hot and Cold air - This is where I am designing a system to do just that. Warm air does not help combustion.
-
I have an elderly 1990 RC36.
I was just musing over the velocity stacks and wondered if i might simply dispose of the airbox entirely ! I think the jetting options might be a bit limited but I have an idea that a simple wire cage filter in the stack ends would be sufficient... Has anyone tried this or similar ?
Tim
Don't do it.
If you must, buy a UNI filter, and punch holes in the air box cover (or just cut the top of the cover off). Buy the Factory Pro jet kit that is designed for this application and have a fun. Then let us know.
One little piece of crud in your carbs and you could be stranded. Run a Filter of some kind.
-
No big changes this winter just some tweaking on the carbs, Shock Maintanence, and new tires. Rear Sets are on the list...
Mad did it feel good to be out there!!!!!
Here is the video of the instructors warm up laps... Love this bike for a track day ride.
-
I don't think I've ever heard of a Kerker full system for a VFR750, wow.
So we now have:
TBR
Hindle
Indigo
Kerker
plus the Sandy Bike Spares system which doesn't belong on the above list, or on a VFR either.
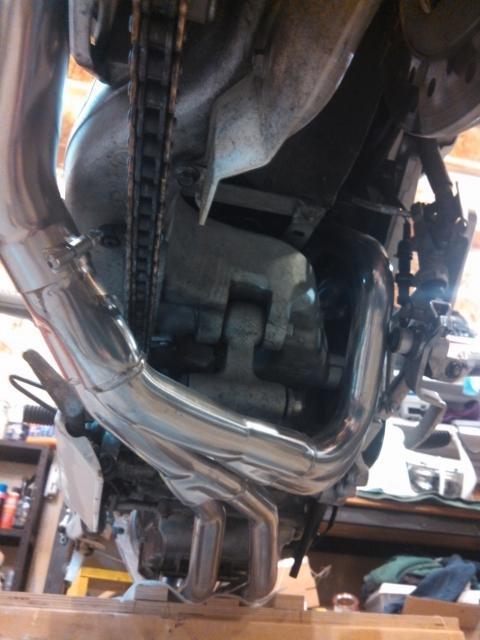
The Kerker is a 3/4 system like the Yoshi...
-
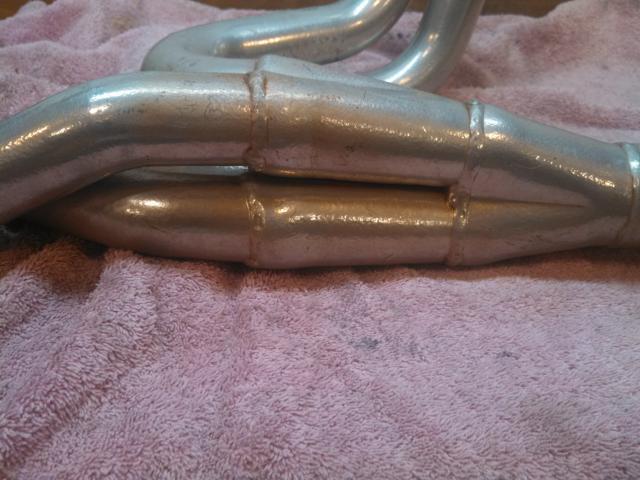
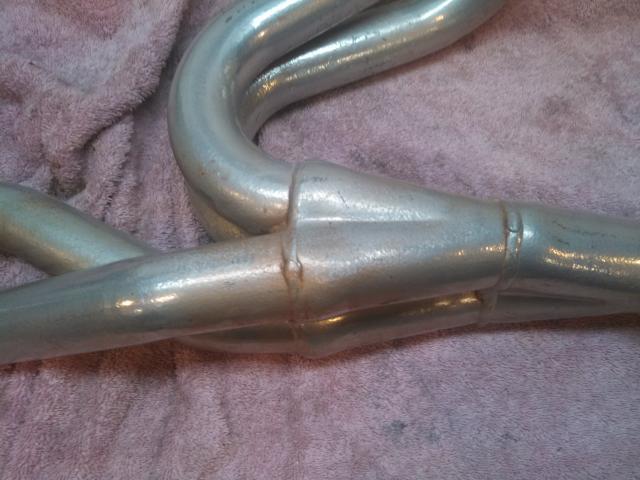
Thanks for the info! How does the two bros pair the cylinders for the 2-1 merge?
The TBR left hand system does all most the same thing. It stacks the joints. It goes 2:1 (1 front 1 rear into 1) then it takes those and merges into one.
Now to make matters more confusing. I also have a TBR right exit exhaust on my VFR track bike. That pipe configuration joins the front two header pipes into one, the rear to into one and then into one. Much like the Kerker pipe.
So three seems to be no rhyme or reason. I can't really compare the seat of the pants performance difference between the two because the two bikes are such different animals and ridden completely differently. My street bike is rarely ridden at high rpm.. while the track bike is ridden almost entirely in high revs.


-
Did you get rid of the 2 Brothers that it is replacing? Was the old 2-Brothers system a left side also?
Rollin
I did replace a Left Handed TBR ehaust system and I am hope to use it on another build. If I can find the right 4th gen at the right price.
Exhaust looks fantastic! I didn't think it was common for 180* crank V4 motors (our VFR engines) to have the front paired 2 into 1 and rear 2 into one… Do you notice a change in sound (unrelated to volume) or performance characteristics? I have limited knowledge pertaining to this topic, but am considering a custom exhaust at some point and am interested in how pairing the cylinders differently affects performance.
I will let you know how it rides once I finish putting the front end together and get it outside but the initial sound (inside my shop) is similar to the TBR exhaust. I expect some fine tuning with the Jetting to be needed.
I expect the performance to be similar to the stock system. I have a '92 that is 100% stock and it has such a different feeling at the low and mid range then the 93 with the TBR. For me I prefer to ride the 92 on the street more then I do the '93 hoping to get that low end mid range back.
-
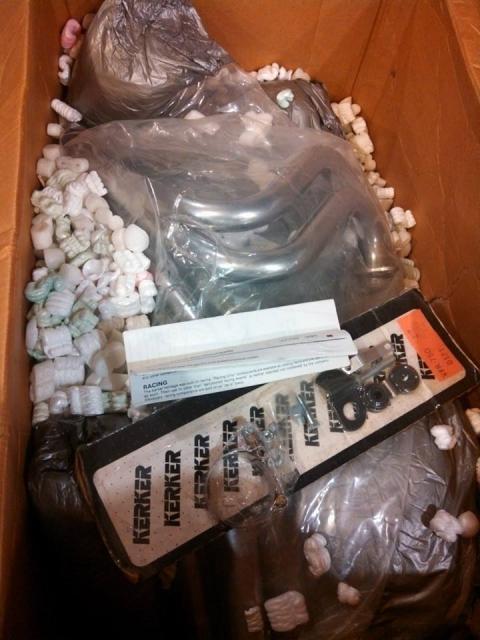
Sounds great. No it never saw the light of day. It was in the original box and still in the blister pack when I bought it. It was in the storage area of an old Honda dealer who lost the dealership 15+ years ago. They were selling the building and clearing it out.
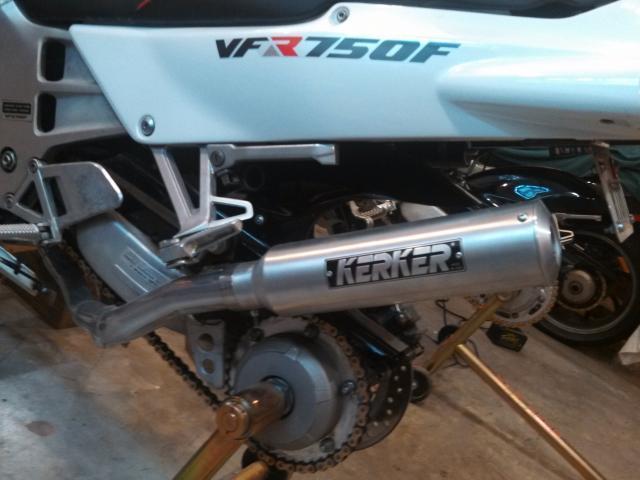
Much better fitting and cleaner looking.

-
Hello all,
I found a NOS Kerker exhaust for my '93 and I like the fit and finish much more then the TBR exhaust I am replacing. I expect this will be more of a weight savings and cosmetic change as the system uses smaller diameter tubing compared to the TBR which is a full system. I am good with that because I am not often in the top portion of the power range on the street where the TBR shines.
The TBR is a great pipe I just like the Kerker more.
Now if the snow will melt I can't actually ride.


-

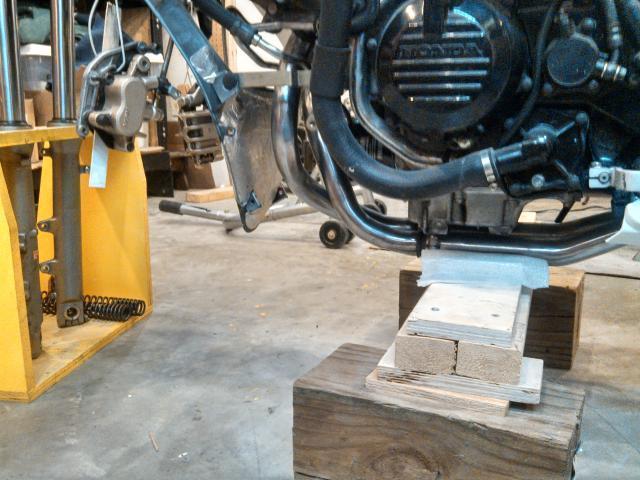
just below the rear head on the right side.
-
Where it sits this morning.
Remember kids. 21year old plastic is brittle. Don't set your controls down I the floor too quickly.

Dont buy an new switch! I have one you can have! You will need to use the lower part of your existing switch because I shaved off the nub that aligns with the hole in the clip on but that should be an easy swap. It is just hanging around in my basement....
PM me an Address if you are interested!
viffer93
-
Center of mounting points is 13.625 inches or 34.60 cm.
I have a couple laying around if you need more info.
-
^^thanks for the link. I have checked Jaimie out. Truthfully, every time I make a change to the suspension on a vfr, I regret it. I put the penske on my 4th genner, and wasn't too comfy with it...resprung the front, and wasn't happy there either, but that was probably because the spring rate was too much for my weight.
If you replace a shock or springs and expect to bolt it on and magically have it make your life better that is your problem.
We do suspension classes at the track day I work at and we can take someones bike that was running great, dial "out" all the suspension settings and send them out on the track. The bike that worked so well, now rides terrible. We pull them back in and dial "in" all the suspension, send them out and it still rides terrible. Once they know what the extreeme settings in each direction for the suspension feel like we start to "dial in" the settings to make the bike ride as it should.
No doubt, if the spring rates were wrong there was an issue but you can adjust for some of that. Suspension is a lot of science, trial and error.
-
Penske is great about parts help for stuff like this. You will never get the "Duh..." sound from them. I do mix-and-match shock builds like this every day so it's nice to have a helpful person on the other end of the phone.
Penske was great, to work with. It is a long boring story about the Suport from Penkse but you are absolutely correct we never got a "Duh" or "No.. we don't have those parts". The Penske rep took some time and got the right stuff for us.
-
OK. After riding countlees track days on my 3rd gen track bike I needed to do something about the suspension on my 3rd gen street bike. For a guy my size the stock suspension is less then adequate. Unfortunately my Wilbers connection dried up and I do not have 1200.00 bucks for a new shock.
So I went to my motorcycle/suspension guru and we did some research. First, Penske will still build a 3rd generation shock if you find a Penske dealer who will actually call Penske and ask them. The bad news your still into it for $1000.00
So we started to look in to options. I found a RC51 SP1 shock on EBay for $100.00. It was used and "leaking", but as luck would have it it was cheap enough to take A chance. Now this shock is NOT a direct swap. The sp1 shock body is shorter, the clevis does not match and the spring conversion needs some planning. Fortunately Penske helped with the spring rate and parts conversion.
Eric ordered a new shock body, new clevis and internals and he found out that the shock was leaking because the previous owner did not use Penske parts to repair it. So for an investment of about $500 in parts Eric converted the rc51 to a VFR750 shock. Installation and test ride to come.
The moral of the story is... Penske will build you a shock if you ask the right person. The parts in the middle of the picture are the RC51 parts Eric swapped out.
Ride test coming soon.

-
The shock is a Wilbers Racing Shock with 10mm of ride height added. It is a very very nice unit. I wish I still had the connection I used to get it, I would get another one. I also have found out that Penskee will build you one upon request. They are building one now for the 3rd gen I use for the street.
There are Pictures in my gallery section.
-
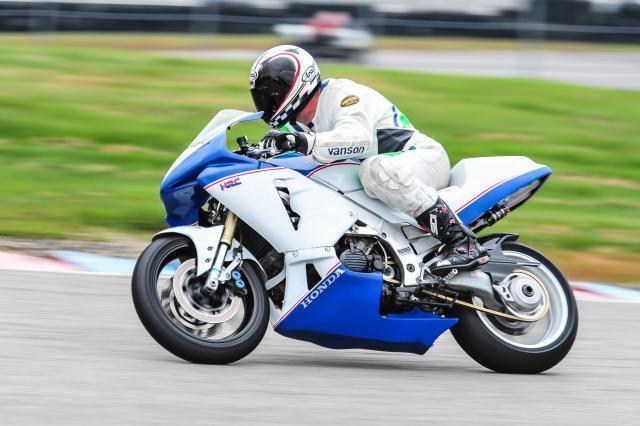
Looks like an R1/R6 front end, I am keen on doing that to mine, is there a build thread?
There was a build thread not sure where it went.
Components include;
- 2000 R1 forks and brake calipers
- Forks were rebuilt, revalved and resprung
- Honda 929 lower tree and stem
- RC51 upper
- Wood Craft Clip ons
- Yamaha Throttle with custom Motion Pro throttle cables
- 2006 R6 front wheel (chose that because the brake dish diameter was identical to the R1 set up)
- custom wheel spacers and caliper spacers/bolts
It actually bolts up pretty easily BUT remember I did all custom body work and instruments so you will have different challenges for a street bike. I also increased the rear ride height and spent a lot of time doing suspension and geometry set up.
-
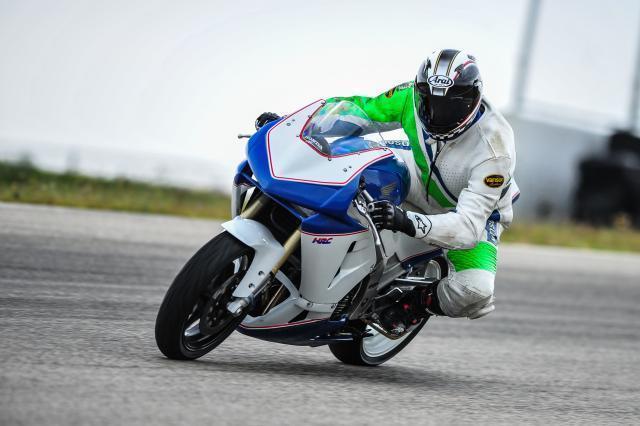
Well All,
It has been 3 years since the TrackenViffer has been on the track and I figured it was time for an update as season 3 closes. Overall this has been an amazing, amazing track day bike. Certainaly not the fastest, but it is one of the best set up bikes I have ridden, including some others I own.
There have been some teething issues, we worked through some minor electrical gremilns, a new stator and carburetor adjustments but these were very minor. So with the bike in a "stable" state and over 20 track days under her belt, it will be time to start looking at cutting off the pounds this winter.
This has been a great bike not only by my opinion but by people who have 100's of track days under their belt and it continues to get lots of comments and questions.


-
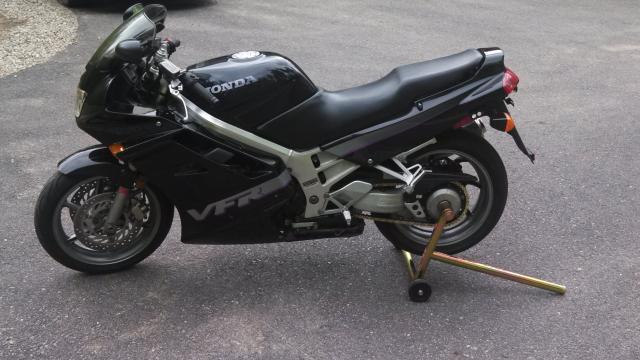
LOL... the debate has been... is it black or purple but it is unanimous that my 93 is better looking.
-
Done working on VFRs for the season time to ride!


-
A powder coating party and you did not PM me... I would have spent $25.00 in beer to look over your shoulder on this... Hmmmmmm.
-
I have never run a direct line but I have been considering this. The logic I can not resolve for myself is this.
The Japanese scrutinize everything when manufacturing products in order to keep costs low, quality and reliability high. With that in mind, why would the engineers include an item that increases the cost of manufacturing and provides a potential point of failure.
I keep coming up with two reasons;
- Safety, the fuel pump is tied to the fuel relay so if the bike tips the fuel pump shuts off
- Making the full capacity of the fuel tank available. If gravity feed only allows you to utilize 3-4 of the 5 gallons of fuel and 1-2 gallon of fuel weights more then a fuel pump then why would you do this?
These are just my opinions and they are worth exactly what you are paying for them. LOL
-
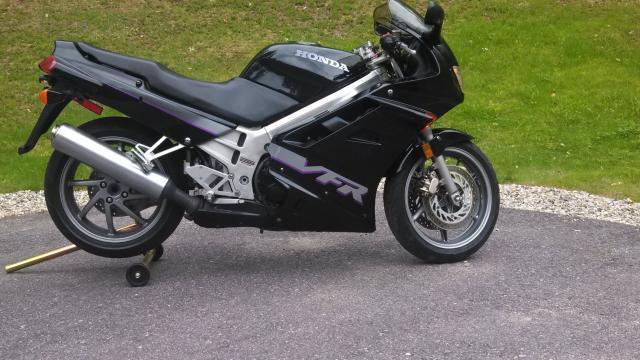
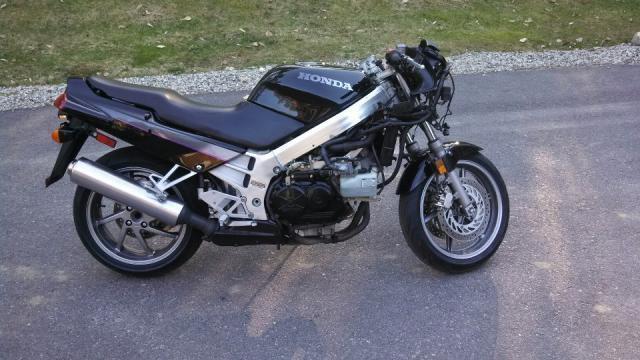
I finished another oil and filter change, we can call that done until I put some miles on it. I also completed 4 cooling system flushes and replace with the regular "Honda Pro 50/50" coolant. Then I took it around the neighborhood for some test riding.
I am very very happy with it. Owning a modified 93 vfr for the street and a heavily modified 93 for the track, it is refreshing to ride a stock 92. The last 100% stock VFR I owned was a great bike but I sold it, I now remember that even in stock form these are still really excellent bikes. I am not sure which one I like more, modified or stock.
I am going to finish cleaning the fairings and some more general cleaning to do and we can call this one done for this season. I will work on the suspension next winter but that is about all. I think this will stay 100% stock as long as I own it.

-
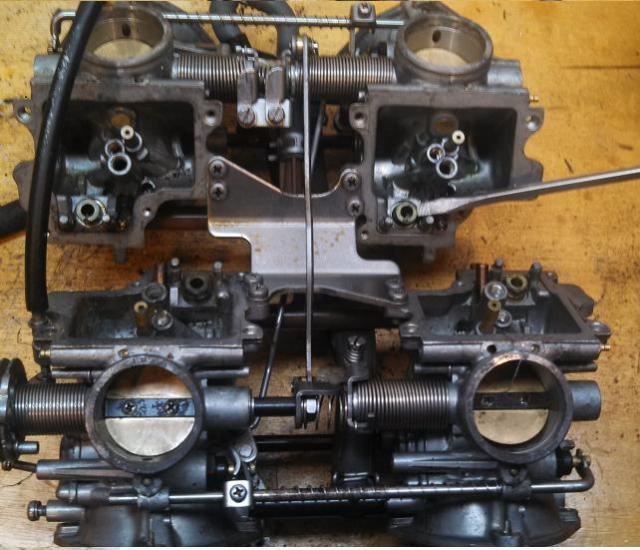
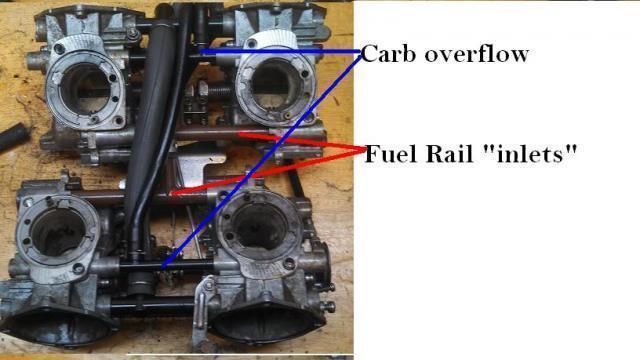
Picture one is the float port (look for screw driver in upper right) x 4
Picture two is the top of the carbs showing the path of the fuel "in" from tank and the carb overflow lines.
If the floats (not in picture) are not set correctly then they will not stop the flow of fuel from entering into the bowl and get the overflow you are seeing.


3Rd Gen Come Out Of Hybernation.
in Third and Fourth Generation VFR's
Posted
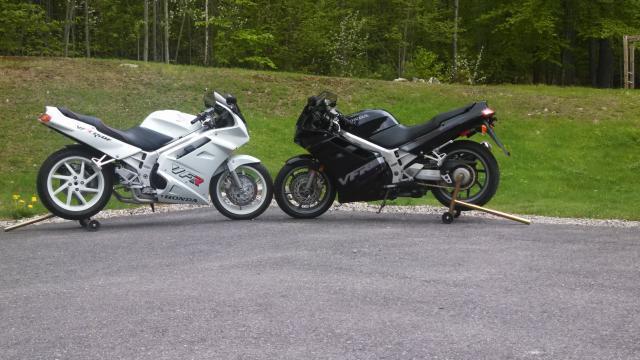
After a long winter here in the North East. The Track bike got freshly pained rims (full repaint coming soon) and the 92 got a fresh carb rebuild. They run like VFR's should!
Off to the track tomorrow.
Ride safe everyone!!