


wooly72
-
Posts
136 -
Joined
-
Last visited
Content Type
Forums
Profiles
Gallery
Blogs
Downloads
Events
Posts posted by wooly72
-
-
I plan to get the ss braided brake lines and running them through the swingarm for next season though.
You've done an outstanding job taking care of my one big complaint with VFRs (most gens): big, heavy-looking tail-sections. Once you get the lines through the swingarm (something I'll likely do this winter too), you're gonna need a prettier wheel, 'cause you'll sure be showing it off!!
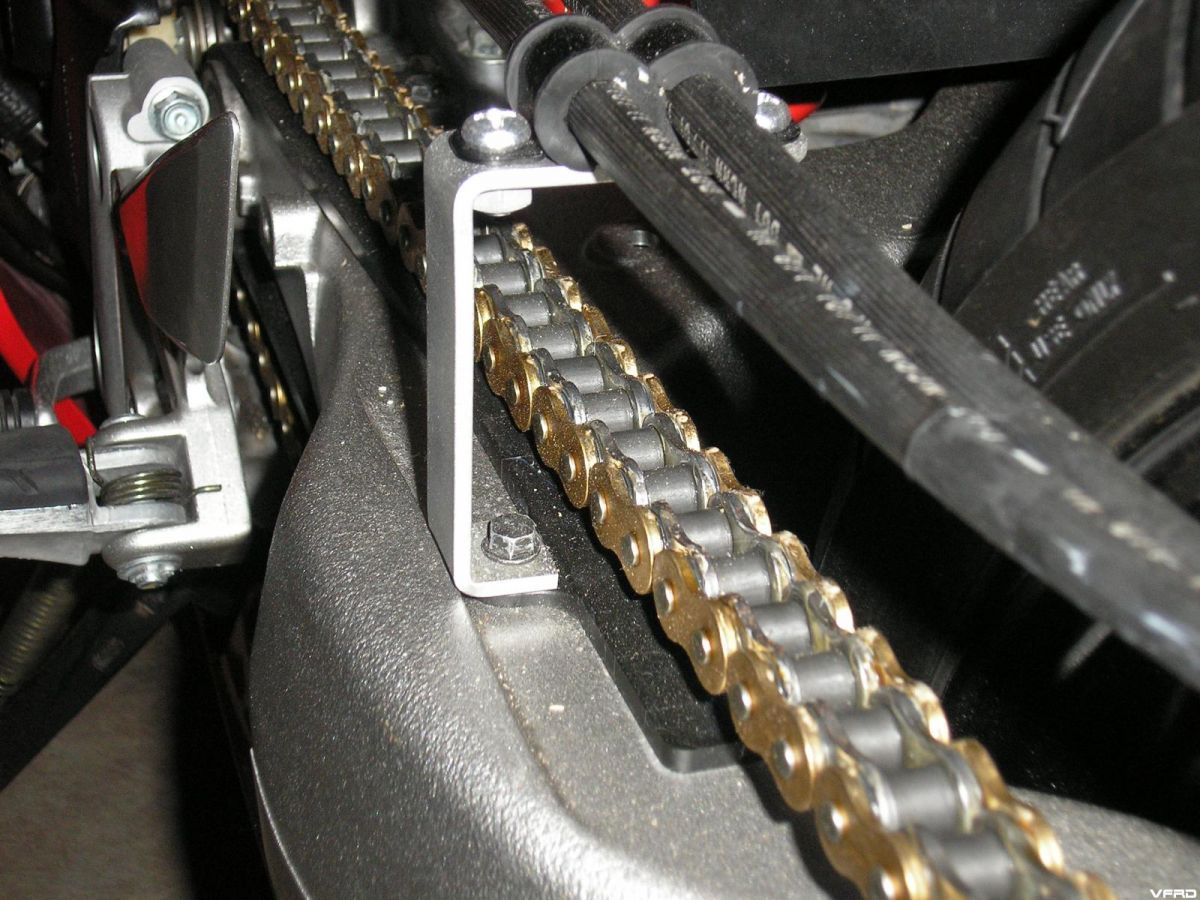
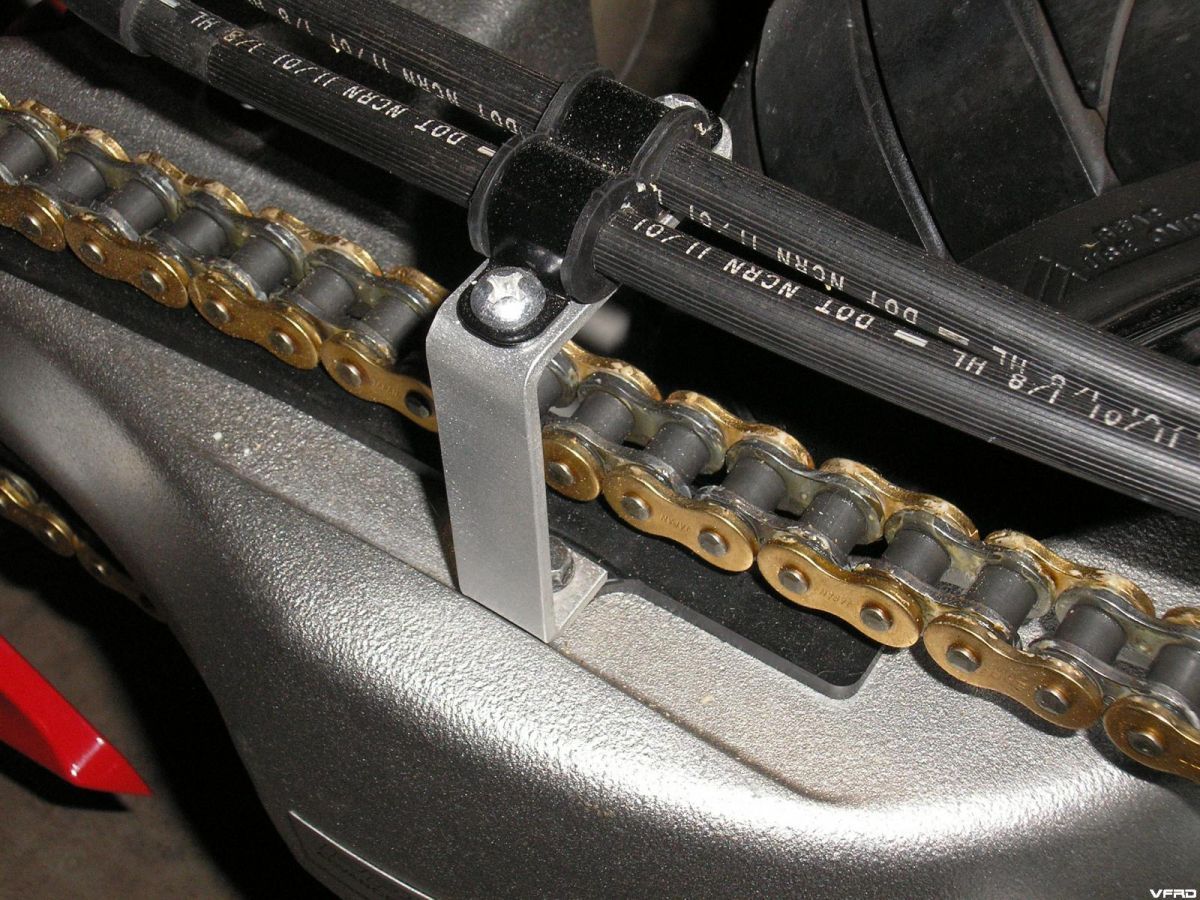
I've never quite had the nerve to get rid of the chain-guard completely. I have visions of something getting dragged into the chain (I know, not likely). So I made my chainguard out of a free piece of L-channel aluminum:
That aluminum chainguard looks good. You did a great job on that. Can't wait to put lines through swingarm too.
-
I liked the look of the bike without the chainguard while I was changing out my chain and sprockets last Spring. So I left it off and just used a piece of aluminum, bent it at right angles, drilled a few holes in it, and hooked it up to the brake lines to keep them from hitting the chain. Cost me a whole $4 making this bracket.
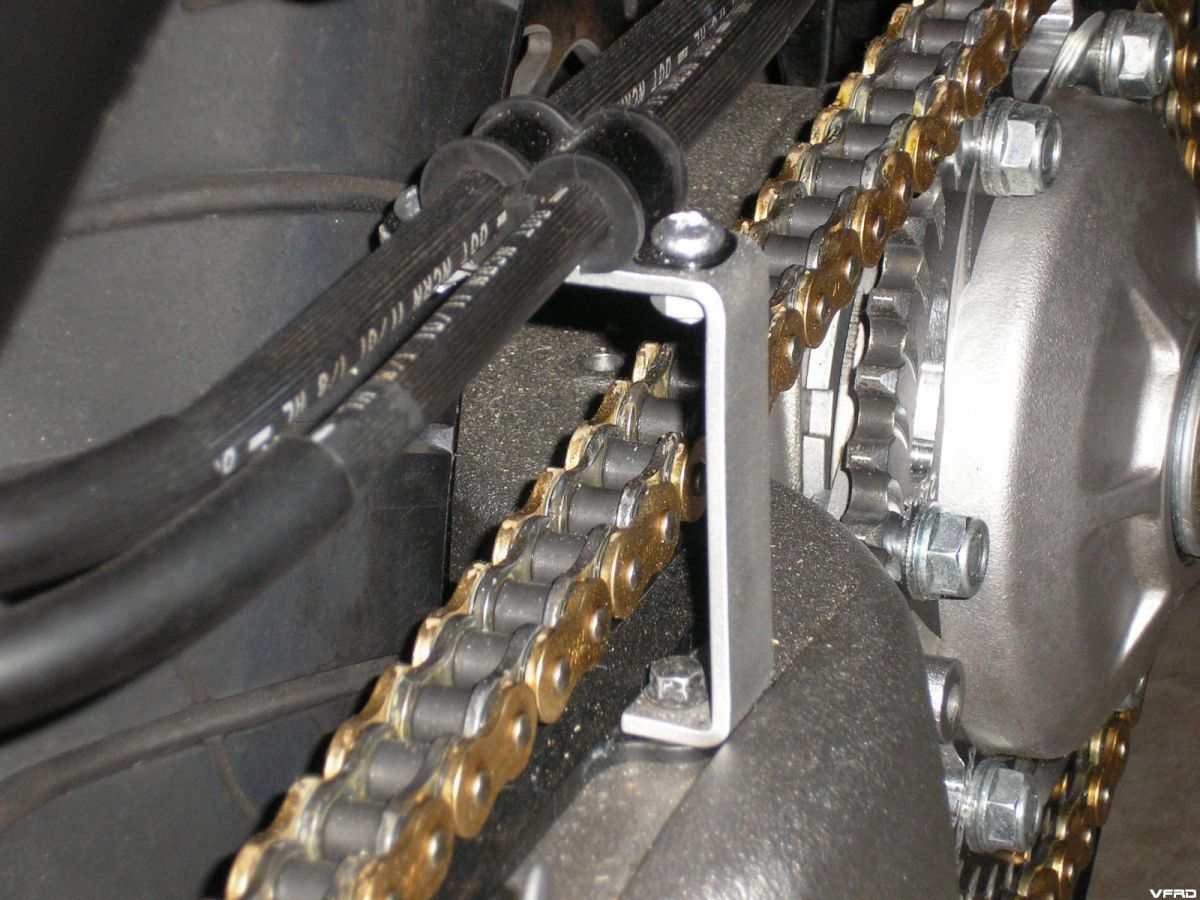
I plan to get the ss braided brake lines and running them through the swingarm for next season though.
-
Hello!
I installed PC III usb and didn ´t hawe any problems with FI light untill i installed O2 eliminators... then FI light was on and didnt go off no matter what.. so i unplugged O2 sensors and the bike runs fine with pc III only...
No need to do ani O2 elimibator tricks ? :biggrin:
-???
-
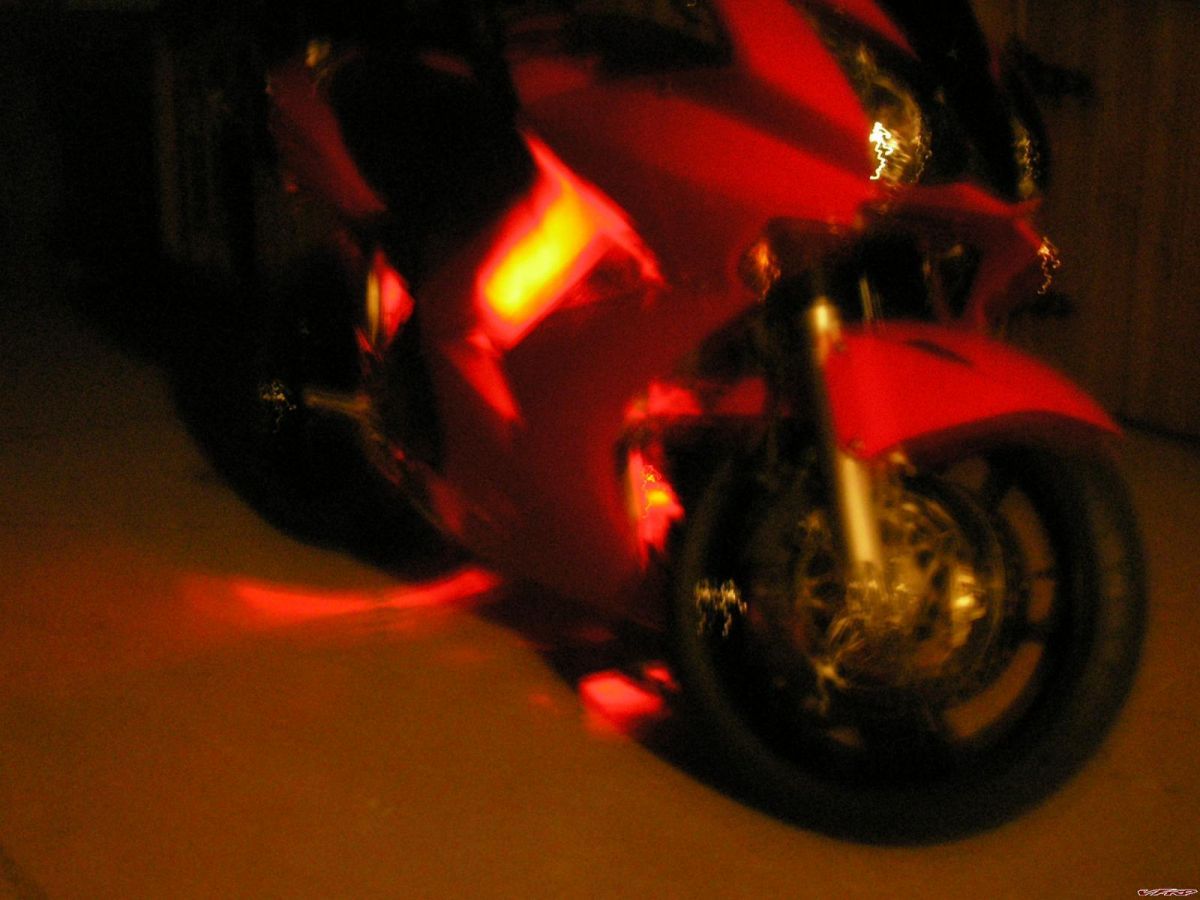
Thanks guys. I do find more people looking at me at night as I ride by, so I believe it helps visibility. I have to try for some better pics tonight. Don't have a tripod, but I will figure something out.
-
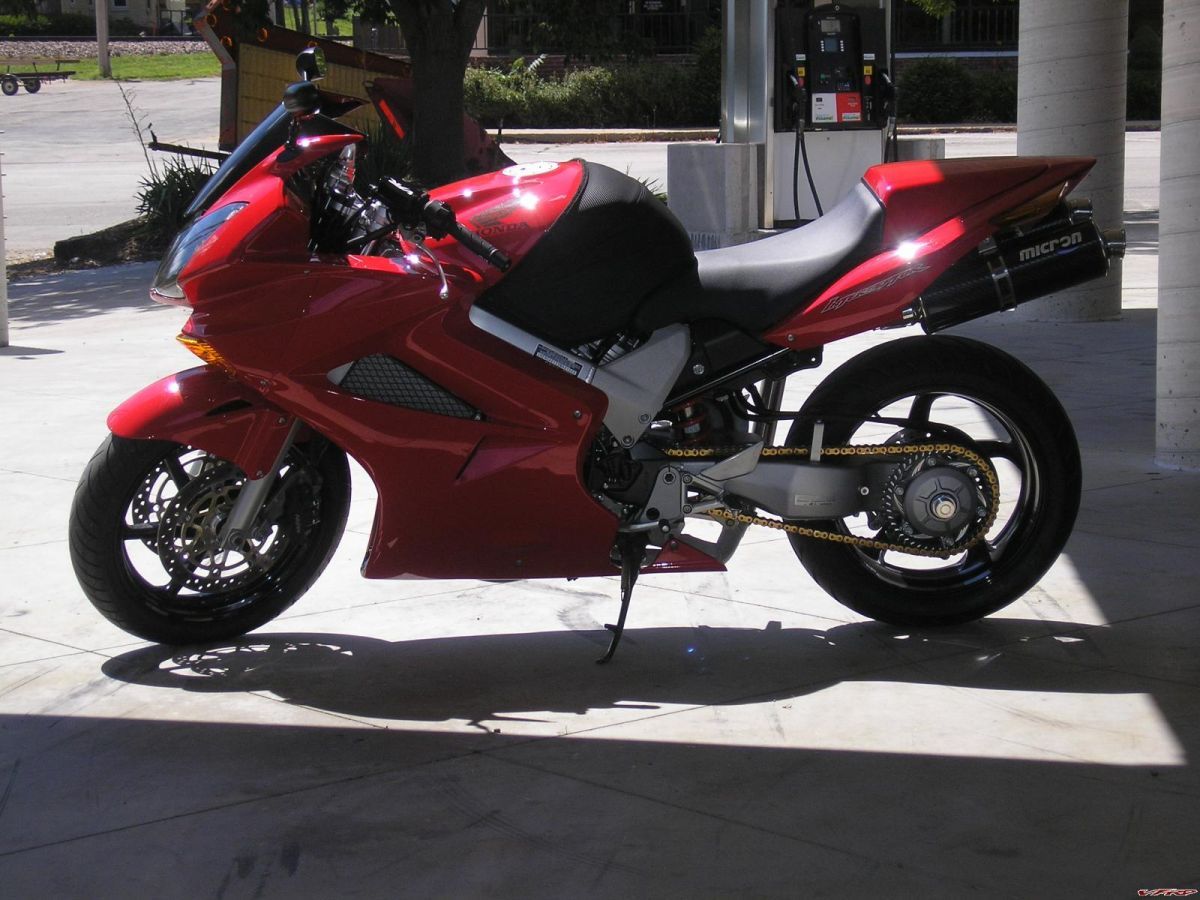
A while back I ordered a set of 12 red LED's from Sic-Lites.
I put 3 in the lower cowl, 3 on each side of the radiator vents, and three under the rear. Lots of tedious wiring, but nothing too complicated. Ran them all to a terminal strip, hooked up an inline fuse and a switch and was done. Fun to ride at night and am able to keep them on for a few hours when parked at bike nights. They use barely any juice at all. Plug in the battery tender when I get home and the green light comes on before I'm done wiping her down after the ride.
Picture 151.jpg

Picture 152.jpg

Picture 153.jpg
Picture 154.jpg
Picture 155.jpg
-
I have the black aluminum vortex on my 02 VFR. I installed it a couple of weeks ago and love it. It is a 45T and along with the 15T front, her acceleration is much better.
As far as longevity, I know the steel lasts longer, but I don't use my bike for touring. I bought it cuz it looks sweet and sporty, and is more comfortable than a sportbike. (I only put about 1000 to 1500 miles on her a year - short rides).
So if the sprocket lasts me 4 or 5+ years, I feel I got my 50 dollars worth.
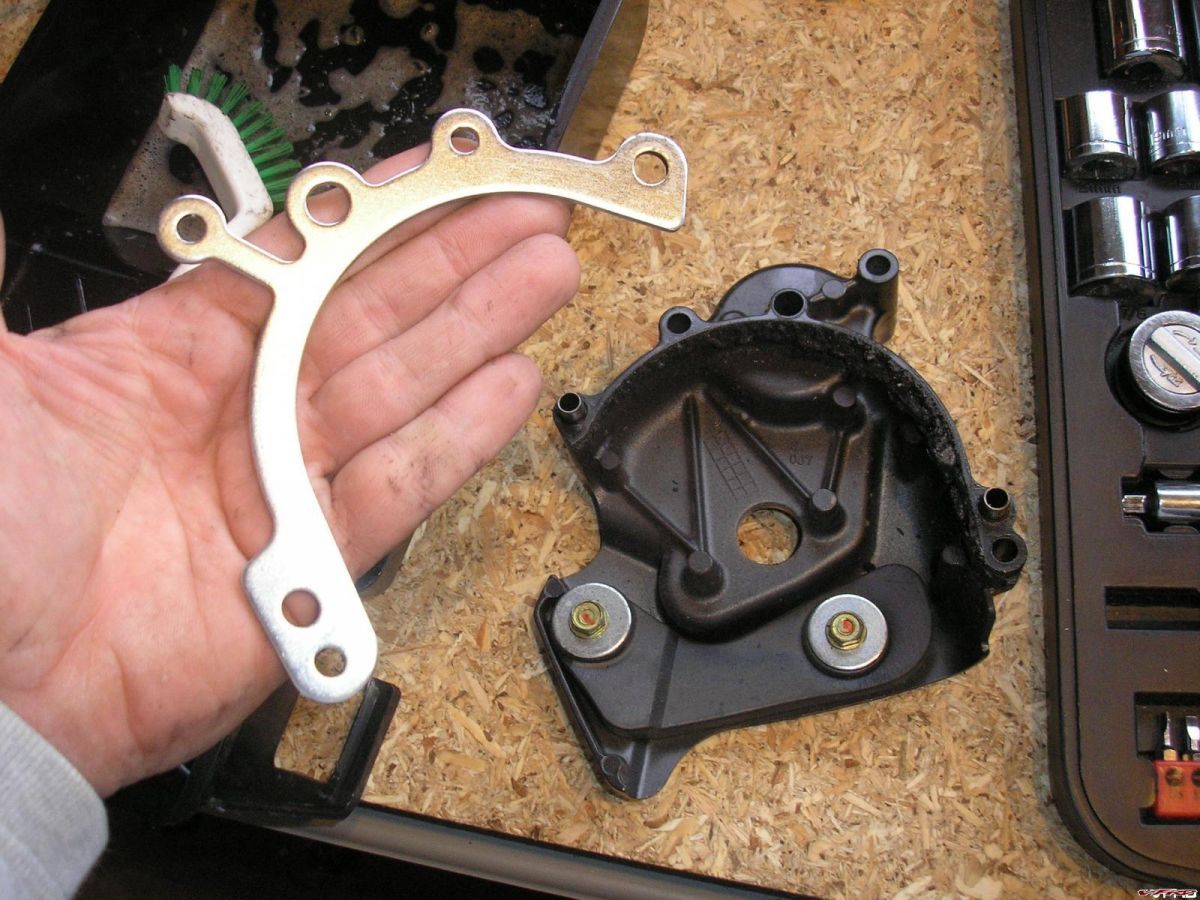
Here it is compared to my stock.
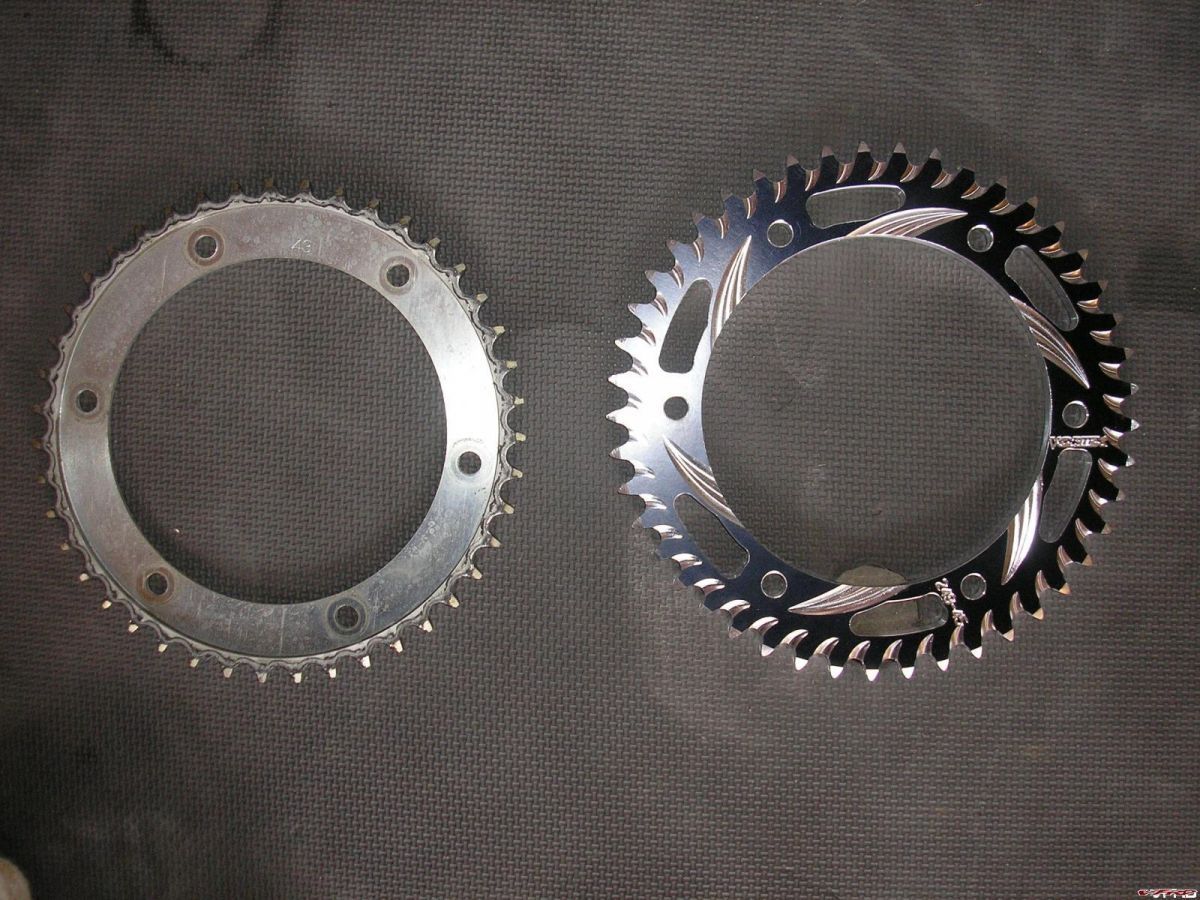
Picture 014.jpg
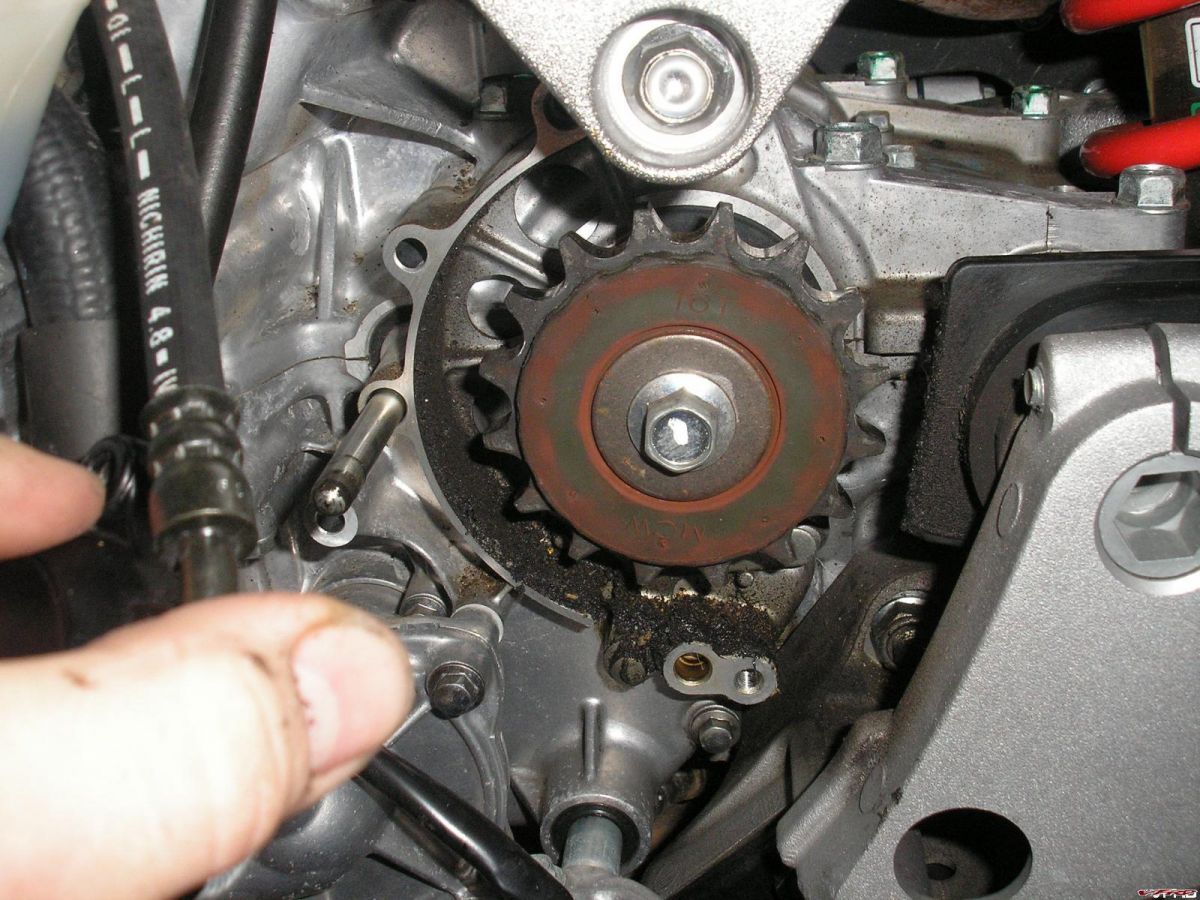
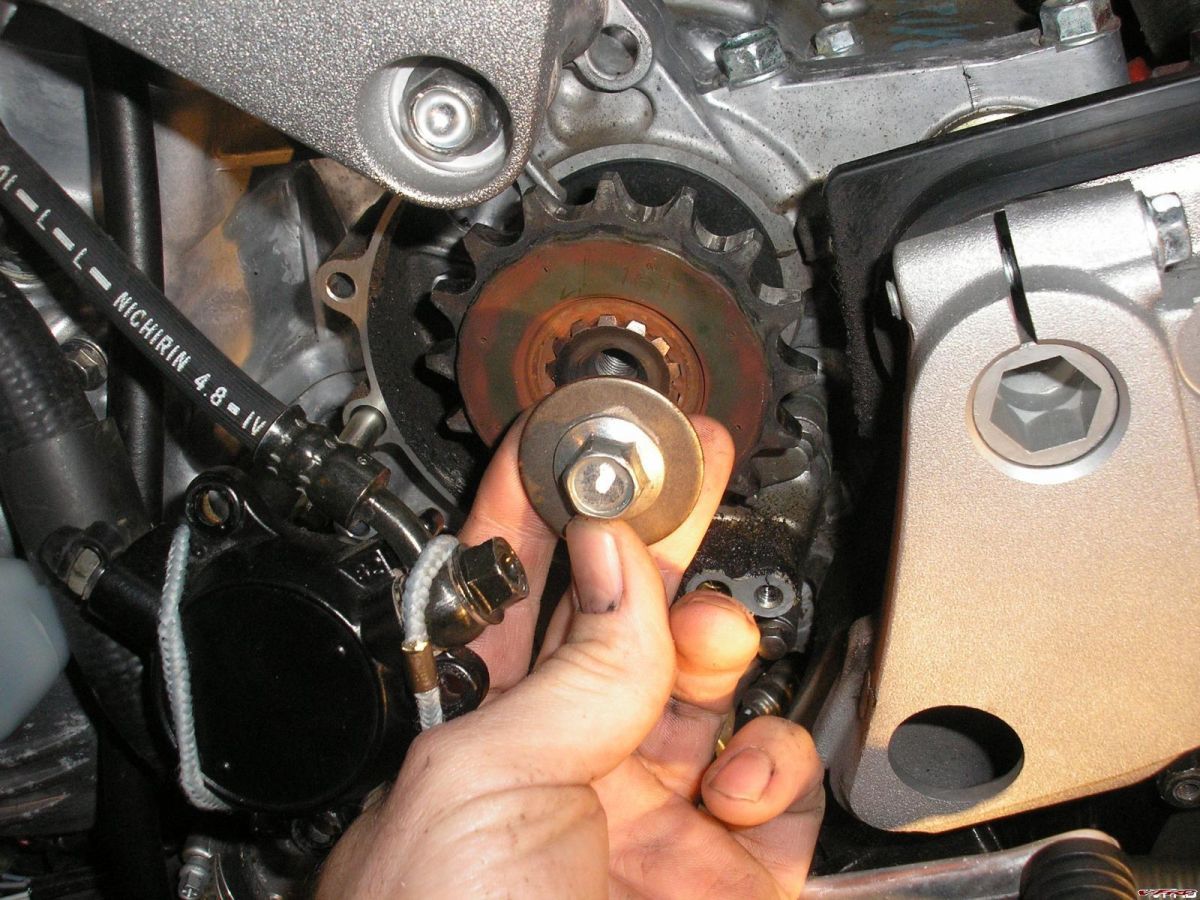
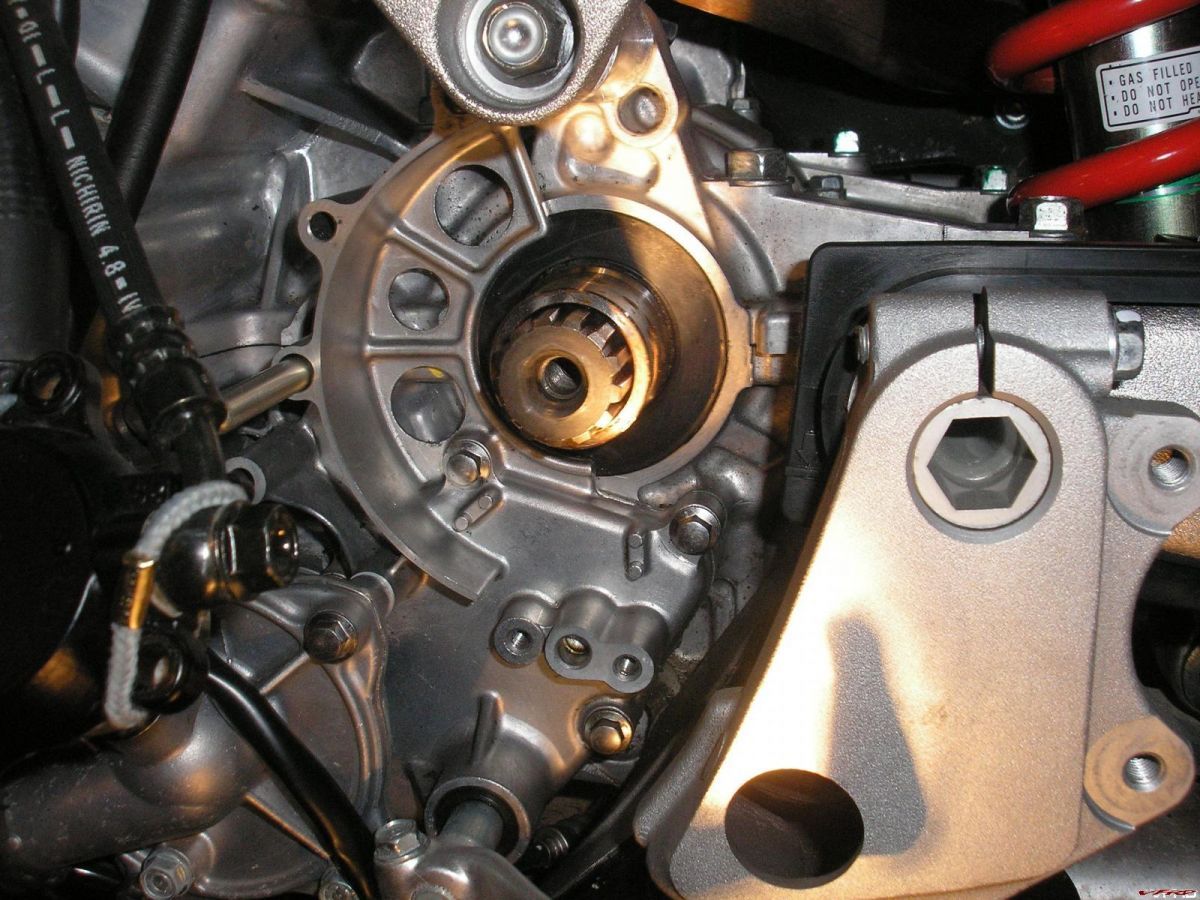
Here it is installed.
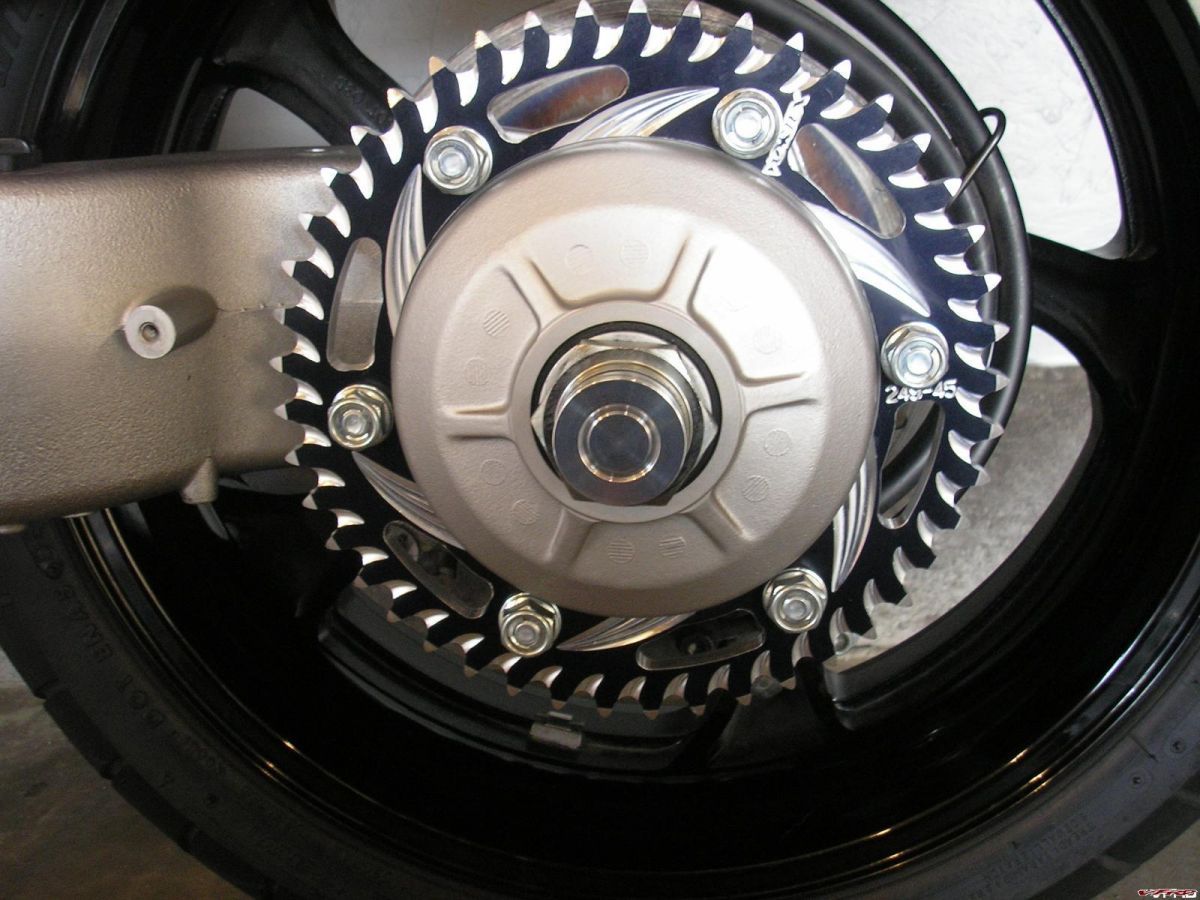
Picture 016.jpg
Picture 038.jpg
Picture 049.jpg
I got the Vortex from indysuperbikes.com. I know there are other places that sell them too, but they were on sale when I bought them. Still should only cost you about $50.
-
Nice. VERY nice. Not going to be able to keep the front down, now. (That rear is really slick!)

Thanks. Took her out for a test ride today before the snow came in and she's definitely light up front. Awesome accel.
-
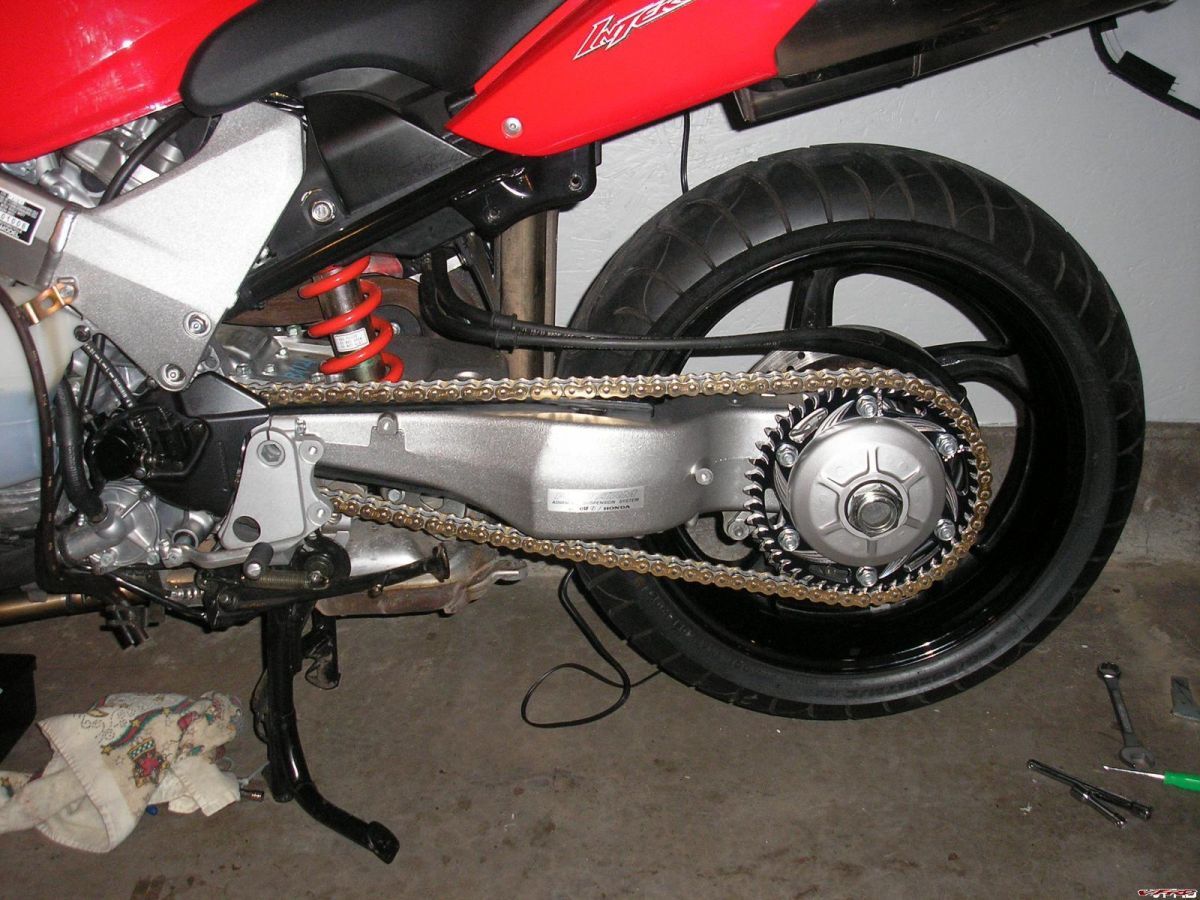
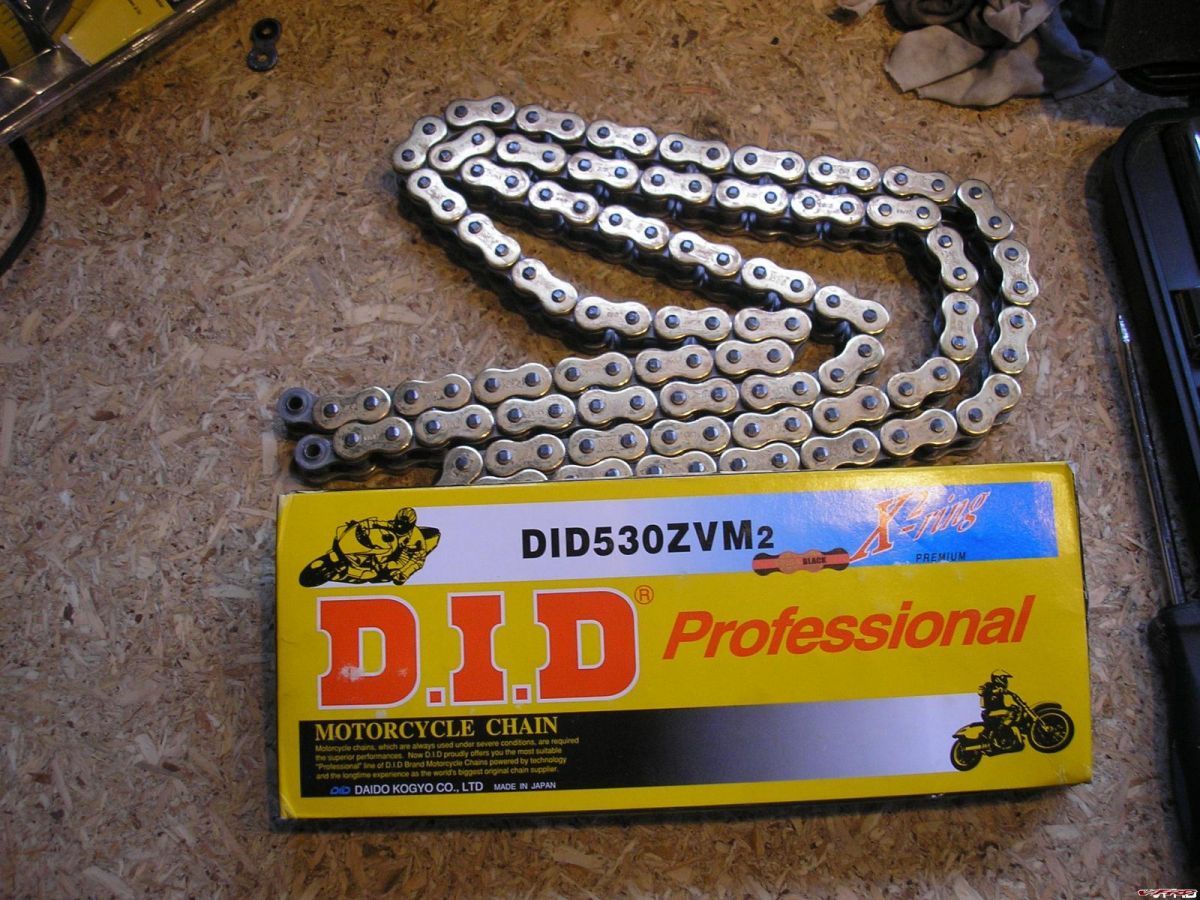
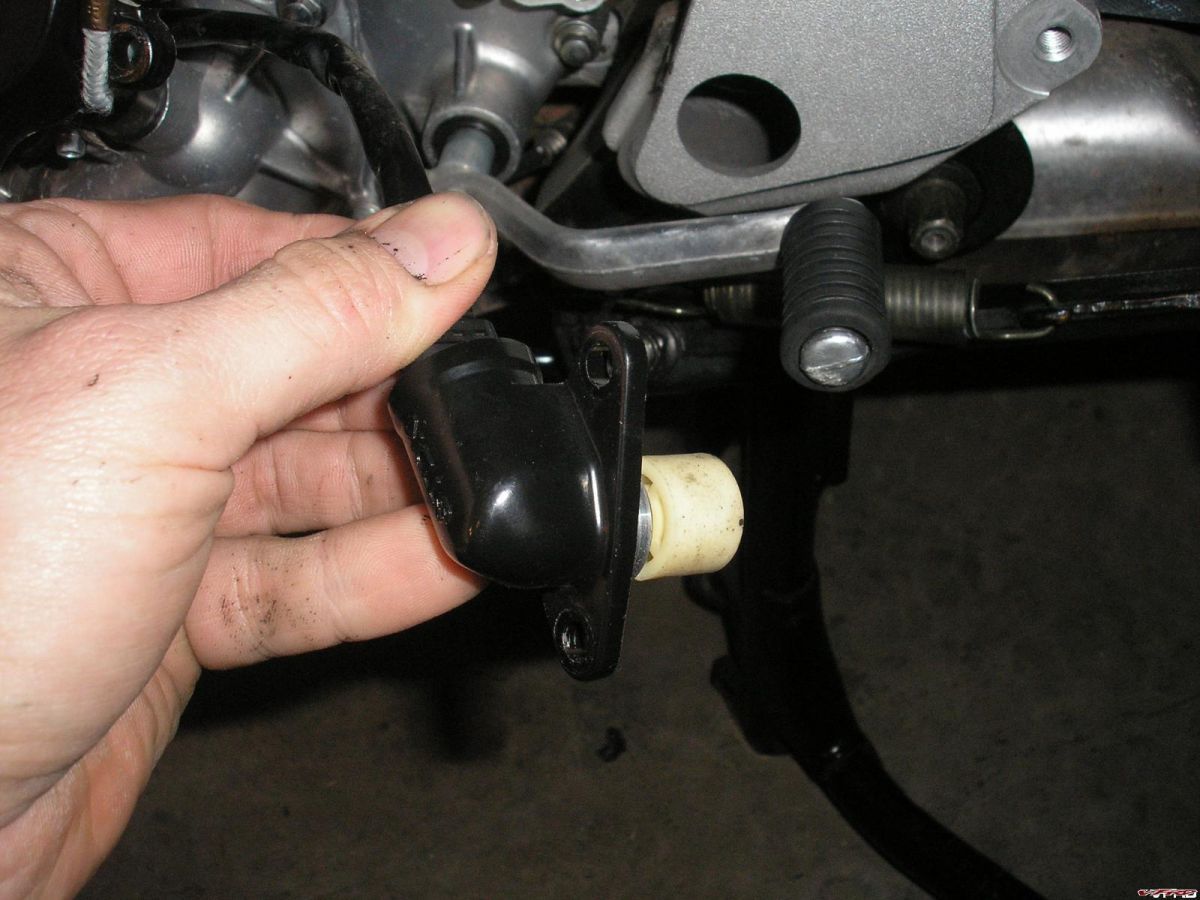
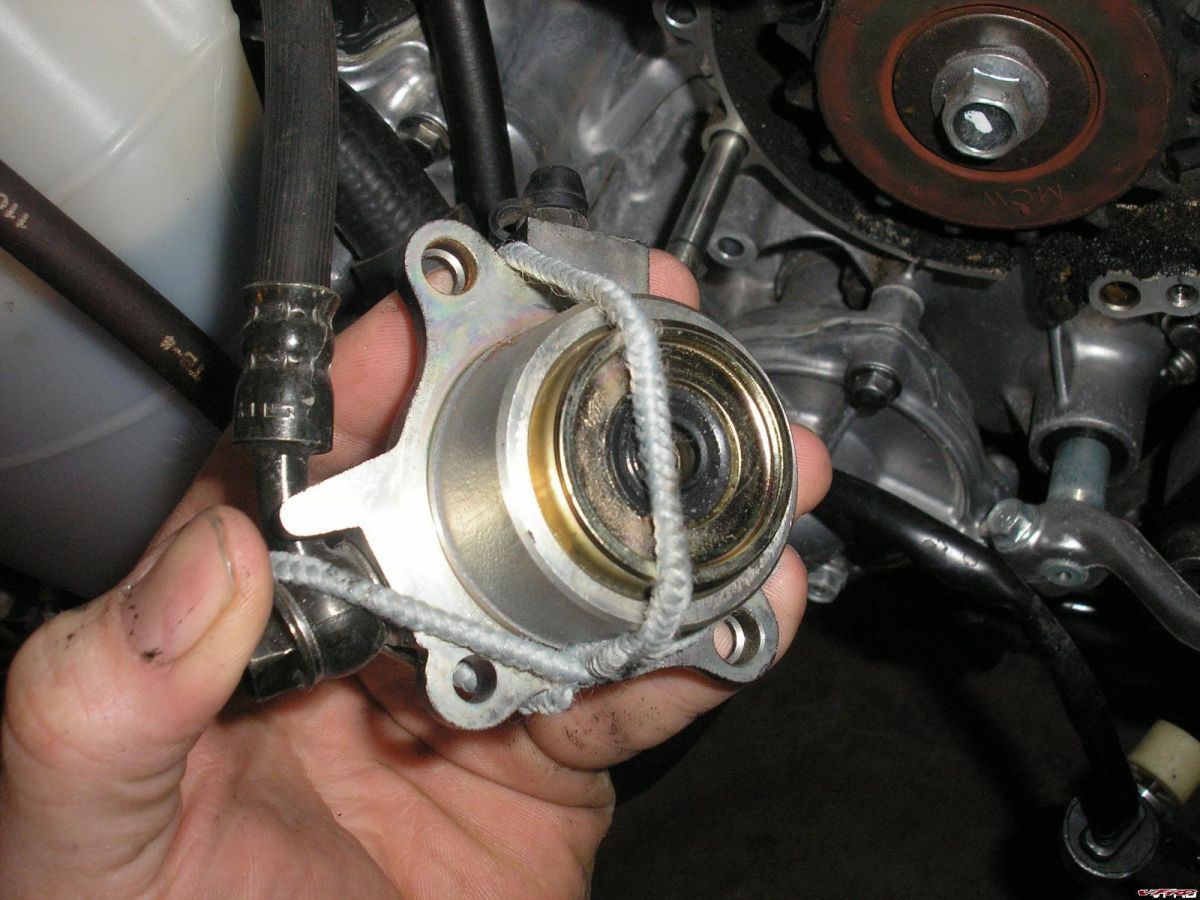
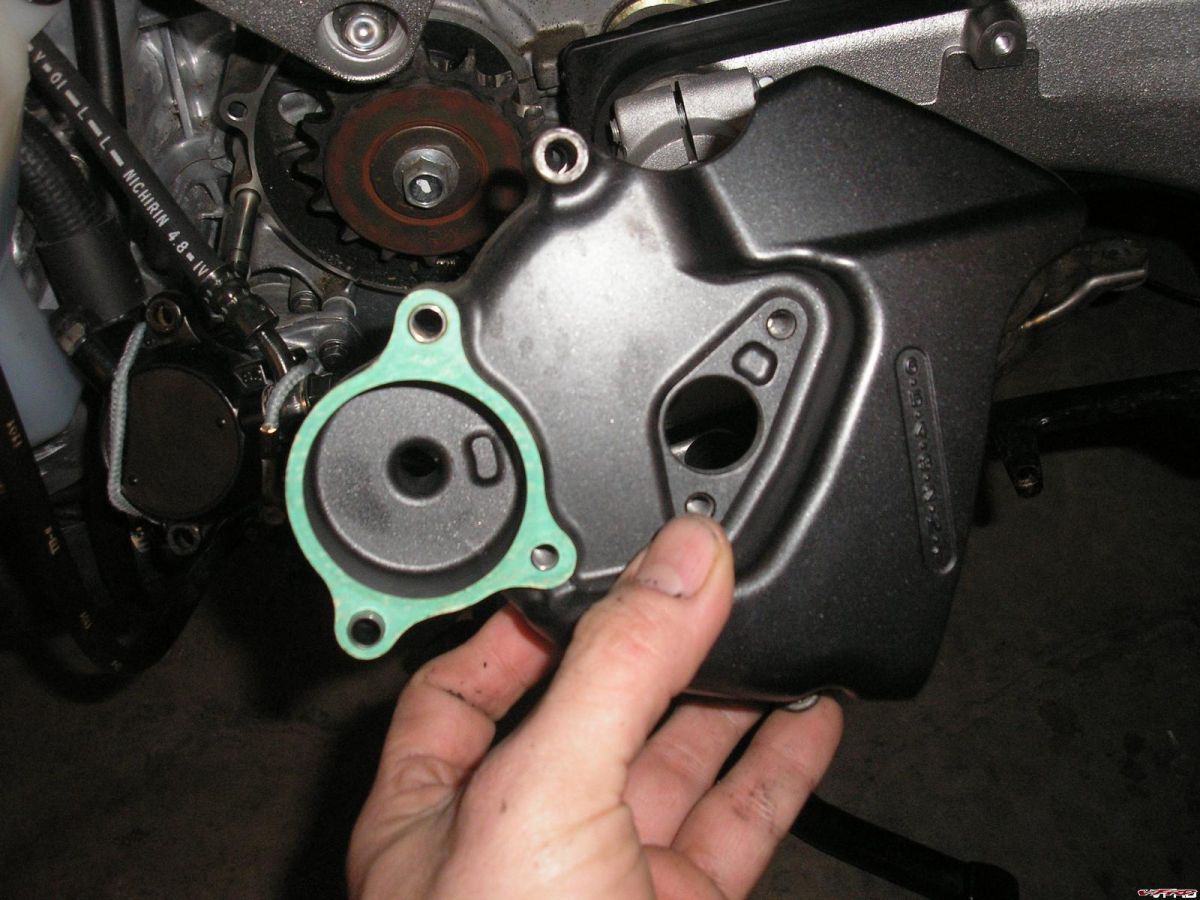
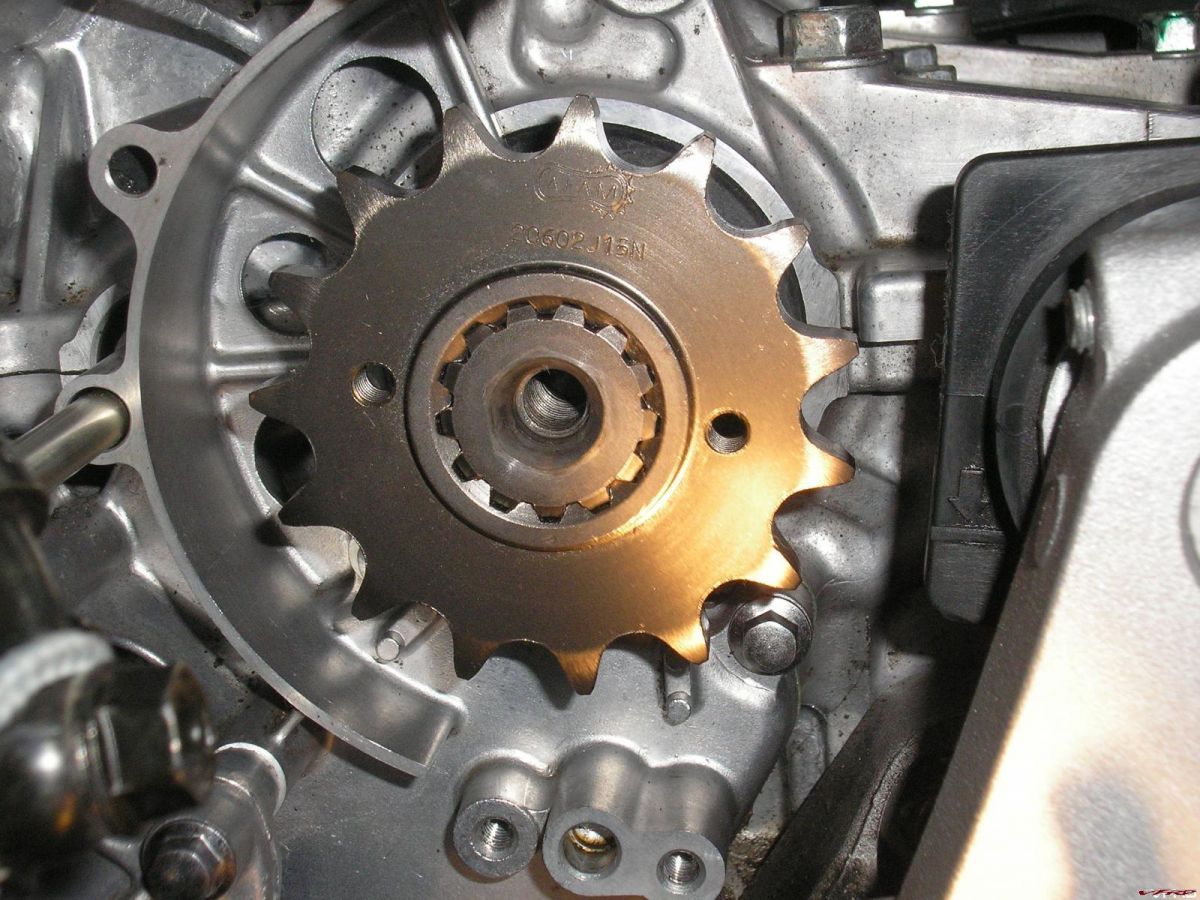
I finally got into the garage today to start my mods. Started with my sprockets and chain.
Not too difficult. Took me about 6 beers to finish mod.
Picture 014.jpg
Picture 034.jpg
Picture 018.jpg
Picture 019.jpg
Picture 024.jpg
Picture 022.jpg
Picture 020.jpg
Picture 029.jpg

Picture 030.jpg
Picture 035.jpg
Picture 036.jpg
Picture 016.jpg
Picture 038.jpg
First time to post pics, so hope it works.
Now have new Vortex black aluminum 45T rear, AFAM 15T front, and DID 530 black/gold chain.
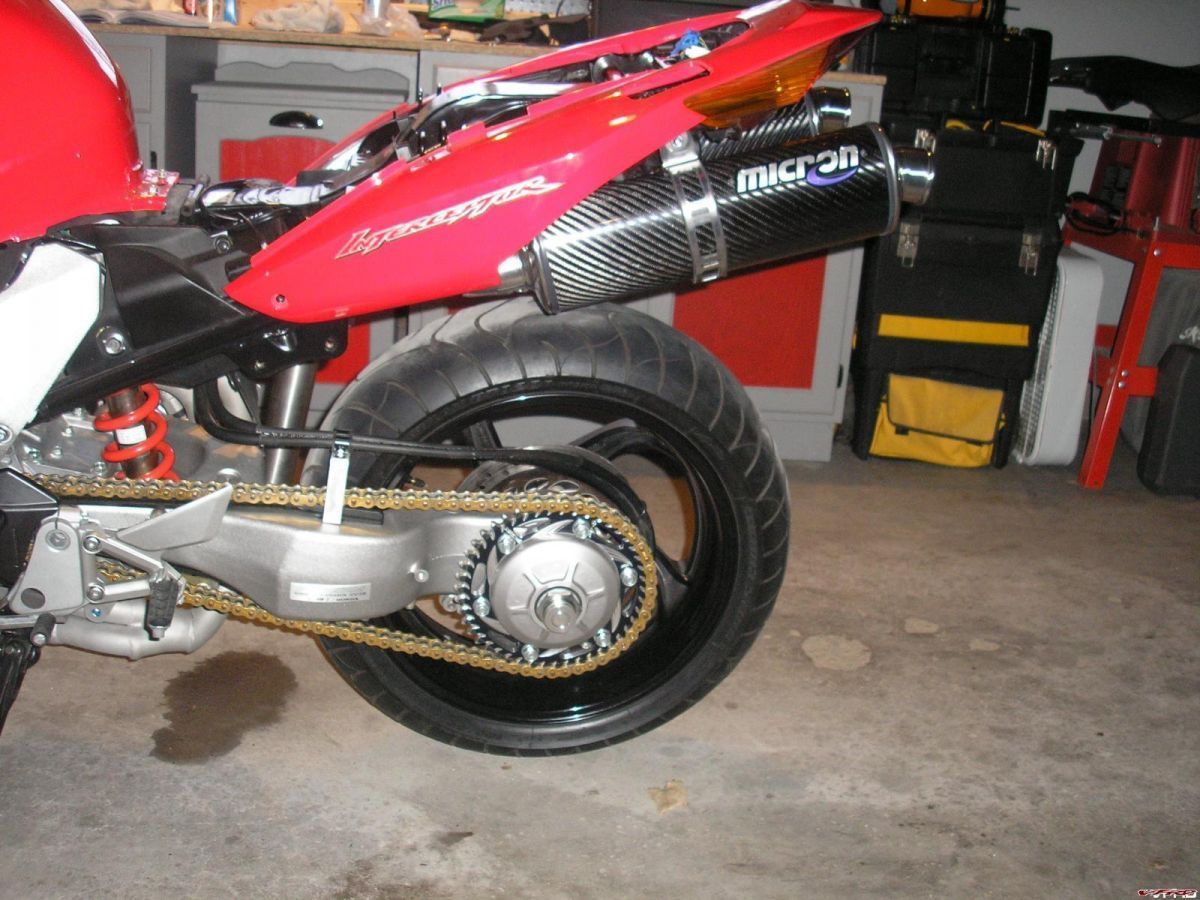
Next I will post pics of my Motads and cans.
Colour Coded Sprocket Modification
in Modifications
Posted
Thanks. Yours looks great too. As far as the center stand goes, I think it looks better without it too. It opens things up in the back a little more. Plus, I just kept my center stand and cut a piece of aluminum rod to slide into the center stand holes whenever I need to put it up to work on it. Works like a charm. When I'm done working, I just lower her to the ground, slide the rod out from the center stand, and remove it.