Captain 80s
-
Posts
1,855 -
Joined
-
Last visited
-
Days Won
120
Content Type
Forums
Profiles
Gallery
Blogs
Downloads
Events
Everything posted by Captain 80s
-
The spring is just applying some pressure to hold the needle down in place. As long as the needle can float side to side a bit, your fine.
-
I don't see how. The springs are wound and bent with flat ends. Strange, but that's how they say they want it I guess. I have never seen that before, but I haven't dealt with DynoJet stuff in over 25 years.
-
That's a new one on me. Insurance policy on retaining the clip in place?
-
Still being able to push up a bit is good, but it may still be a little too much "preload" on the spring. But.... ABOVE the clip too? That makes no sense (if I am understanding correctly). You can use shims under the clip to get halfway between grooves on some needles with the right shim thickness.
-
I do also apply some to the fuel and vent orings before inserting them into the carb bodies to prevent pinching/tearing. You can also use a little dab to keep a float bowl oring in place. Won't harm anything.
-
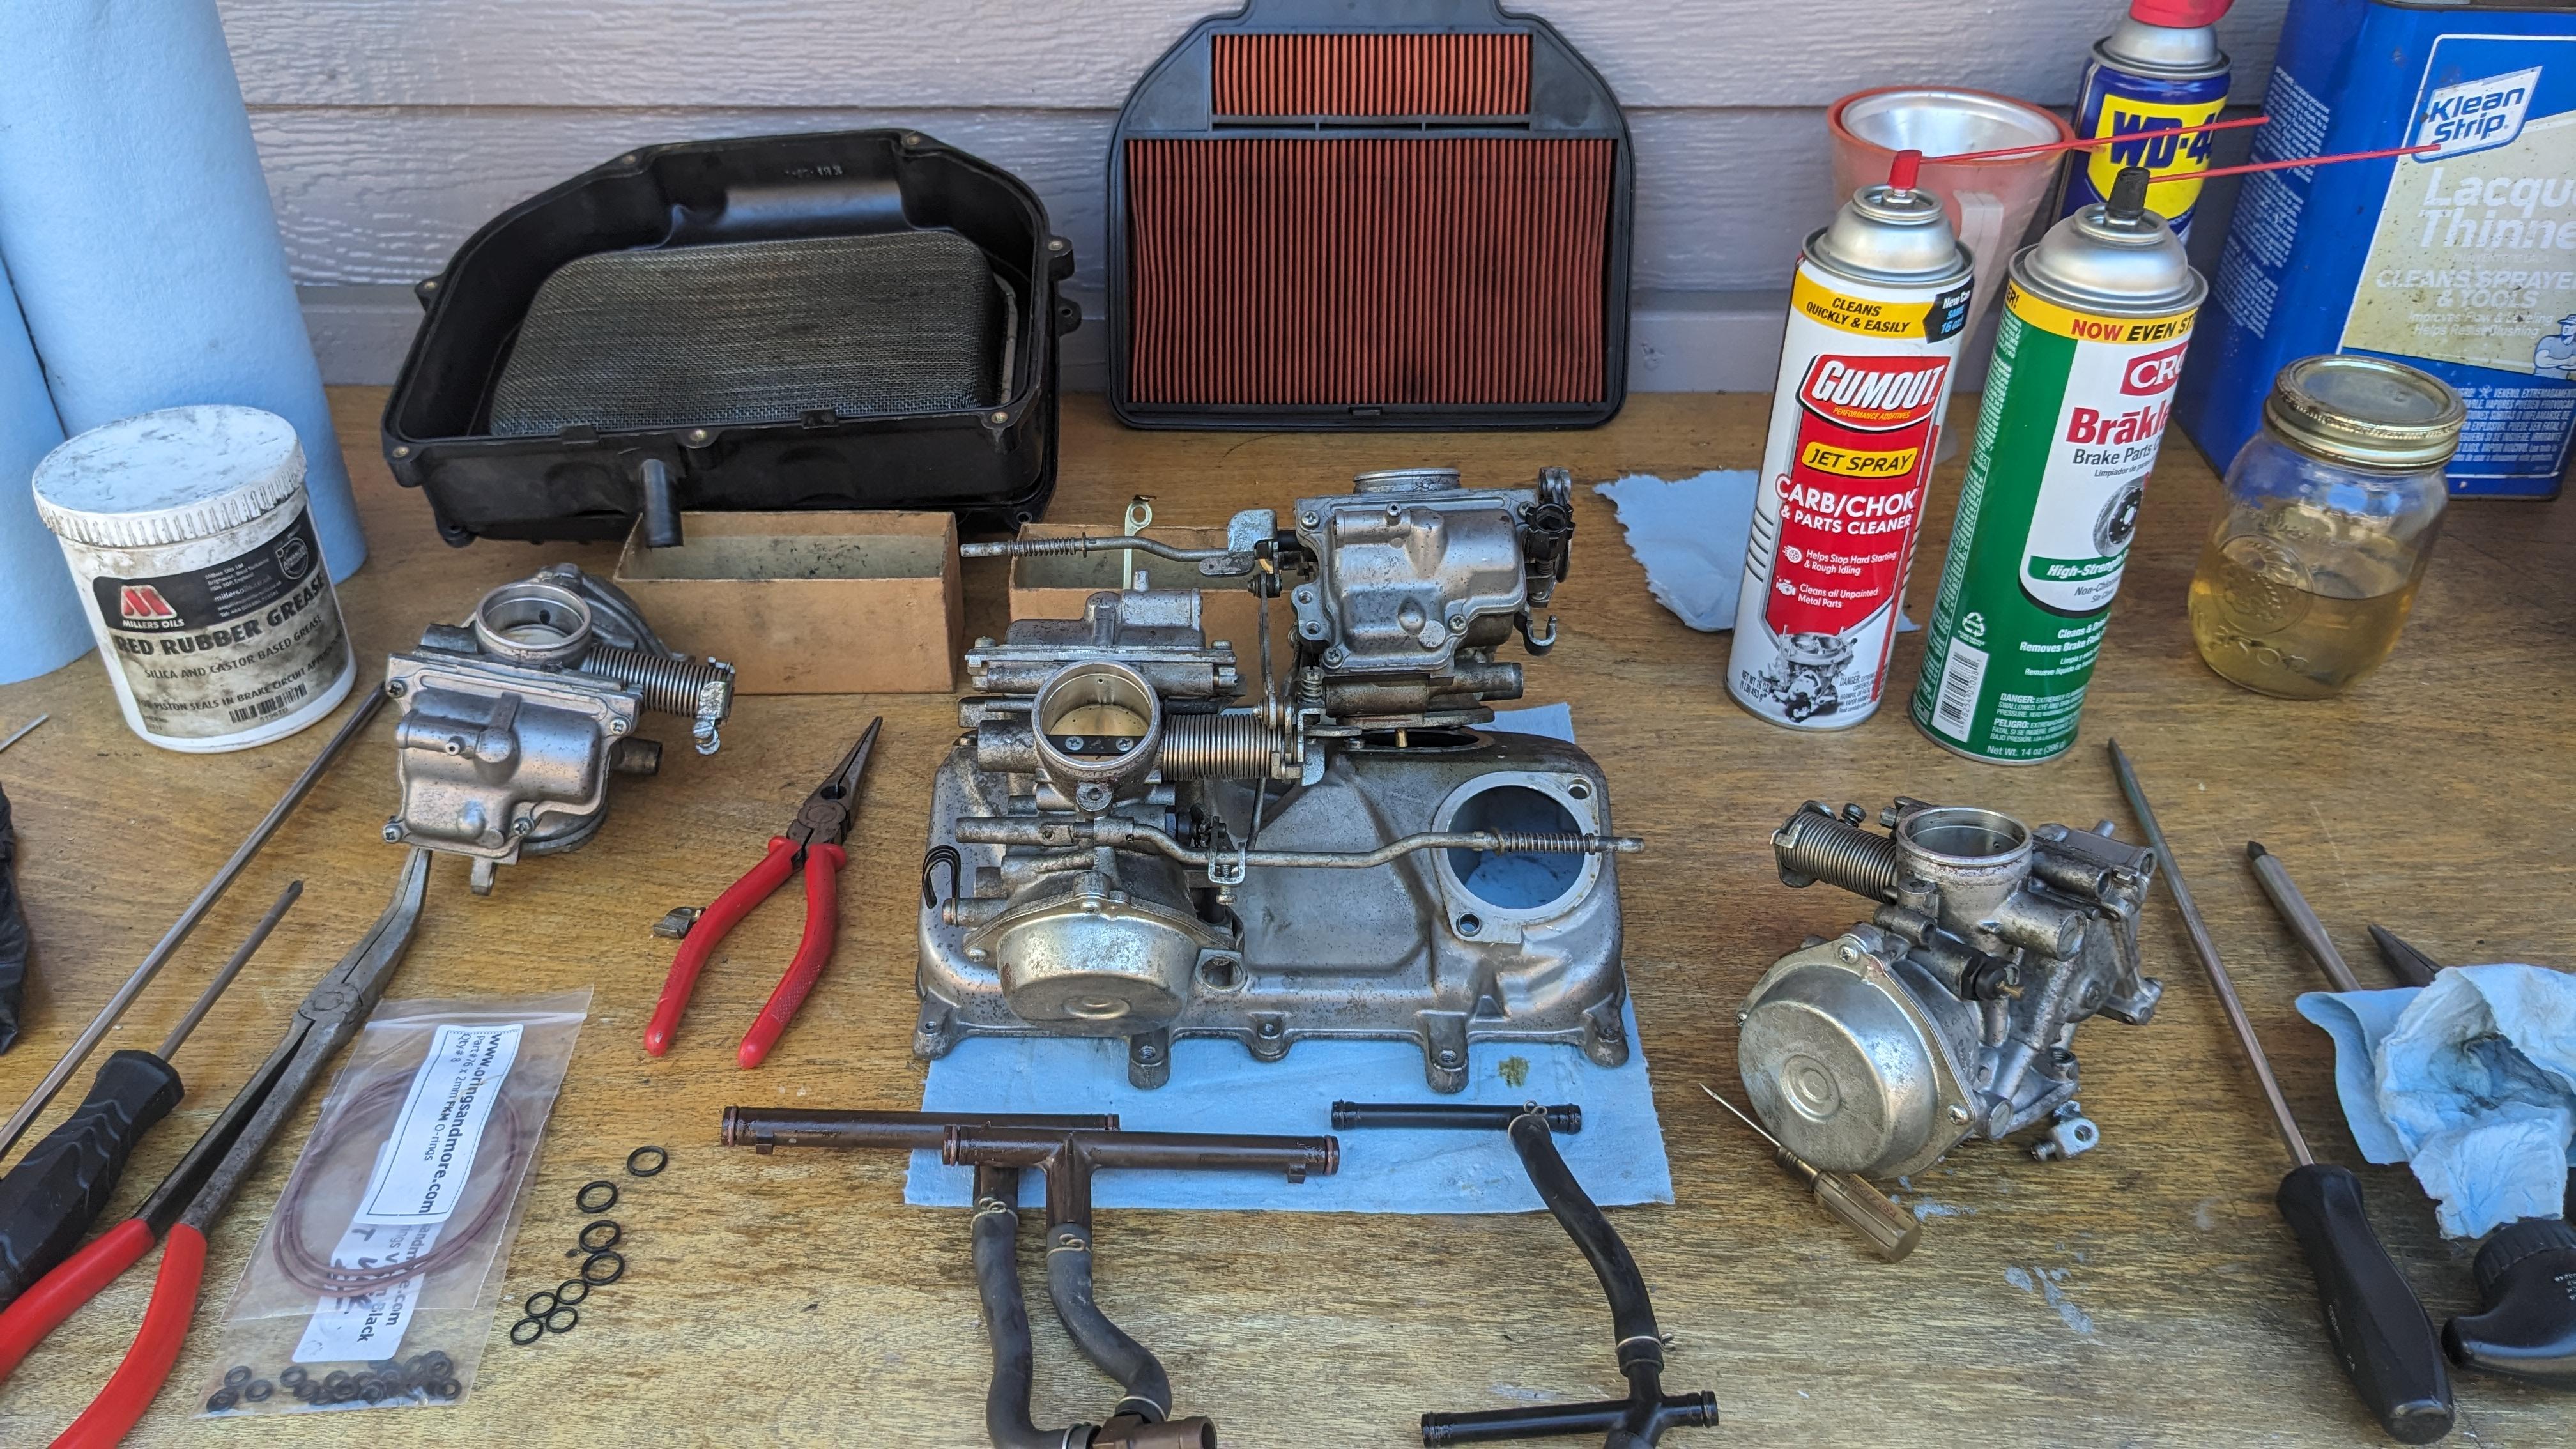
1. I lube up the insulators and then warm them with a heat gun on low (even if new) prior to installing the carbs. Do not introduce anything to the diaphragms. 2. Not exactly sure what you are asking here. Make sure the plungers move freely and completely retract on their own. The linkage is adjustable to have them all start opening at the same time. Be sure to leave some slack on the forked actuators and the plungers so they don't bind. 3. Fairly normal in my experience, but maybe not to that extent. I've taken some carbs apart that had such thick shims they couldn't "float". Hard on the needle jets in my opinion (where the needles slide into). Perhaps the needle setting (was there also a shim under the clip?... can't remember what you said) is pushing the top of the needle a little tight against the top of the holder.
-
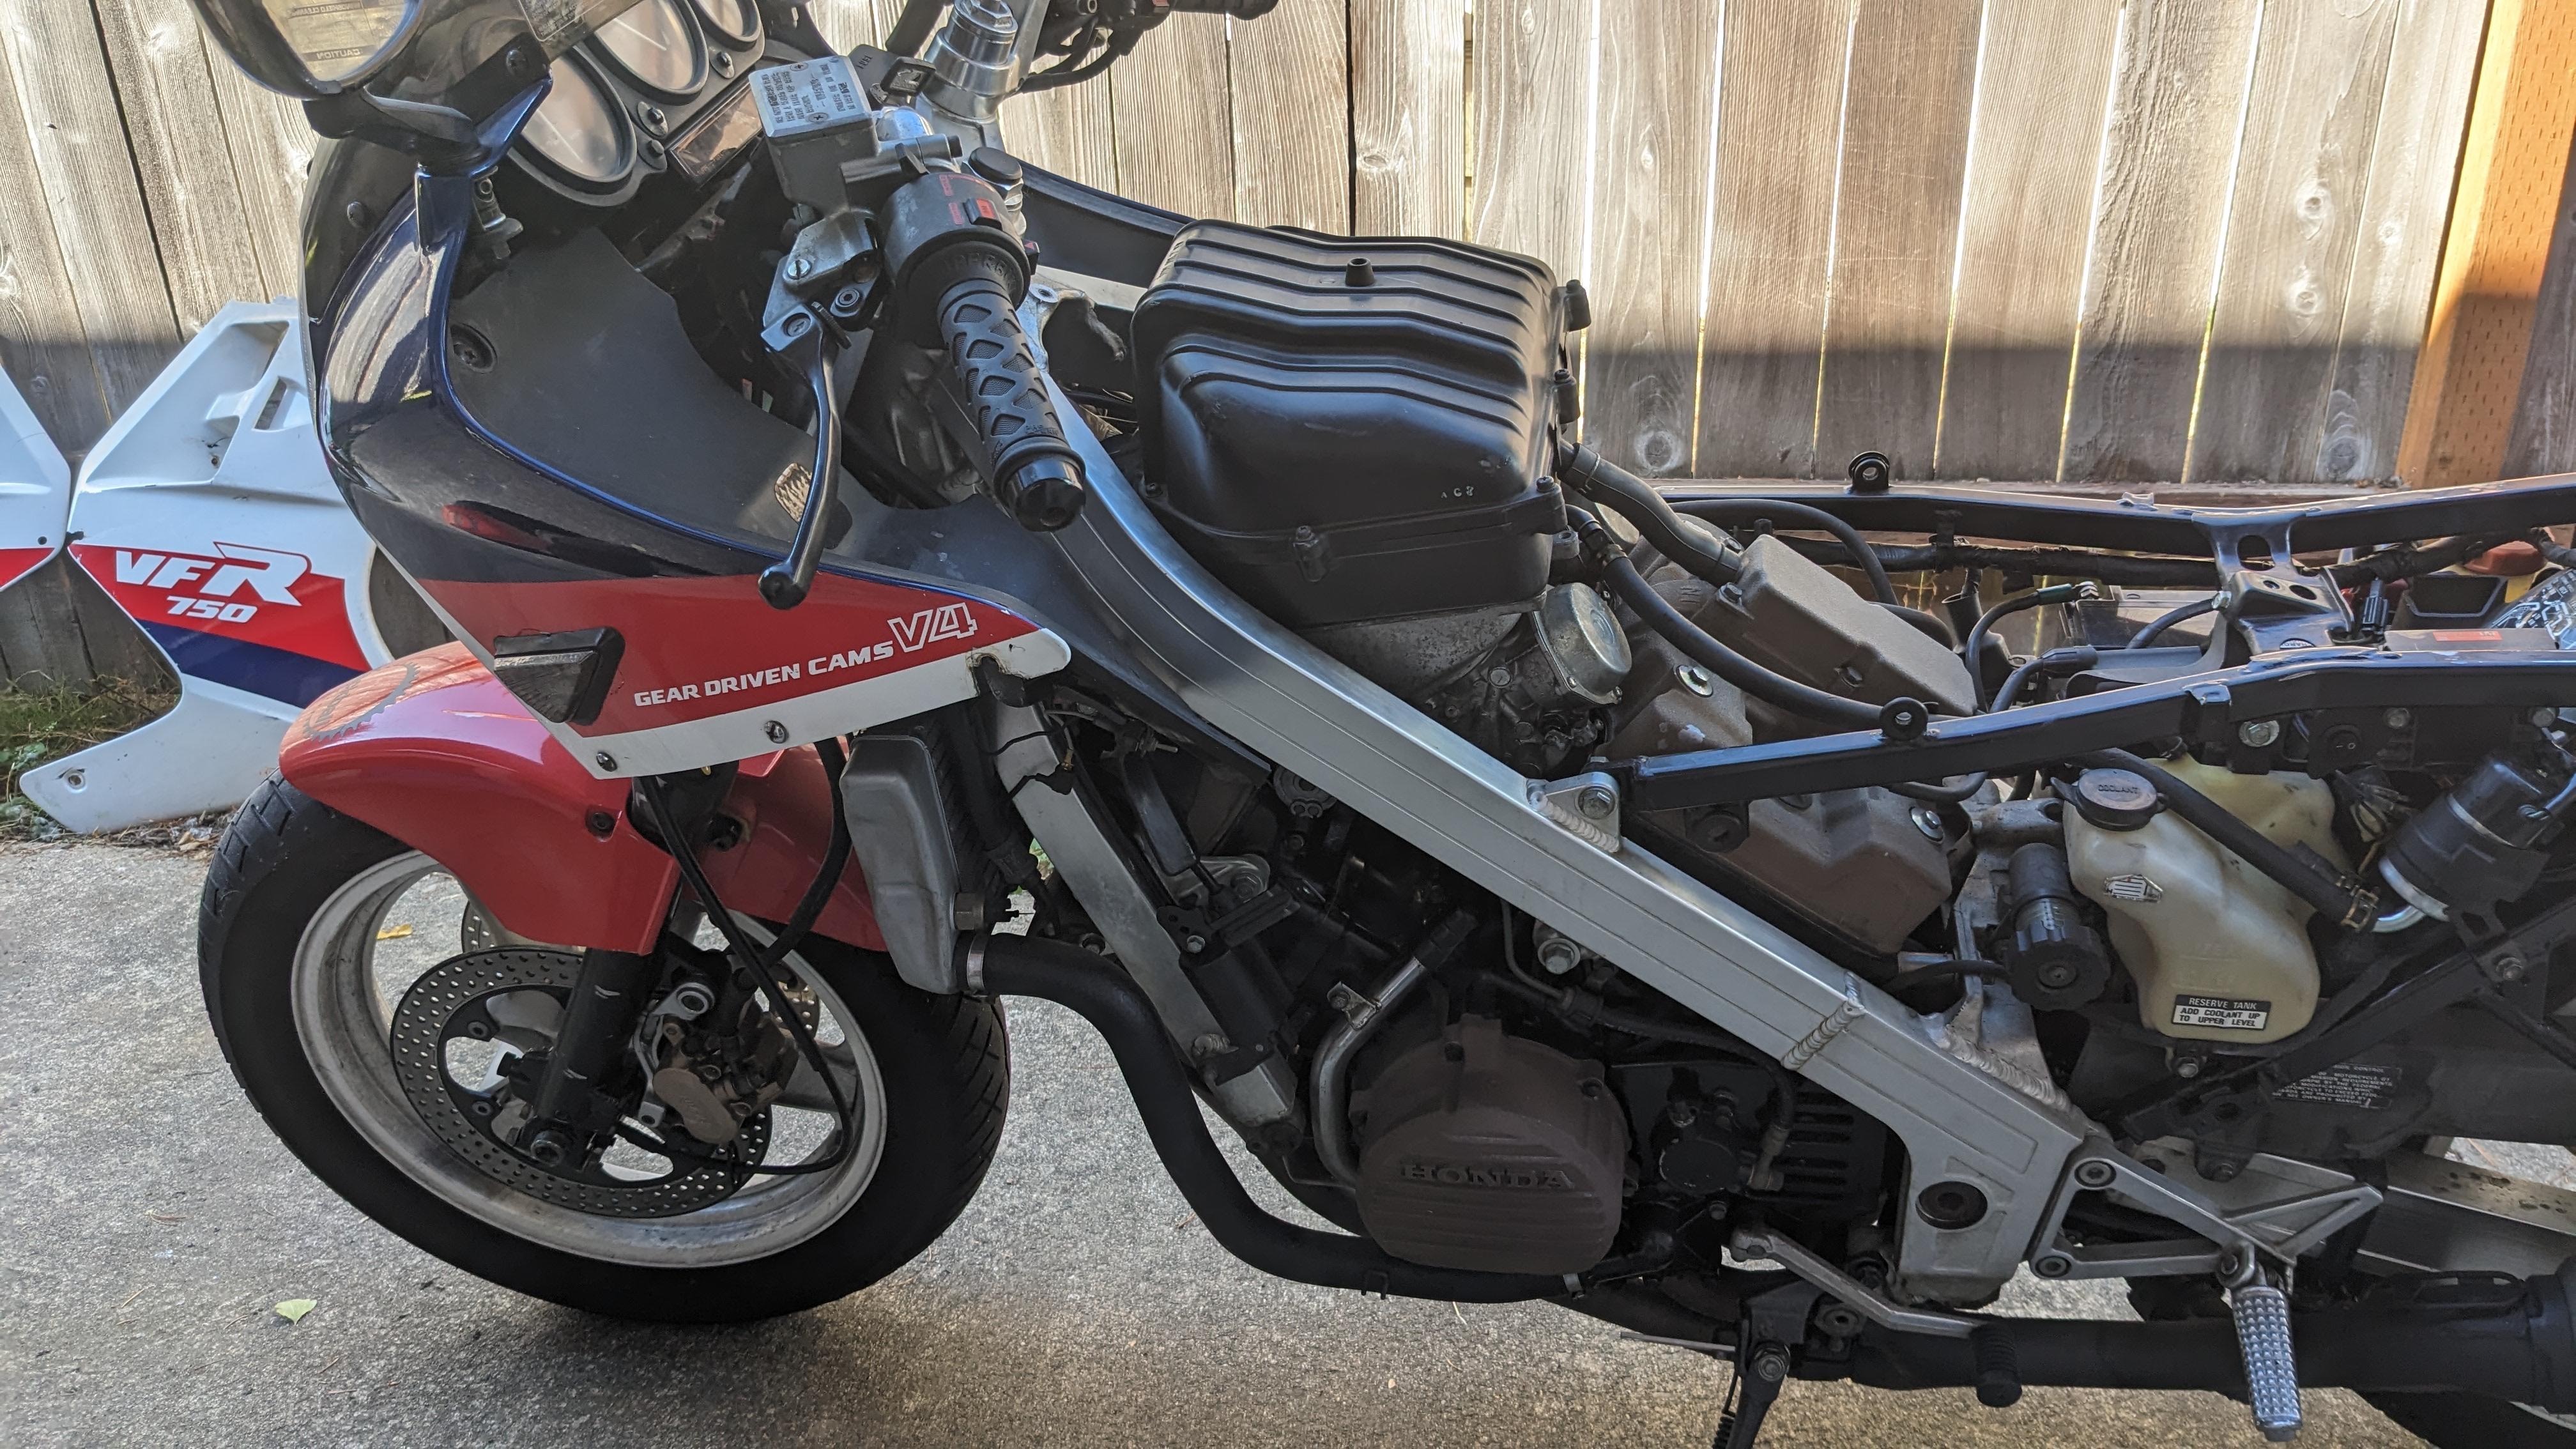
I don't think the top of the plenum where the lower air box mounts is totally level with the ground (slightly forward?). I would duplicate the Magna placements. Is that how they were?
-
"The emulsion tubes with the holes furthest from the threads go into the rear, the emulsion tubes with the holes closest to the threads go in the front. This is due to the different mounting angle of the carbs." This does not really apply to the RC24/26 as the carbs front and rear are pretty much at the same angle in relation to the ground. I may have some emulsion tubes if you are interested.
-
Yes, keep the sets of tubes front and rear. You might be able to do some Honda Magna VF-C research and get some guidance on what might make sense for location. They had different tubes front and rear. The RC 24/26 didn't come that way.
-
Last Tuesday I was prepping one of my 1986 VFRs as a guest bike for someone from the UK. Primed the carbs and gas waterfall! I was sure I had gone thru them all the way already. Guess not. Apart, new float bowl, fuel and vent orings. Bench synch and back together running in 1 hour. Even did it outside on my sidewalk.

-
I'm not sure I understand and I def don't feel disrespected. I knew (well... certainly expected) you were gonna separate the carbs. I just meant going crazy on the carb bodies themselves after separating. Classic pinch / tear on the carb boot from installation. Rear?
-

92 California vs 49 State Fuel Tank
Captain 80s replied to jkboyd's topic in Third and Fourth Generation VFR's
The CA tank has a vent nipple on the bottom that would normally route to the charcoal canister and the CA bike would originally come with an un-vented gas cap. 49 State caps vent thru the key hole. You can run either tank with a 49 state cap, but you can't run a 49 state tank with a CA cap. So, short answer is yes you can. Cap the vent nipple (the small one). The large nipple is the fuel over fill drain. -
Cool. Heat related maybe?
-
I don't think you need to go crazy on the this round of cleaning on the main bodies, just verify clear passages. I don't like introducing too much water based fluids (really, anything) into the butterfly shafts. This isn't a restoration and you can't see the carbs. If the carb boot clamps have the limiting collars, consider ditching em. Just tighten in a reasonable manner, don't bury them. I've had the collars prevent the bands from getting anywhere close to tight on old hardware on multiple bikes, even with new boots. Or grind a bit off the collars and check for tightness on the engine side. Otherwise, sounds like a pretty complete hit list.
-
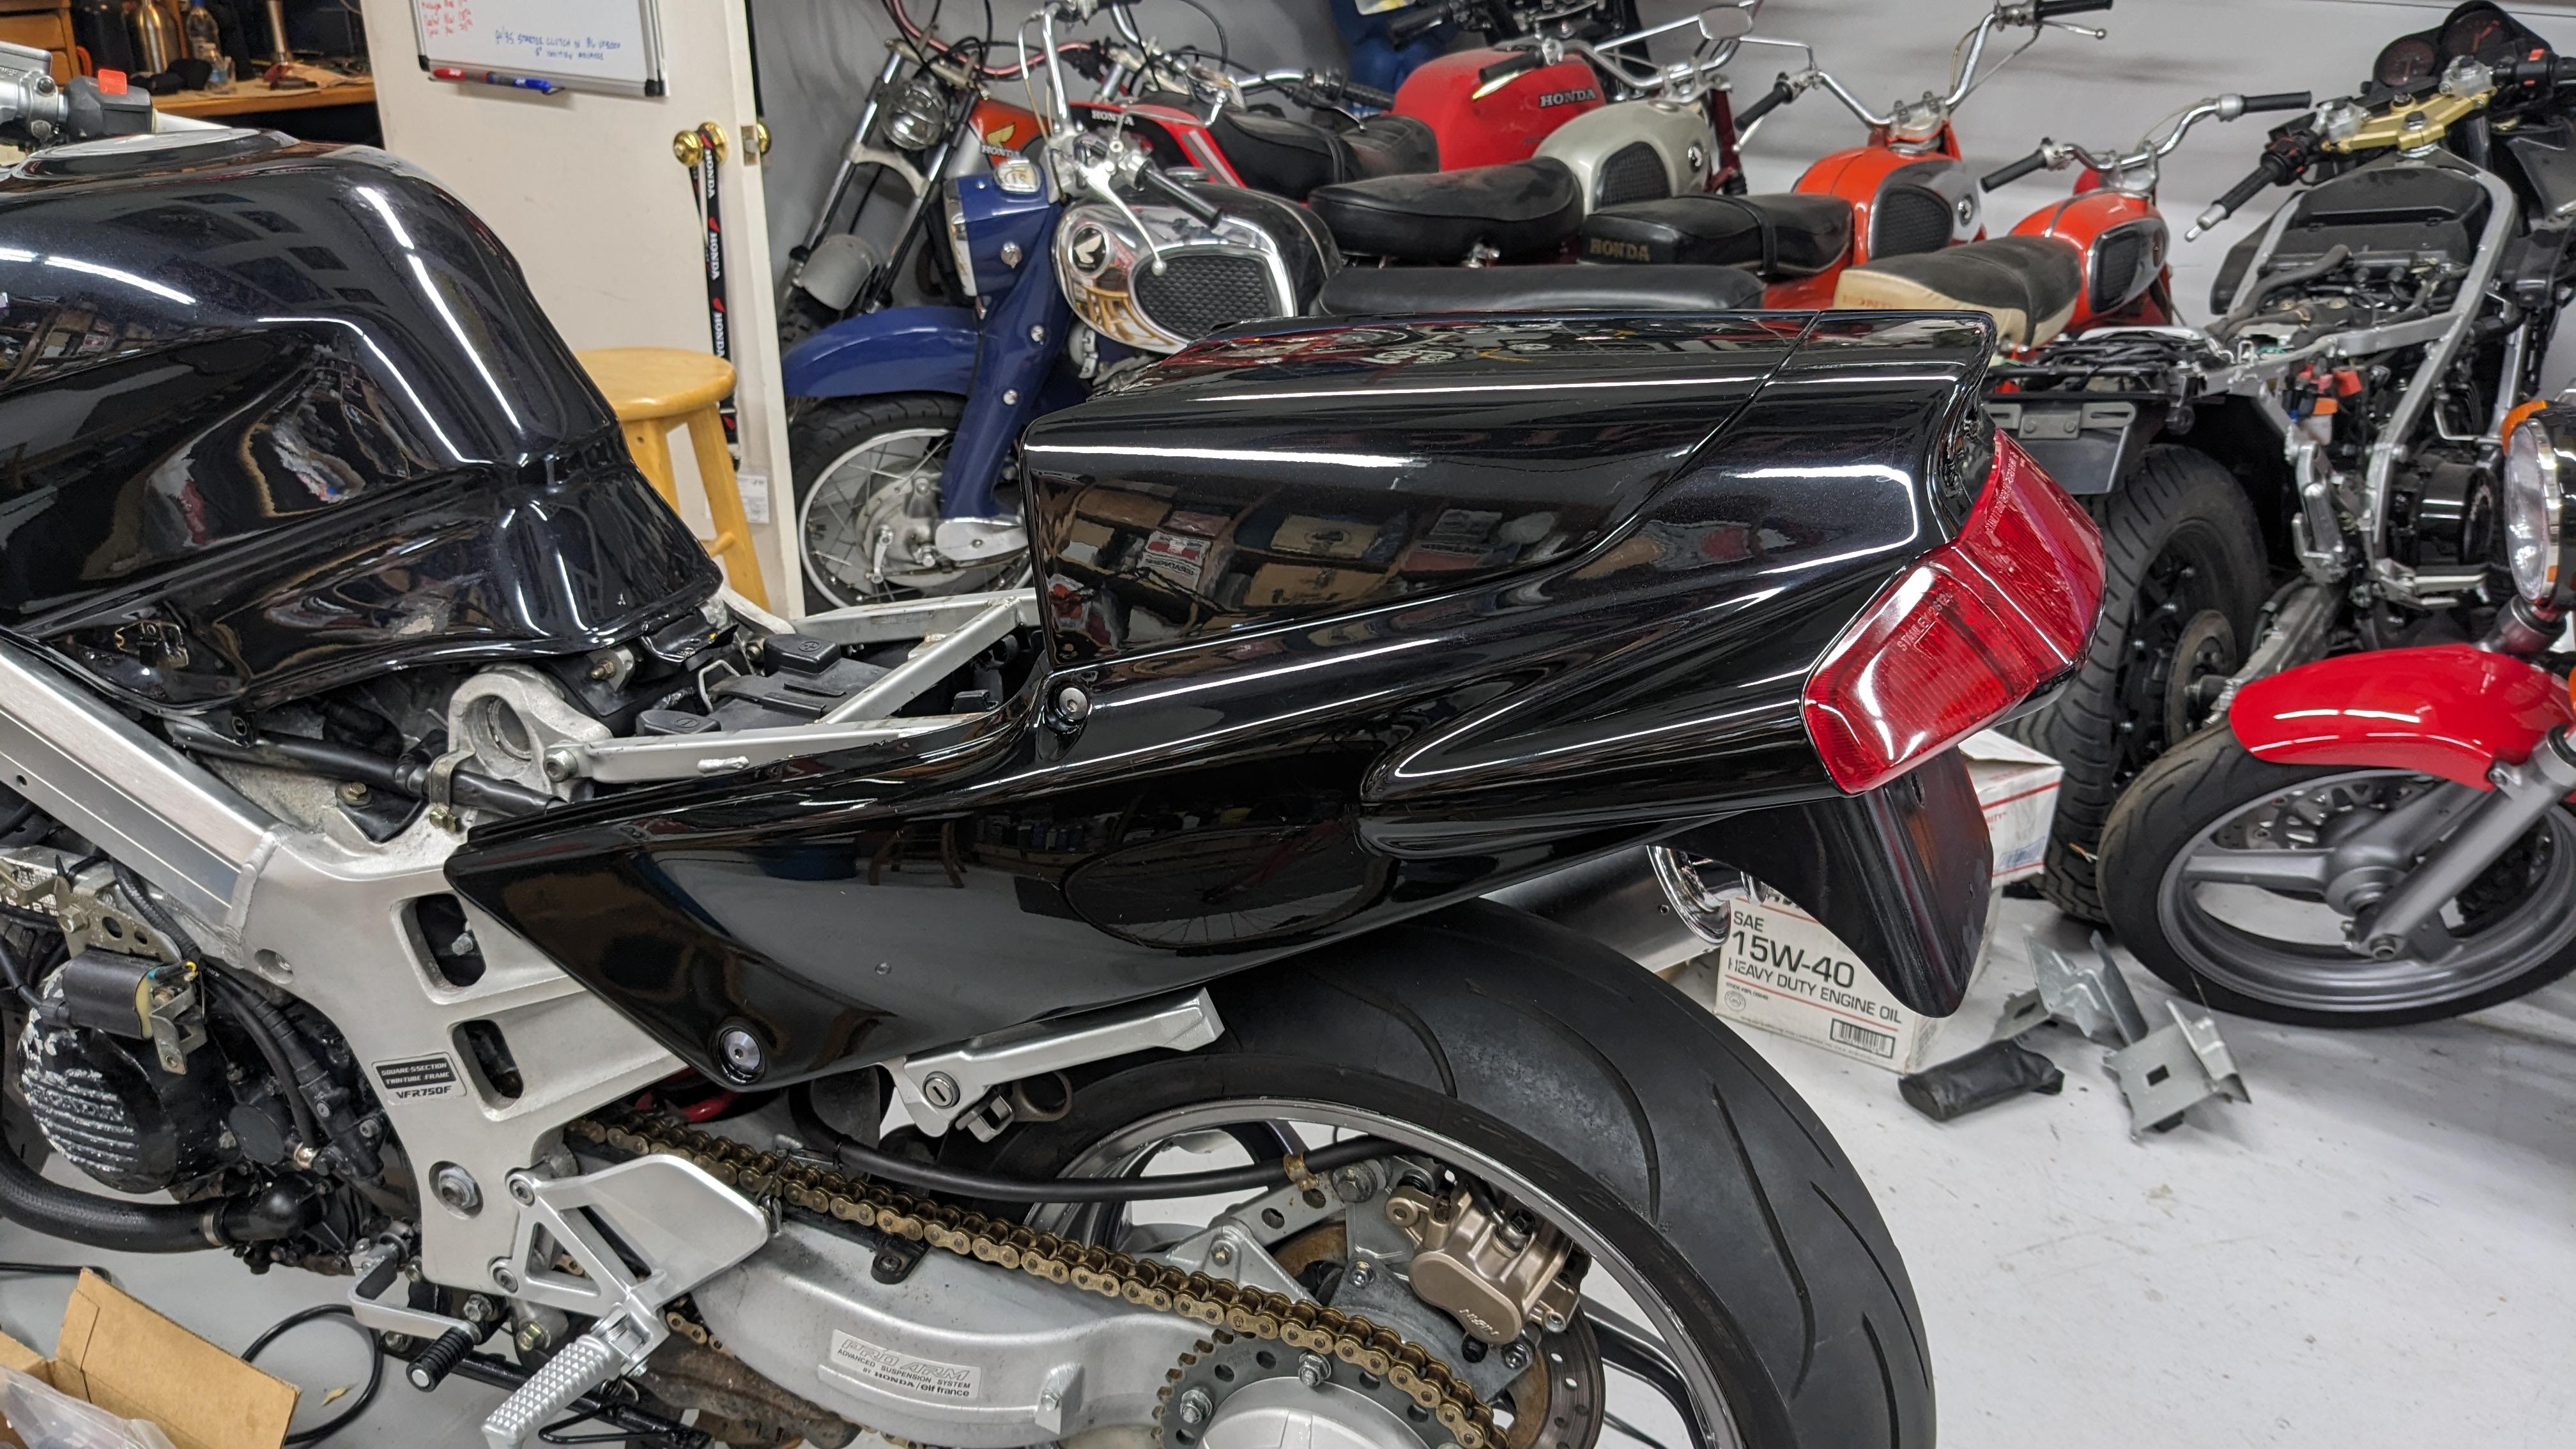
Here's what still shows with the cowl on. There's a rib in the casting that is a logical starting trim point.
-
-
Typically if I have the clutch apart like that because I'm chasing a slip or verifying status of a new to me bike, it's not going back together without new fibers and springs. I don't want to do the work over and now I have a known starting point. I have found in the past that sometimes fibers are just "done' regardless of their thickness. I almost always scuff the used metals a bit radially. My new to me Hawk GT started slipping just in 4th or 5th under heavy load (38K original clutch). I had the clutch cover off but the way the clutch is designed you have to remove the staked nut on the clutch basket to replace the disks. I just popped in new EBC springs (which you can easily do) and it got me thru the rest of the season, but finally started slipping again. New fibers and scuffed metals and it is now awesome.
-
Ooof. That looks killer.
-
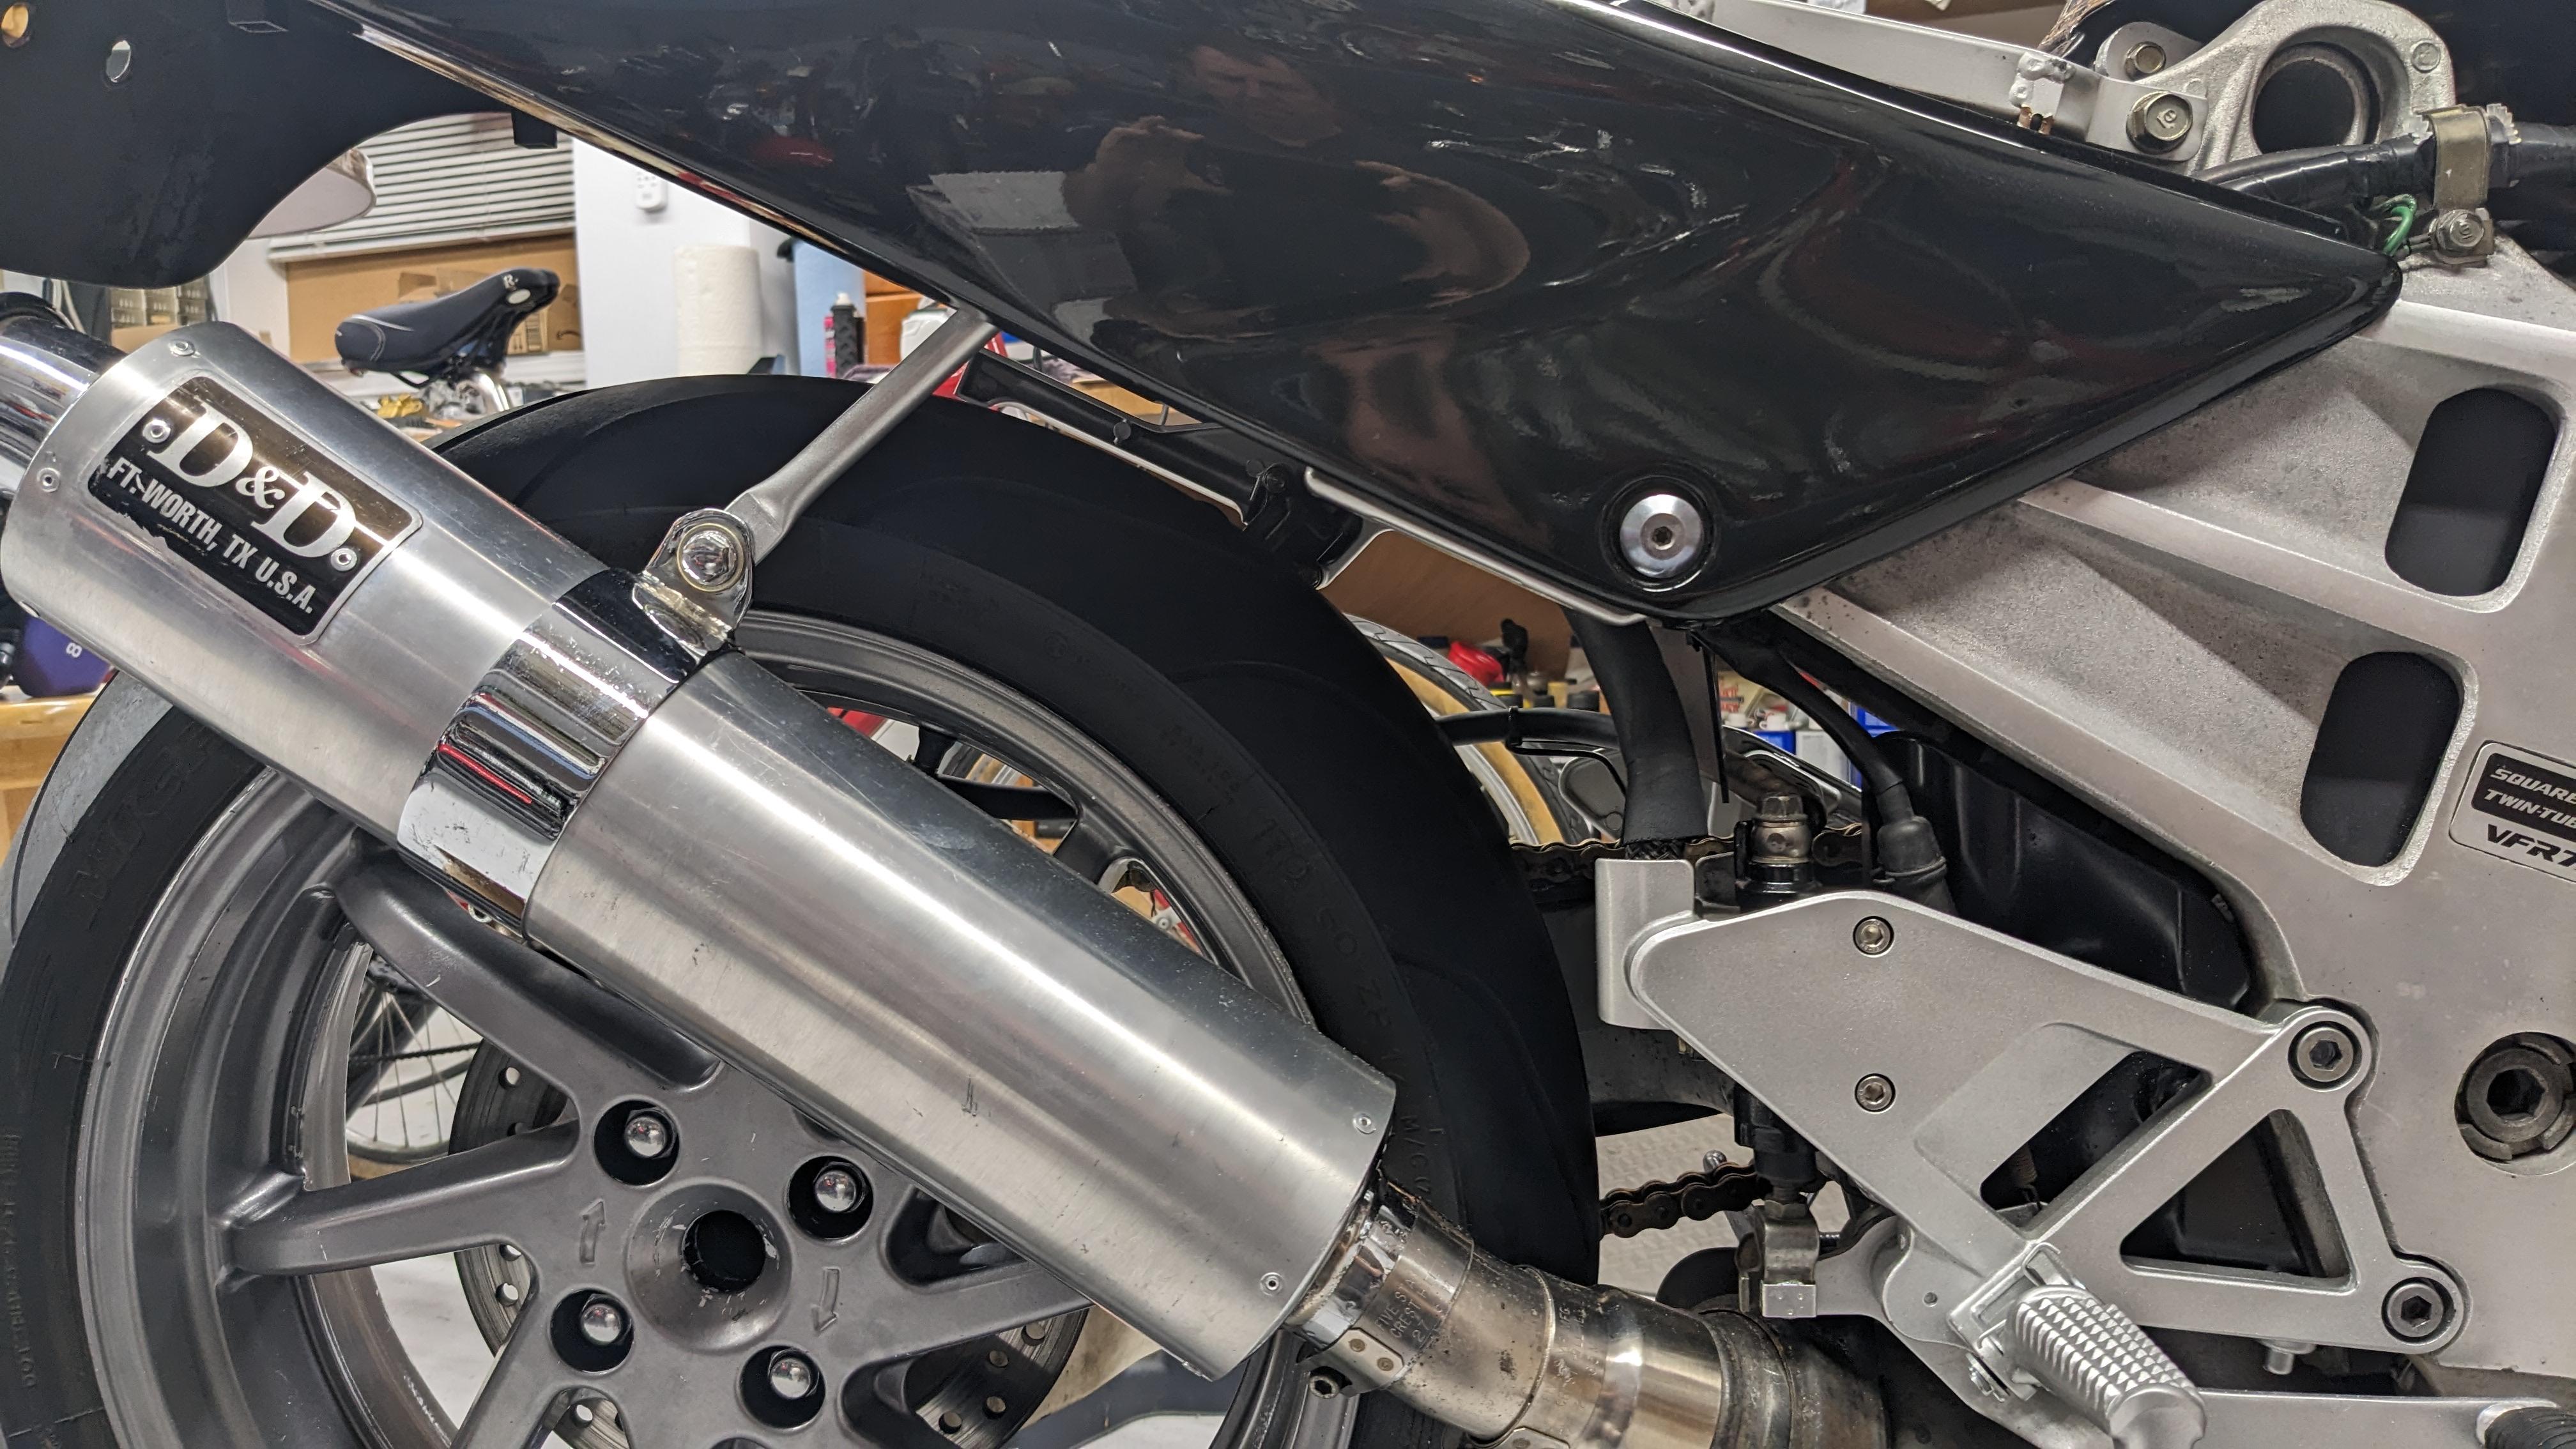
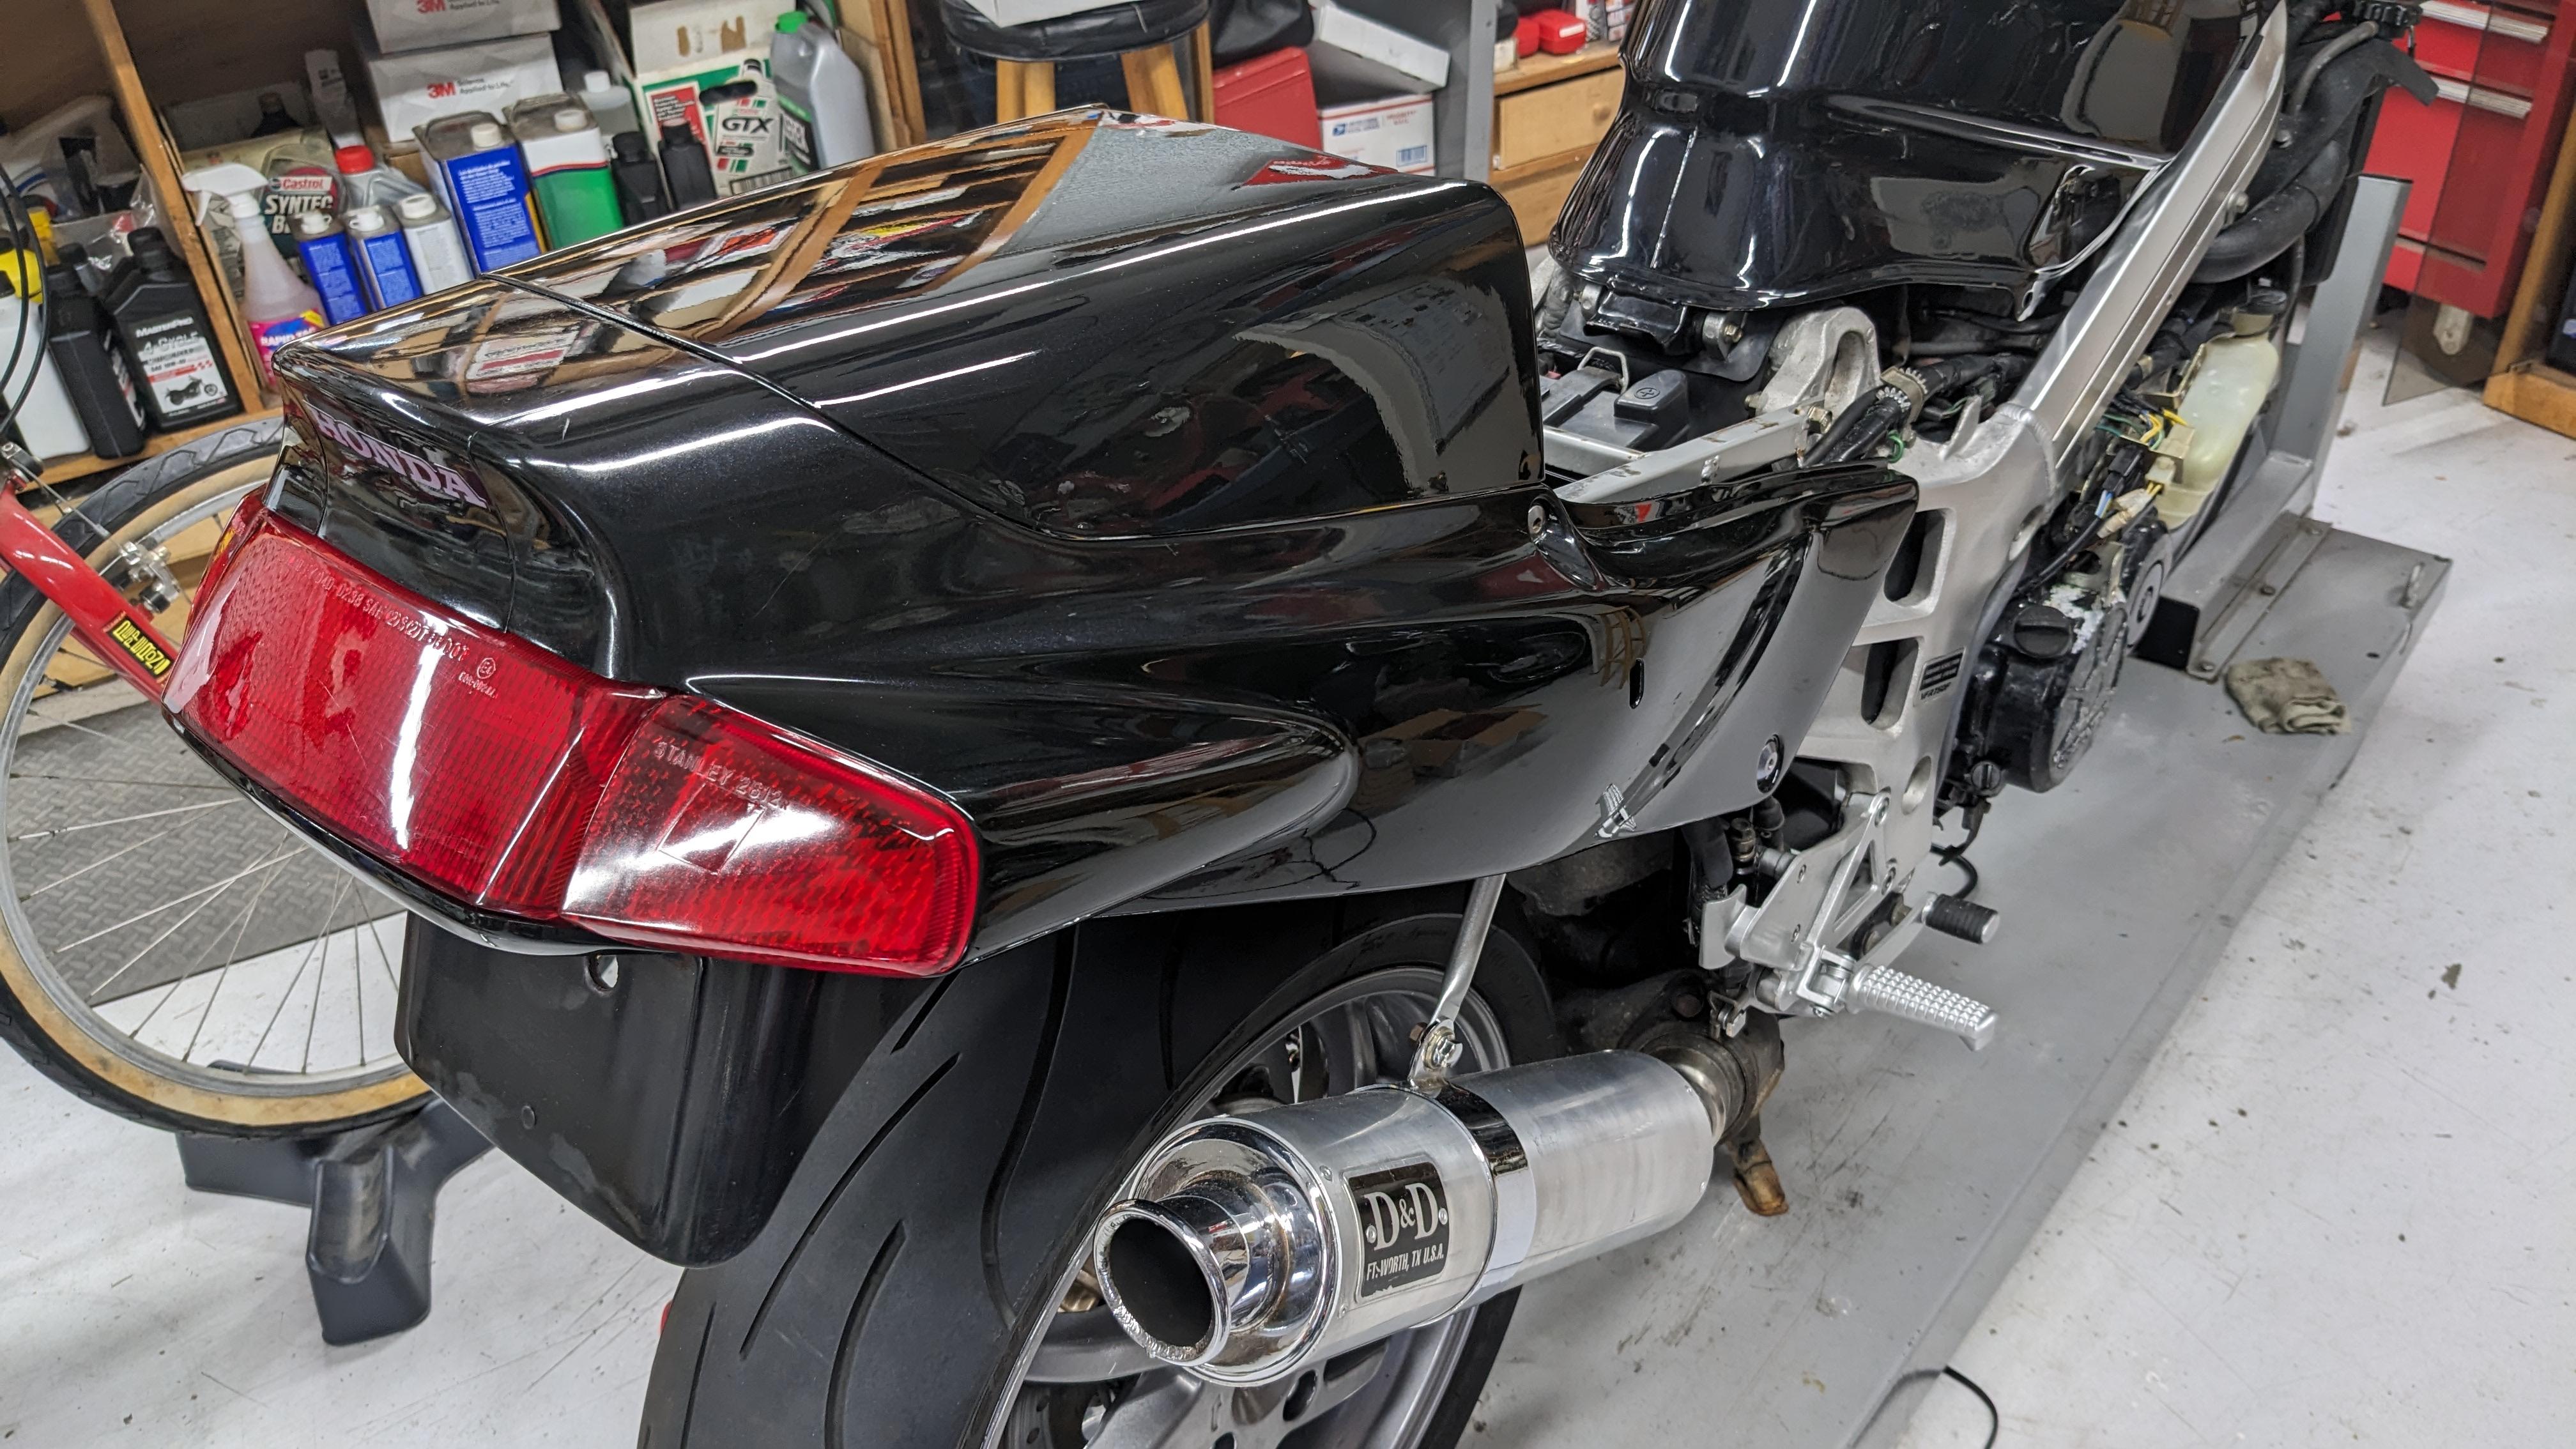
Thanks dude! Nice bike. I've got a full left hand Two Brothers for this bike after I get everything sorted and some miles on it. Got some clean up on it to do.
-
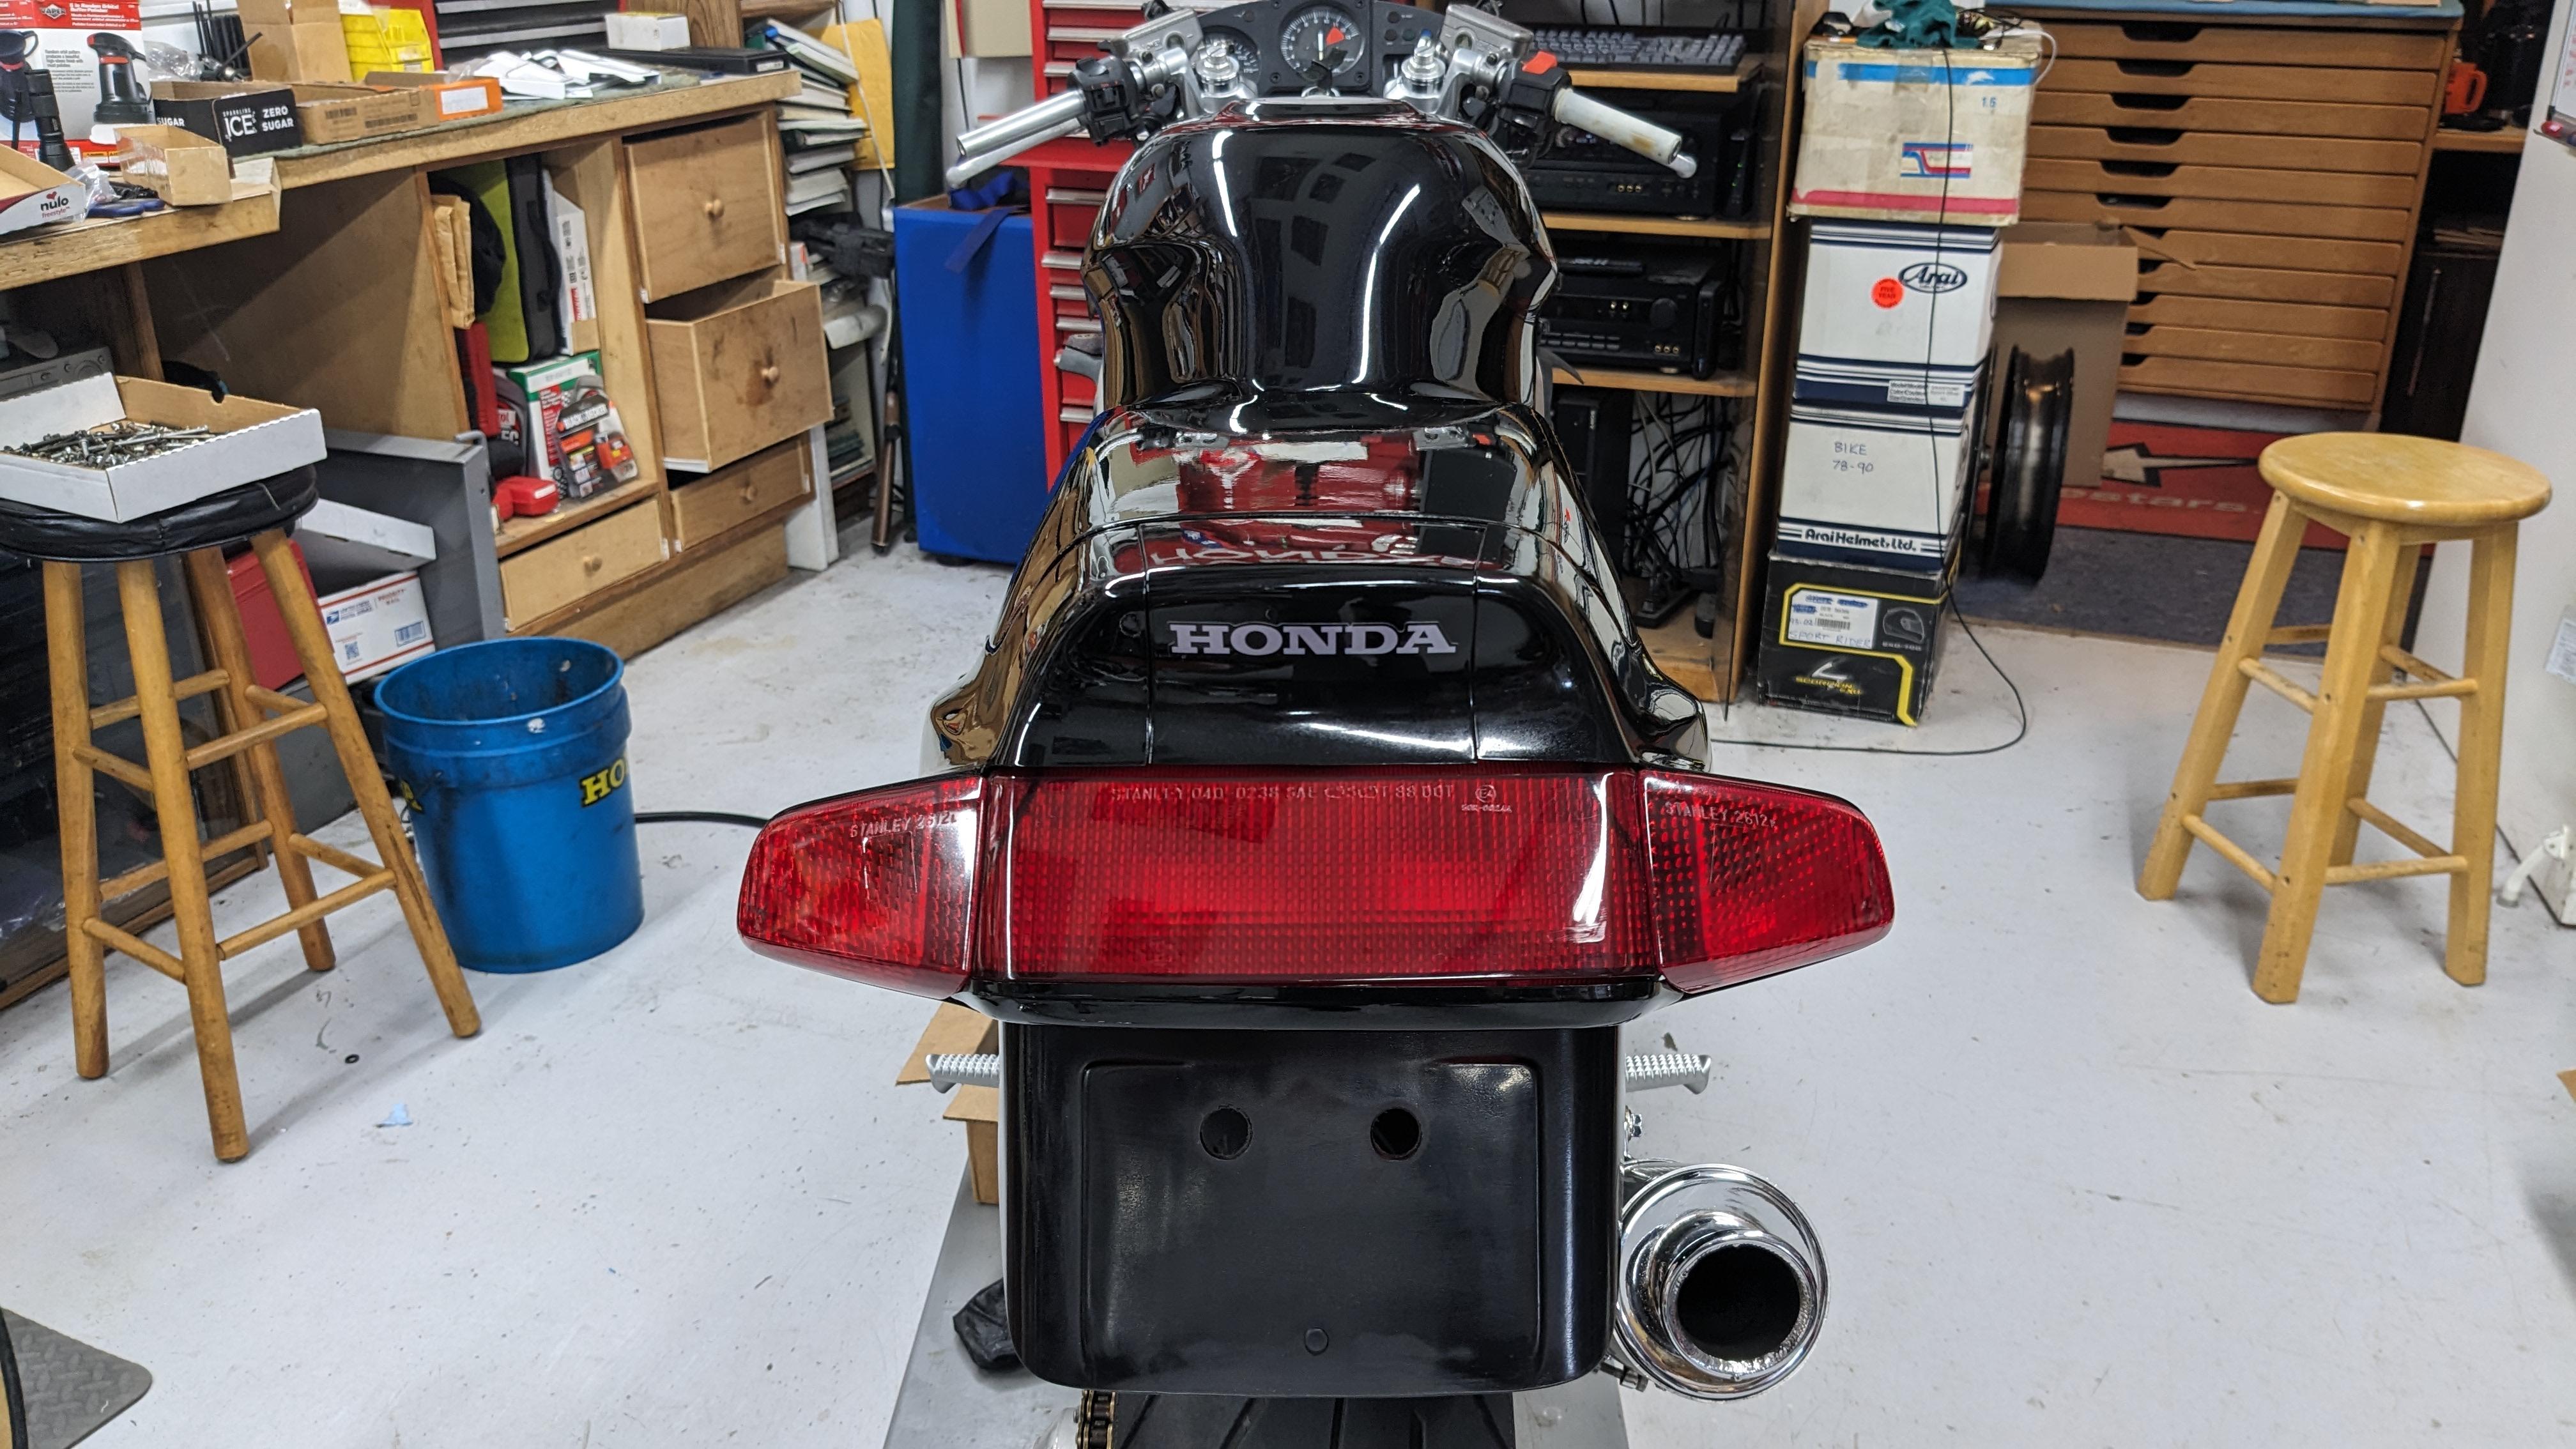
That is one of the few Corbins I like. The normal vinyl/leather pattern looks great. Very nice bike. Not one shot of the left exhaust?
-
For me it shows that it's a Honda Accessory, not a knock-off.
-
Do some shopping on this one. You can find them thru some Honda Marine outlets for some deals sometimes. It's usually the shipping from these places that kills it though. As far as I know... crickets. Maybe he contacted Squirrelman like I told him to. Proper removal and installation is still no cake walk on them though, that's why I recommended starting a thread regardless.
-
I think some partial panels could be done that would look good.
-
Help With New Throttle Cable Install (Adjustment)
Captain 80s replied to toreckman's topic in Fifth Generation VFR's
Good news -
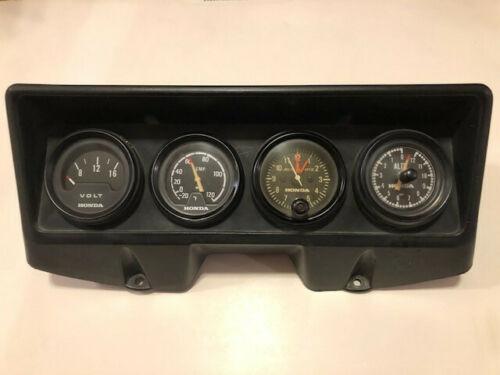
It looks like it belongs there, but with a FH0020A I'd much rather have a temp gauge in my line of sight. If you had the inner cowl panels you could flush mount it in one. Then you could choose one of the other Hondaline Gauges for the other side. I sold the Altimeter and Air Temp Gauges I had, but kept the Volt Meter.