
SEBSPEED
-
Posts
22,516 -
Joined
-
Last visited
-
Days Won
103
Content Type
Forums
Profiles
Gallery
Blogs
Downloads
Events
Everything posted by SEBSPEED
-
Looking forward to mounted pics Trav! :fing02: Is that a "Fenda Extenda"?
-
Can we please have this topic pinned or stickied at the top of this forum listing? This is really useful info that should be easy for everyone to find!
-
Bill Mayer saddle?
-
I use water for fuel all the time! oh wait - you meant in the bike... :fing02:
-

Obligatory 'why Did I Wait So Long' Post Bls Lowering Blocks
SEBSPEED replied to Maddog Hoek's topic in Modifications
I wonder how many more sparkles I could make with lower pegs? :fing02: Railin 421 in Shady Valley Hey look, sparkles! Man, this picture has a lot of uses!! :unsure: -
 Not at all, I finished the turn comfortably, turned around farther up the hill and came back for another pass! :beer:
 -
Very nice Miguel, looks like the poor birch have taken a few stabs from handlebars...
-
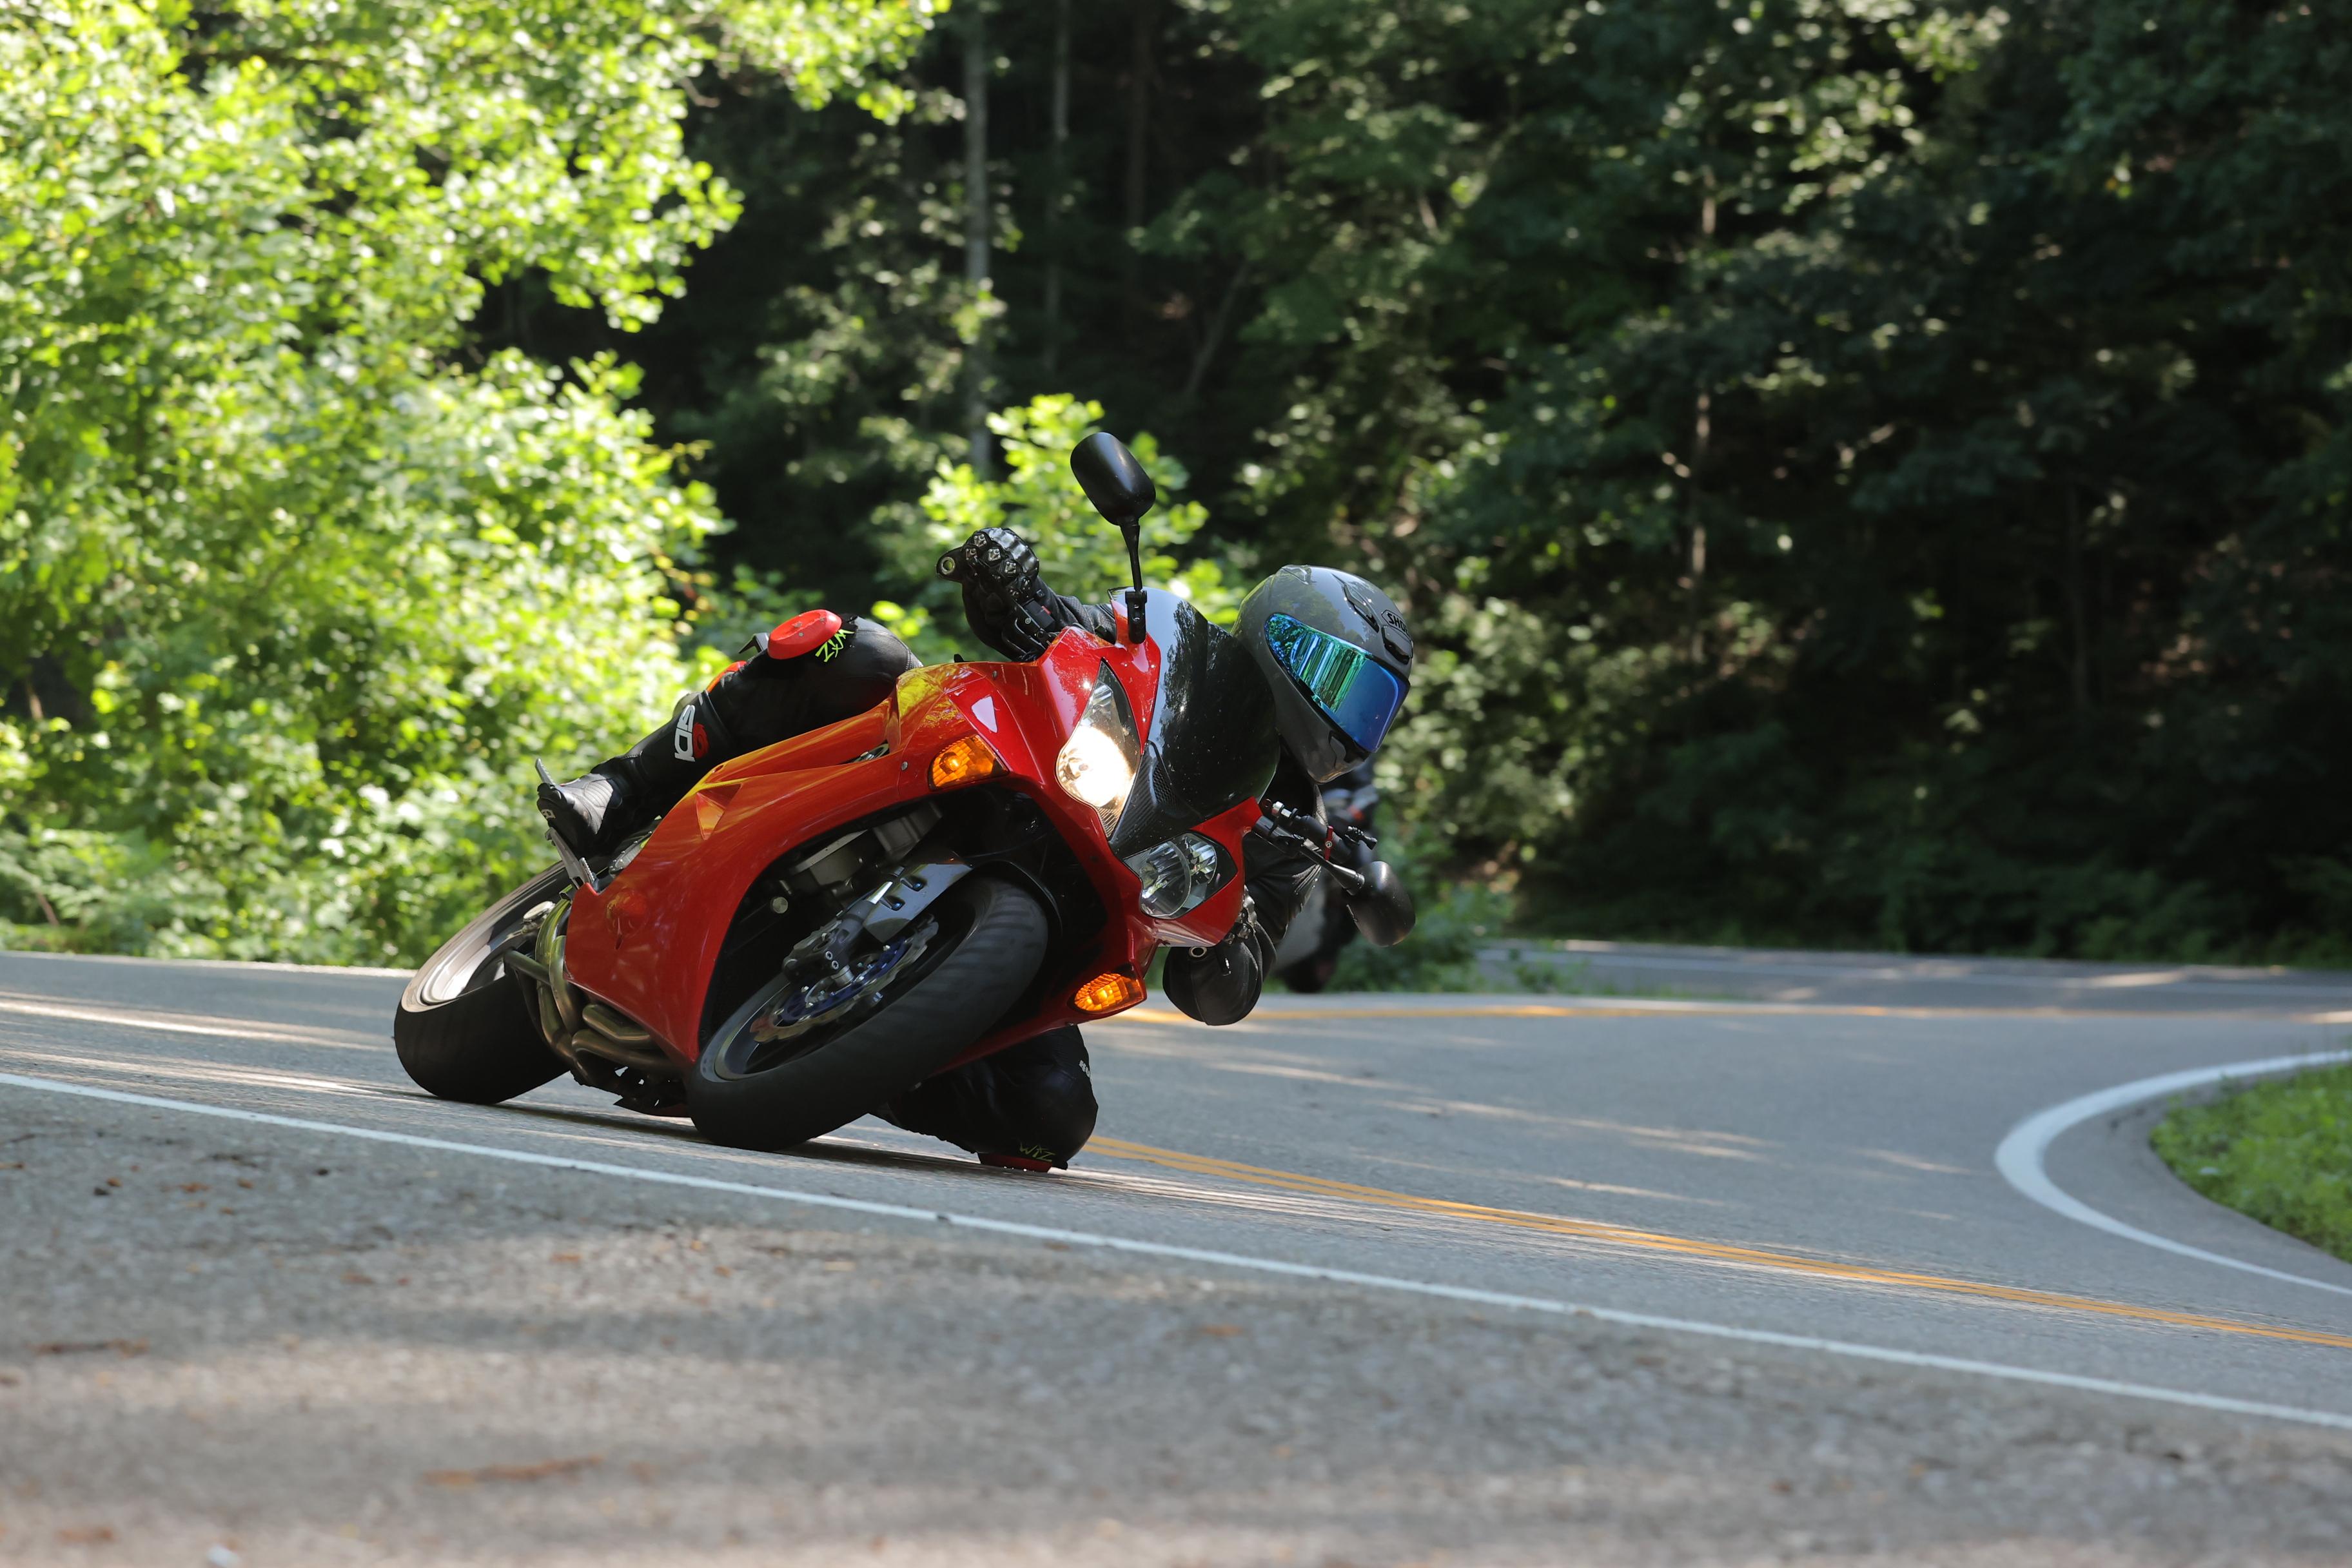
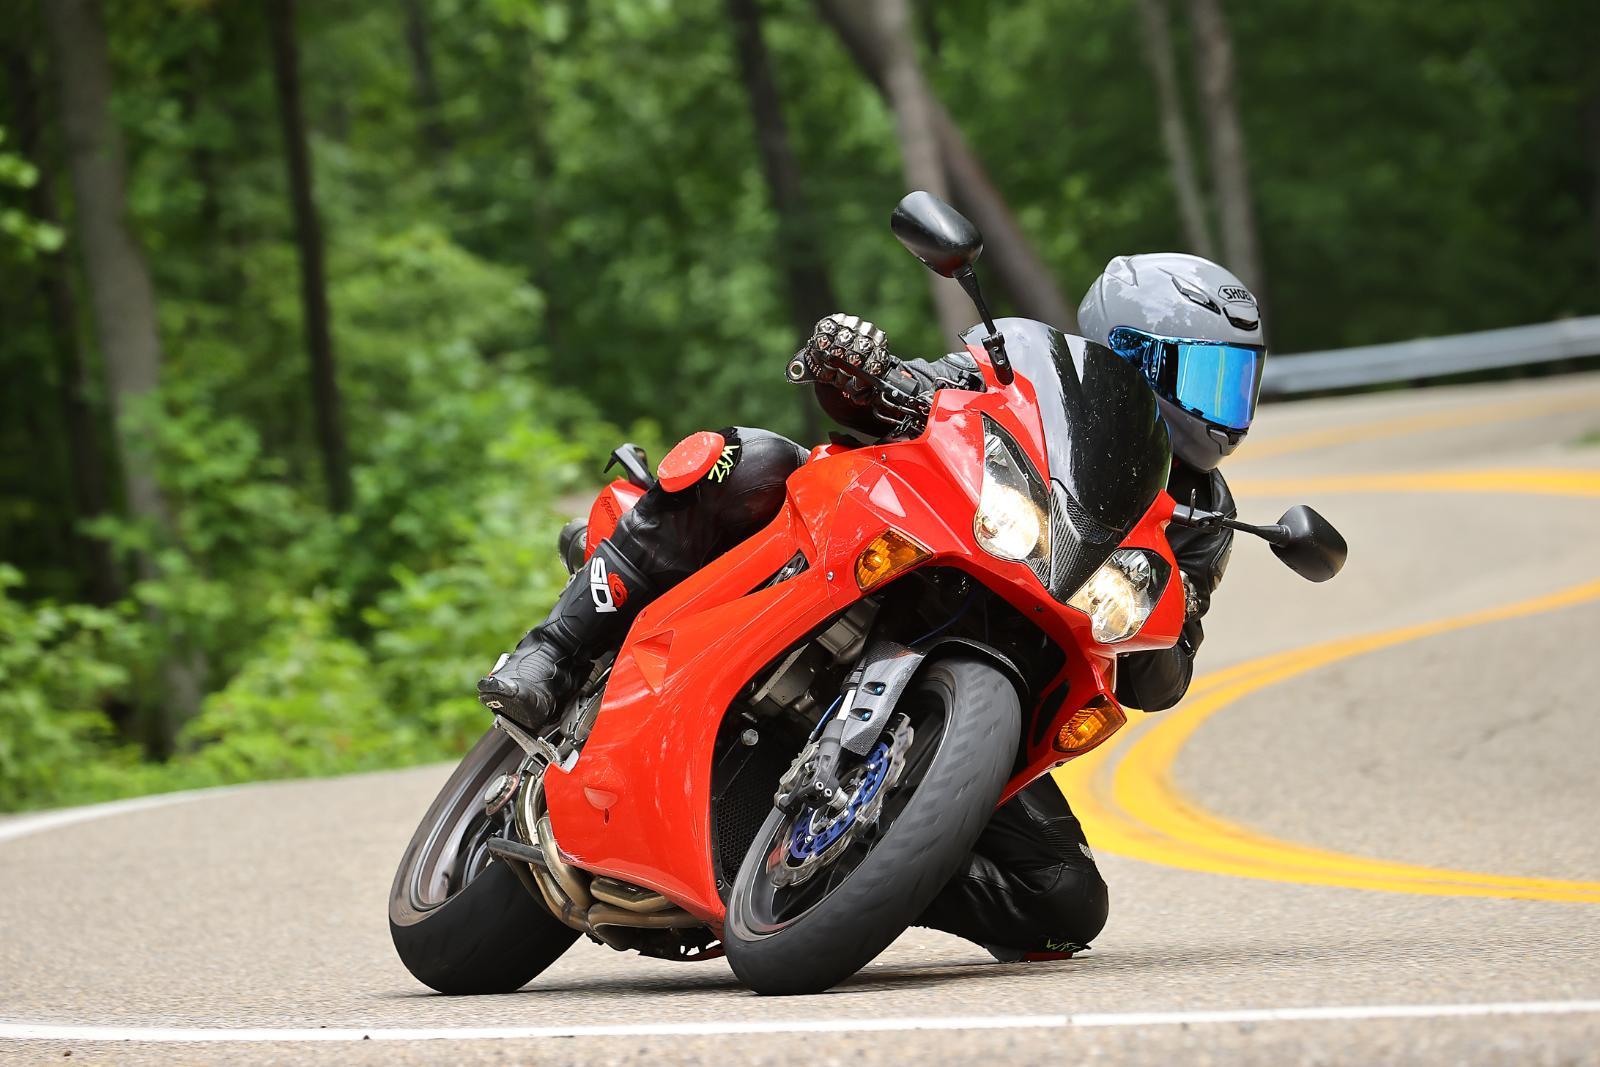
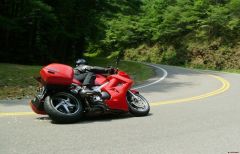
Yes, larger pic is available, I will post a link in the thread later today, Thanks for asking! We discussed the hanging off thing in the "Agenda" thread, I've the right things to do in mind. I was really in the zone at that time, and don't usually find myself dragging the footpeg around an entire corner like that often... does make for a super photo though doesn't it? :beer: Happy to share it with all of you!
-

-
-
Wow, that is f'in sweet!!!!!!! Thanks for posting!! Lots of work in the plastic there...
-
Hey, not bad! It's definitely more "angular" than my cut, but it goes well with the side fairing vents, I think. Take some bigger, higher res pics when you get it all back together! :unsure: Sorry I missed ya the first time around, for some reason, when I log in & have a new PM, I get denied on the "View New Posts" button... limits me to whats on the homepage for new posts... :unsure:
-
Riding To Rist Canyon 400 Miles
SEBSPEED commented on HispanicSlammer's blog entry in HispanicSlammer
Great report again Miguel, I love the Saint Vrain video, came out awesome, road looks great, and just the right tune for it. A++ and two big thumbs up to you sir!! -
My 1983 Vf750f Restoration Project, Lotsa Big Pics!
SEBSPEED replied to SEBSPEED's topic in Modifications
Couple new pics with seat and fender eliminator being tested... Seat was done by Wells Upholstery & Canvas in Ohio, by Dale(theoxmole)'s Mom! :unsure: That's an old BS license plate I keep around for the heck of it, the new one will be a custom plate, but I'm keeping it to myself for now. :goofy: -
Gen. 6th Vfr: The Brake Lines Are Now Runnging Through The Swingarm!
SEBSPEED replied to 2FAST4U's topic in Modifications
Uh, yes I've got one - How much do you charge for this and what's your schedule :rolleyes: My schedule is crazy. I don't remember off the top of my head what I charged Steve, I used my "profit" to enlarge the order of brake line and fittings to cover my oil mod on my 750 project. I still want to expand on Steve's mod and convert my whole VTEC to stainless lines, maybe we can work something out there. I can probably find some time in August... got a week of vacation(solo bike trip to TN) coming up at the end of the month, bike projects, family, NEST FEST in the Catskills(VFR group ride) third week of July, in that order. Then going to Indy for MotoGP in Sept, the annual Fall Ride in the Catskills that I host in mid-to late October, and a track day at the end of October. Pick a time slot and cross your fingers!! PM me if you're really interested. -Sebastian -
Nice report as usual HS! I wonder what Honda does differently with their gauges now; I know of a guy with an 03 F4i, when he hit 100k, his odo went back to zero!
-
Roy, long time no post! I realize it's winter down there now, do you guys get much snow? I' curious to know how the front end's holding up, if you still love it, etc? :mad:
-
My exact point here. They know they have a quality issue on thier top of the line units and they still sell them as is? No no no. There is no excuse for that. I finally got in touch with someone from Garmin, he seems nice, but I am screwed for my trip data. I have over 4,200 miles of trip on there from before the crash that I will never see again. My once in a lifetime trip was supposed to have trip and route data to prove where I had been, maybe even go back to some of the best places. I should have bought a Tom Tom Oh no! :unsure: That sucks man... there's got to be some way they can pull your data?!? You just got out of college, can you look up one the computer gurus to help you out?
-
My 1983 Vf750f Restoration Project, Lotsa Big Pics!
SEBSPEED replied to SEBSPEED's topic in Modifications
Yes, and yes. I even went so far as to haul in a free, used electric home oven to bake the parts in, but never got around to buying the gun kit, so I gave the oven away to someone else. Was going to buy all my supplies from the same place I get my polishing stuff, caswellplating.com & Eastwood. One of those things that never happened. I also have an old TIG welding cabinet I got from work(the blue thing seen in a couple pics above) that I'm going to convert to a sand/glass bead cabinet, not giving up on that one, just one of those "gotta get around to it" things. I'm saying right now that I won't be riding this bike enough to get it "sploogy", but you never know, might have to cover up some dirt with paint in the future... -
My 1983 Vf750f Restoration Project, Lotsa Big Pics!
SEBSPEED replied to SEBSPEED's topic in Modifications
Rosso, I am doing the "shades of gray" job, for sure. I do have a second(even some triples of some parts) that I'm going to do in RW&B at some point. The tank and tail are there for motivation right now, also to test the clip-on clearance(which is GOOD!) :rolleyes: My controls are going to consist of (L side) 900RR grip, 98 VFR800 signal pod & choke, and CBR1000RR clutch master(small res), and on the right side, 900RR grip/throttle housing(small), CBR1000RR start/stop switch(slim like the RC51), and 2004 Yamaha/Brembo radial master cyl(has cup-type remote res). Shouldn't be any issues with getting to the clip ons, although once they are on there, they will probably stay for a long time, unless I decide to go higher, in which case I'll strap on a set of stock CBR600F3 bars. -
My 1983 Vf750f Restoration Project, Lotsa Big Pics!
SEBSPEED replied to SEBSPEED's topic in Modifications
So, I finally got a little more done on the bike! I assembled the second fork and it went together well, and it works a lot better than it did before... the only thing I did differently during assembly was to hold the fork upright when I tightened the bottom bolt with my impact gun, where last time I held it horizontally. :fing02: Any way, it works now, so... on the bike it goes! Used the old bearing races to tap in the new ones, I had planned to borrow the special tool from the local Honda dealer, but they didn't have the one I needed. Got the lower triple in: Checked my clearances to the frame on either side; the triple was hitting the frame before I modified the stop with a pair of screws, looks like they worked out pretty well! I retained a lot of the steering travel, and the triple doesn't hit the frame. Right side: Left side: Upper triple is in, with the right leg: Used a VTEC top bridge nut & steering plug, and you can see the Yoshimura F3 billet clip on there: My son helped me tap out the holes for the rotor bolts(dirty in the first place, plus glass bead leftovers): Then I bolted the rotors on that I painted a while back, and threw the wheel up on the lift as well as installed the other fork leg: I'm digging the black on white! :biggrin: If you didn't notice in those pics, there is a custom fork brace in there that Jamie Daugherty designed and had another guy machine for me, it's made to bolt on the 1000R forks and hold a 750F fender! Yay!! I'm not liking the rough machine finish, so I will be sanding and polishing that piece at some point, it's too nice to paint black, but looks rough as-is. I spent an evening with my regulator-rectifier/fuel pump bracket, and this turned out real nice. I am going to try out the gravity feed fuel setup, so I got rid of the pump for now, removed the R/R, and degreased the whole plastic bracket. It cleaned up really well, and looks like new now! Here it is with the R/R back on(the bolts were wire wheeled before reassembly): Another little success story here is the shock linkage. Man, was that thing dirty! It had a layer of grime like you wouldn't believe... and the linkage arms(I like to call them drumsticks :rolleyes:) were pretty rusty. Another can of degreaser, a little glass bead blasting, and a spritz of paint later - much better! Installed: Other side: In that pic you can see the foam I filled the swingarm with, it's just the stuff that comes in the can "Great Stuff" it's called. I put the cush rubbers back in the F2 wheel, slipped on the specially machined hub, and then, finally, after much ado, I have a rolling chassis!! Seeing that got me motivated to install the brand new upper fairing stay that I bought 2 years ago, it was damaged during shipping & so I had to spend about 45 minutes with various tools to get it just right again, but it's about perfect now. Then I just had to throw the new headlight in to see how it would look, I think it's going to be pretty badass!! :fing02: Any thoughts, opinions, comments/questions/concerns are welcome! :fing02: -
Work on your smooooth. Could also be a suspension issue. You're a big(tall) guy, you might be alright by just scooching over a little on the seat, then leaning your upper body forward and into the turn. Try it out.
-
Got my foam yesterday, I had already cut the paper out the day before. Sprayed the frame down with degreaser, then epoxied the metal screen back on(it comes off if you trim the plastic runners out). I used Loctite 6 or 8 minute plastic gel epoxy, let it sit overnight with a pile of cut 2x4's on it. Cut the foam to size before I glued the screen back on. I'm planning to use black high-temp gasket silicone today to glue the foam in. :laugh:
-
Looks sweet, I vow to have a mill & lathe in my shop one day soon as well! What did you use around the brakeline at the hole? I'm still trying to locate nylon bushings like that for the last lines I ran... ?
-
Check the "Featured Modificatons" forum, post is called "The lines are now running through the swingarm".
