-
Posts
22,516 -
Joined
-
Last visited
-
Days Won
103
Content Type
Forums
Profiles
Gallery
Blogs
Downloads
Events
Posts posted by SEBSPEED
-
-
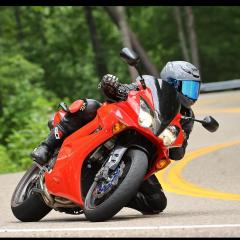
One of my Dragon runs with my buddy Travis chasing on his GasGas supermoto. Unfortunately the camera cut off toward the end, just as things were getting spicy.
Watch in hi def and you can see the rubber stripes being painted on the corner exits 😎
-
 5
5
-
-
Short pull through the gears, shifting on boost
-
 5
5
-
-
Manual fan operation
-
 3
3
-
-
54 minutes ago, vfrcapn said:
Beautiful skilled work Seb. This is the VFRR Honda could have built.
I was curious about what gearing your using?
I stuck with the same -1 front/+1 rear that I had before. It pulls out of corners very well without revving too high on the highway. I did have to go with the aftermarket 520 conversion to achieve that, as the biggest oem-fit Ducati sprocket only went as high as a stock VFR rear.
-
 1
1
-
-
15 minutes ago, Skids said:
Wasnt suggesting it was a bad thing, just interested. We all love these bikes yet remove and replace so many things that I sometimes wonder what is left of that thing that we wanted so much in the first place.
I've done the same, though nowhere near such a professional job, on my 01, and I'm still waiting for the headers and a new end can.
You may not understand the reference but it sometimes seems a little bit like Trigger's broom.
I didn't take it as a bad thing... is Trigger's broom akin to grandpa's axe?
-
On 2/24/2023 at 2:33 AM, Skids said:
They've all said it, unbelievably skilled and determined work. Thank you for sharing.
Just a random thought; how much of the original bike is still there? %?

edit: and a 2nd thought....HOW FAST? We're talking 0-60 and 0-100 I guess, plus standing 1/4. Can you get the power down without spinning the rear?
Can't imagine 200+hp in a bike so small, that's as many horses as there are in my baby Merc. I was lucky enough years ago to have a quick ride on a blown 5th Gen in a car park at Silverstone. Wheelying on the throttle at 120 in 3rd was impressive......and not a little scary! 😆
Original, untouched and unmodified parts? Not much... motor, swingarm, taillight... some brackets and hardware?
-
On 2/25/2023 at 9:38 PM, Yokel said:
Just beautifully done.
Thank you
-
11 minutes ago, bmart said:
Cool!
That looks...complicated.
You're not wrong...
-
 1
1
-
-
-
 3
3
-
 2
2
-
-
9 hours ago, Bren said:
Fair enough. Do you mind explaining how you did it?
Grab a bolt with pliers, heat it with a torch until it changes colors. Practice on a handful till you get a feel for too little/too much heat, and what colors you want. If you polish the bolts first, the colors will be brighter.
-
 2
2
-
-
1 hour ago, adkfinn said:
Seb - amazing work. You managed to stuff 10lbs of shit into a 5lb bag for sure... sweet sweet install.
Any chance you'd make a run of the carbon fiber right footrest heat shields? One of those would look great on my 5th gen, I like that way more than the factory piece.
I've thought about it, but havent yet. I do have a carbon 5th gen heat shield that was made by someone else. If you pm me your email or phone # I'll send a pic and price
-
12 hours ago, Dangeruss said:
Wow, just phenomenal. Absolutely phenomenal. I hope the first ride goes as well as the build did. Your tribute burnout is a wonderful idea, don't forget to record it to share. Thanks for the Oberon clutch slave idea, I wasn't aware of those. I'd be interested in hearing if it was worth the cost, or just a nice add-on as I'm about to rebuild my OEM one.
Thank you for sharing this in such great detail.
Thanks. It's hard to assign a value to individual parts when so much has been changed at once. I went from full stock clutch to the RCS + ss line + slave + 99lb clutch springs, so it's all quite different. The system does work very, very well and I'm sure the slave helps with that. I went with the larger size piston to make the pull easier. Even with the stiffer clutch springs, the pull is lighter than stock with a much better feel. I can easily modulate the clutch and brakes with 1 finger if I choose.
-
 1
1
-
-
6 minutes ago, Bren said:
Brilliant, just brilliant. Eye for detail and everything thought out. Brilliant.
What's with the torching of the bolts? I plan to dip mine in boiling hot engine oil and light them up to blacken them and give them corrosion protection. What's this then?
The bolts I colored are stainless, no need for corrosion protection. I just colored them because I could. And to be different.
-
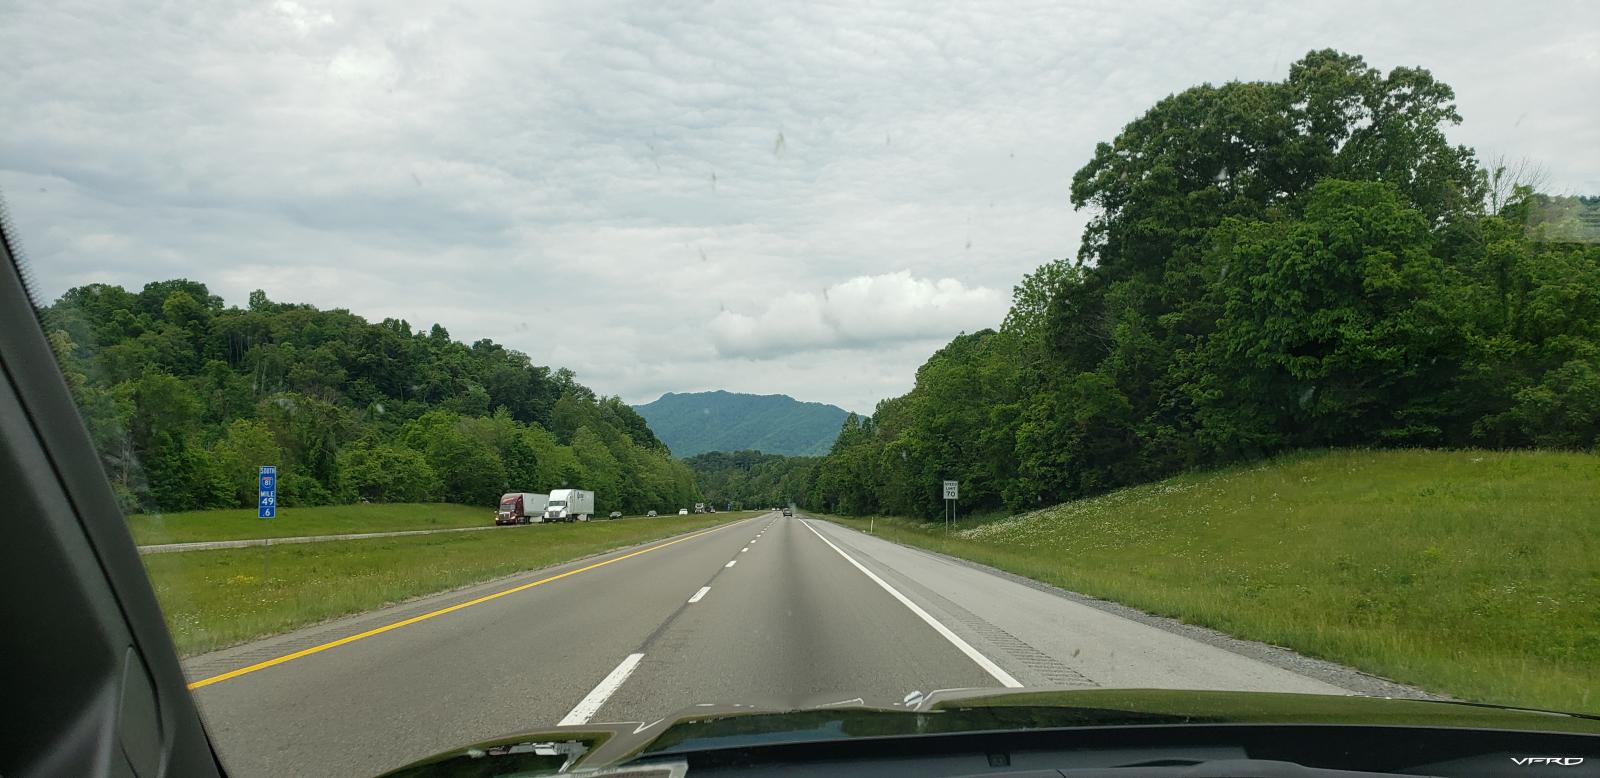
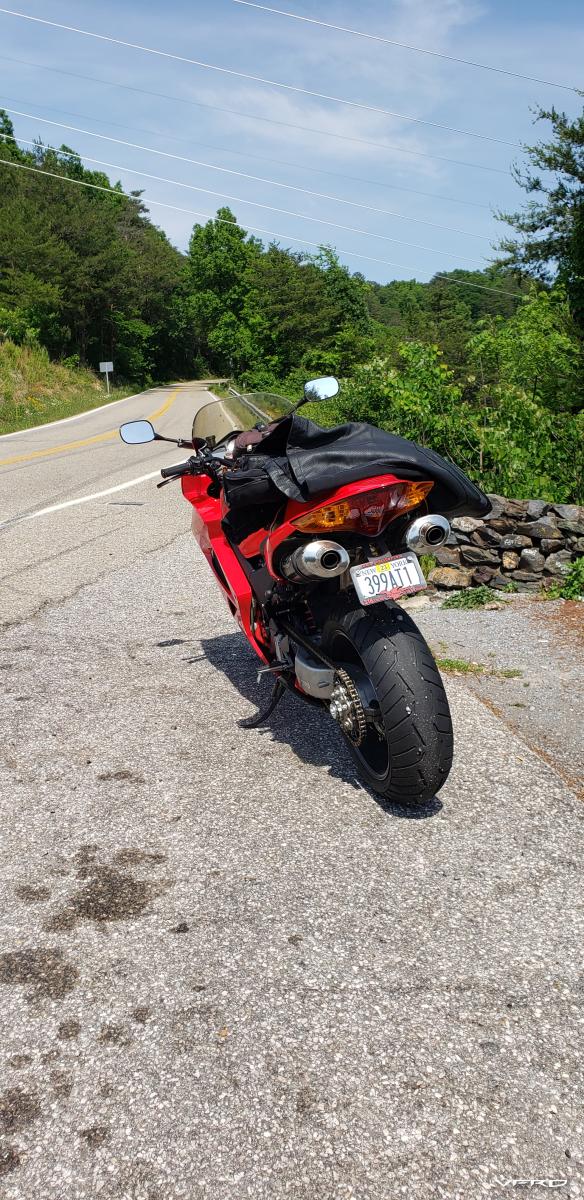
Ah, yes... I love my mountains at home but these are so much more exciting!

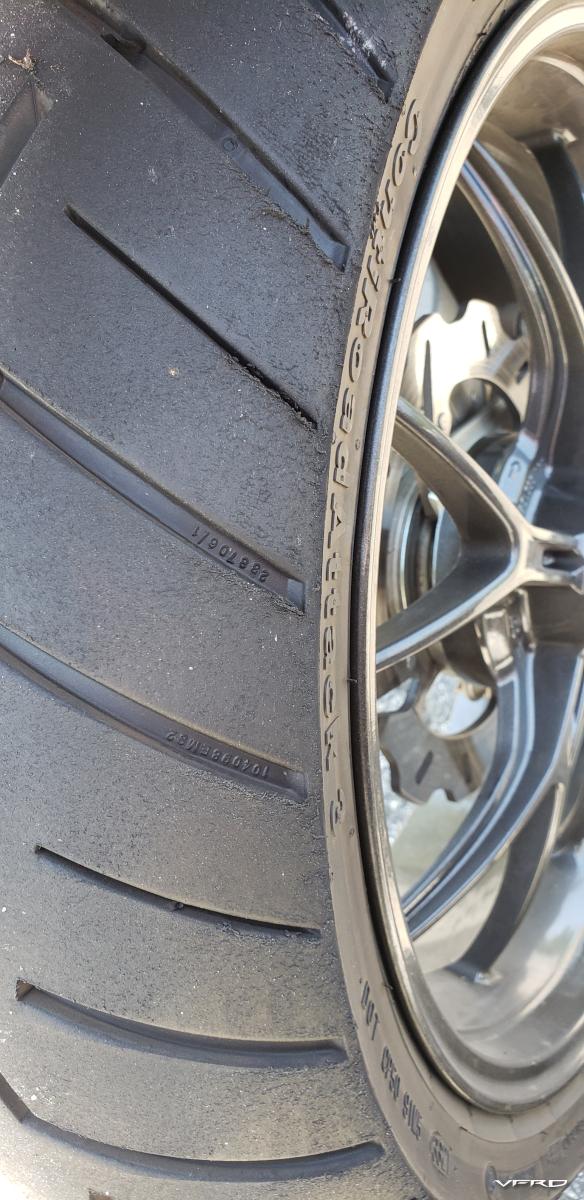
After arriving at the infamous Chateau Noir, the 190 was quickly mounted and axle covers installed...

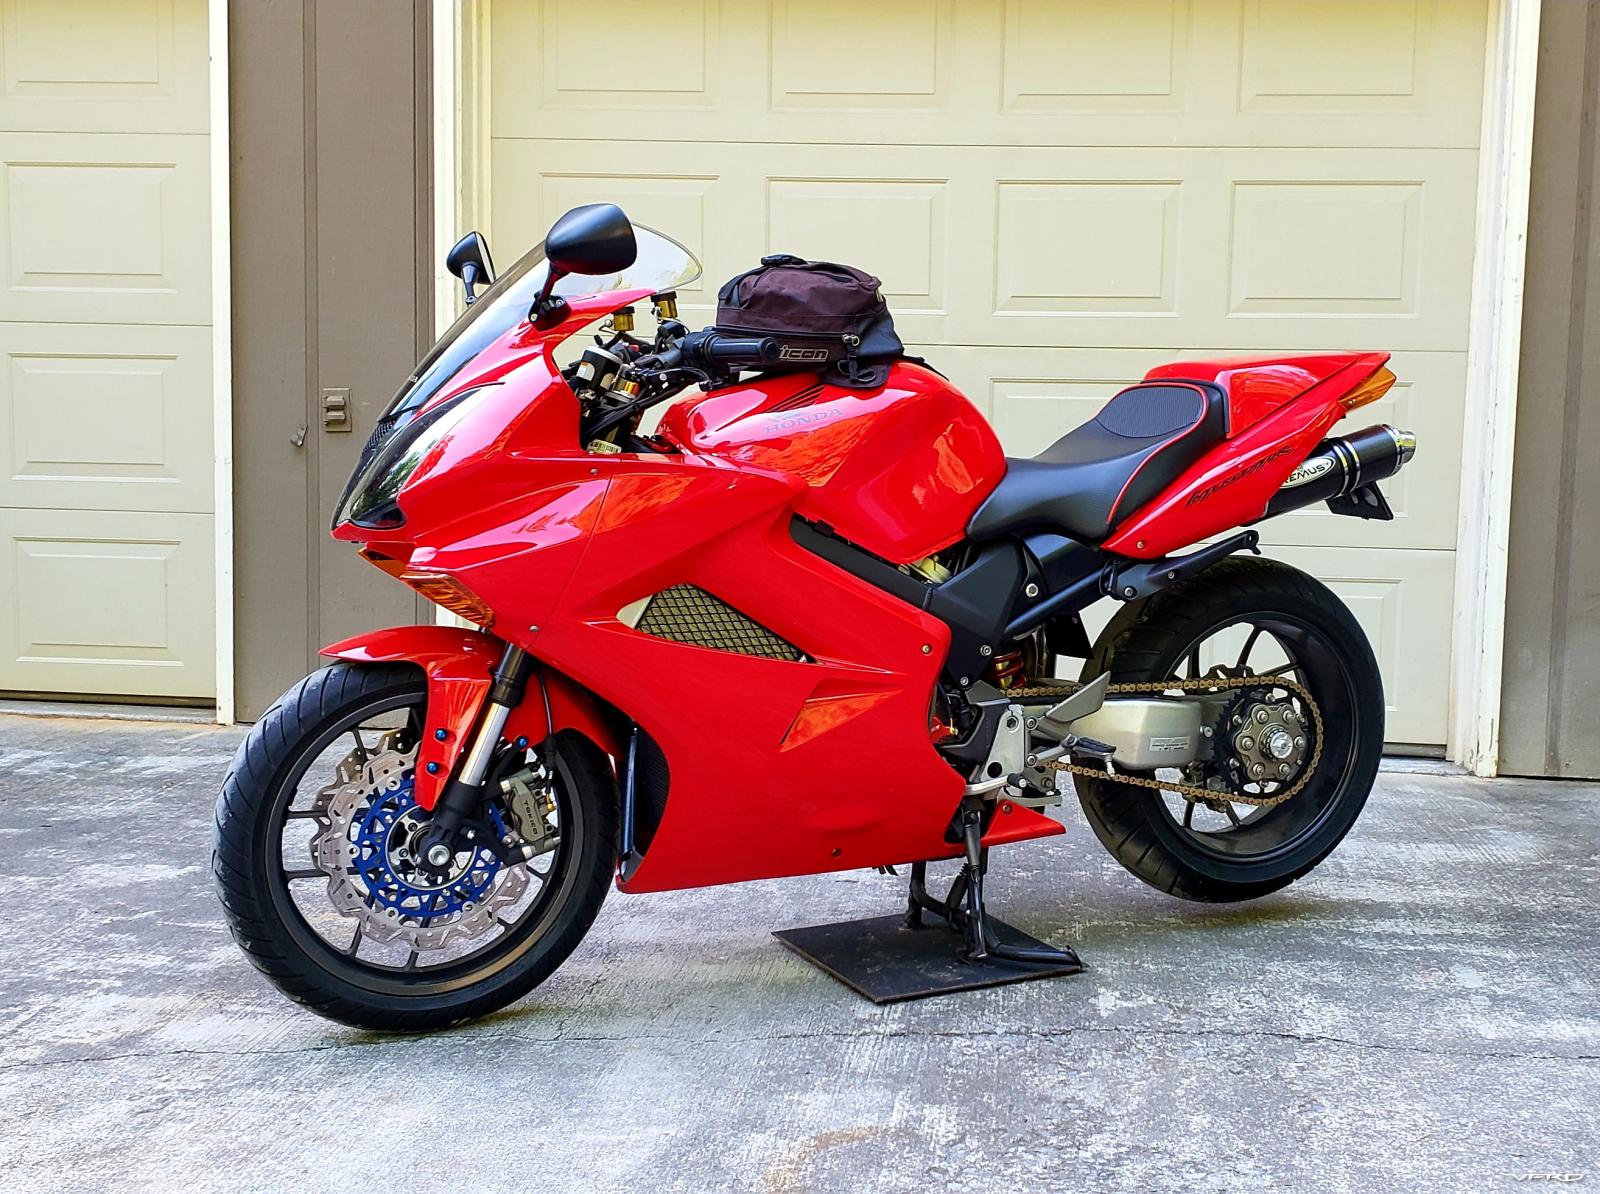
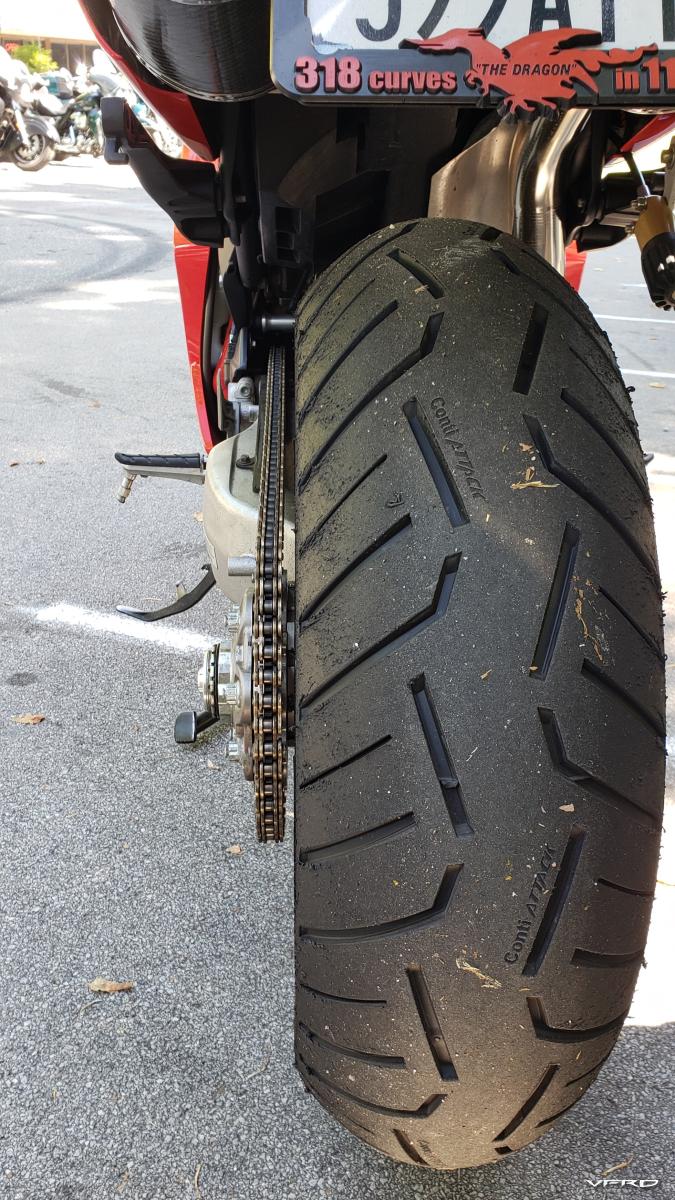
I have yet to fine tune all that fancy suspension, but I have to say, this is by far the most composed, best handling, best braking, best shifting, most comfortable and outright fastest VFR I have ever ridden. And I rode an HRC-built lightweight Ohlins equipped RC30 just prior to boot. This lowly VTEC knocks its socks off in every department except static weight.
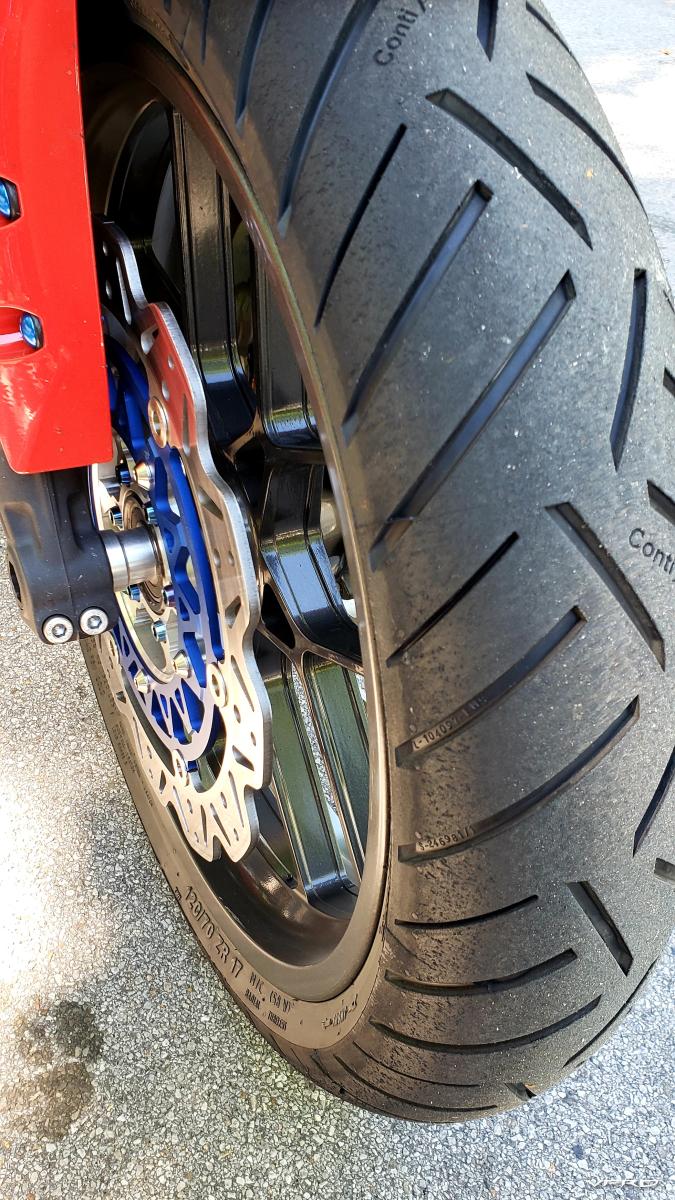
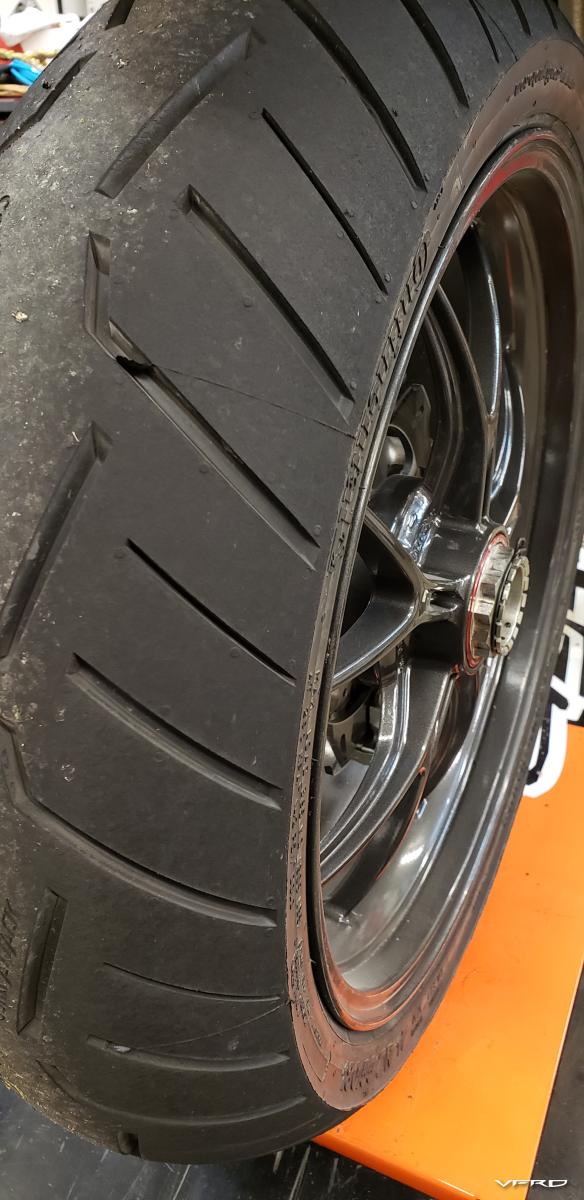
The new tire wear says more than I can, after a lap on that road everyone loves...


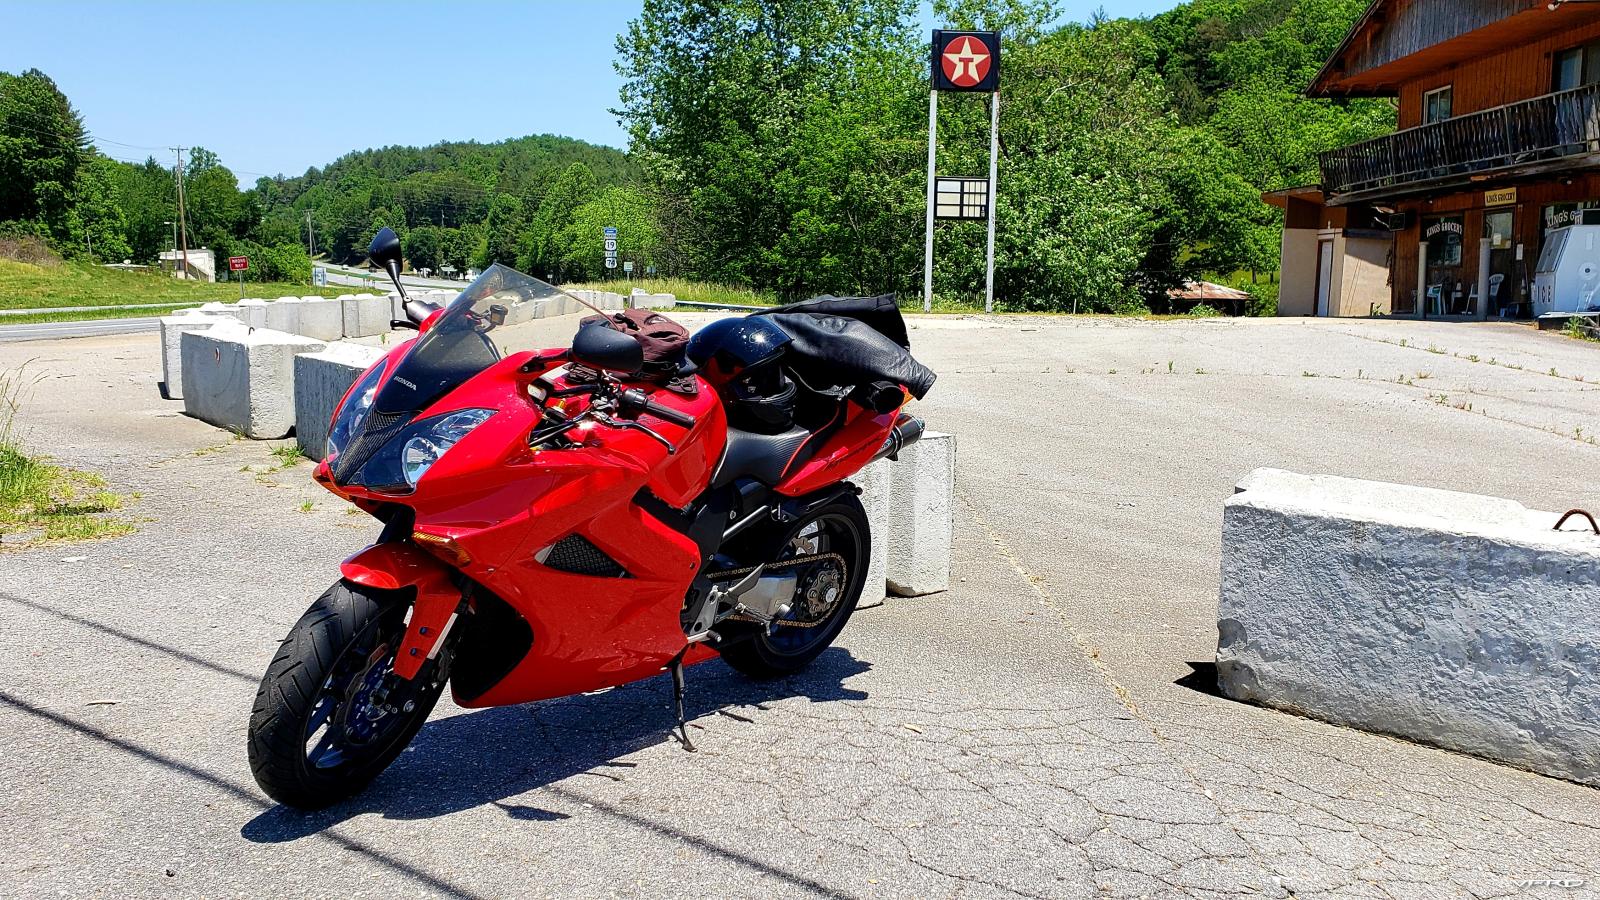
And especially after a few laps of my favorite section of road, the top of 28 before the old closed Texaco, aka the shitty gas station


-
 7
7
-
-
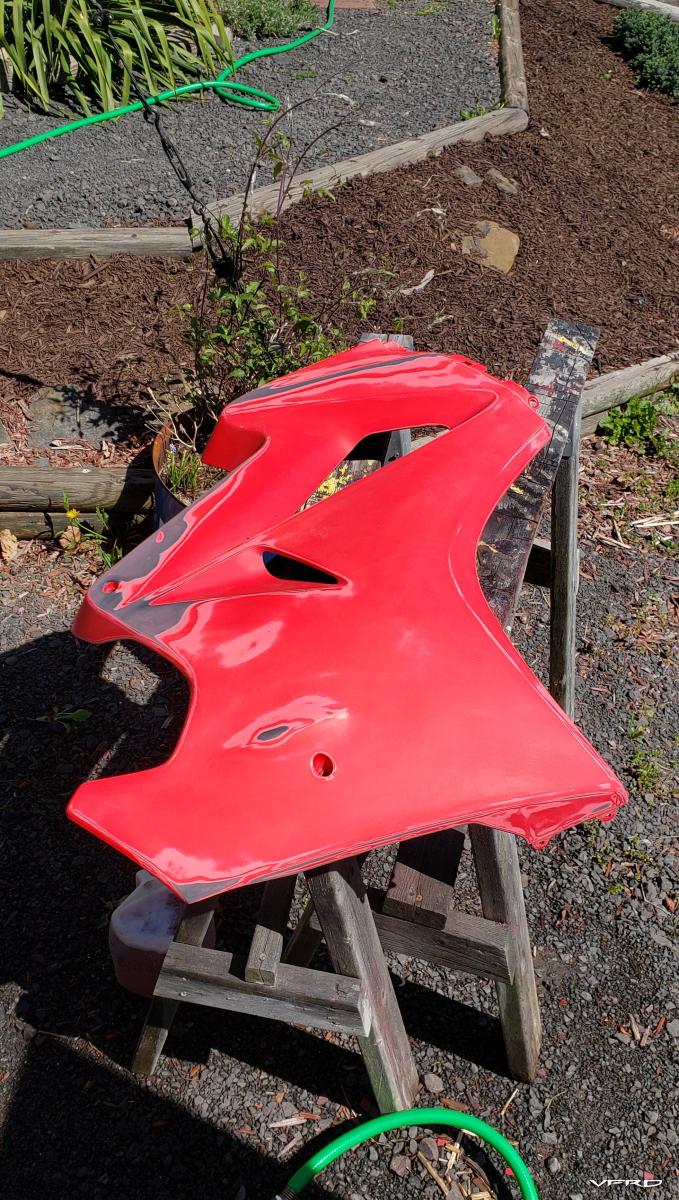
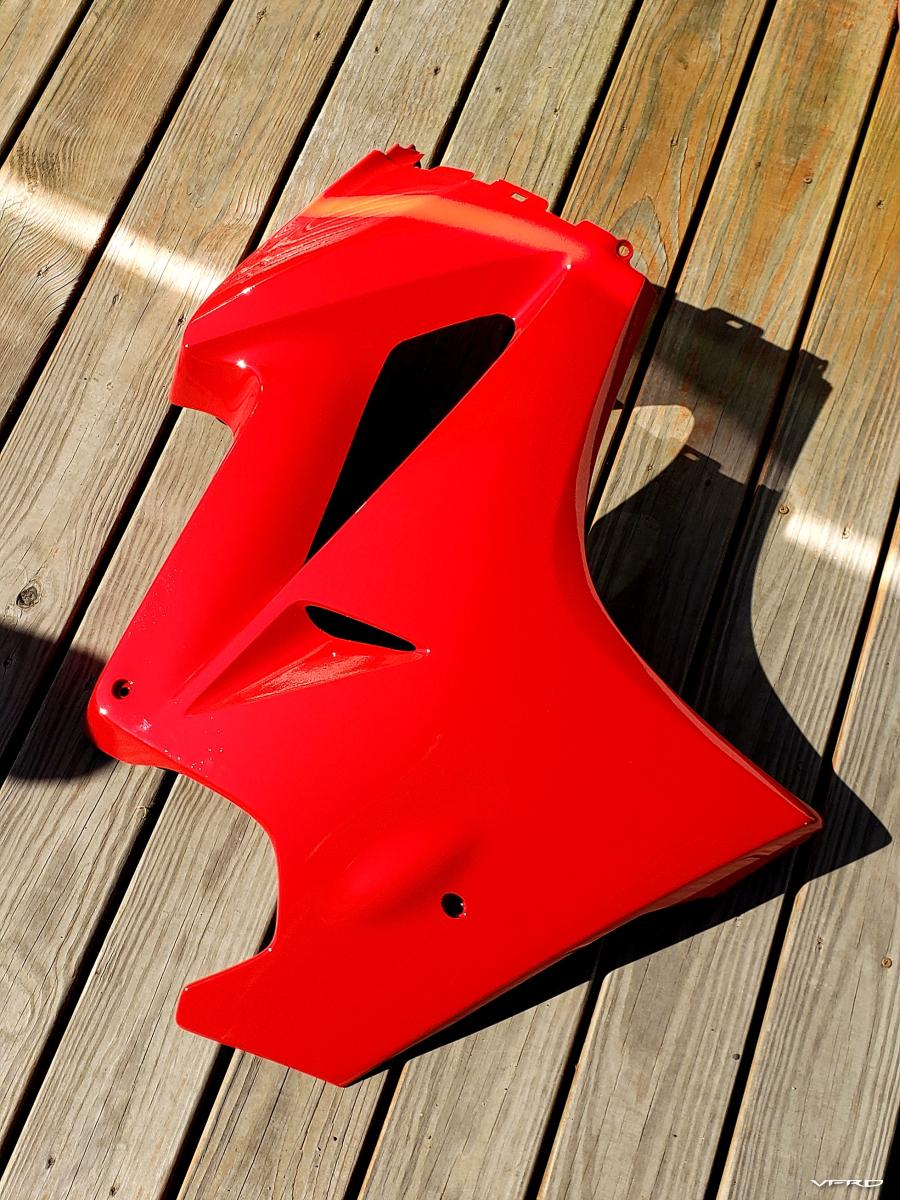
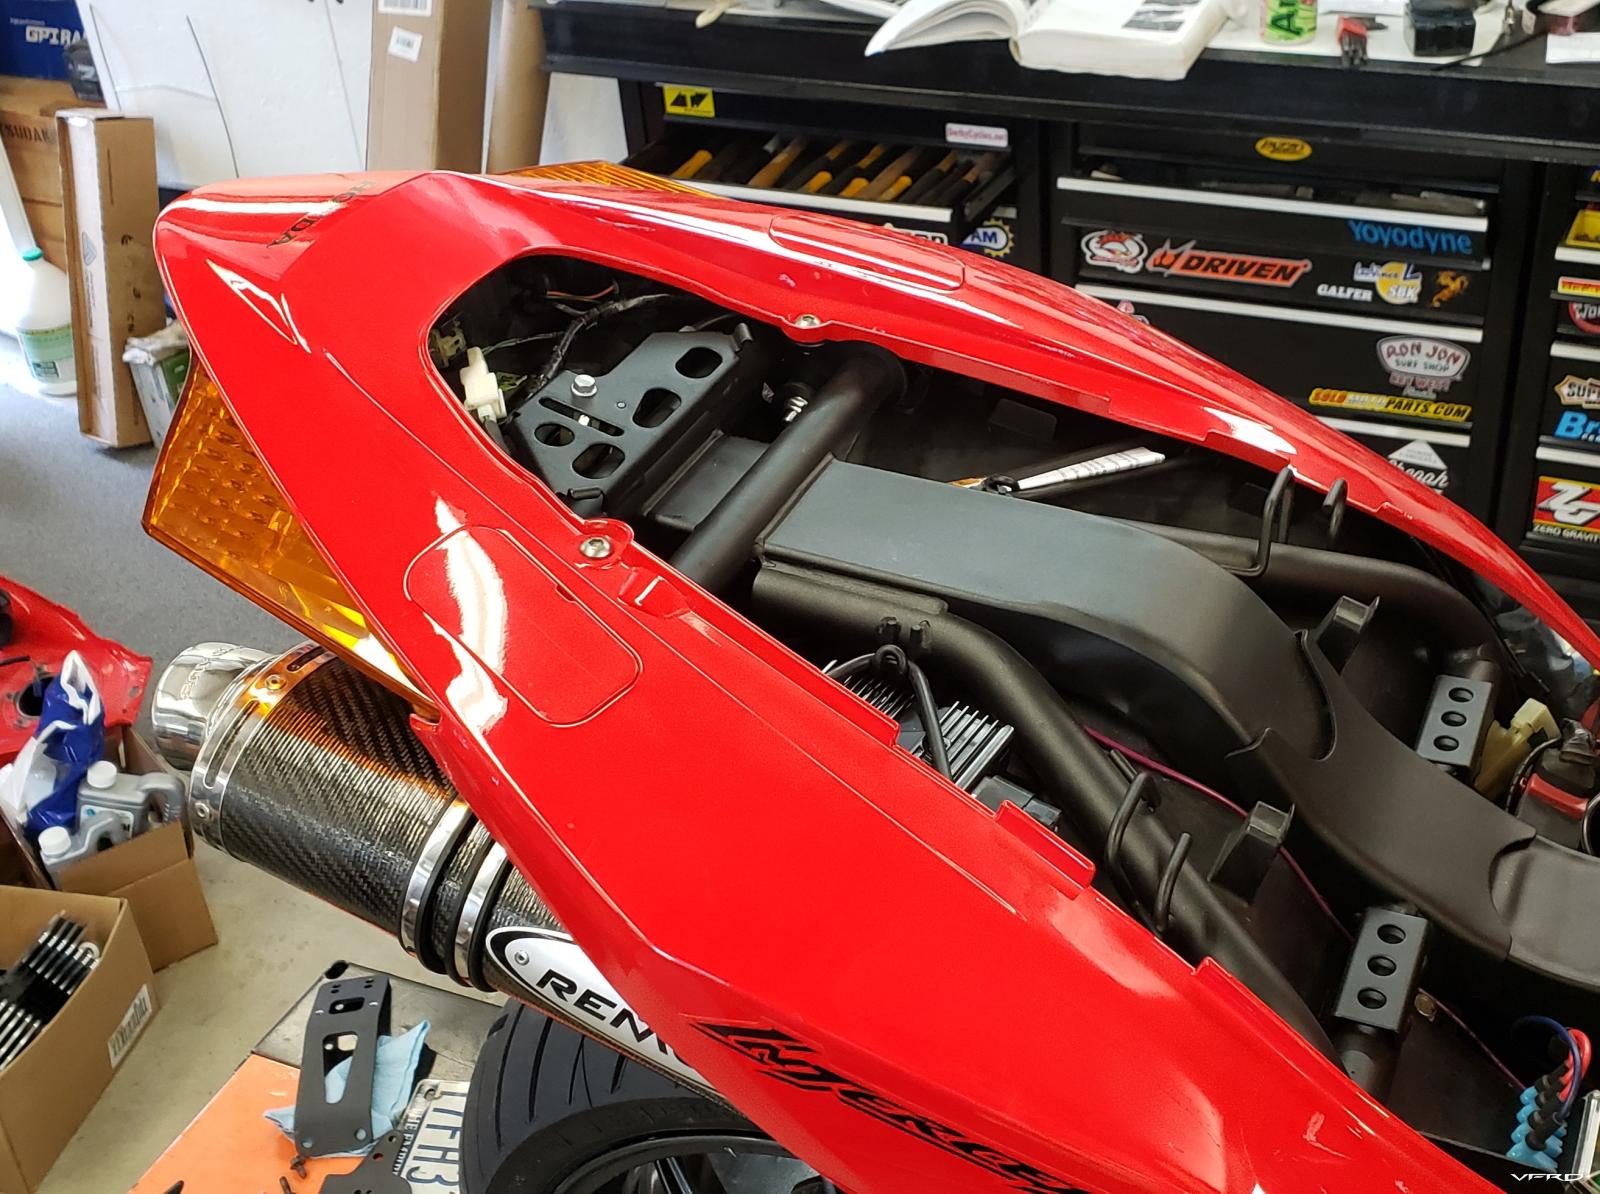
No minute like the last minute... I could have sworn I had a brand new right side panel in my shop attic... apparently I used that one already... so mad dash to get my old one scrubbed down and sprayed just in the nick of time!


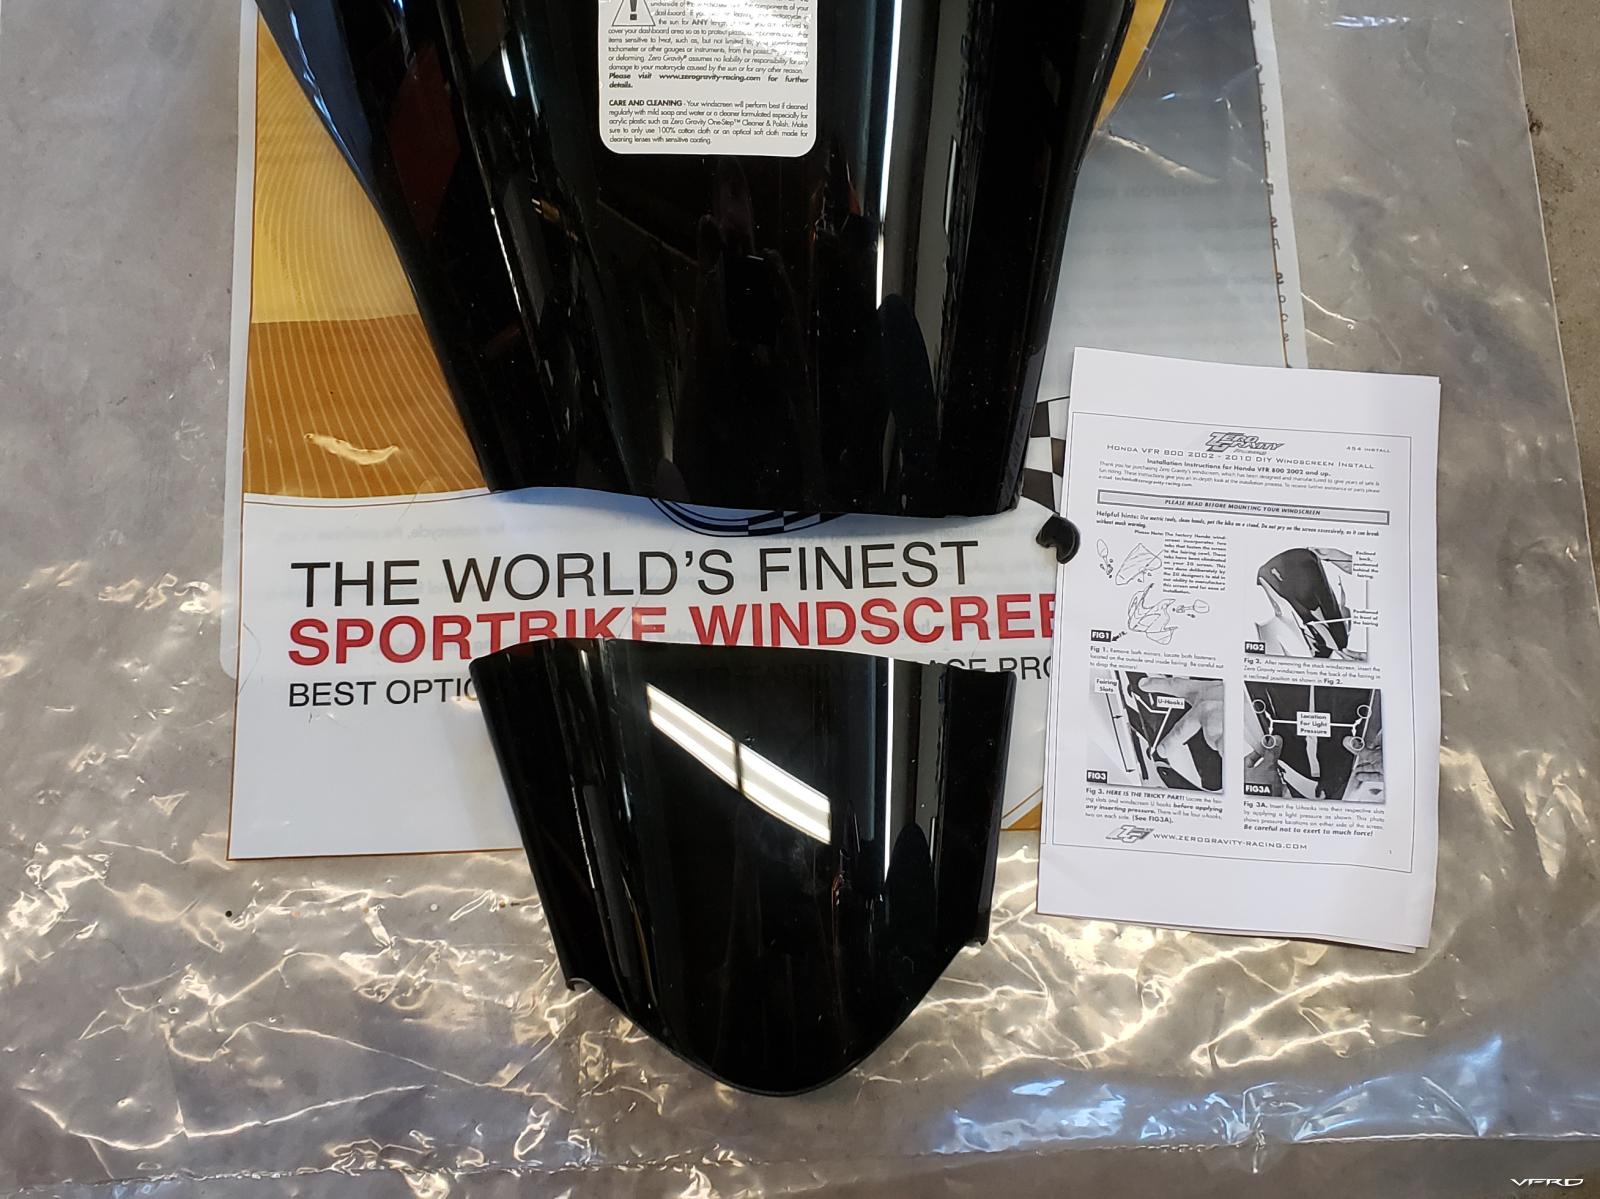
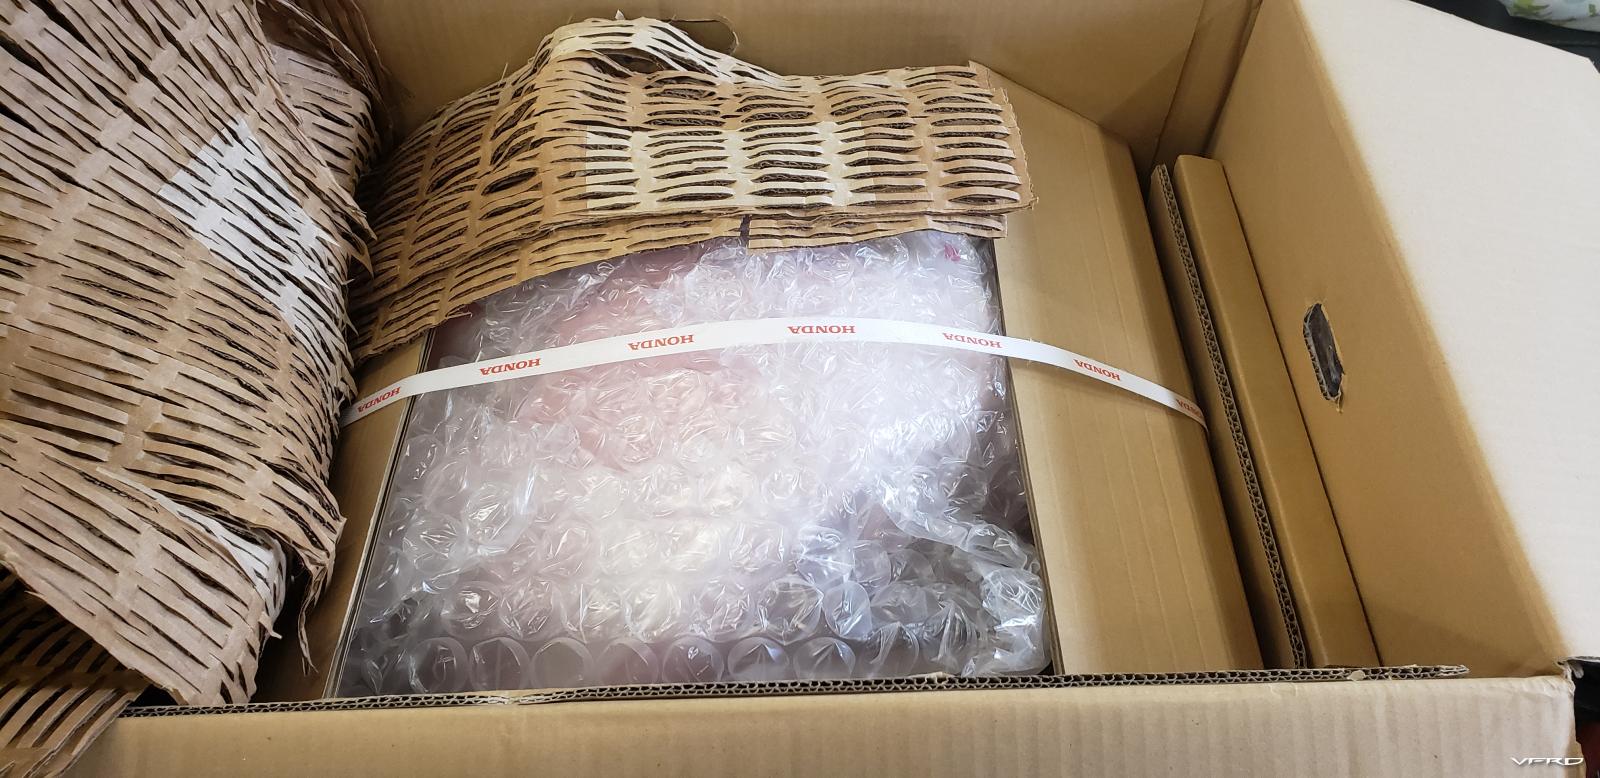
And then another little disaster... extremely inaccurate packaging... what a piece of garbage.

It took almost 5 months, but I did end up getting my money back from ZG. I ended up going with my oem 06+ screen for the trip.
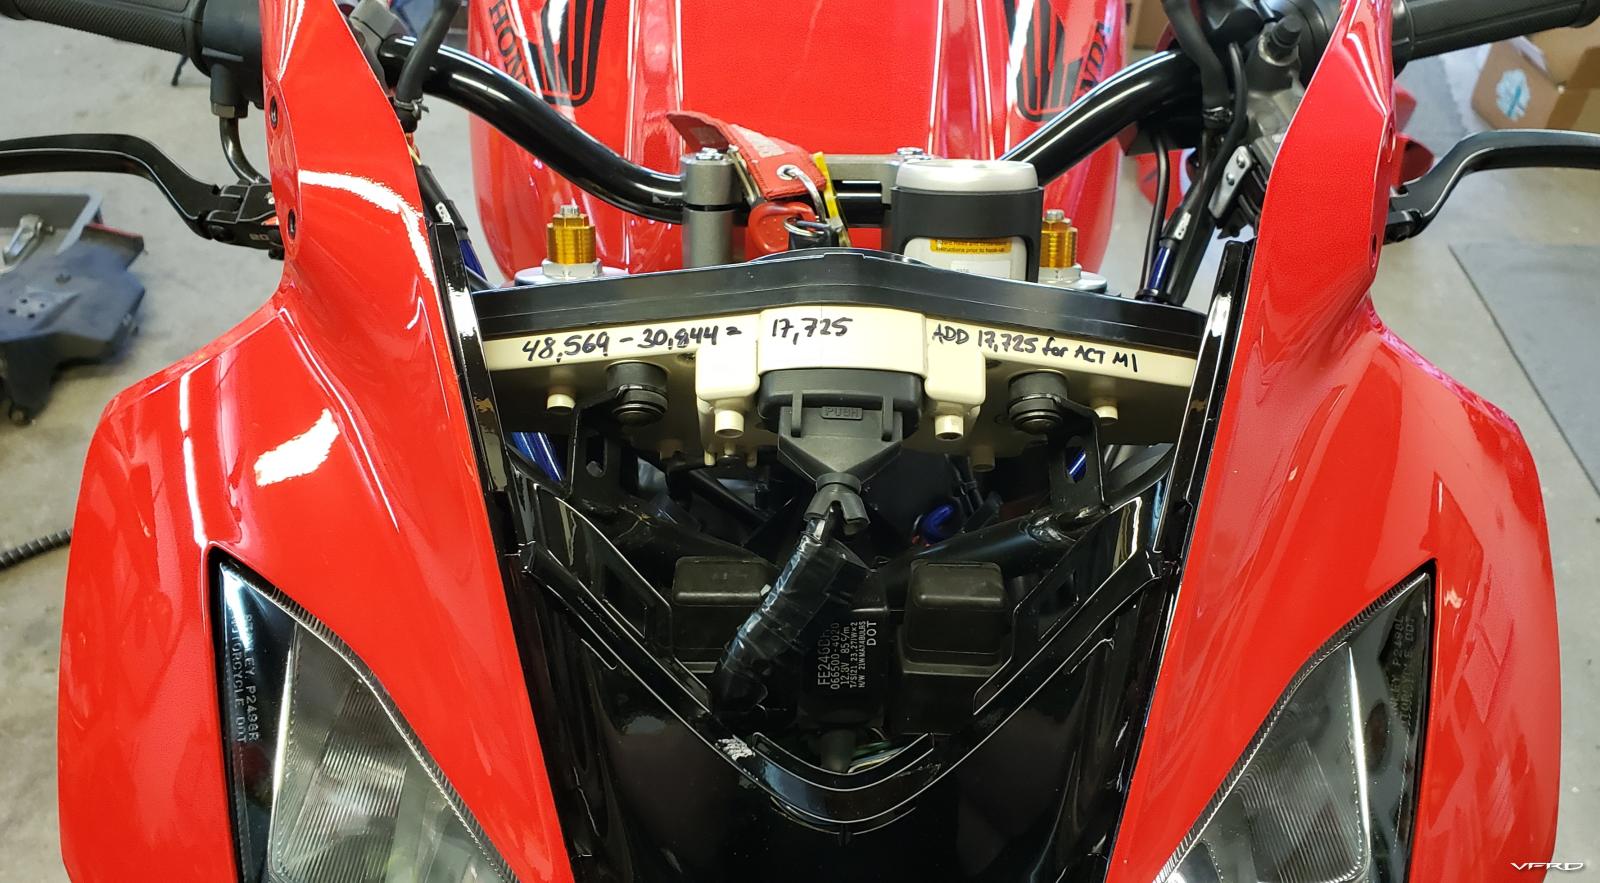
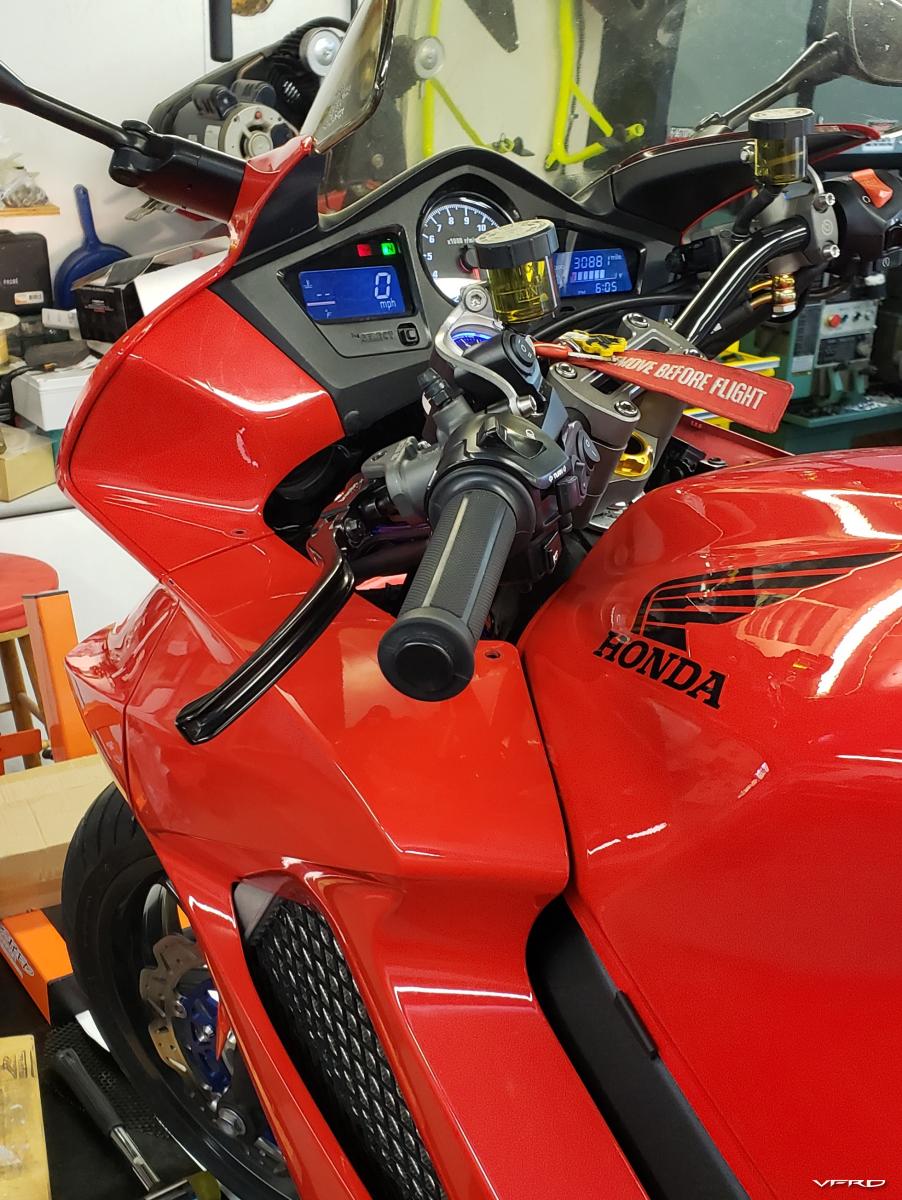
Mileage correction recorded...

Hey @Rivcyko ... remember these? lmao

So, here is why a 180 on a 6" wheel is a bad idea...
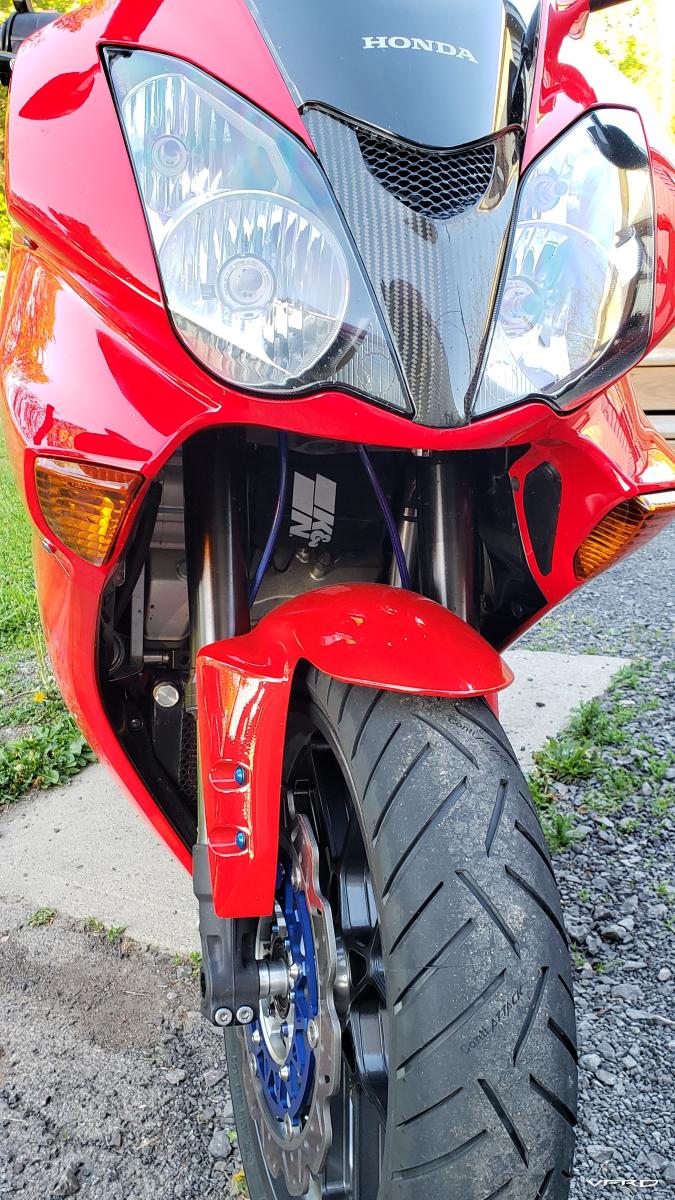
Check our front "chicken strip"... looks like it hasn't really done much more than a lap of a showroom floor...

But! What do we have here? Nothing! Beyond margin for error! This was the first ride, not pushing anything in any way as I was just doing brake checks, cooling system checks, etc.

I was out of time to order a new tire to my house, so had the proper 190 I needed shipped ahead to Maryville, TN where we'd be staying for a few days prior to the spring ride in NC.
Left side buttoned up...

Yummy...

Right side almost there...

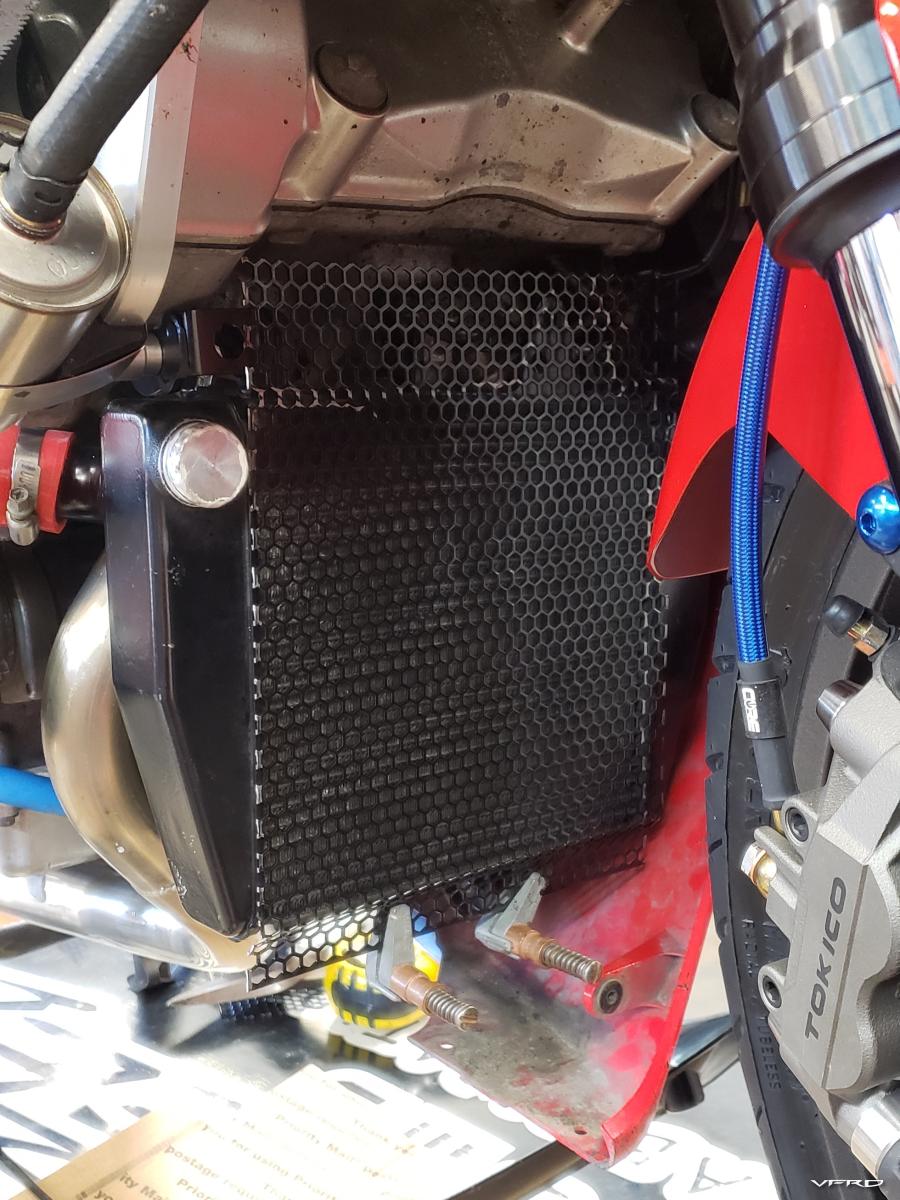
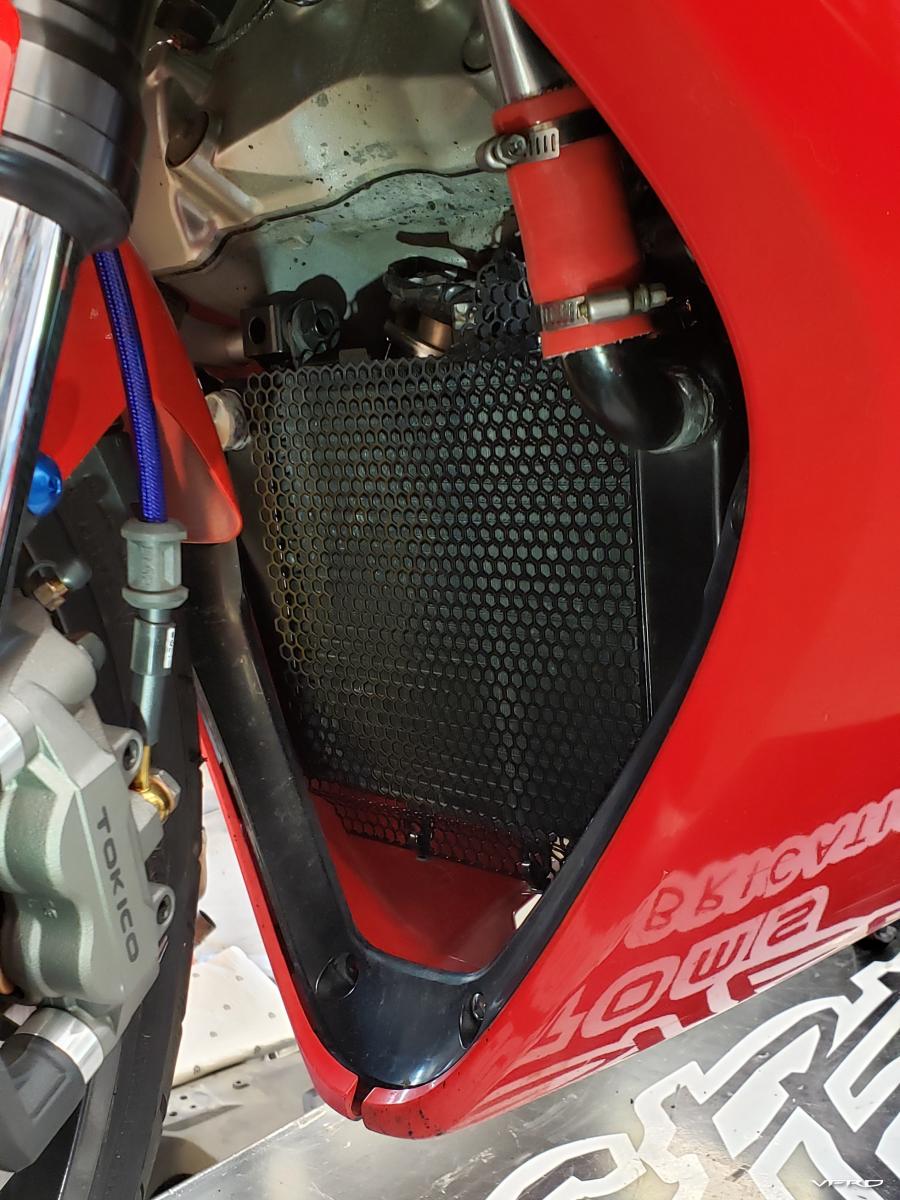
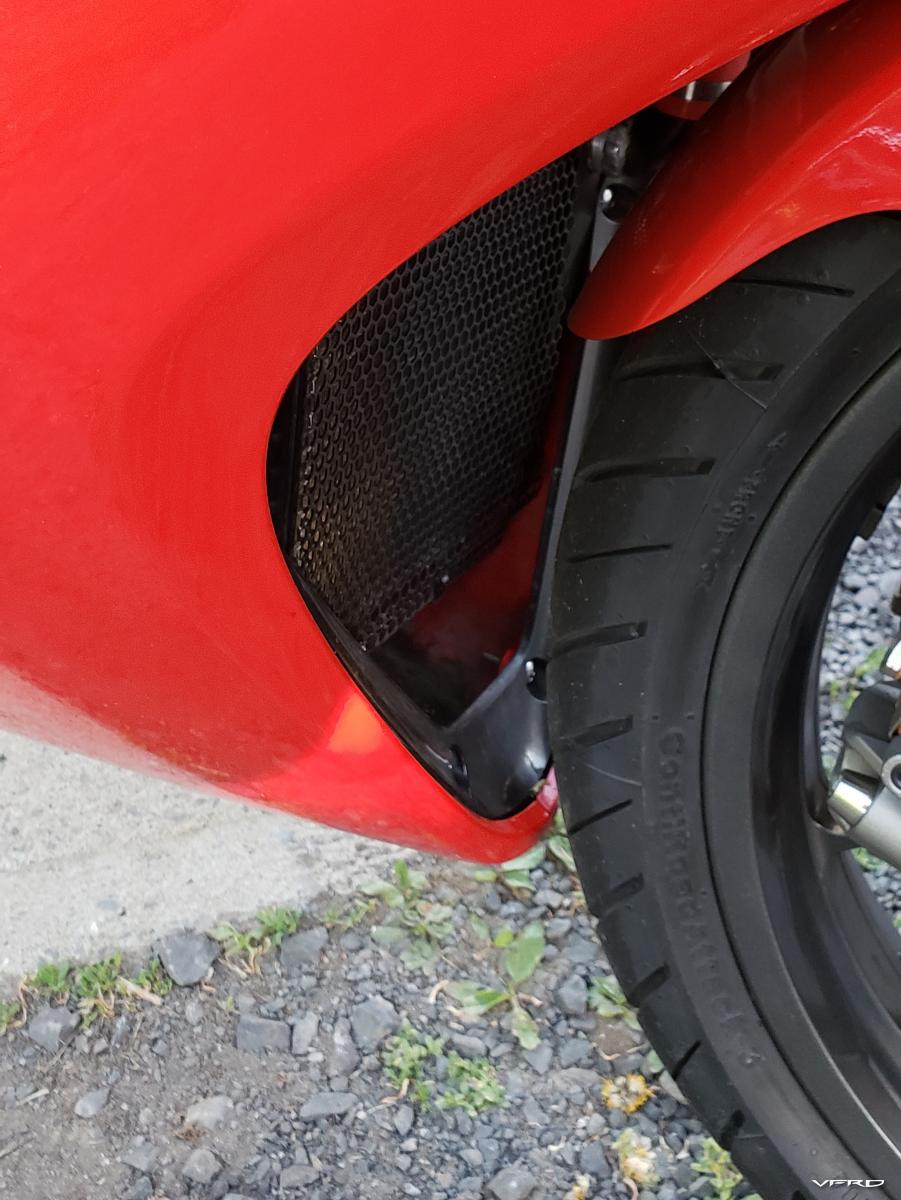
One more thing I felt needed doing, was some protection for the lower radiator. I got some metal mesh from amazon and worked up a screen:

And then modified the 6g "V" inner fairing to delete the middle section. I trimmed it out and left myself some extra on the bottom edge to roll over for an oem look.

Final assembly:

I got a new filter sock for the intake as the old one was torn and dirty

And then a nice little wax job

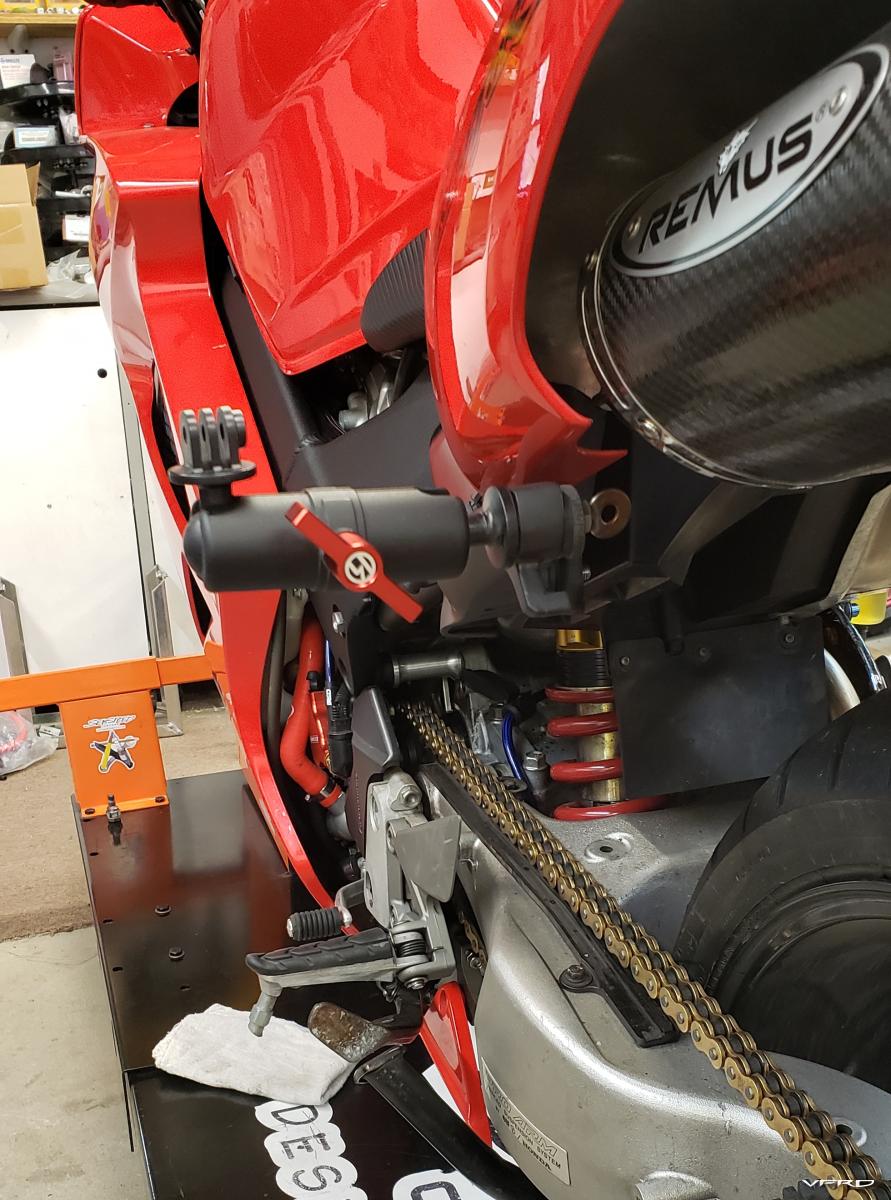
And a quickie camera mount for my son's gopro

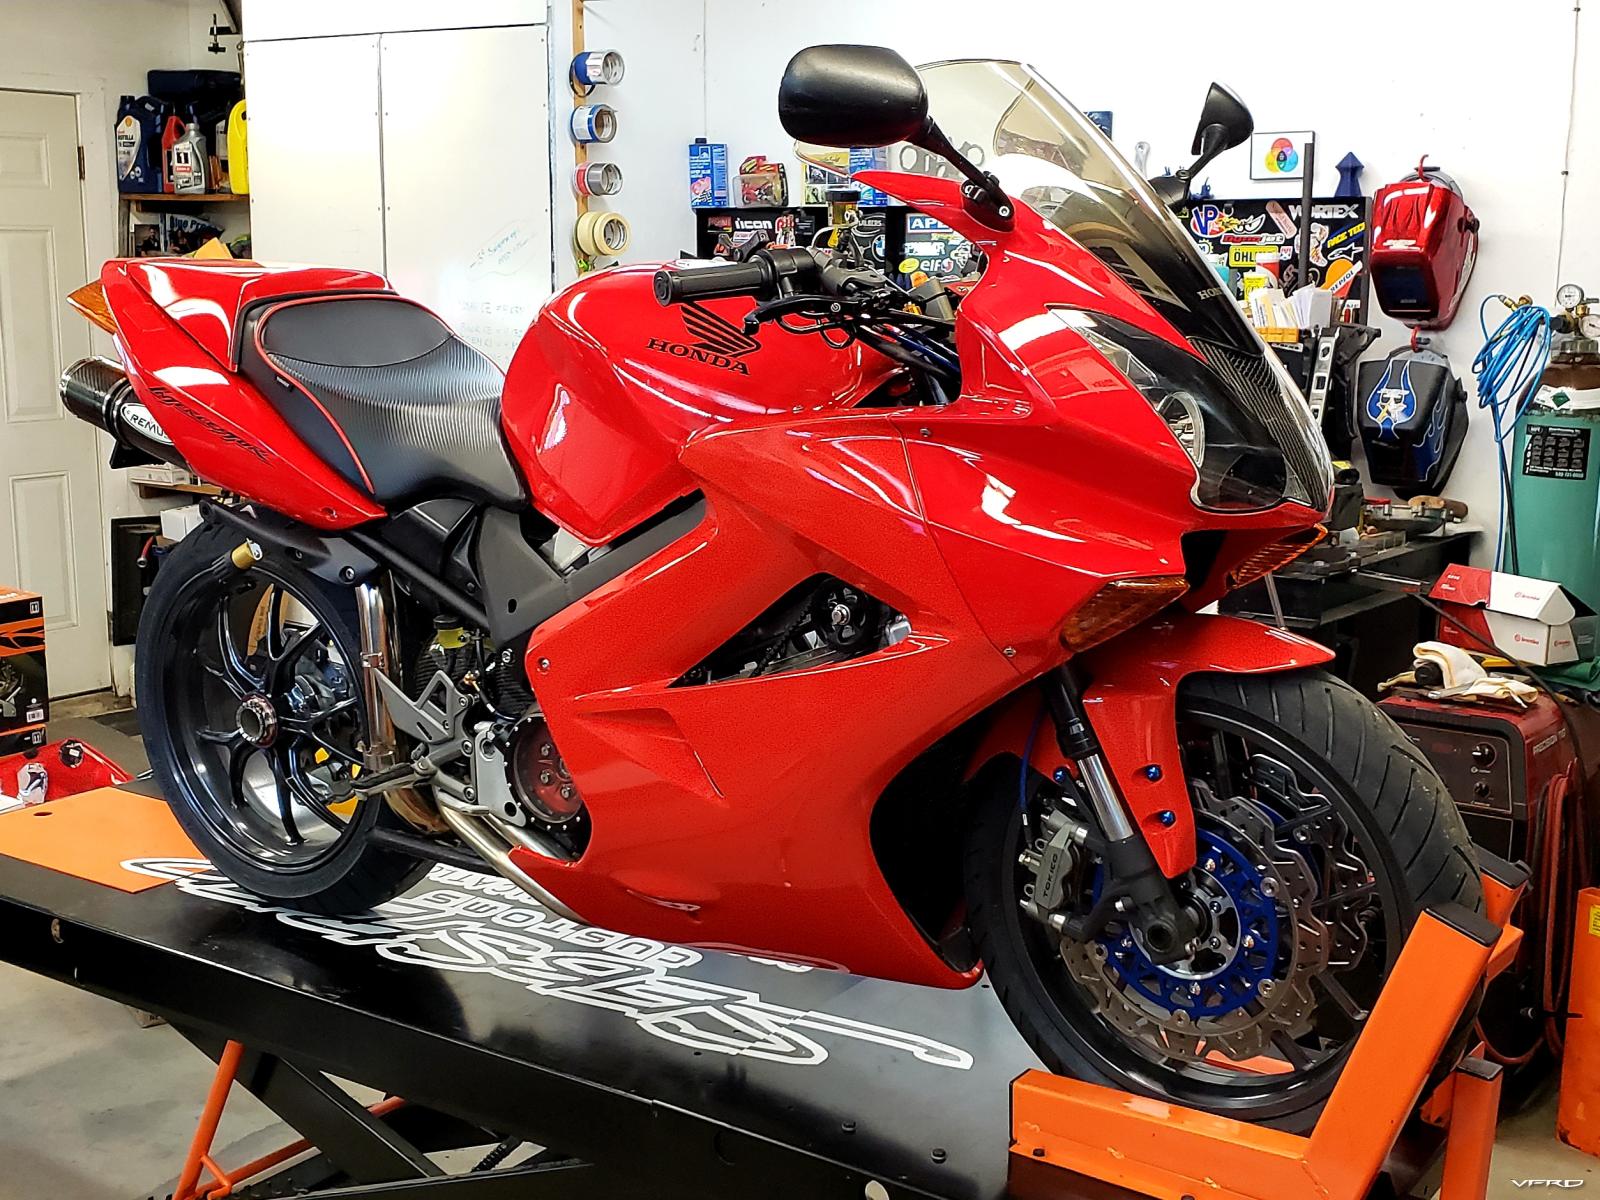
I had just enough time for a few more short test hops before packing up for the big ride

-
 8
8
-
-
Ooh, ahh...

I spent too much time trying to figure out how to have the blow off valve make a funny noise, but short of zip tying a rubber chicken to it, I couldn't find any good options, so just let it be. But yes, that's how a bag of rubber chickens ended up at the Spring ride...

Boost gauge adaption

Looking more complete by the day

So much work here, I can't even begin to describe most of it.


THAT RED!!! WINNING!!!

Here she is running some heat cycles in the yard. I did also Cerakote the Rotrex oil reservoir, and you can see the fluid level indicator hose doing it's job.


-
 7
7
-
-
I'm a detail guy... gotta have them, I get lost in them...
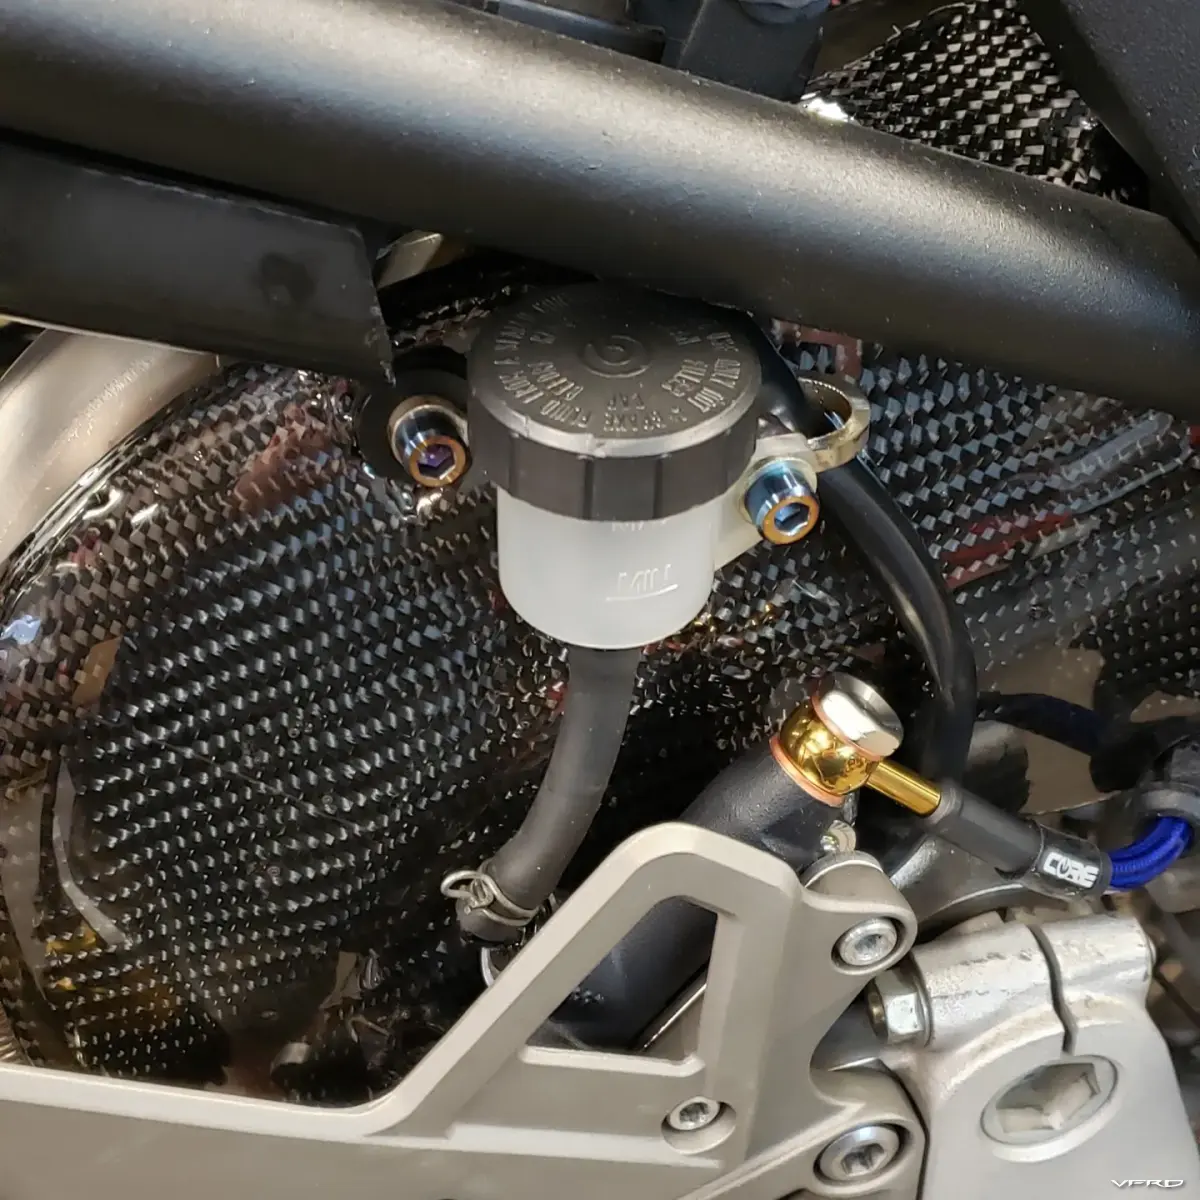
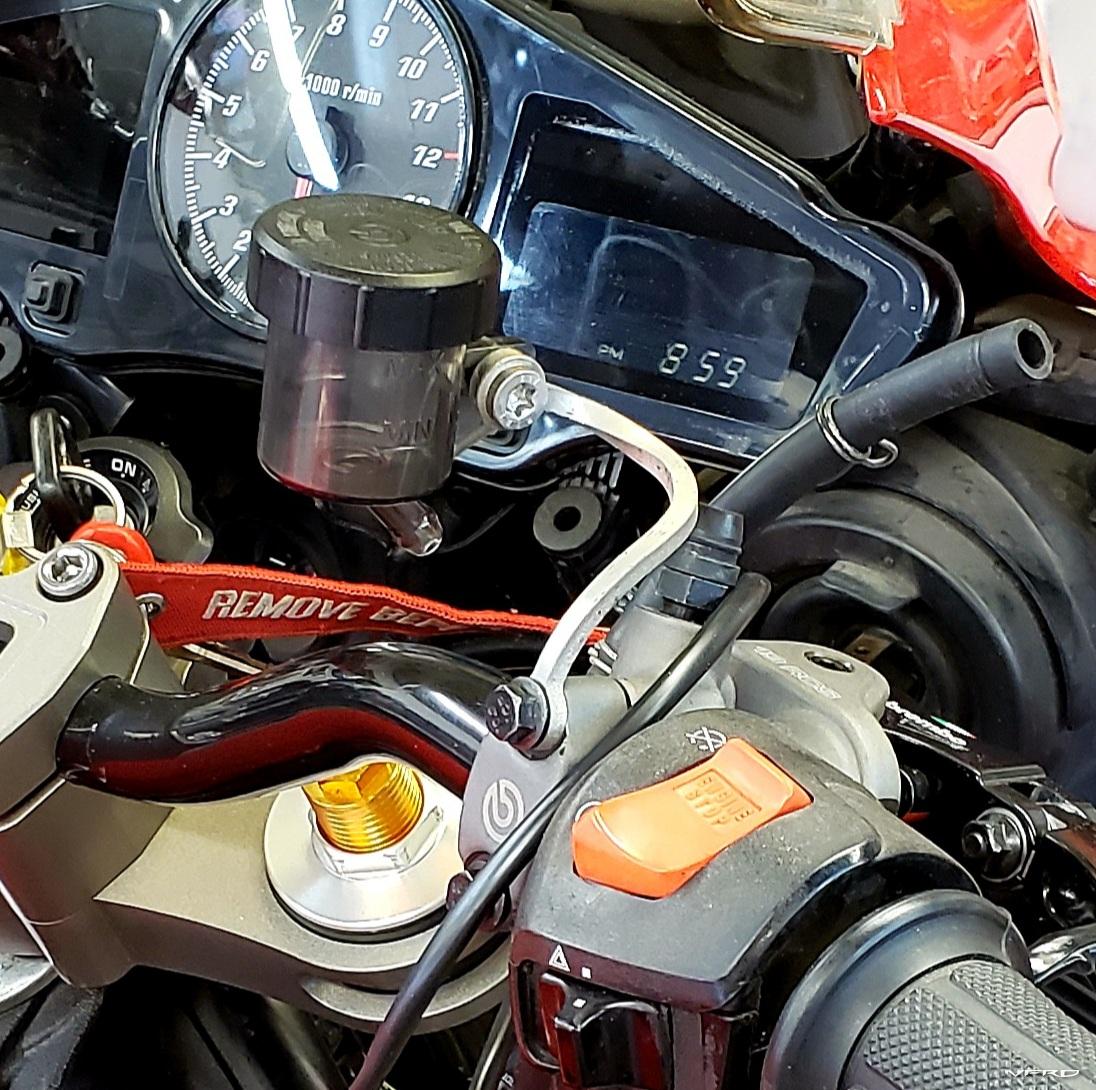
I moved the rear brake res to the footrest area to buy myself more room for the fuse box and RB install. Unfortunately couldn't get my hands on a translucent smoke colored res to match my bar controls, so I used this white one. The folks at Kurveygirl.com are trying to source me the one I need from Italy. I used one of my stainless mounts for it, and dressed up the bolts with a little torch heat treatment after lathe cuts.

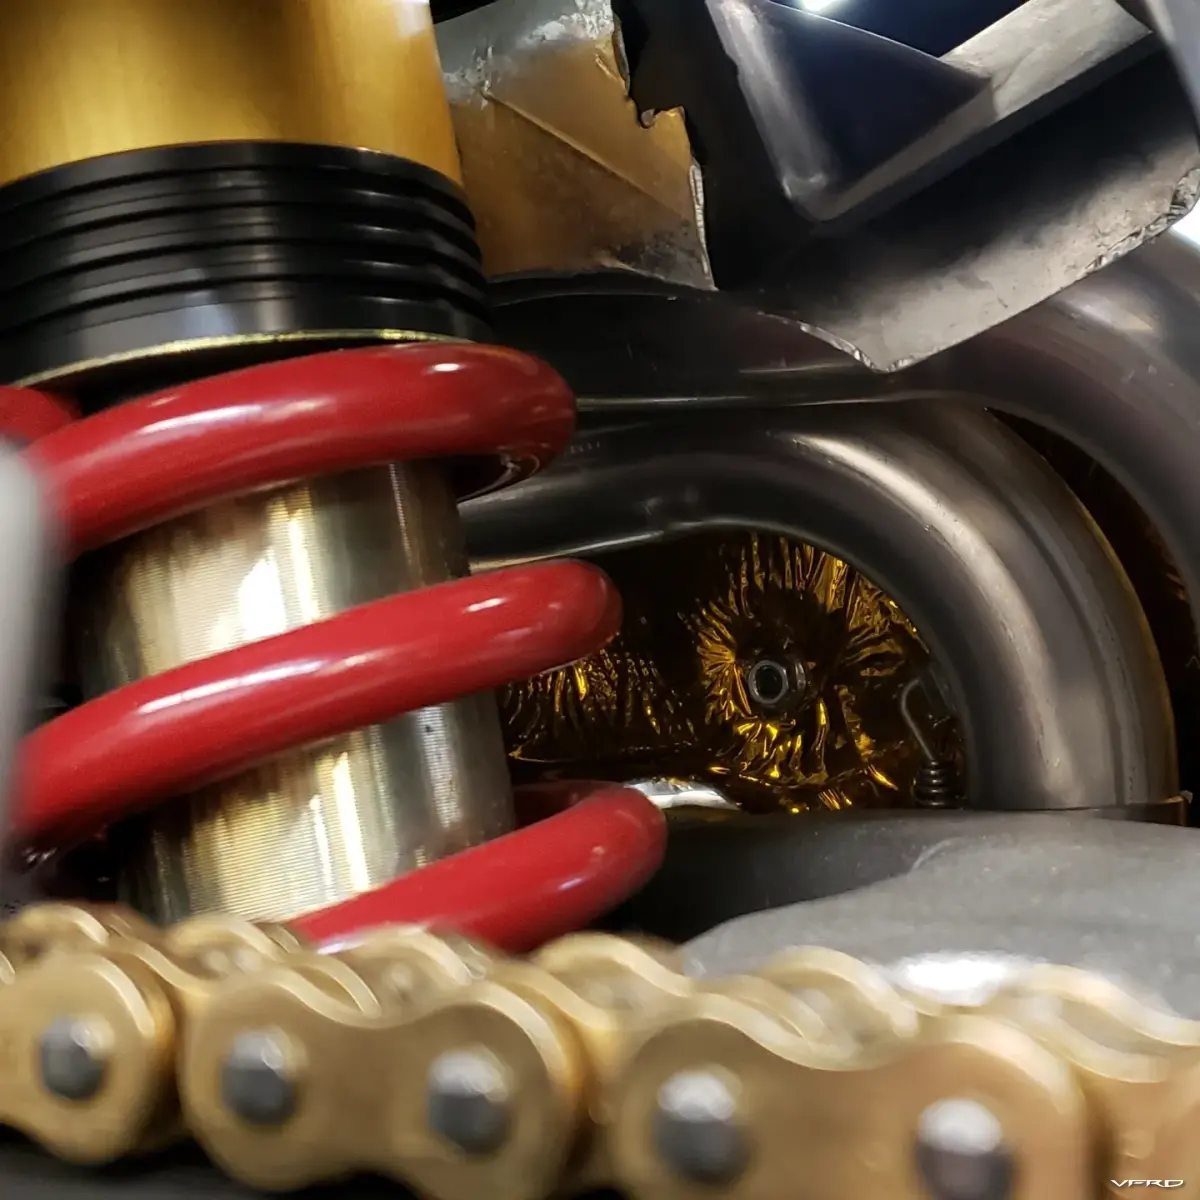
Also added heat shielding to the back of my carbon heat shield, but forgot to take a pic before install.

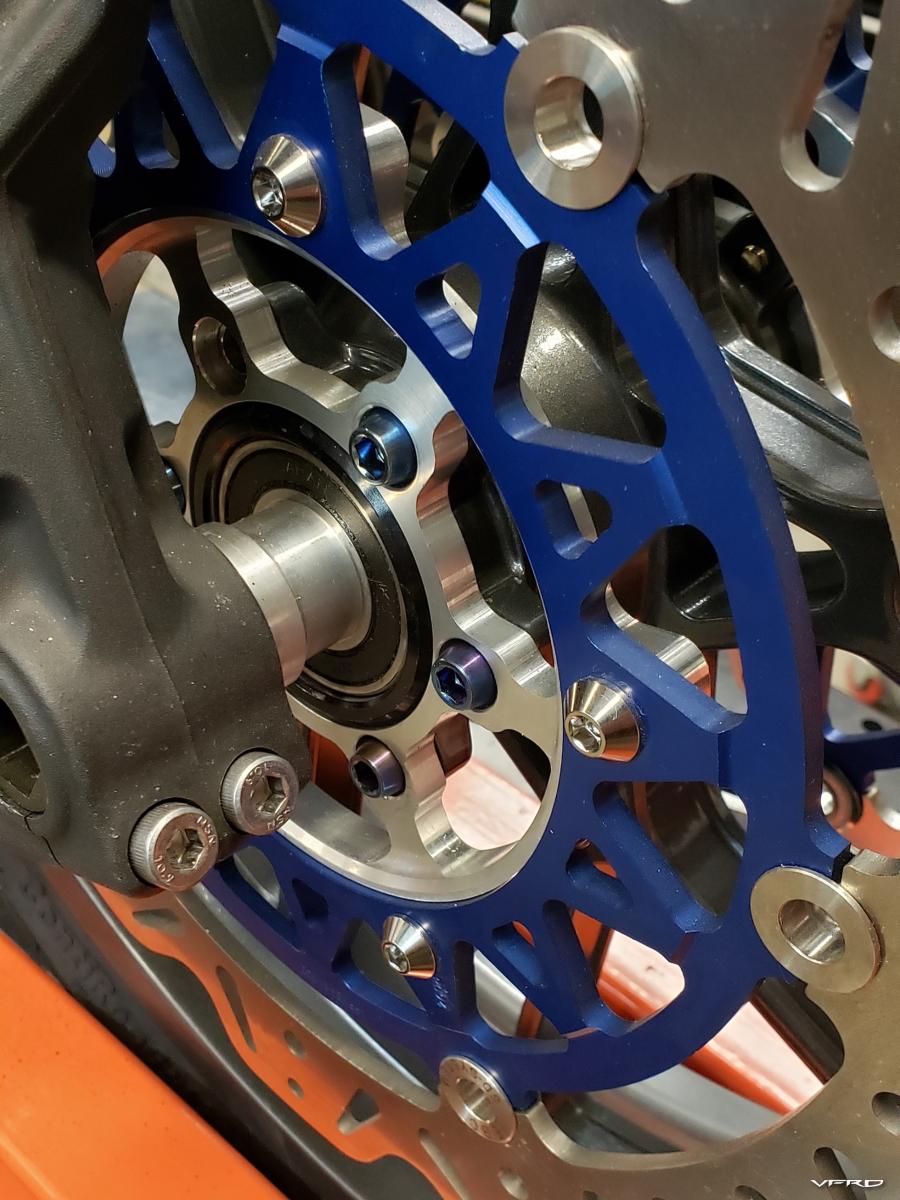
That was fun, so I torched the titanium rotor carrier hardware too...

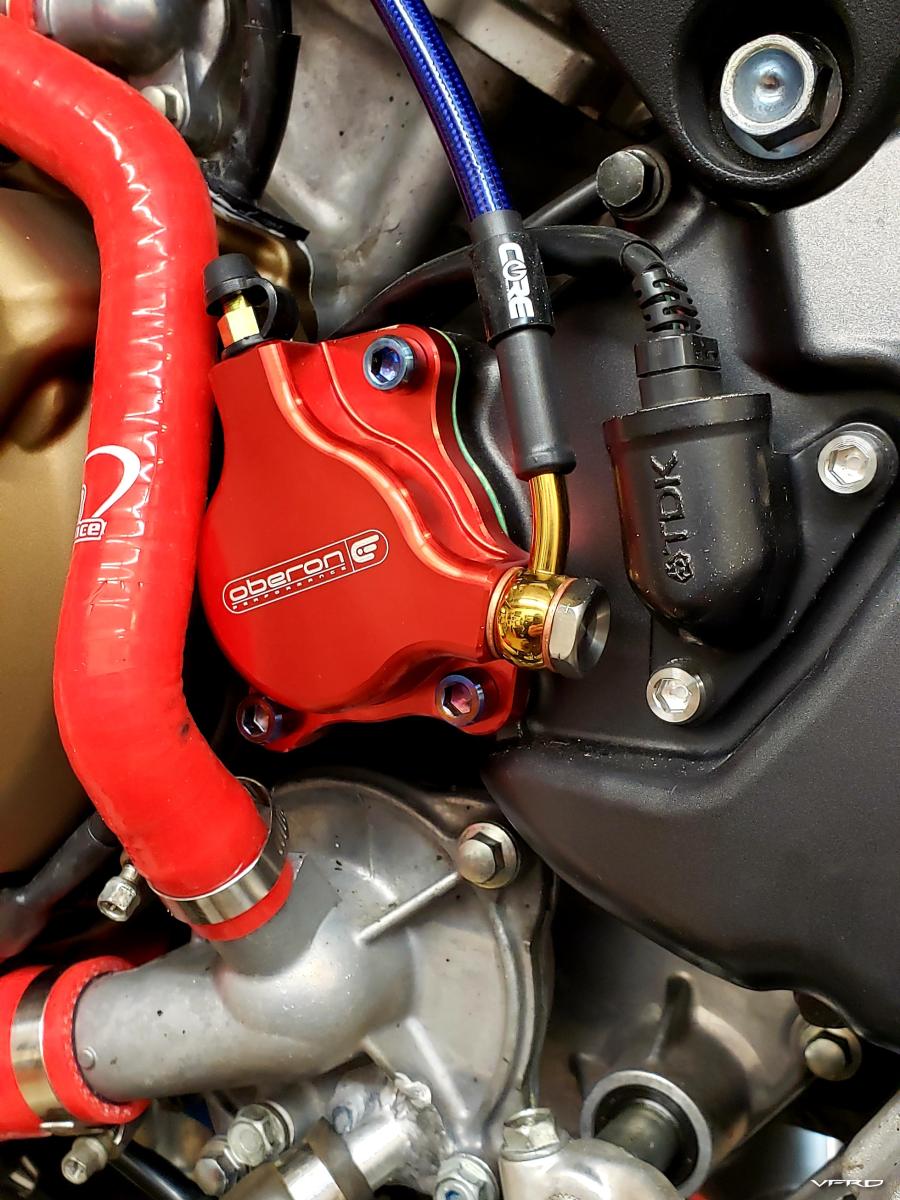
Aaaand I swapped the clutch slave out for a red one, and torched those bolts too. lol

Getting a little busy in there

O2 sensor wires were a squeeze

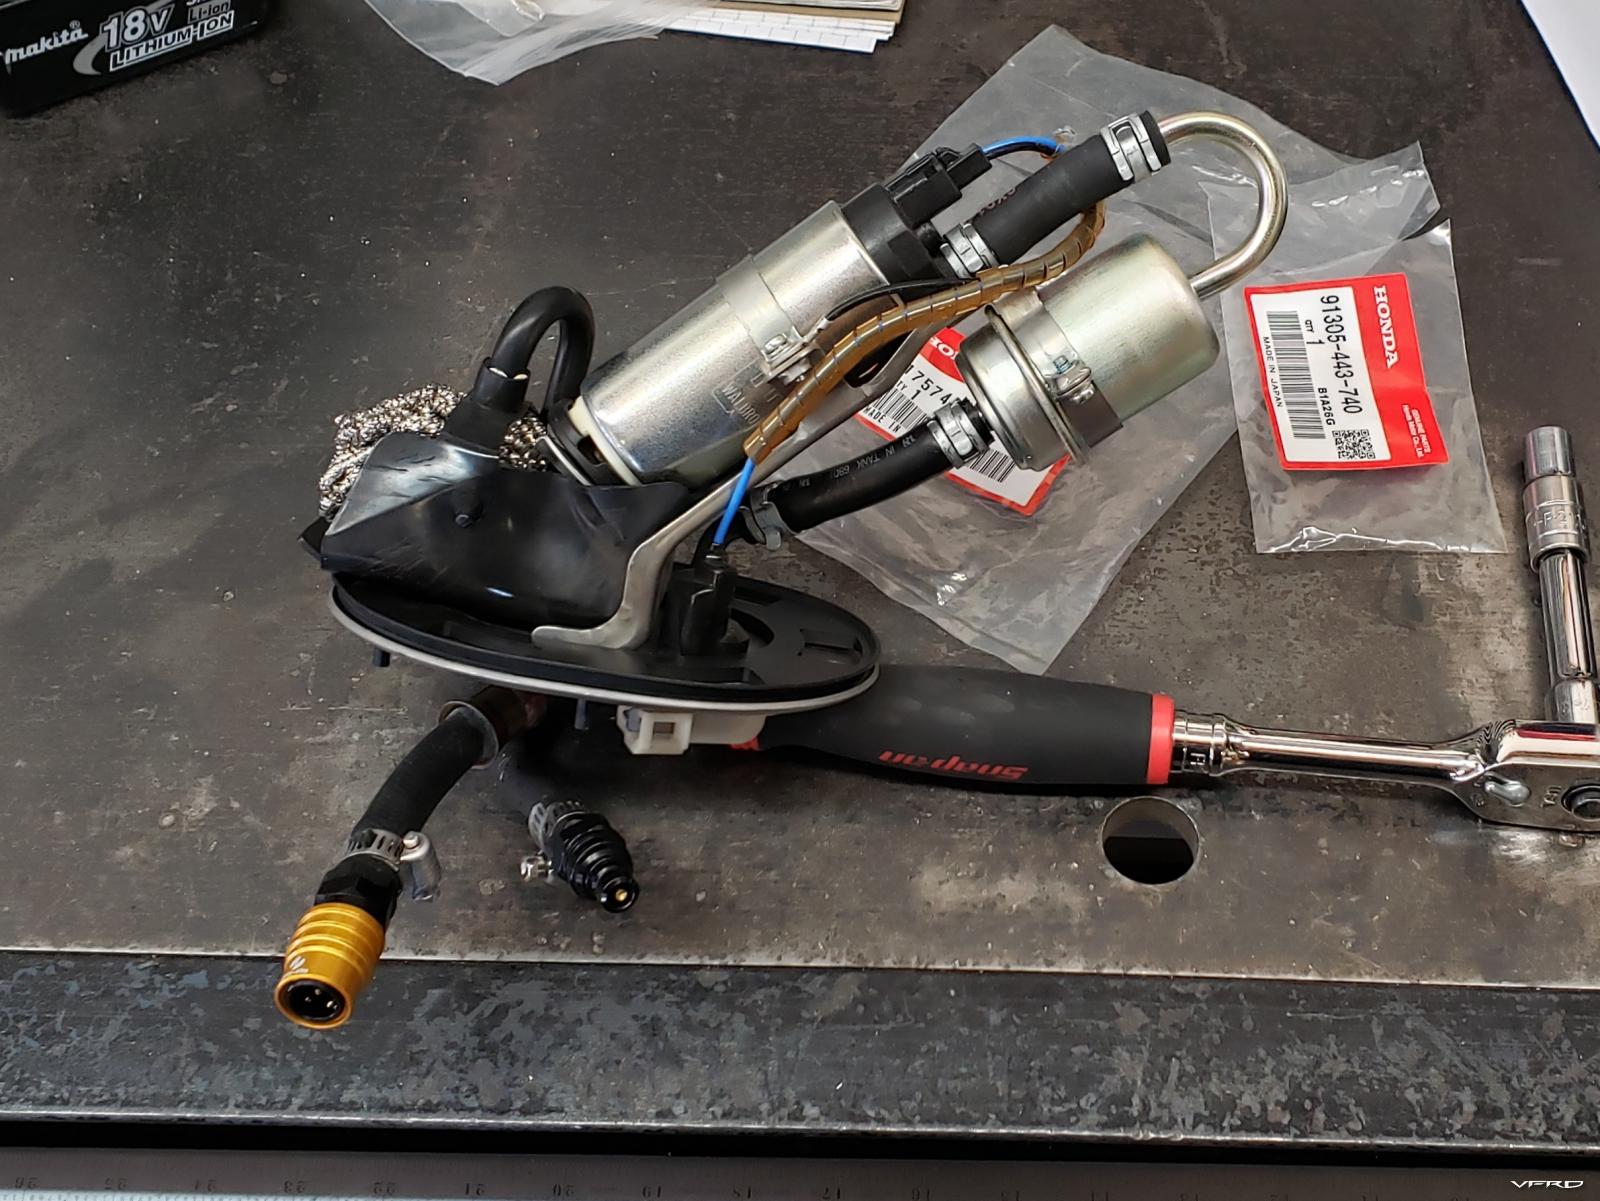
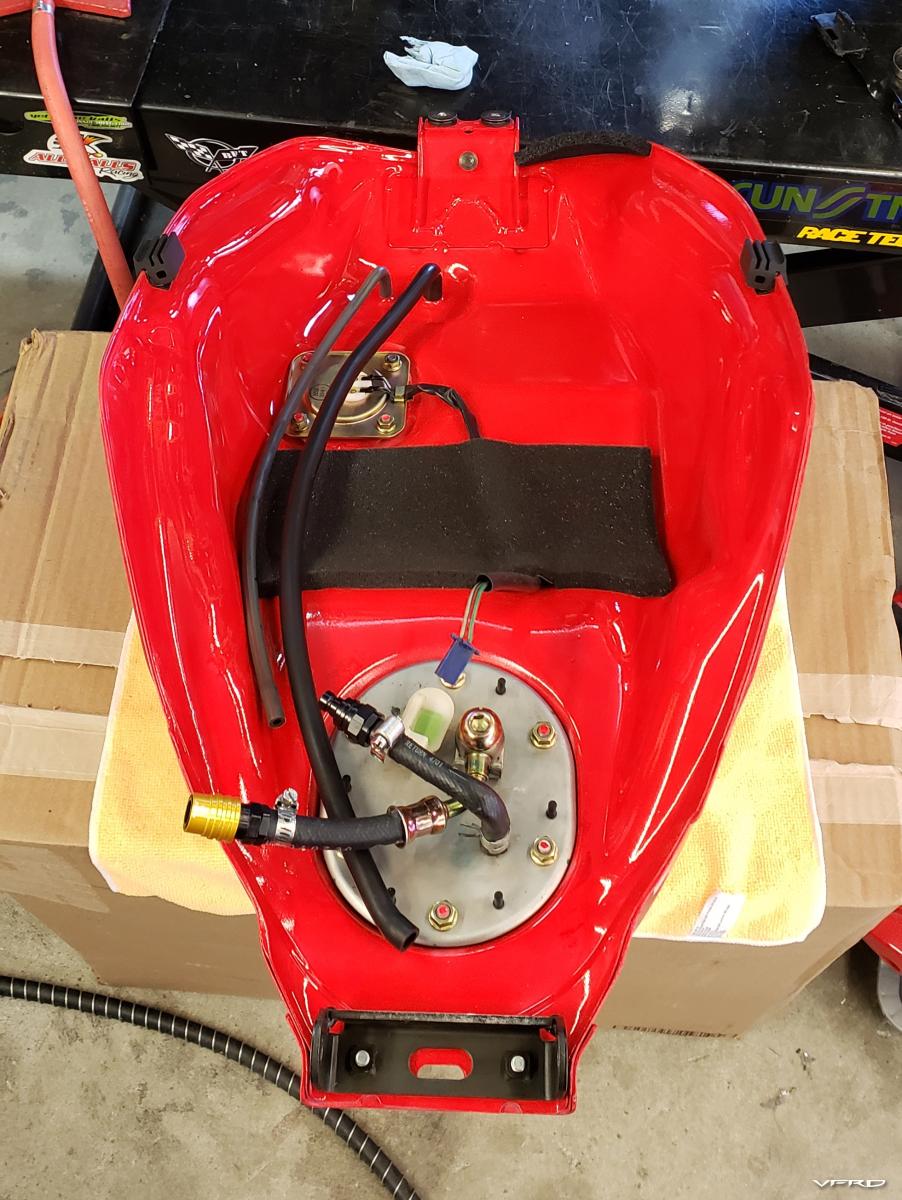
Another favorite little mod - these QD fuel fittings, thanks to sa1713 for the idea in an old thread

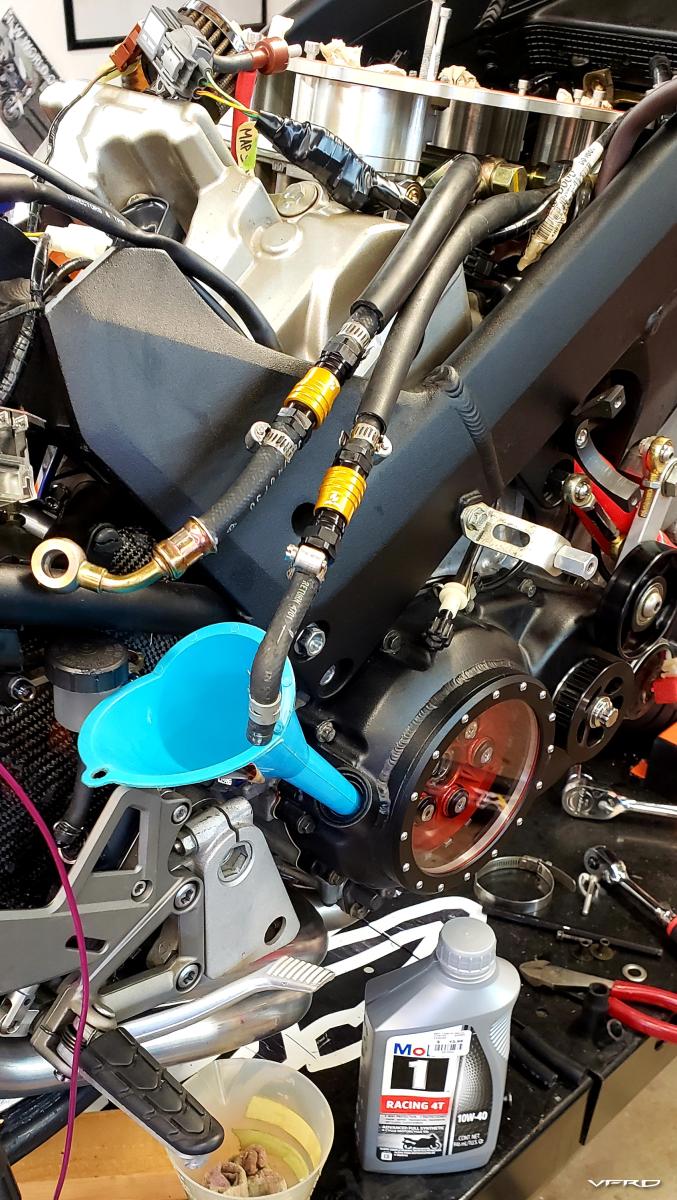
As you can see, I opted for fancy oil for the old girl as well.
Pump side

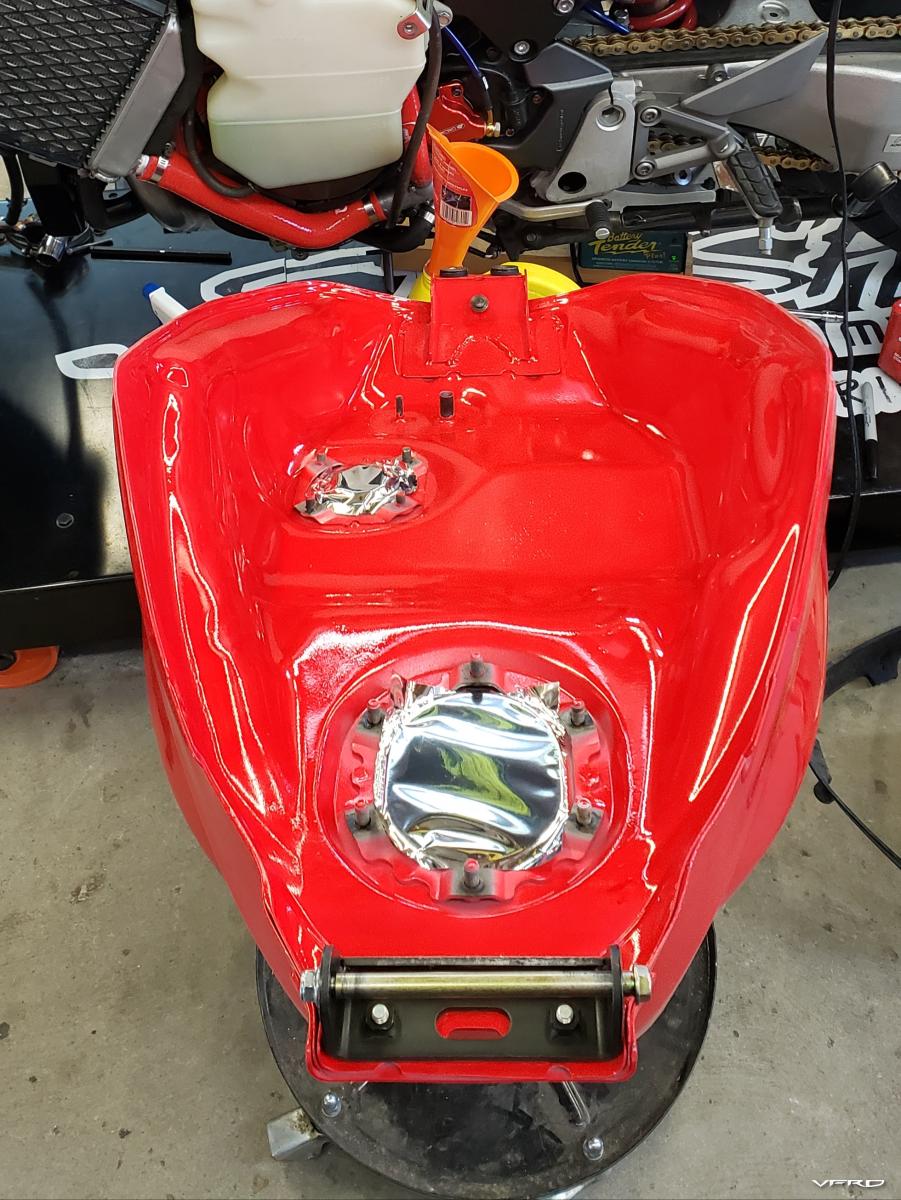
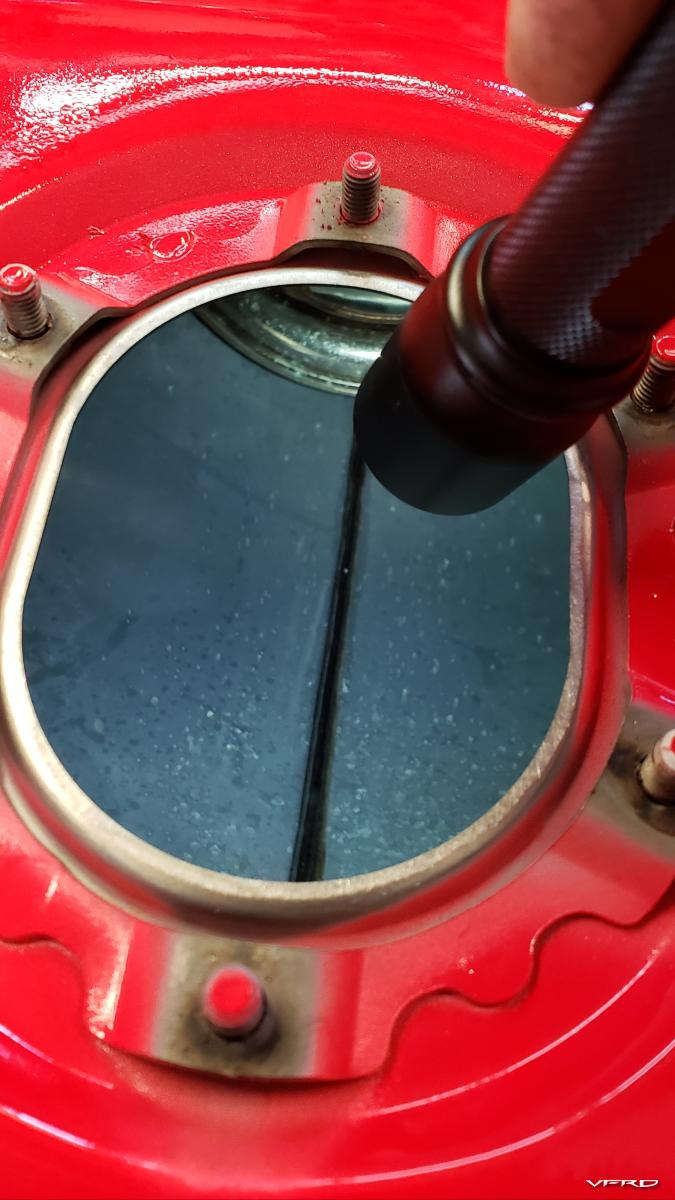
Time to let the Japanese air out of the tank...

Ah, that looks so much better...

Accouterments installed...

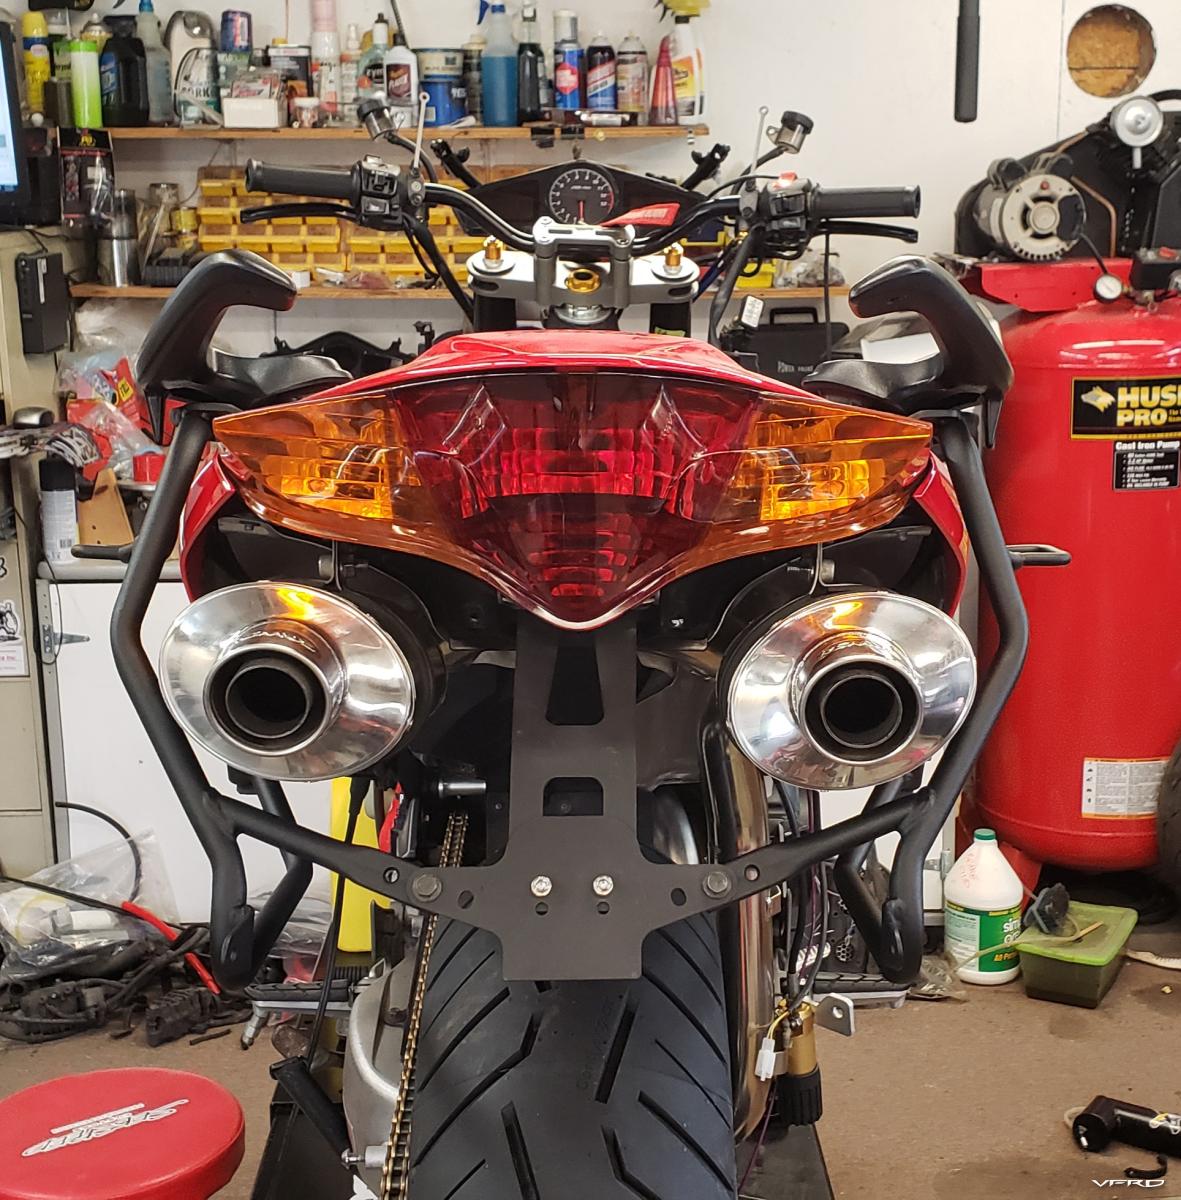
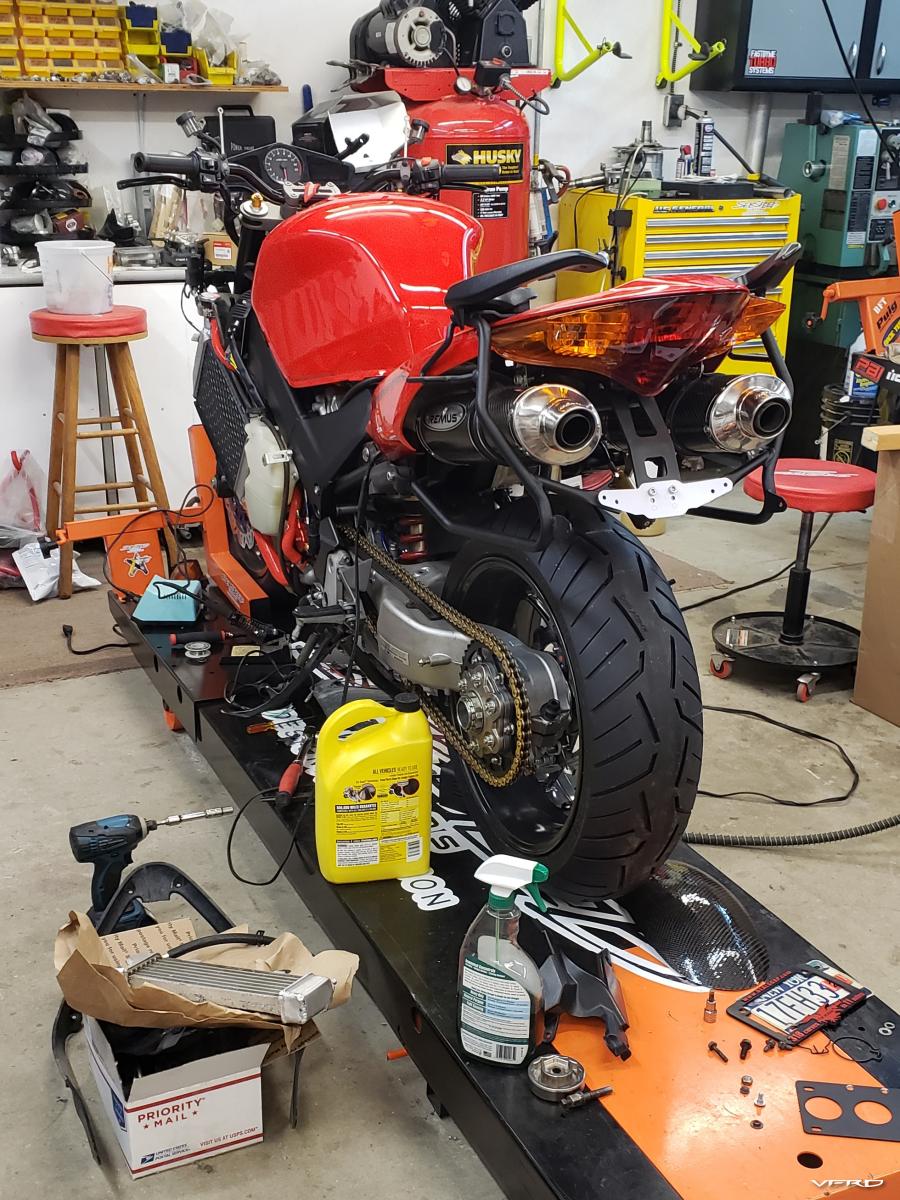
I had sent my rear frame sliders (oem luggage racks) to be powdercoated to match the frame and subframe. Got the mback, stuck them on, and found my new Remus arrangement didn't jive. Thankfully I'm handy... new part designed, tested, cut, coated, and stashed for future install.


Oh yeah, tank on and other finish stuff happening too of course... double checking hose clamps, tightening bolts, etc

My brackets put to use again

With some mundane stuff like fluid fills and bleeds out of the way, it was time for a most joyous occasion. the first start.
She popped right to life after cycle priming the fuel pump a bit. This was without the blower connected, just a proof of life and throttle body sync to start off.


Coolant temperature held very steady, and below what I was used to seeing at this point. Very happy so far to see all that effort in those new systems paying off.
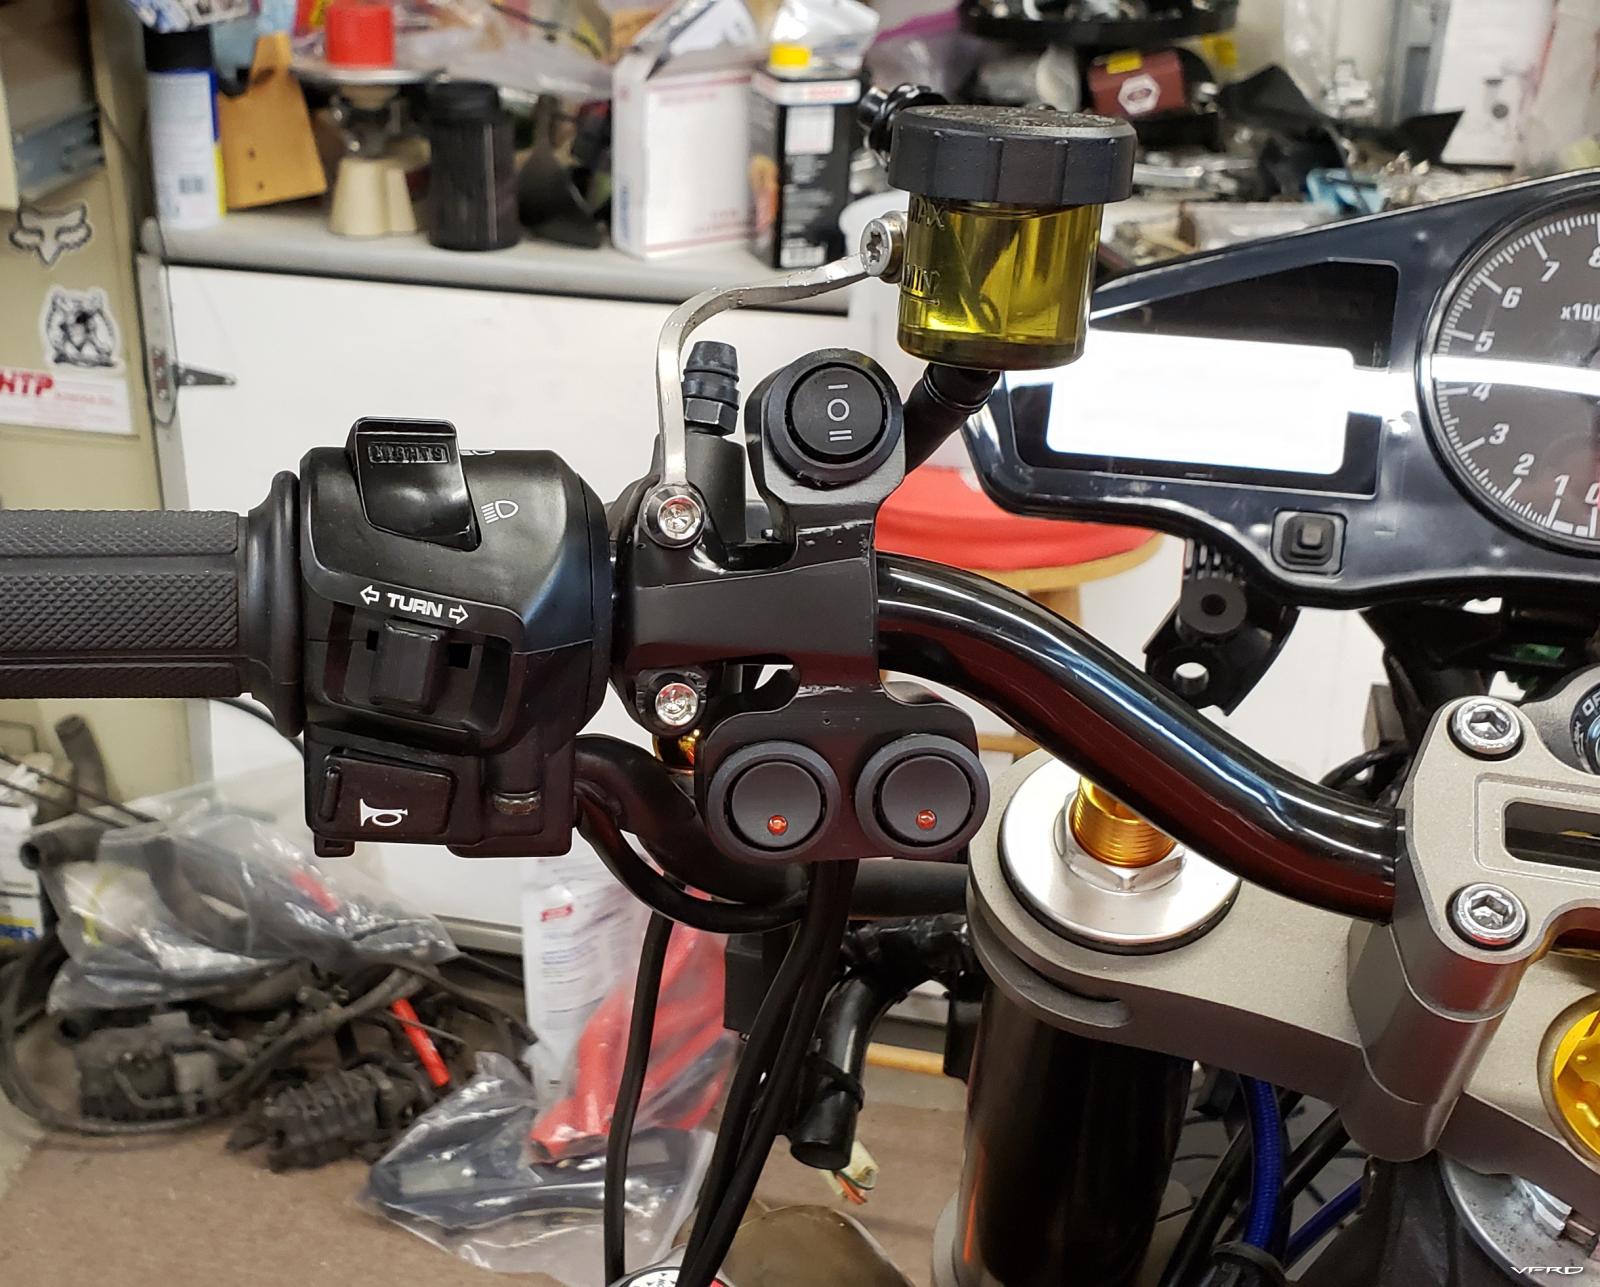
I combined a selection of switches and pods from amazon to form this triple switch arrangement. Top switch is heated grips h/l/off, the bottom 2 are for the manual side radiator fan and for switching between Rapid Bike Map 1/Map 2. I even wired the lights to work properly.

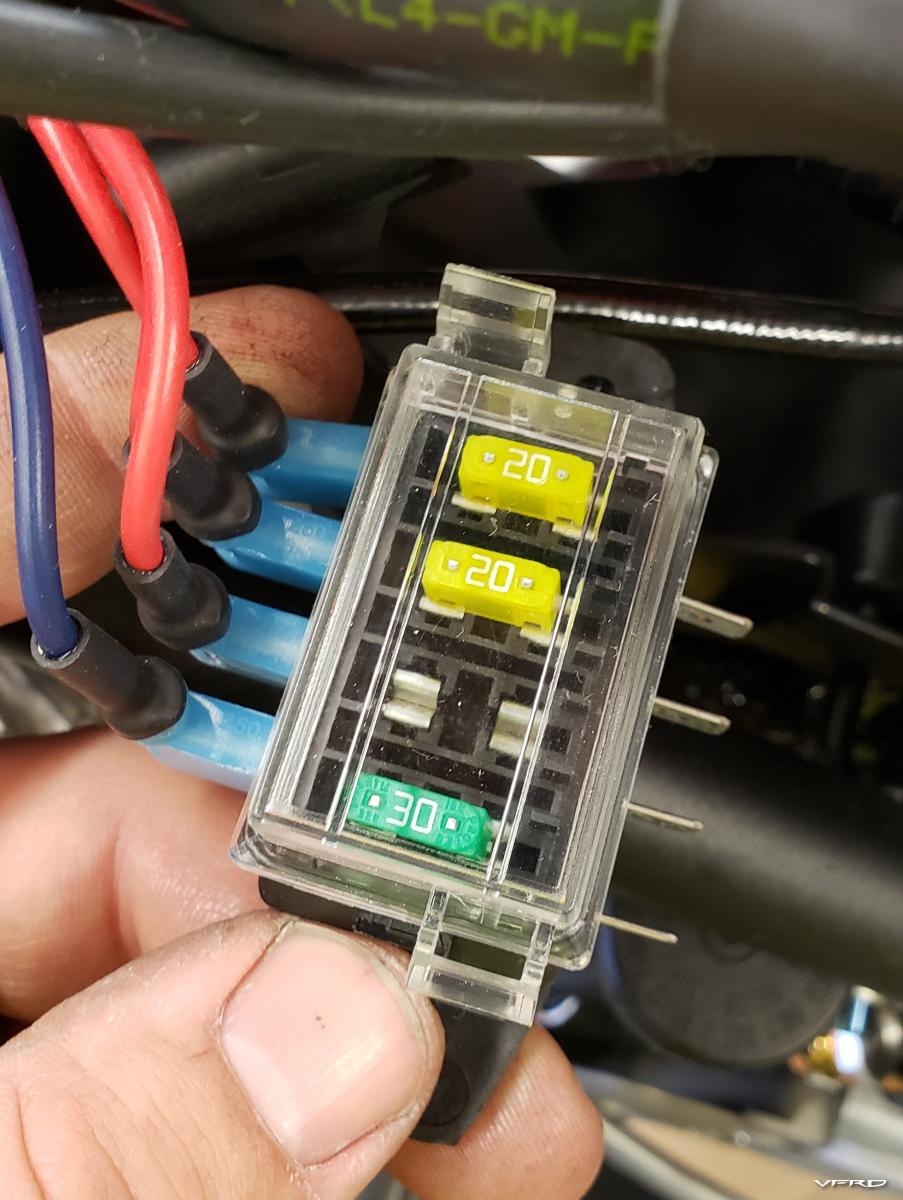
In case anyone needed to know, a mini fuse will fit & work in place of an old school fuse

Rear wiring complete... I deleted the license plate light and used the connector for the fuse box relay trigger.

Was feeling pretty chuffed at this point, nice to have more parts on the bike and less parts on the bench!

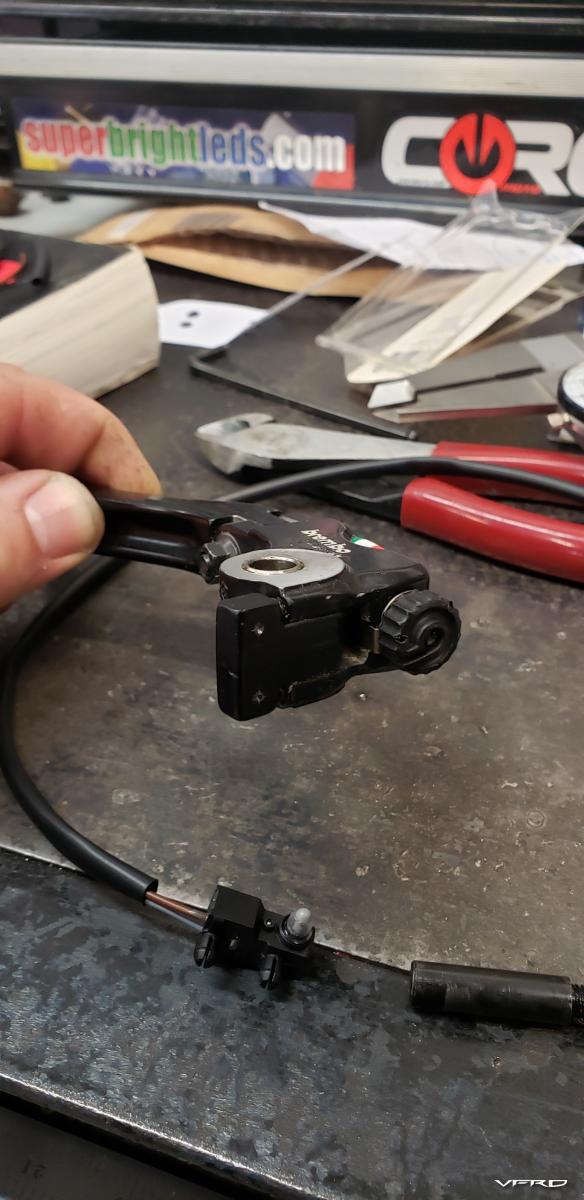
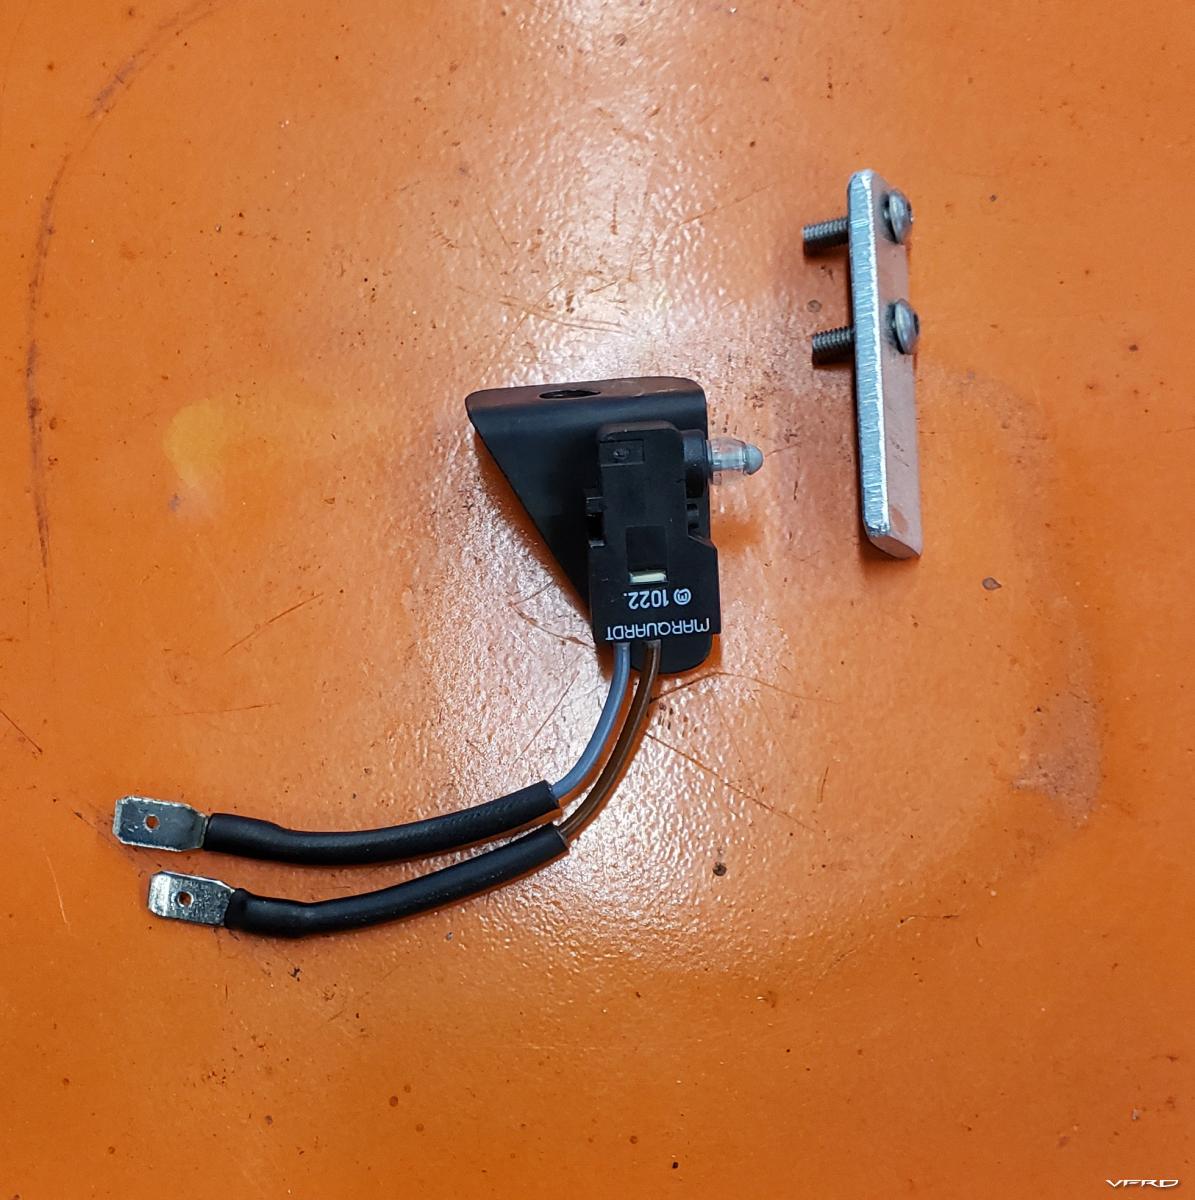
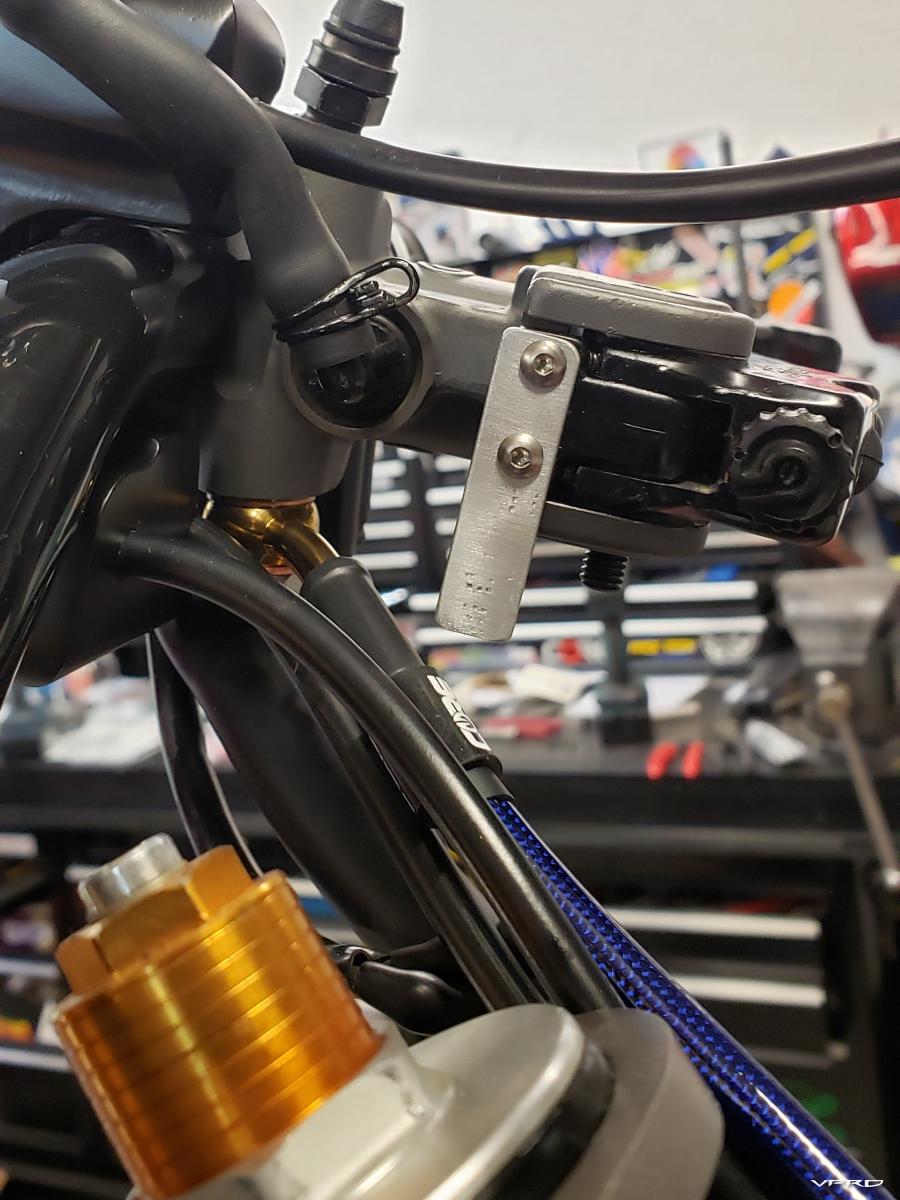
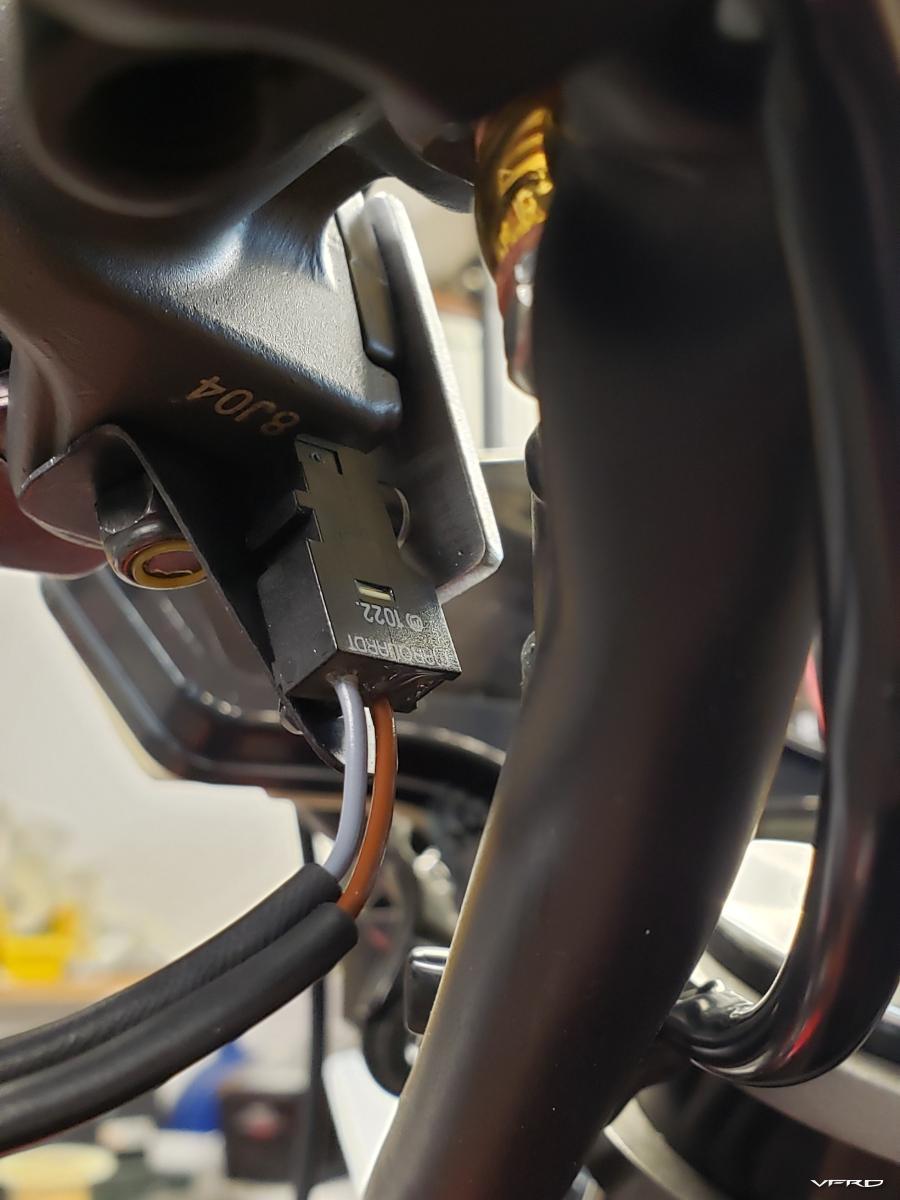
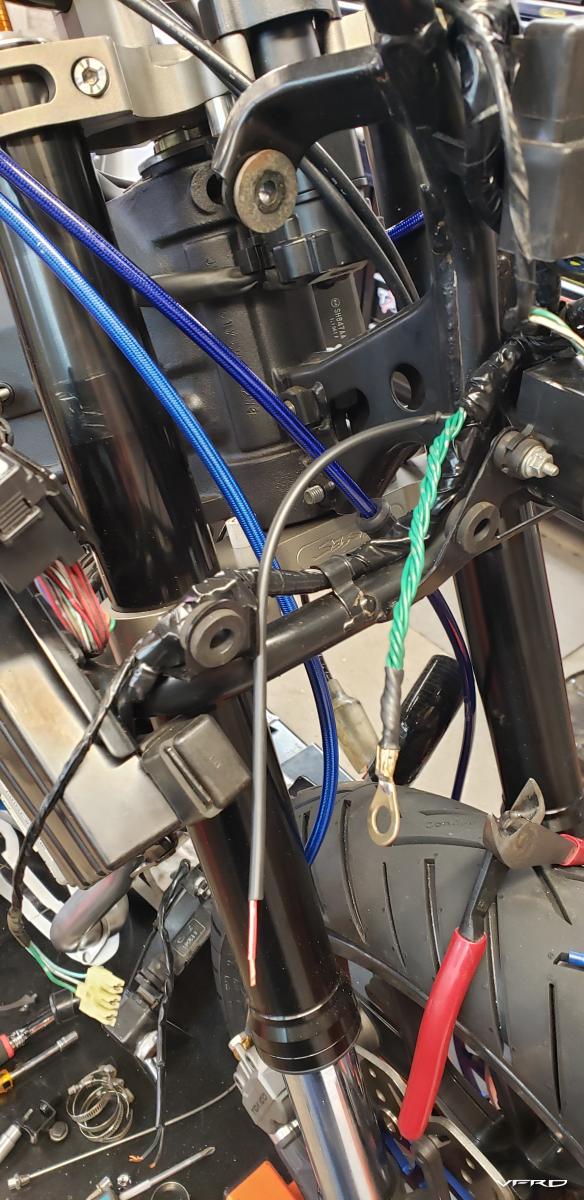
However, still a fair bit of work to do. Both big and small, a clutch switch for example. Not strictly necessary, but an easy enough little project. the Brembo RCS masters do not come with a provision for mounting a microswitch, so I made one.


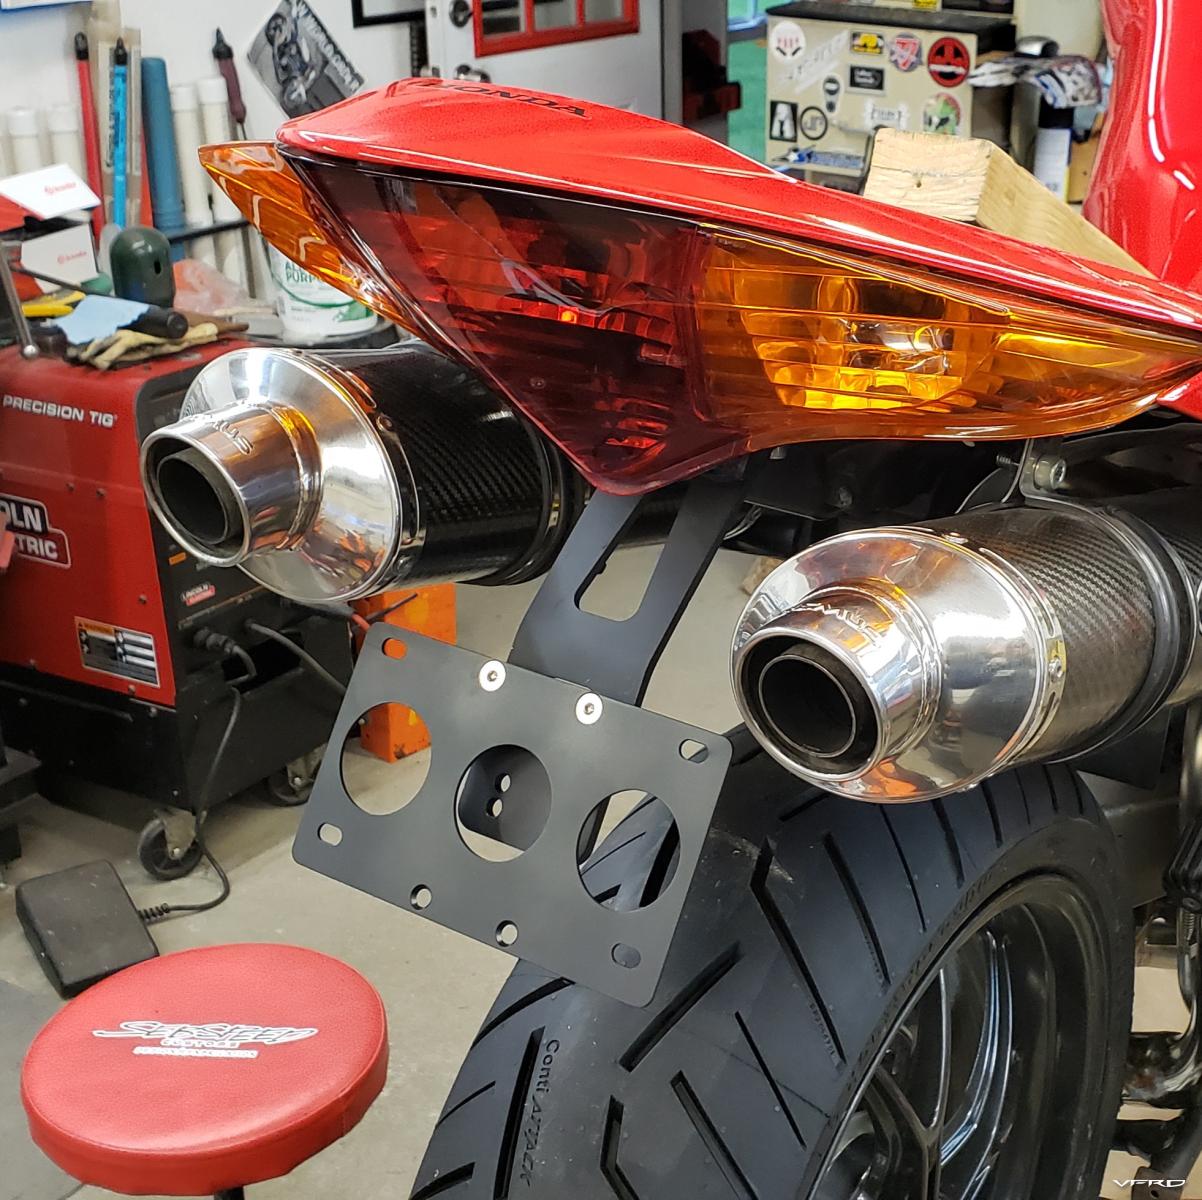
Made & coated a tidy license plate mount

And then for the fun part!
-
 6
6
-
-
Big expensive box...

So shiny...

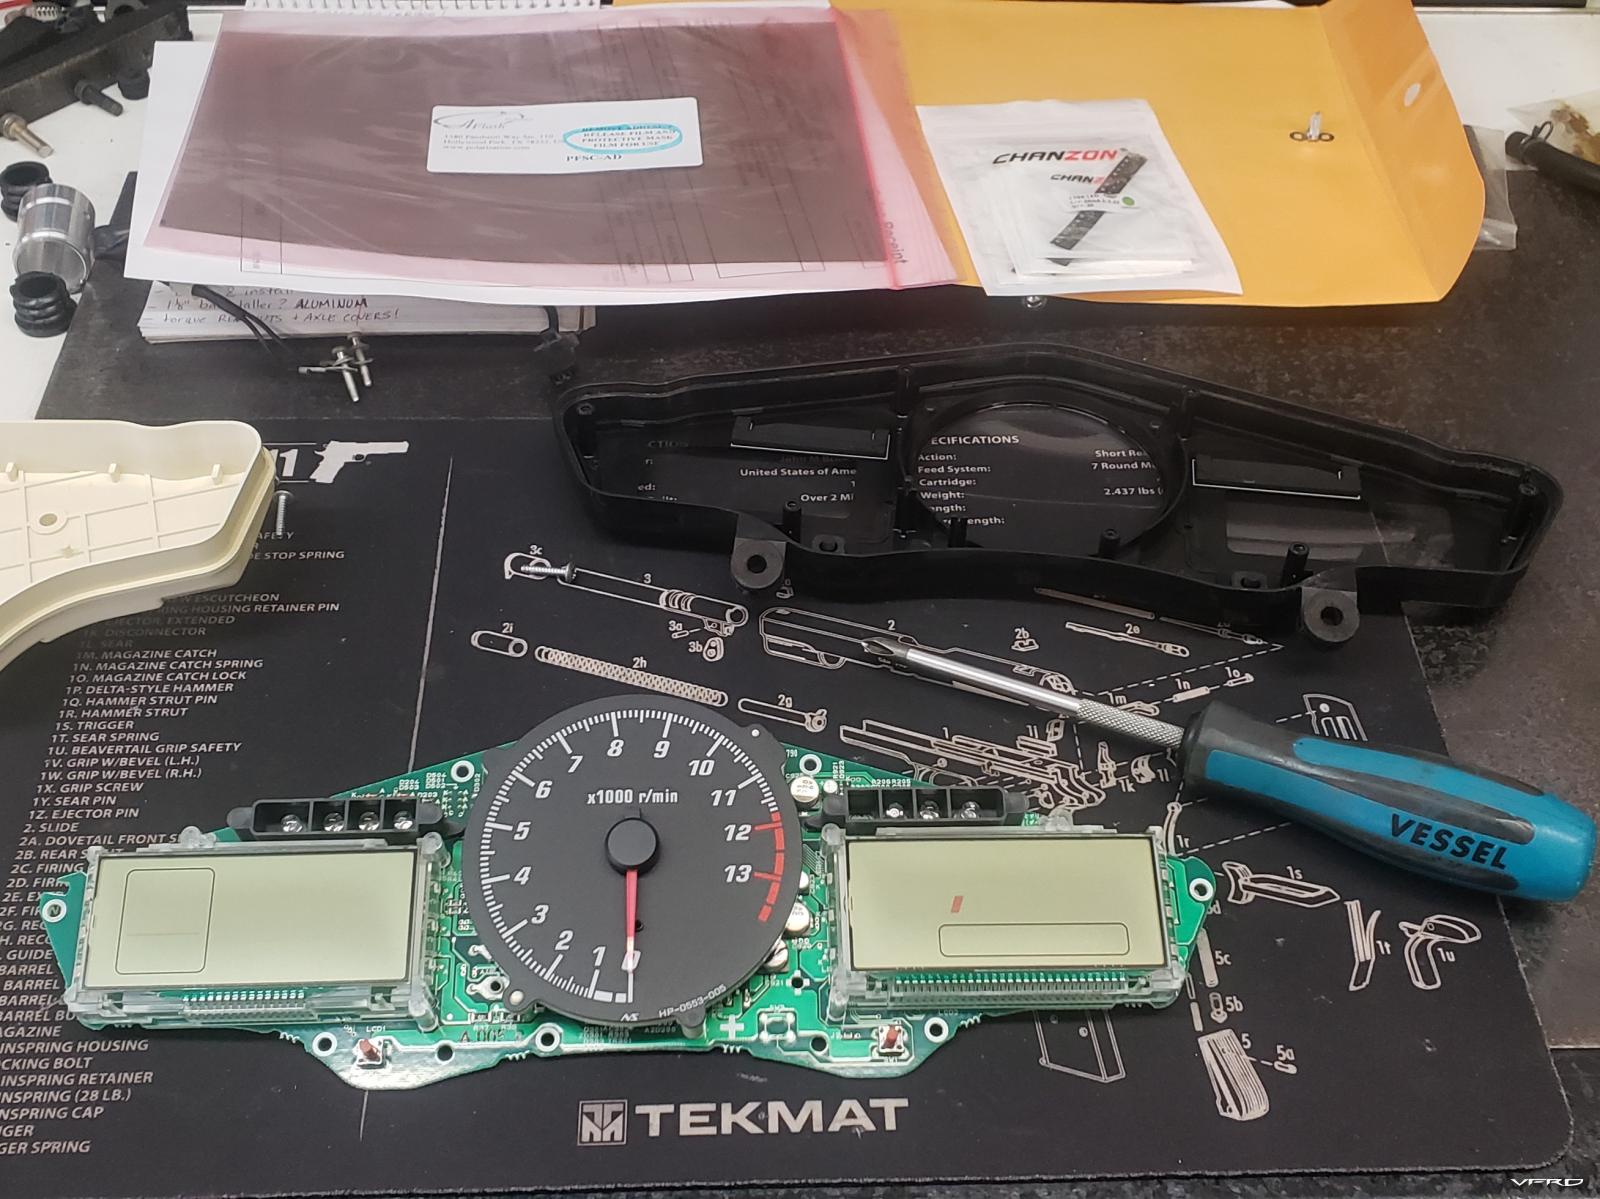
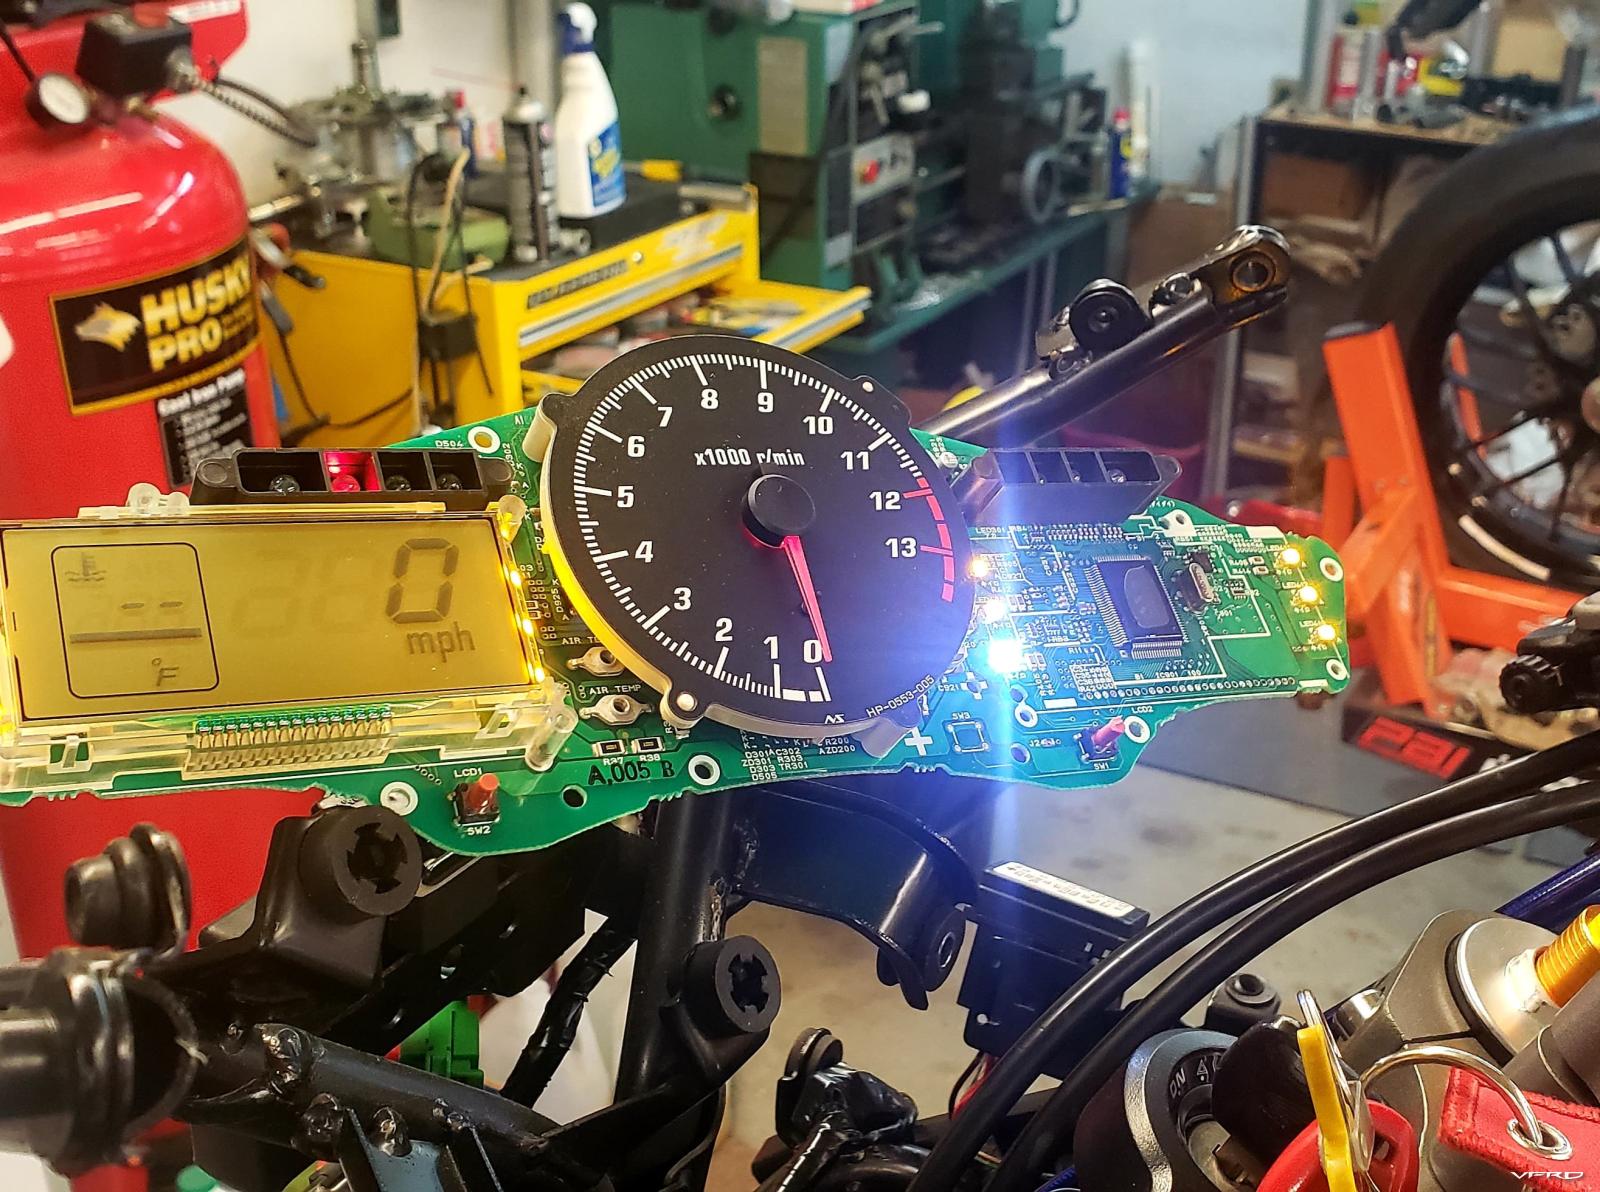
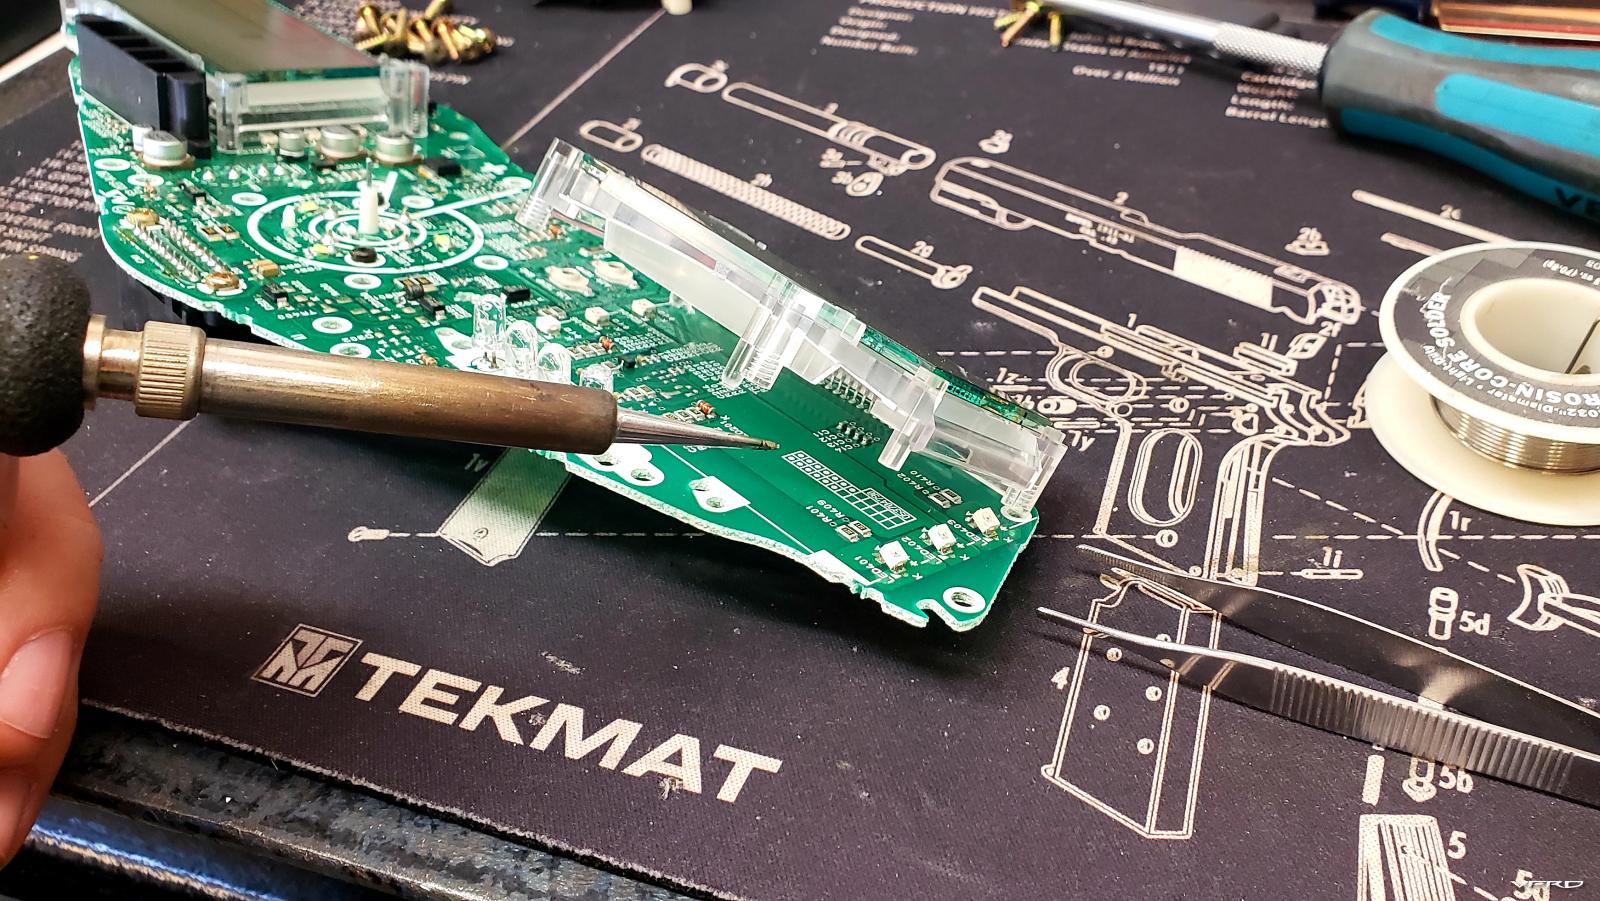
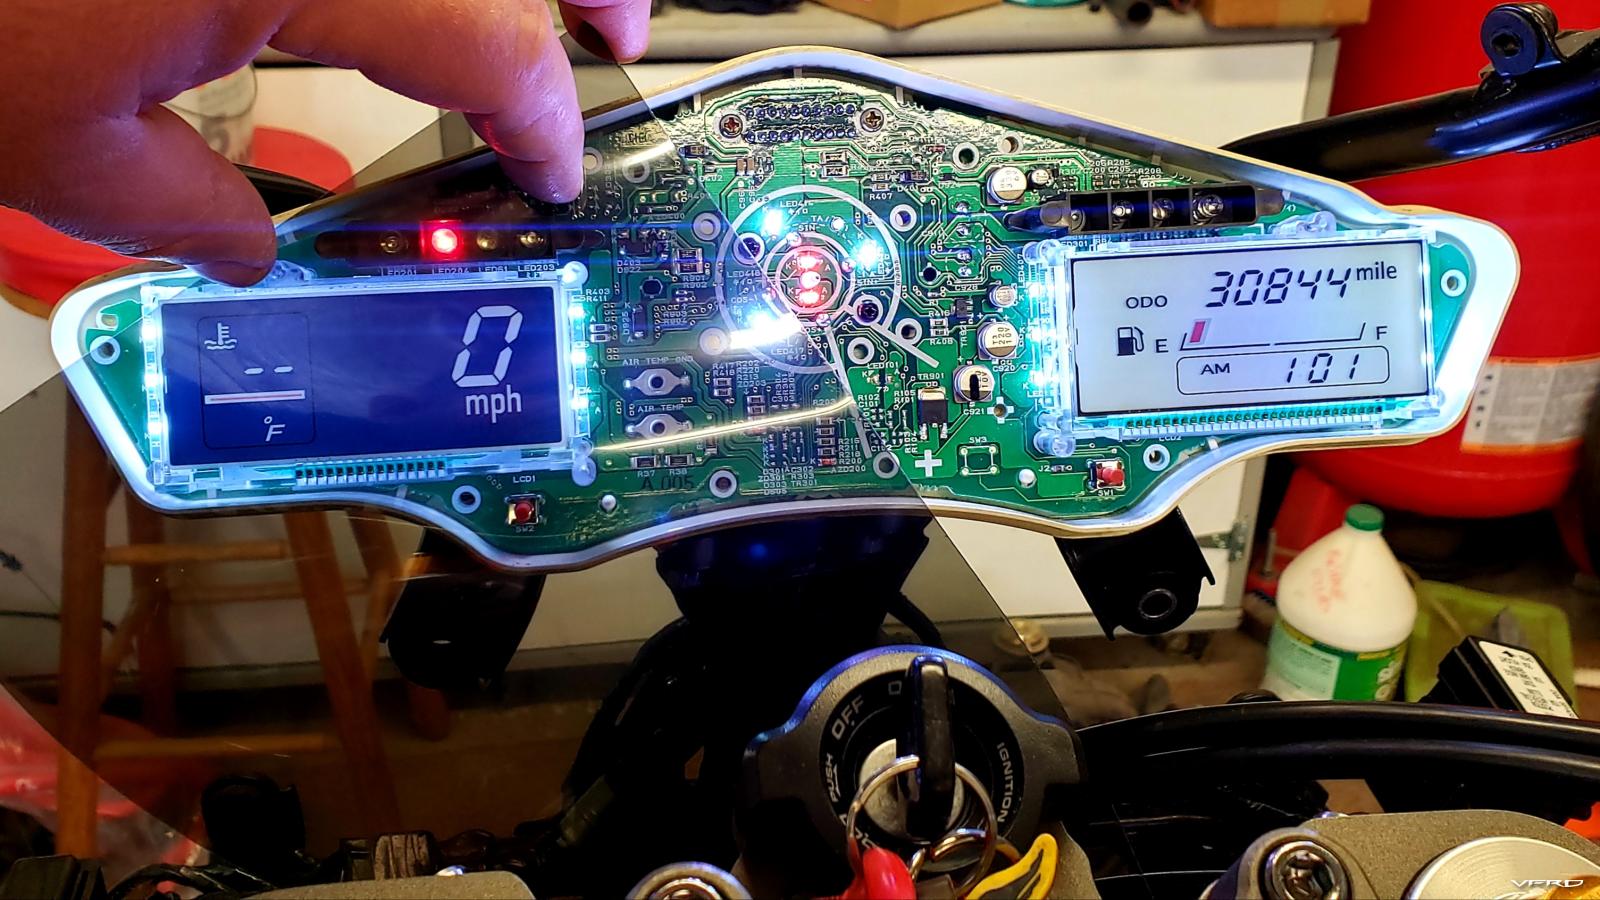
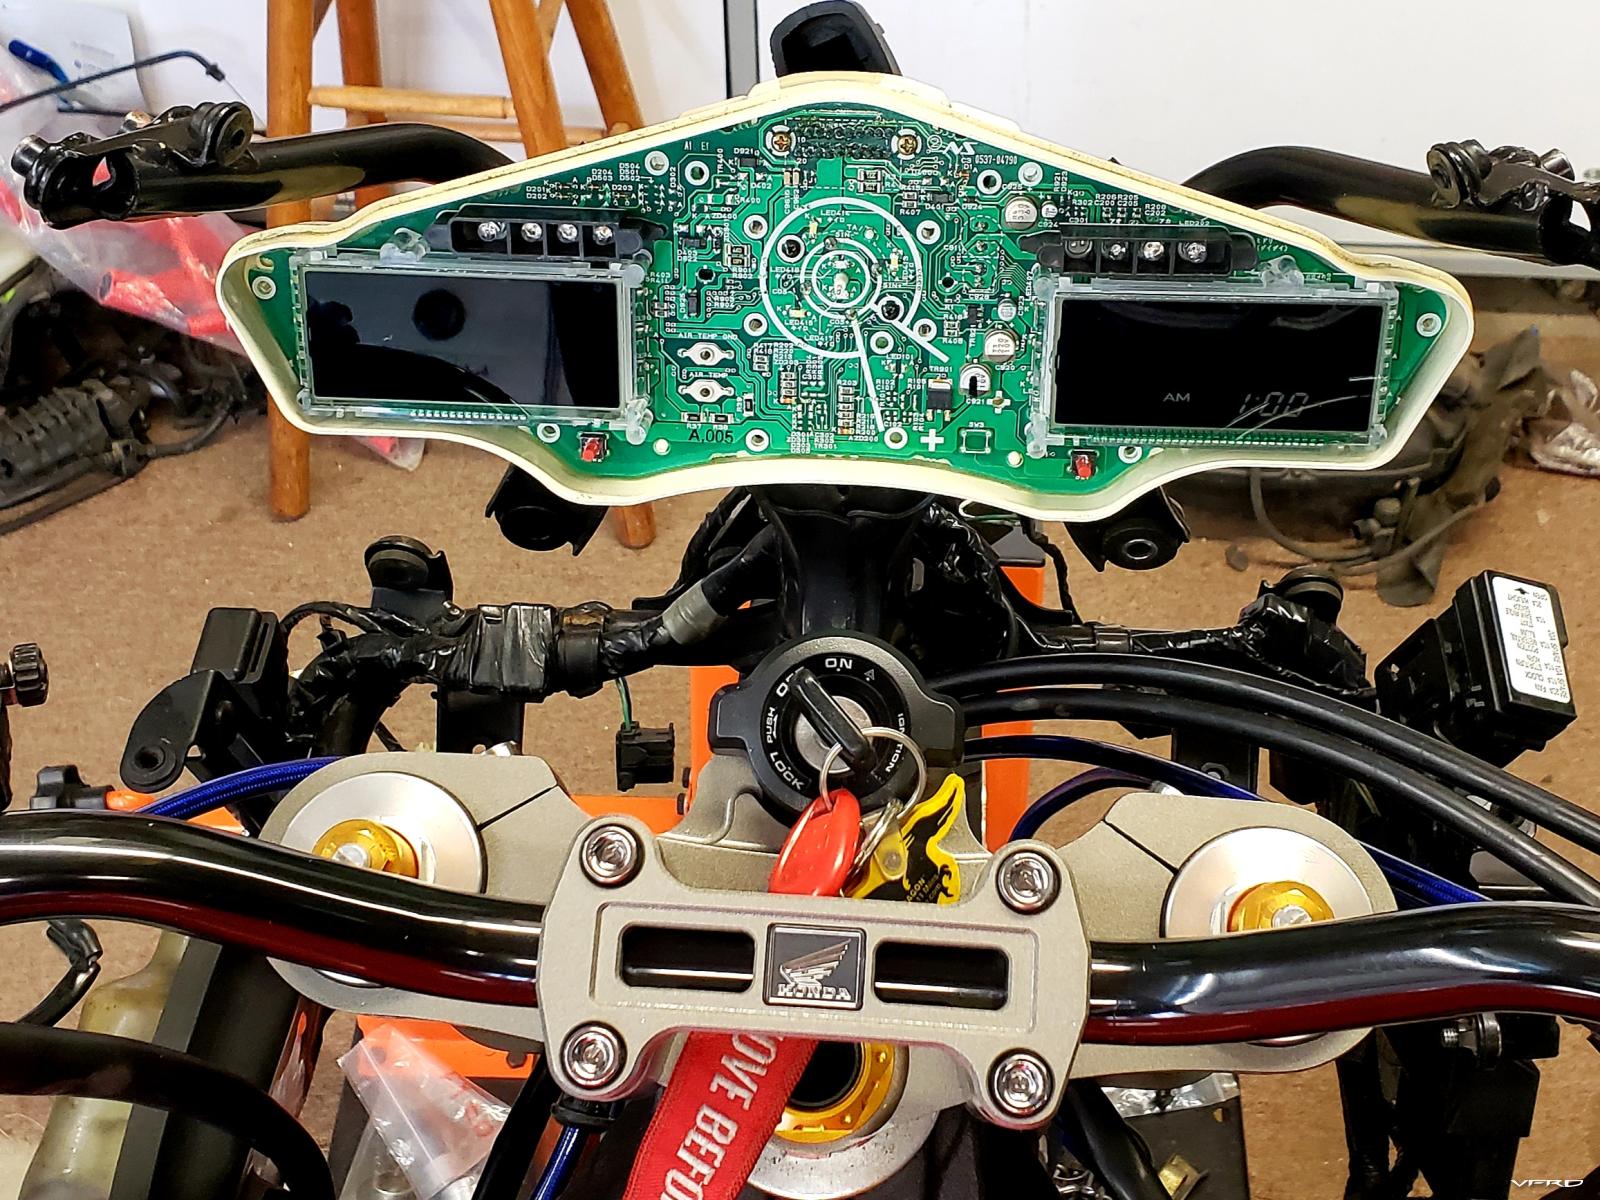
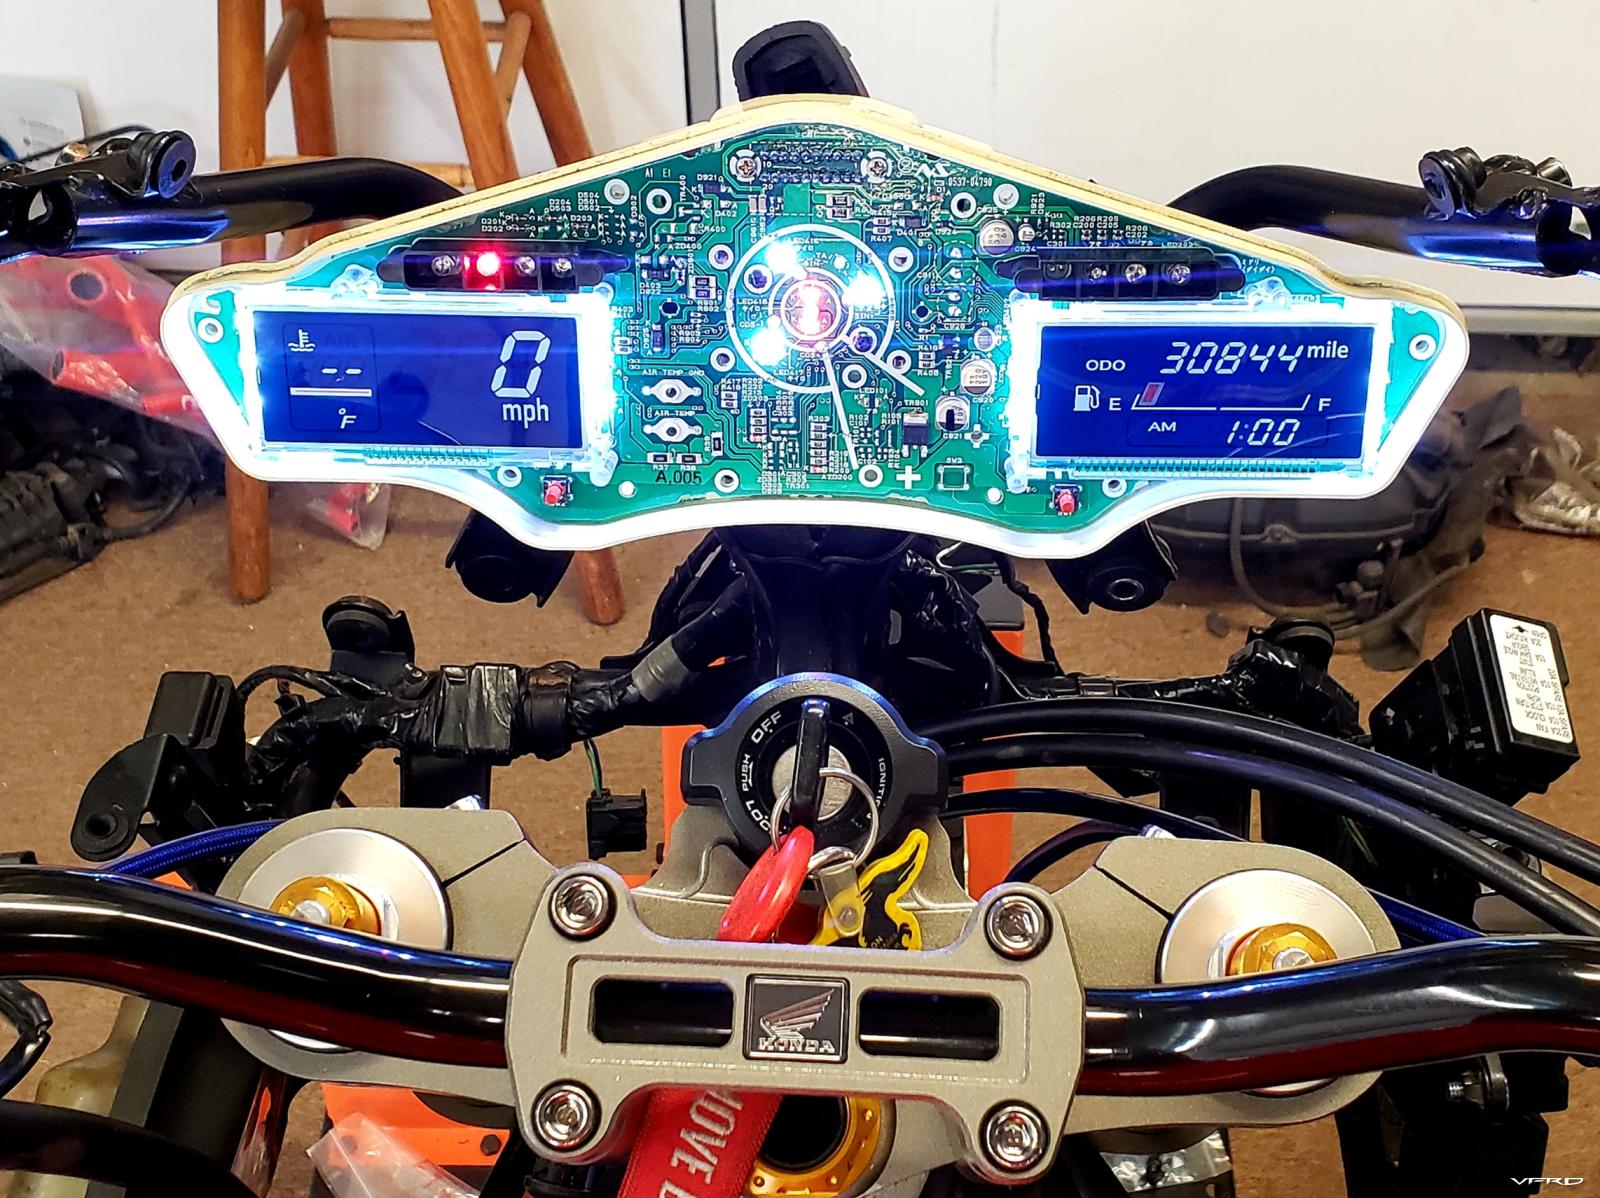
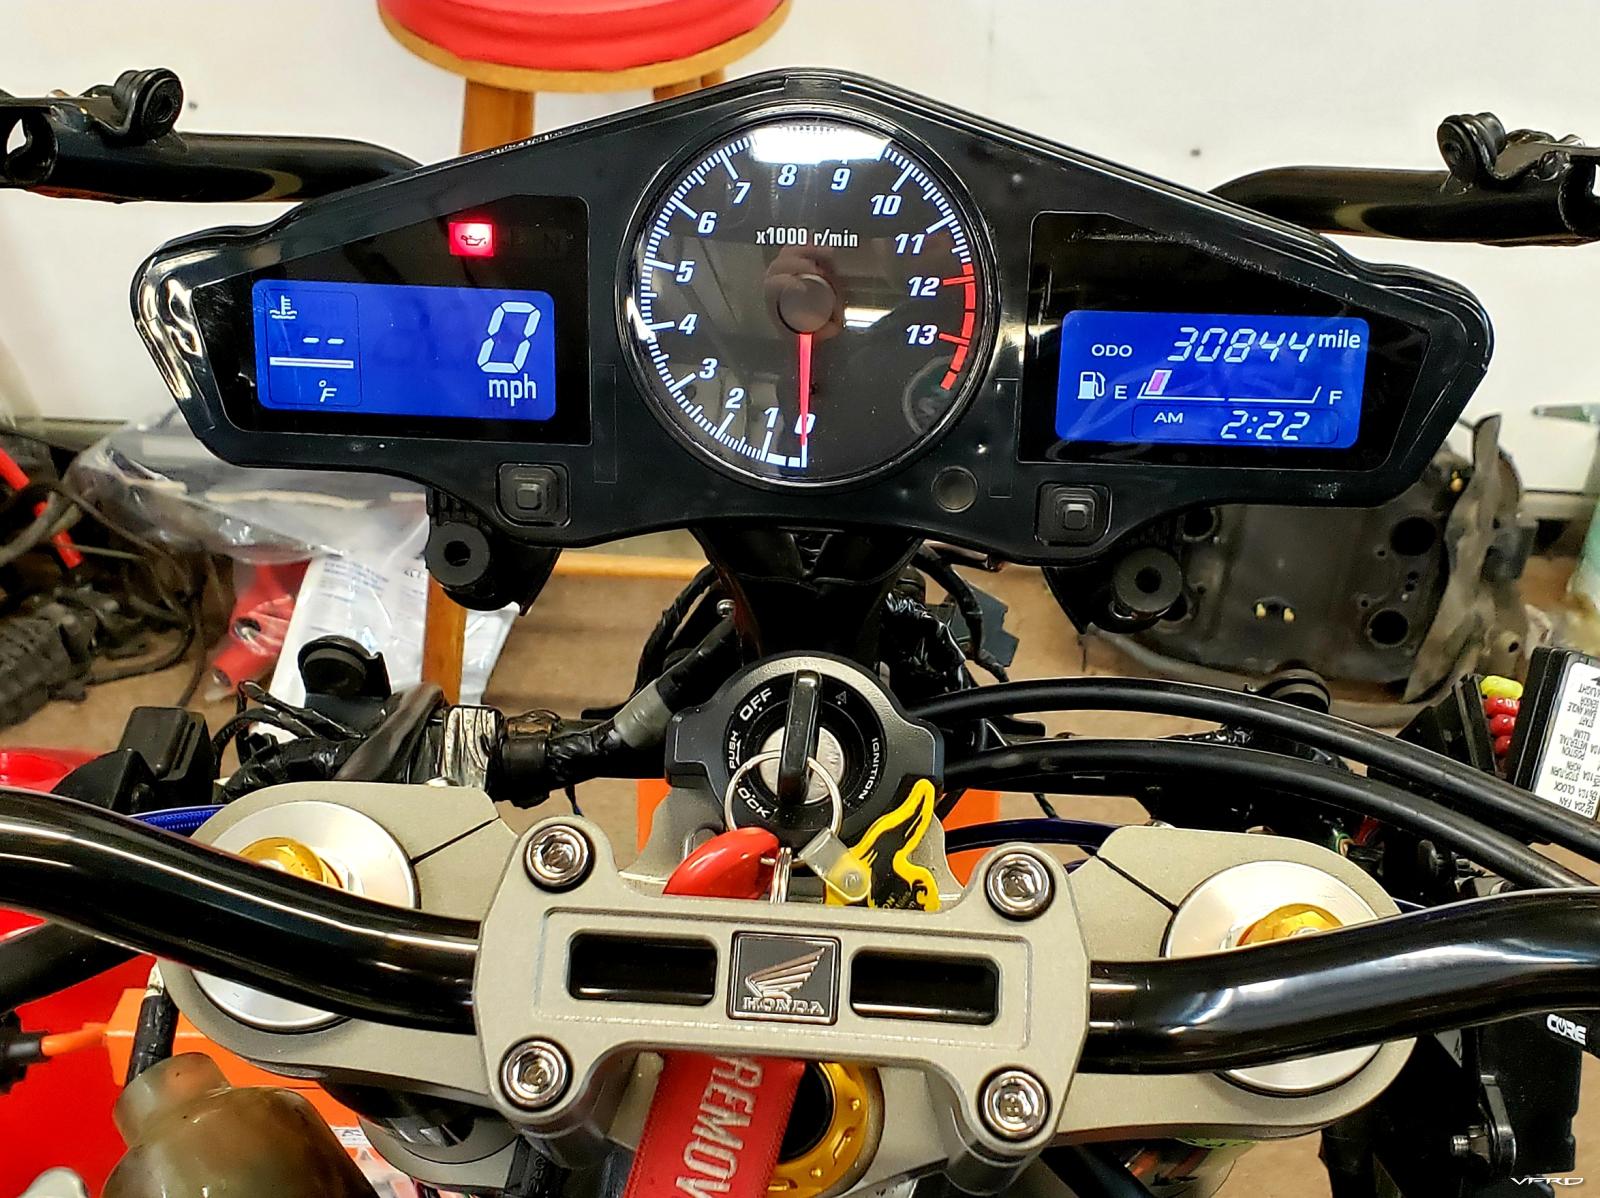
One of my favorite mods right here... Installing white leds and swapping the factory film for new polarized film to "flip" the lcd screen colors. It really makes it like a new bike.
Unfortunately, it's the one thing I really goofed up on as I fully removed the lcd screens when I did not need to. I'm gutted to say I fubar'ed the original circuit board and I had to go buy another one. So although my mileage is now lower, it's not original and my badge of honor mileage is gone.
I did mark the cluster with the original mileage so the correct mileage can be preserved accurately.


Instead of removing the full panel as shown above, I should have just bent it out of the way like I did the second time here:

Testing the film orientation:

Done, off:

And on:

I actually ordered a custom gauge face from Throttlepimp, he did a great job on it but unfortunately the post office took too long delivering it, so it didn't make it in time to be included for the spring ride.

-
 4
4
-
-
9 minutes ago, Captain 80s said:
Everything is just too cool. Nice job. Gotta ask... what the hell is this about?
Inexplicable road rash that was present on the ebay caliper. I didn't bother polishing it off because it looks a lot worse in the pic than it does IRL. Don't ask me how they got it on the wheel side of the caliper...
-
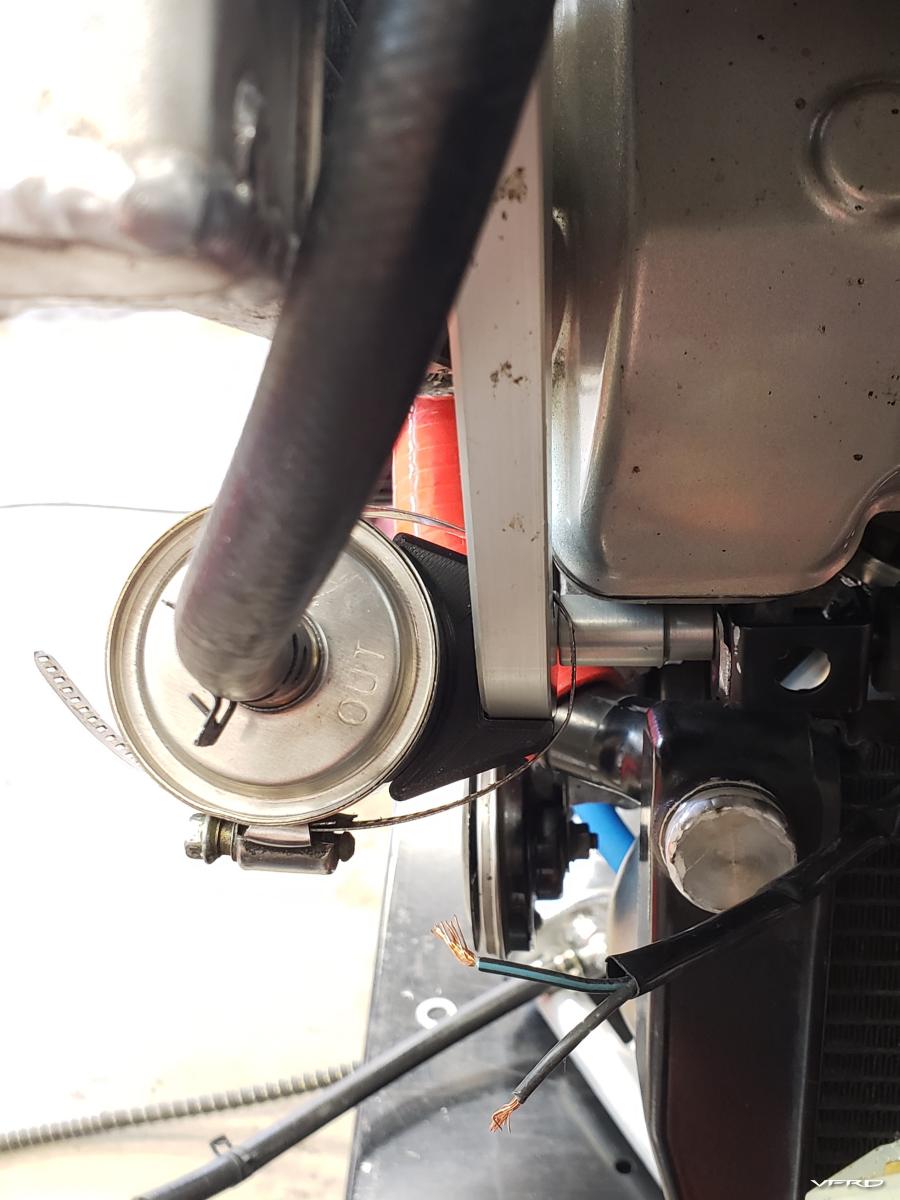
Another little job done, this time with an assist from Mr.Burns and his 3d printer to knock out this little spacer that helps mount the Rotrex oil filter on the A&A bracket.

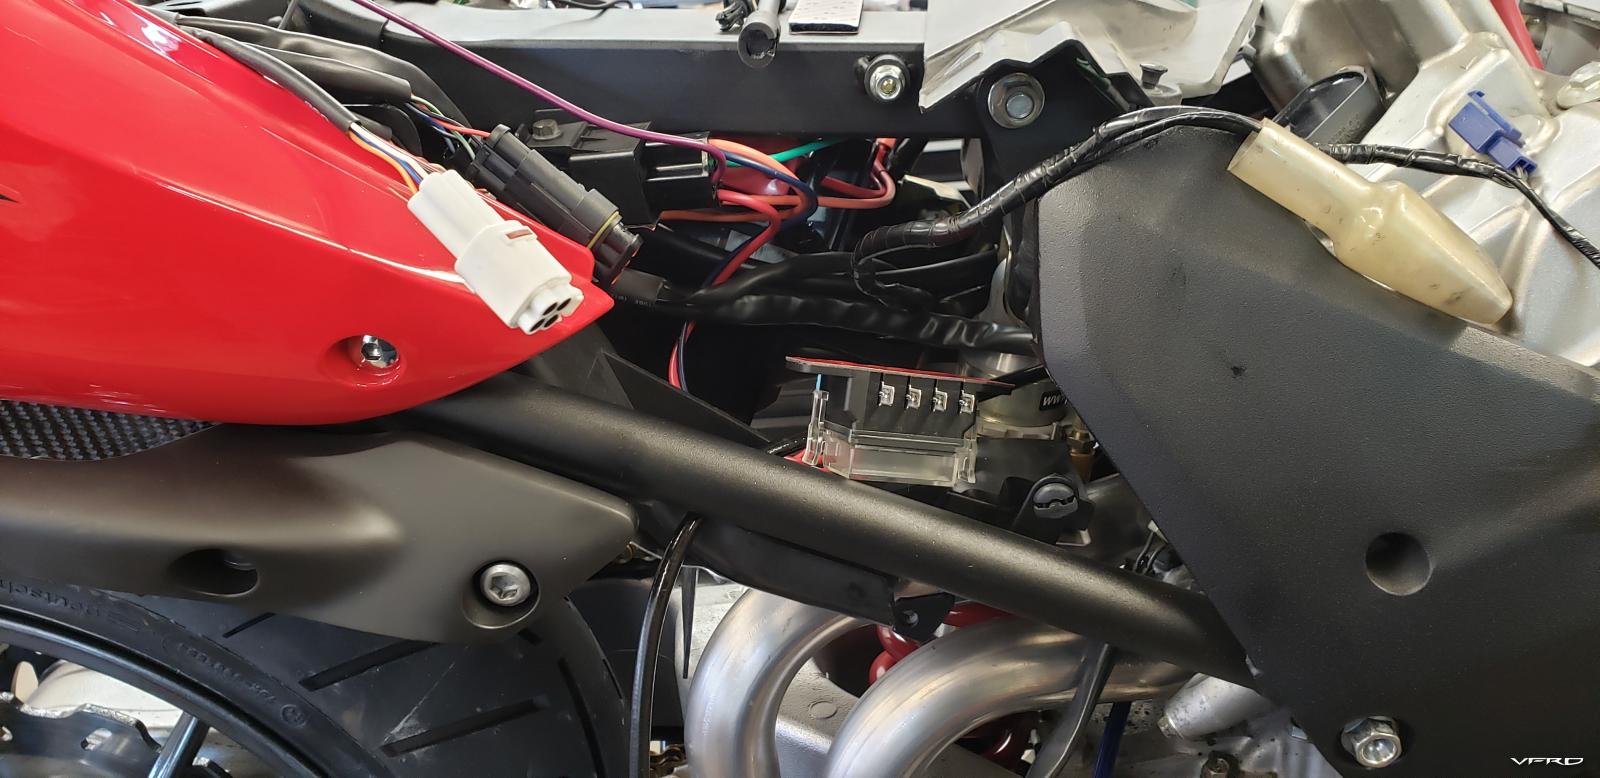
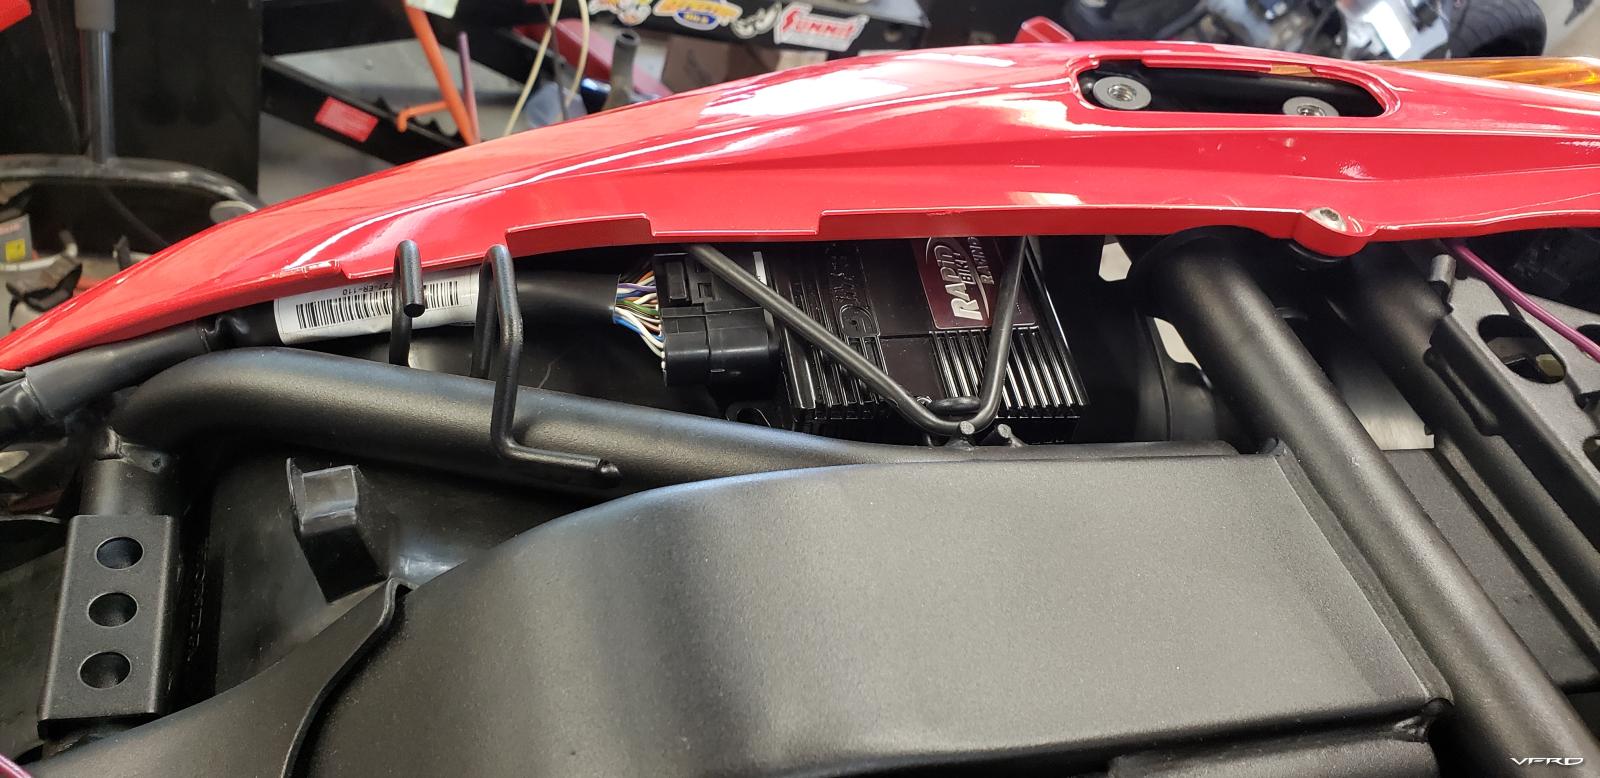
And now for something completely different... a little electrickery fitting the new fuse box and RB Race in the tail.


Yaman at Rapid Bike in Florida was pretty adamant that I would void the warranty if I did anything other than look at the box, so when the ground wire was too short to connect to the battery no matter how I routed it, I went ahead and extended it instead of asking...
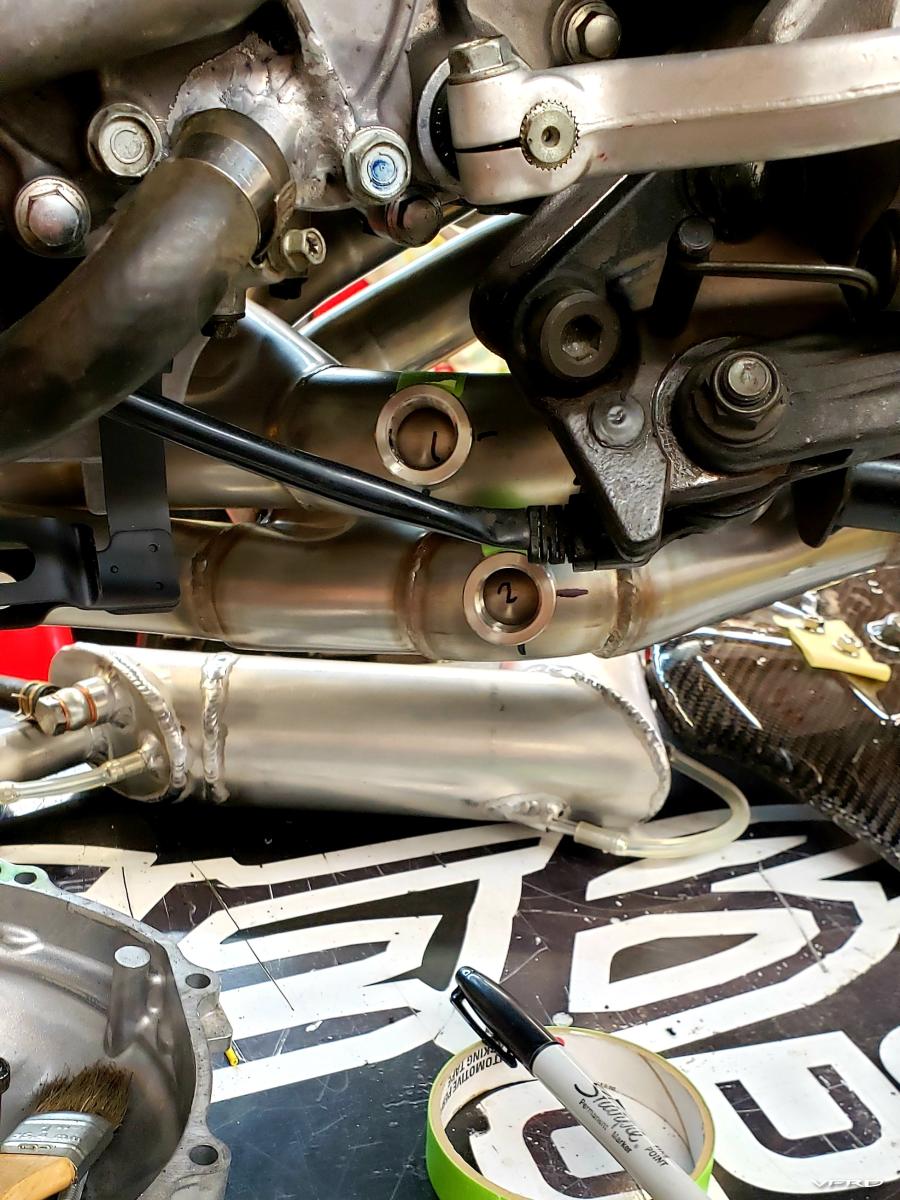
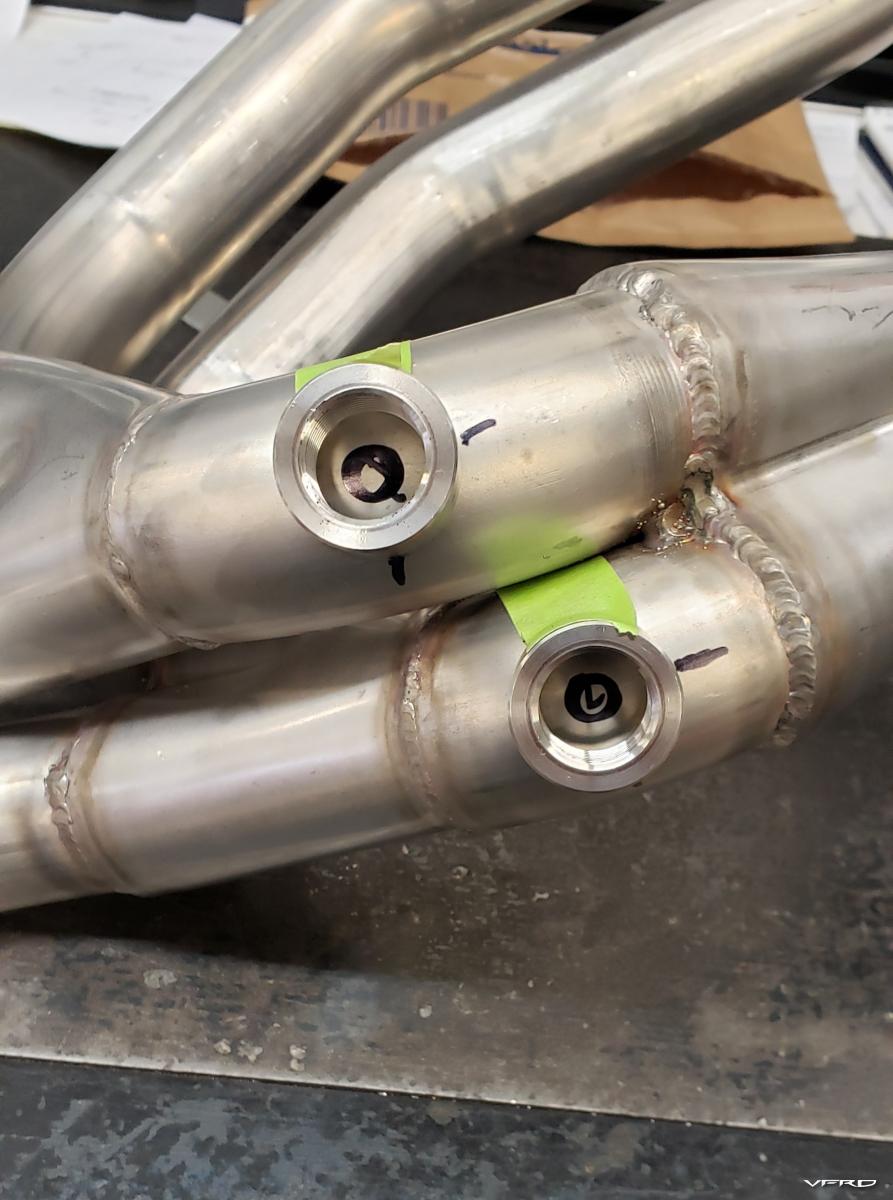
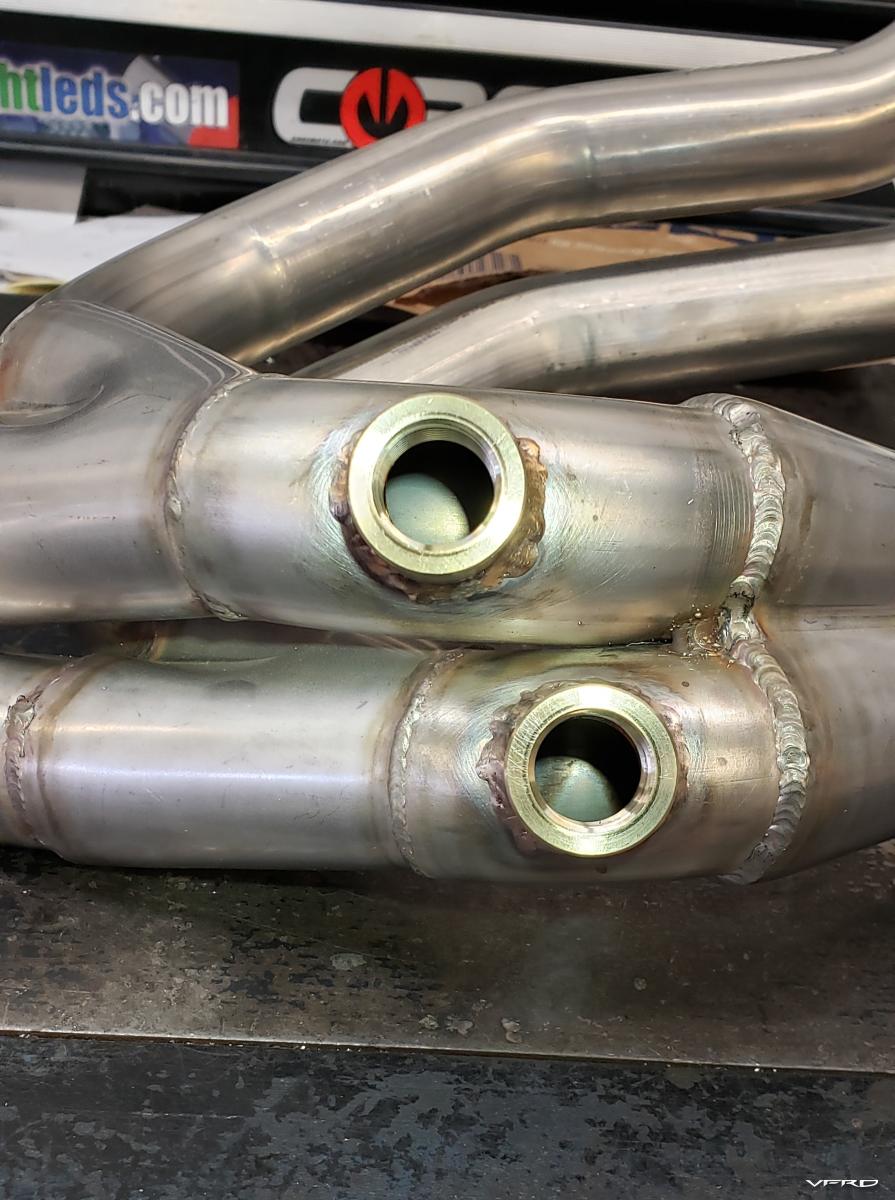
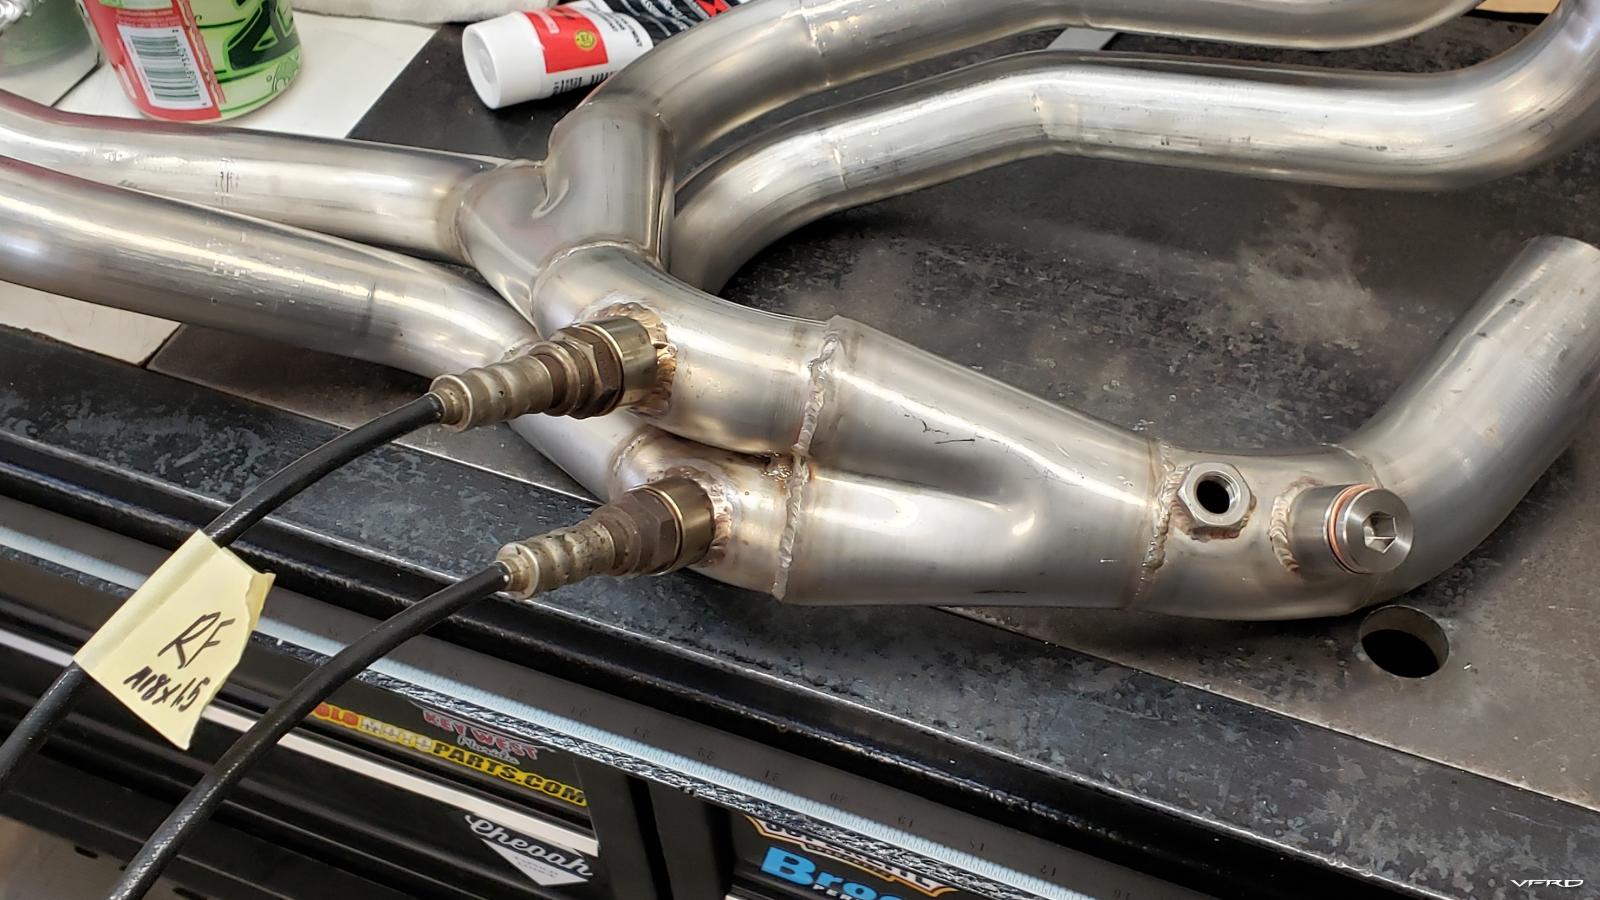
Installing the RB meant connecting the oem O2 sensors. No problem on a normal install... but the 8g downsized to 1 sensor, and although this VFRD header has that + 1 wideband sensor bung, neither were going to work for routing the wires of the stock sensors. So...


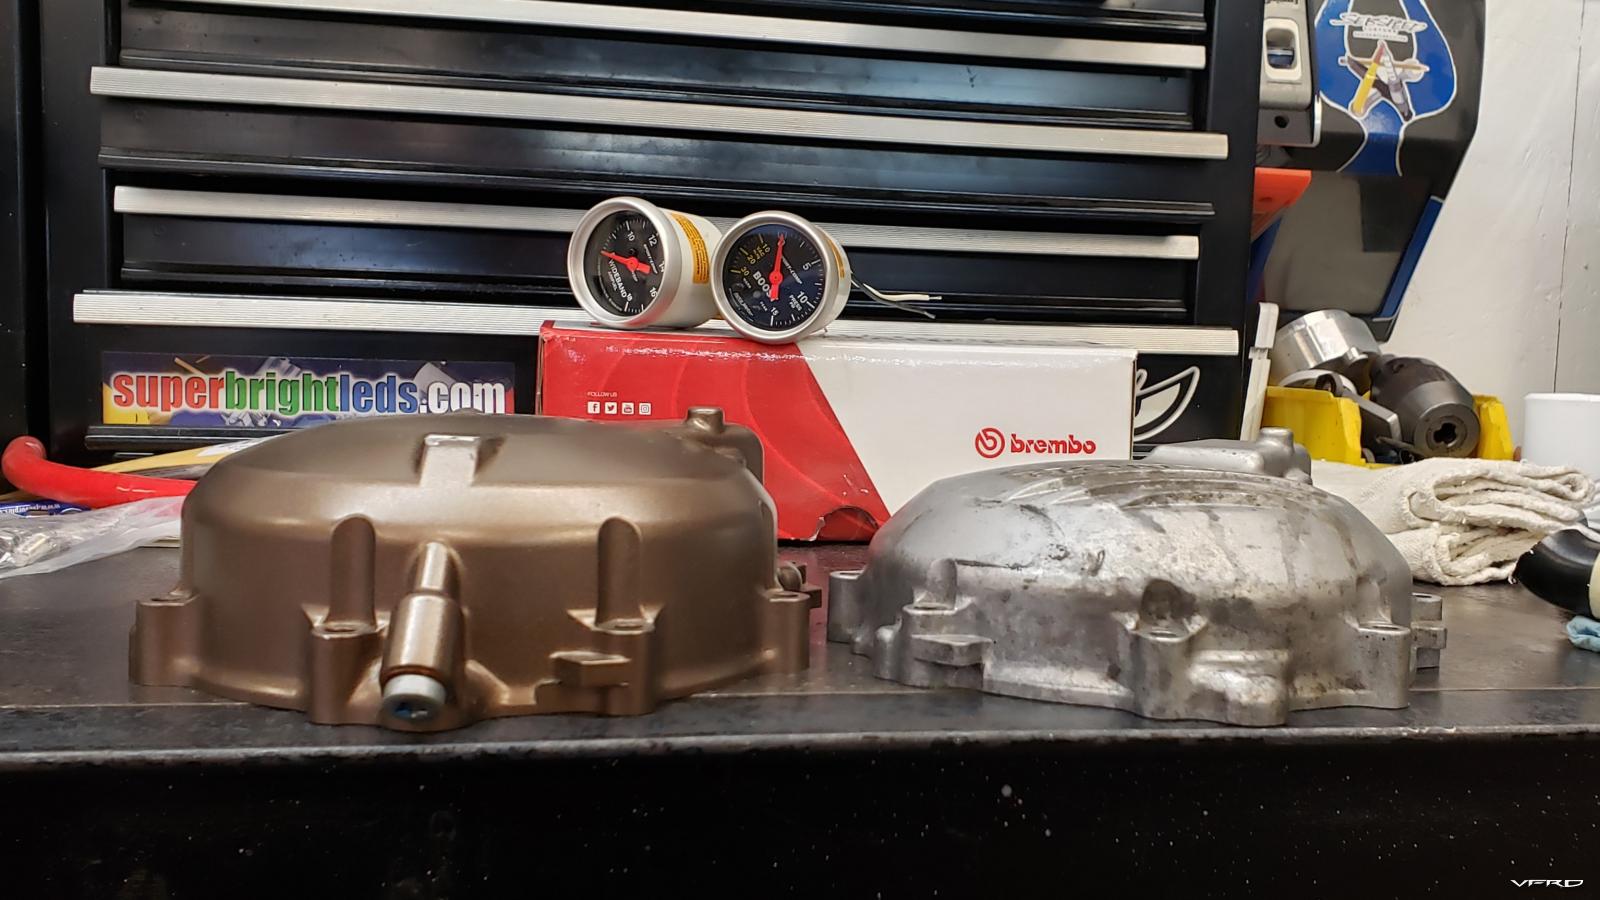
I used a low temp silicon bronze wire to tig braze the bungs in, minimizing the chance of ruining the exhaust flow with burn-through. The wideband and 8g O2 bungs are plugged for now. I have a wideband AF sensor and gauge that will be installed in the future.
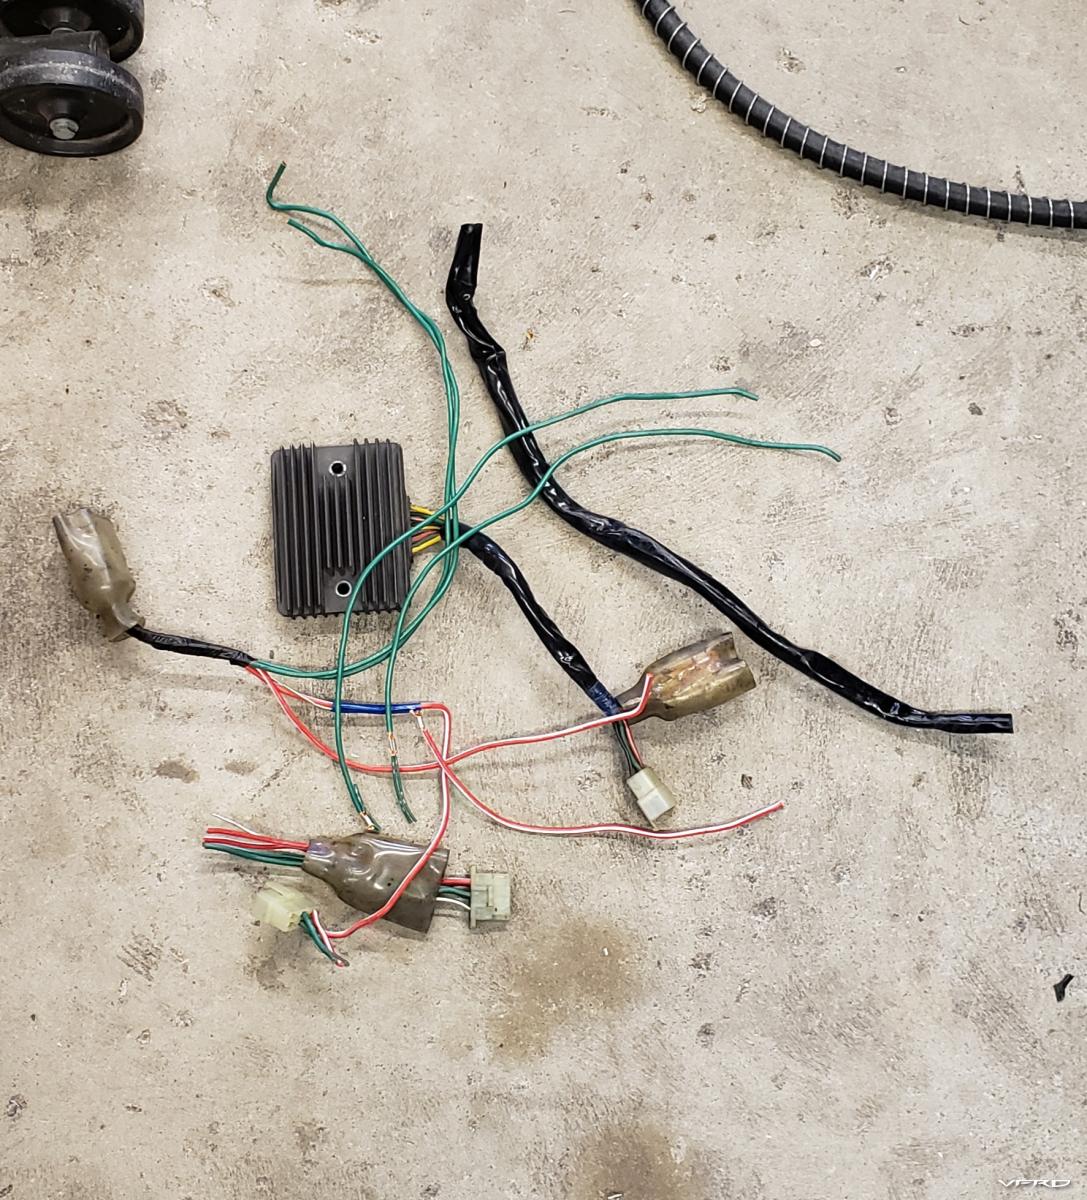
The result of the harness recall back in the day was pretty much all of this excess wiring... all now deleted since it was a lot of clutter, and the new SH847 r/r simplifies much of the issue that plagued the stock system anyway.


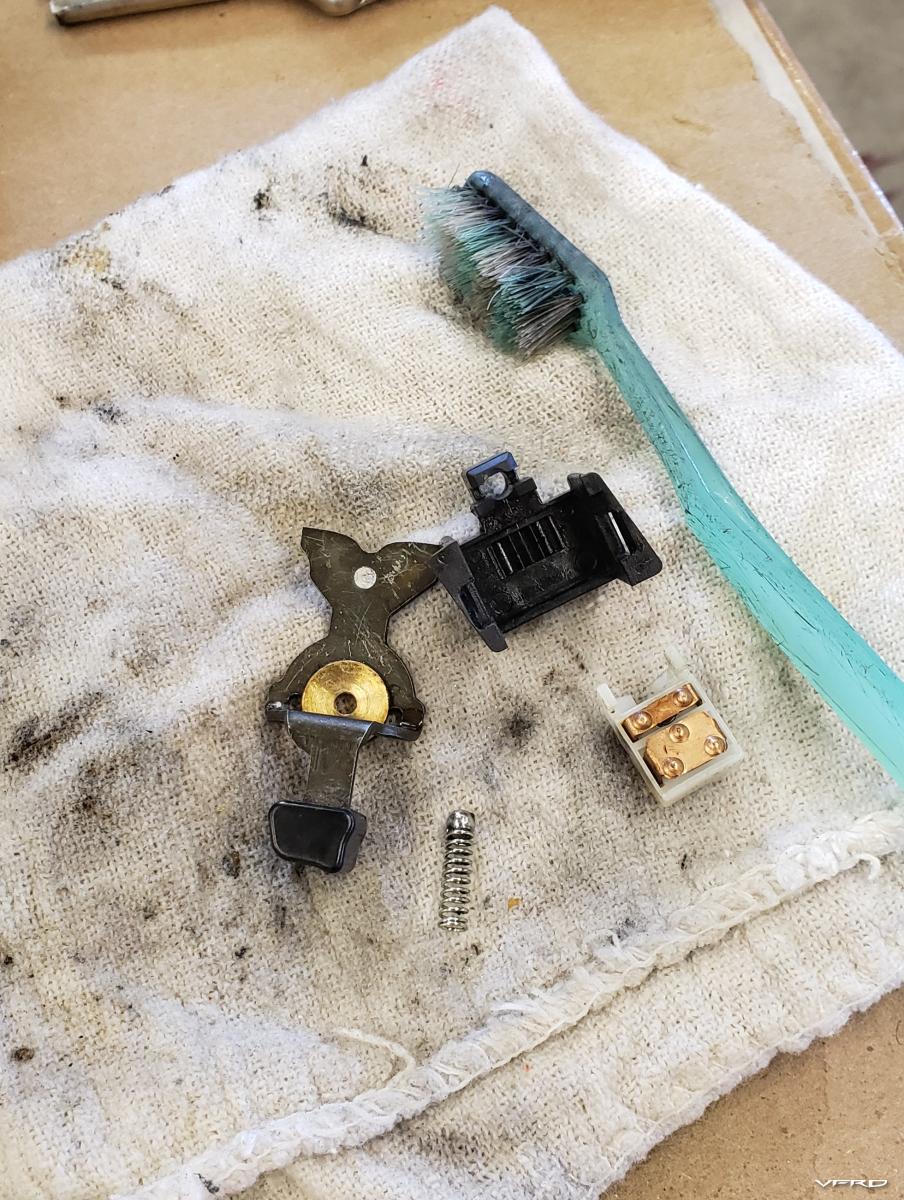
While installing the switch gear I noticed the turn signal switch was a bit sticky, so broke that down and refurbed it. I also lubed up the switch pods and left them soak in some grease to refresh them a bit before installing.


And then...
Just as I was getting excited about firing this bad boy up for the first time in years...

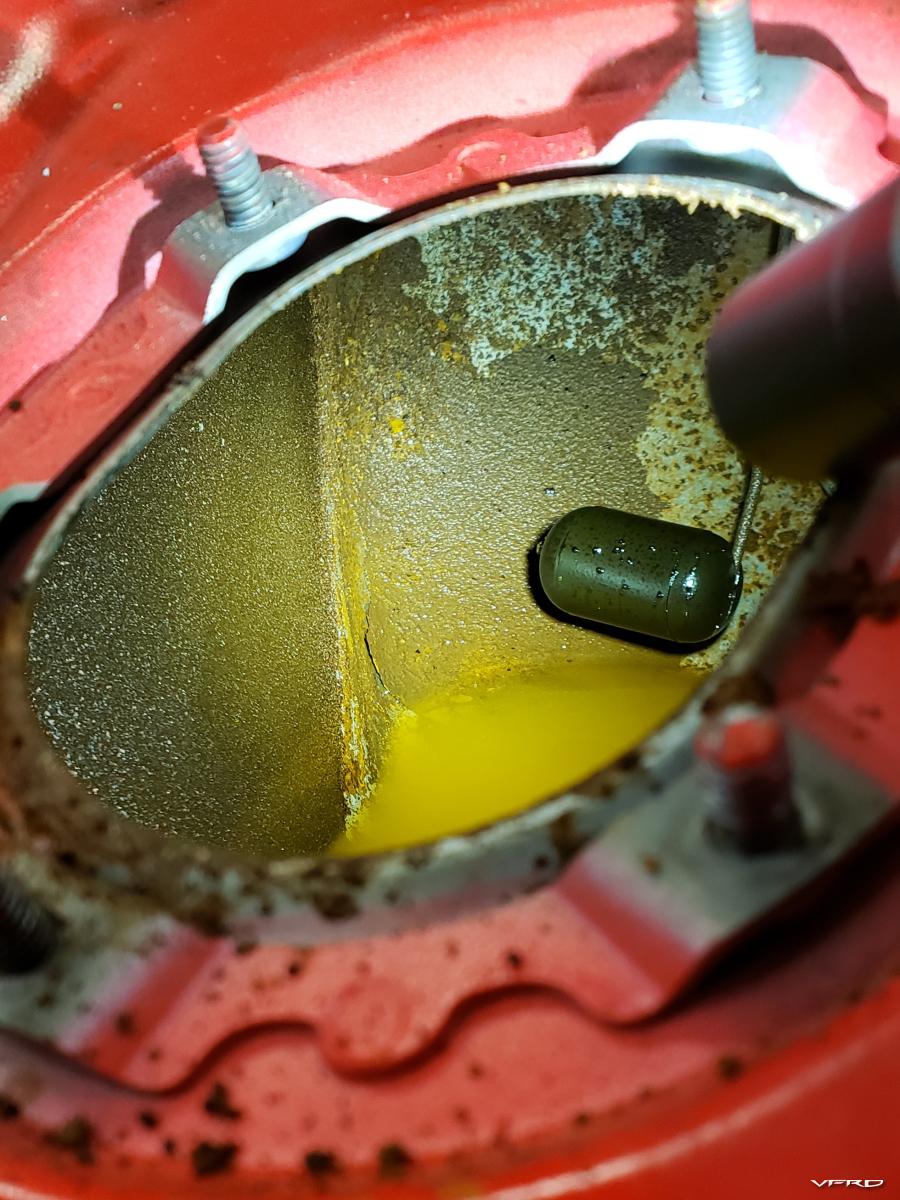
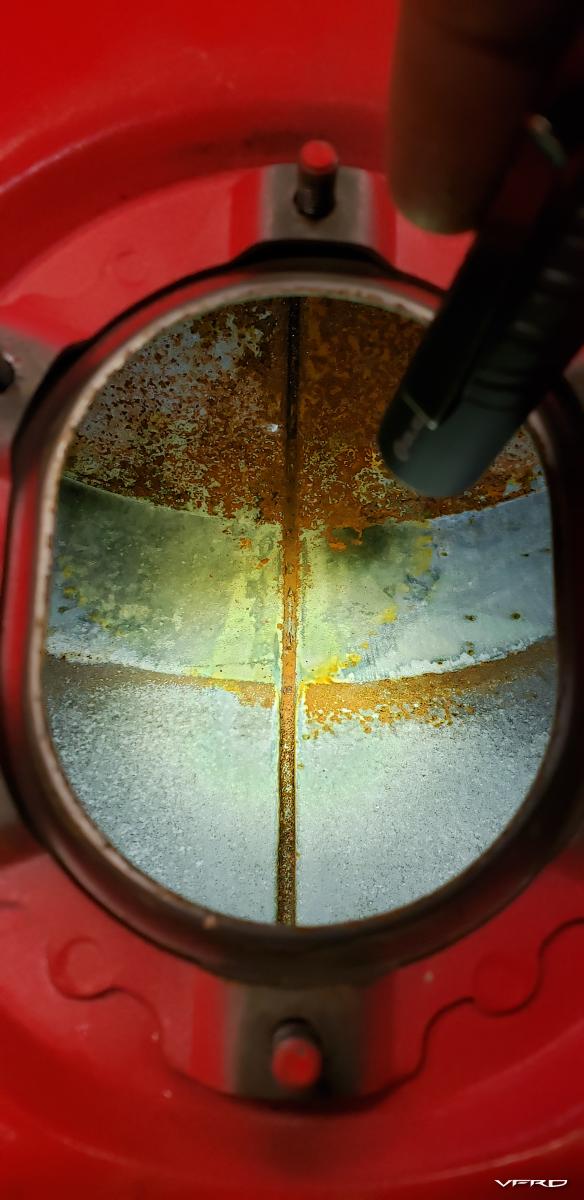
Ethanol gas kicked my ass


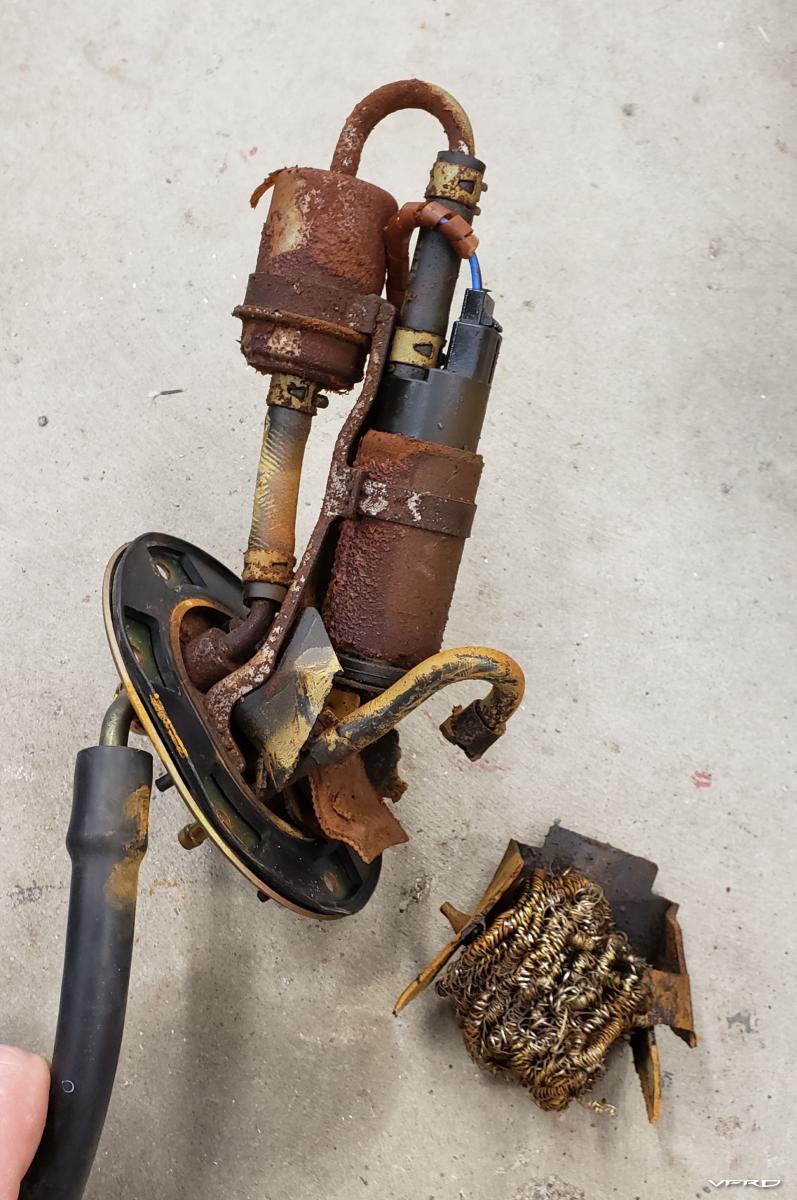
People, use e-free gas whenever possible. My bike has been living indoors in my air conditioned and heated garage/workshop and never outside. This is what ethanol does to metal when left to sit.
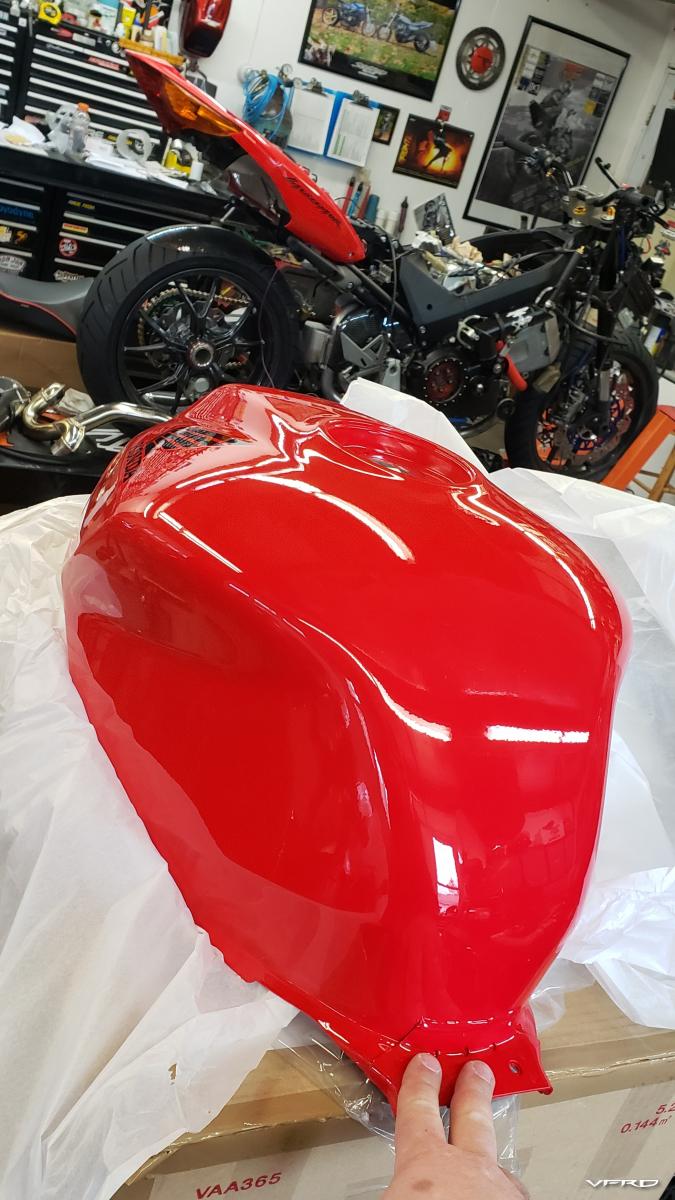
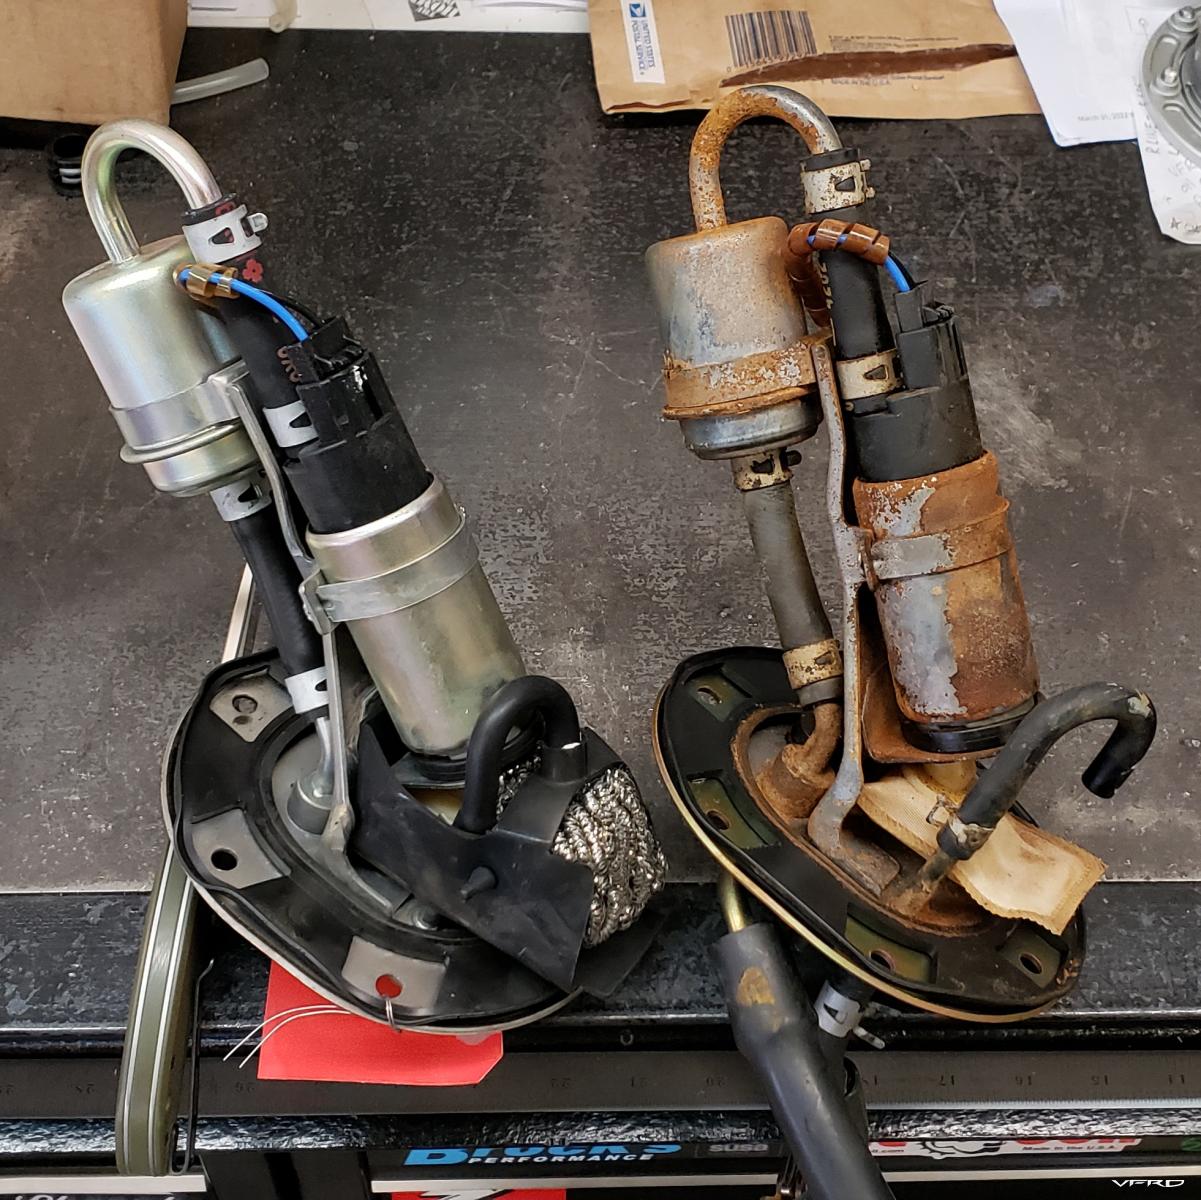
Keith at MasonCity Honda set me up wit ha great price on a brand new tank. It was a bitter pill to swallow, but I was starting to hit a time crunch to make the '22 Spring ride and I felt it needed to be done. I sourced a very clean, low mile pump assembly from ebay.
I installed a brand new oem fuel filter, gasket and mesh pickup on the ebay unit when I installed the Toro kit upgraded fuel pump and saved the other new parts t orebuild my unit in the future.
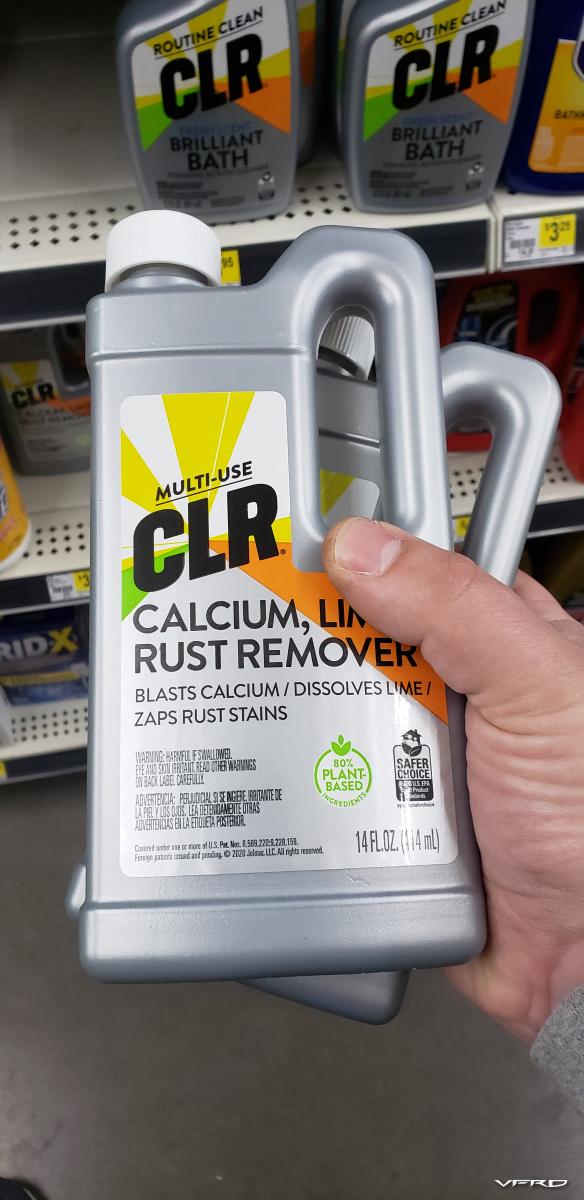
For what it's worth, I took a quick stab at cleaning my old tank with CLR. Results were promising, but I didn't care to take the time risk. I can tackle that in the future to have a backup.
Diluted with water...

1 overnight sit made a good improvement

Freshly rebuilt new-ish pump vs CLR soaked rusty oem pump...

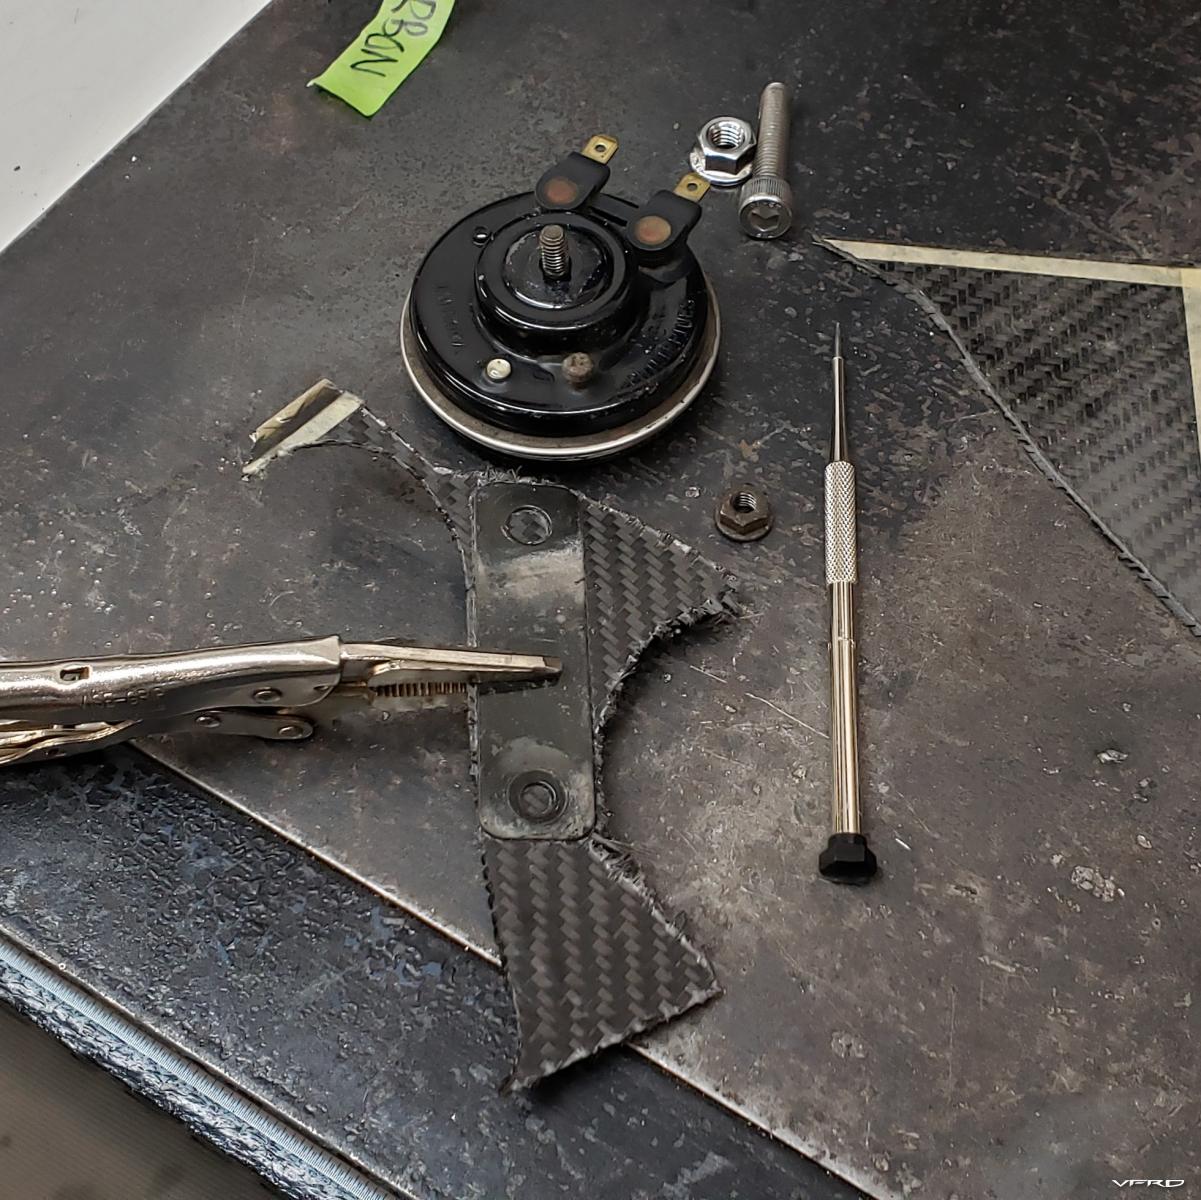
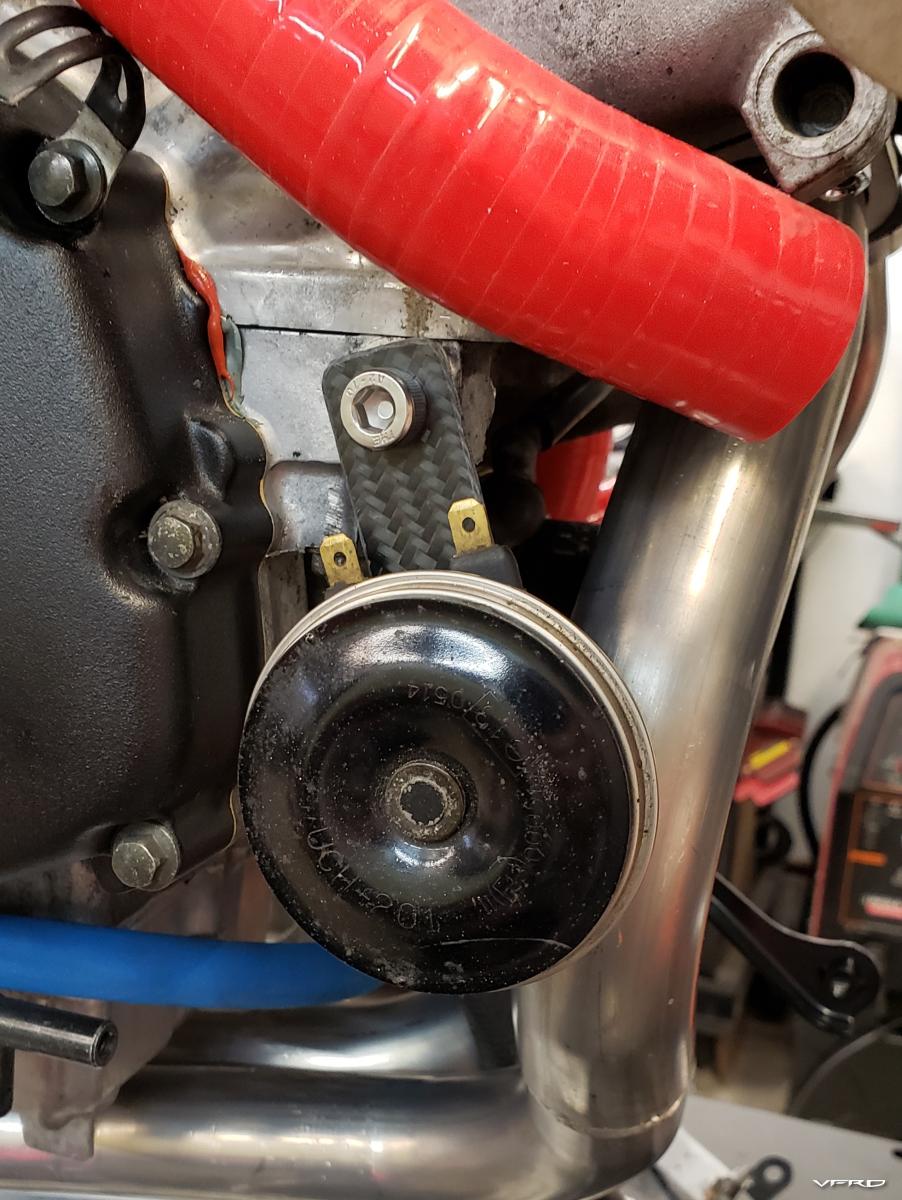
Does carbon fiber make you horny?


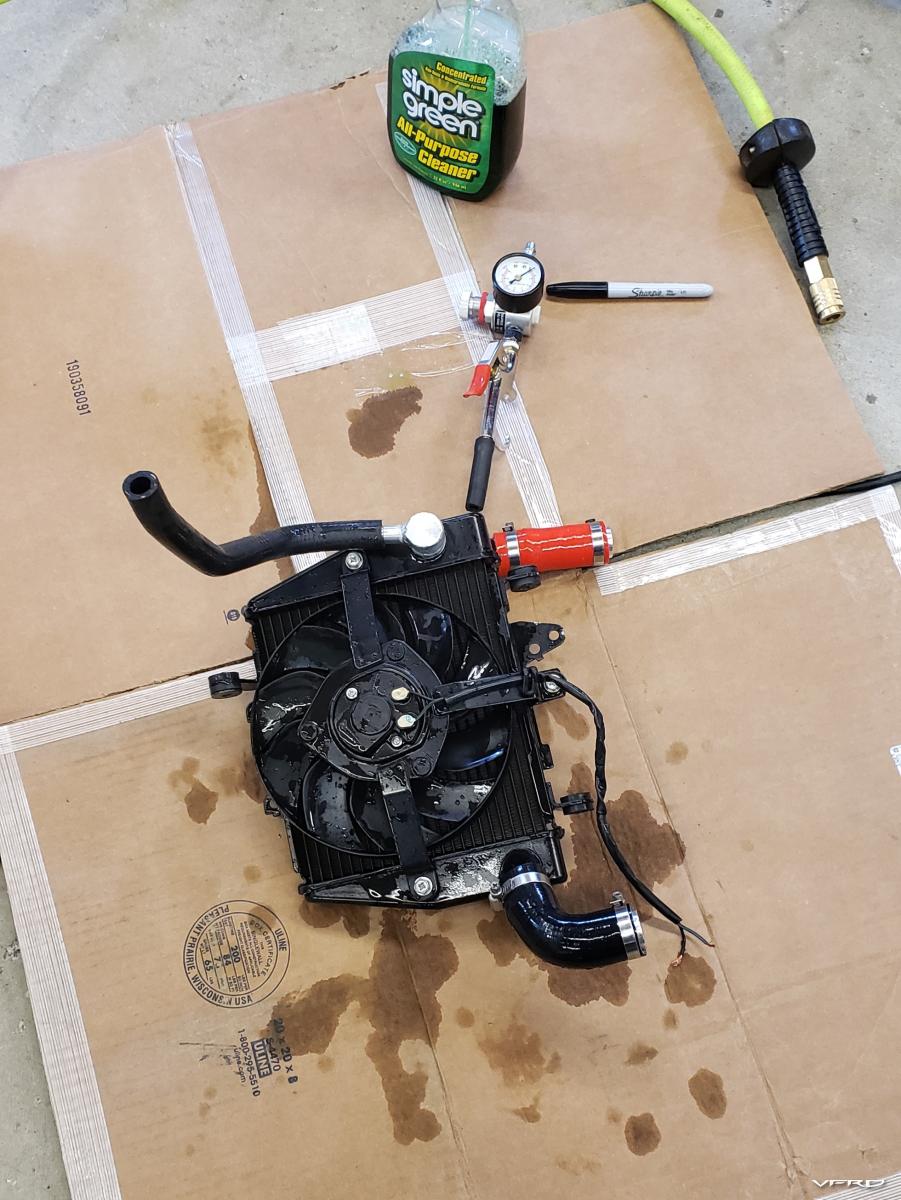
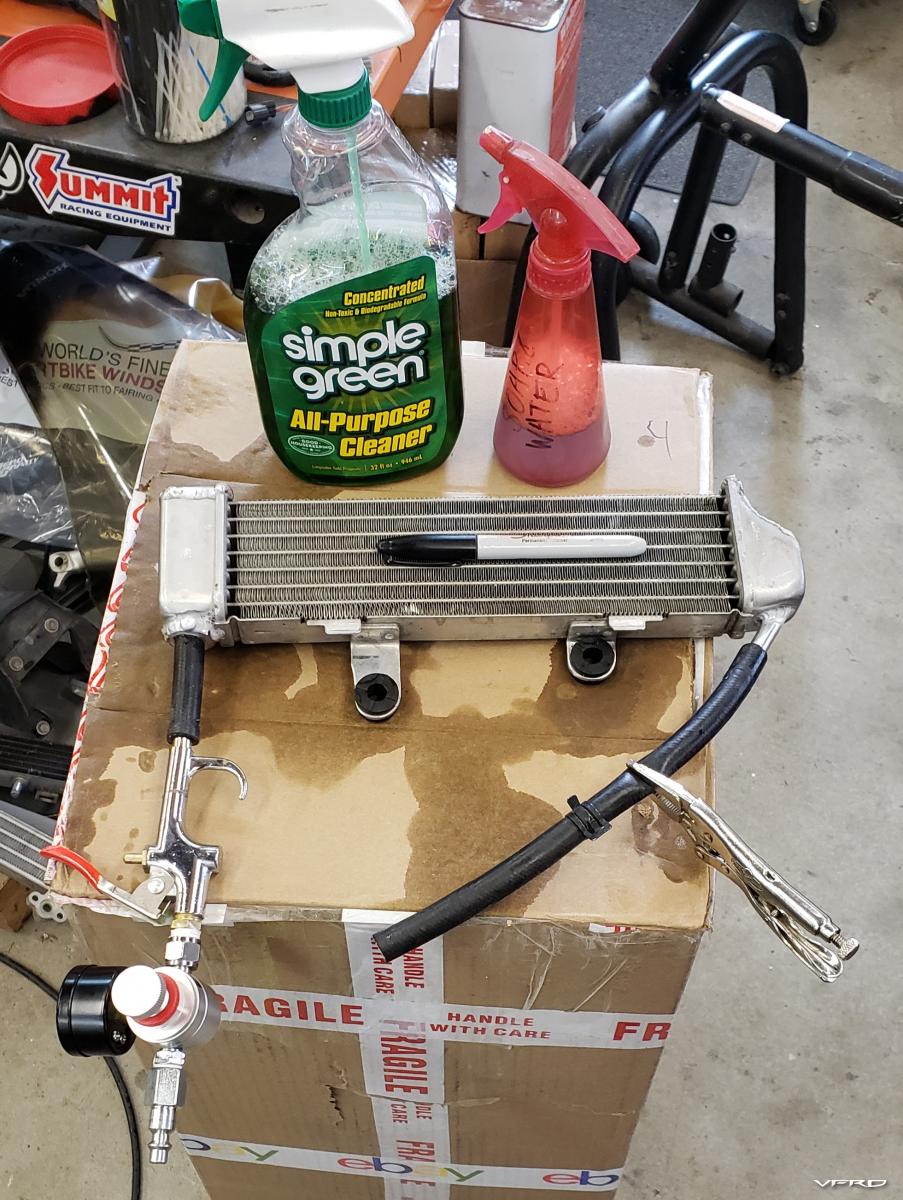
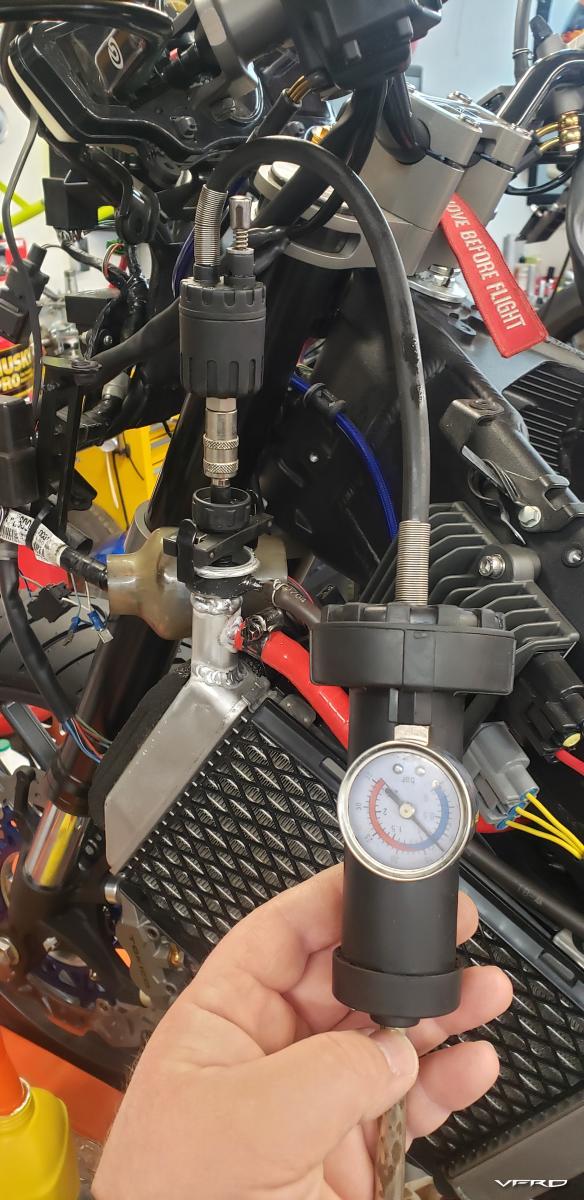
I pressure tested all the individual parts I worked on


And then also the full system!

-
 5
5
-
-
Here's one a lot of you will appreciate.
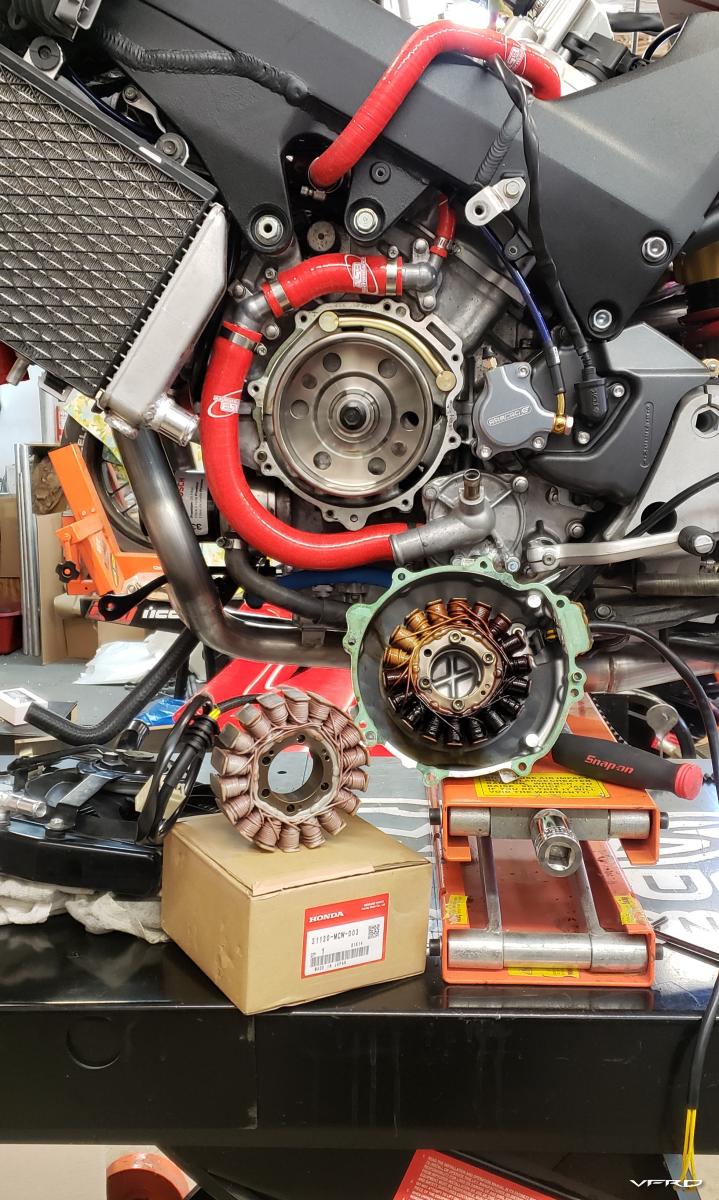
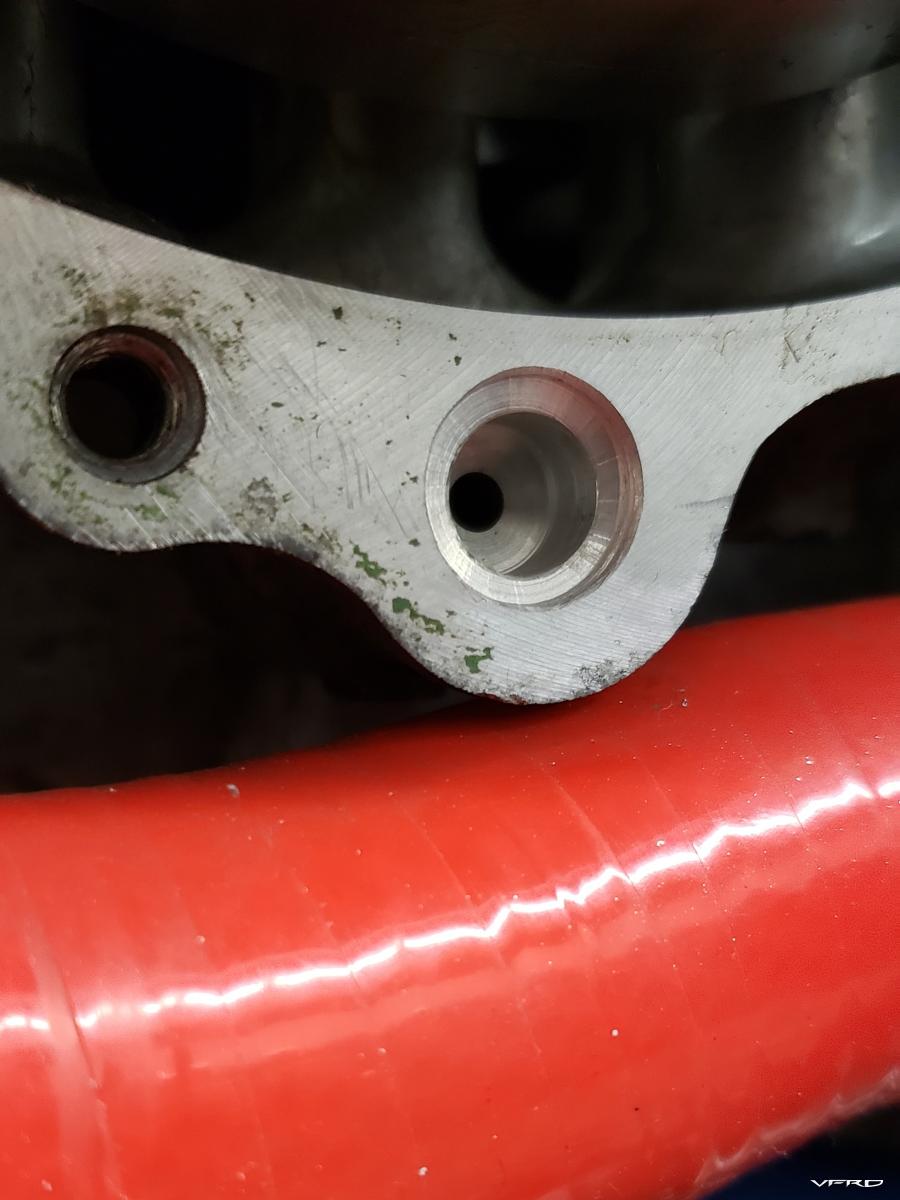
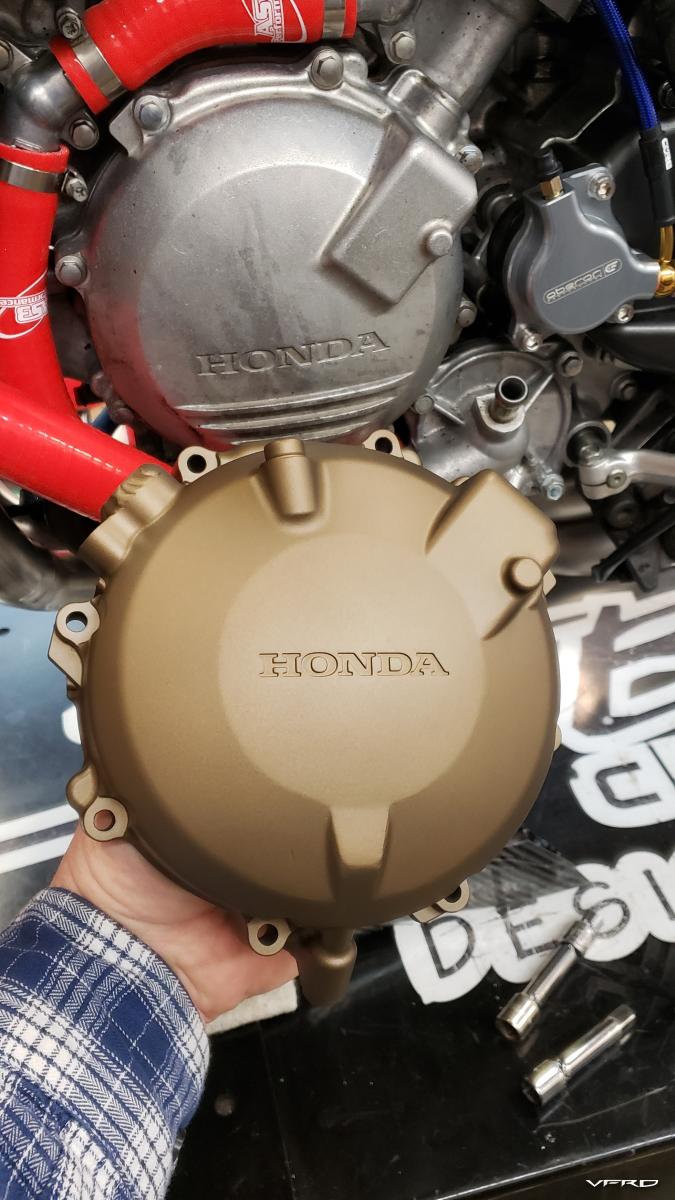
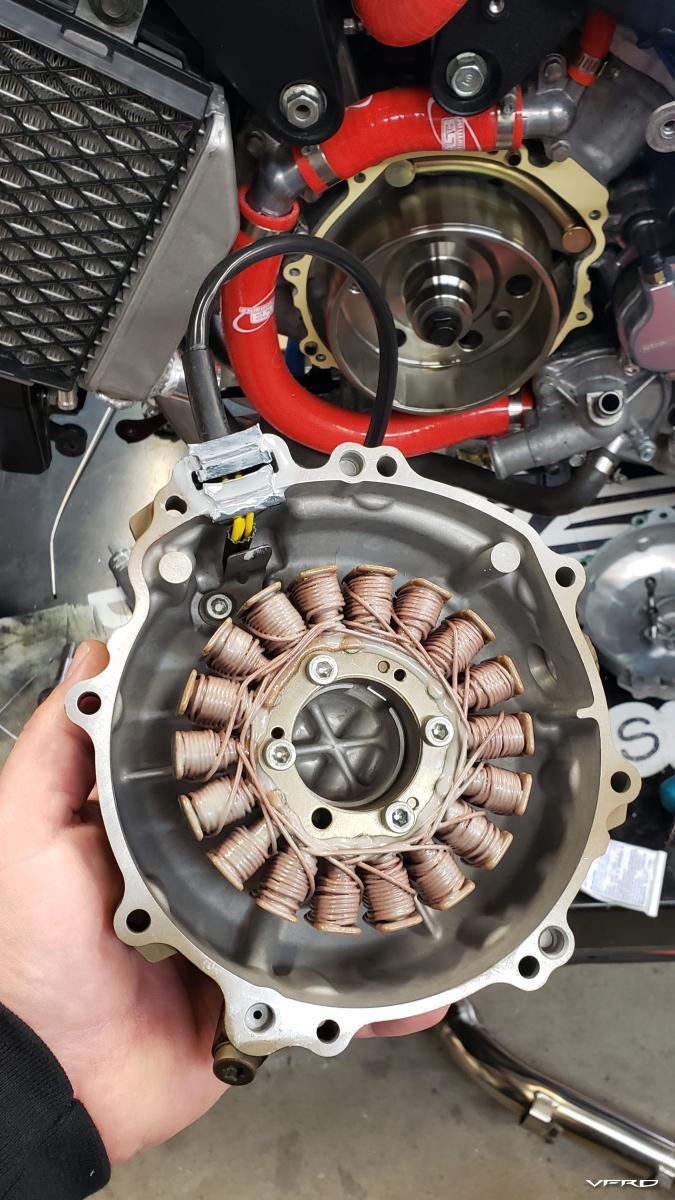
I had in the back of my mind a mod I had seen on a Euro or Spanish VFR forum. It was linked here years ago. Someone was taking 6g stator covers and modifying them to add an oil passage. I was trying to locate the info, and Miguel turned me on to looking at the 8g stator cover as Honda had apparently taken some measures to feed more oil to the stator on that model.
Turns out he was right, and I ran with it. My brand new stator now has a fresh oil feed directly from the oil gallery!
My 47,xxxmi stator was still working, but probably close to not, judging by the toasty condition

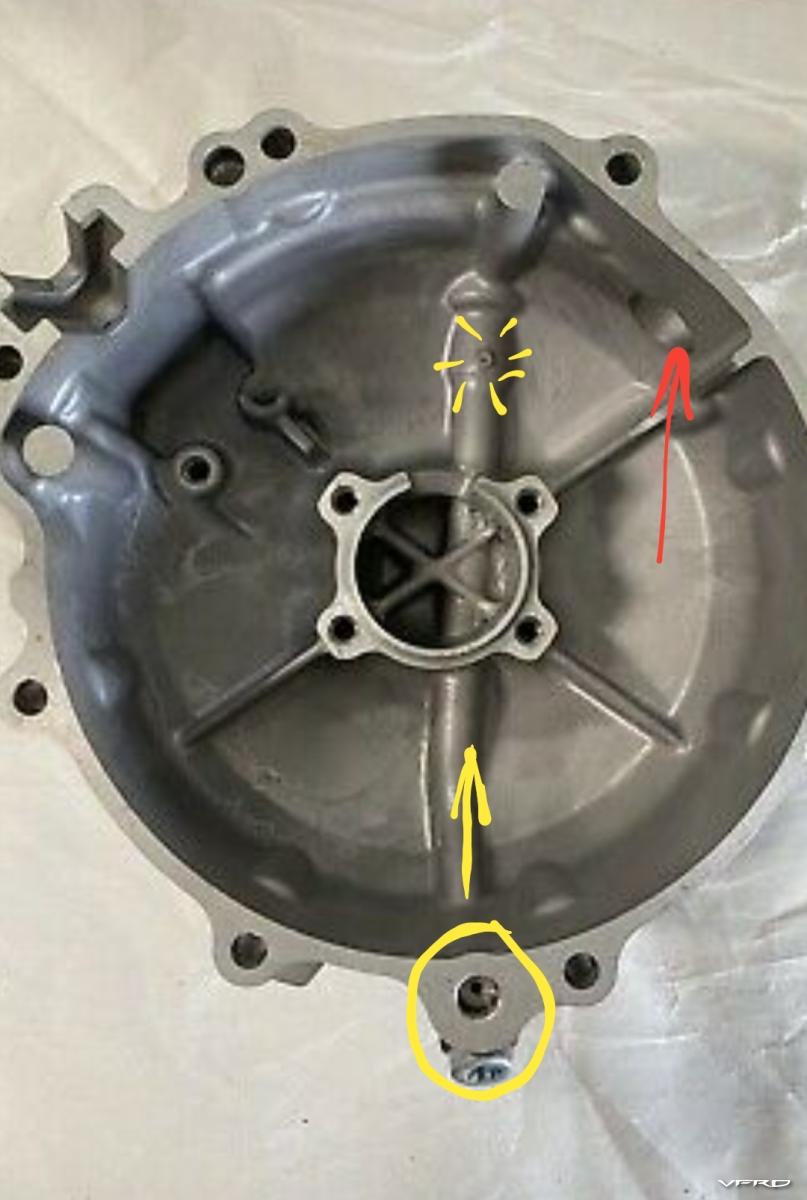
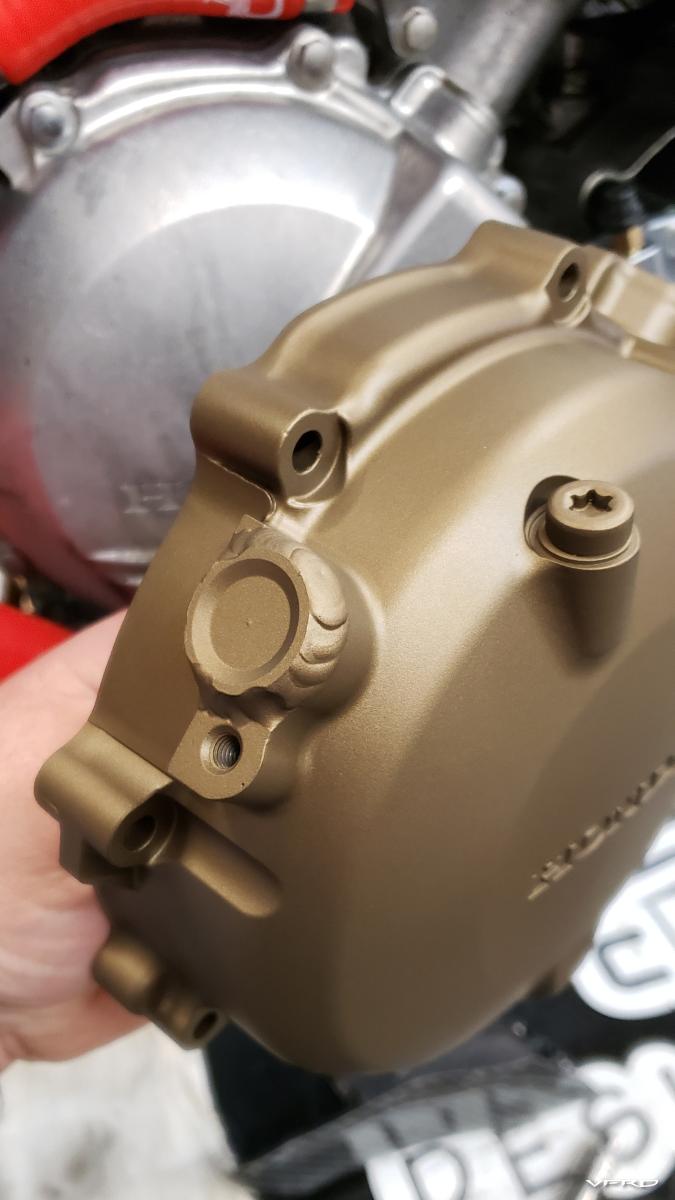
This is the interior view of the 8g cover

The red arrow indicates a port for a sensor that is unique to the 8g. It's not used on a 6g, so I turned up a plug and welded it in before I coated the cover.
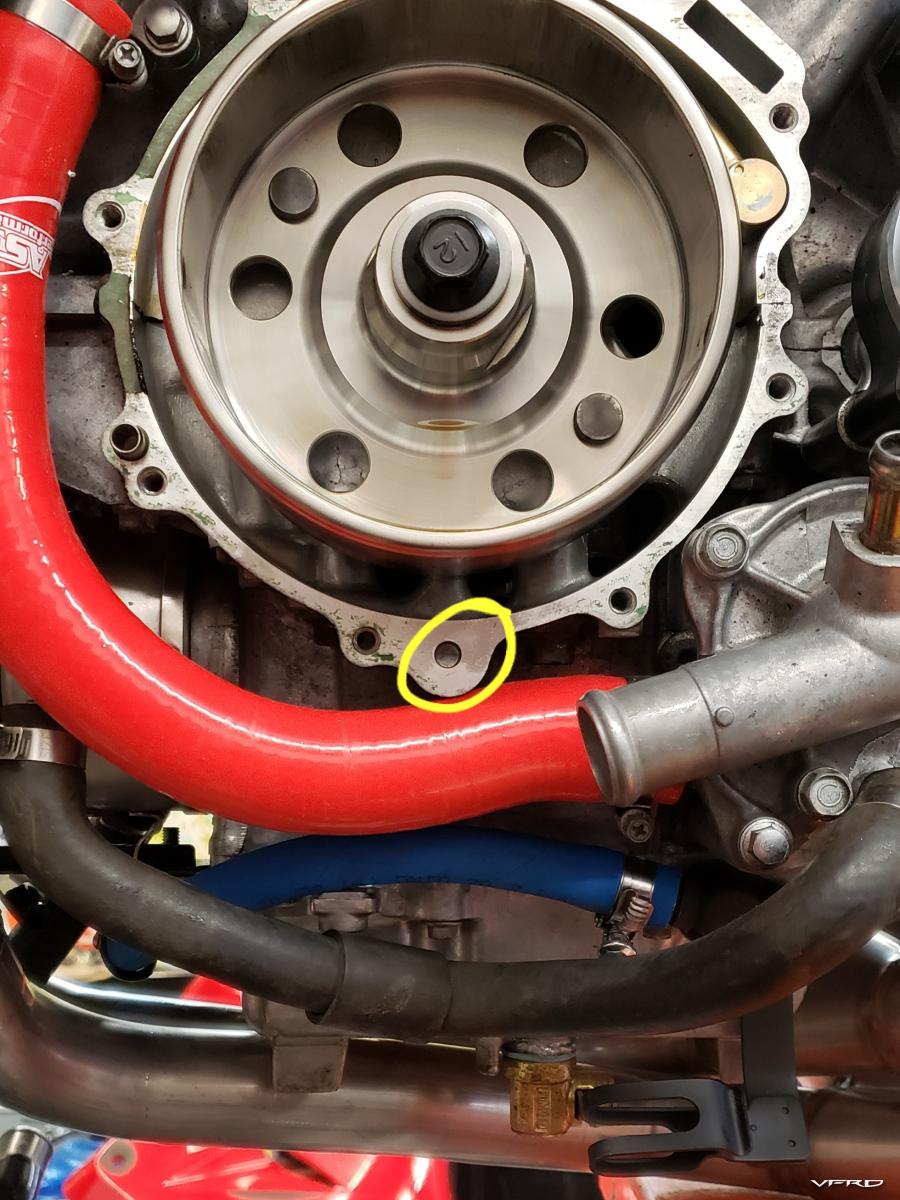
This is the location on the 6g block that needs to be drilled.

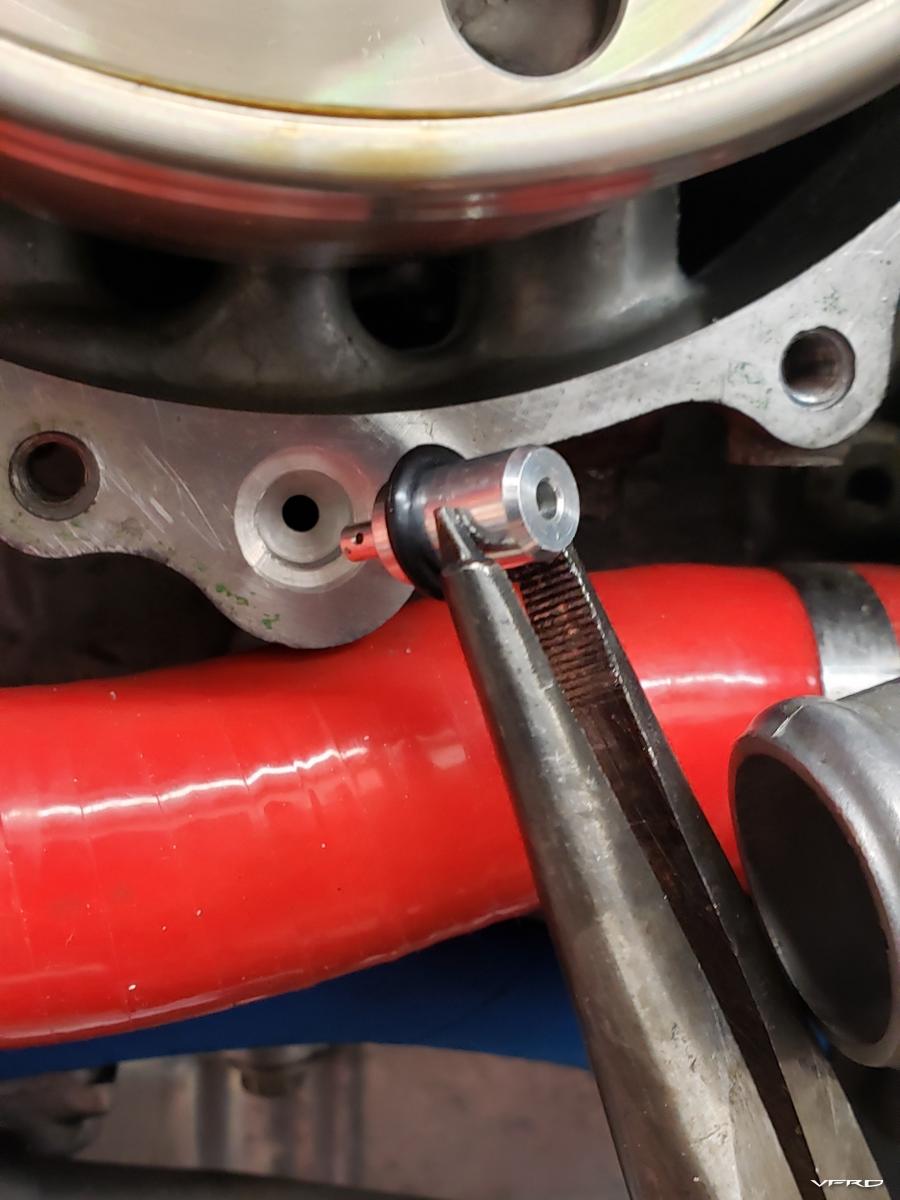
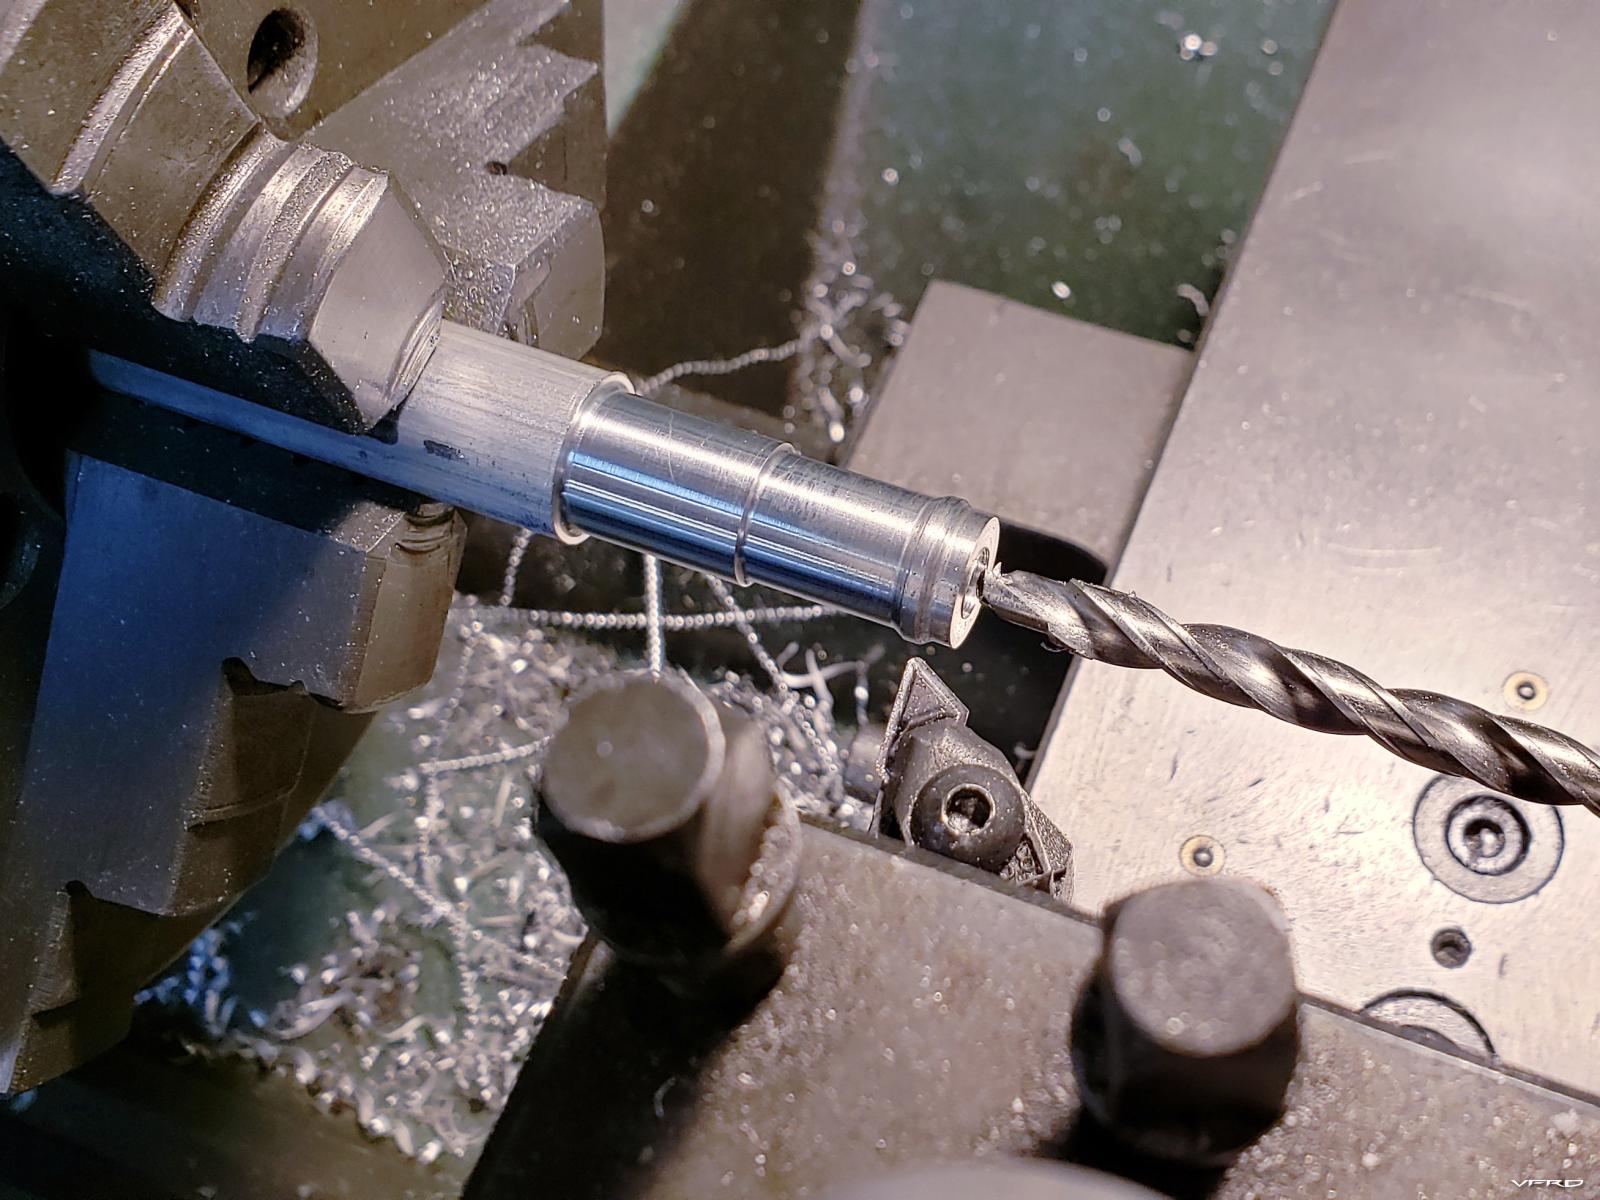
I turned this drill bushing to allow me to drill the block perfectly


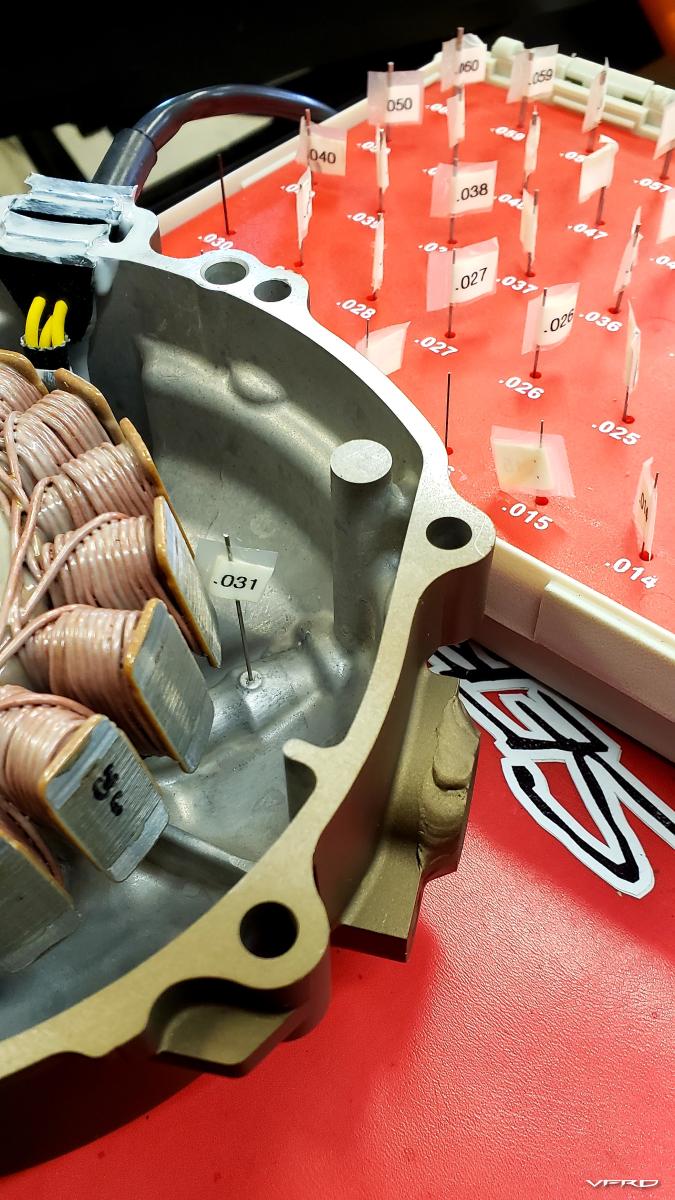
You also have to drill a counterbore for the the orifice o-ring which will be installed

I coated my drill with grease and pecked my way through, evacuating chips very frequently. When I broke through, I had a very tiny amount to clean up. The back side of the hole is not visible, but accessible, by removing the oil filter and threaded filter mount. I stuffed a rag past the new hole, and then used a vac and compressed air to ensure the were no chips left inside.
Once done you can install the oem oil orifice and o-ring

Here's the welded plug

Cerakote color is Burnt Bronze


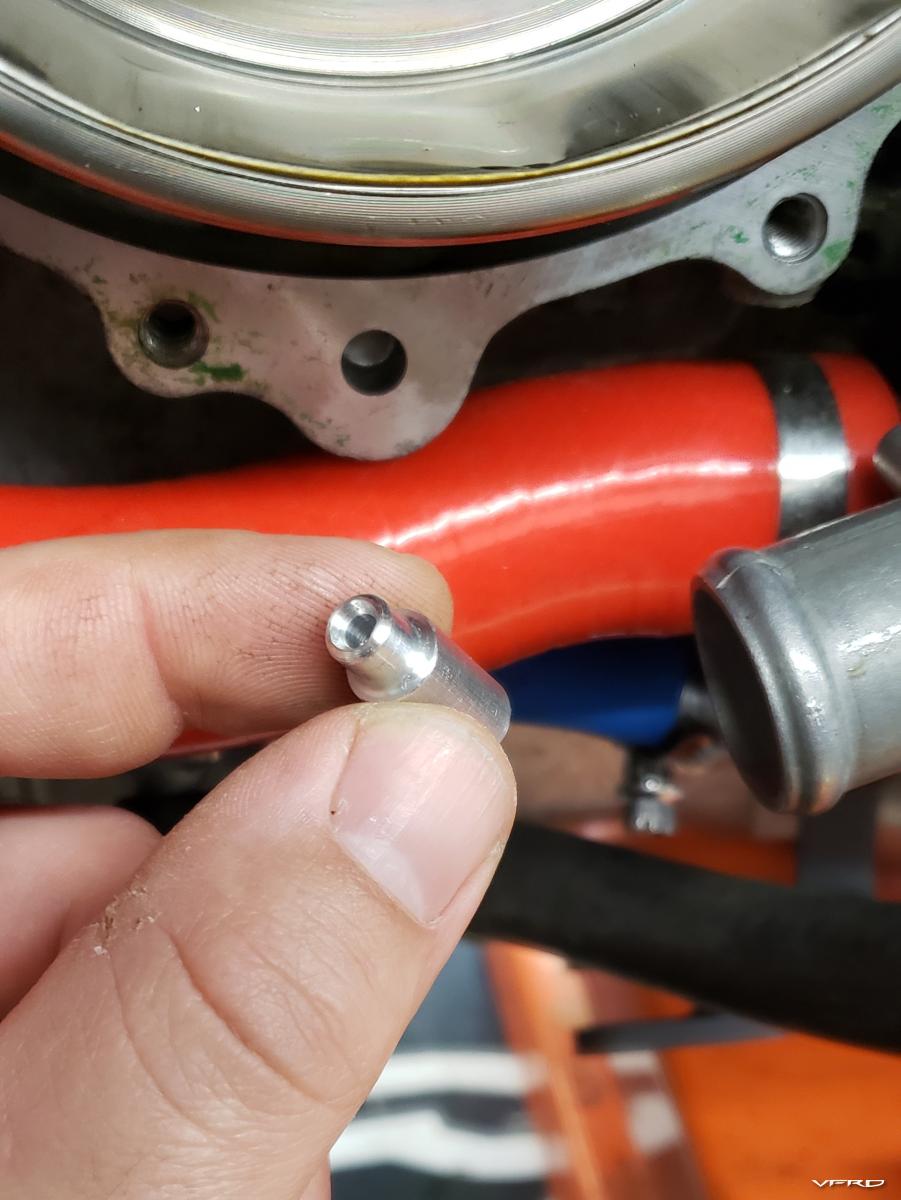
The interior orifice size, in case anyone is curious:

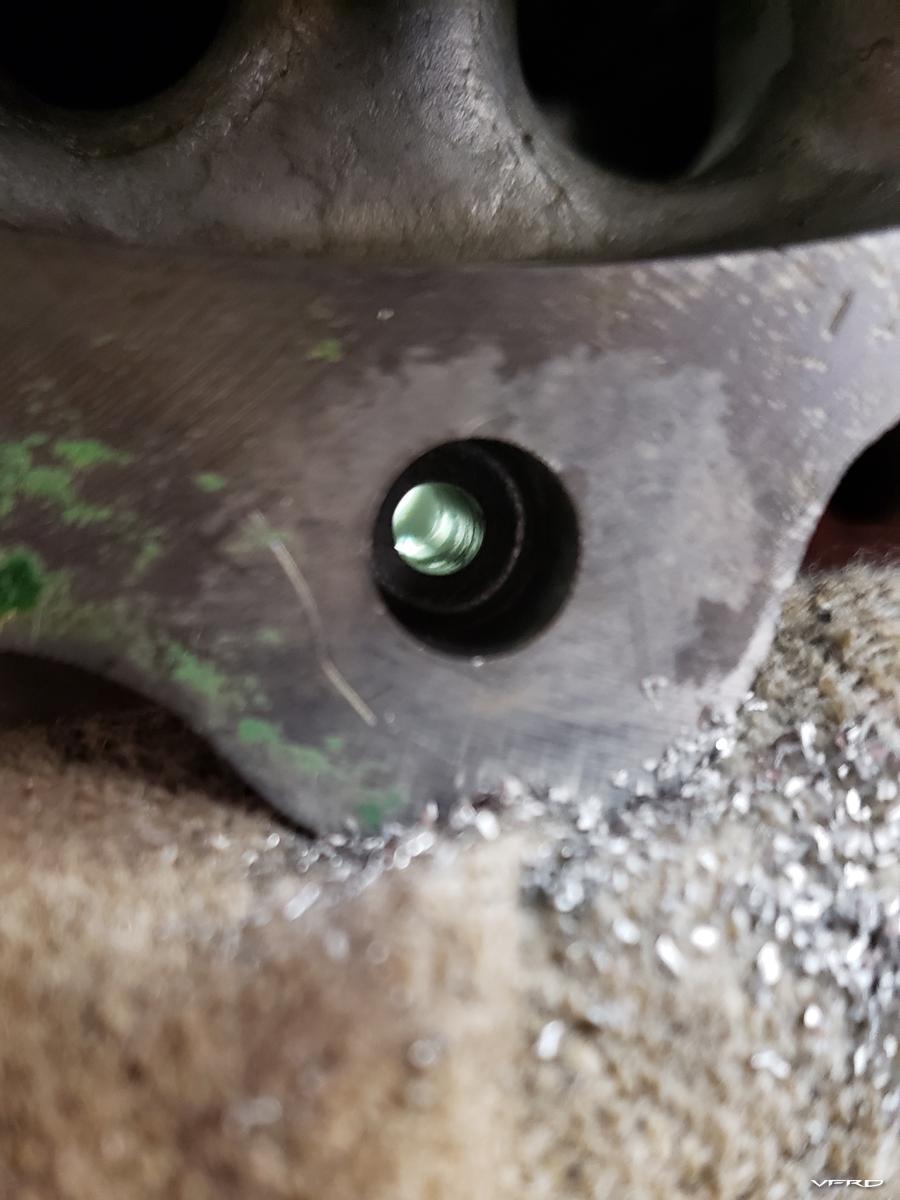
Job done:

EDIT:
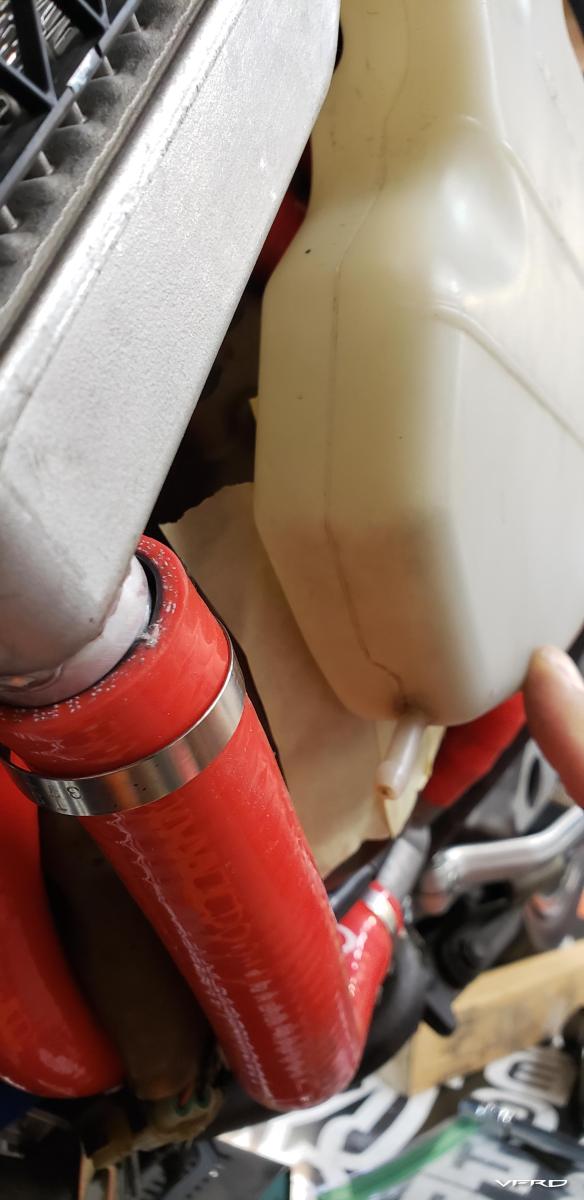
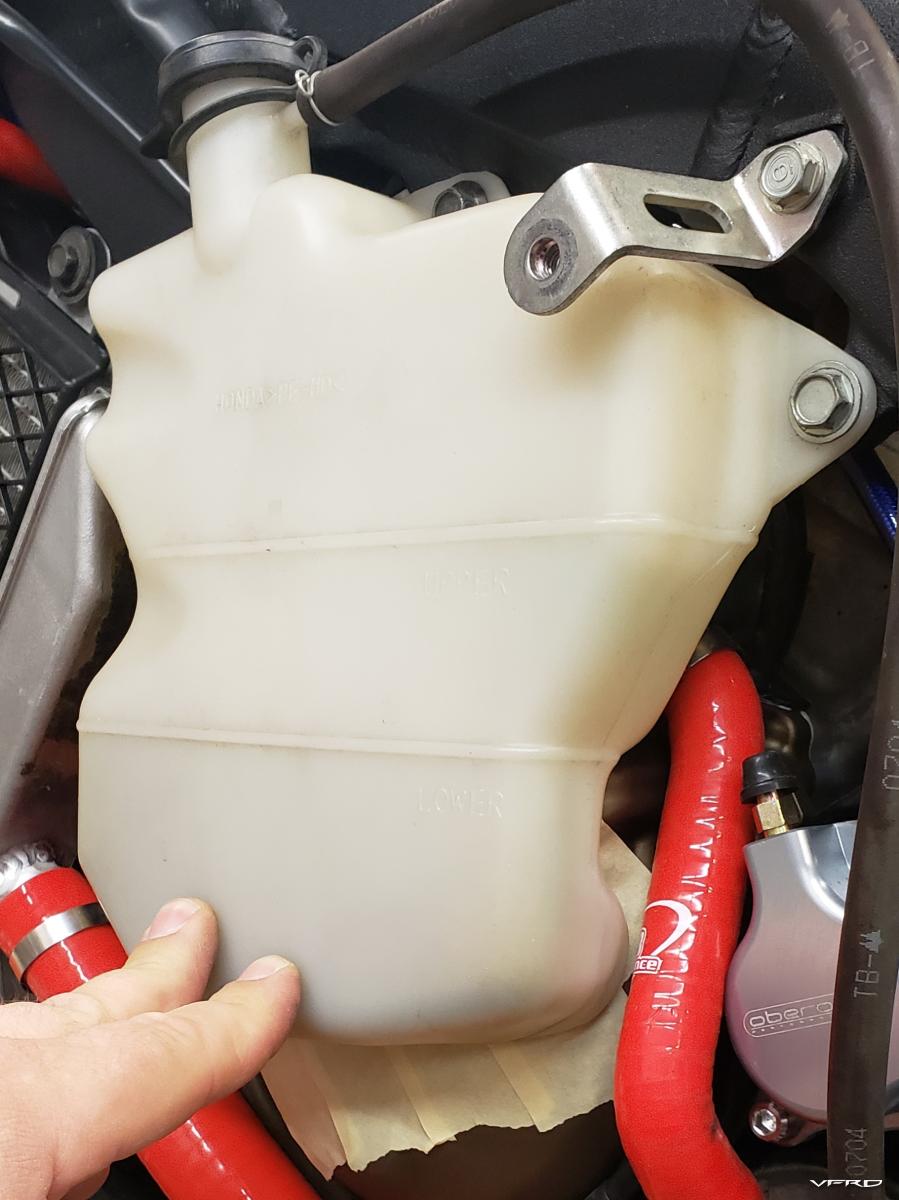
I found out later there is one other mod needed to fit this cover... the 8g cover is TALLER/DEEPER than the 6g cover. It interferes with the coolant expansion tank.
I taped over the cover and used a heat gun + hand pressure to form the tank to the new cover until it fit properly with the fairing. It didn't take a ton of effort, but it's worth noting for sure.


-
 3
3
-
-
I used up my placeholders... not sure what the limit is for each post, rather not find out, so I'll just continue here.
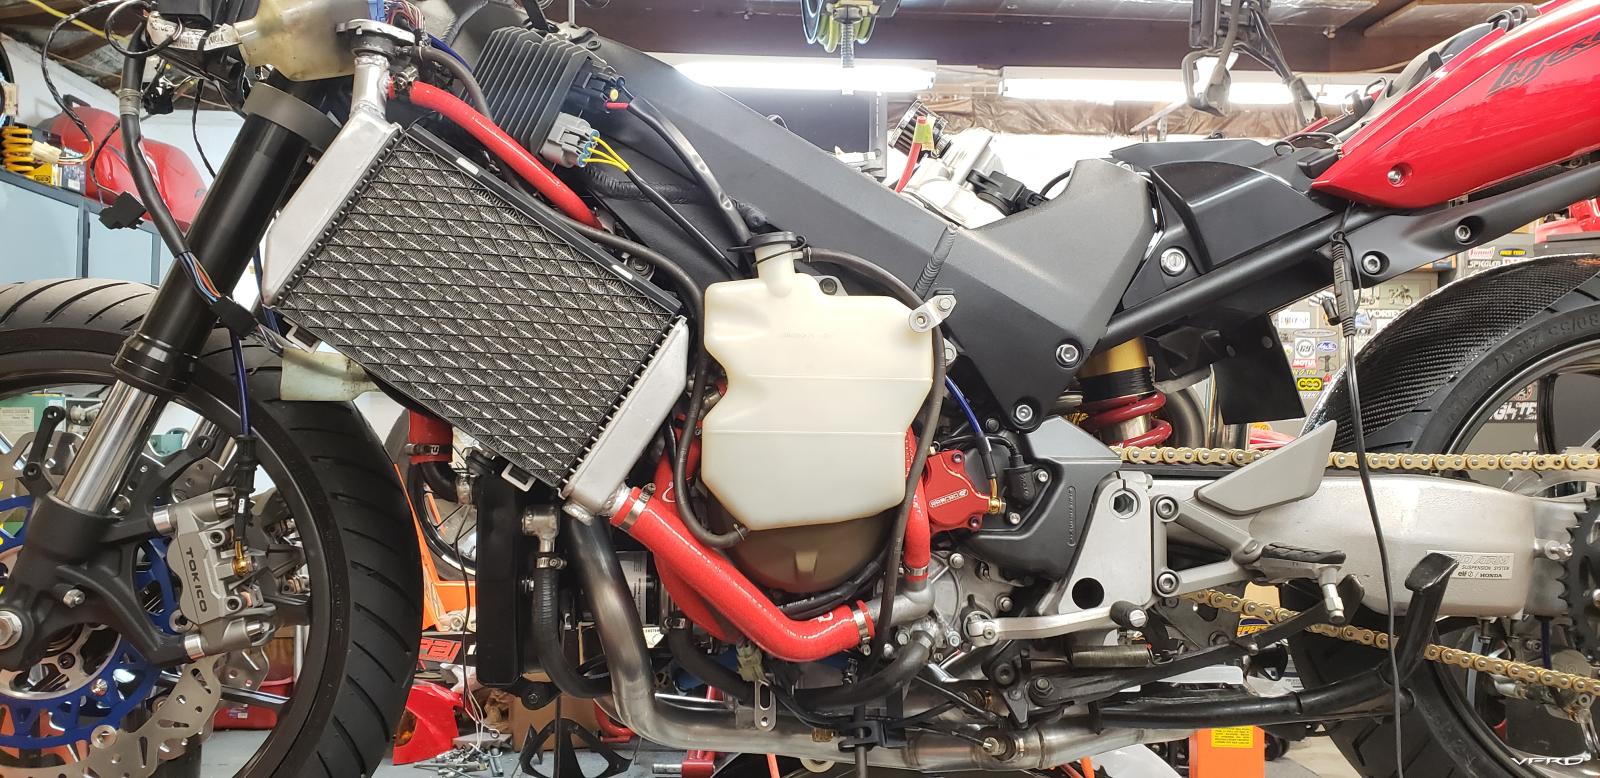
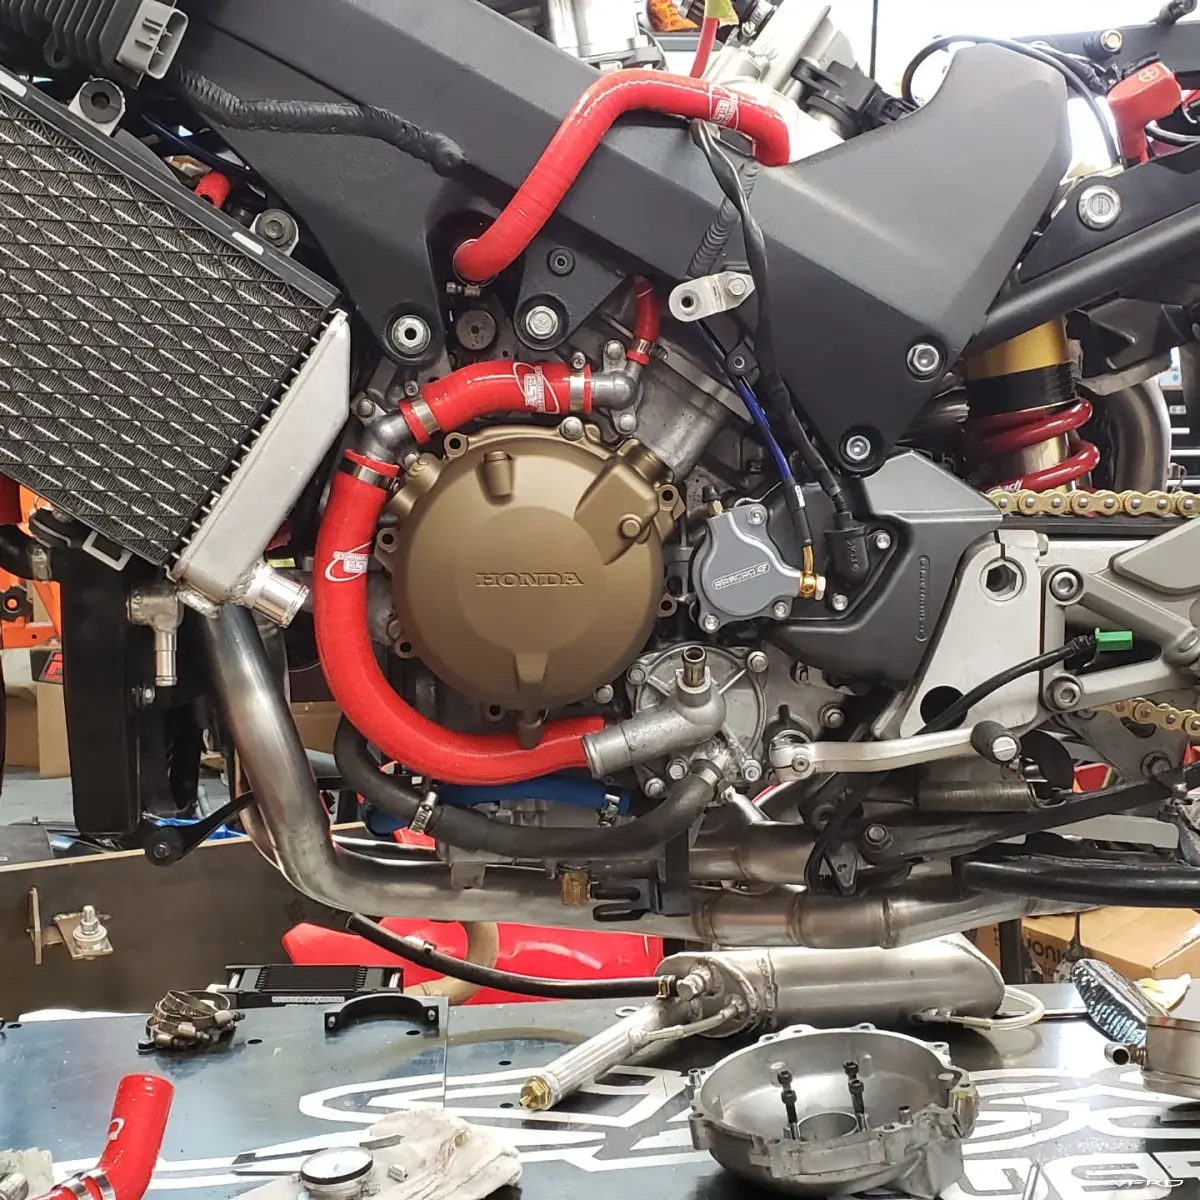
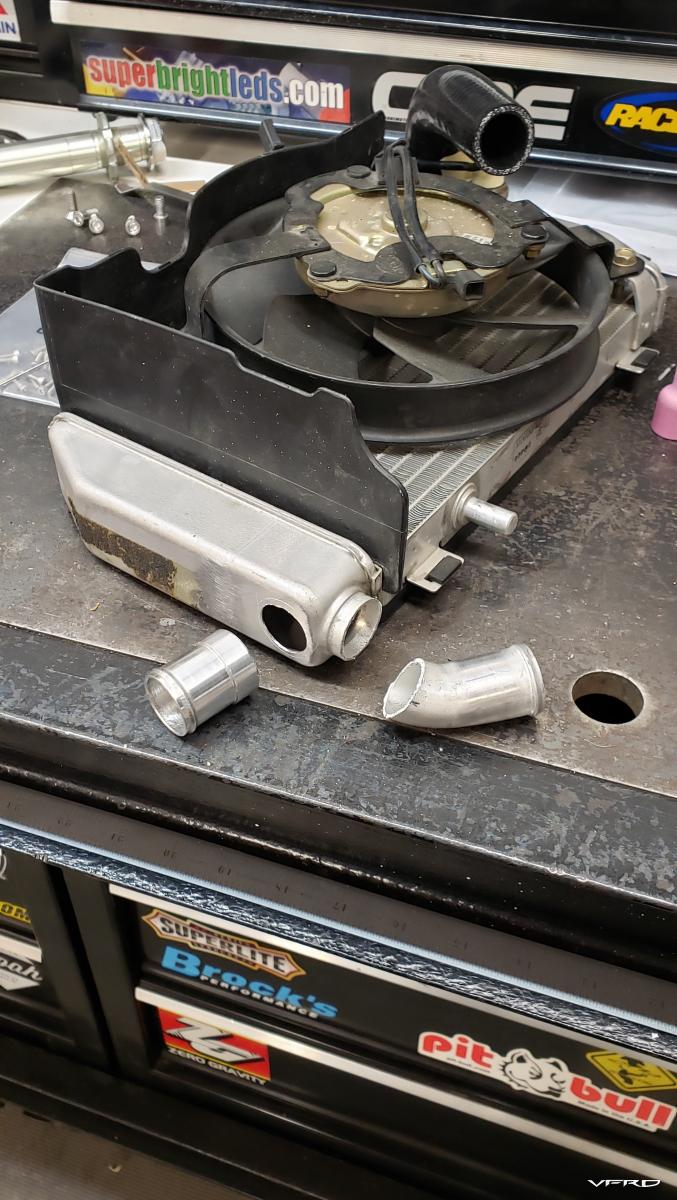
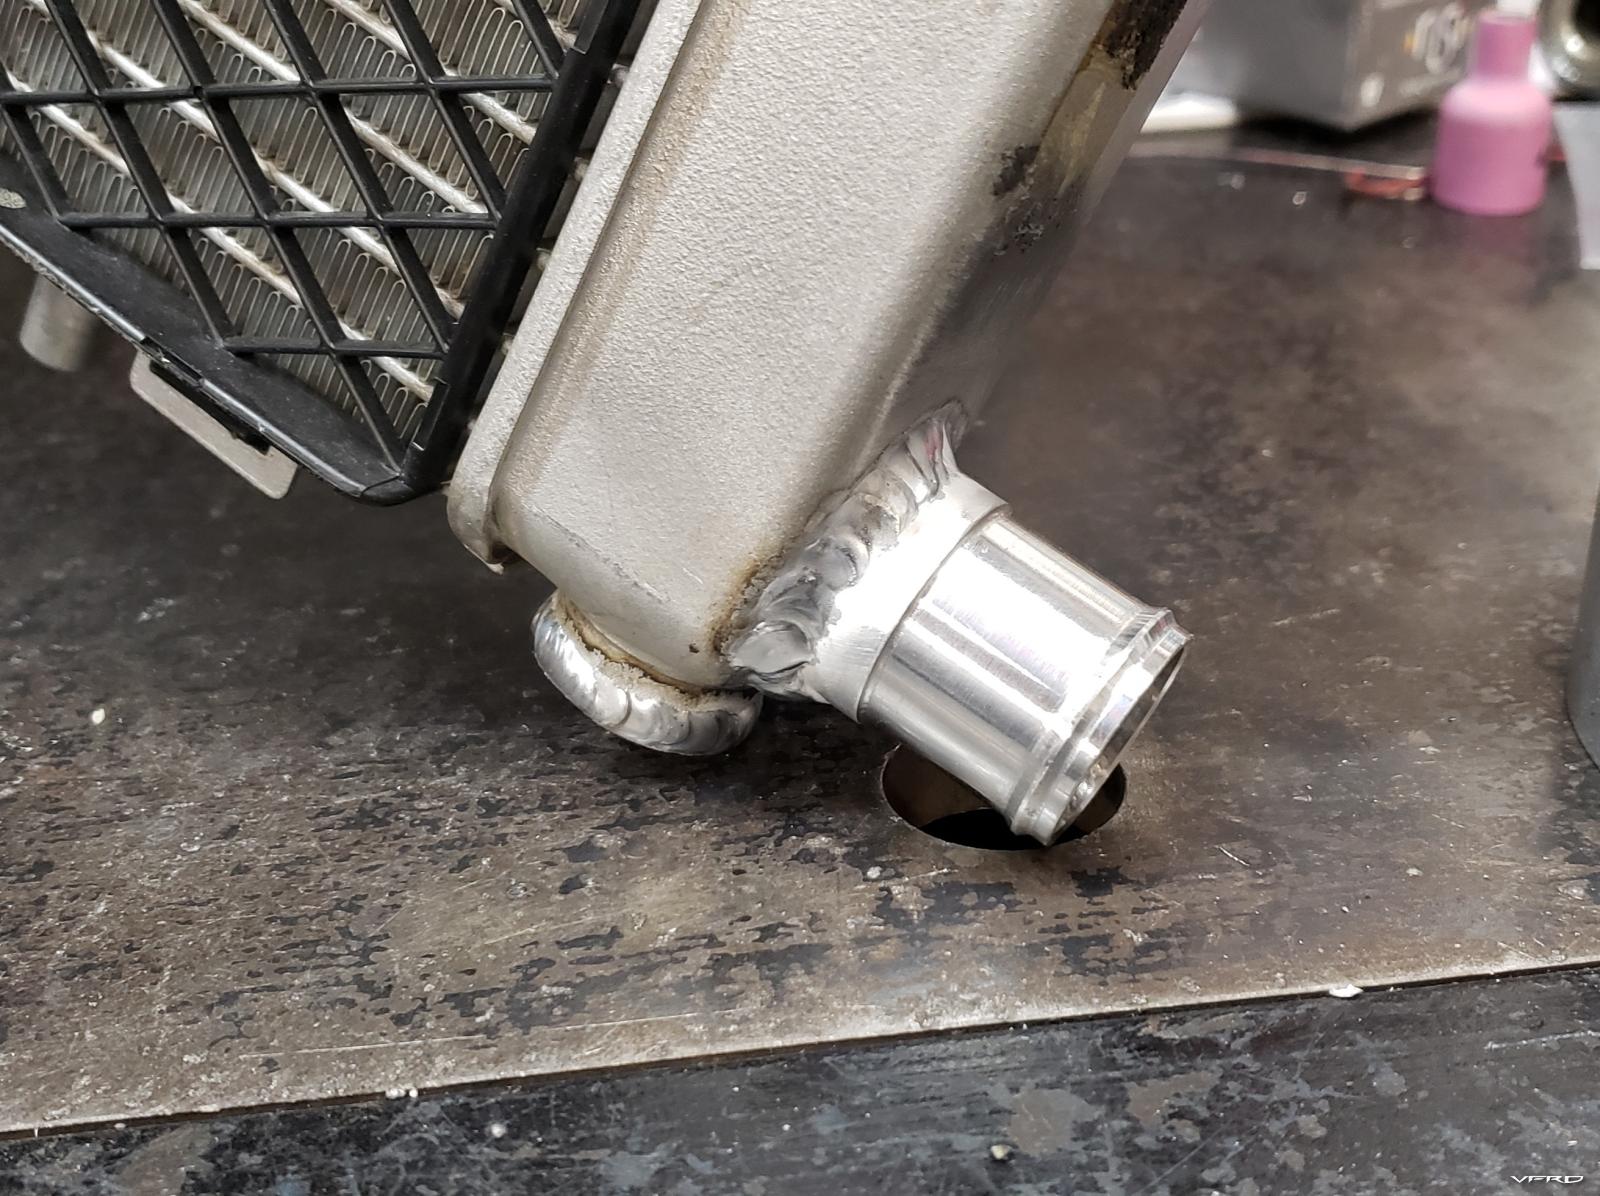
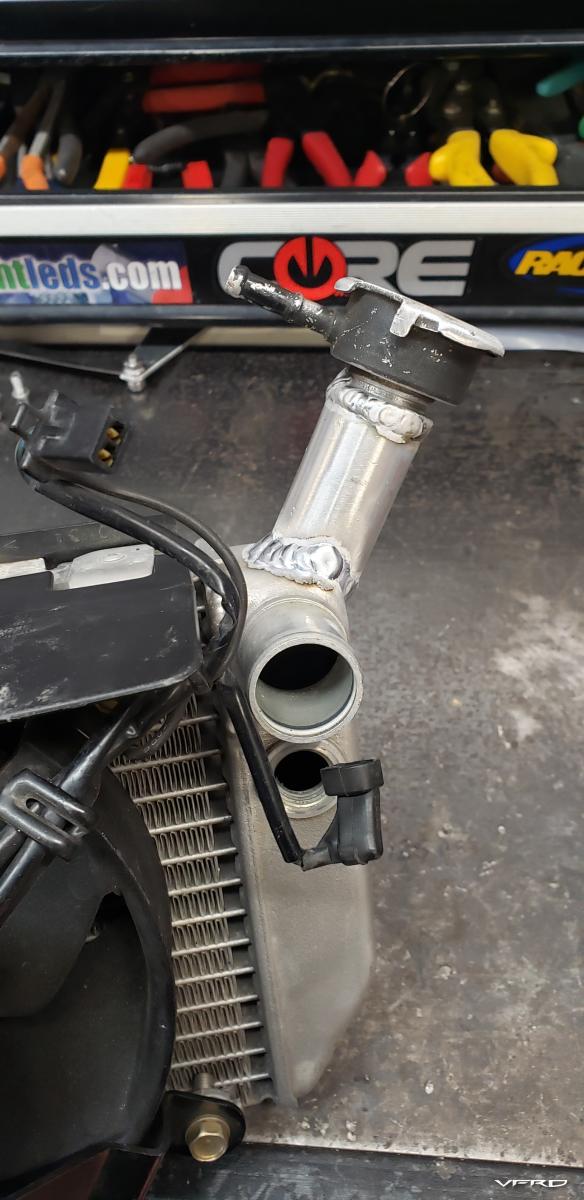
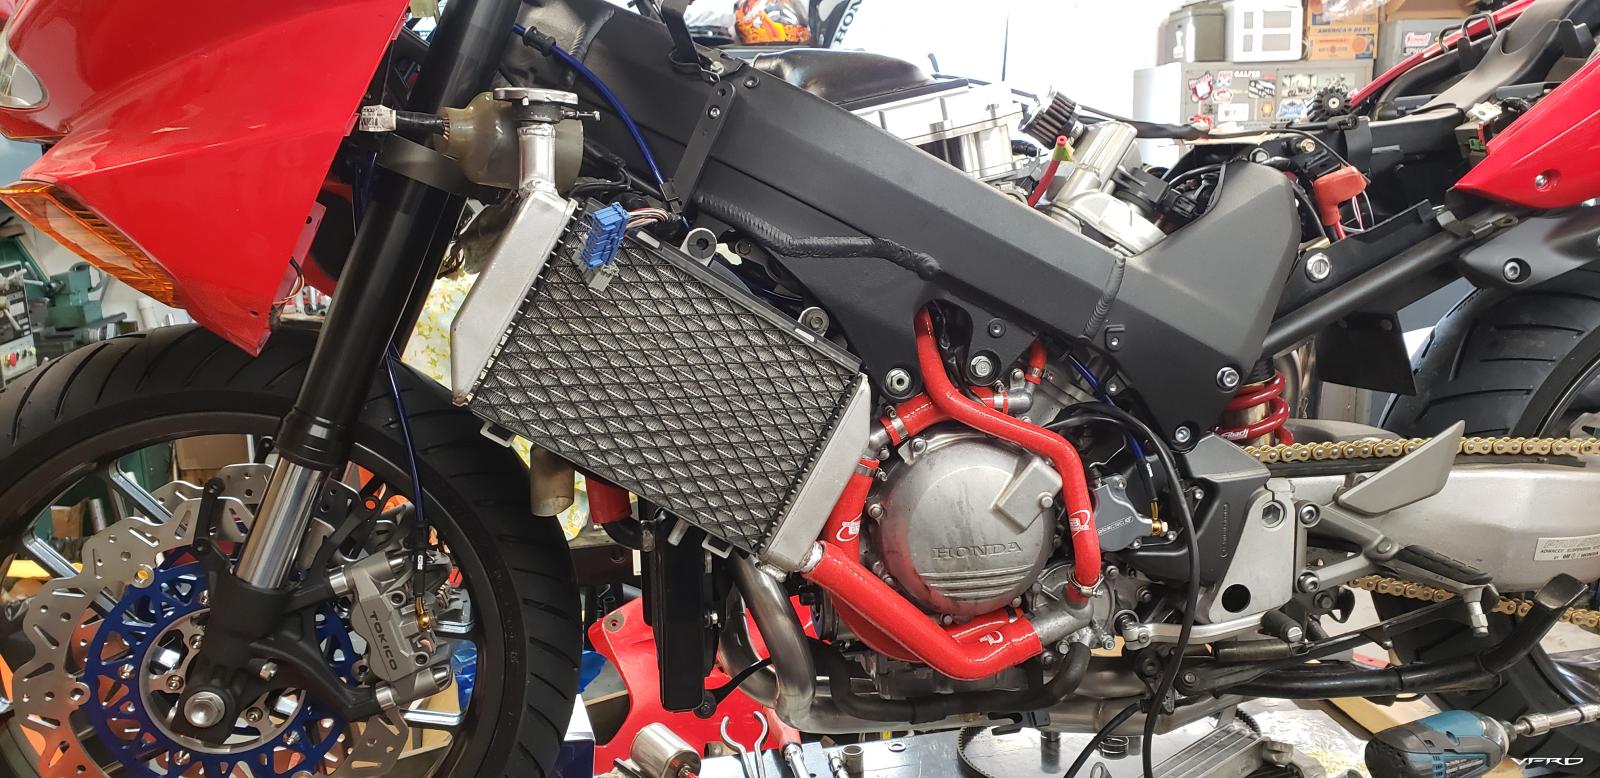
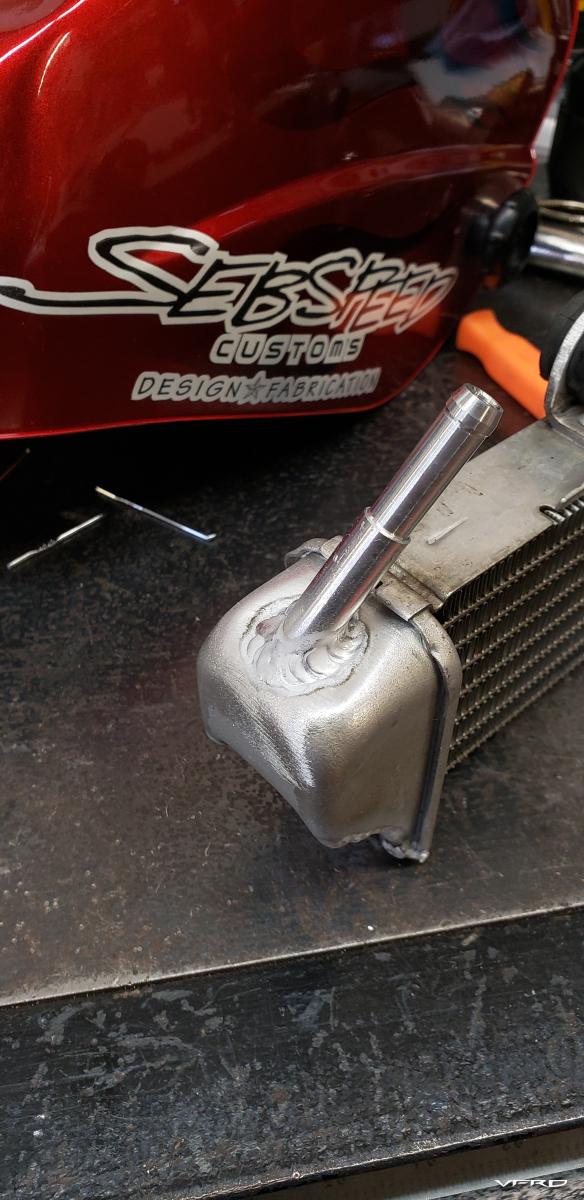
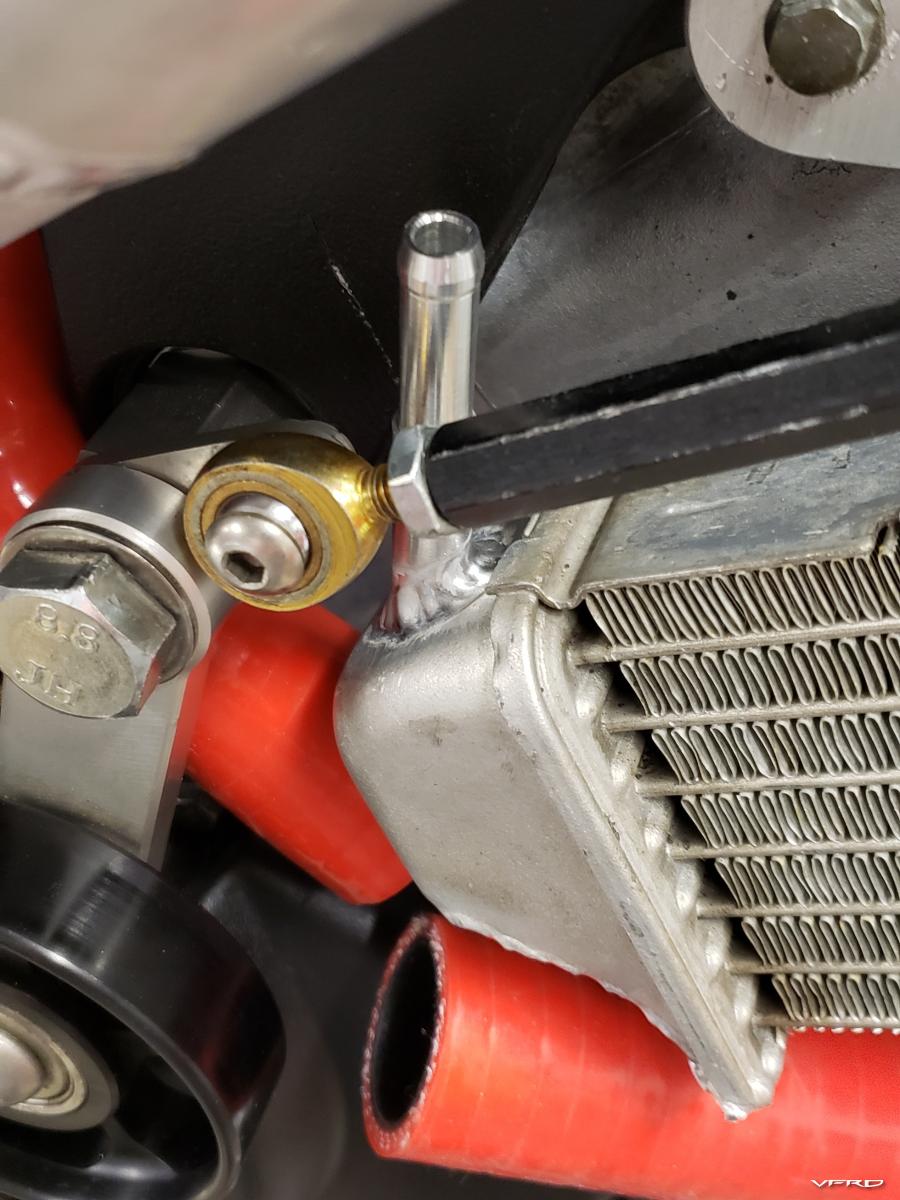
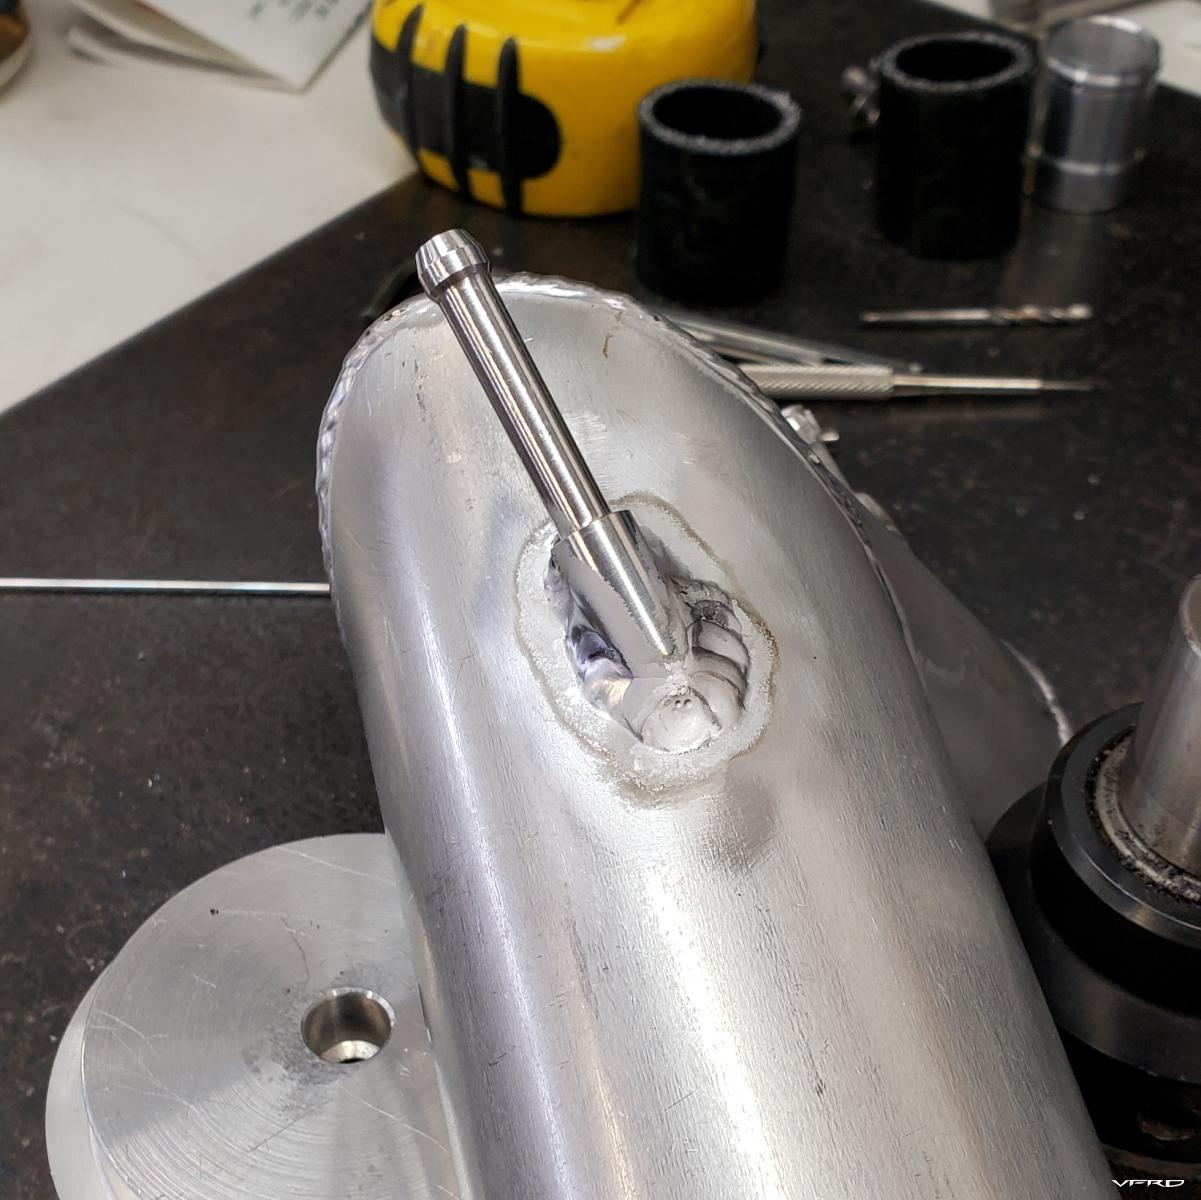
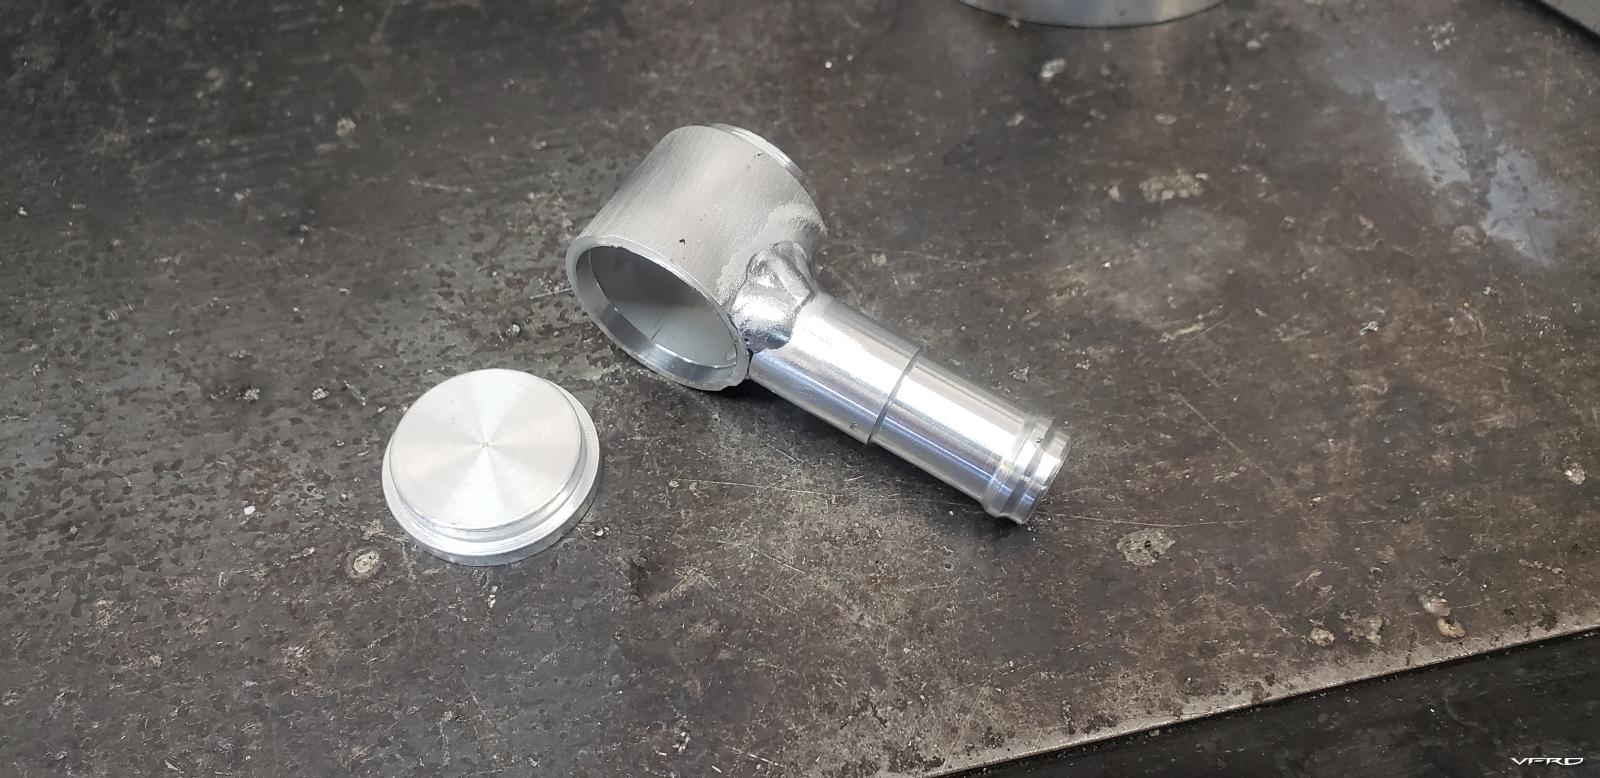
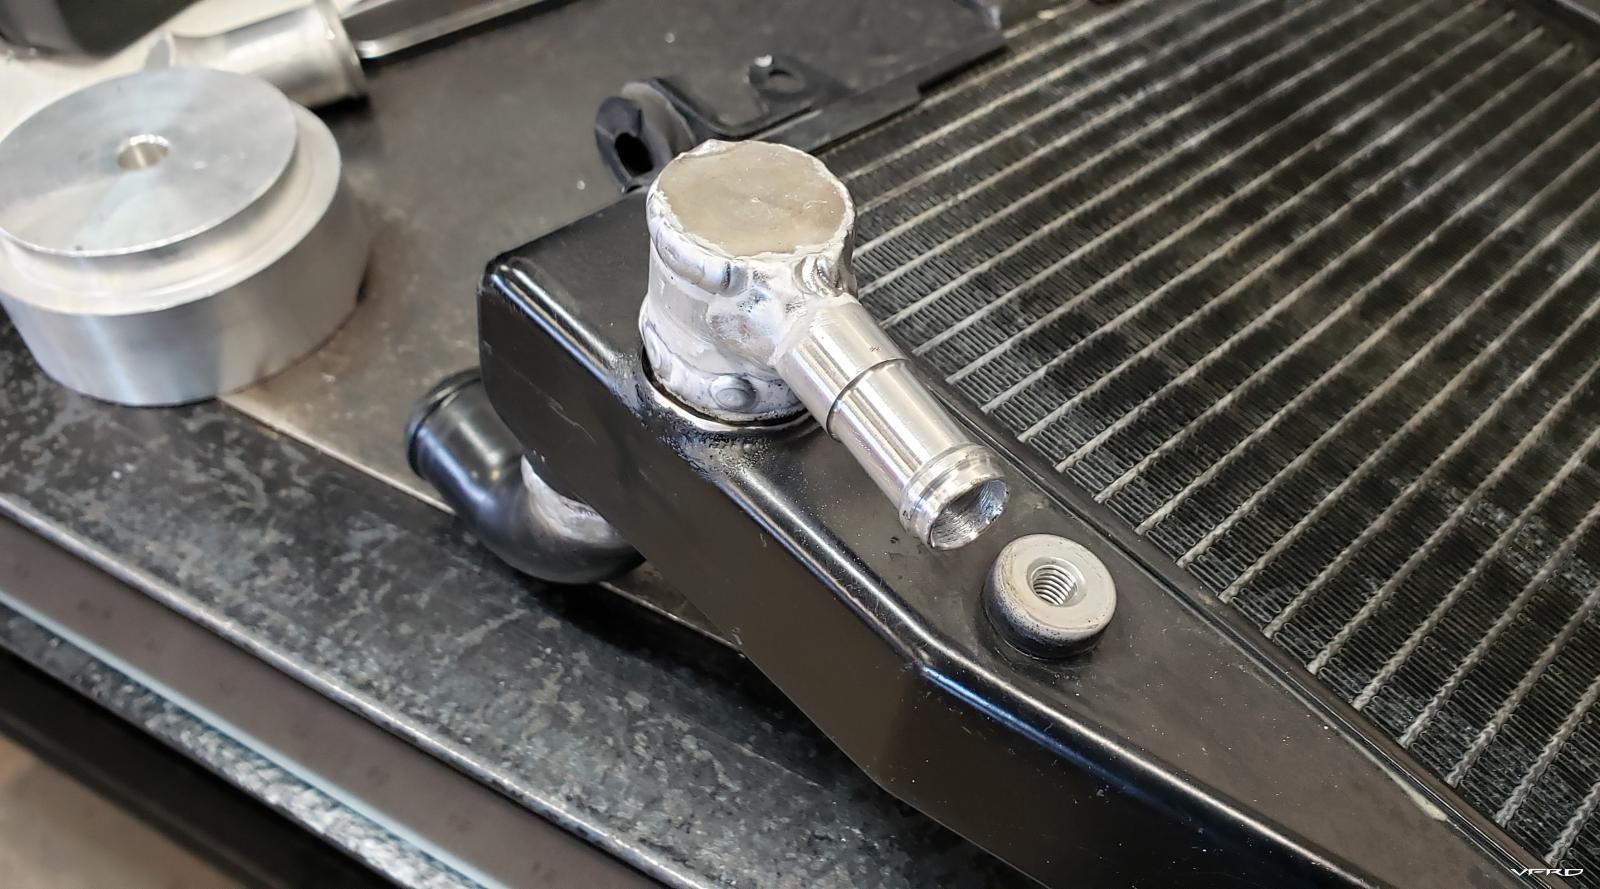
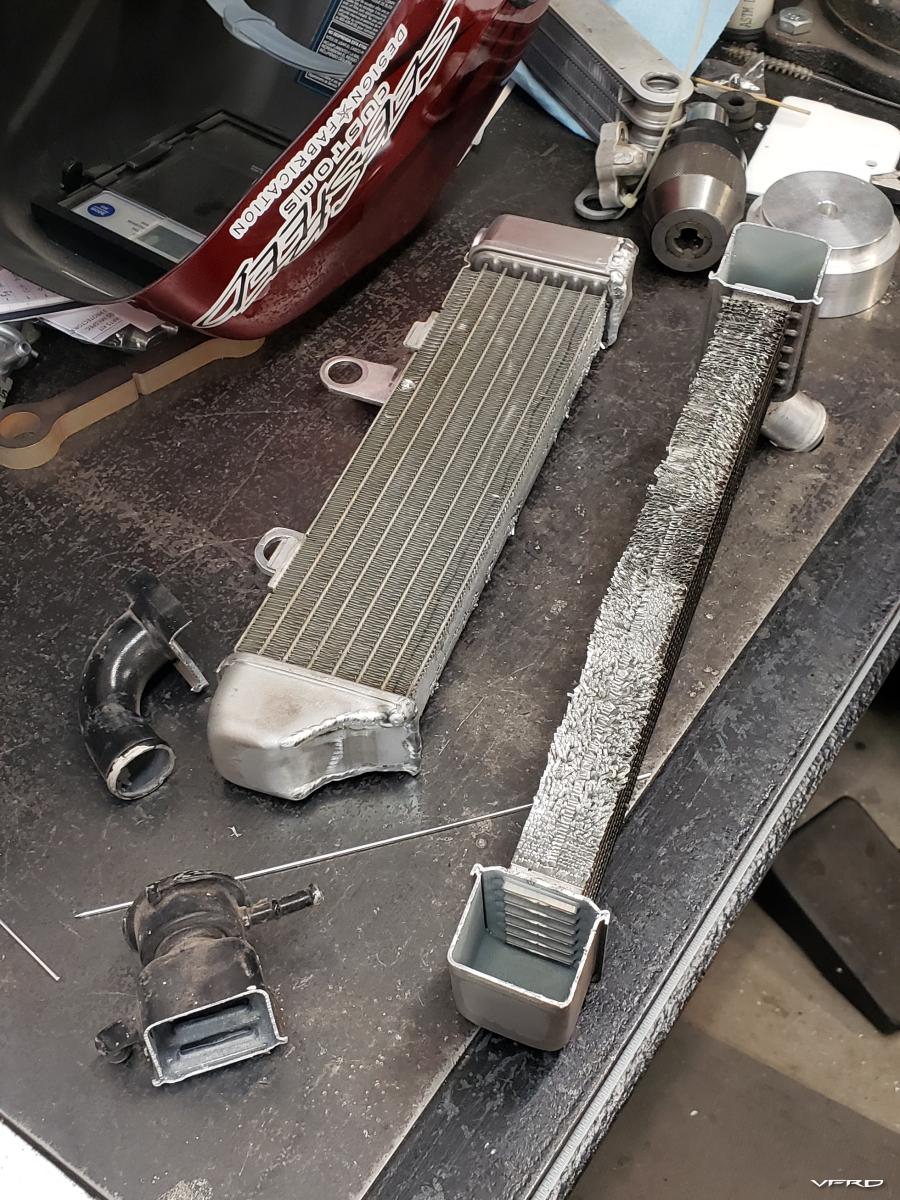
So yeah... modifications to the left side rad to make this work... I had to cut and plug the fittings that didn't work, and create new ones. I cut all the plugs and new fittings from 6061 tube on the lathe and welded them on as needed.


I cut the new fill spigot from a spare CBR radiator I had kicking around, and stuck it on top of a short extension to aid in filling properly.


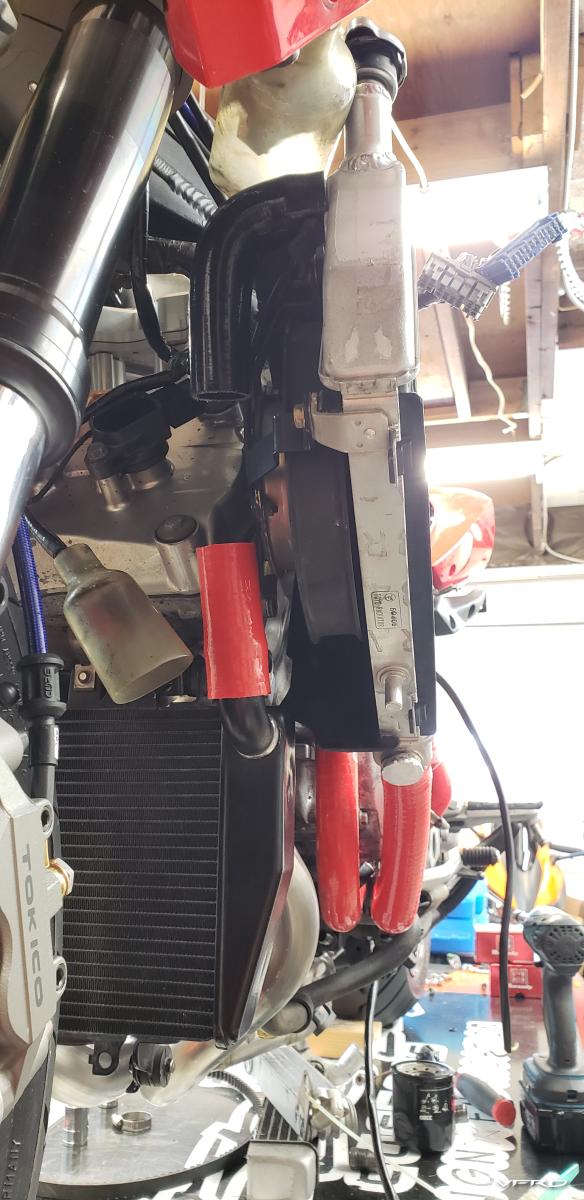
The astute among you may have picked up on the fact the 8g lower has a fan... and the 6g left has a fan... and they are both still employed here.
The 8g VFR fan is controlled by a temp sensor via the ecu, but a quick bench test revealed the motor is a simple 12v connection away from working.
I wanted the 8g fan to be automatically controlled as it is much more efficient than the left side wrong-way blowing 6g unit, so I wired it to the temp sensor located in the 6g rad. The stock fan is wired to a manual switch located on the handlebar for easy access in traffic or low speed situations.
It was around this time I had developed a pretty good idea of what these complex systems needed to look like, so forged ahead with excitement...
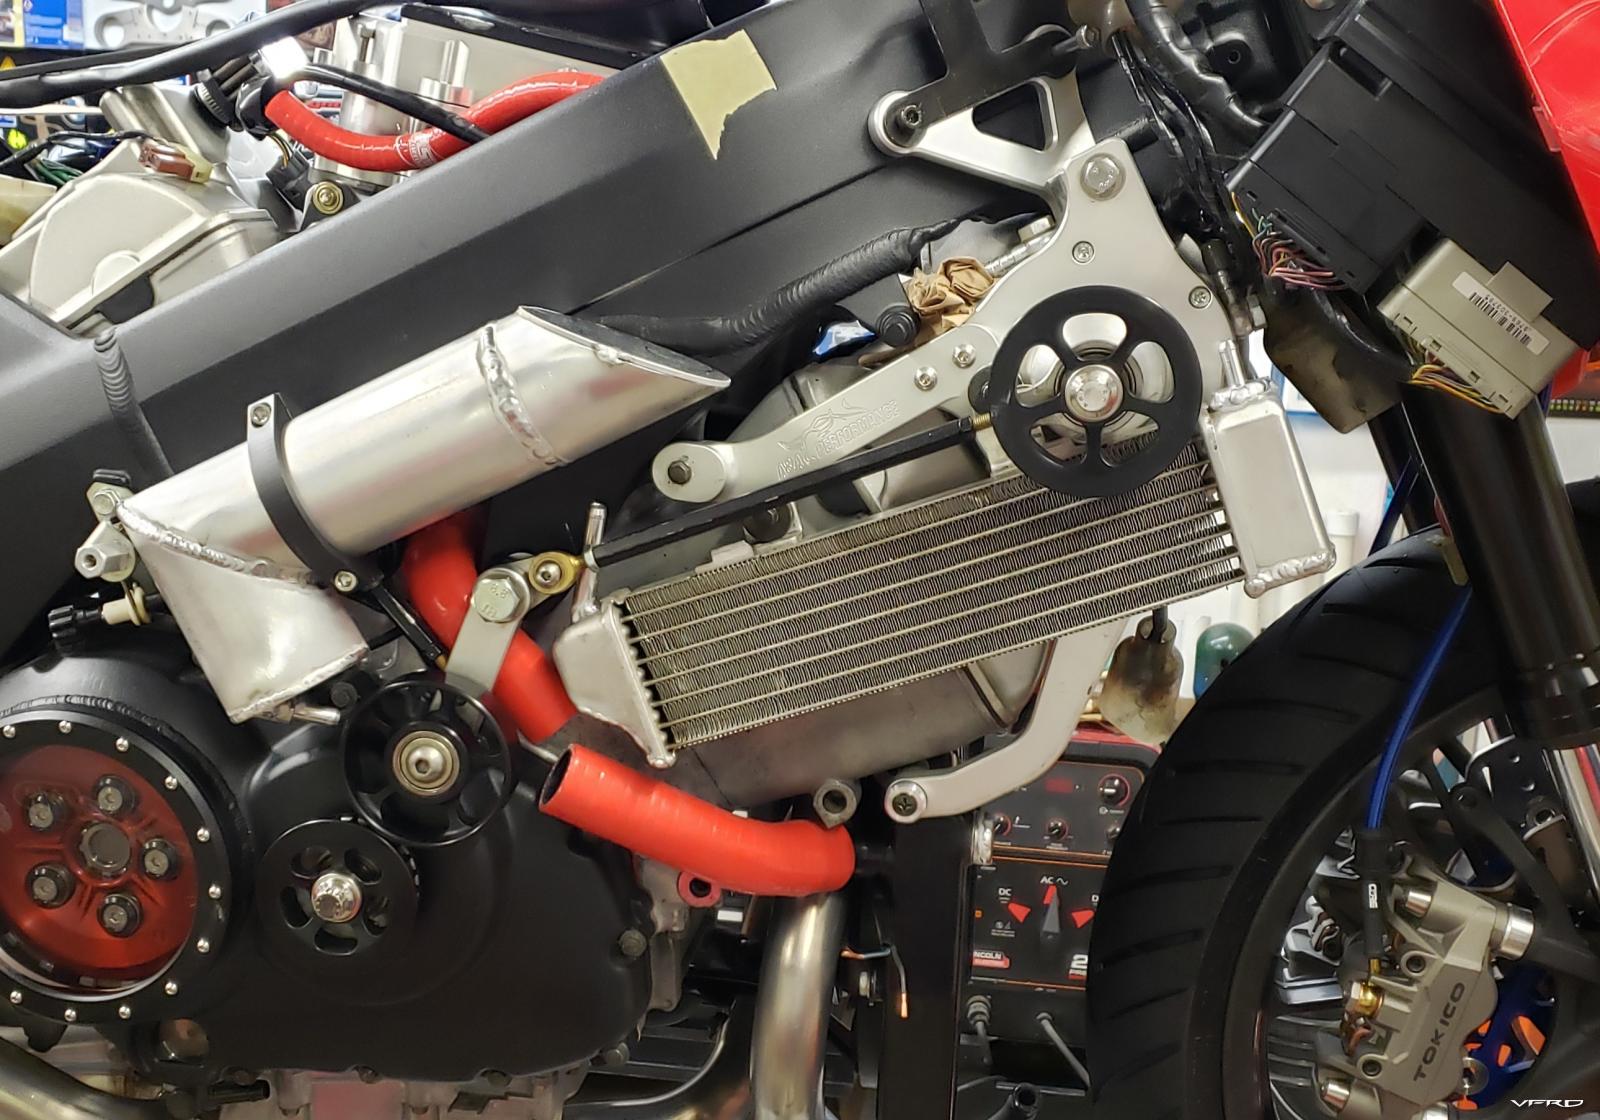
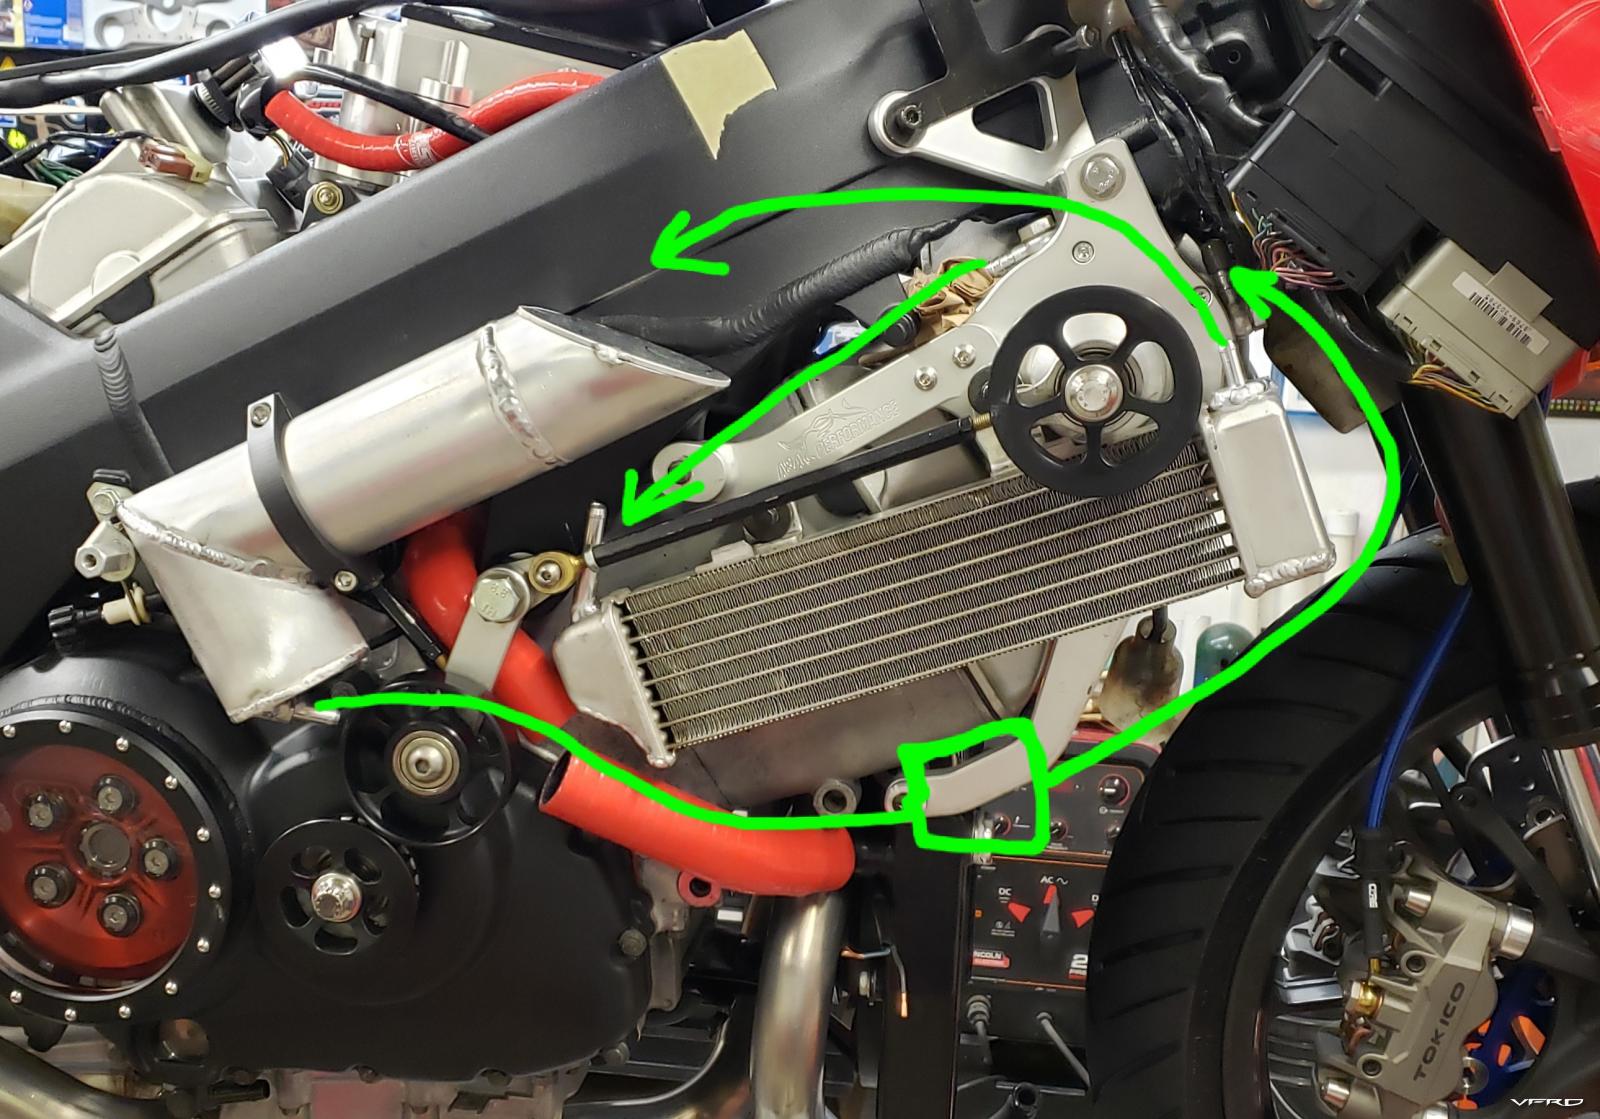
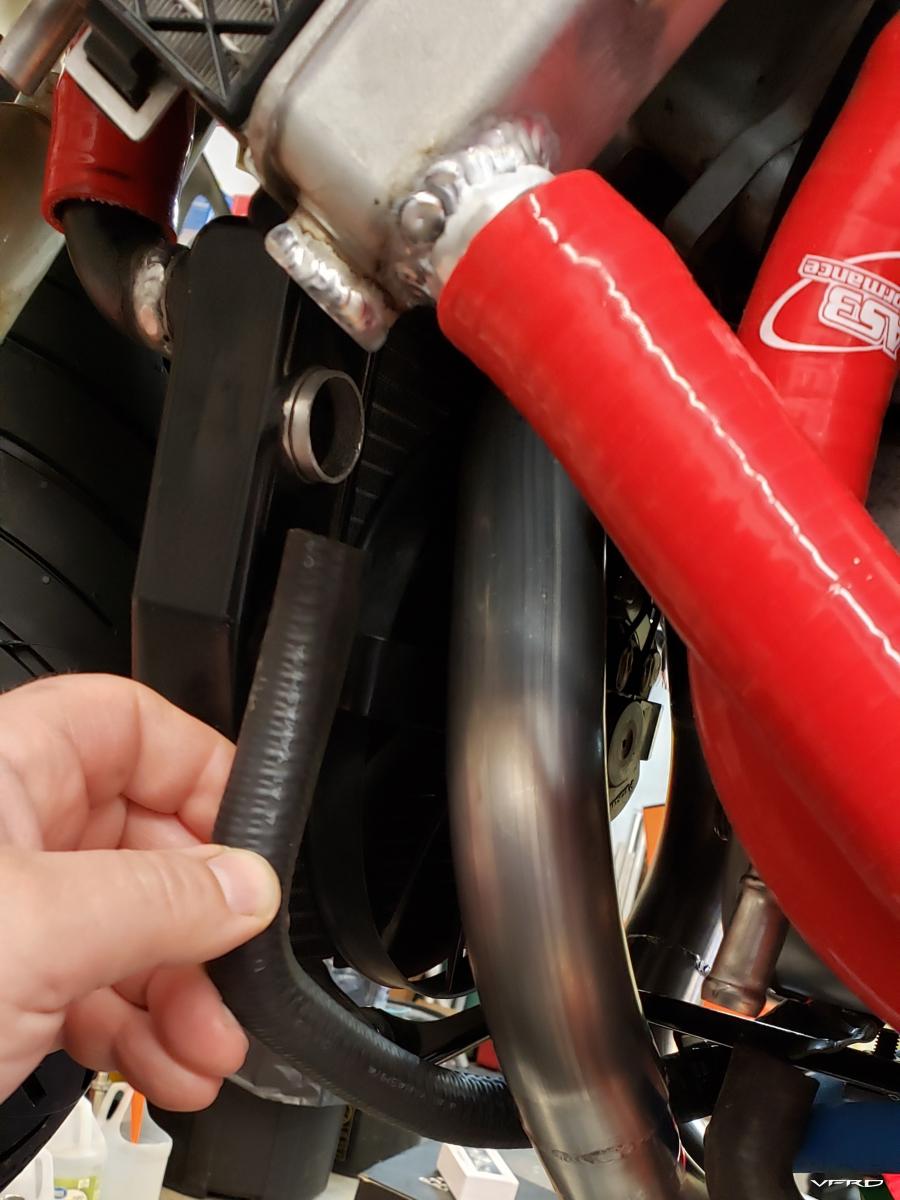
Here's the link from lower to upper rad taking shape

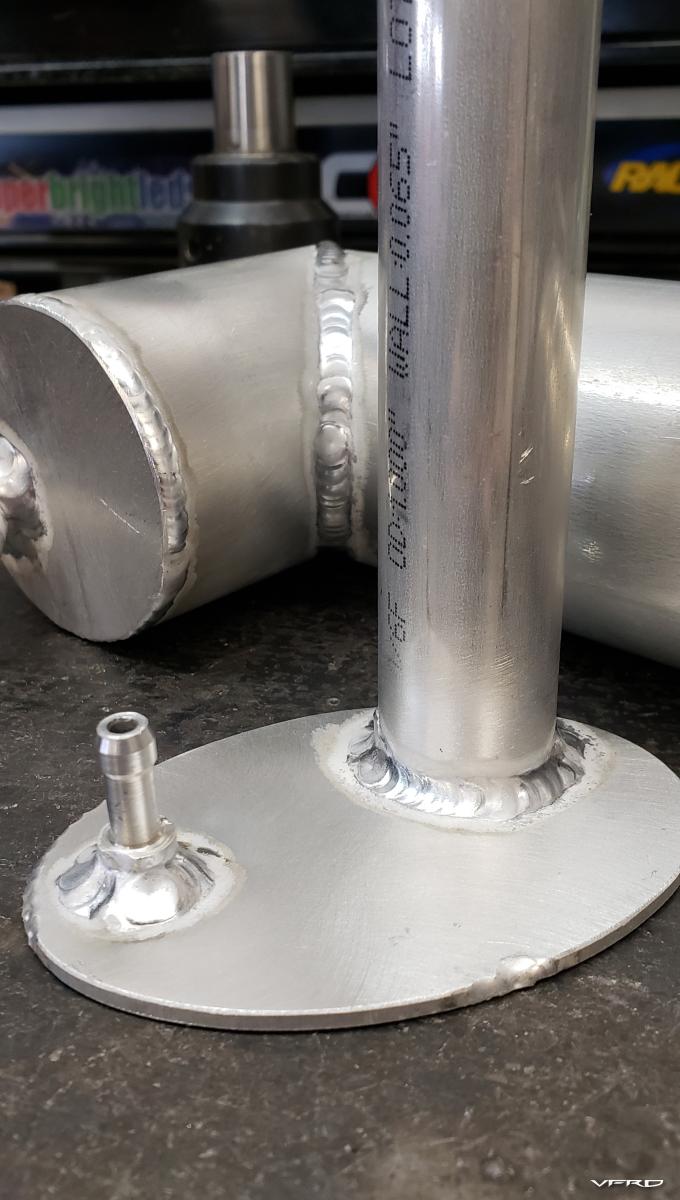
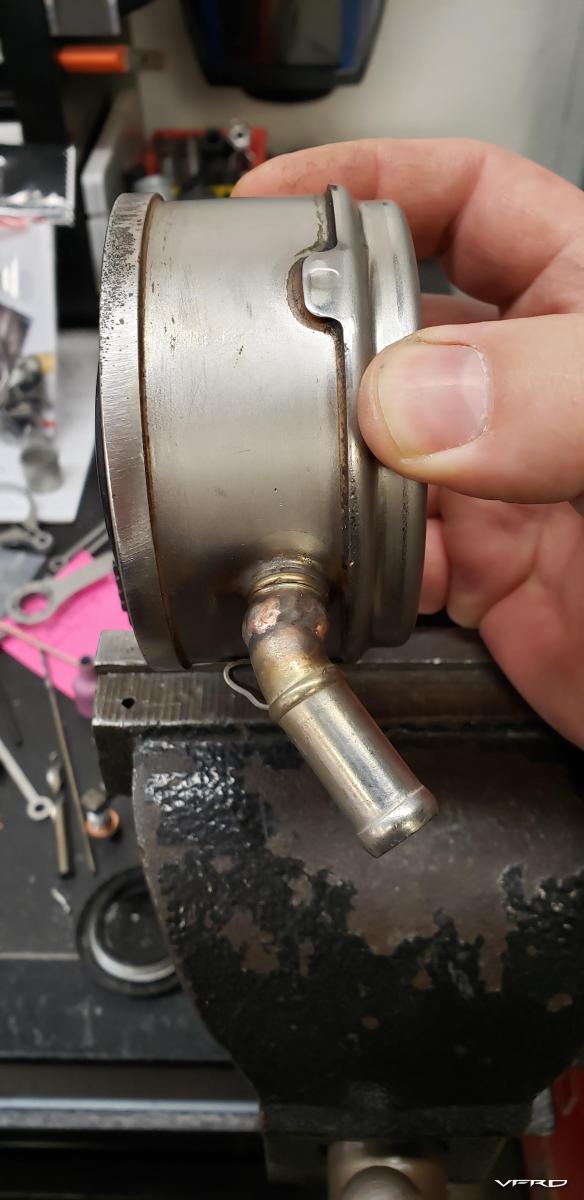
Rotrex cooler hose nipples and reservoir in creation


Did I mention space was tight?!?


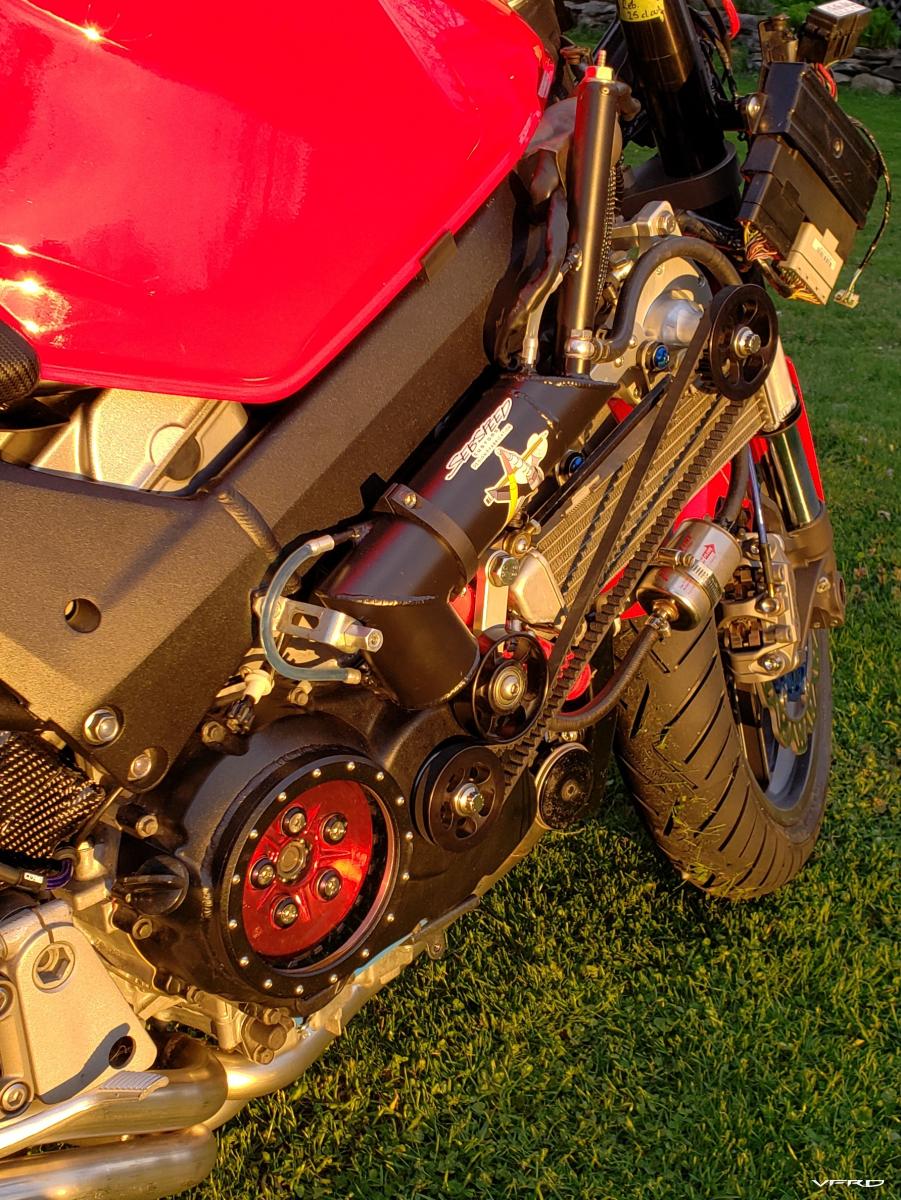
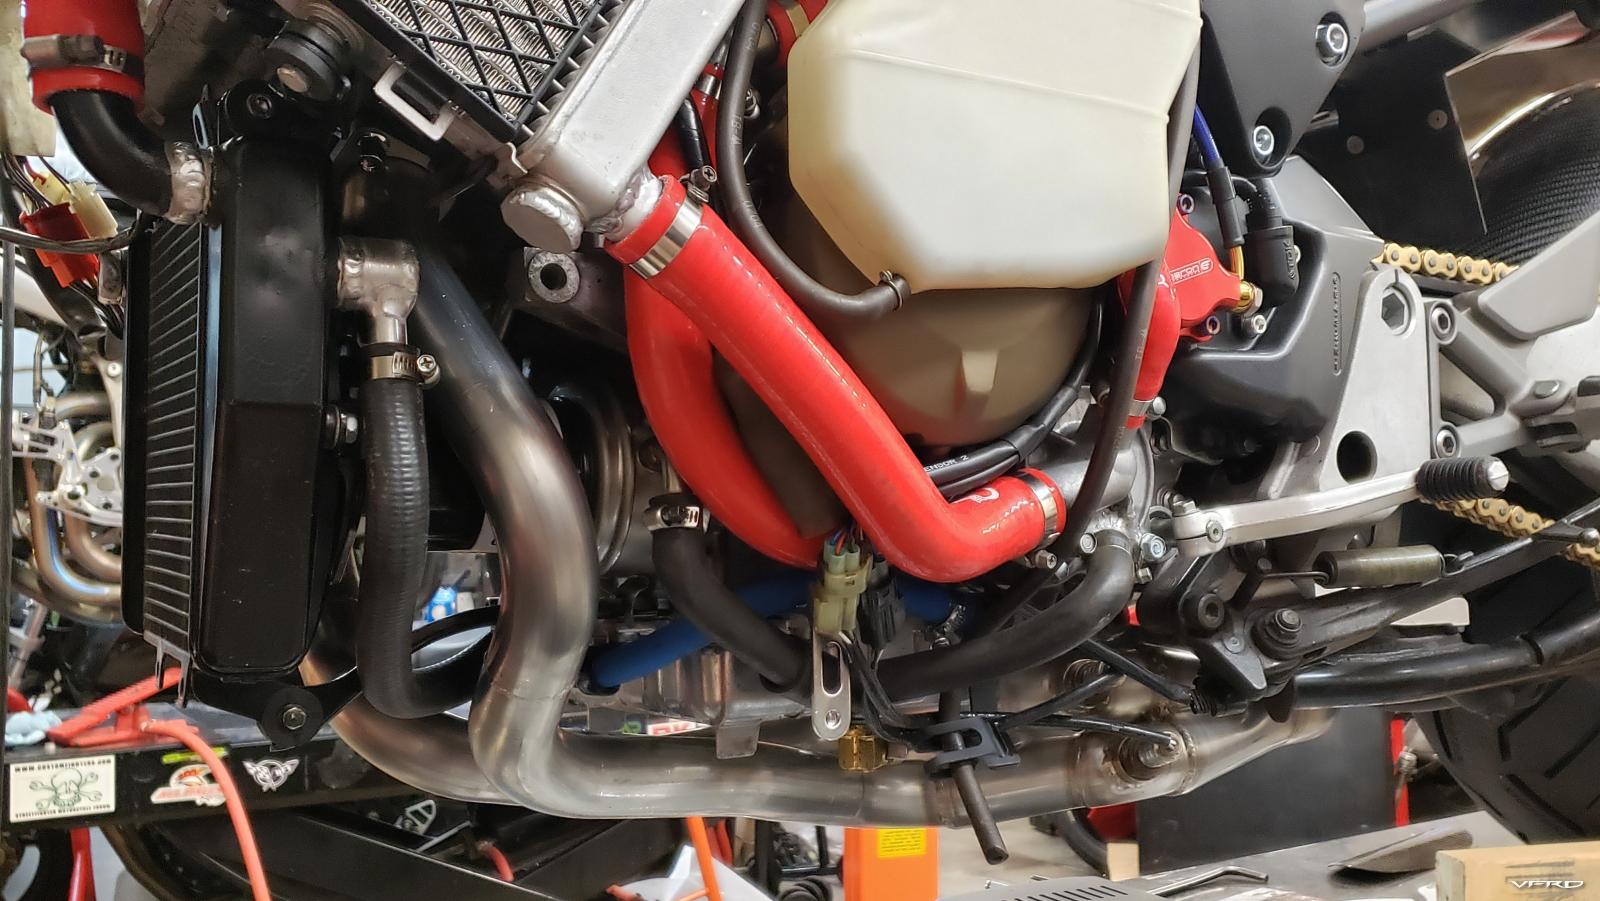
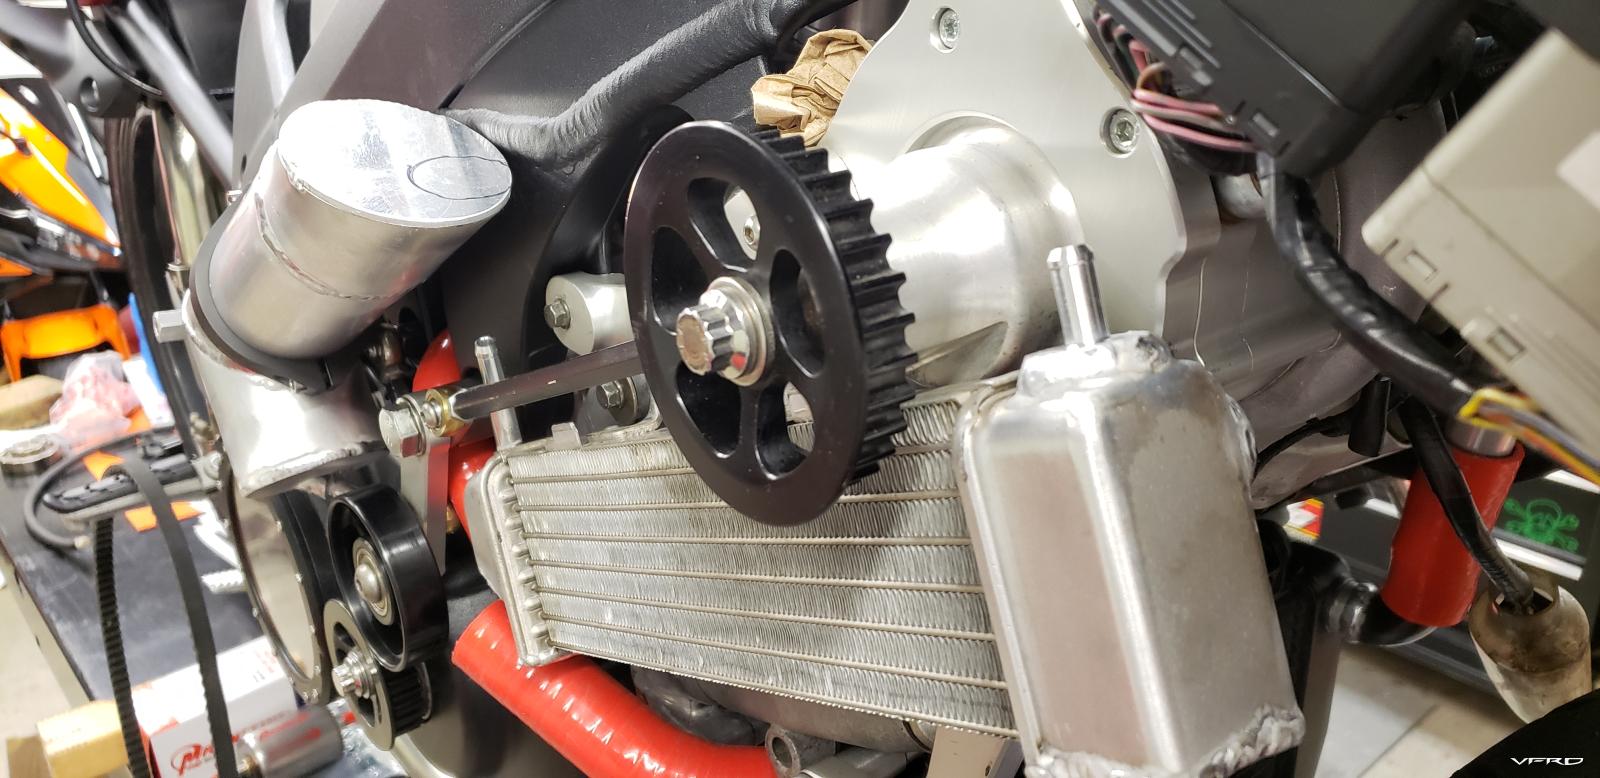
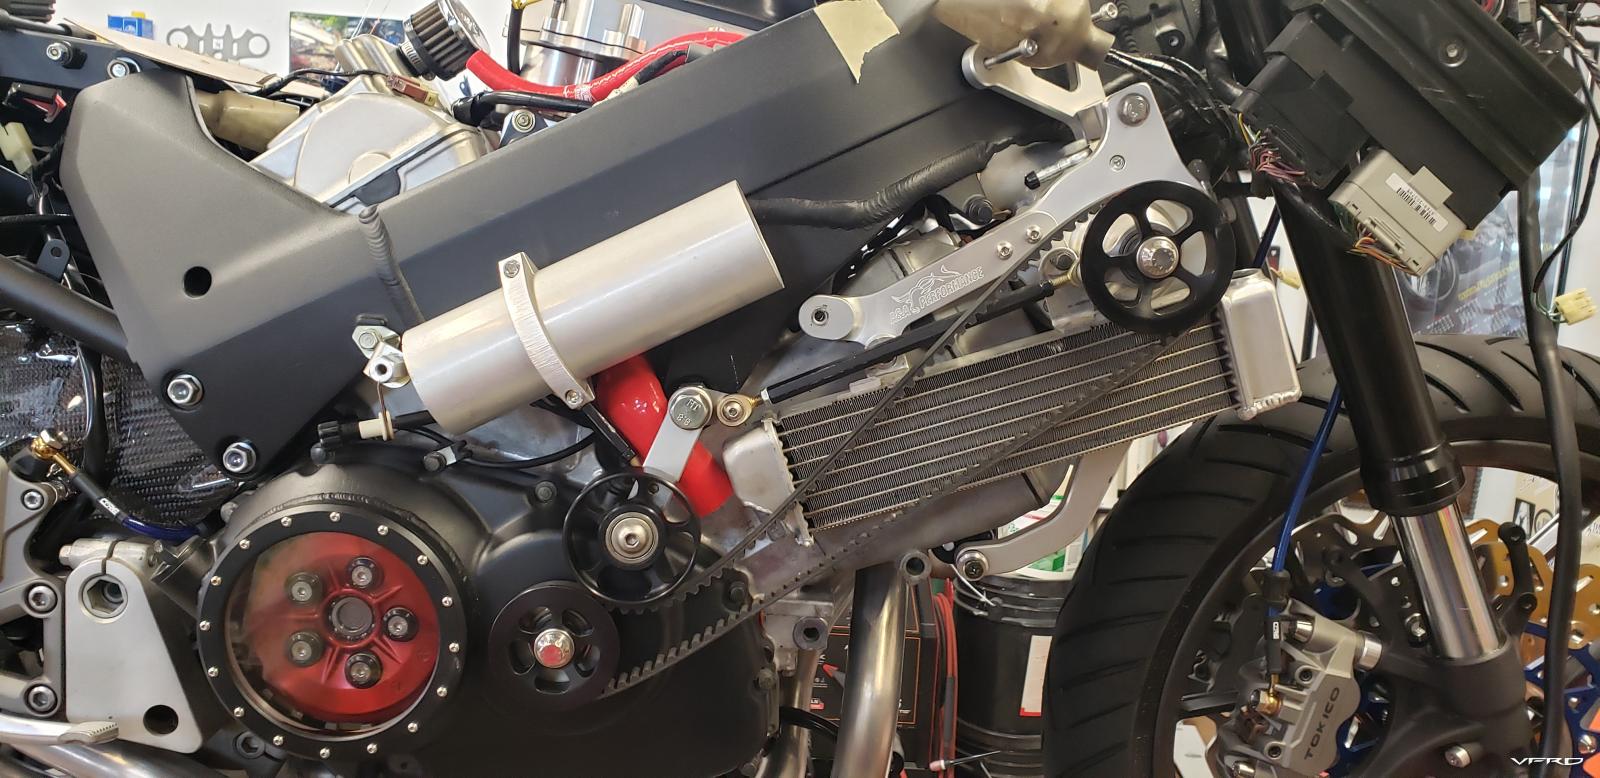
Oil flow = Reservoir > filter > Rotrex > cooler > reservoir
Rotrex oil capacity is now a full liter, more than 2x what it was before.
Yes, the reservoir is funky... but it'll be hidden, and I'm more concerned about it working than looking good


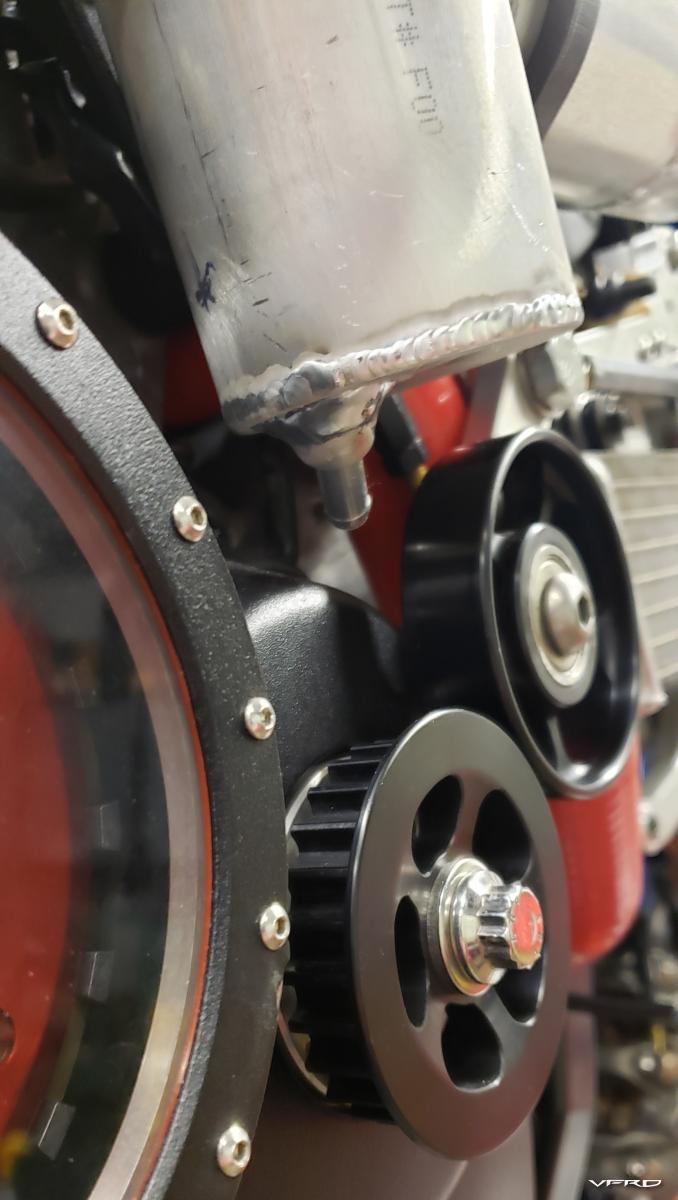
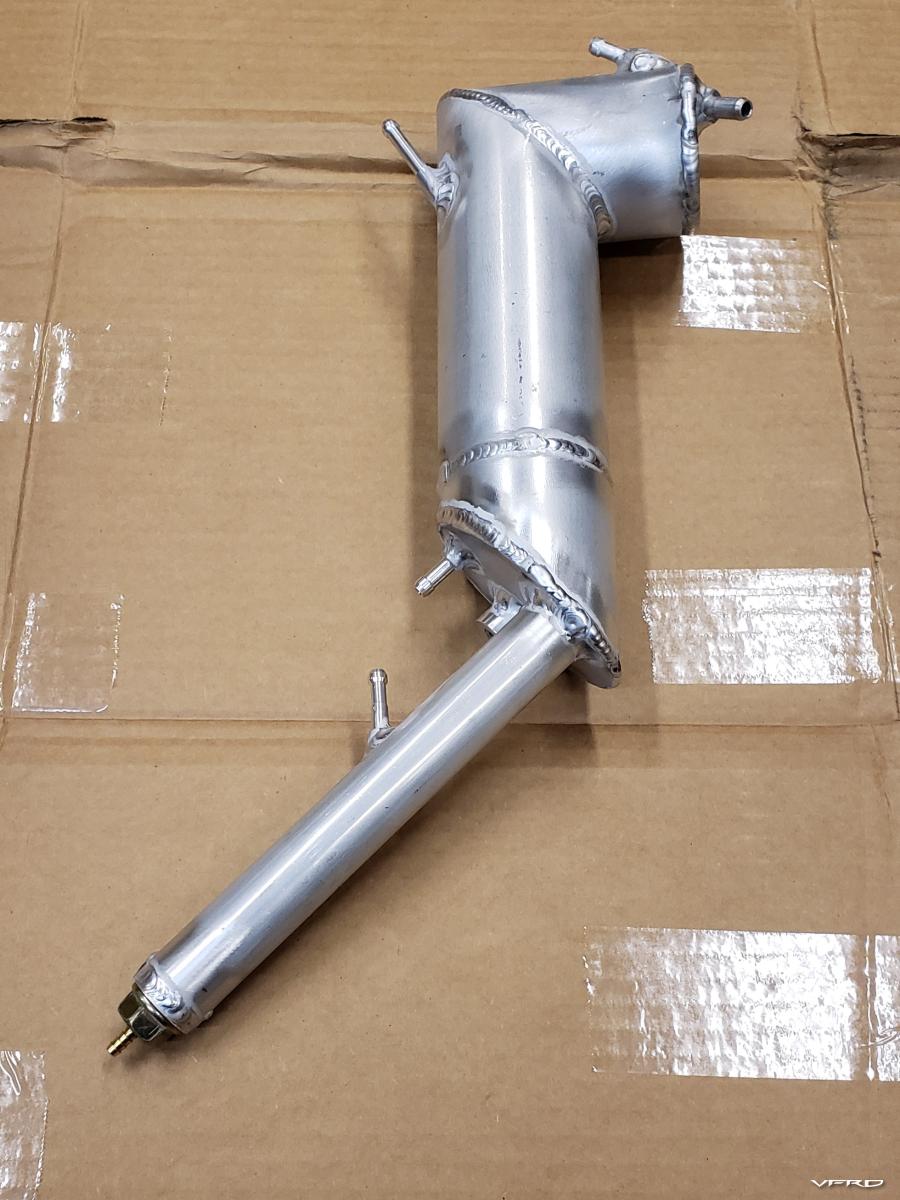
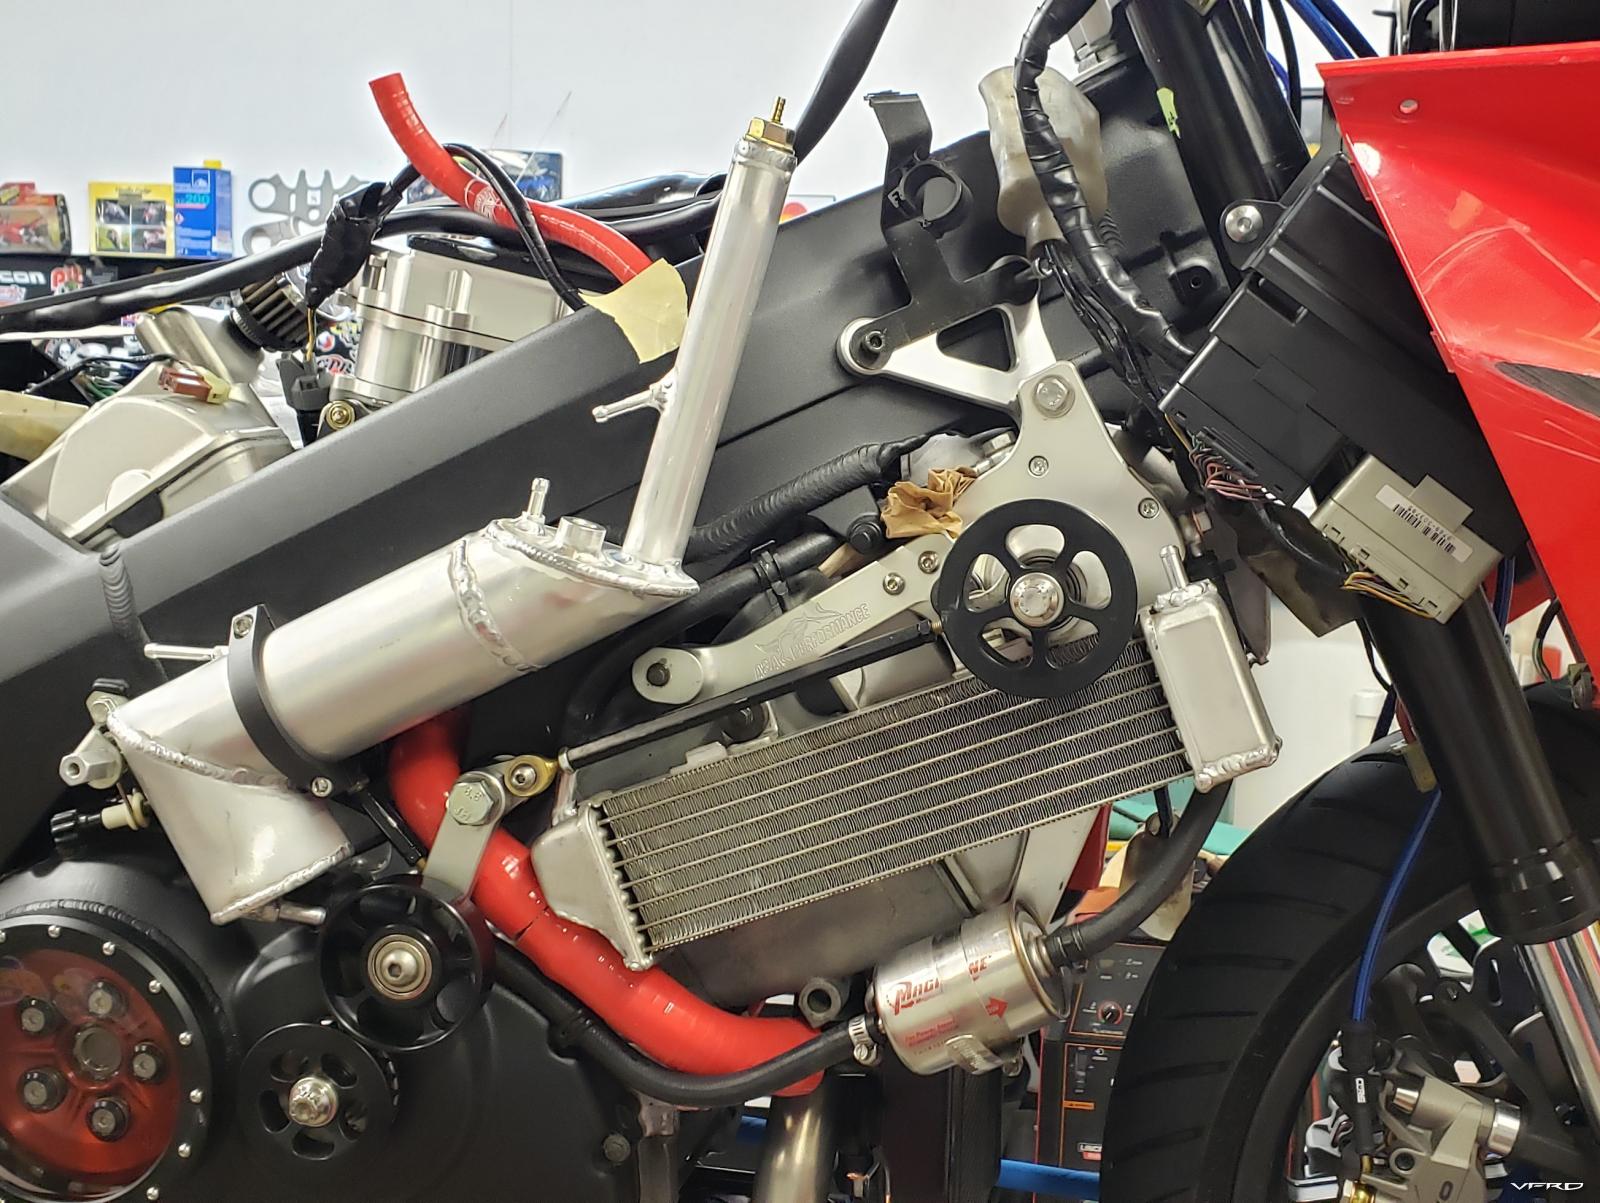
I added the chimney portion for air expansion under braking, vented at the top. Small hose section for return flow/air exchange at the base of the stack, and another hose loop at the back end for a visual fluid level indicator.
How do you excite a lathe? You turn a nipple...


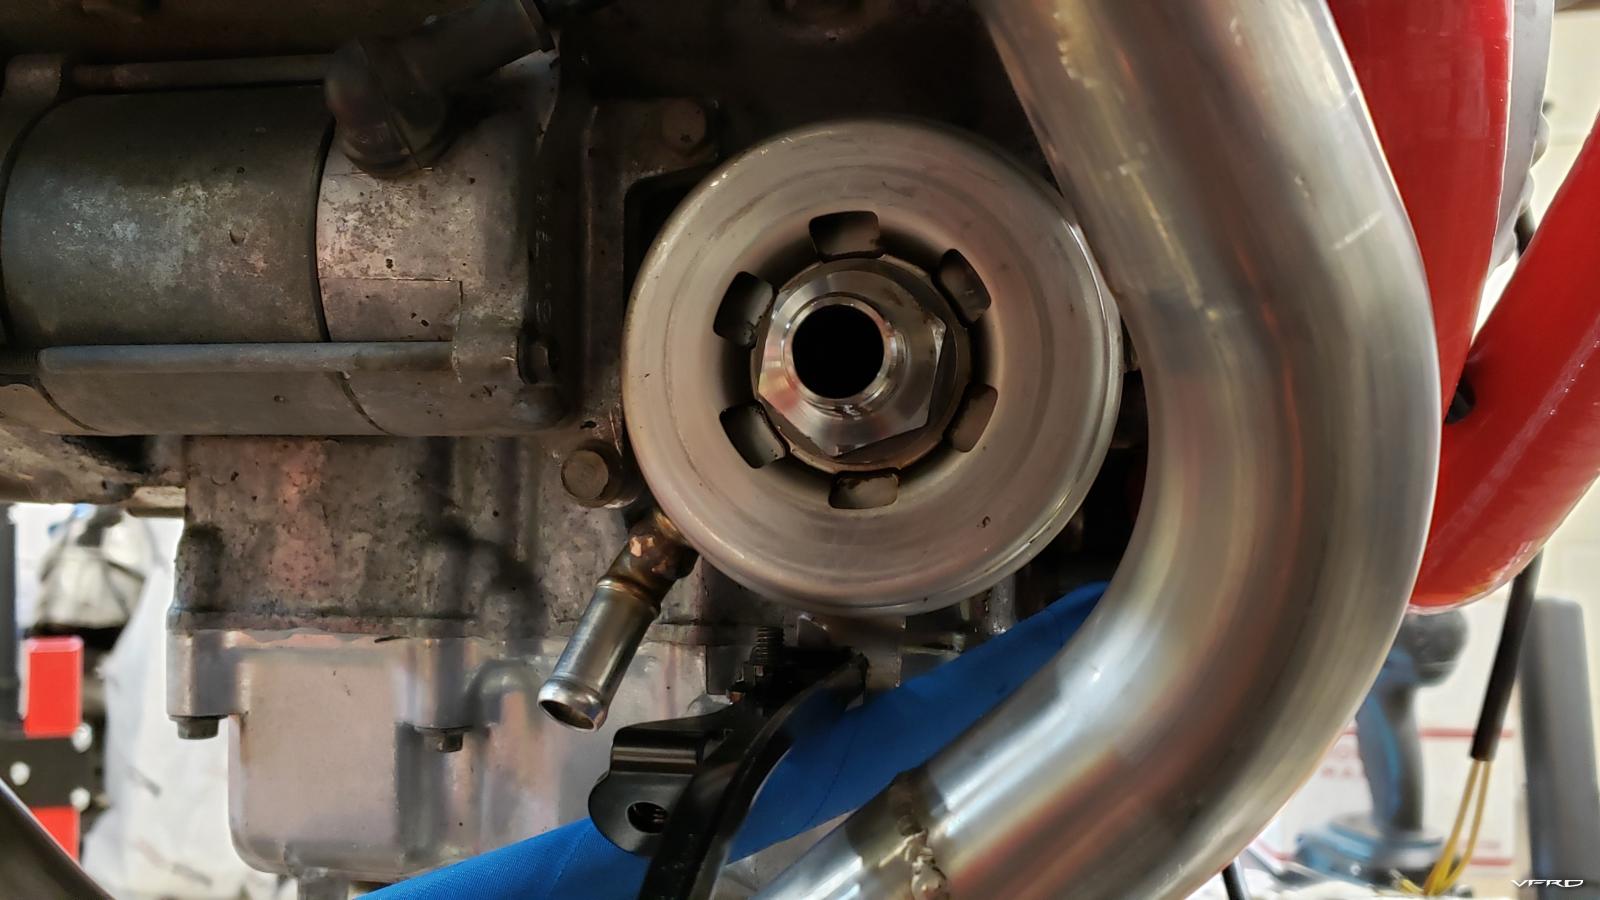
On the CBR the oil cooler came from, the hot side coolant returns to the block. I decided to route it directly to the lower radiator for convenience, and because I had no doubt this motor didn't need help warming up.
With that solution in mind, it was time to weld up the cooler fittings


And here's the link connecting the lower & upper rads

-
 6
6
-
-
Sorry you had to go through that, but it sounds like you're bouncing back quickly!
-
I have so much time in figuring out the best way to configure the radiators and coolers. Literally days of standing, sitting, staring, testing. "Difficult to bill for" is putting it lightly.
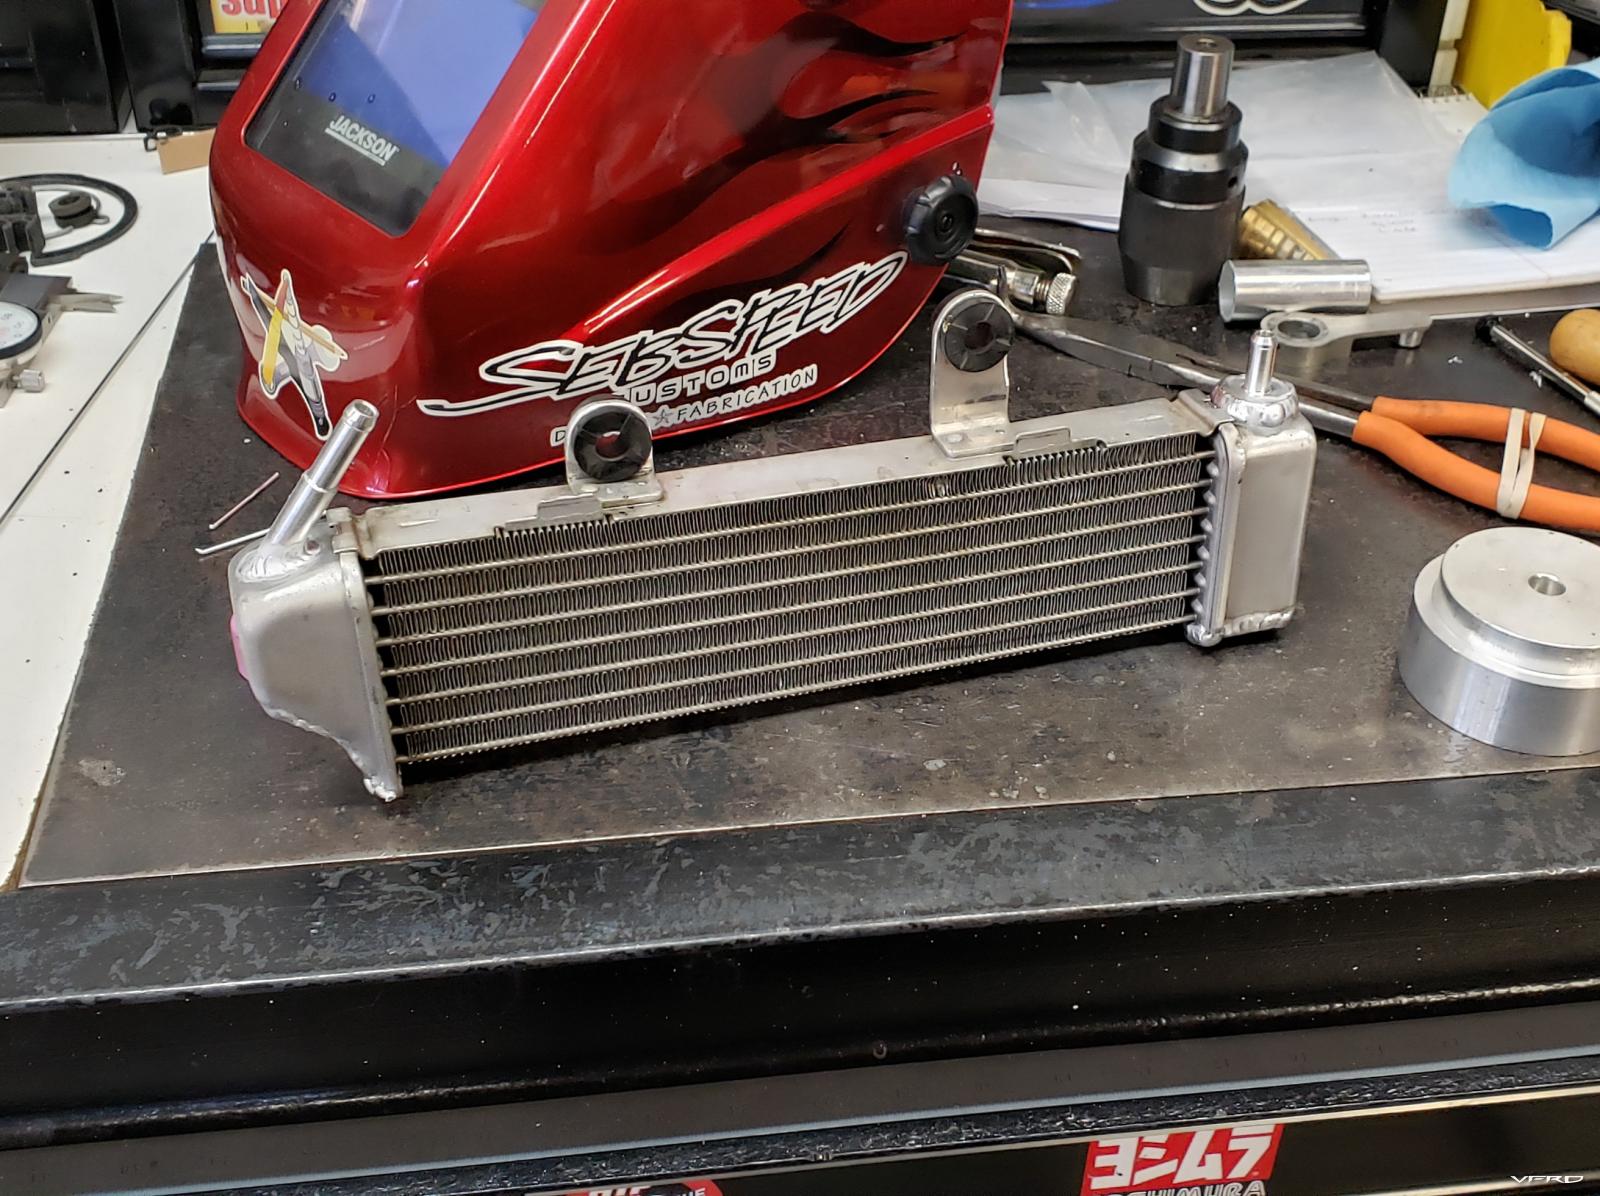
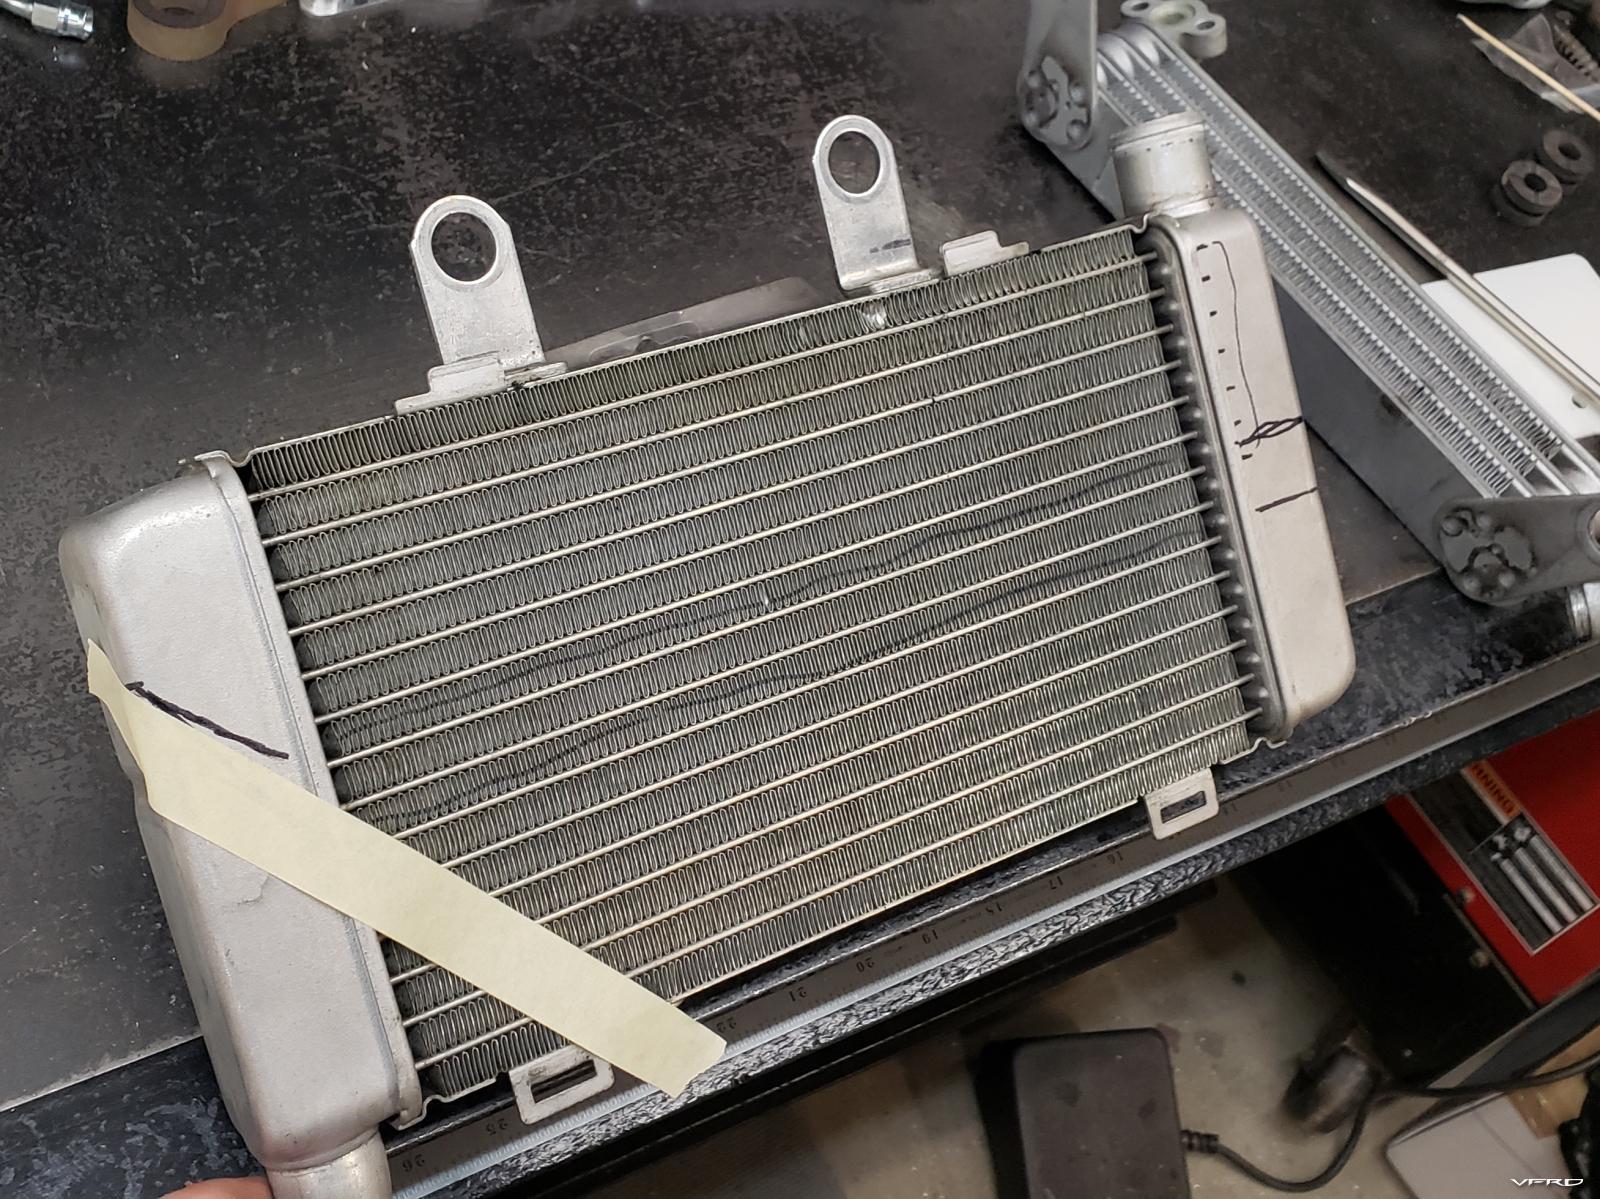
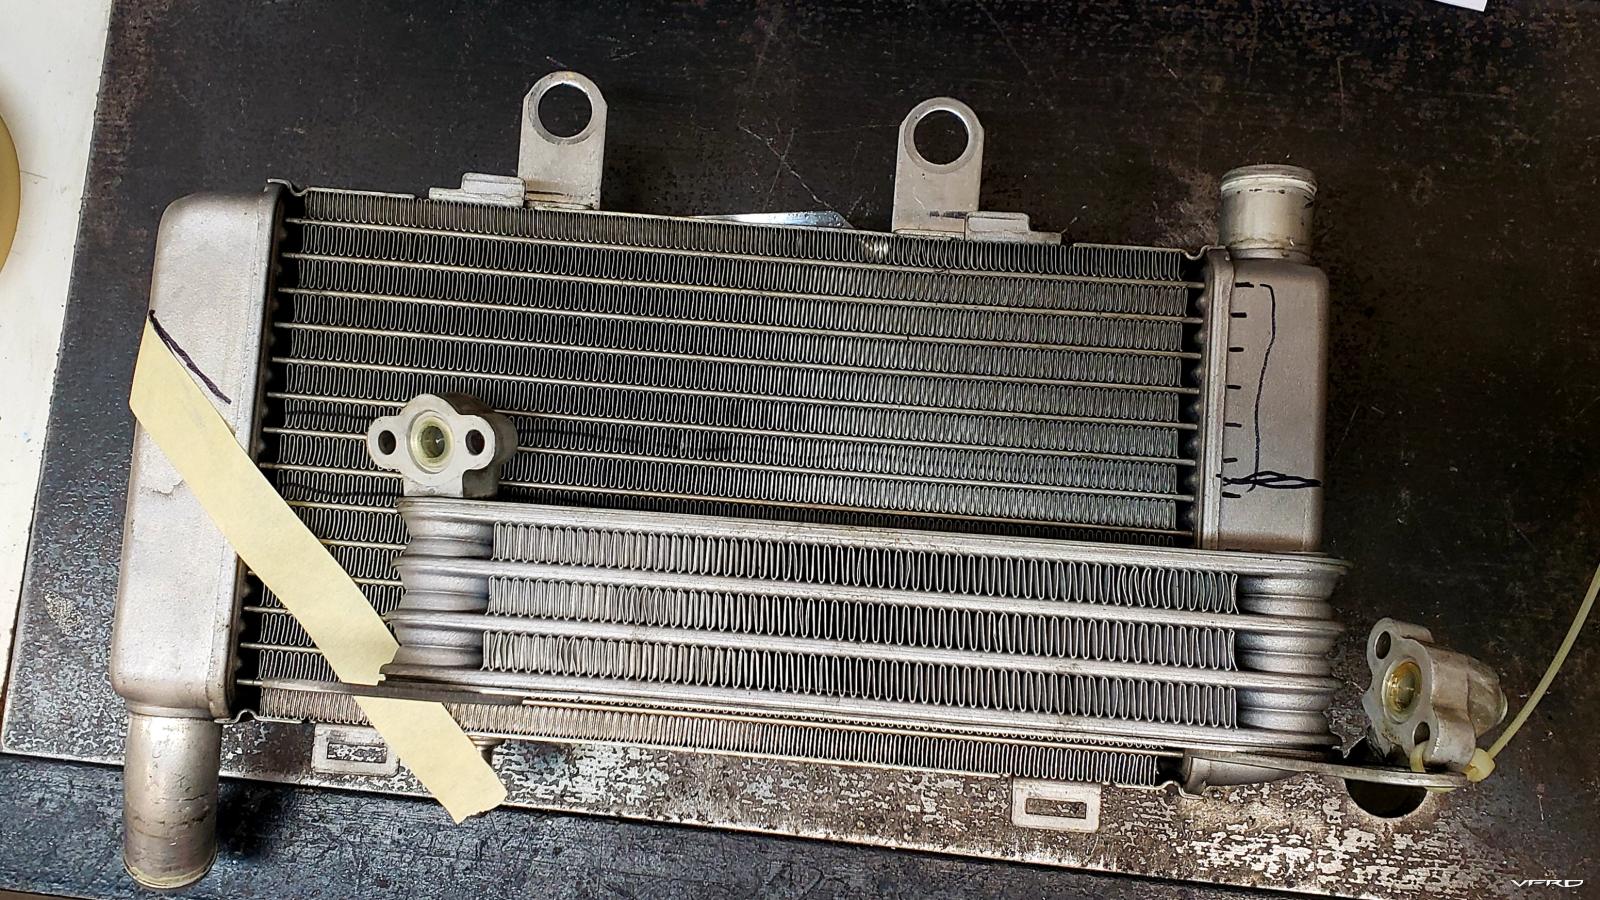
I decided to chop a good right side radiator to use as a Rotrex oil cooler, mostly because it was thin enough to fit in the space. All the aftermarket options I looked at had much thicker cores and would not have allowed the fairings to fit over, or would have touched the block, or had hose fittings that would be in the way or need to be rerouted, so at that point it was just easier to make what was needed.

Compared to the stock engine oil cooler:


Remember that thing about the Rotrex oil reservoir needing to be stored below the blower unit? Well, that had to fit somewhere too... and custom was the best solution again for that because the kit reservoir was small but also too bulky to be placed anywhere useful. I was using the layout line to visualize the hose routing and fluid flow.

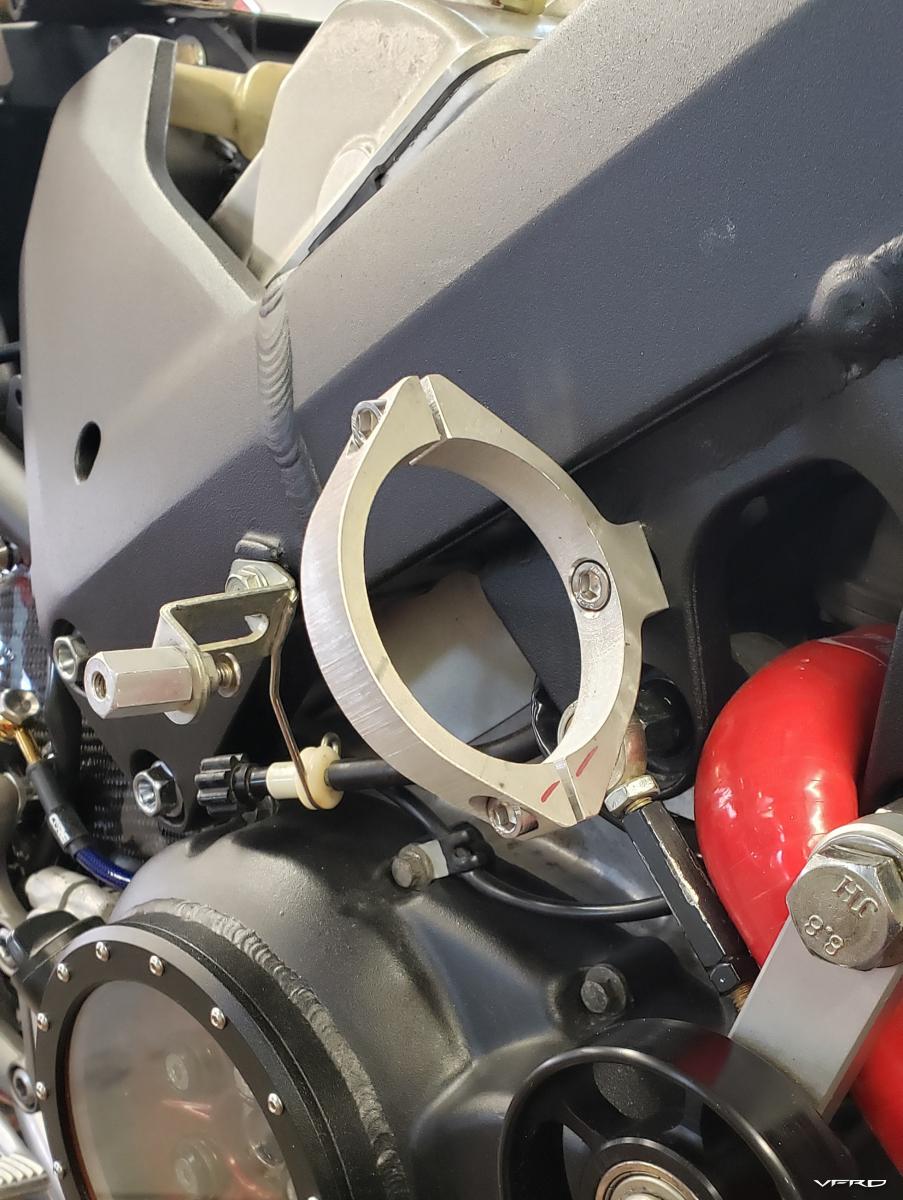
That aluminum tube was the start of a new reservoir that had to hold fluid below the blower, not overflow, and not slosh so much under braking that it allowed air into the system. I made this little clamp to hold it in place.

Speaking of attacking in any direction...
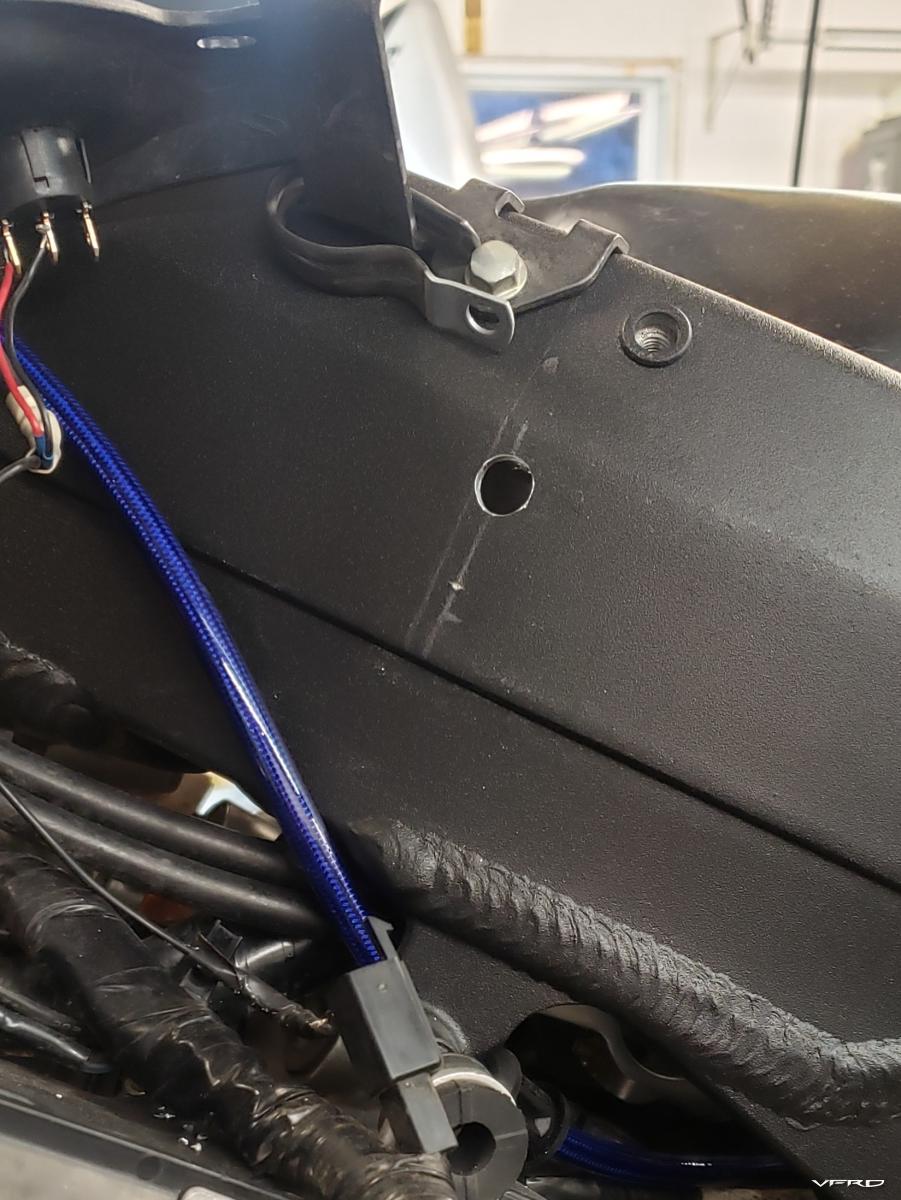
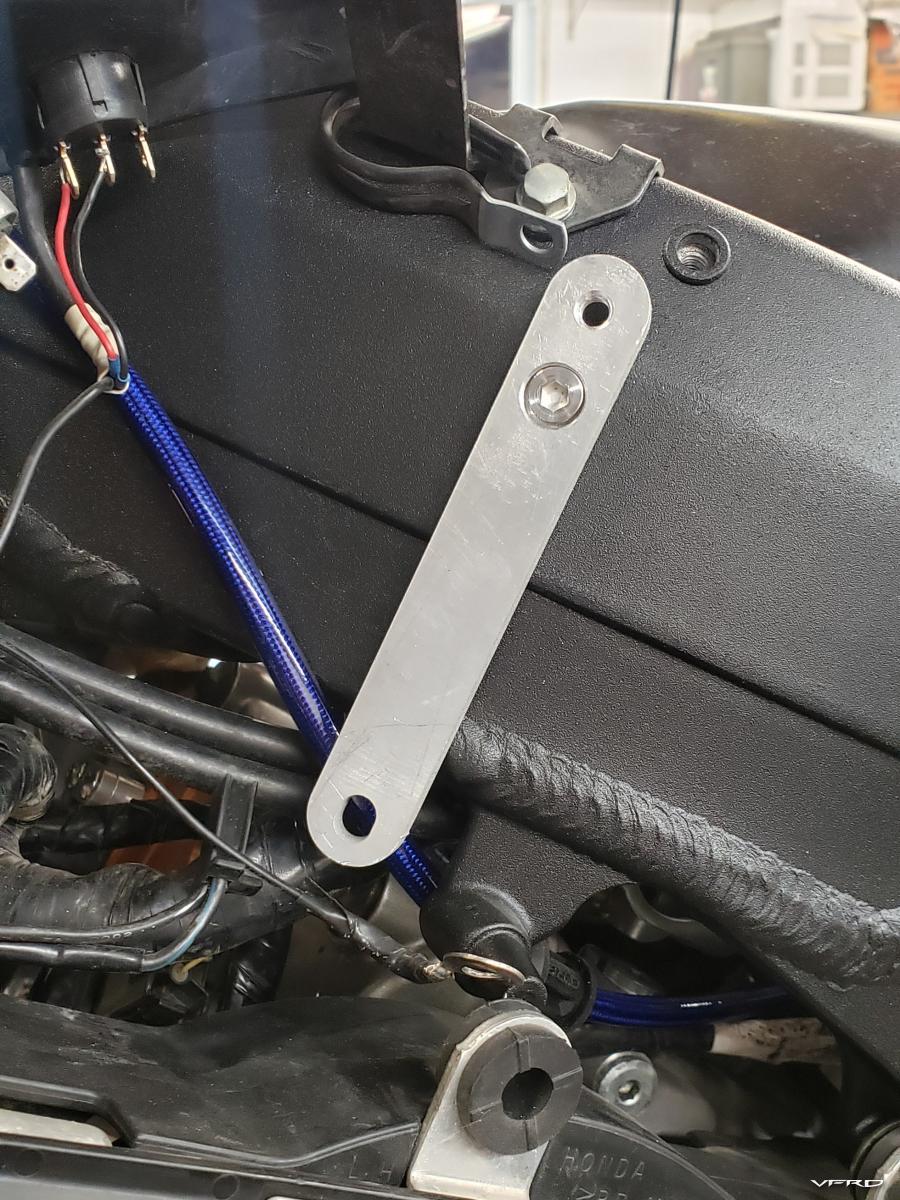
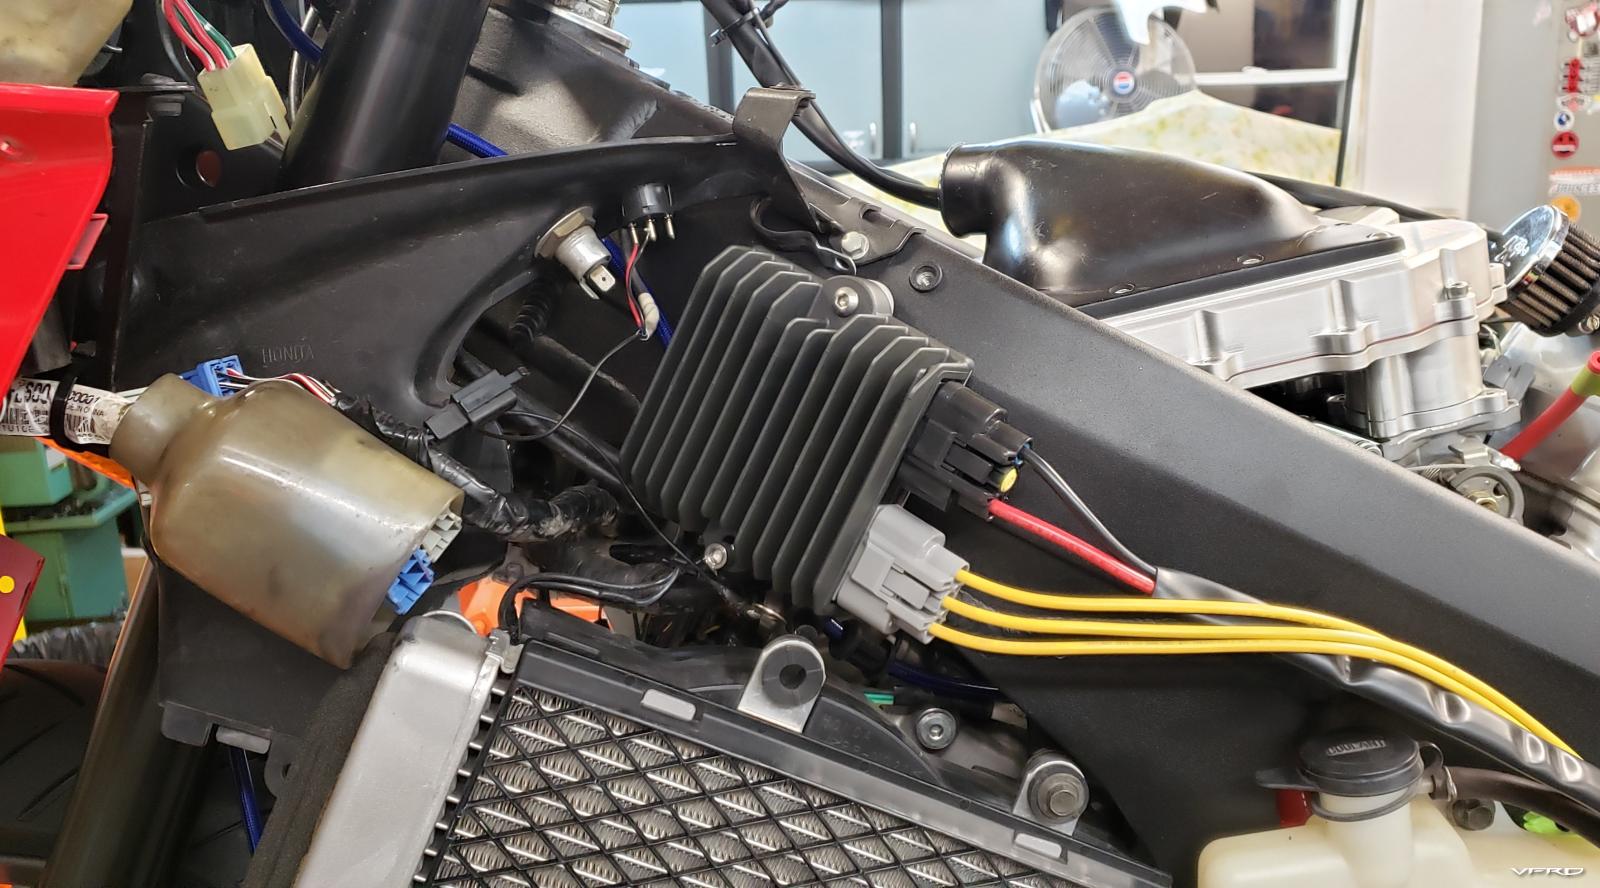
When you get stuck on one aspect, it's nice to break away and tackle something easy like fitting the new r/r. Unless it doesn't fit, because it's bigger than stock, and there's a supercharger mounting bracket in the way... ugh... so how about we make this simple and stick it in the vast open space(lol) on the other side of the frame?

I drilled the frame for an M6 rivnut, just like Honda does. I added a pin at the second hole location to prevent the bracket from rotating. Not pictured, because I forgot to snap one.


Then I crossed my fingers and hoped I'd still have room to fit a new fill spigot on the rad
-
 5
5
-






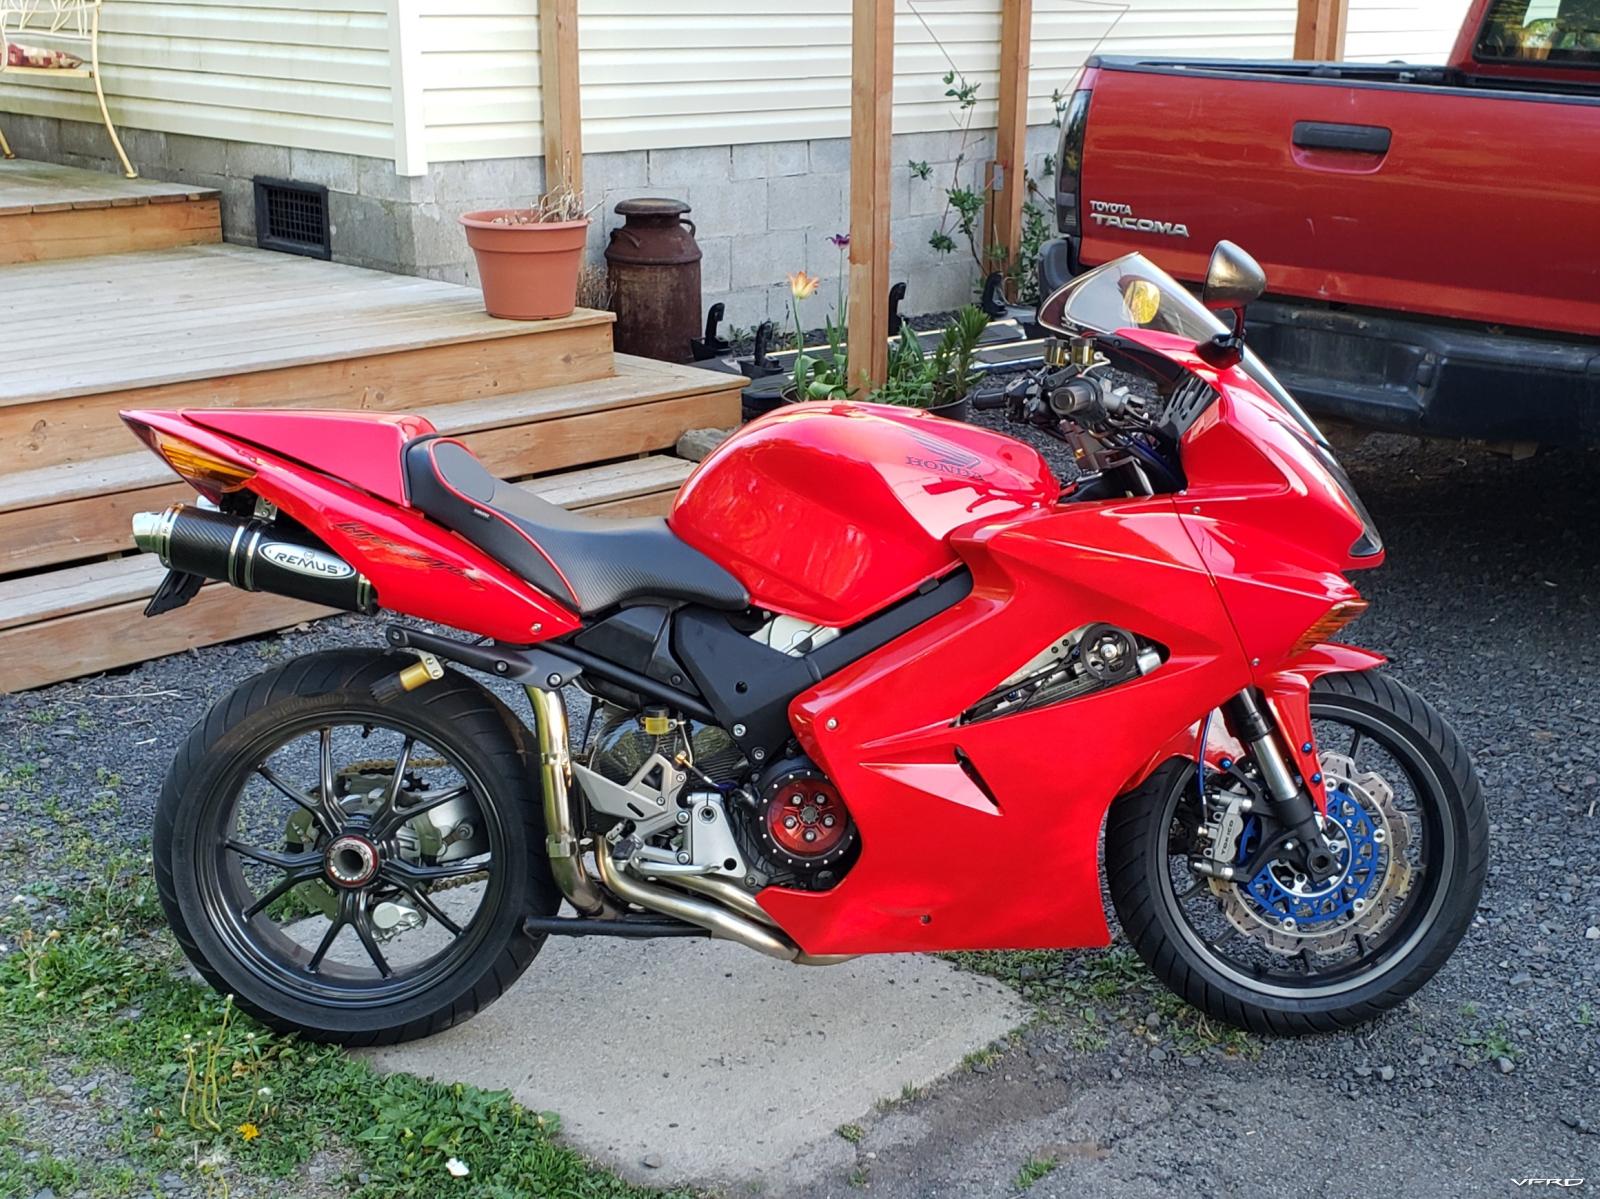
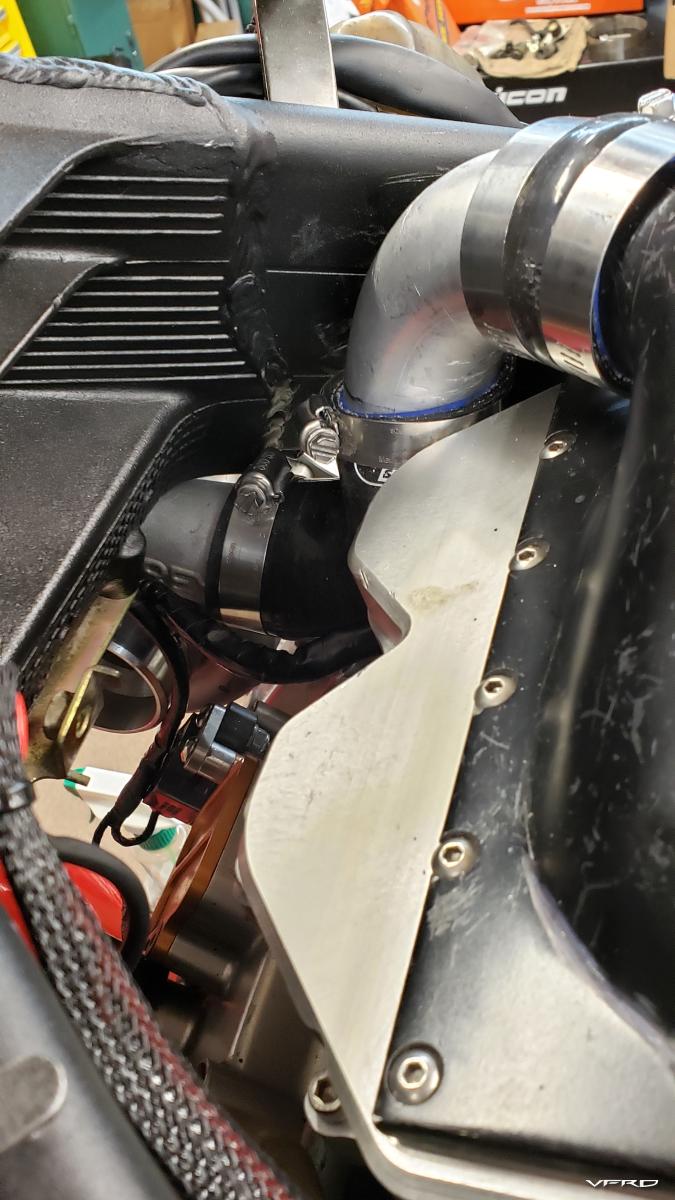
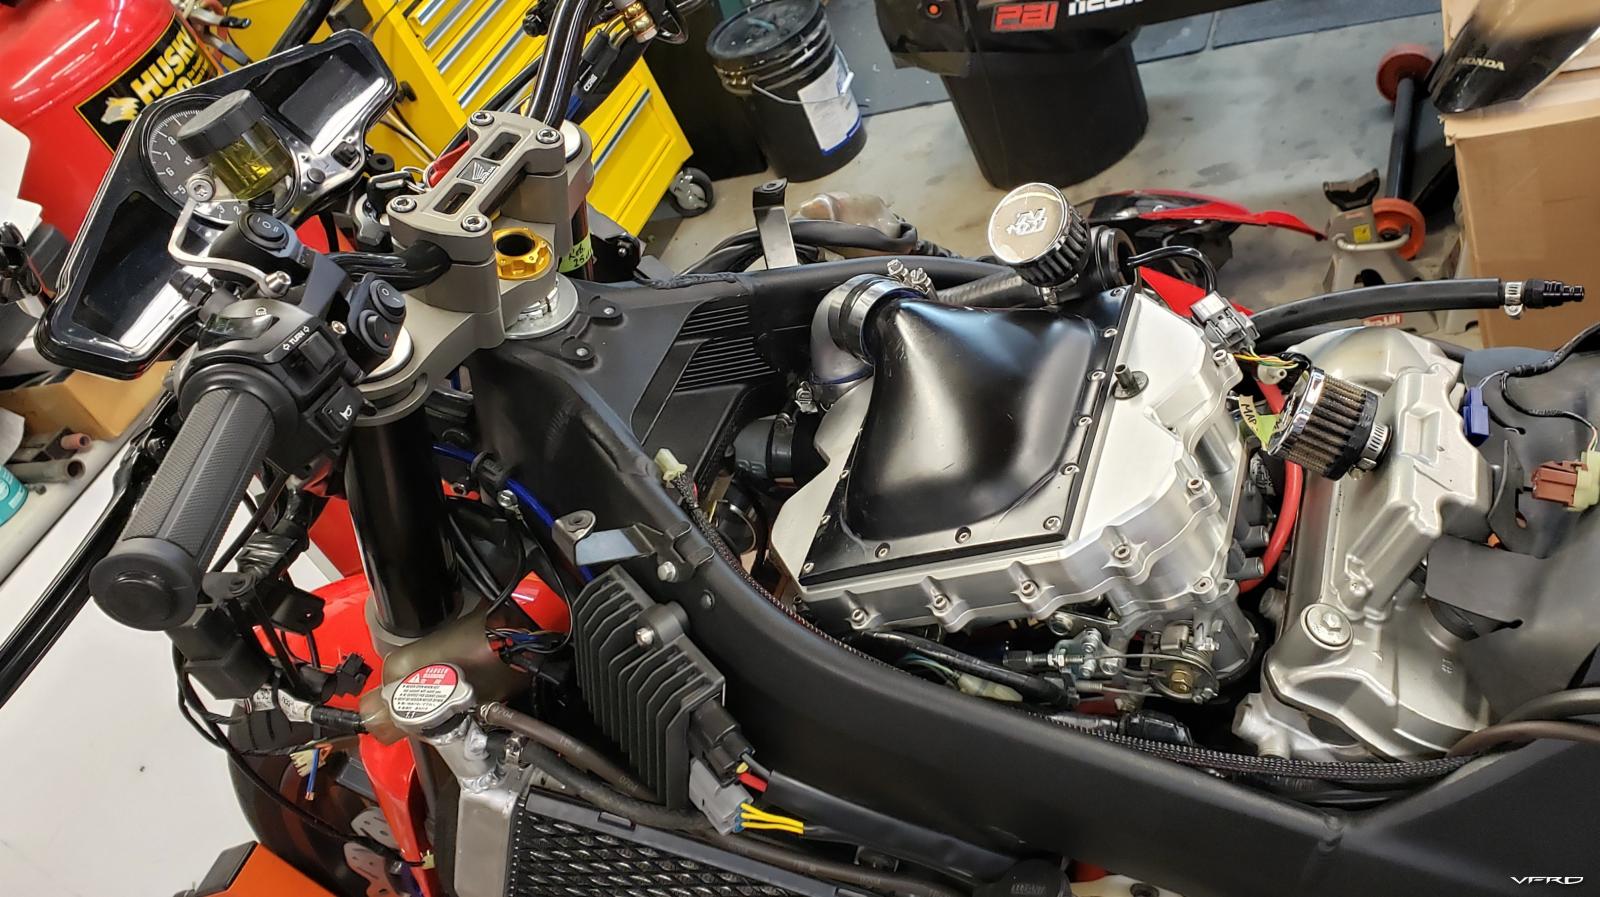
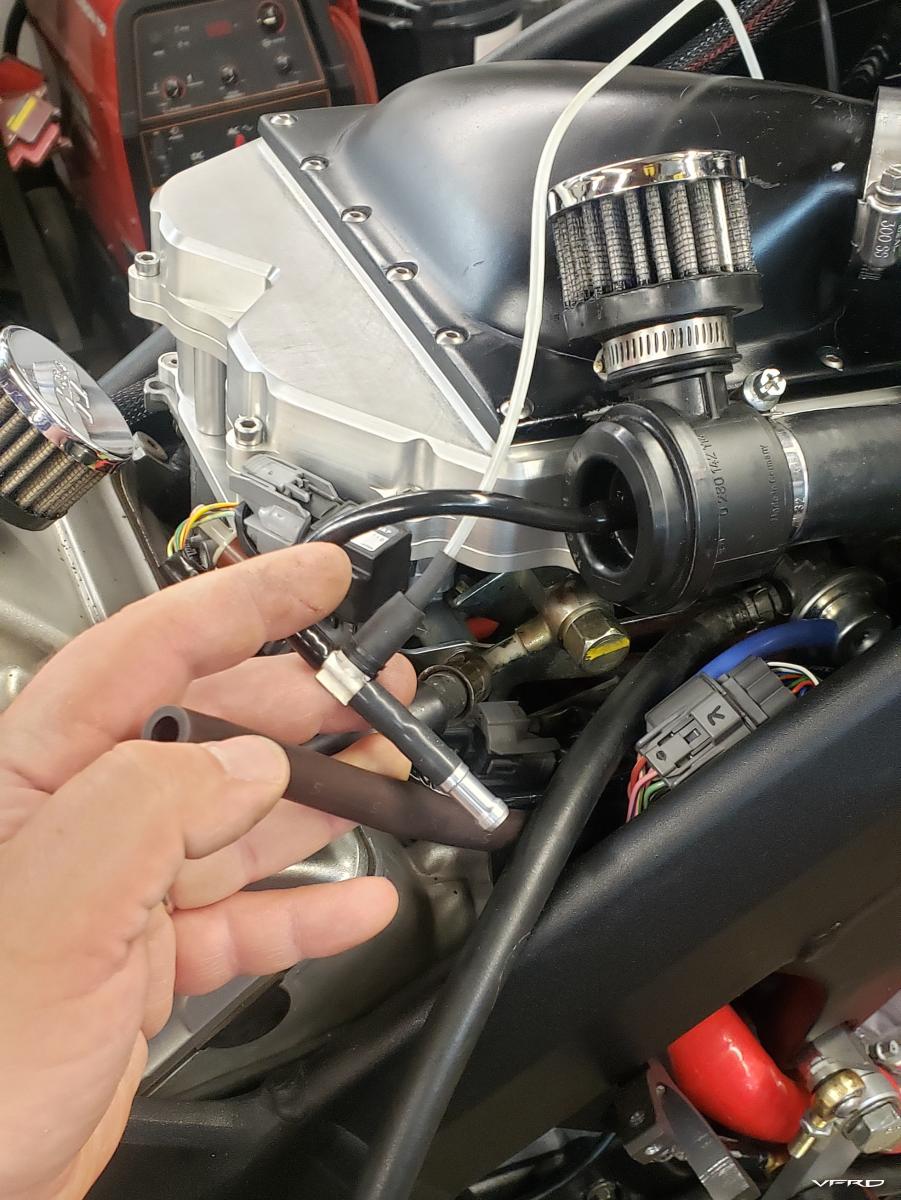
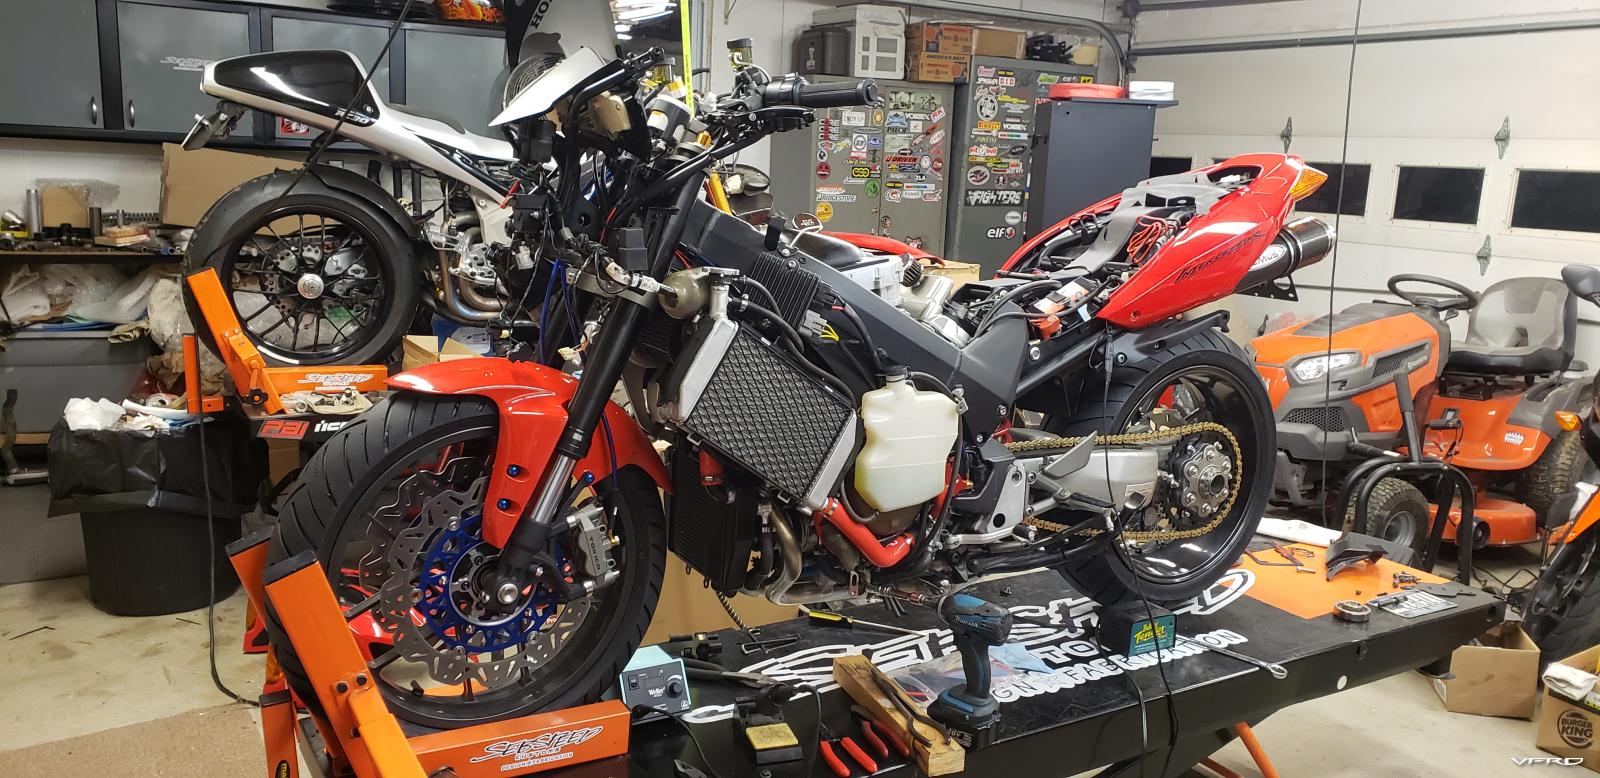
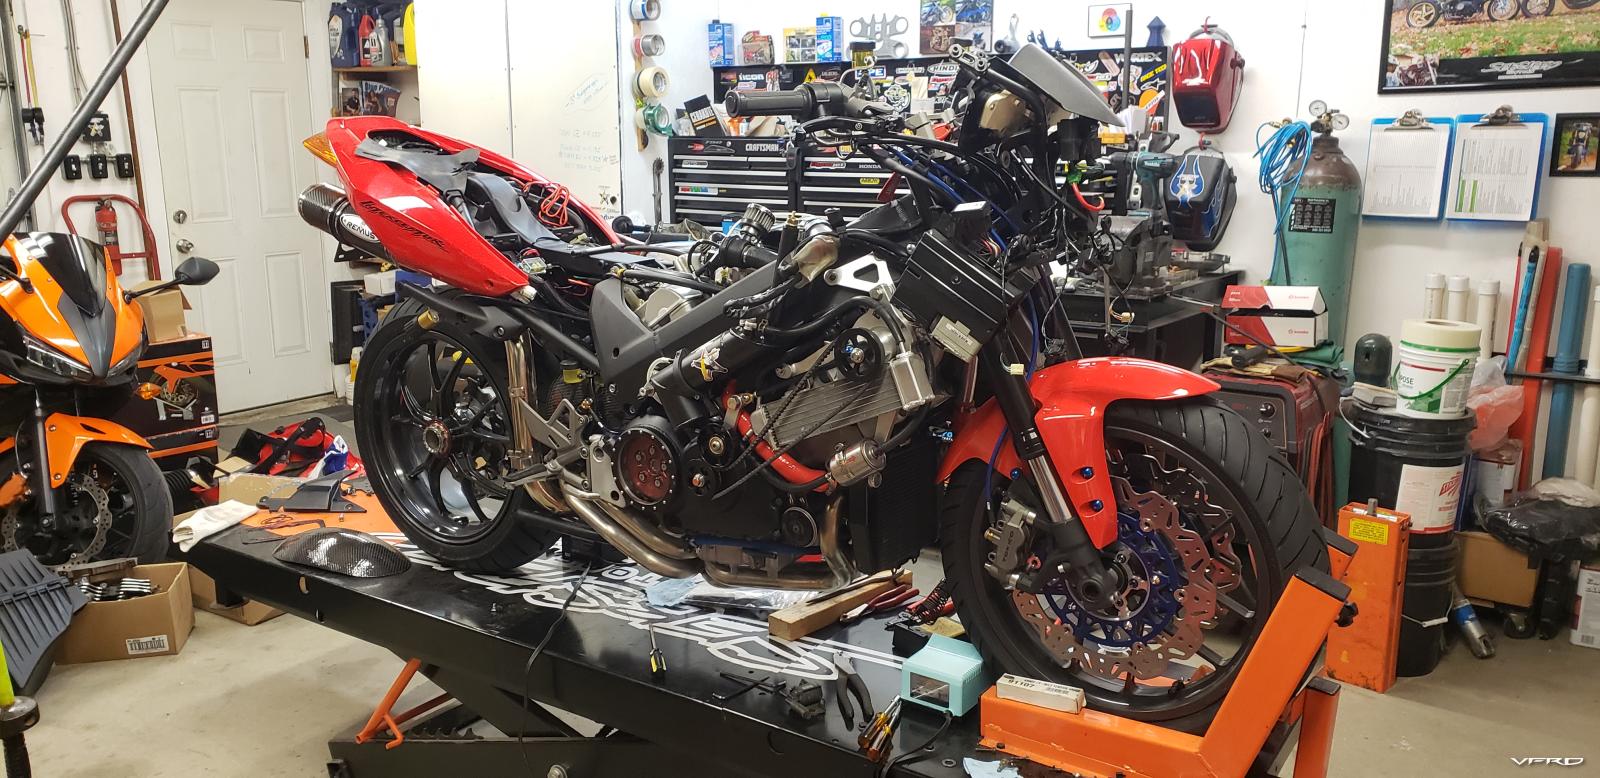
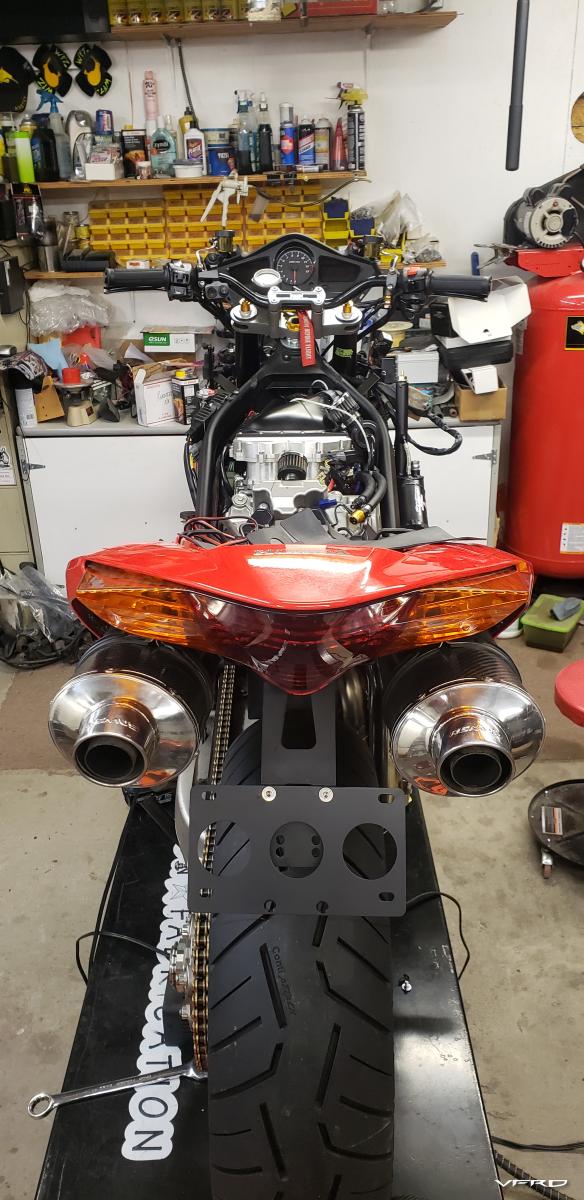
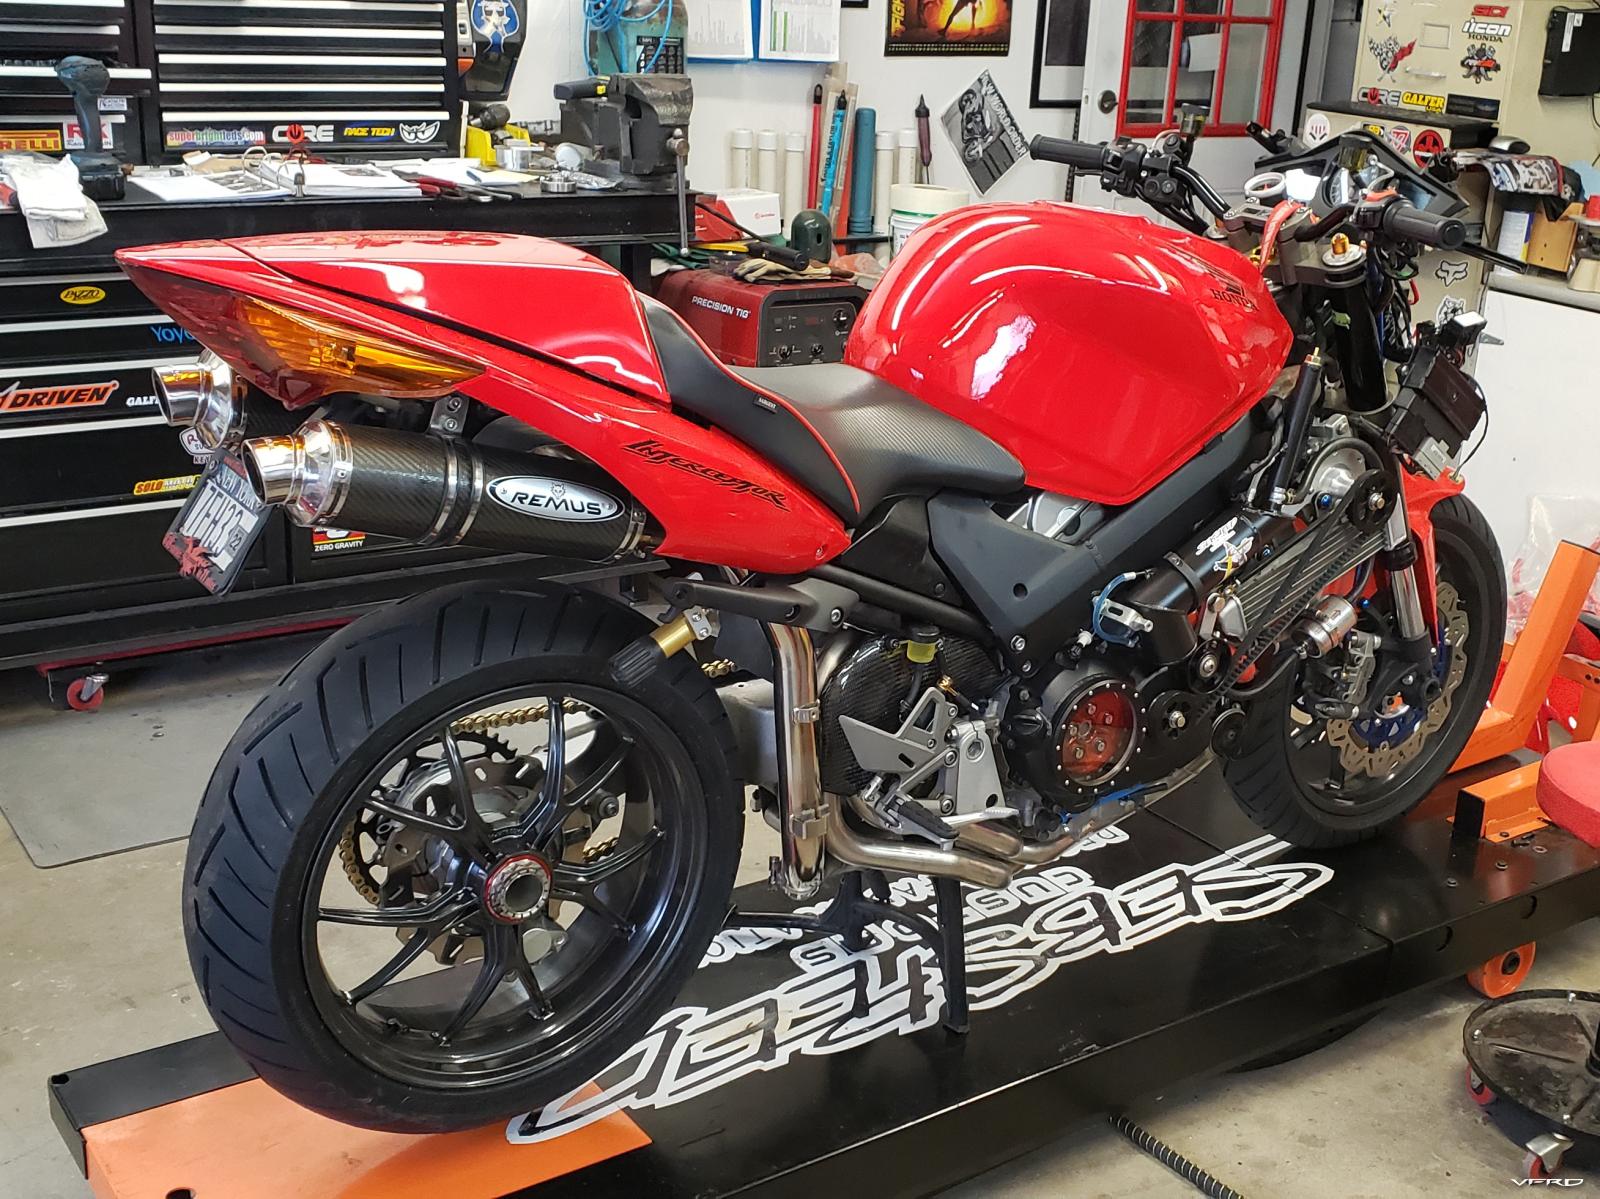
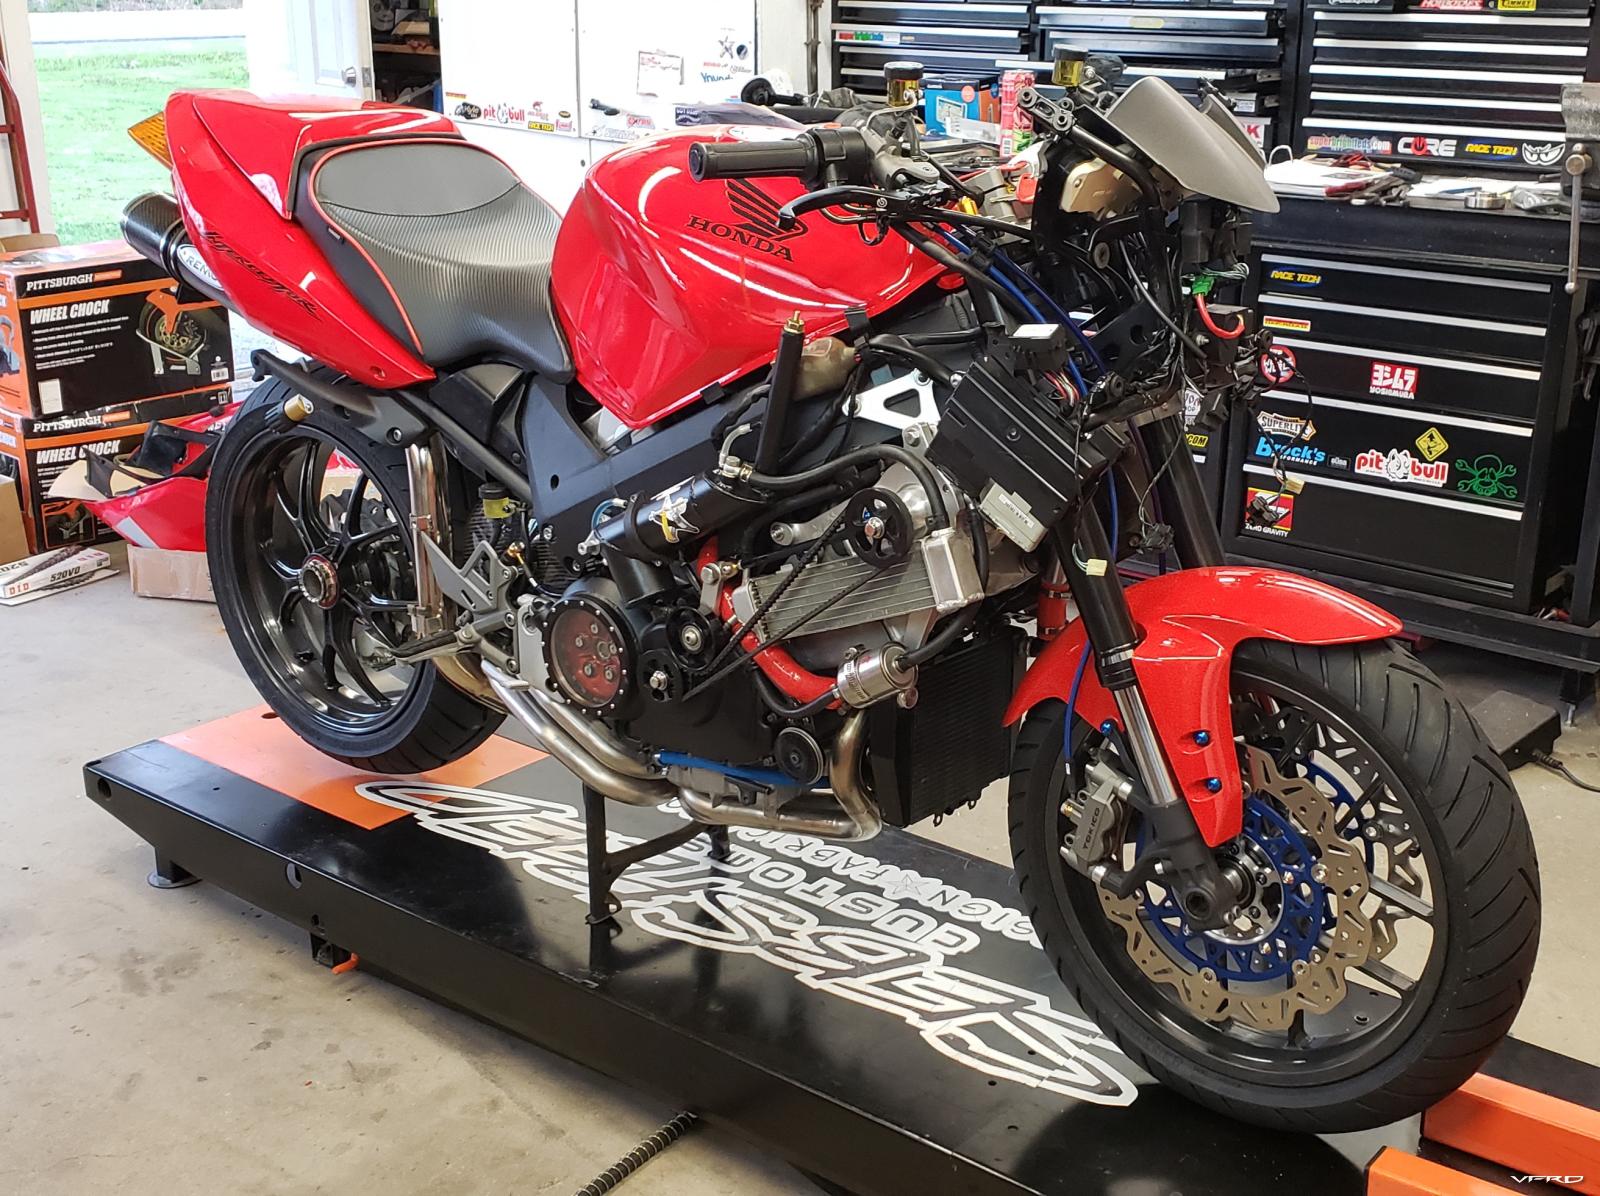
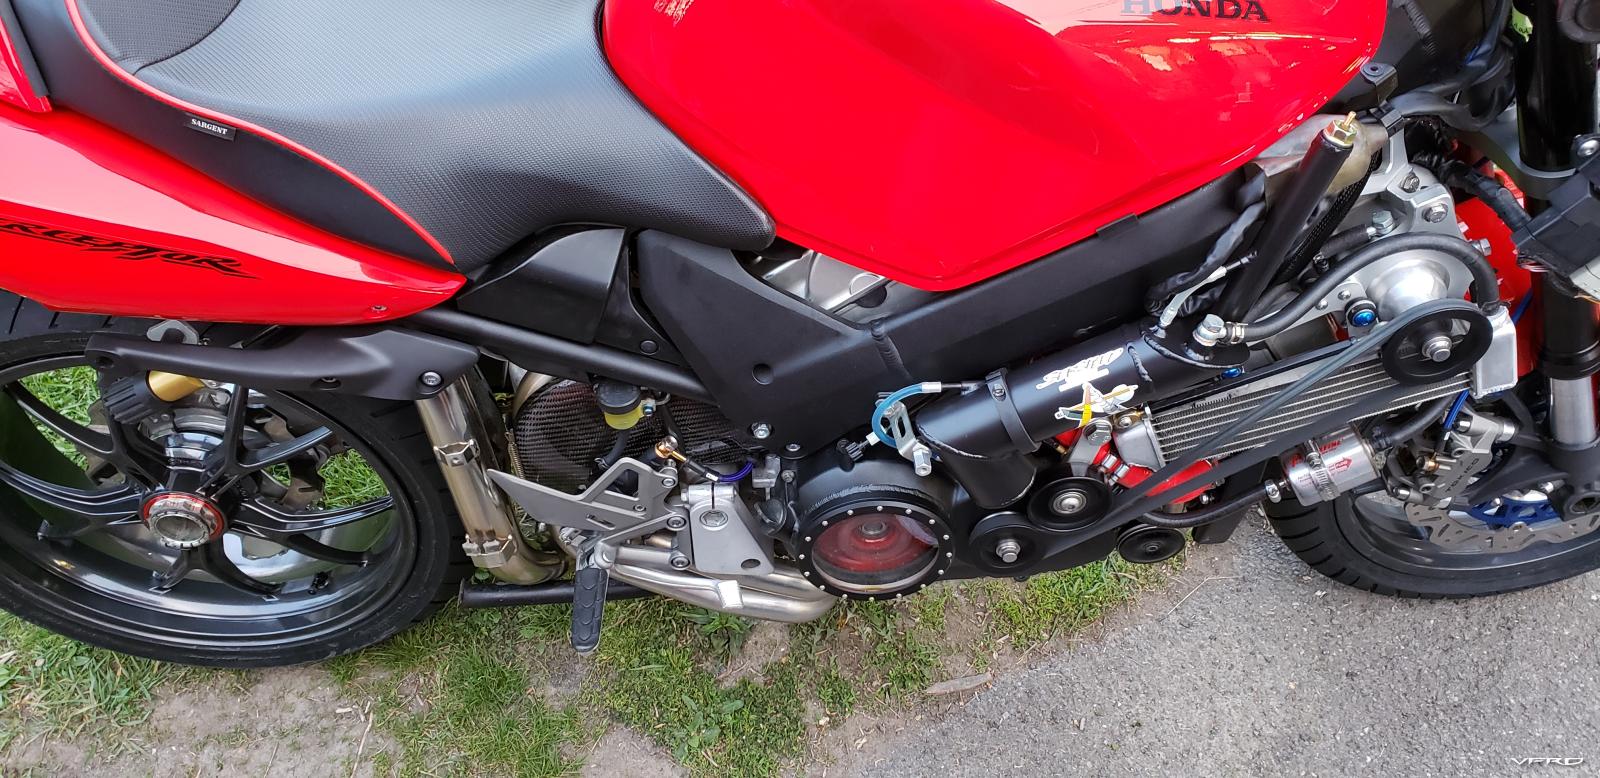
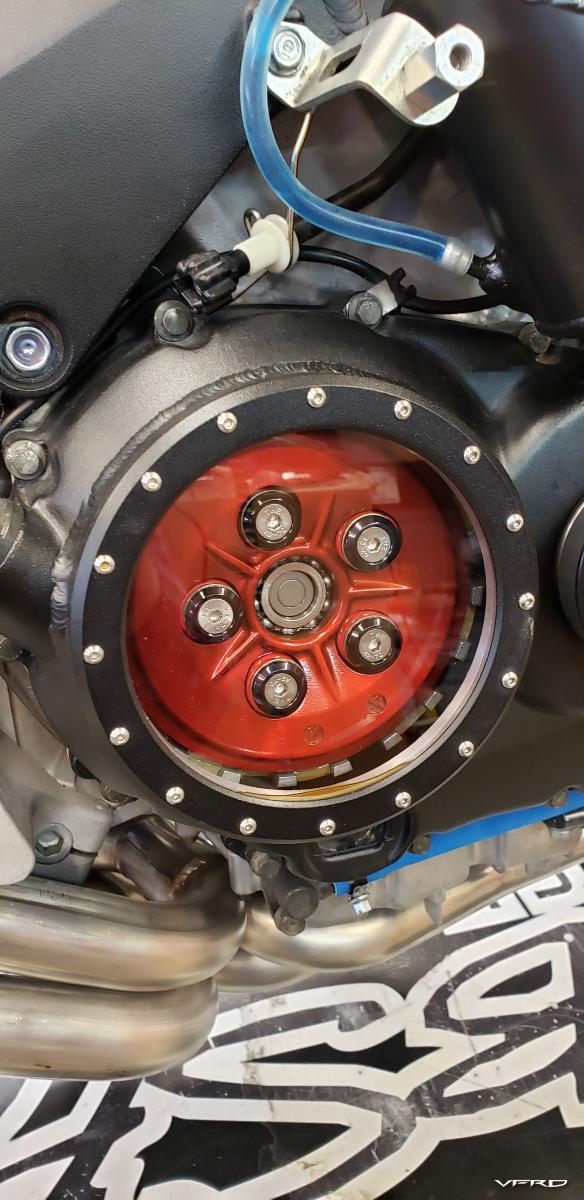
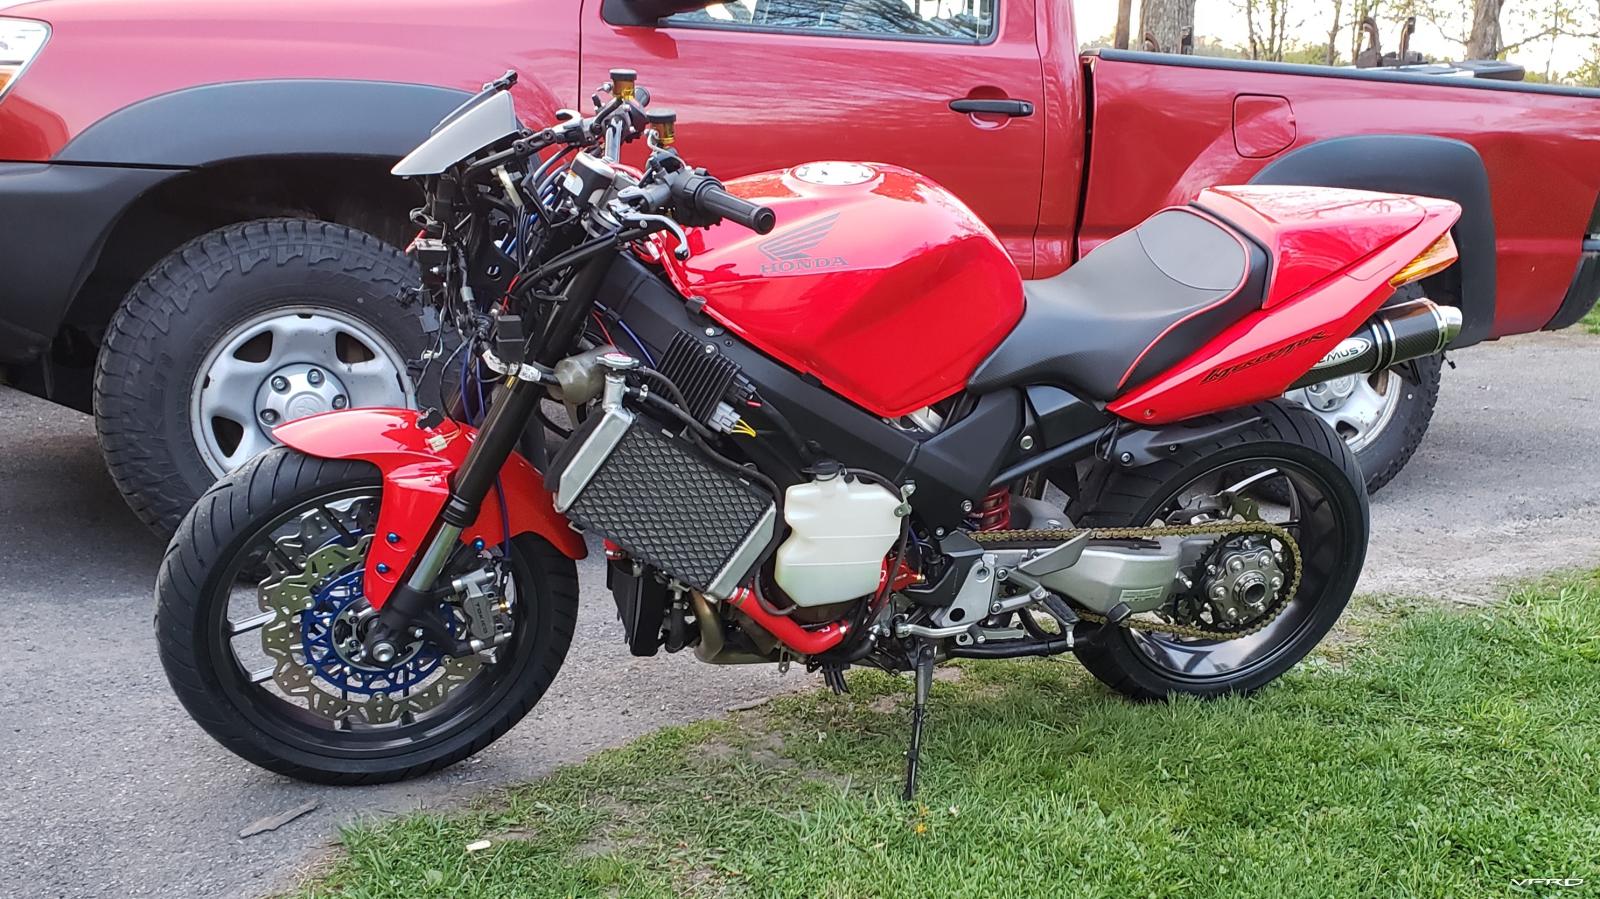
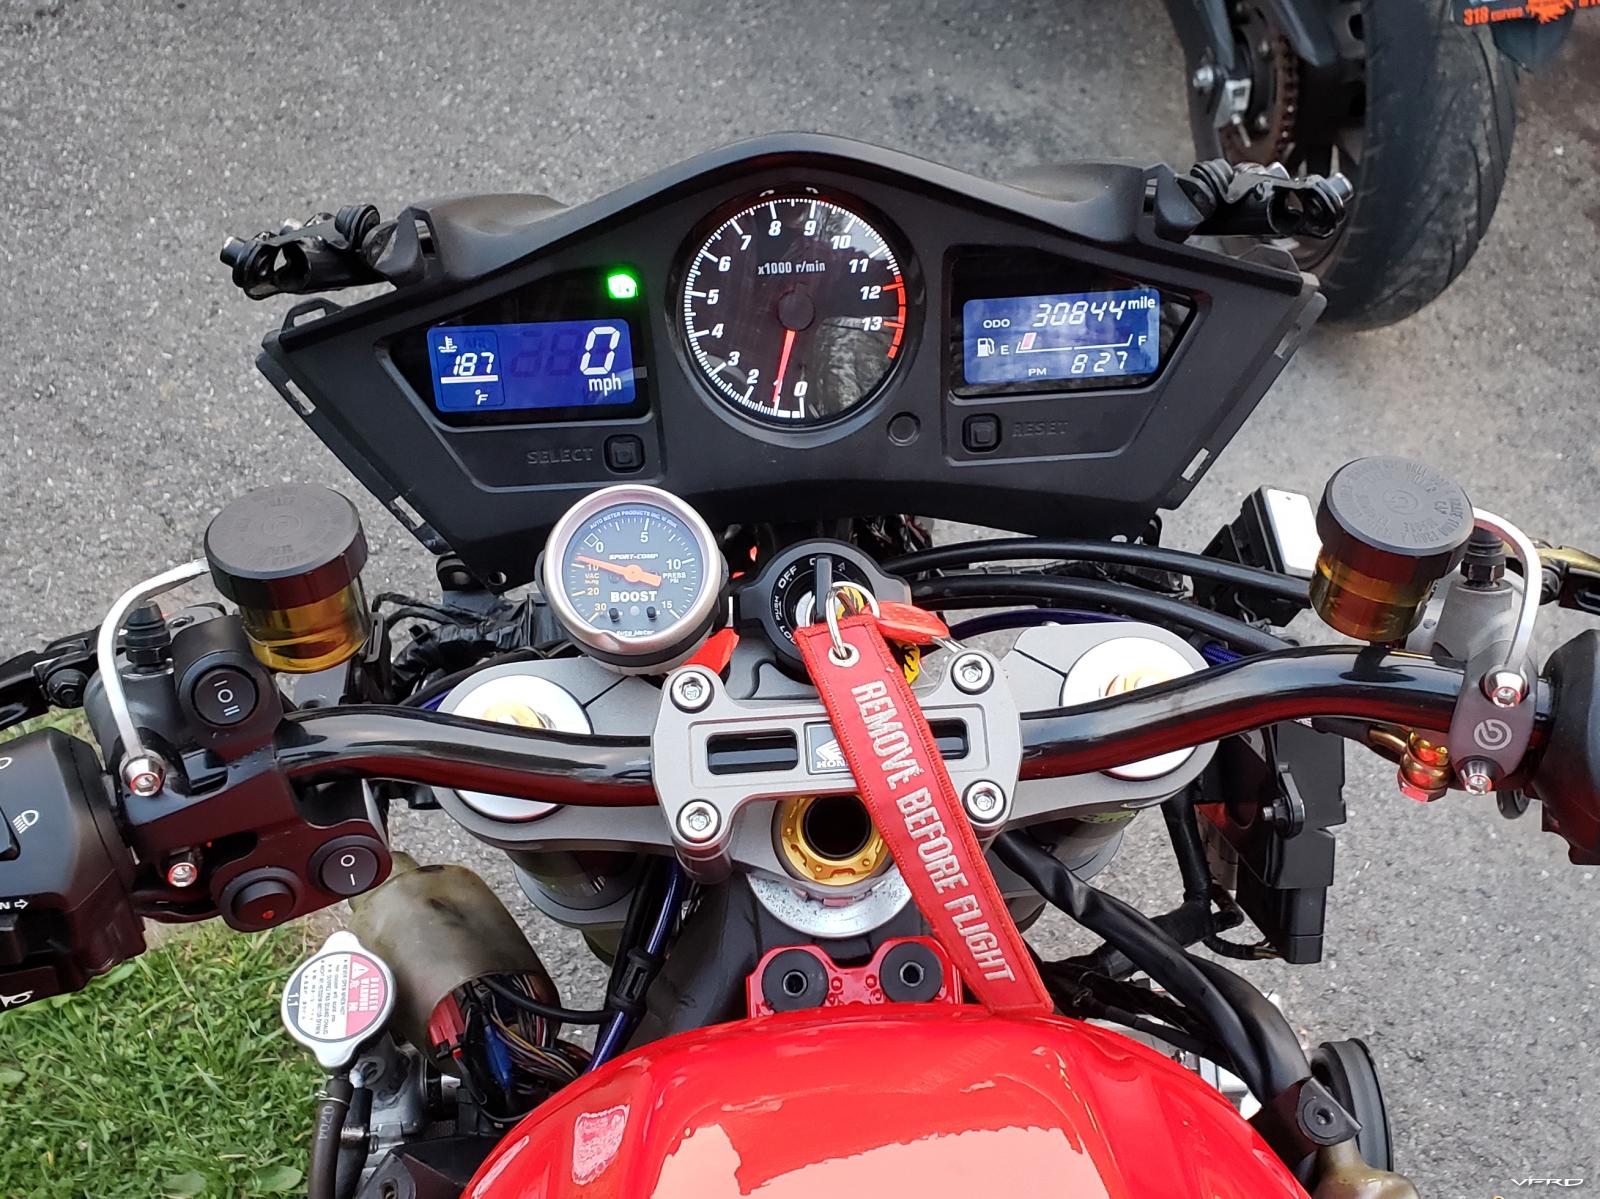
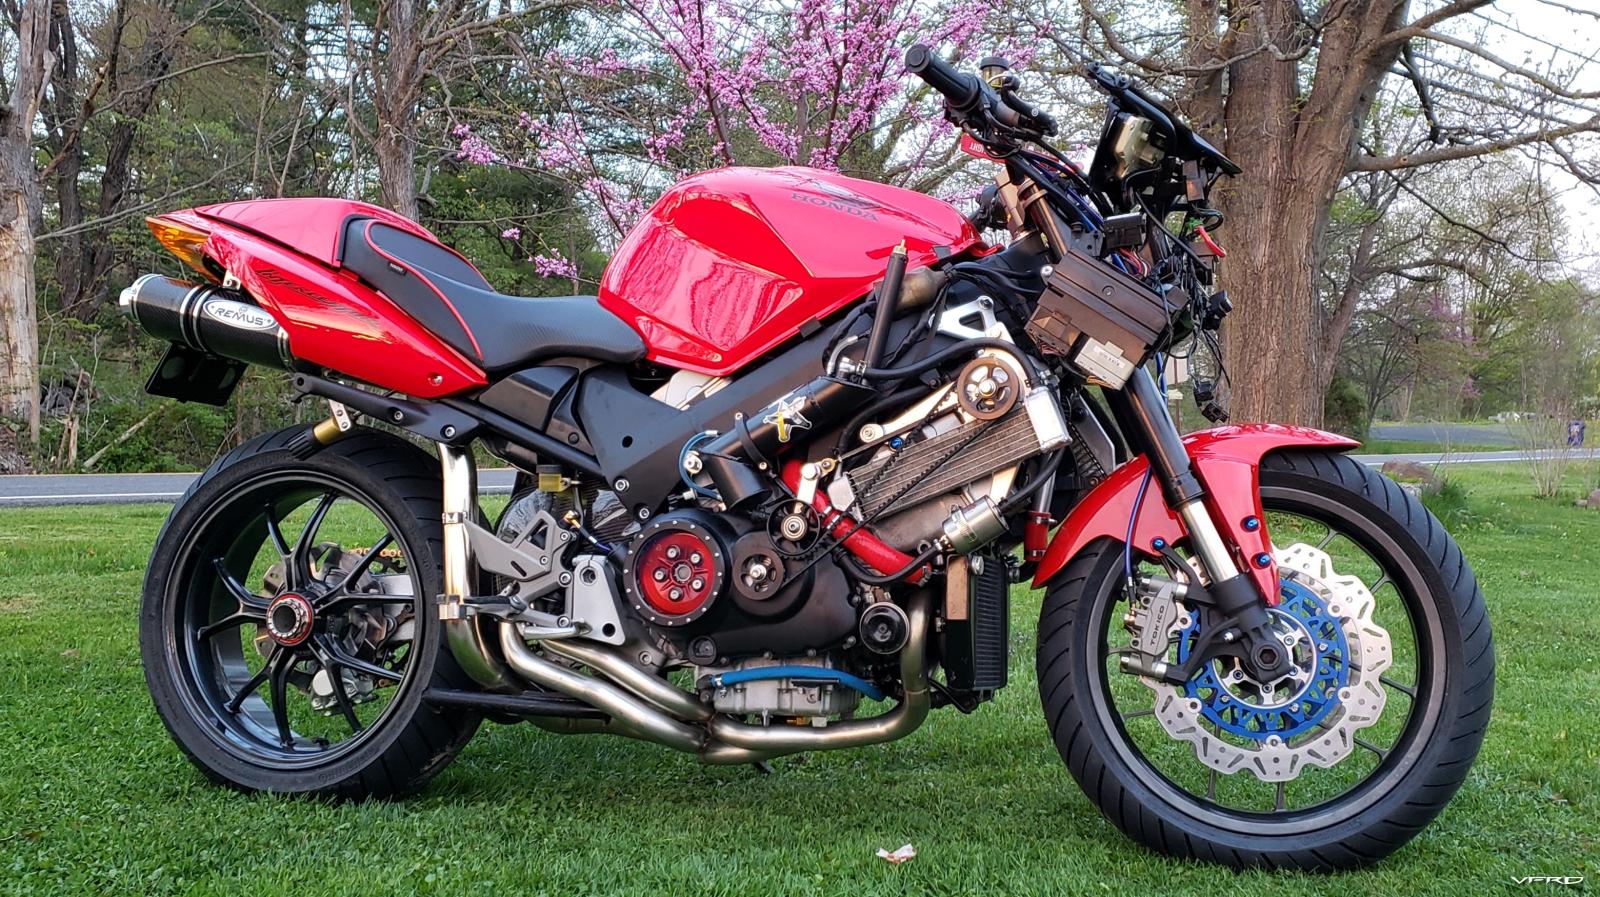
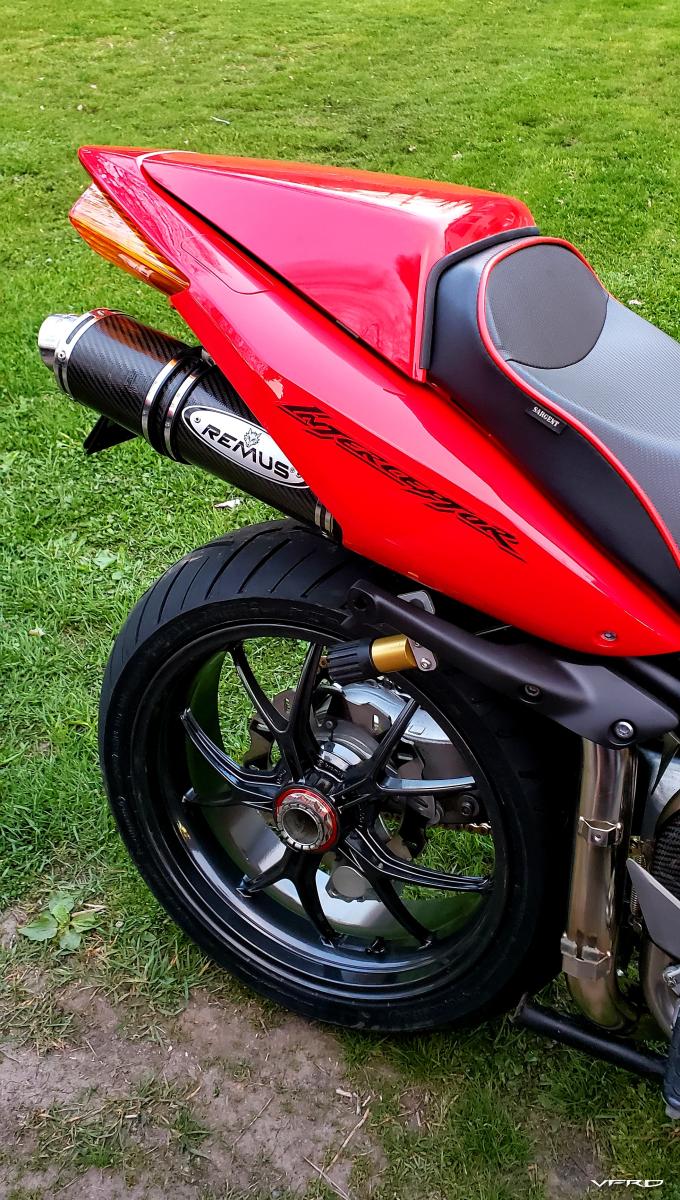
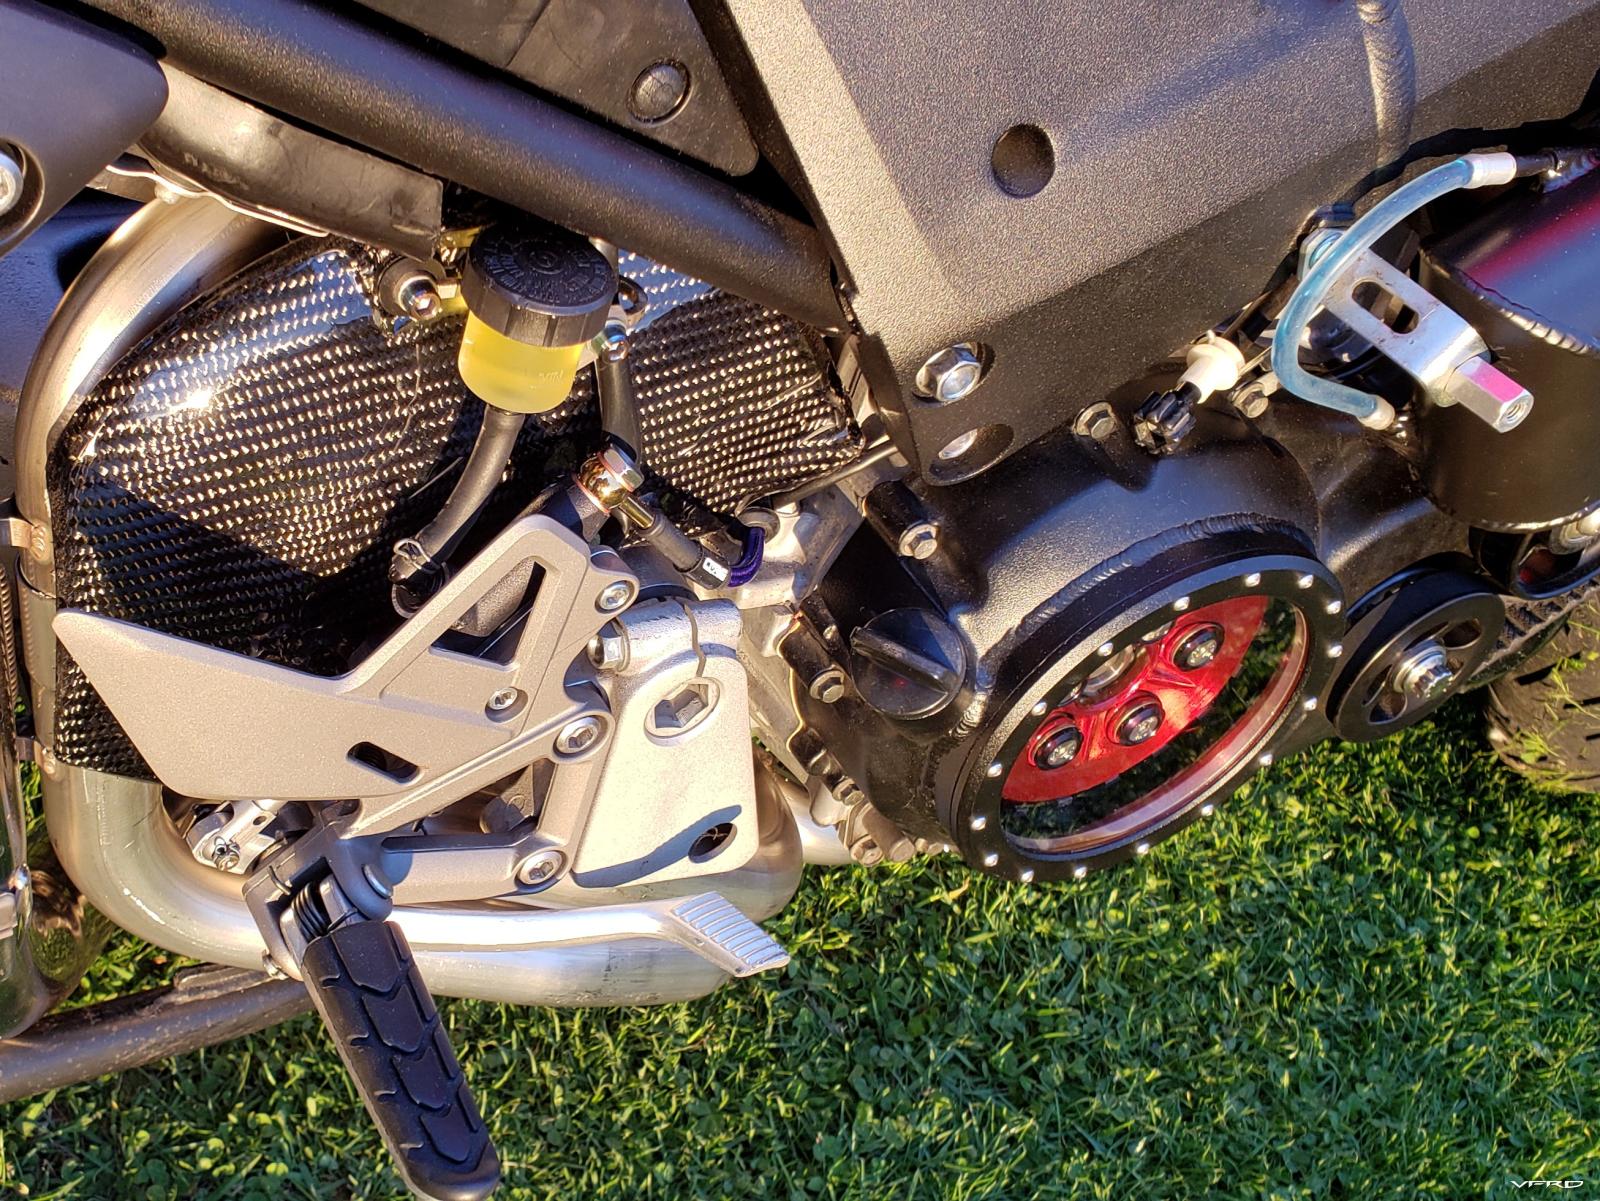
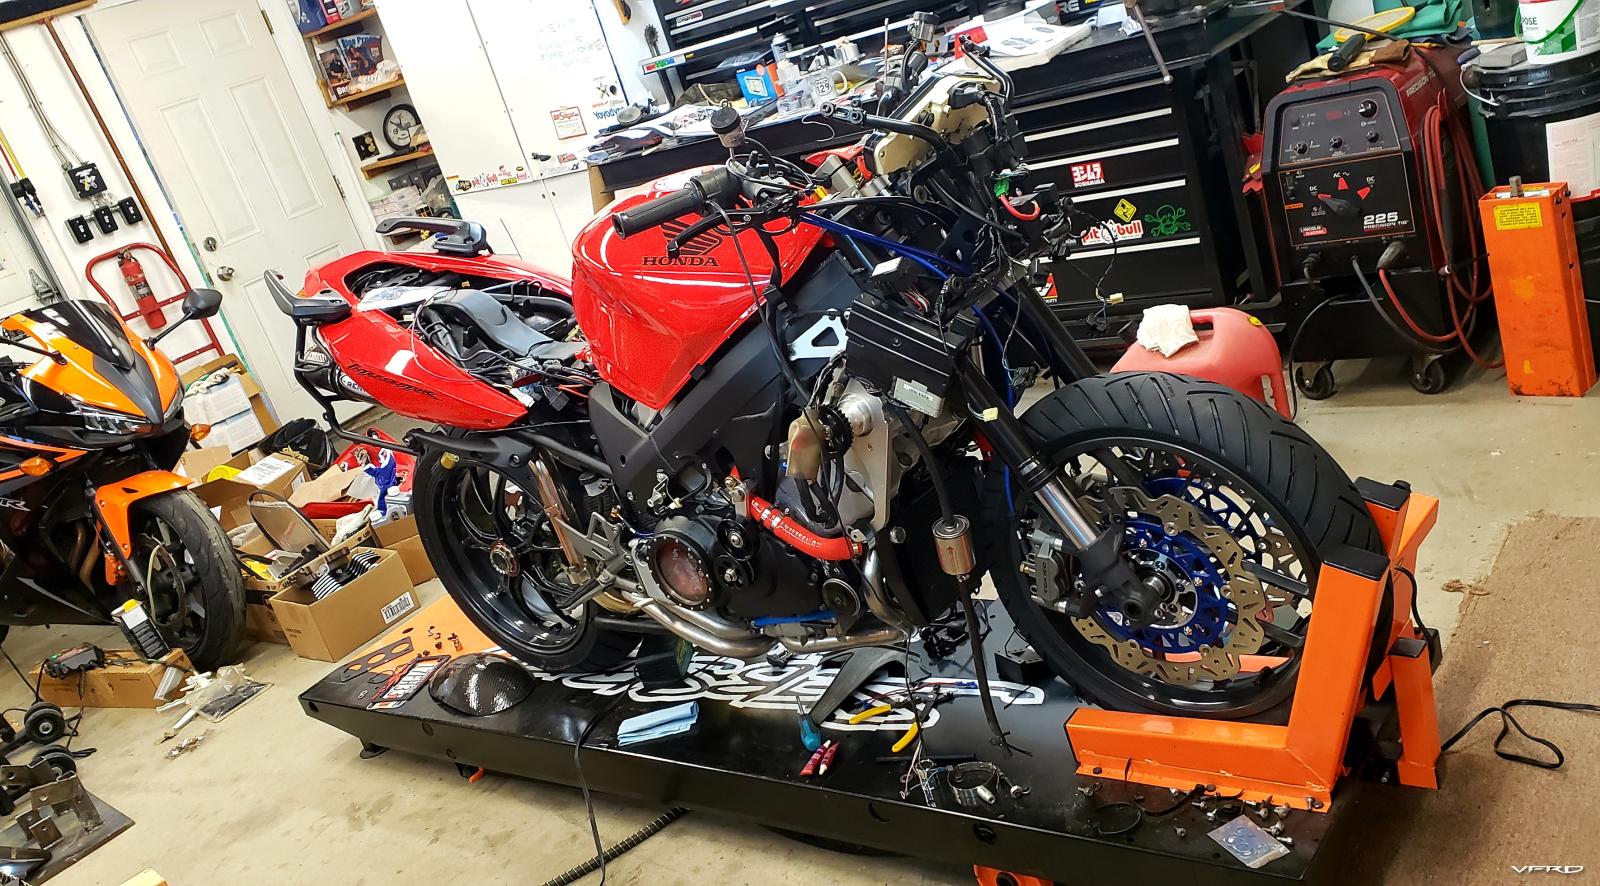
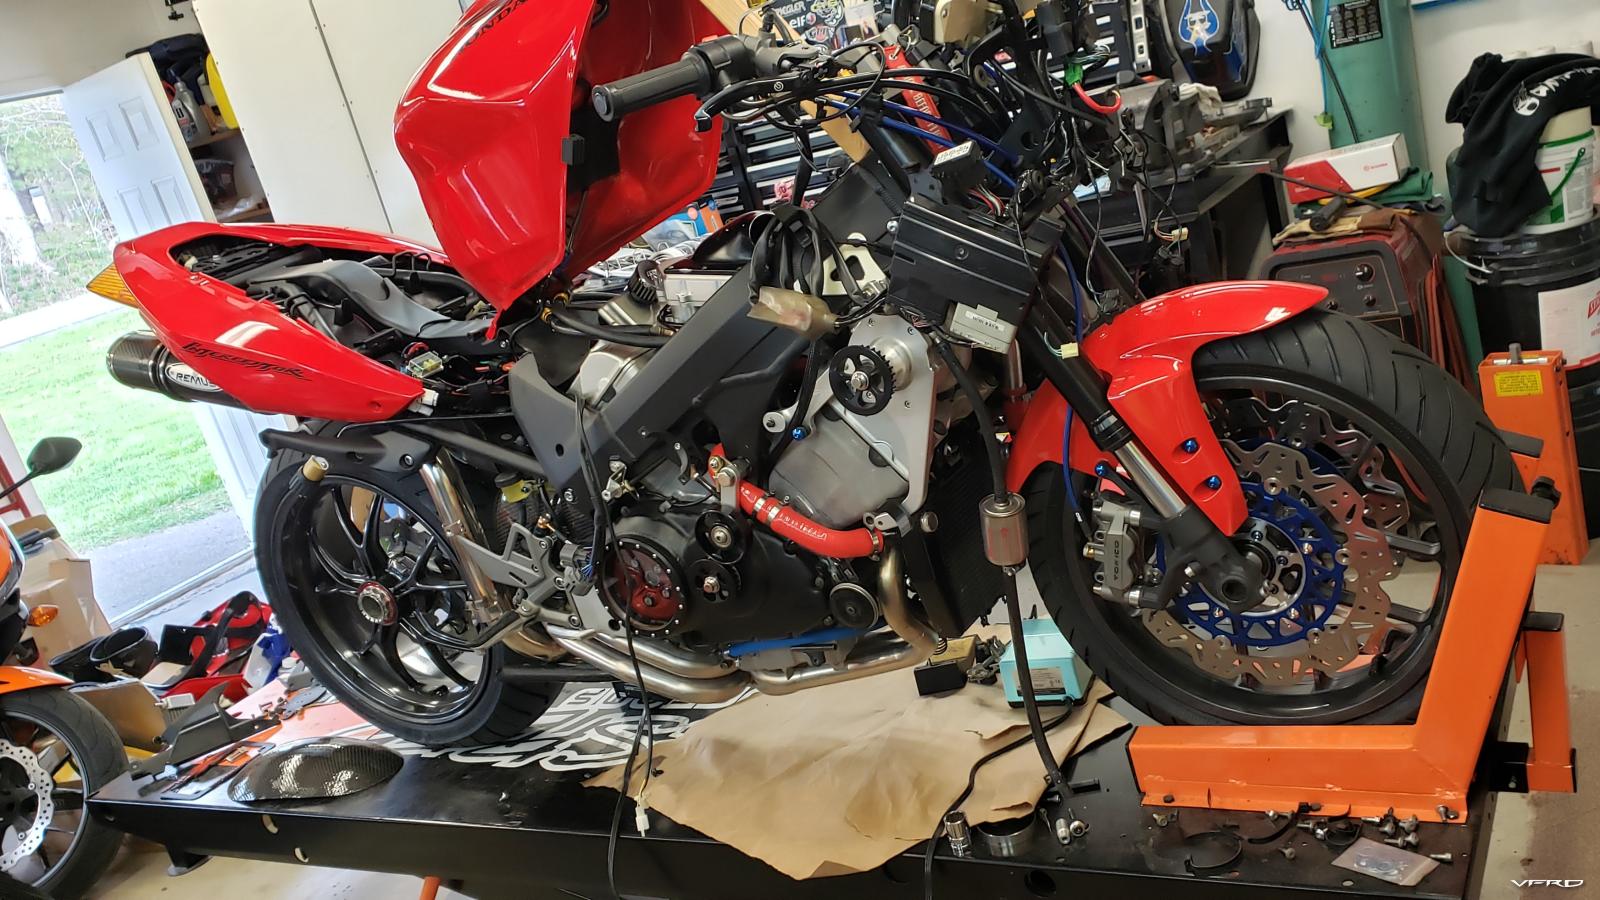
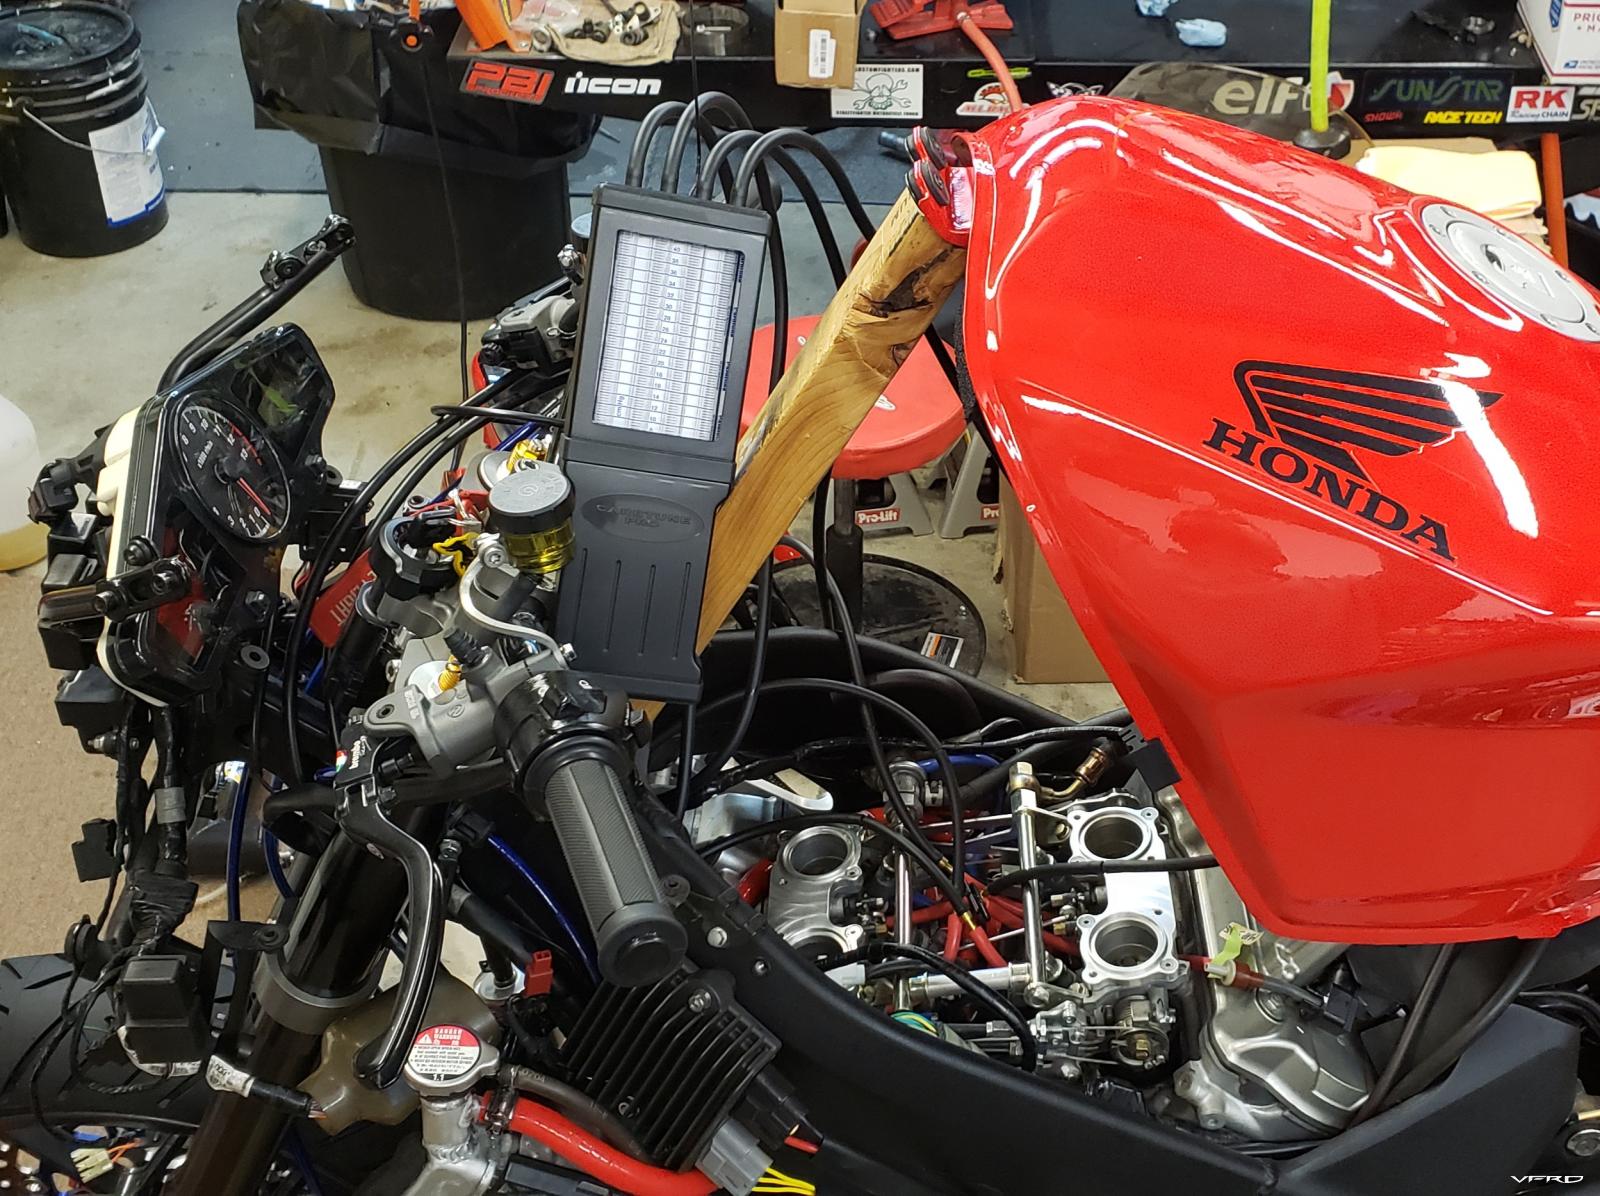
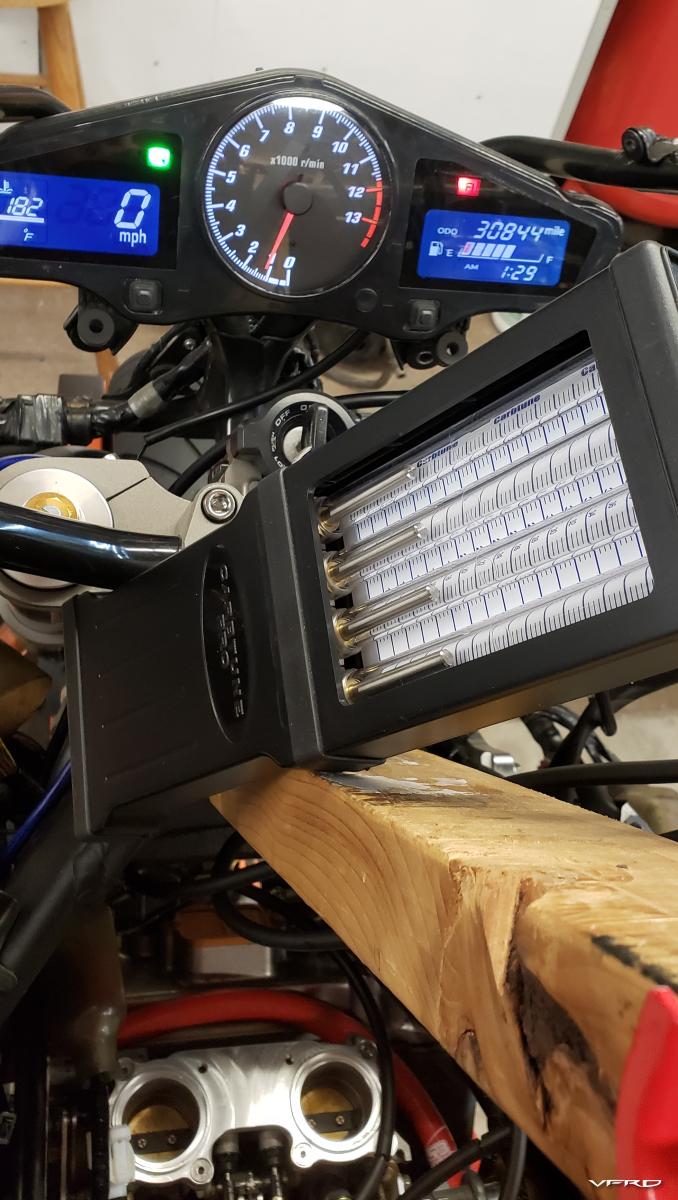
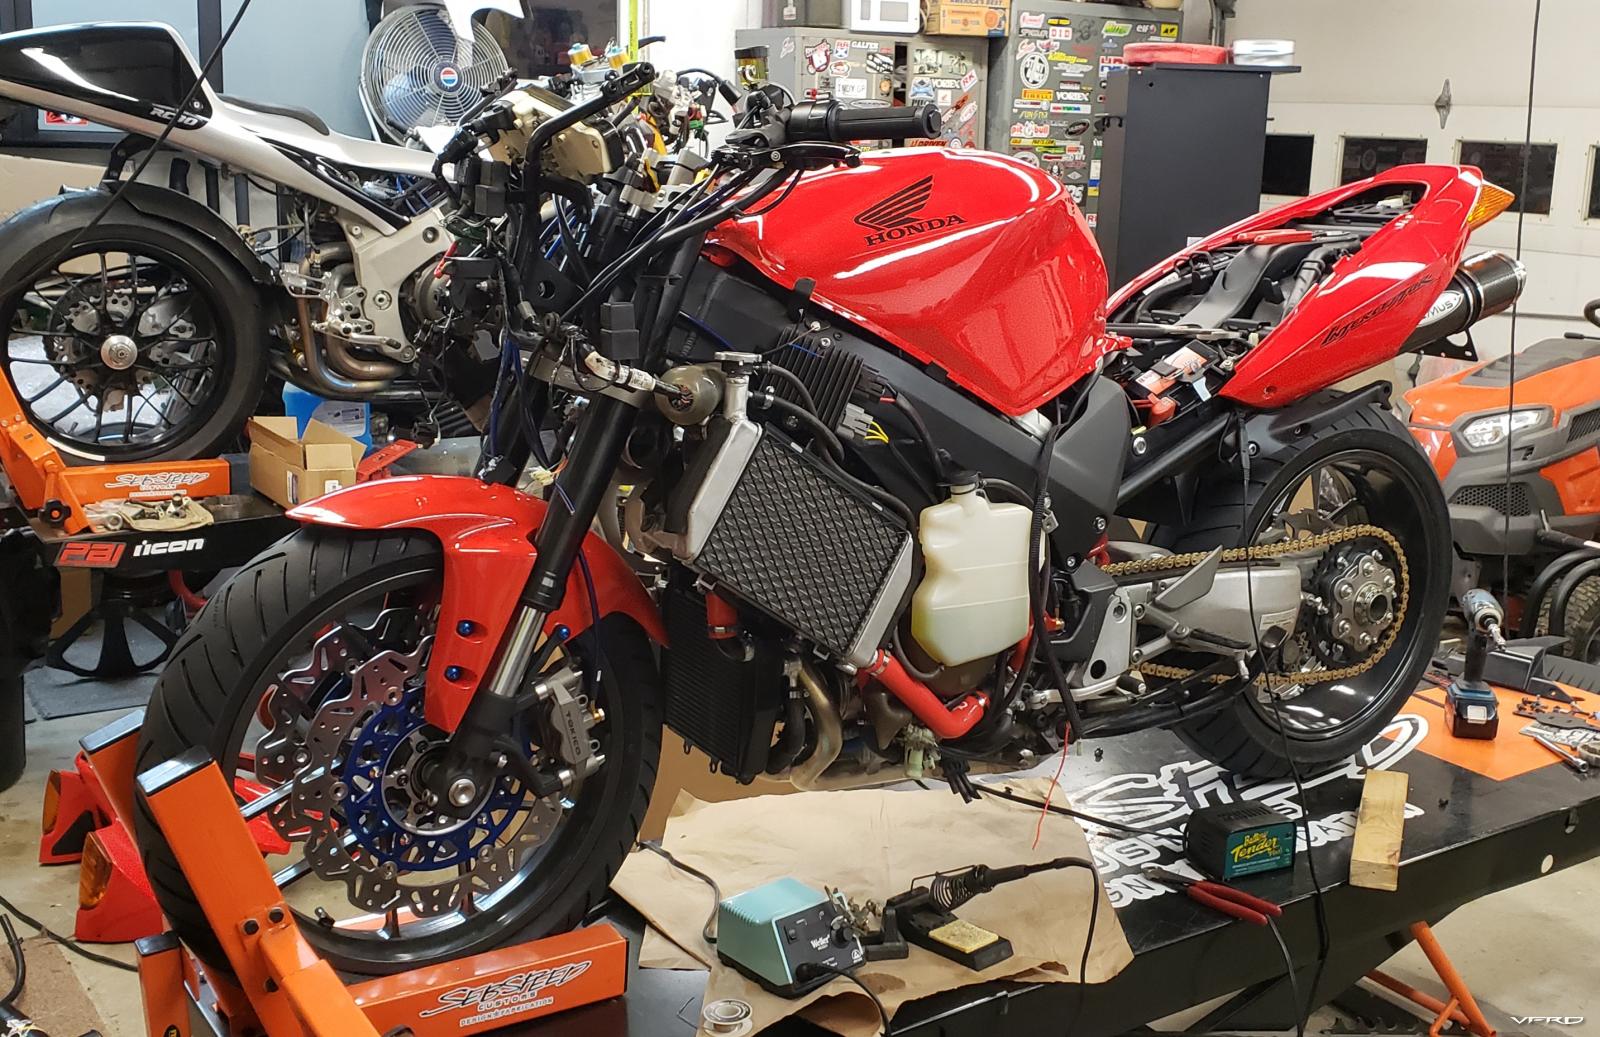
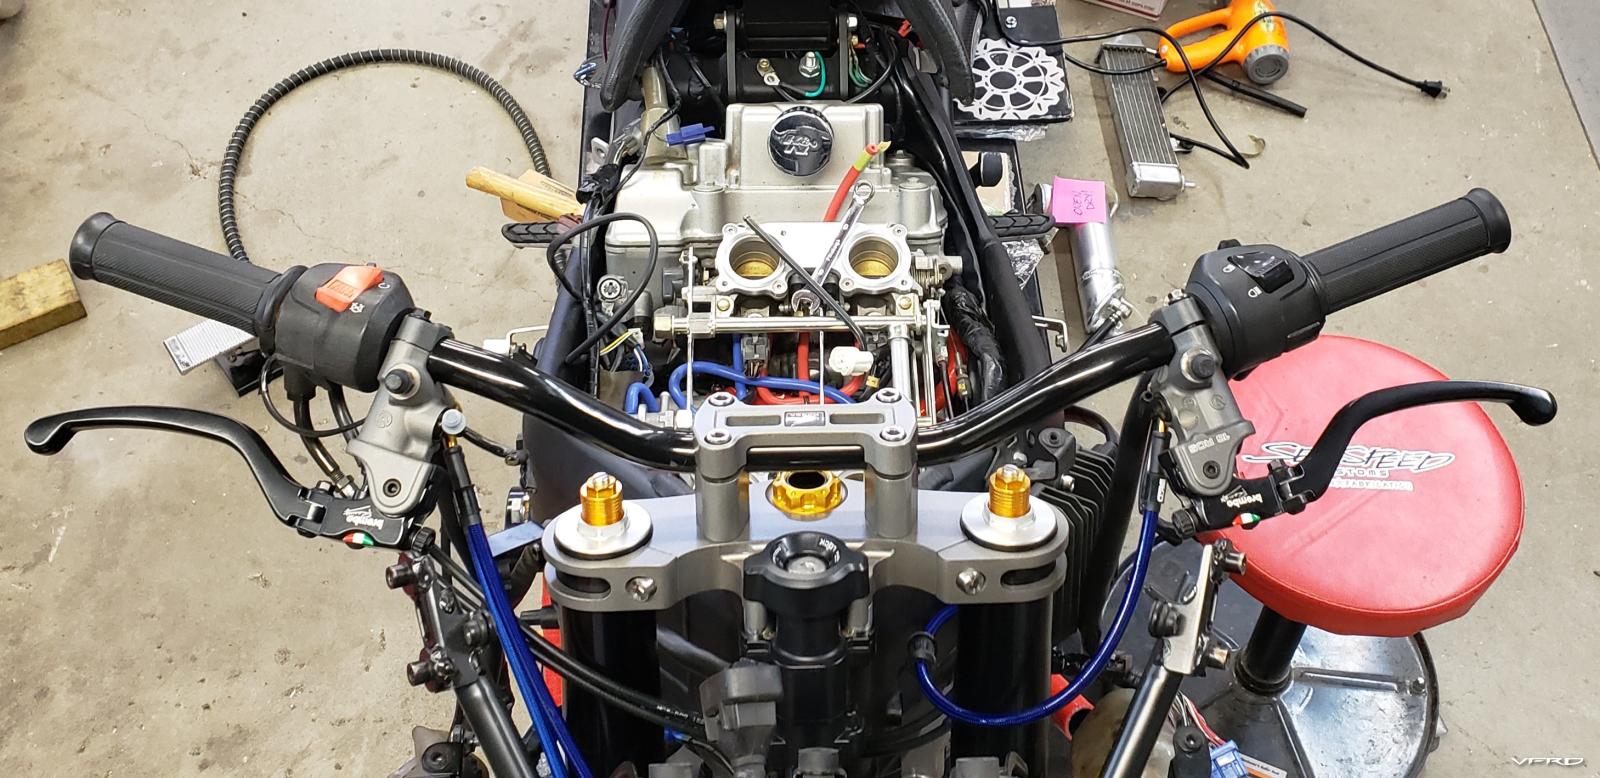
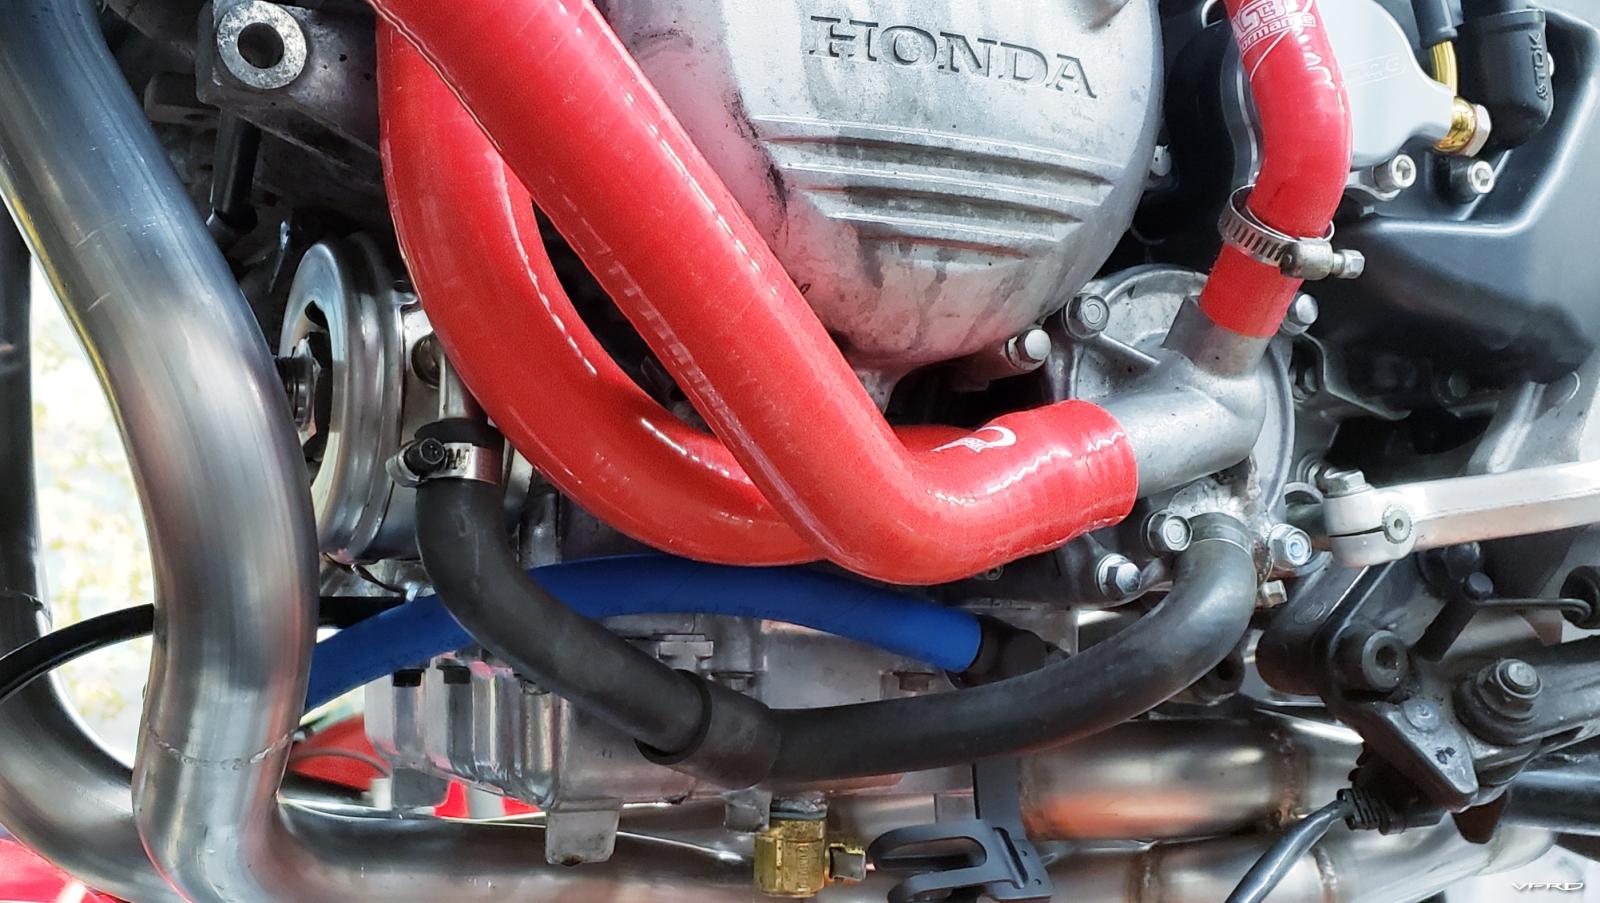
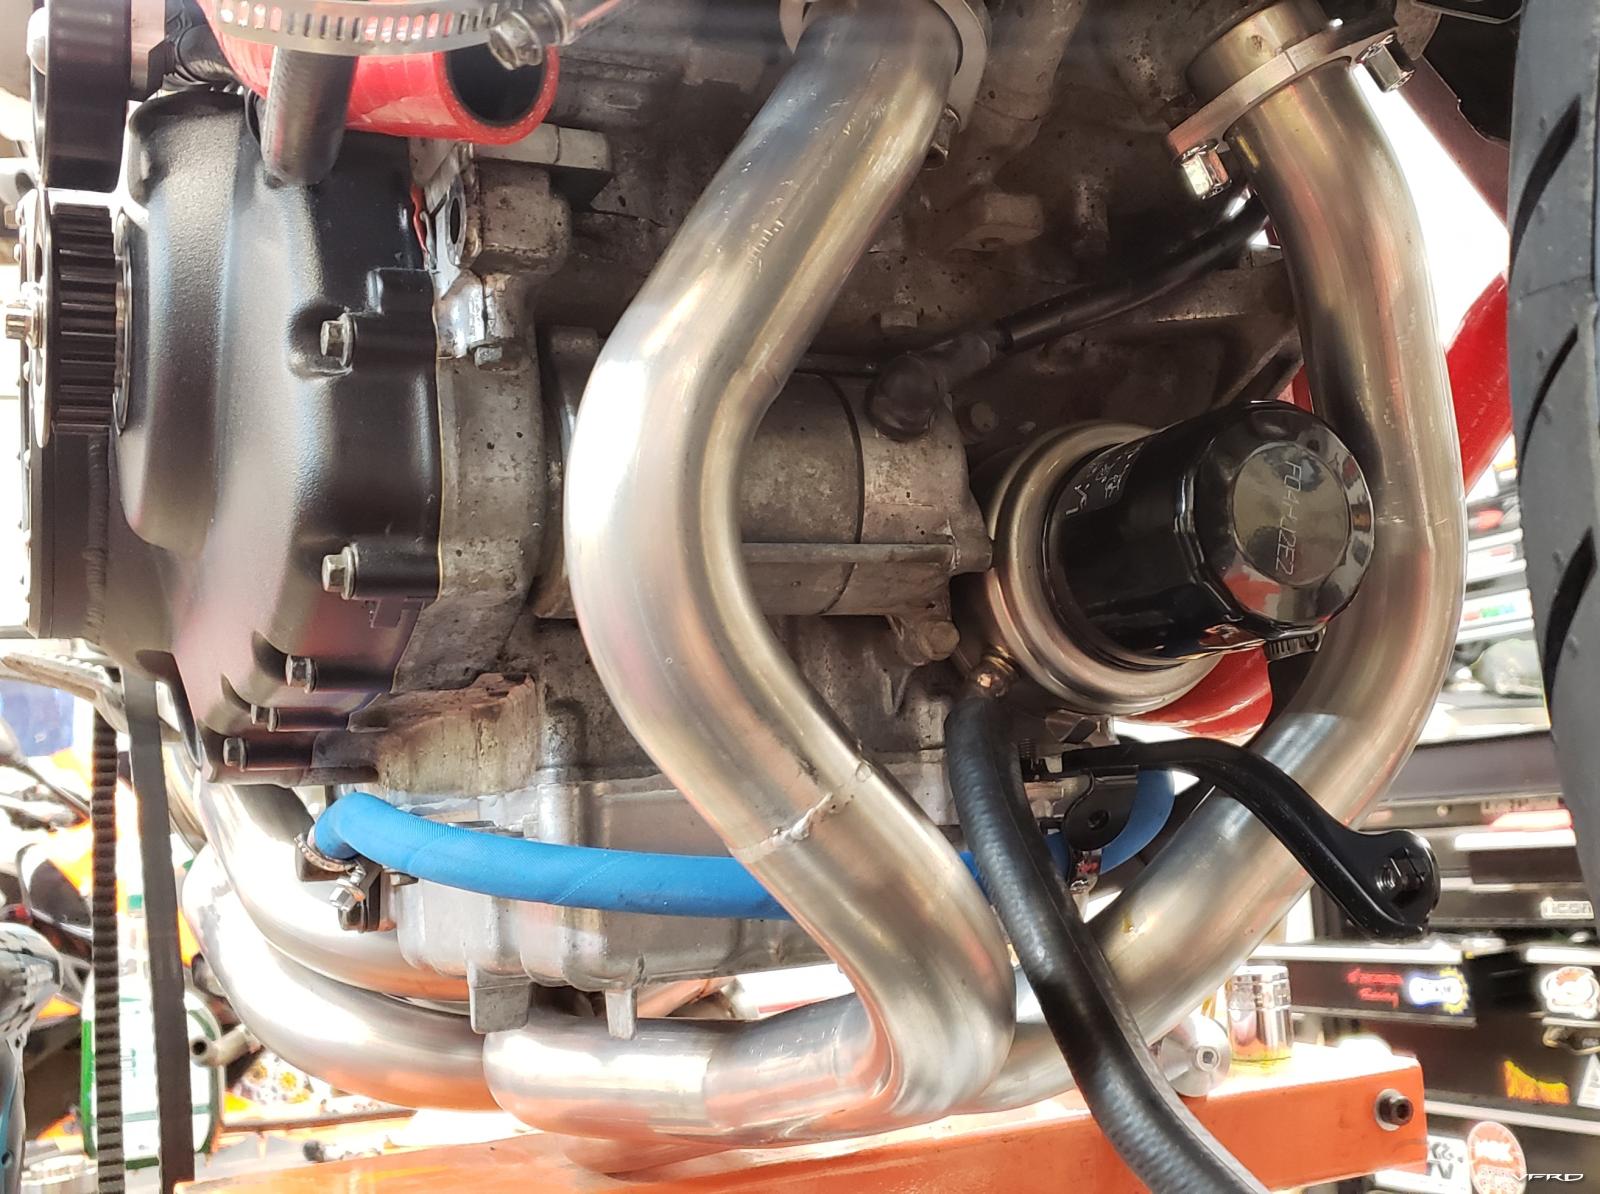
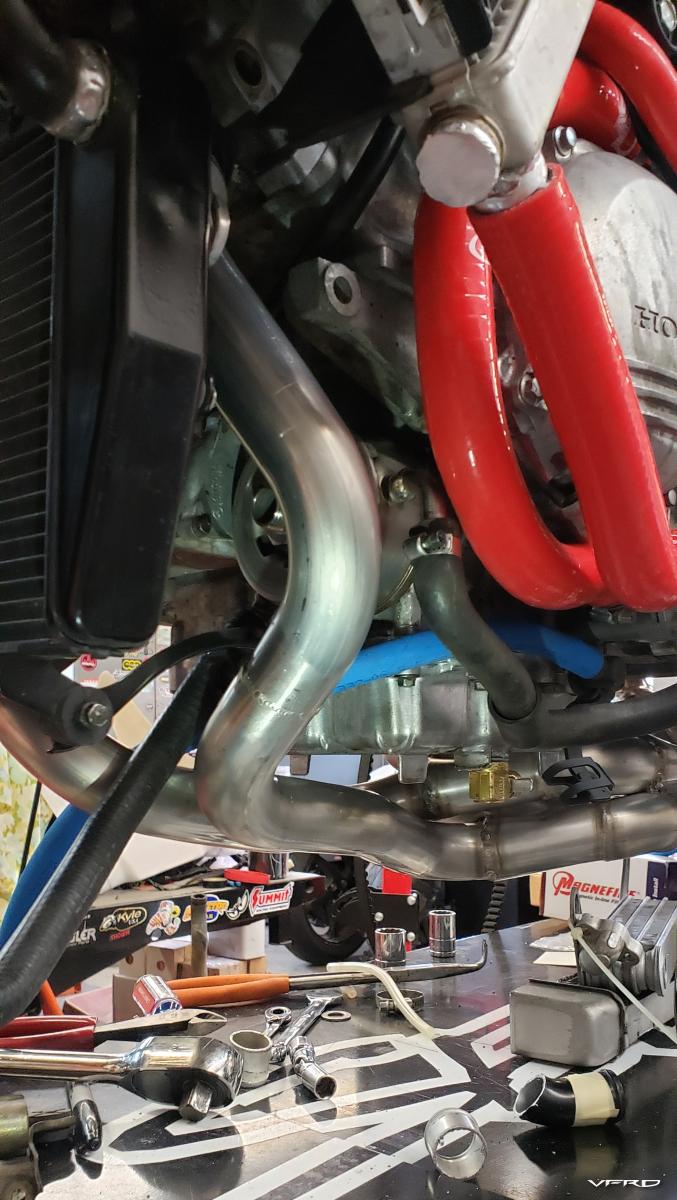
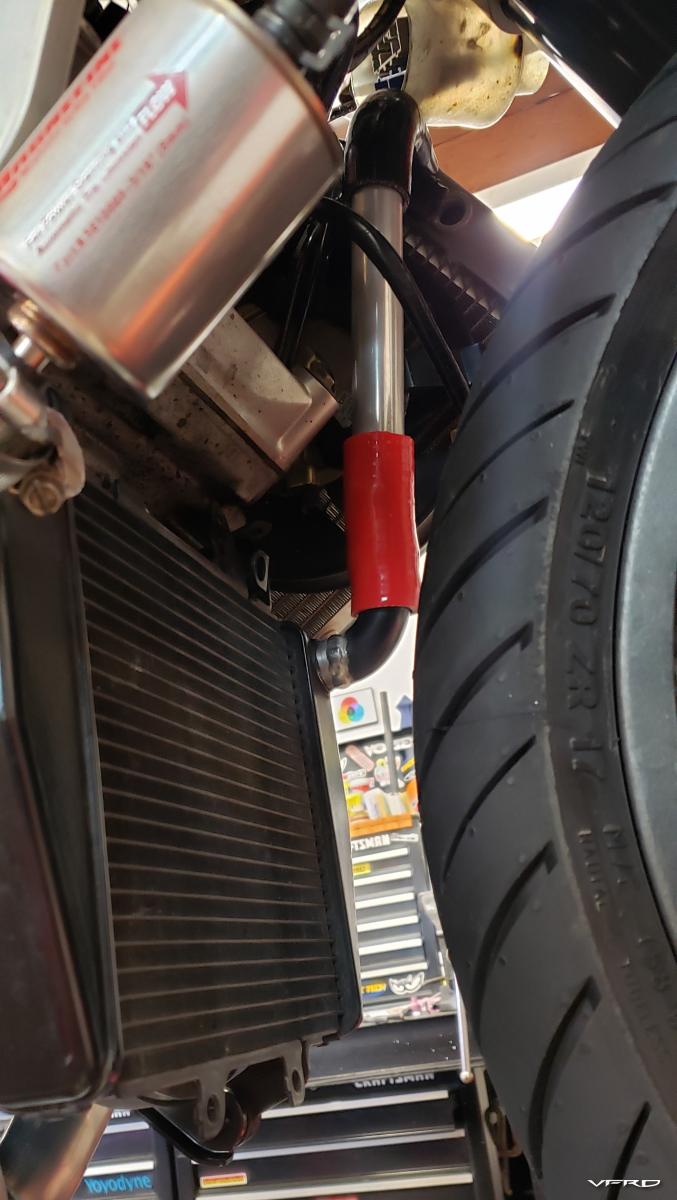
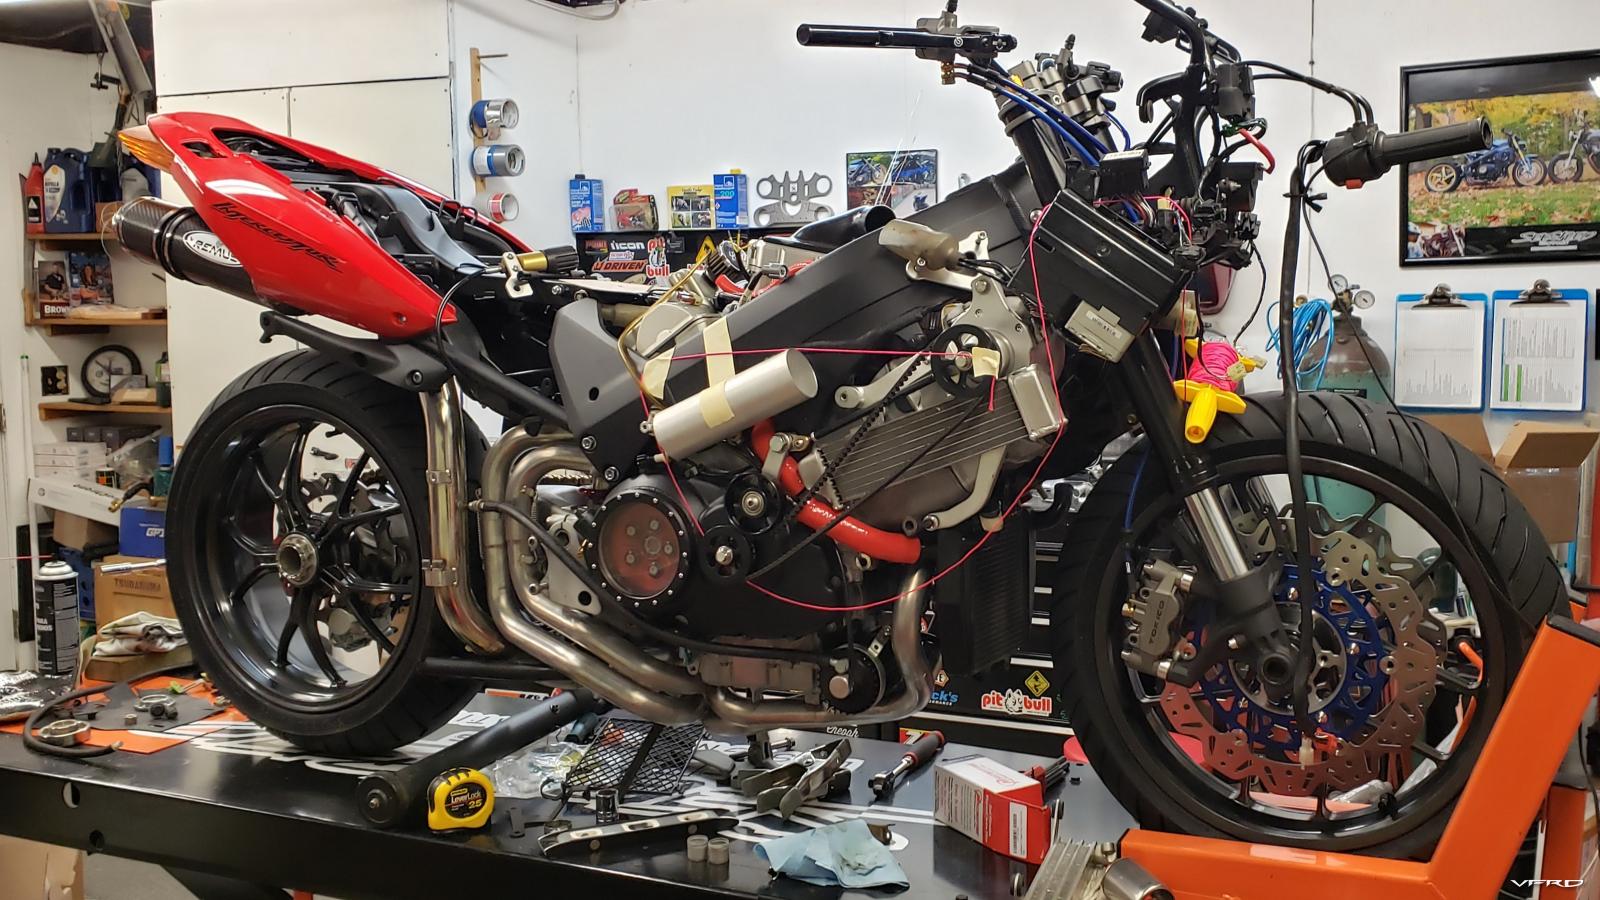
The Ultimate VFR800...
in Sixth Generation VFR's
Posted
I was expecting that, but no he never turned around. I quit while I was ahead, turned around and parked it.