jroberts427
-
Posts
81 -
Joined
-
Last visited
-
Days Won
10
jroberts427's Achievements
")


-
Have you ever had a clogged brake lines?
jroberts427 replied to n3n3's topic in Fifth Generation VFR's
Good chance the SMC (secondary master cylinder) at the front wheel is also blocked. Need to go through the whole system to make sure everything is clear. Great opportunity to ditch the linked braking system all together. Justin -
Thanks guys, and I appreciate the tips along the way. Now to get it registered and insured so I can do a real shakedown run. The weather is warming up and it's time to go riding, and look for the next project! (There is a CBR954RR for sale locally that looks interesting.) Take care, Justin
-
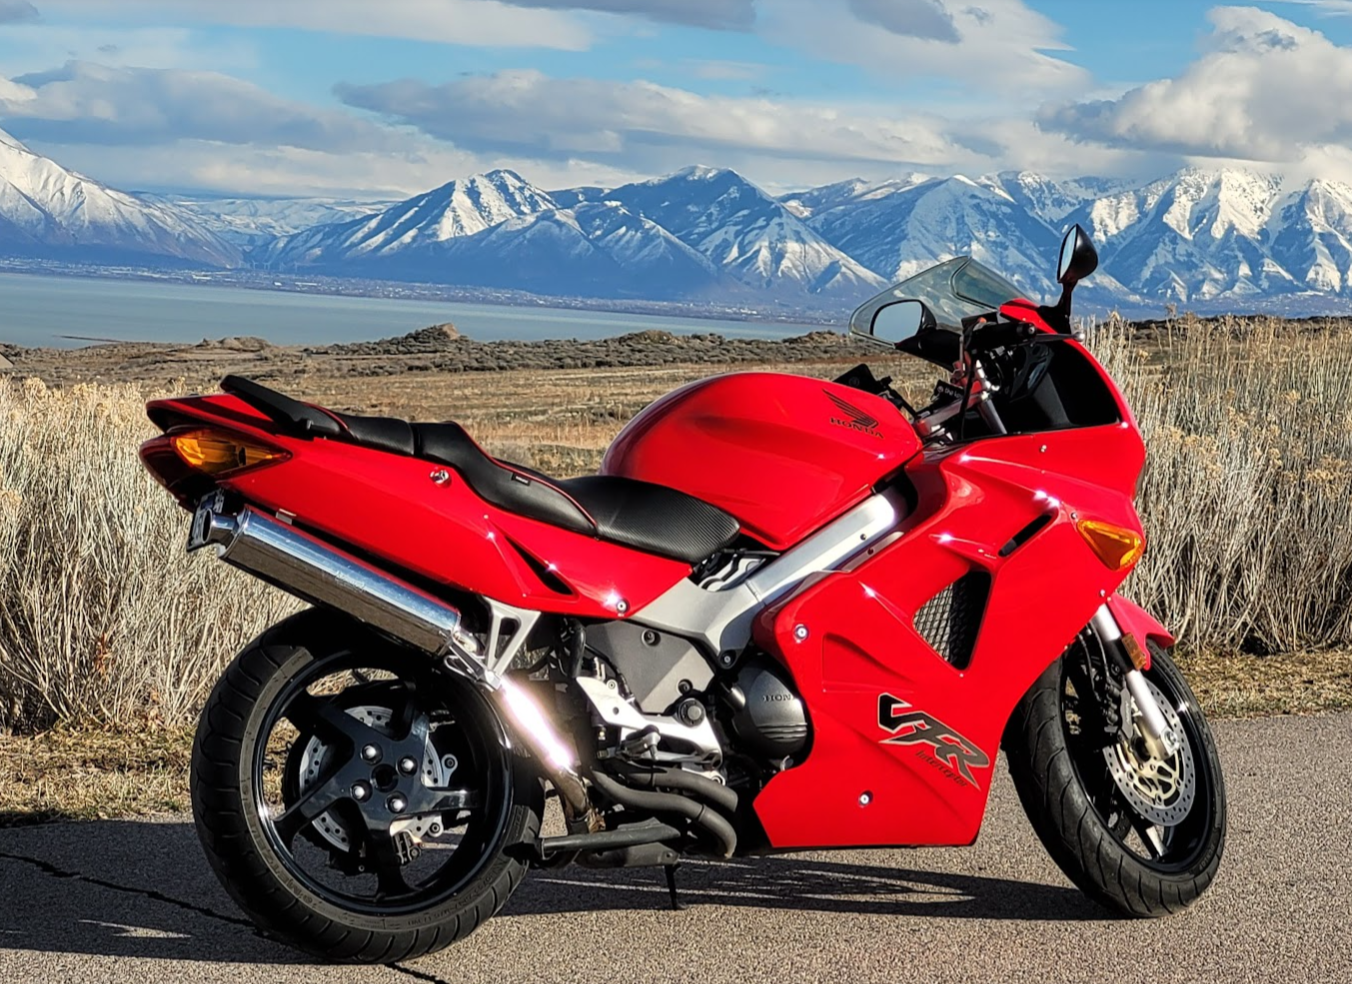
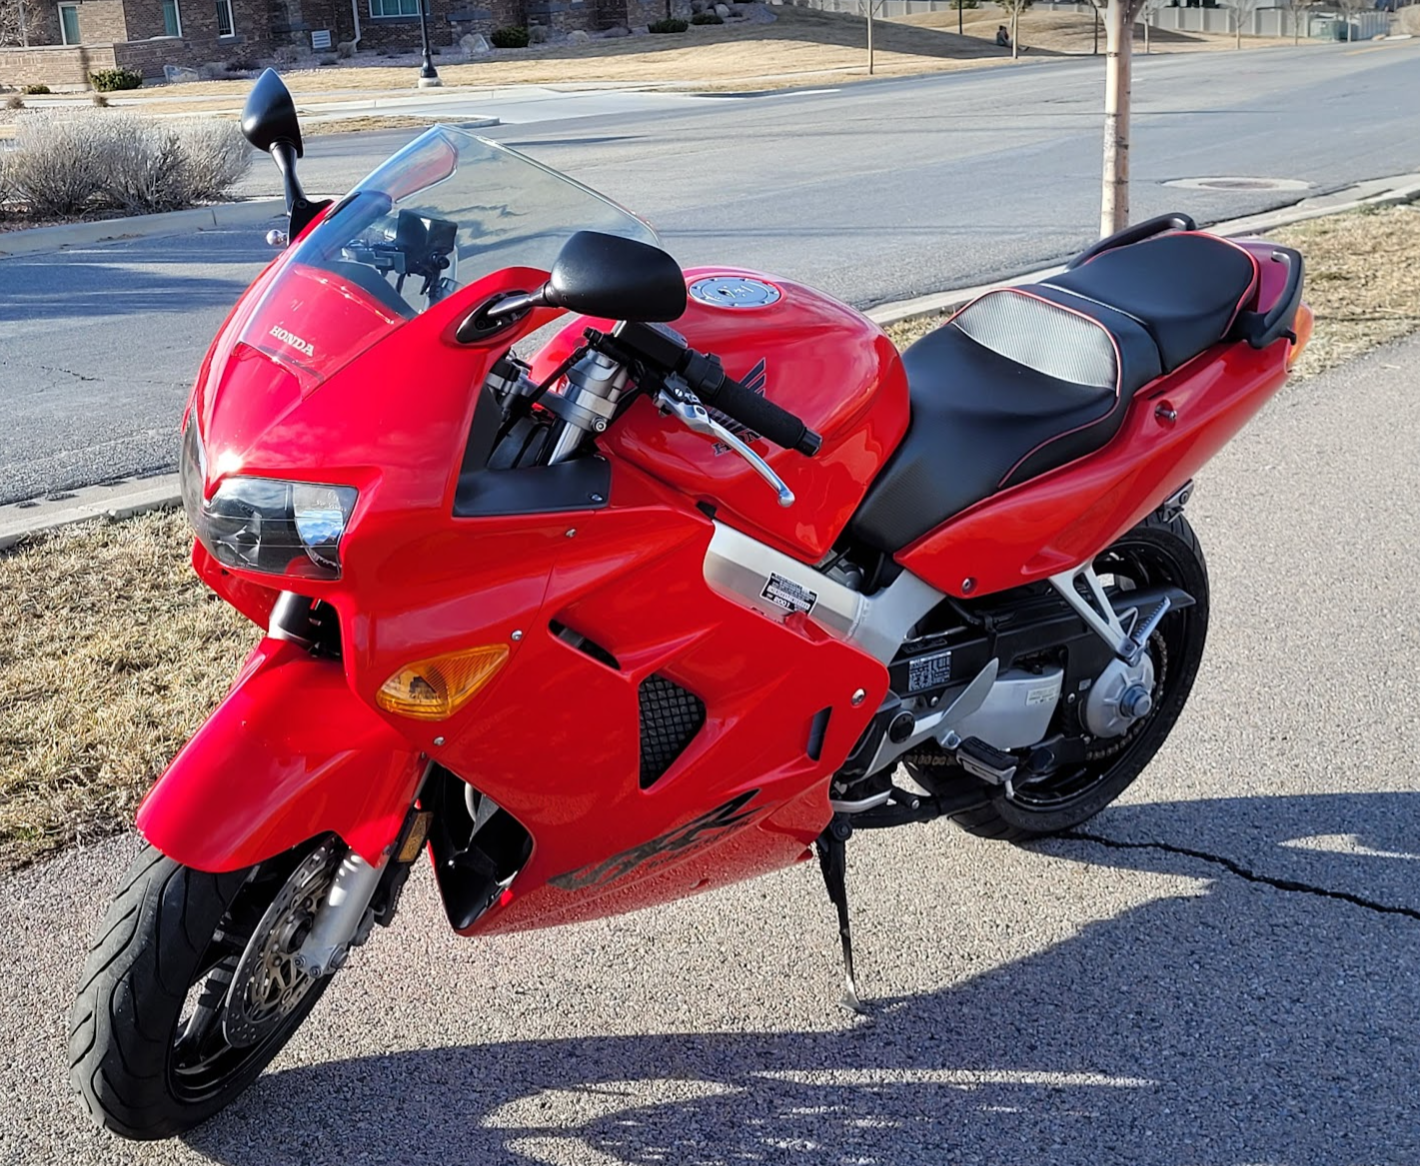
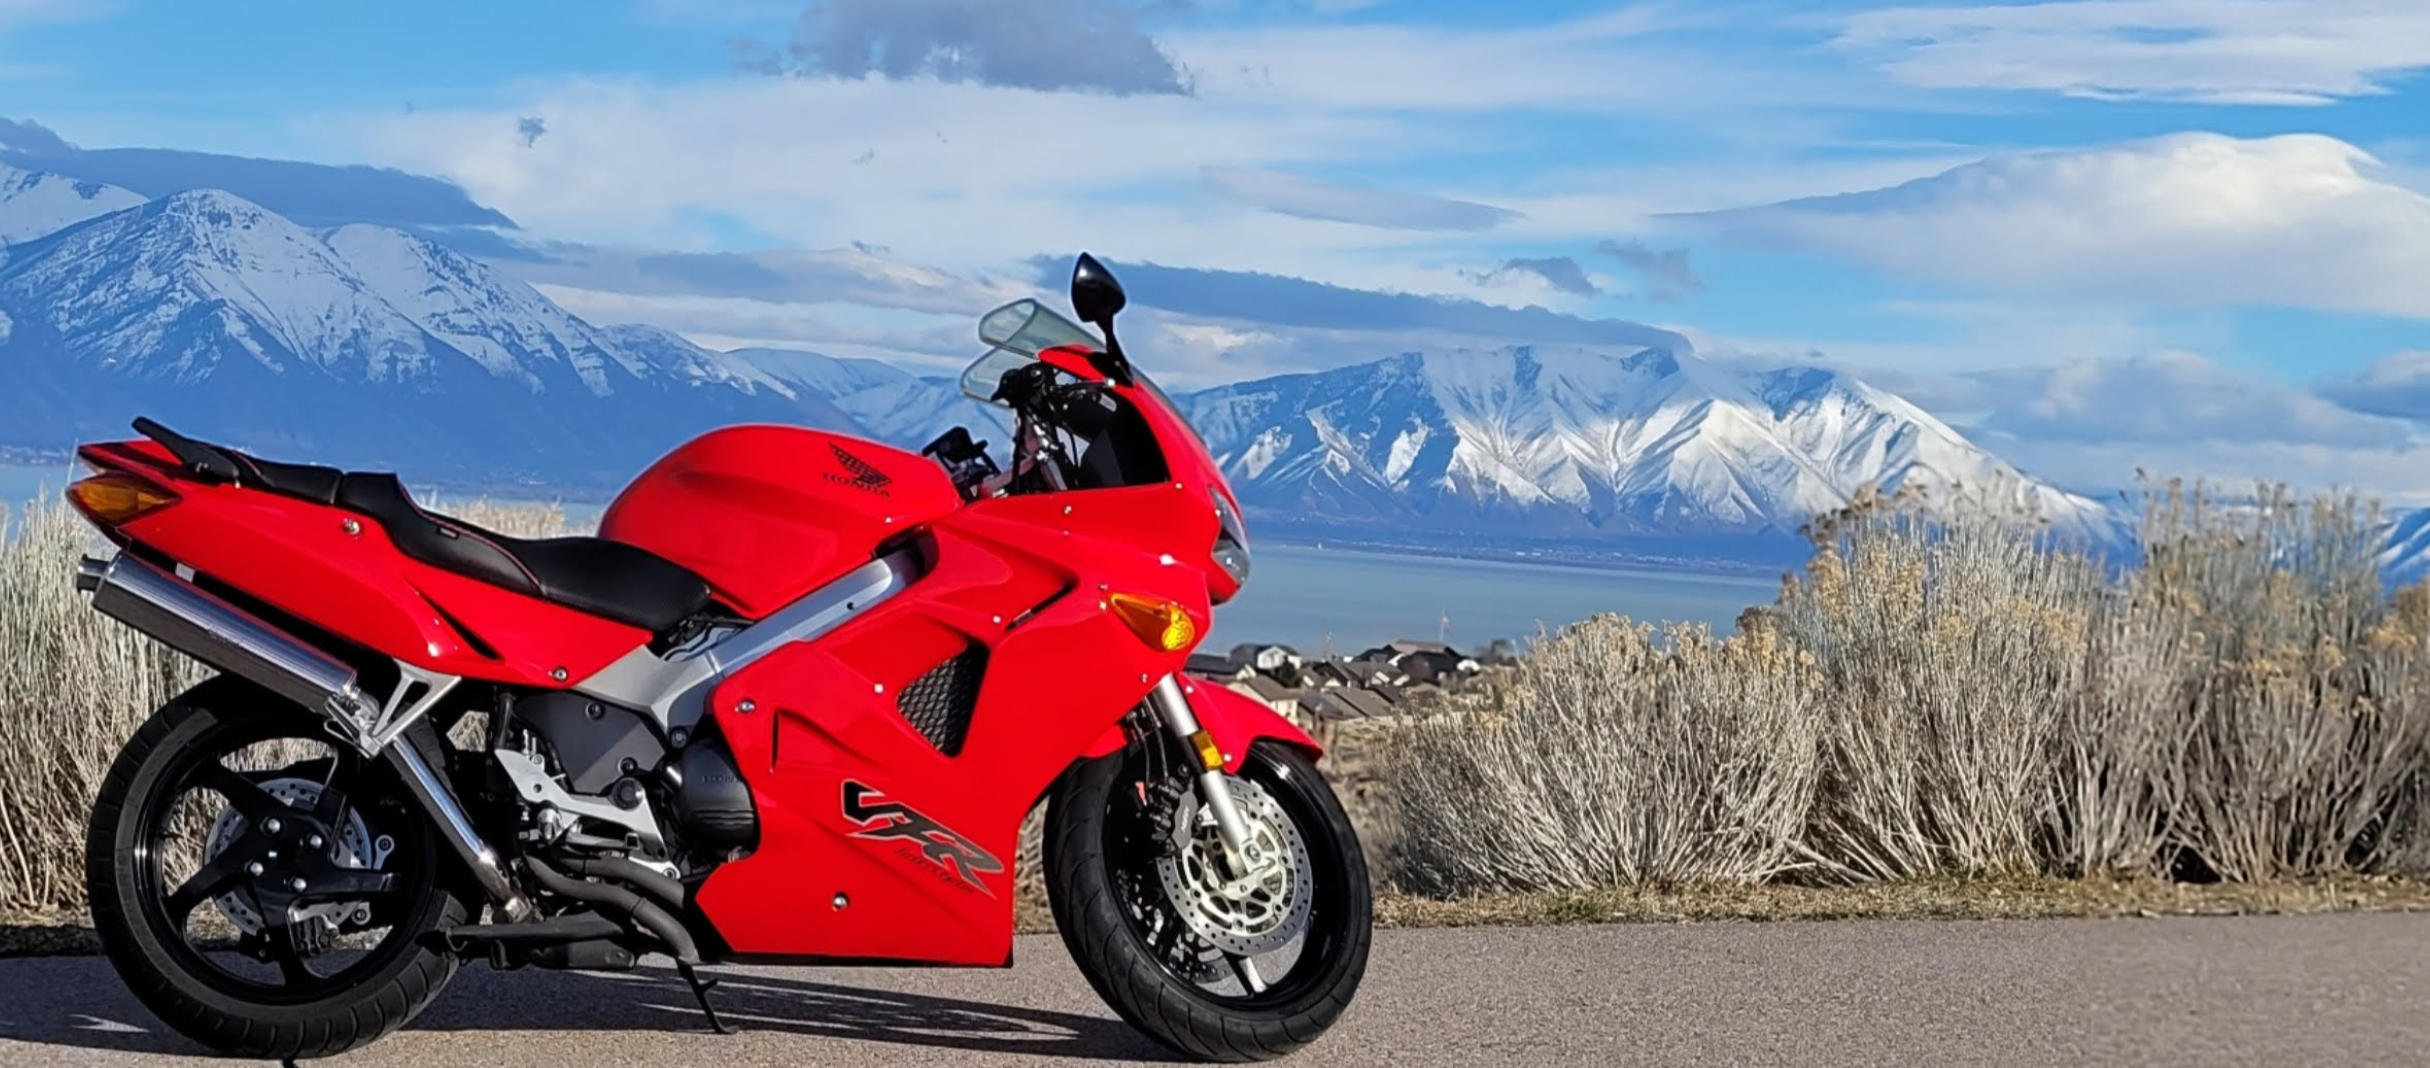
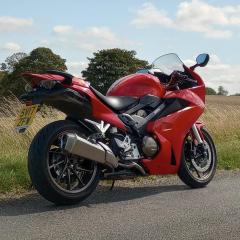
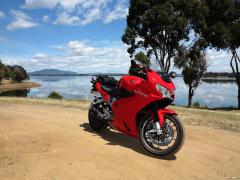
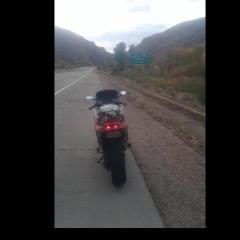
Gentlemen, I give you VIN# 00089. Looking nearly as good as the day I brought her home from the dealer back in May 2001. She's not perfect, but I'd say the time spent in the garage has paid off nicely. Cheers, Justin

-
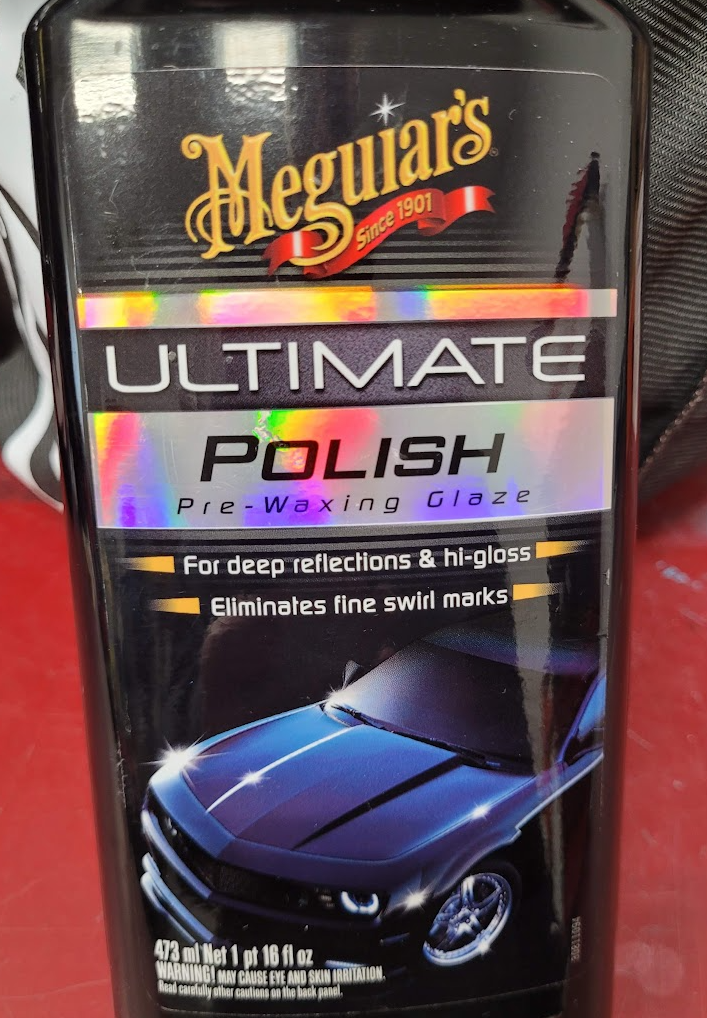
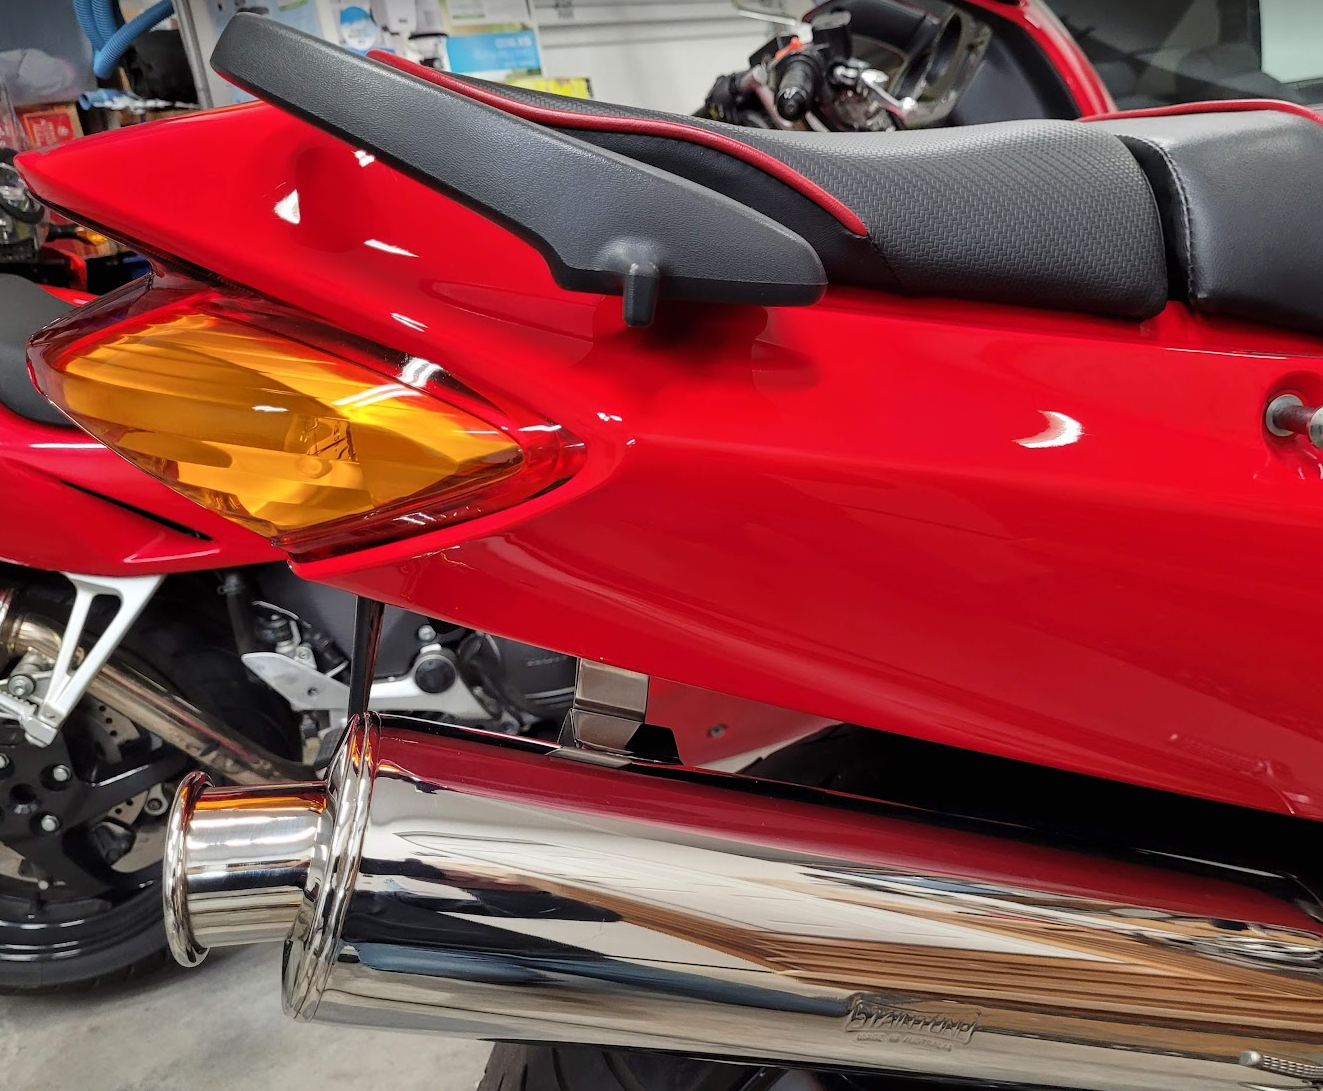
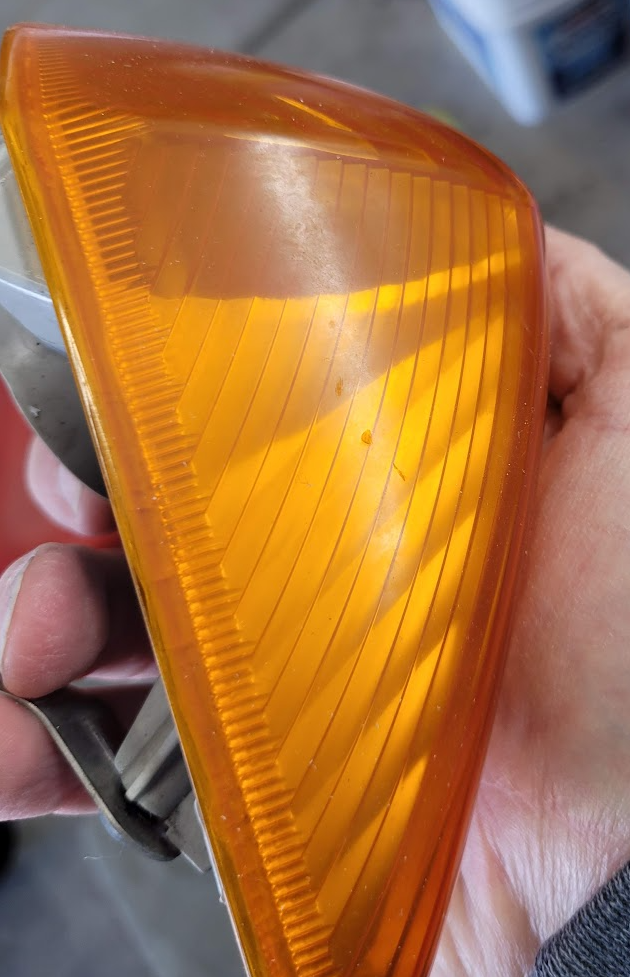
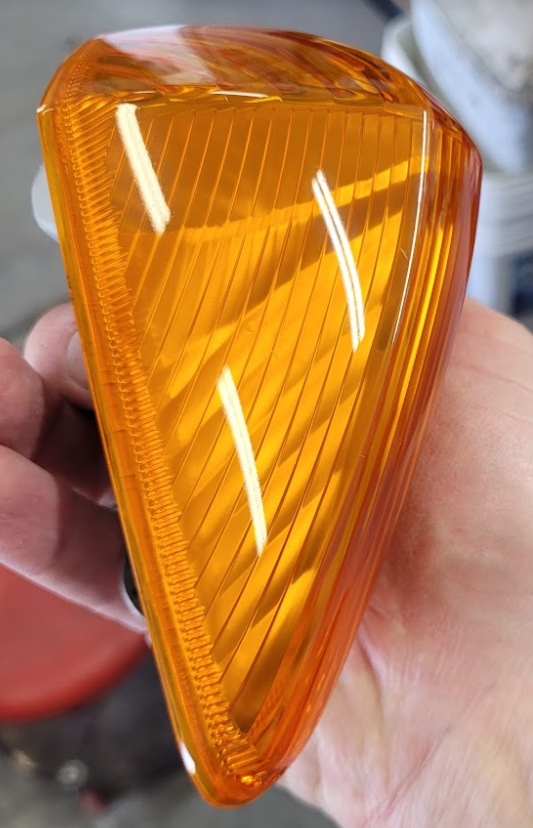
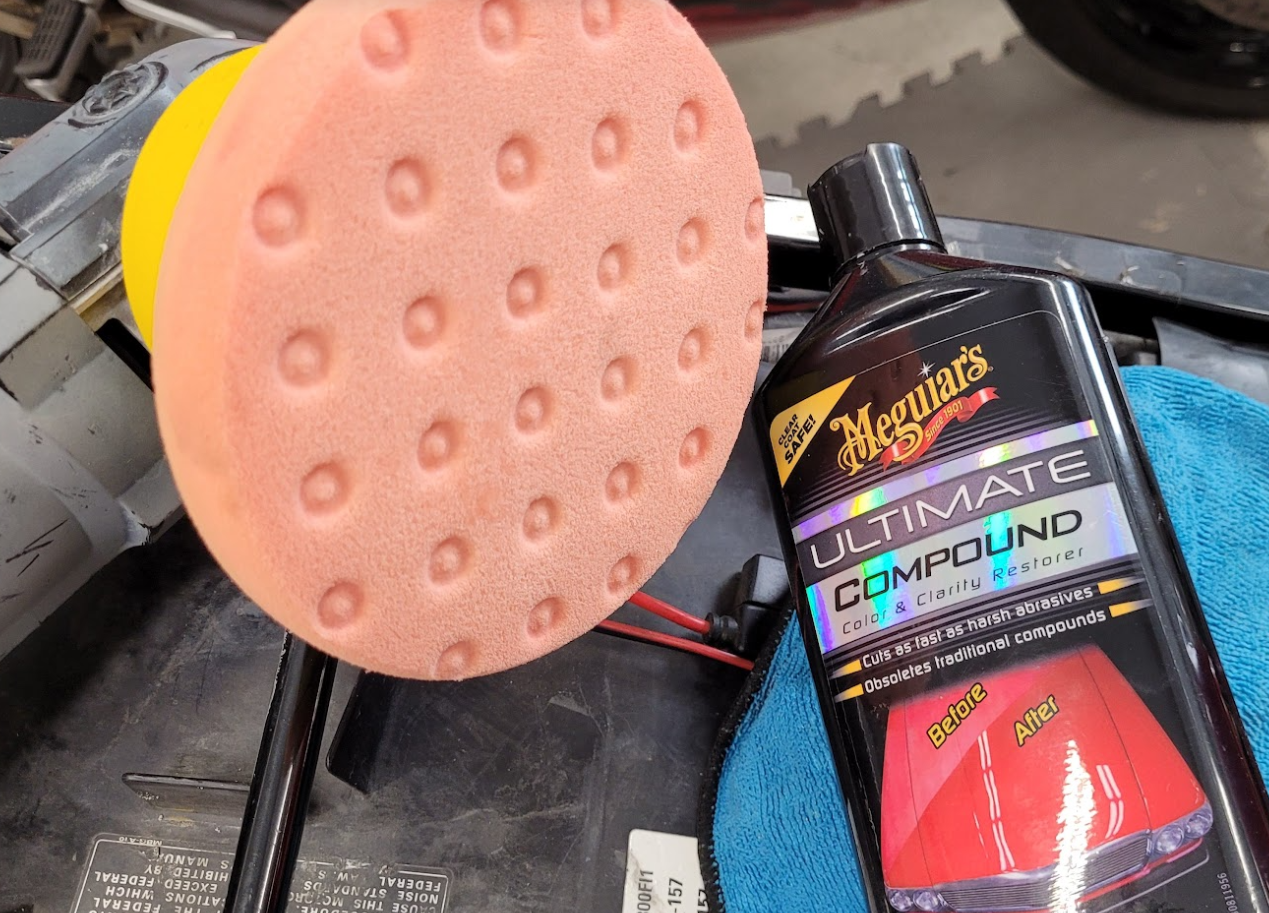
I used a little MAF cleaner that I had on the shelf. Didn't take much. I suspect carb cleaner would have worked as well. Just a few light, quick sprays to remove the old lube that was on the contacts. I then added a little brake lube that was out since I did the rear brakes. Worked great. On the turn signals (and all of the plastics) I used Meguiar's Ultimate polish on a white foam pad with my dual action polisher. For small pieces like the turn signals it can be done by hand if you don't have a DA. Just clean the part, add a bit of polish to a clean microfiber, use circular motion with light pressure for maybe a minute. Wipe off when done to reveal the shine, repeat as needed. If you want to polish the tank and fairings, a machine polisher is the way to go. I was a bit surprised to find that the plastics on the bike are single stage paint (got some red paint transfer on the pad) and only the tank has clear coat. They did polish up nicely though. @Grum I tried some Autosol metal polish on the pipe and it worked very well. Thanks for the tip! The bike is basically put back together at this point. Just waiting for some clear weather for a shake down run and some outside pics. Cheers, Justin
-
That yellow and white looks great.
-
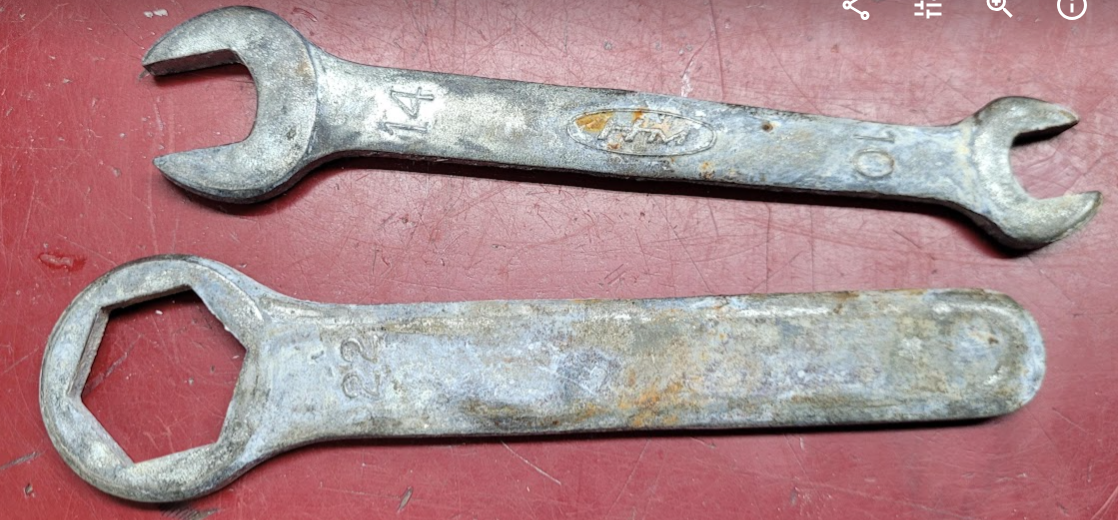
Yeah I'm not too worried about these, as you state, they may never be used. More of a curiosity while I'm in the groove of polishing things.👍
-
So, are the tools galvanized or plated? Wondering if there is a way to clean up the corrosion on the tool kit or if re-plating would be required.
-
Thanks. PM sent.
-
That looks fantastic, I'll look into that. Will it cause any type of running issue with the bike to run catless?
-
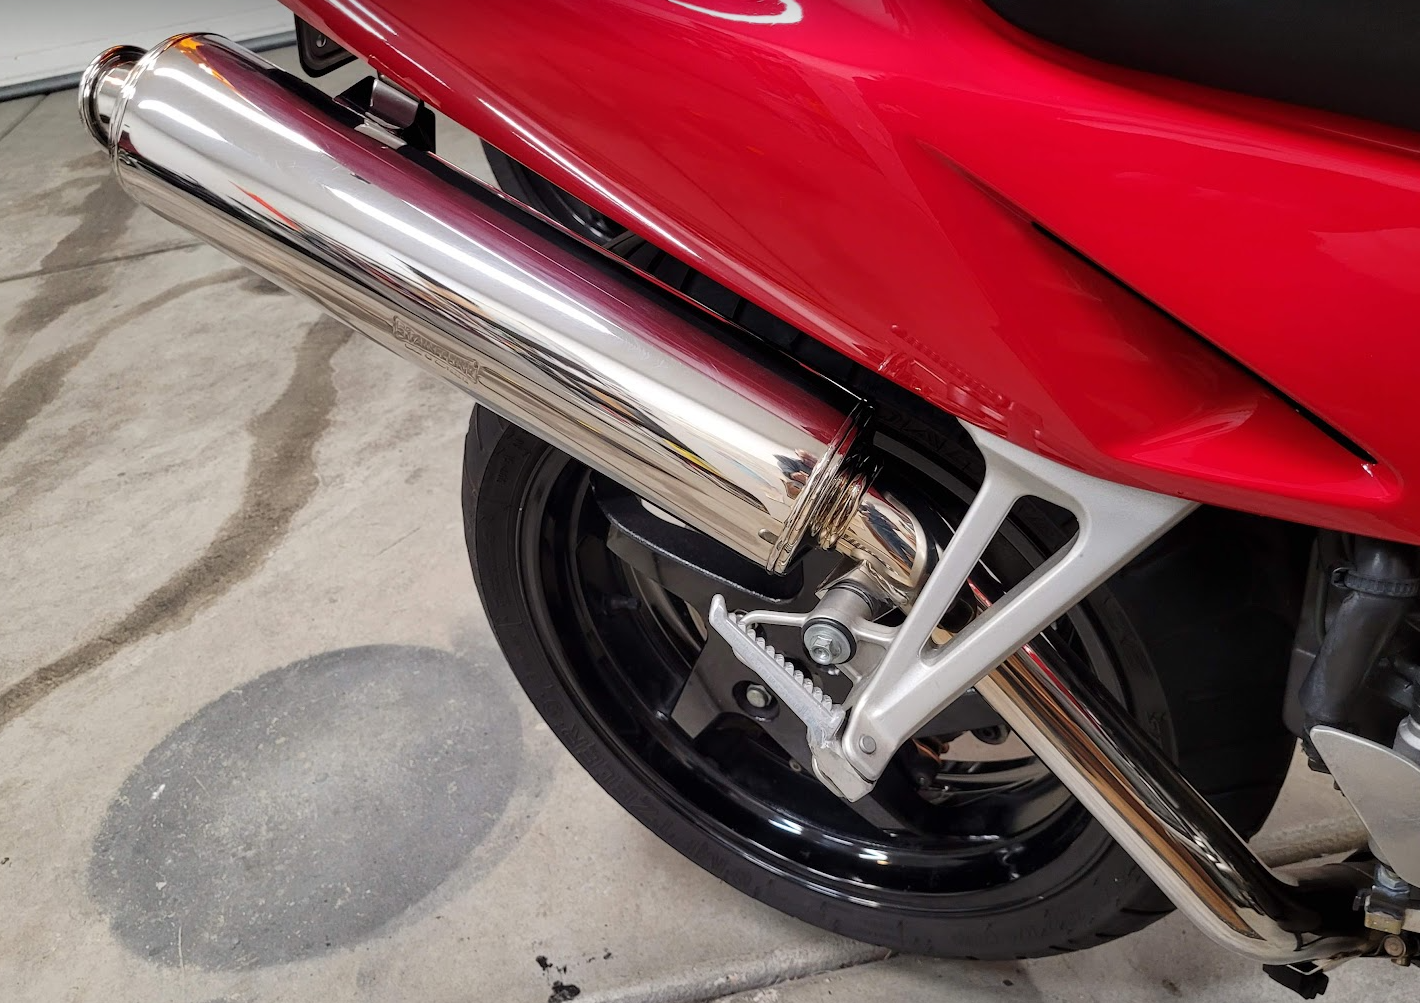
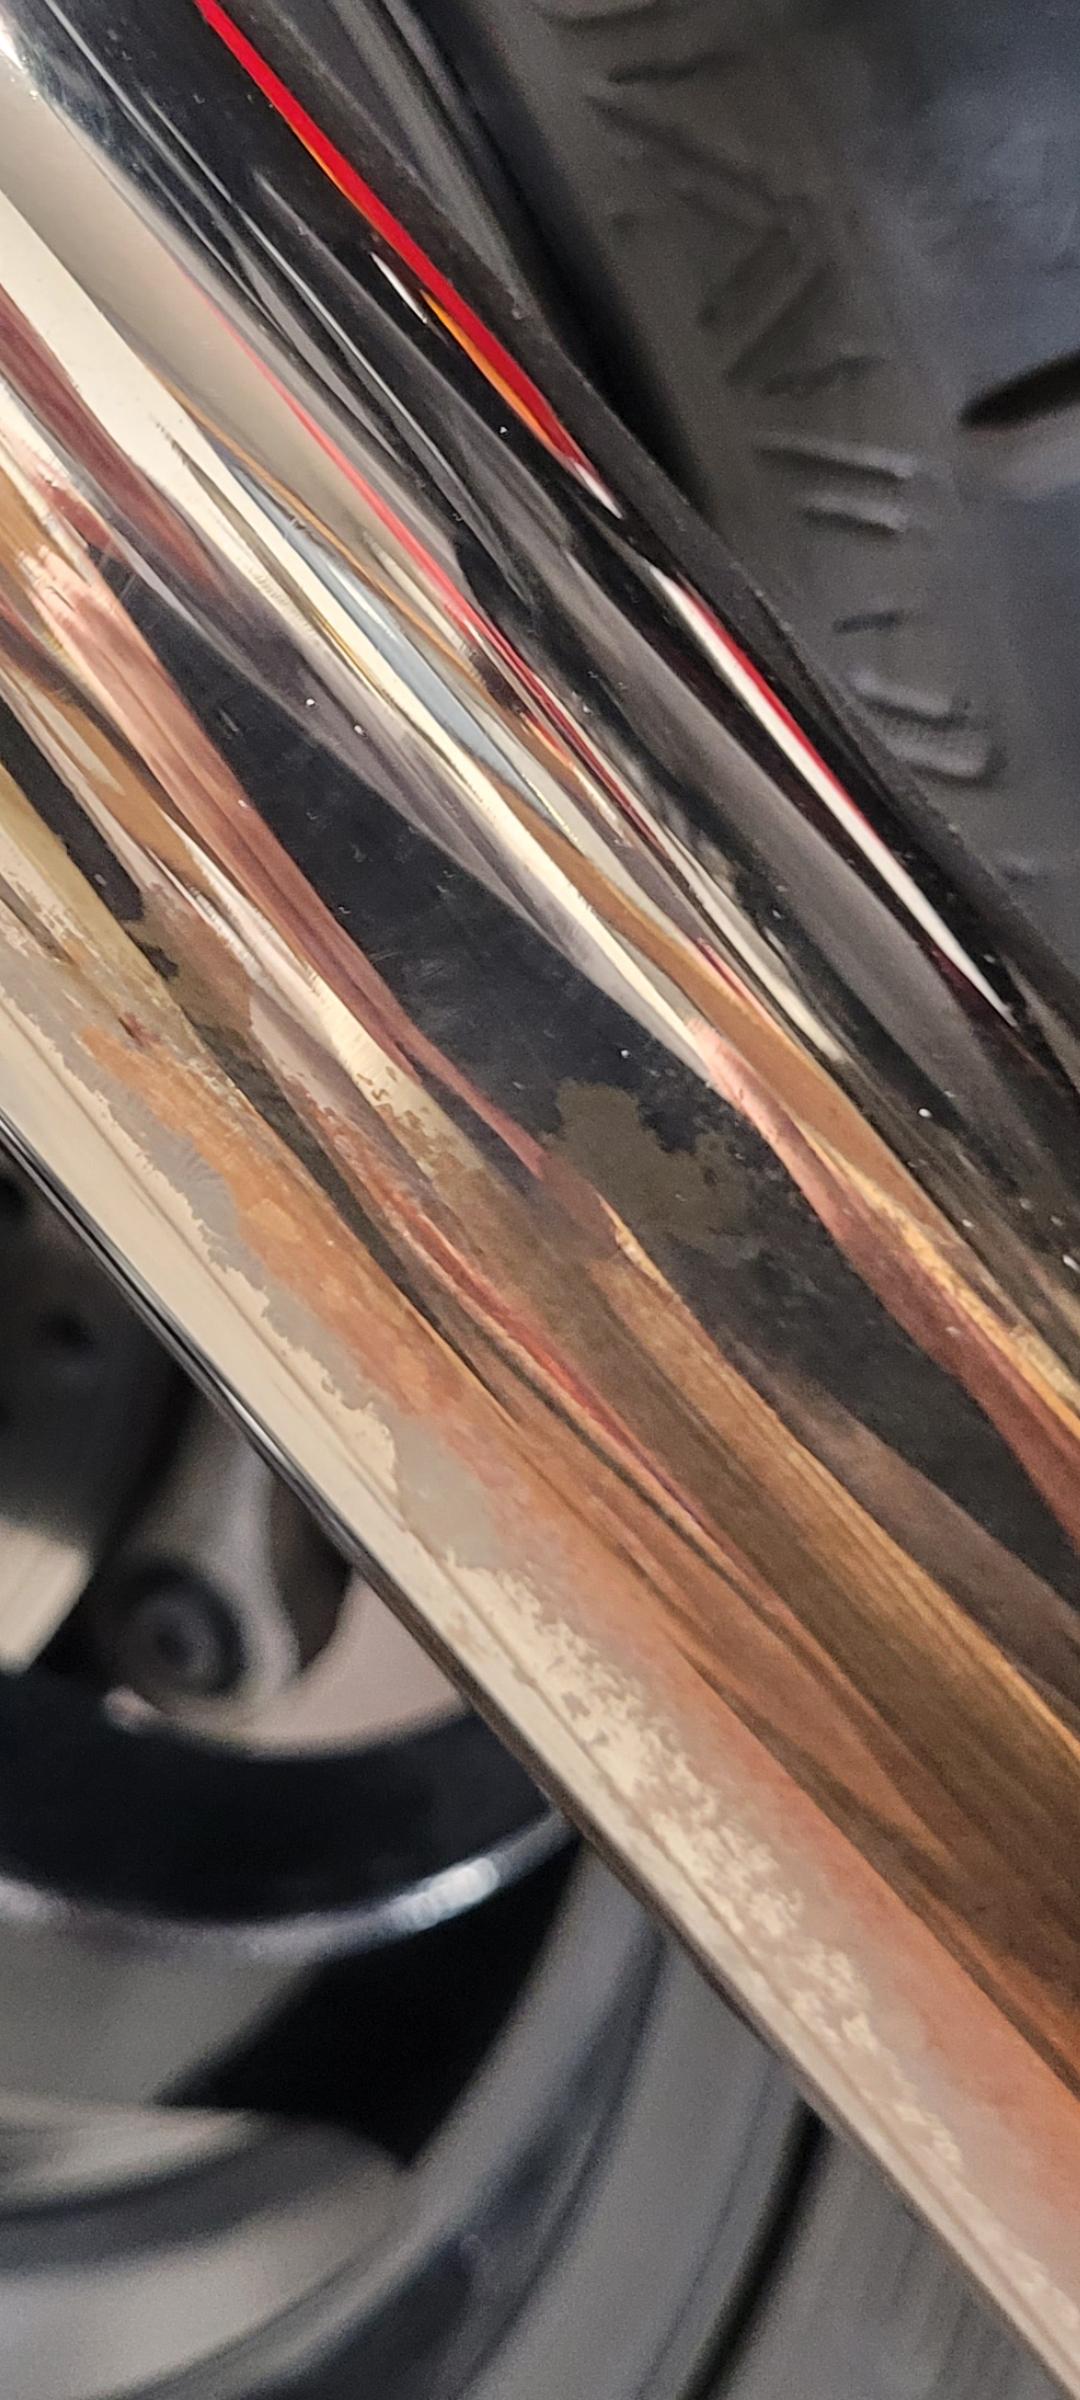
Thanks guys. Any thoughts on how to best polish out the discoloration on the lower area of the exhaust pipe? Also I may one day ditch the stock catted headers for catless headers. Any issue with that on a 2001? I noticed that the O2 sensors are in front of the cats and would be retained on a catless header setup.
-
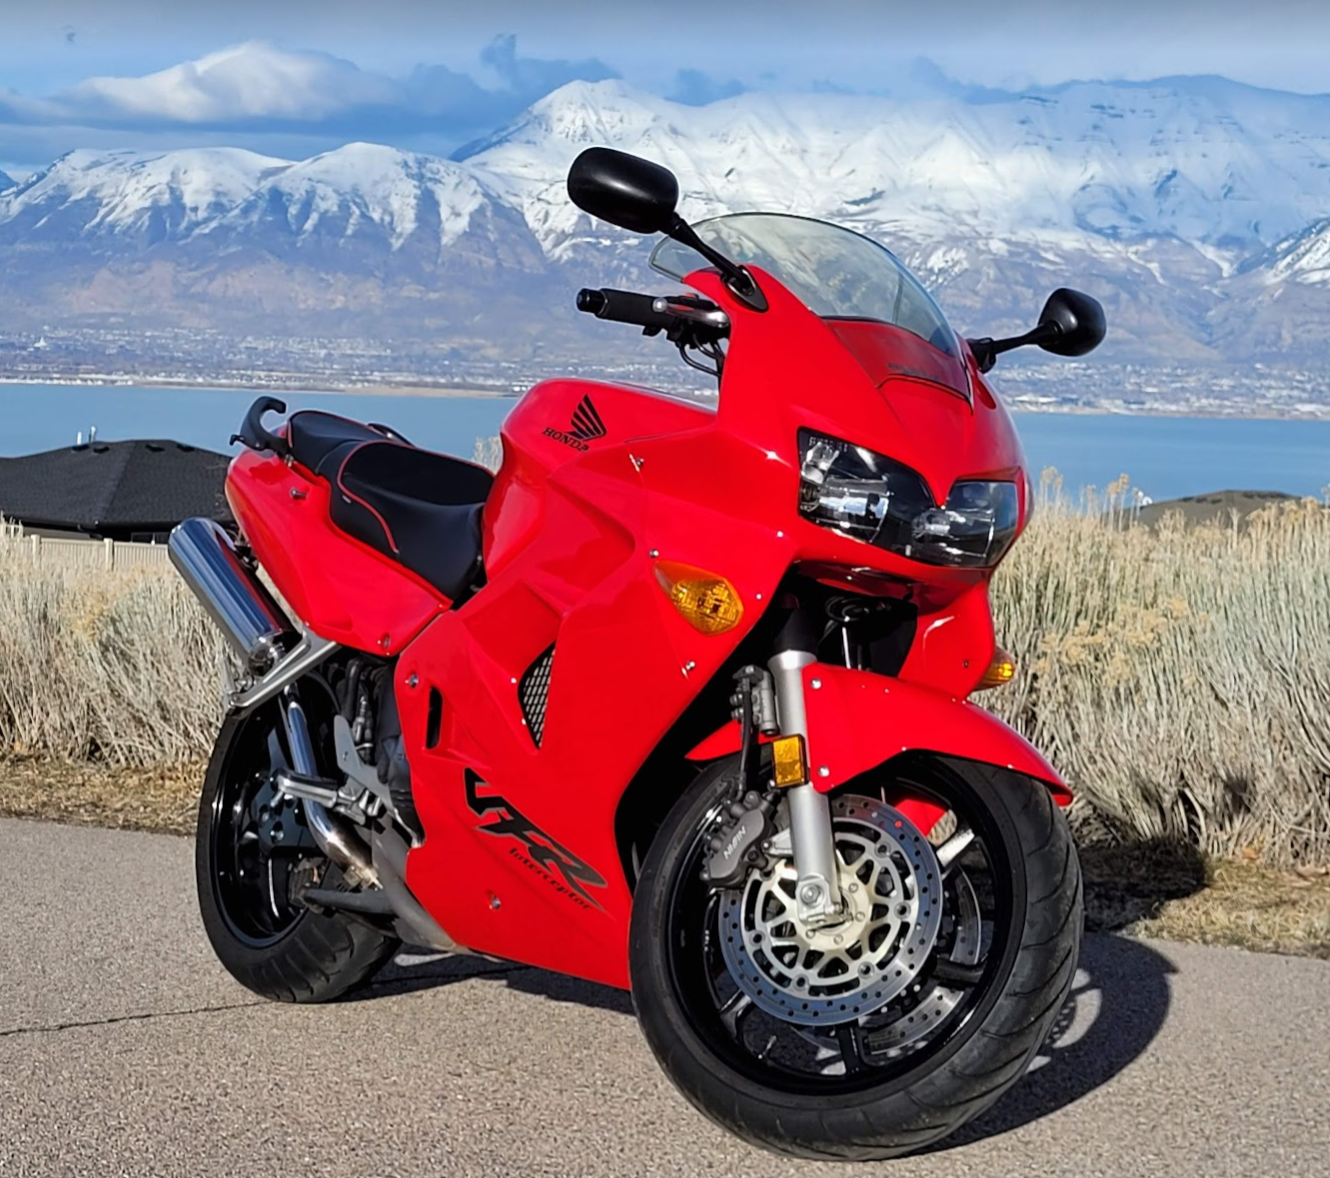
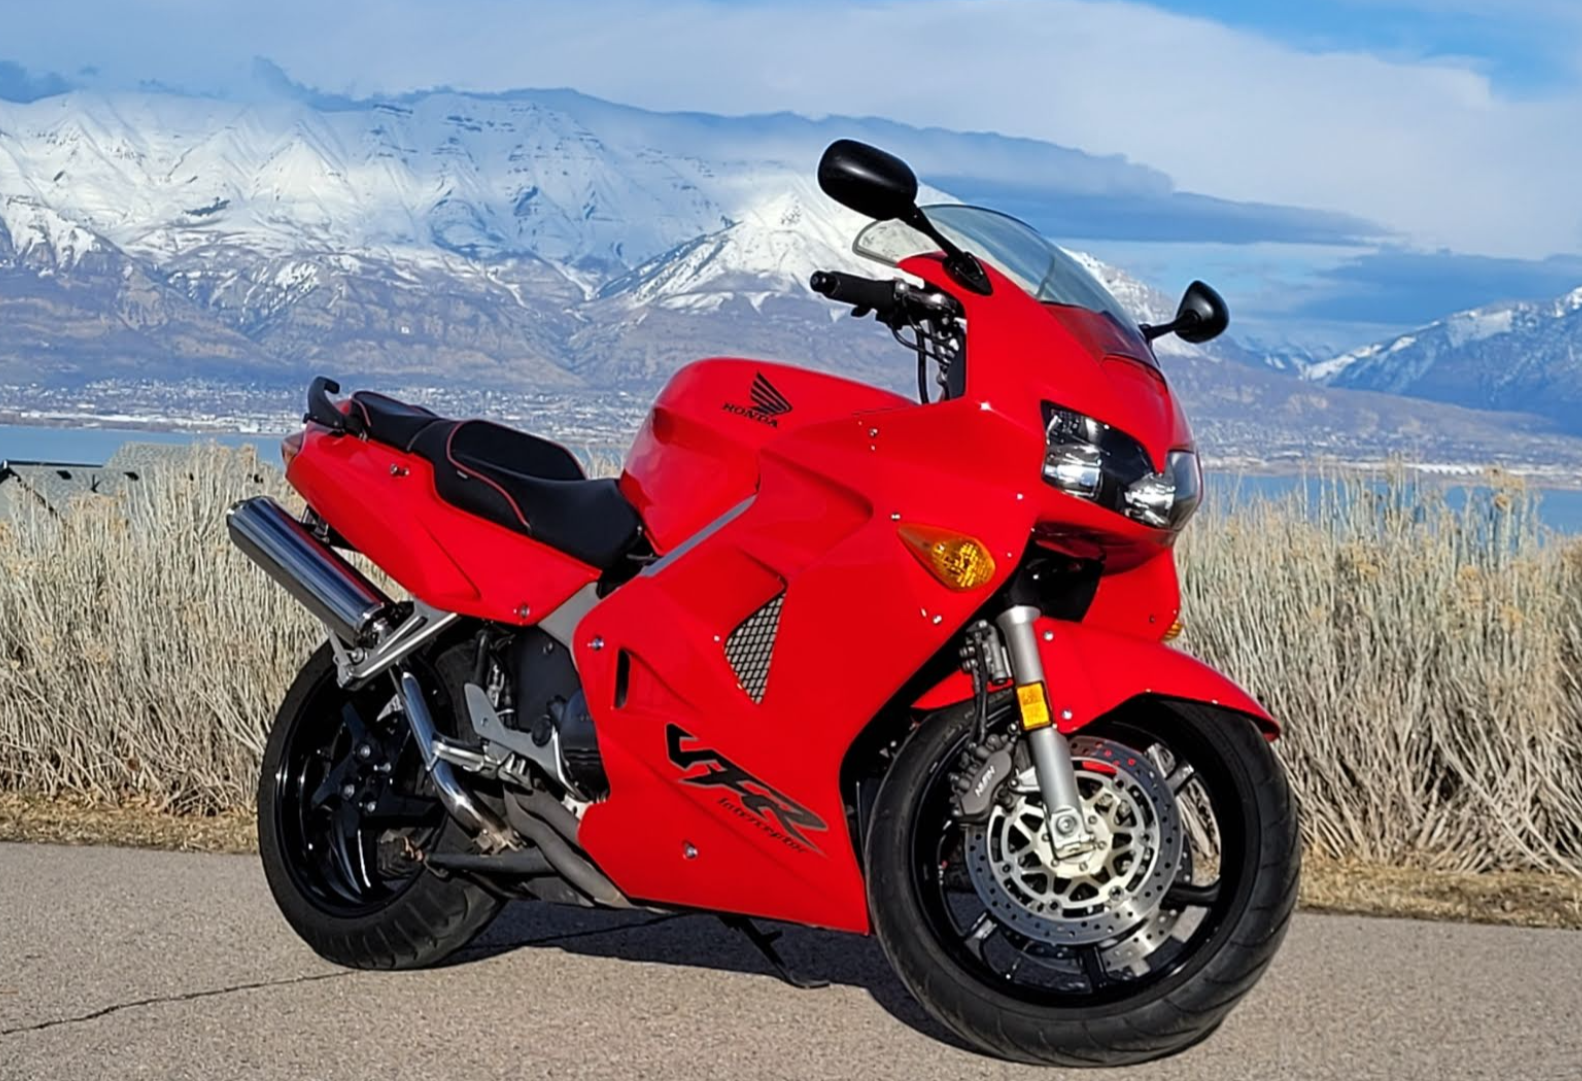
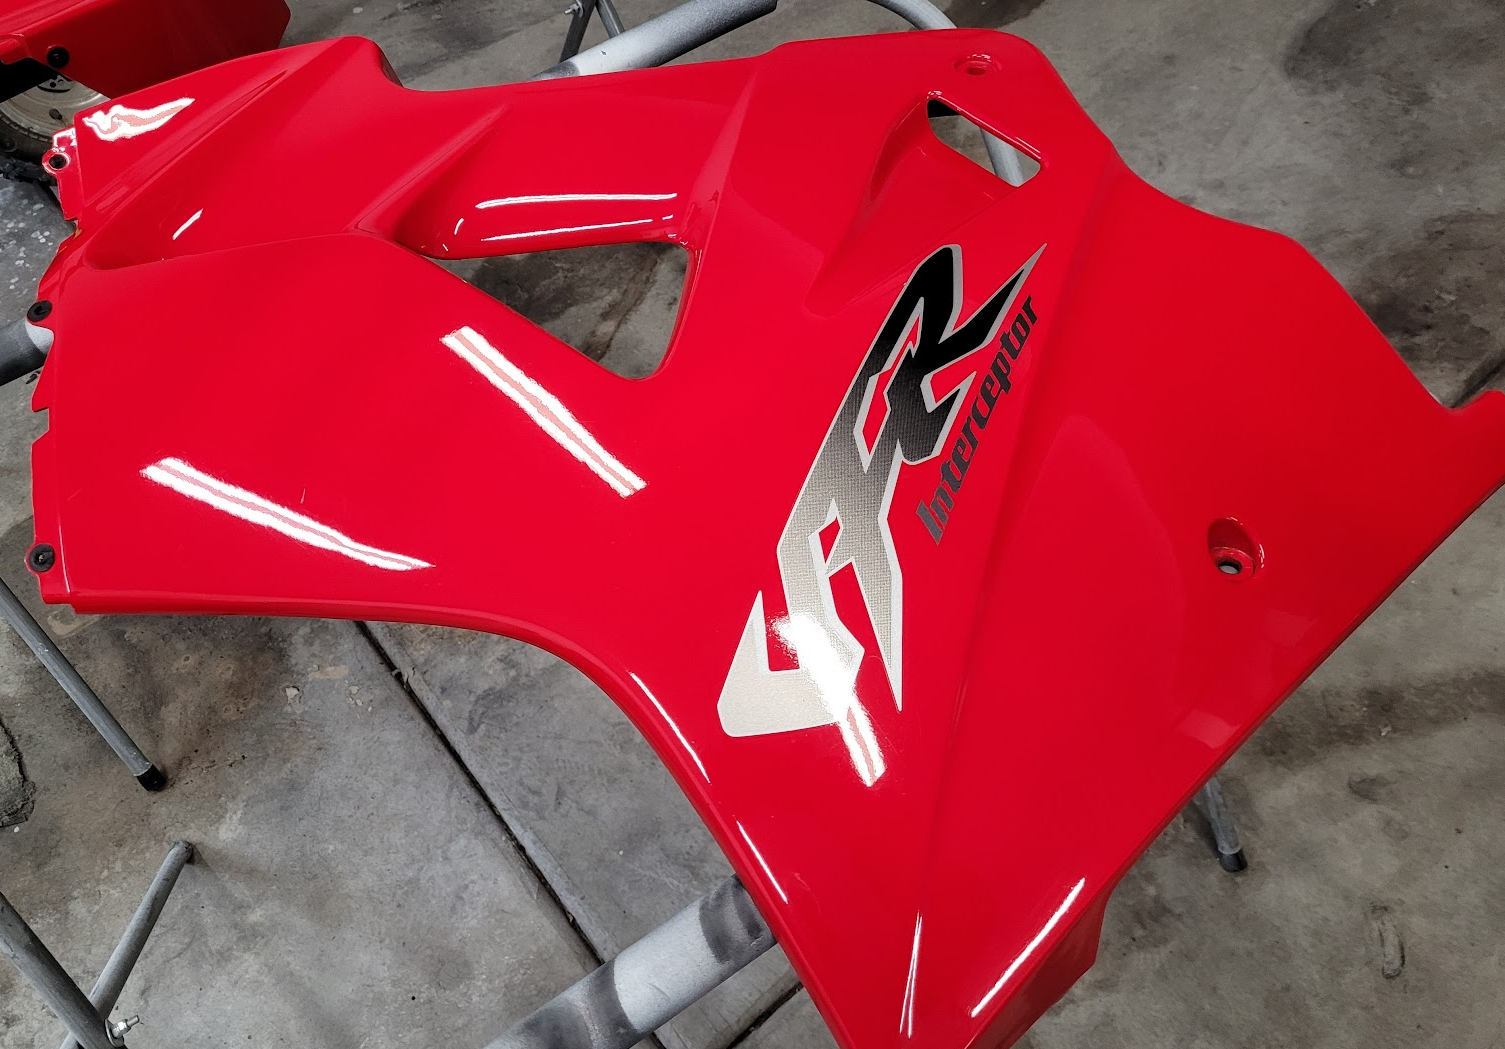
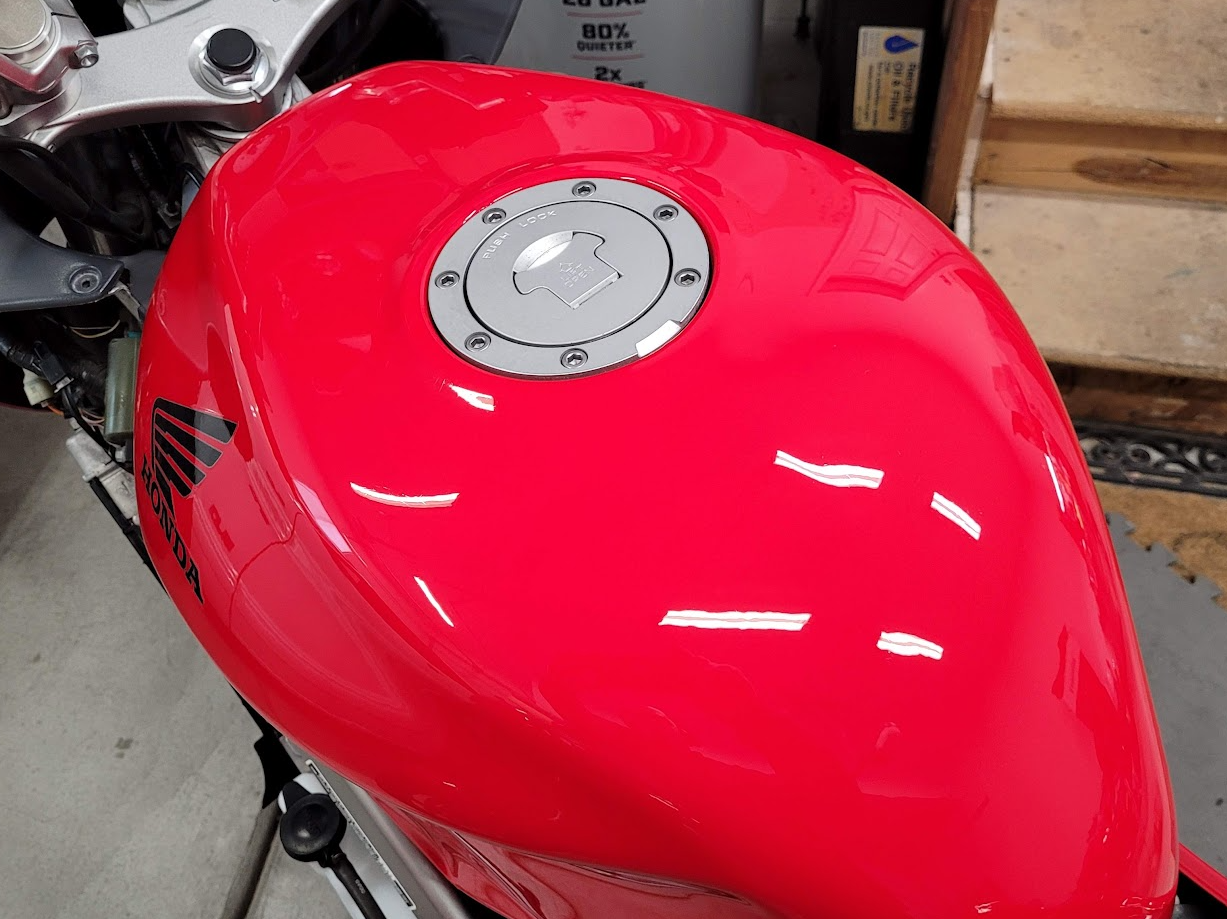
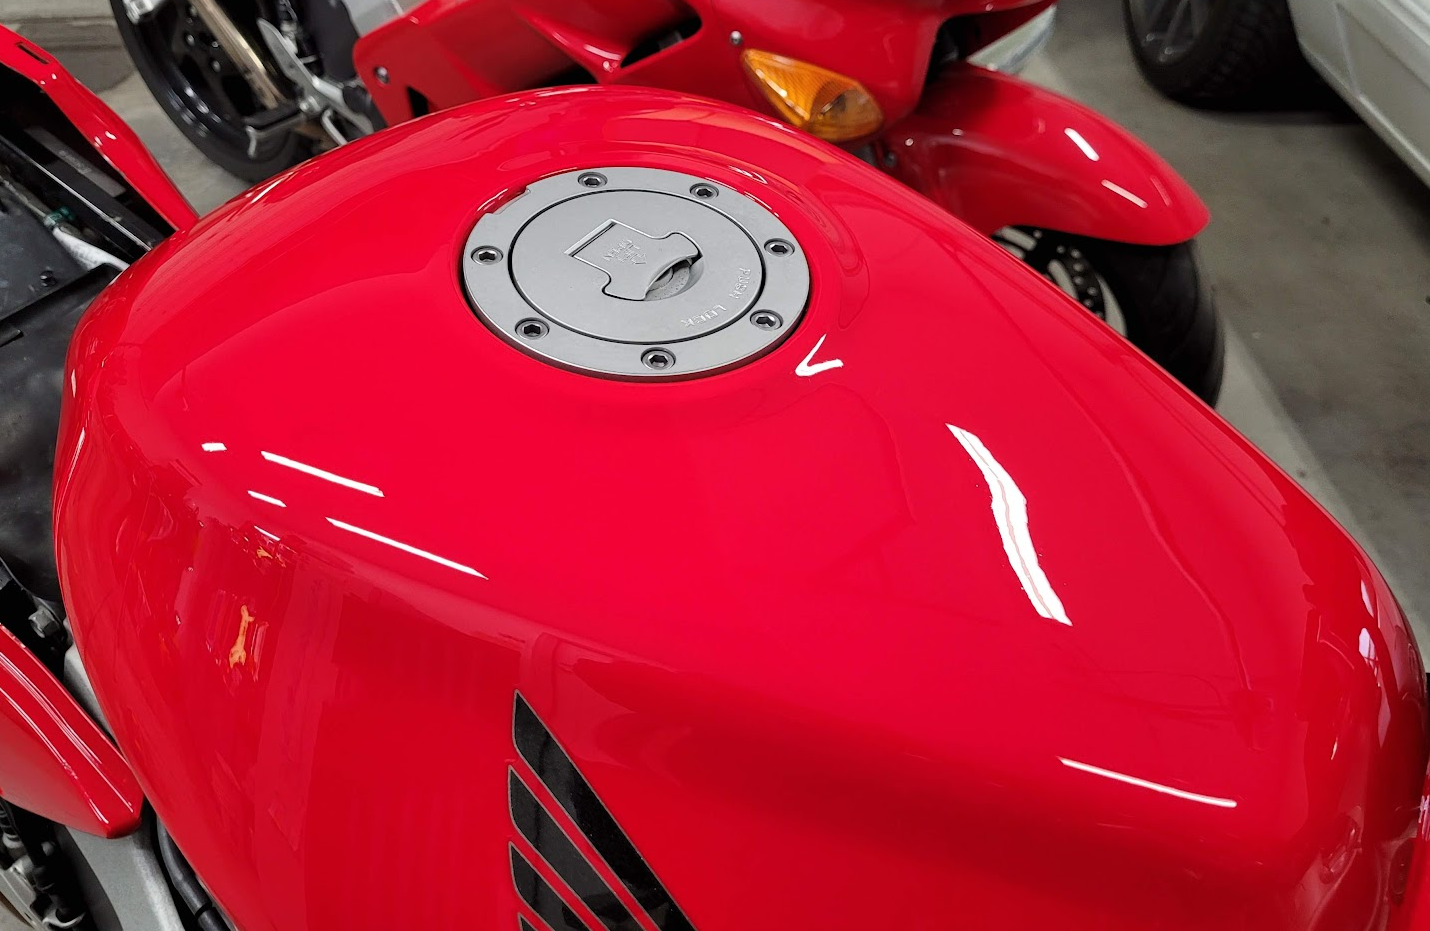
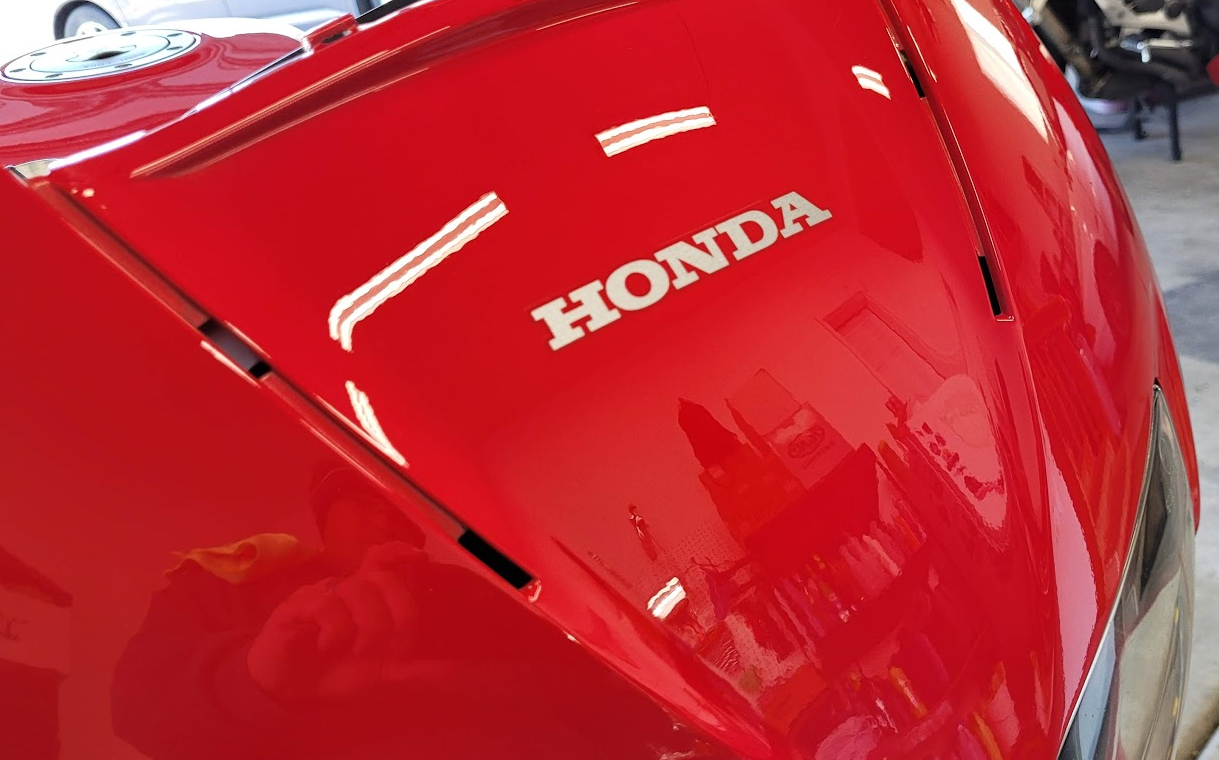
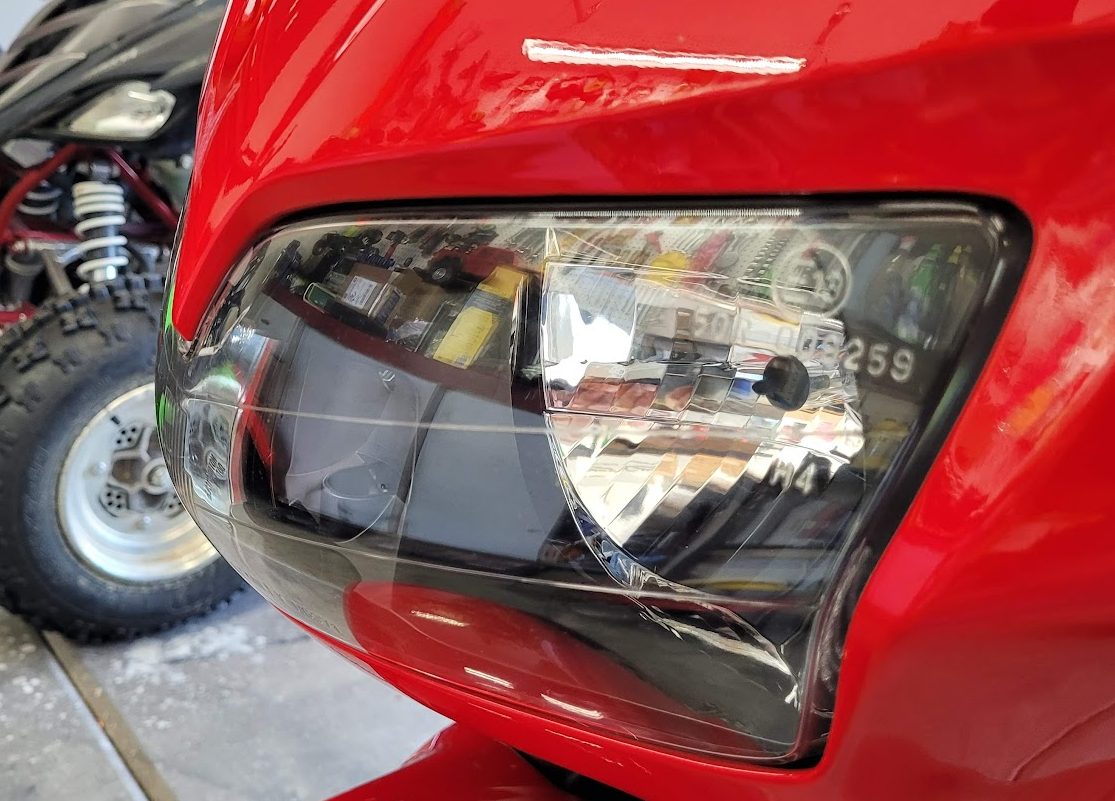
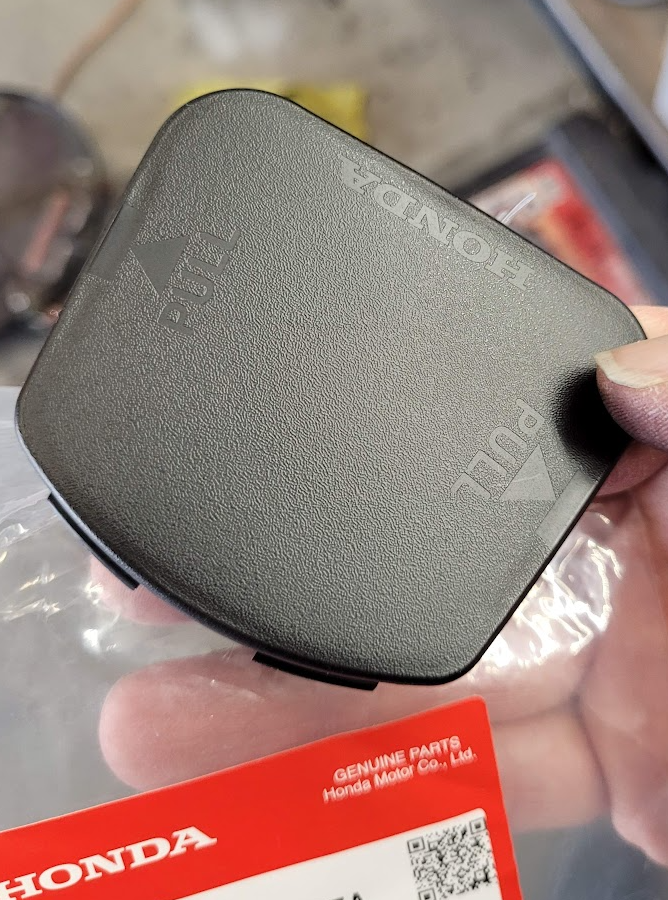
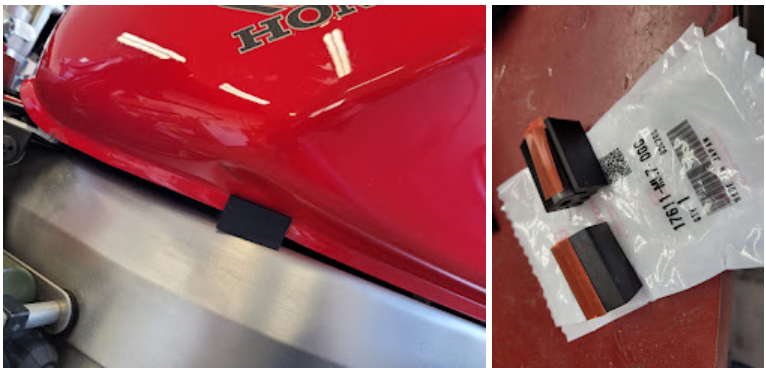
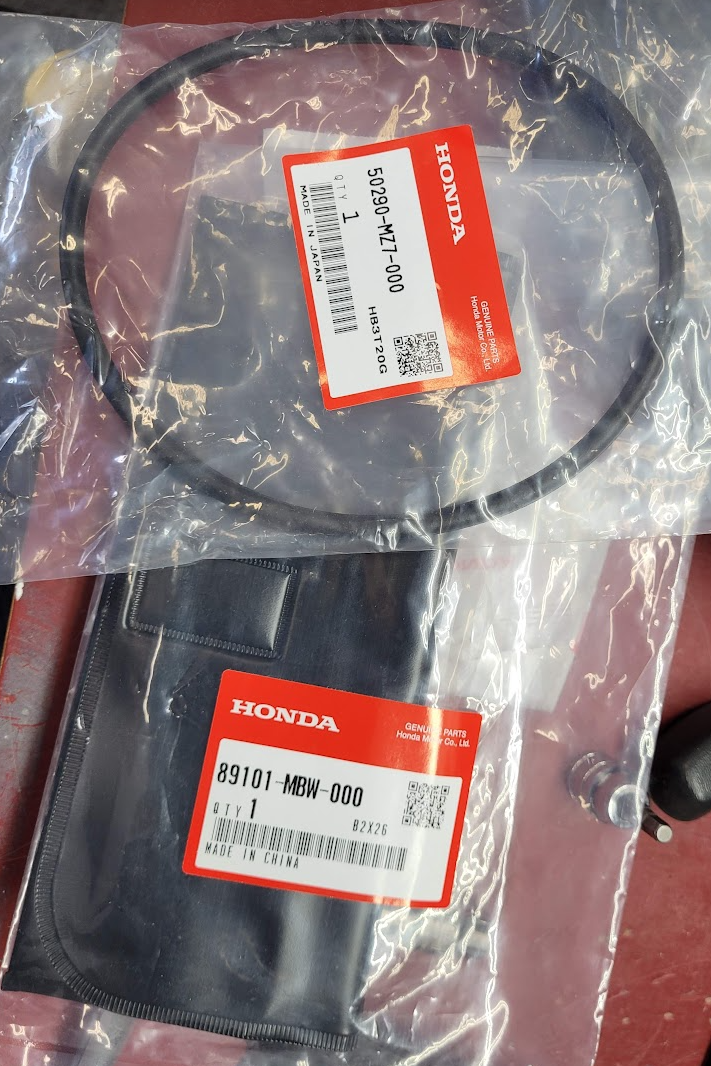
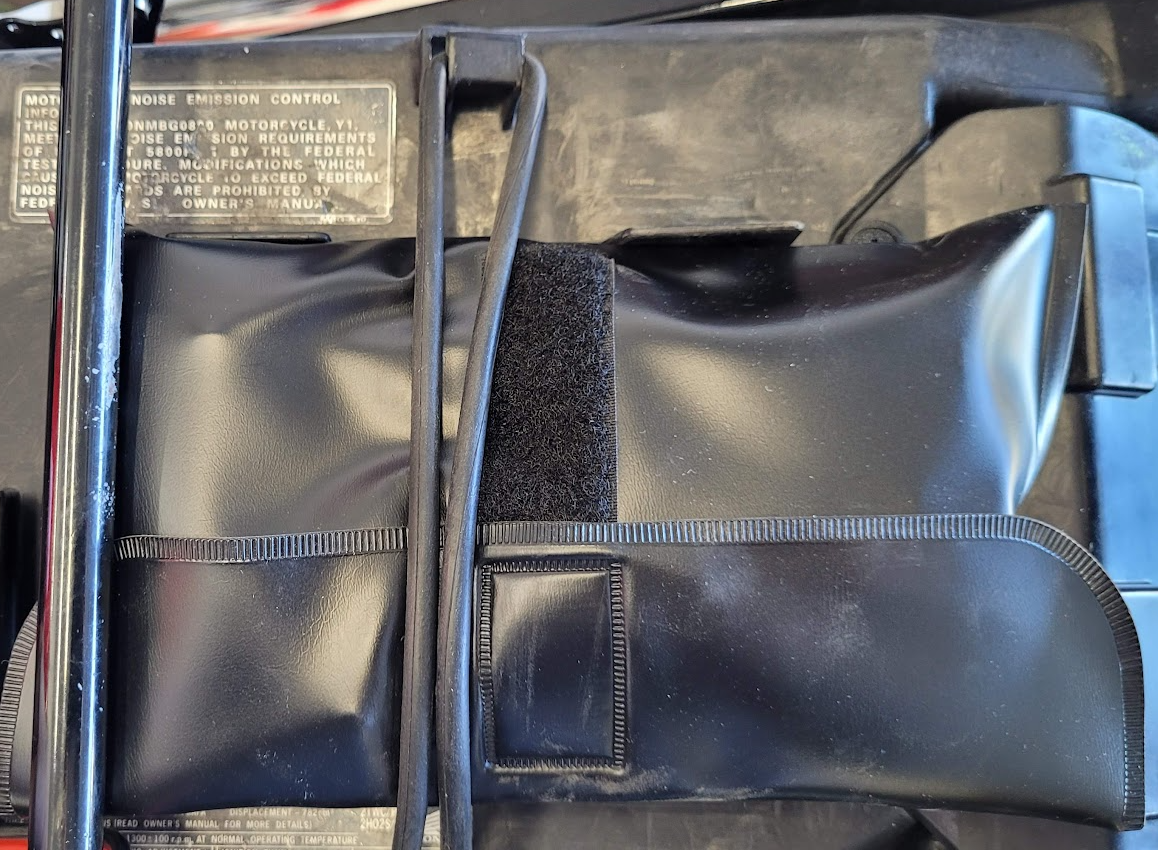
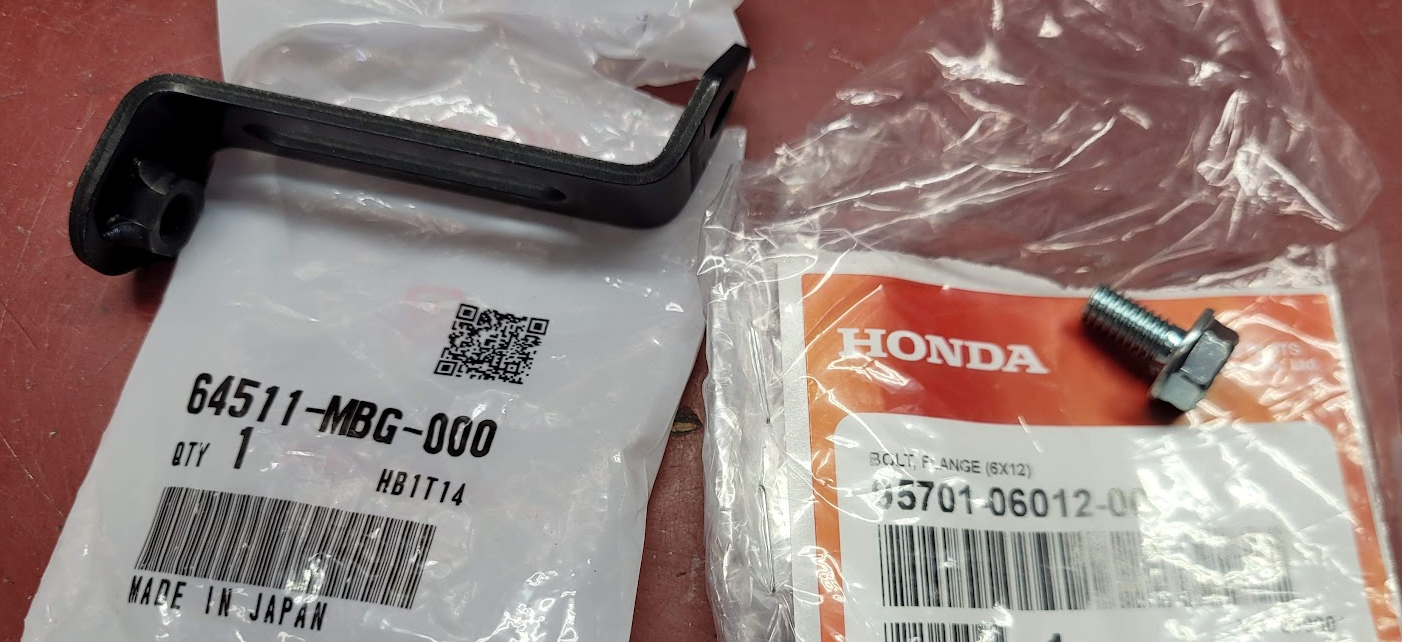
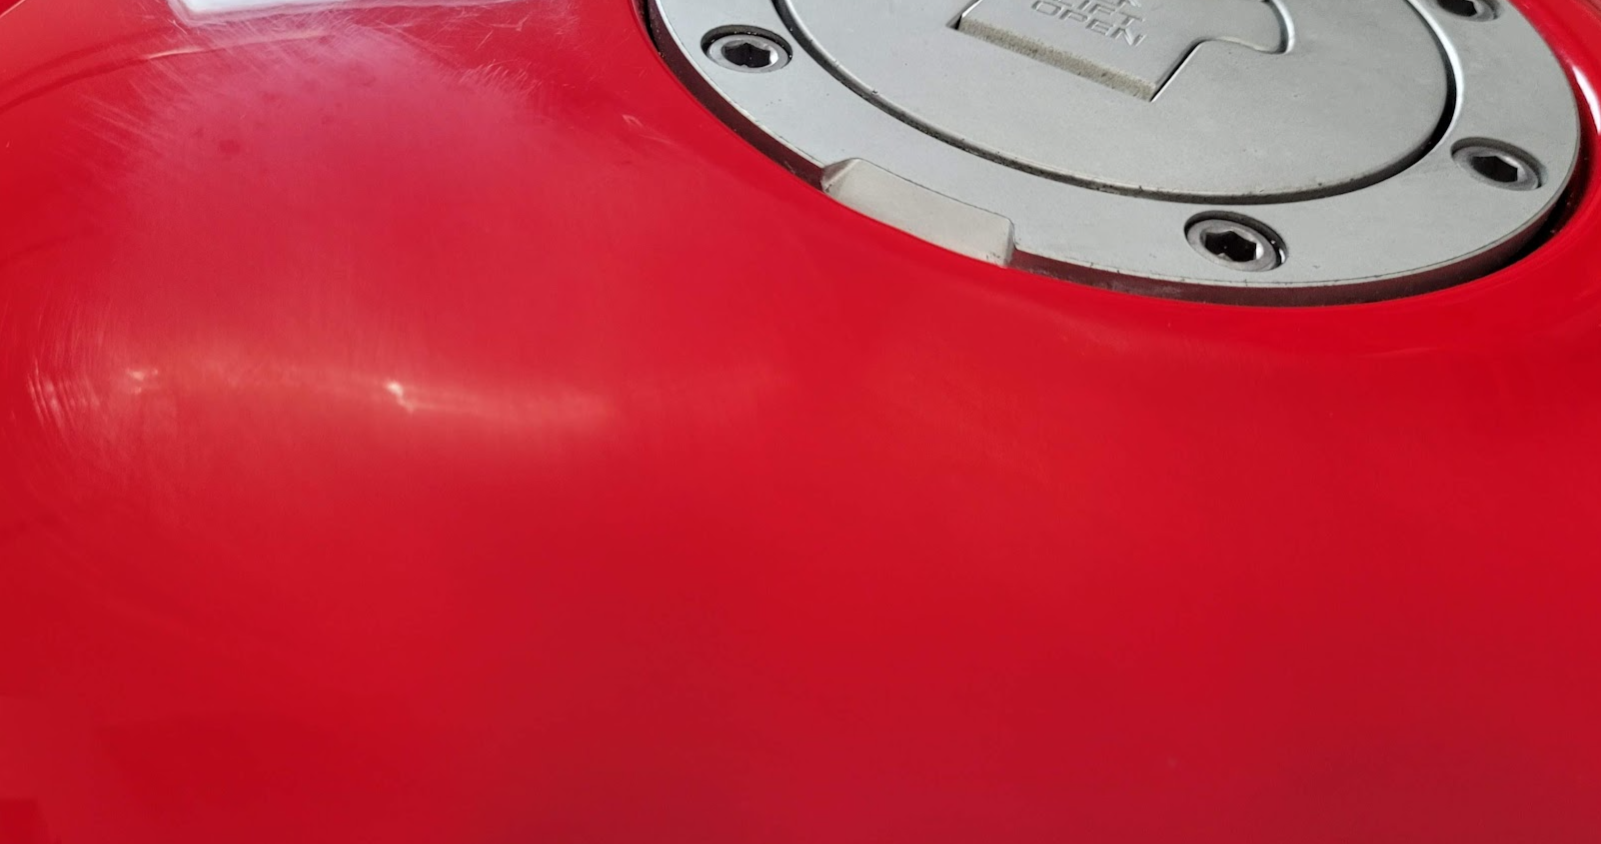
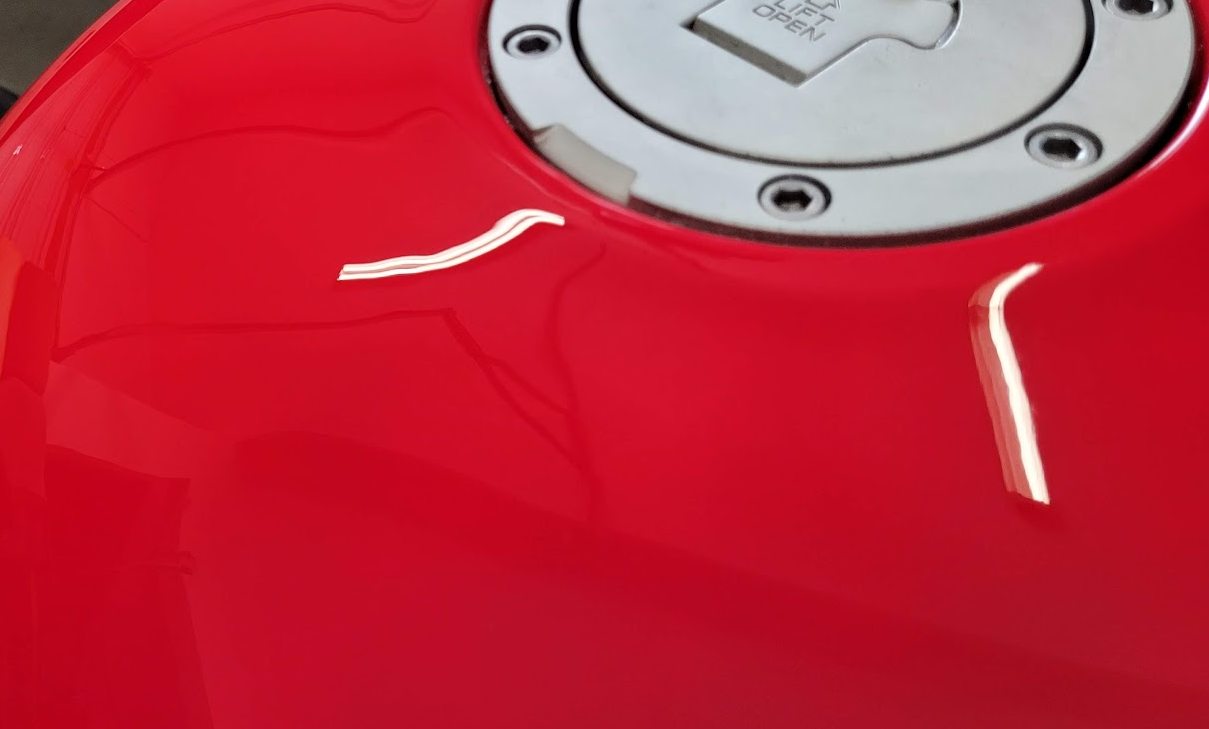
The bike spent some time in a carport and the right side showed some fading from exposure to the elements. A light polish makes a difference in no time. That Italian Red pops nicely. Even with 39,000 miles the headlight cover cleaned up great. This piece was missing when I got the bike back. It's a bulb cover under the headlight assembly. No bulb on the US bikes but I wanted the cover in place regardless. Fuel tank cushions were also missing, now installed. Fairing bracket missing from the left side, now installed. Even got a new tool bag and rubber band. I noticed that the turn signal switch was sticky. Took it apart, cleaned and lubed inside. Now it moves freely as it should. All that remains now is to polish the windscreen, tail and side fairings, install and final wax. I ordered a taller windscreen that will be here soon, we'll see how well it works. I'm hoping it will direct the wind blast a bit higher. Also need to figure out how to polish some discoloration near the bottom of the Staintune pipe. I have a few metal polishes to try out. Getting closer to a real shakedown run. Cheers, Justin
-
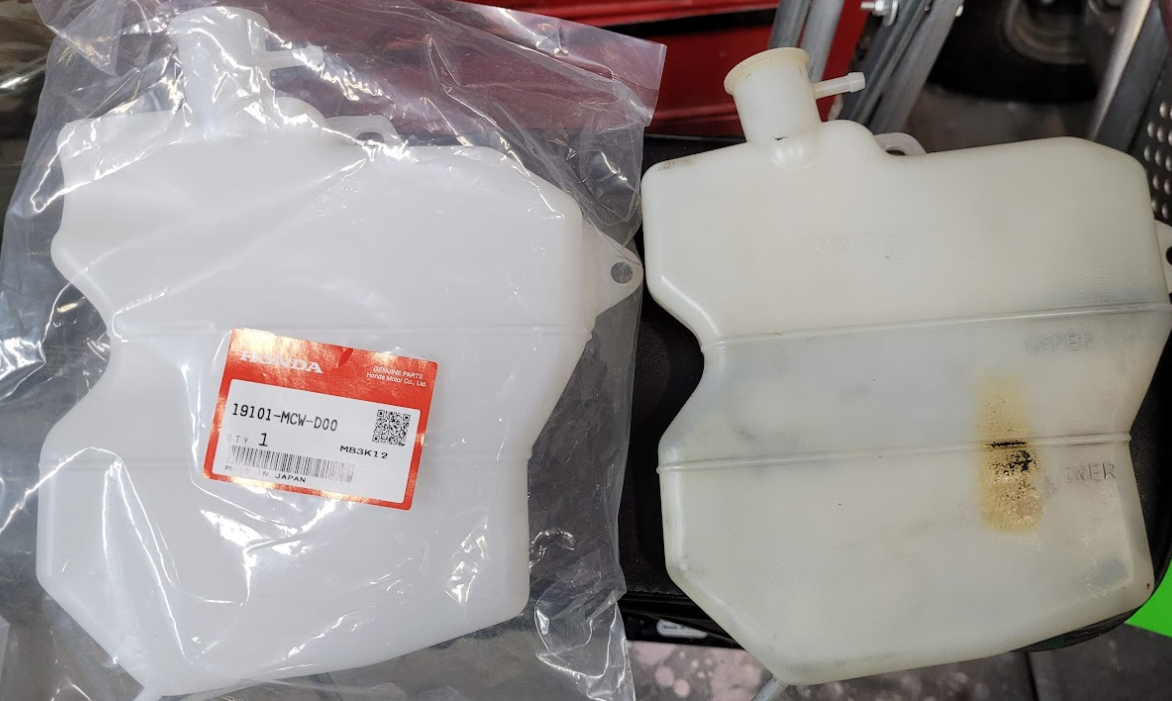
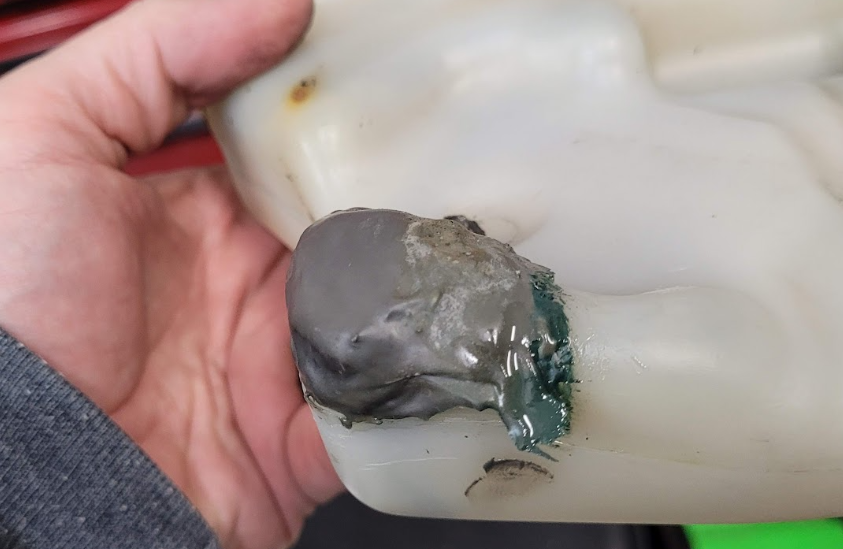
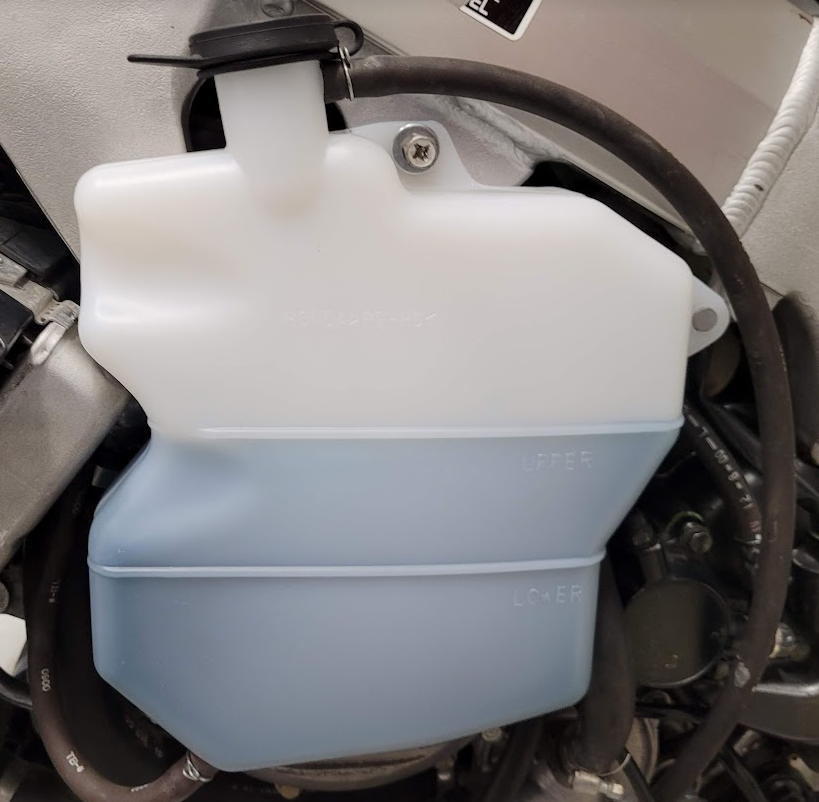
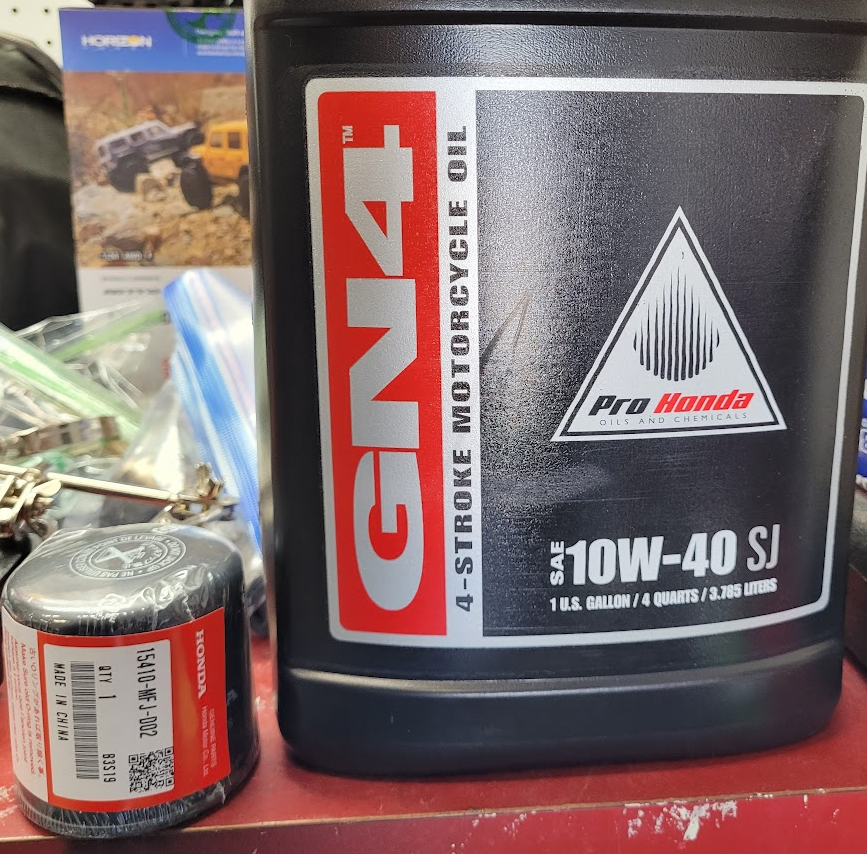
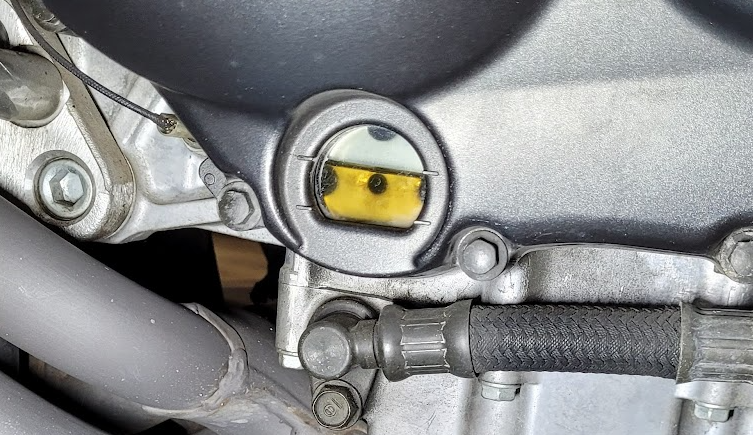
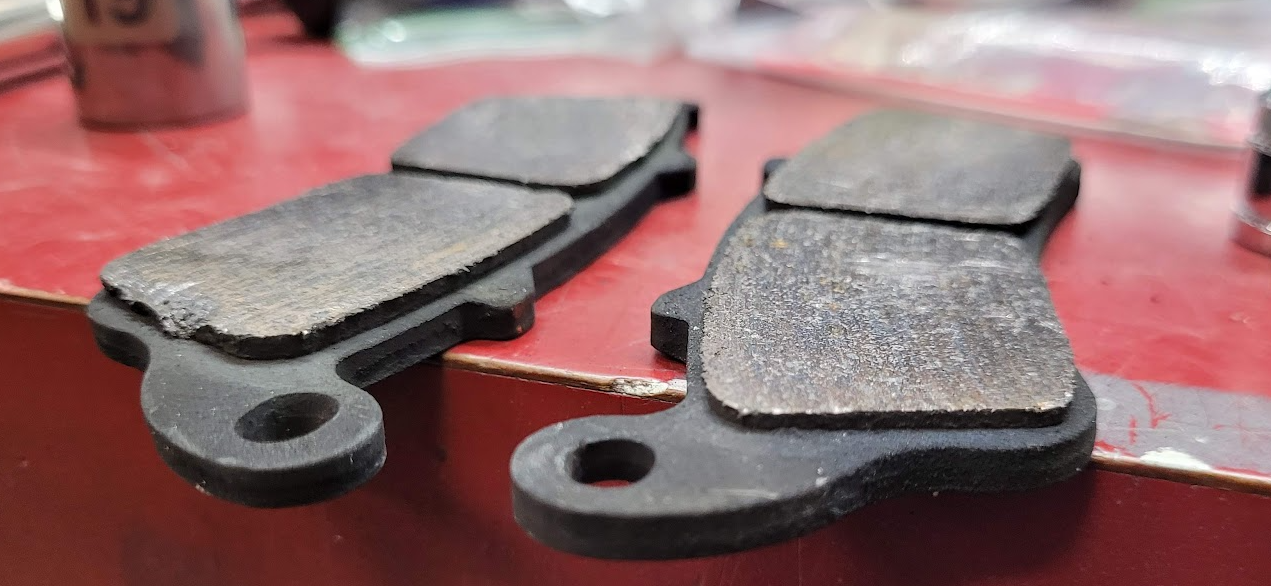
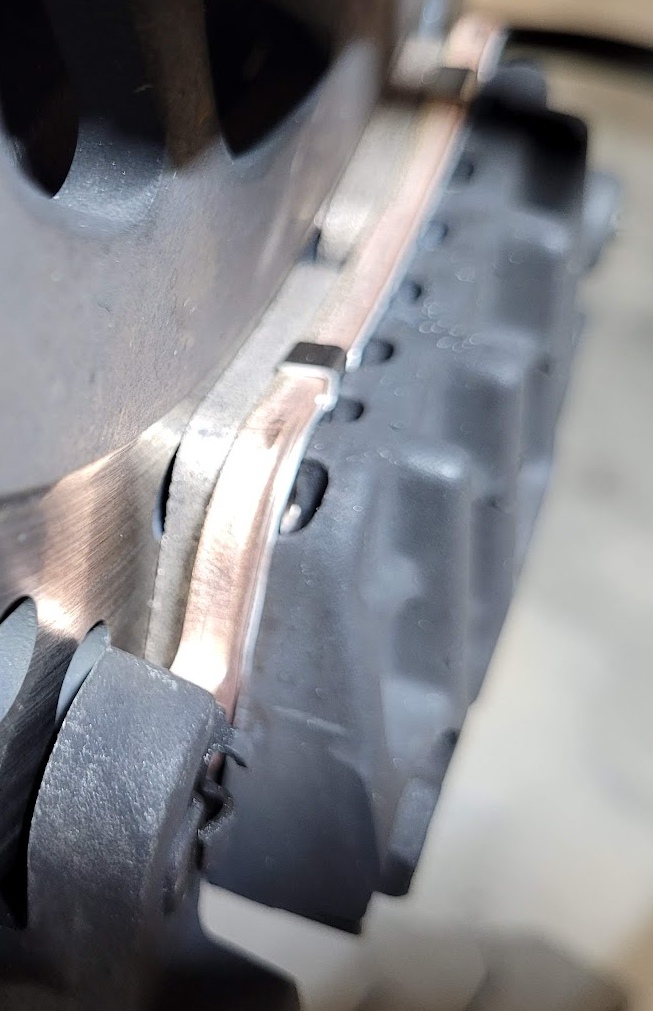
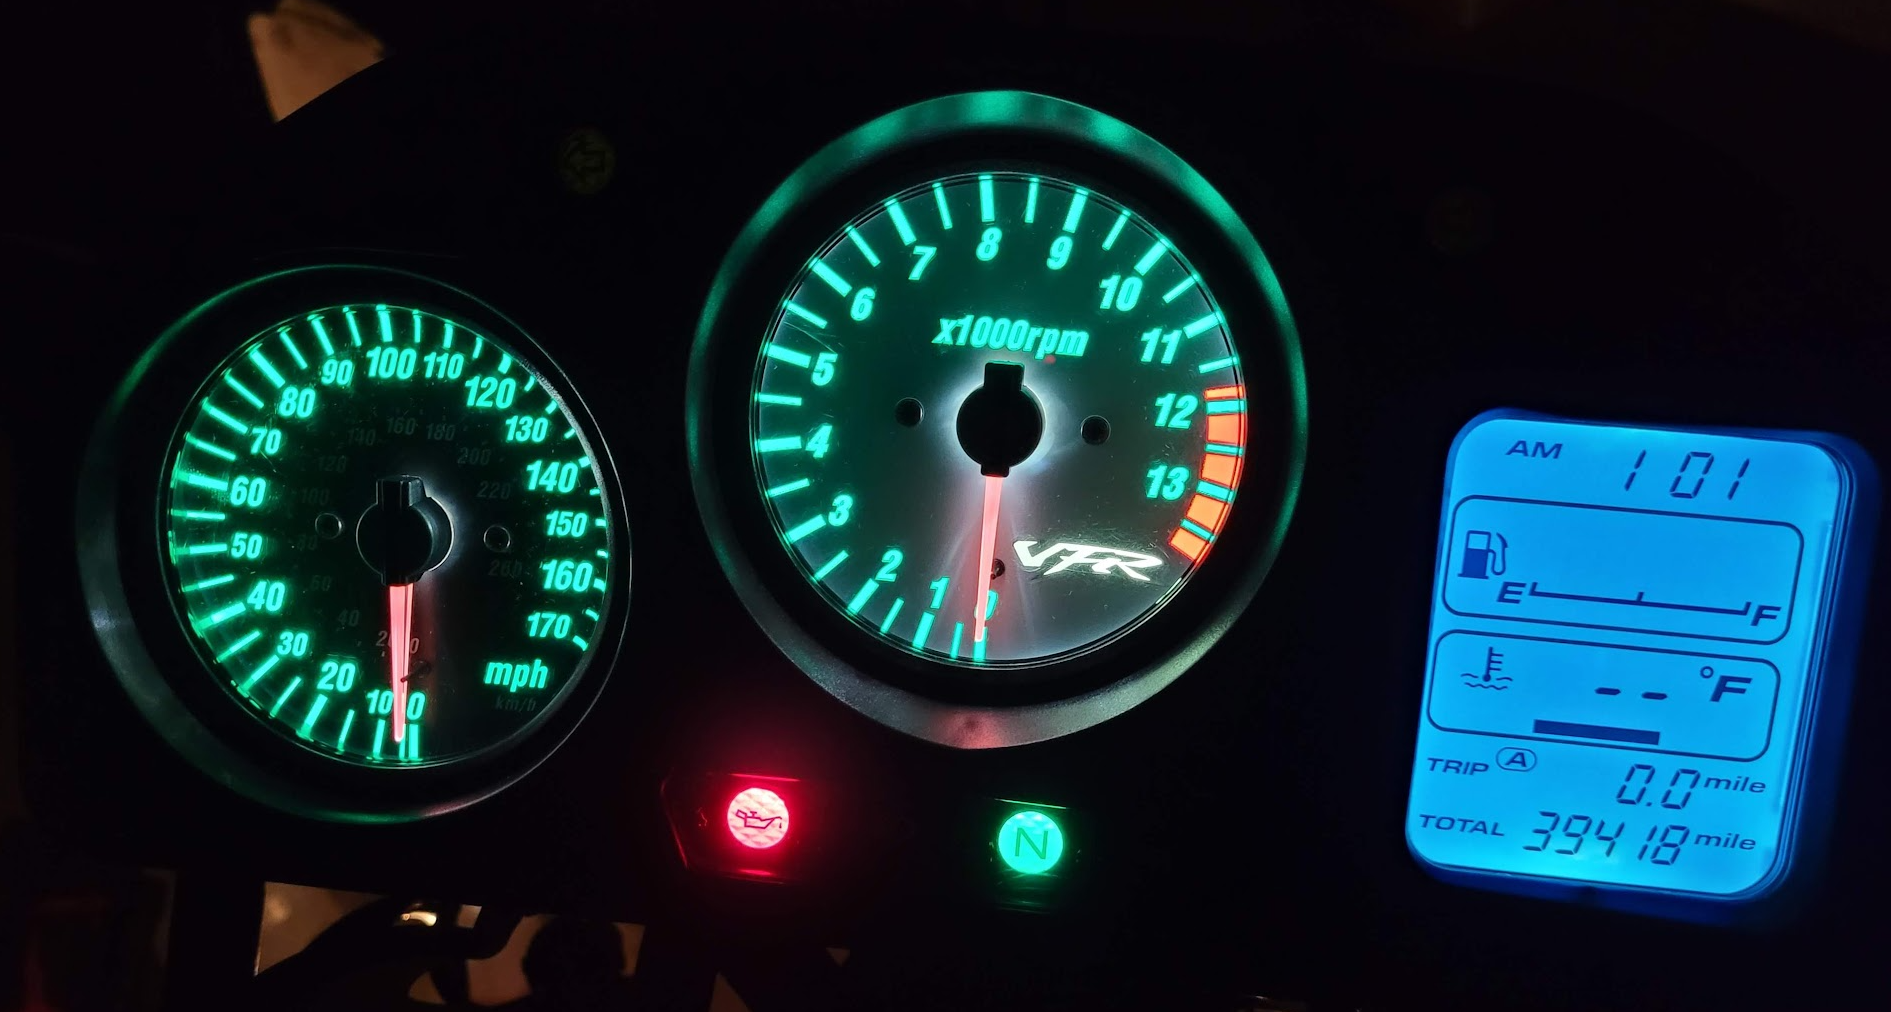
Slowly making progress as parts come in. New hotness vs old and busted. Nice to be able to get an OEM part to replace the original with the failed epoxy repair. Now with Honda blue coolant, sorted! Honda oil and filter up next... Looking good. With new oil and coolant I started the bike and let it warm up, checking for leaks and luckily none were found. I also wanted to confirm that the cooling fan functioned correctly. I let the bike get up to 230* F and the fan did not kick on. After the bike cooled down I put it on the side stand and topped off the coolant level, then went to the manual. Per the manual the fan should kick on from 208*-216* F. So, following the manual I tested the fan motor by running a jumper from the fan motor switch connector to a ground with the key on. Fan motor works. Then I tested voltage, looks good. I thought I might need a new fan switch but decided to do a continuity test first. I put the switch in a vise and attached the leads from a multimeter. I then heated up the switch base with a propane torch. After a few seconds of heat, the multimeter confirmed continuity. I did this 3 times just to be sure. On the last one I listened to the switch as it cooled down, and heard the click. Reinstalled the switch and let the bike warm up again. This time the fan kicked on right at 219* F and off again at 206*F. I let that cycle 3 times before calling it good. Next up, rear brake pads. The fronts are fine but rears were getting low. There is a very good chance these are the rear pads I installed many years ago. (The damage on the left pad is from me using a flat screwdriver against the old pads to compress the pistons) Caliper cleaned, pins lubed, new pads installed and everything torqued to spec. Torqued the front calipers, axle bolt and fork pinch bolts. Found two caliper bolts that were slightly loose. Good to have peace of mind on these things. Next up, more polishing and more OEM parts to install. Added bonus, the weather is starting to warm up nicely! Cheers, Justin
-
You can order online from several sites in a similar format to the link below that use the Honda parts diagram. Would have to confirm shipping to Canada or find a place in country. https://www.hondaparts-direct.com/oempartfinder?aribrand=HOM&arian=motorcycle Item #15 here (part number stated by Bronco): https://www.hondaparts-direct.com/oempartfinder?aribrand=HOM&arian=motorcycle#/Honda_Powersports/VFR800FIA_(99)_INTERCEPTOR%2c_JPN%2c_VIN%23_JH2RC460-XM100001/LOWER_COWL/15f922e6-6adf-4b94-b64d-cb9c2c286344/d7bd4130-31ff-4f5d-8aa5-30848f8aaf71/y
-
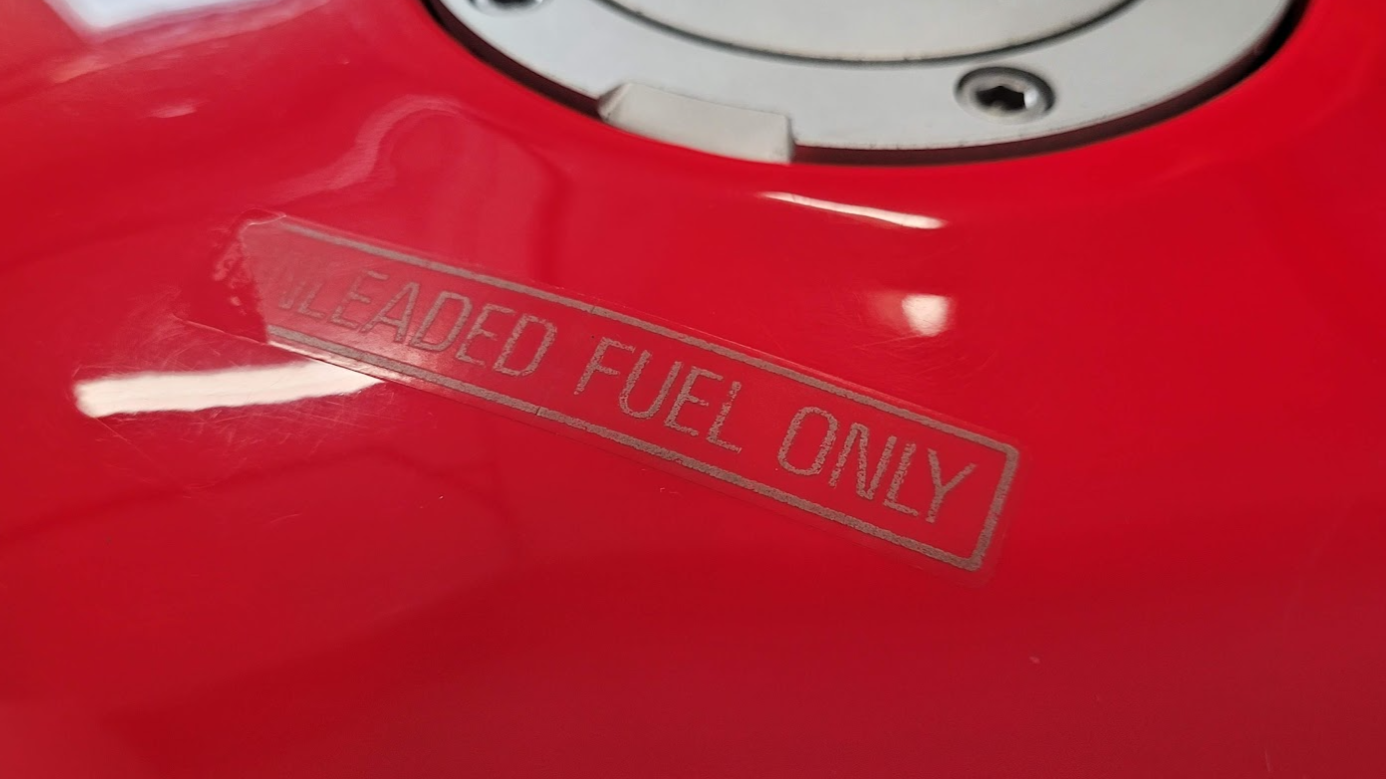
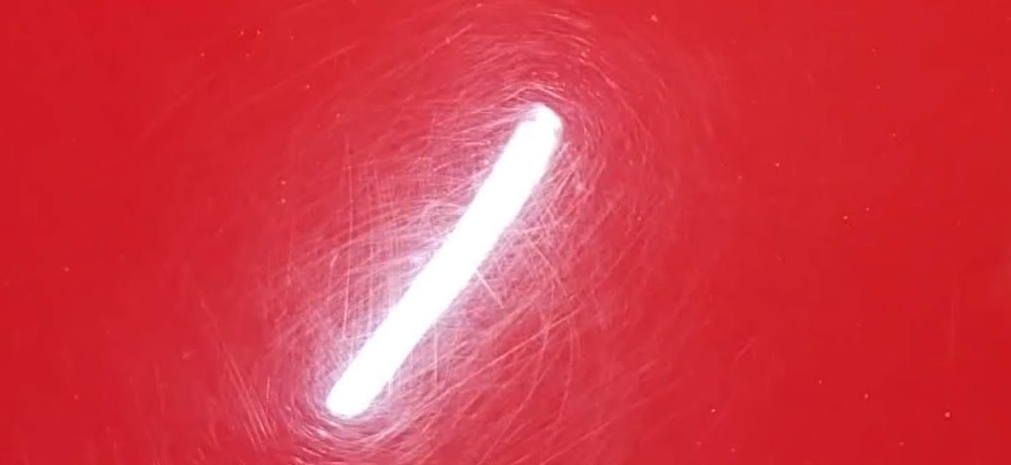
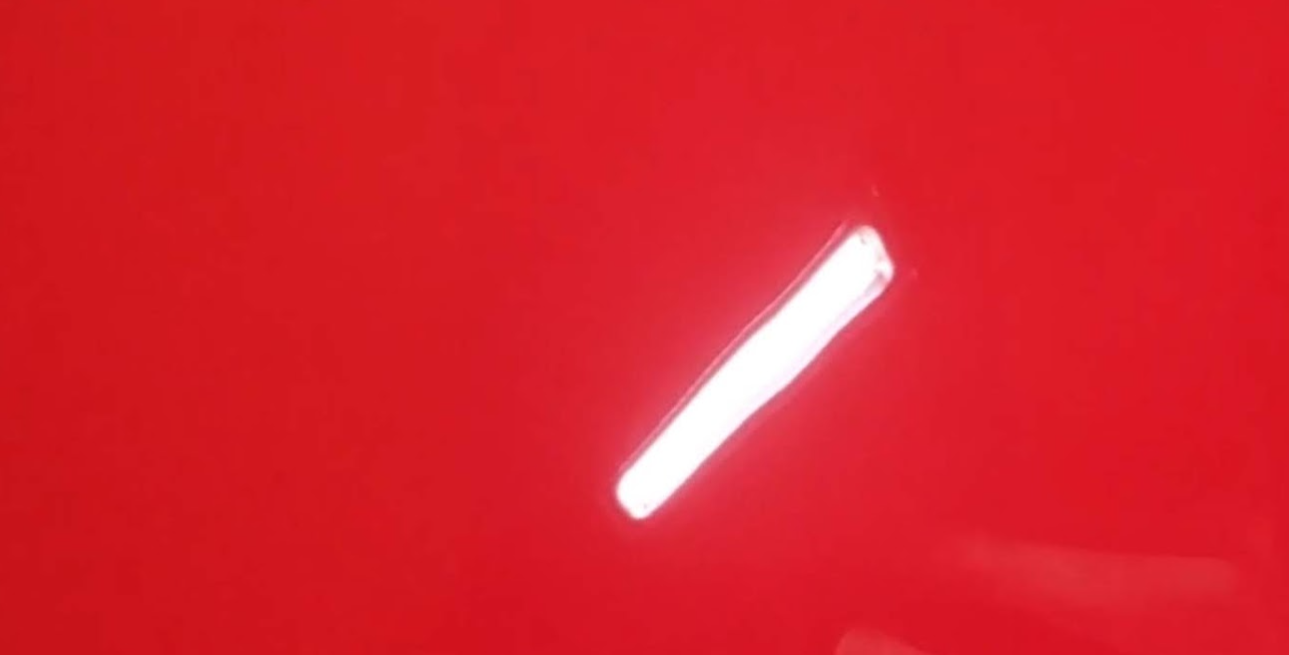
LEDs are such a cheap, easy and effective mod. Highly recommended. You only need 5 for the backlights in the cluster. https://www.amazon.com/gp/product/B08229N2Y5/ref=ppx_yo_dt_b_search_asin_title?ie=UTF8&psc=1 Did a test spot with the polisher. I first used a rubber wheel on a drill to remove this old decal, then lightly hit the area with 2000 grit wet sand, followed by an initial pass of Ultimate Compound on an orange pad. Turned out nice. Before polishing: After:
-
Fair enough. 👍 I think the main point is the bike seems to have been reassembled in a rush. All major bits will be reviewed and torqued to factory spec before attempting a real ride. The swingarm pinch bolt was not fully tightened for example. So, sprockets, brakes, forks, wheels, etc. It will all be gone through for peace of mind.