

Hingley
-
Posts
142 -
Joined
-
Last visited
-
Days Won
6
Content Type
Forums
Profiles
Gallery
Blogs
Downloads
Events
Posts posted by Hingley
-
-
Hi Hingley,
Thank you for your donation of 25.00 USD. We look forward to improving the forums with your donation.
Thanks VFRDiscussion
-
I did! Unfortunately the closest one to me doesn't want anything to do with my bike (they tell me that they cant get parts for bikes over 15 years old
This is pure Bullshit from the Canadian Powersport Dealer, I have ordered parts for my 1975 CB400F Racer up to my 1999 VFR800 and if Honda had a listing for the part they never had a problem ordering
Go find a real Honda Powersport Dealer instead of a lazy parts guy who is too busy looking on his I Phone.
-
I will be very interested in seeing how you get along and how well the new paint matches the old pieces, unless you are doing a complete respray.
-
I am by no means an expert on the 1998-2001 VFR's but when I read this the first thing I think of is that the 1998-1999 VFR's had an exhaust system without O2 sensors etc. while the 2000-2001 had an exhaust with O2 sensors and was a different design.
-
I dropped into the local Honda dealer today to smell the new Honda Plastic and was quite taken with my first impression of the new 2024 Tran Alp 750
I found the design components were smaller than the Africa Twin and the seat looked like I could almost live with it
The problem was I noticed a small pool of Honda Coolant on the floor under the bike just below the water pump area. I thought at first this must be one that got through production
somehow with a bad seal somewhere or the coolant tank was over filled during assembly, that is until I noticed the other new Trans Alp in the show room had the same coolant leak, Christ these two must be sisters in the production.
Of course the next thing was me laying on the floor to check serial numbers, to my surprise there was a 300 bike spread, about this time I caught the attention of a salesman and he asked how I was doing, I told him about the coolant leak and he just laughed and said the shop finally has something to do on a winter day and brushed it off.
In all my years I never saw a Honda leak anything, let alone on the dealership floor, sign of the times I guess, sure not like the VFR's we all love.
-
The gasket is NLA from Honda. So . . . there are aftermarket options on ebay
Interesting that you mentioned the stator gasket is NLA in the U.S. , I was into my 5th gen stator last winter and was able to get a new gasket from Honda here
-
What we are lubing are external roller and between the roller and the sprockets (red area in my drawing)... we are not lubing the X rings
nor behind the X rings so any oil applied in that effort is a waste and will only fling off...This is dam interesting to an old guy like me, makes a lot of sense once you see it in an image
I was going to soak my x ring chain in Kerosene for a few days, followed by a brush scrub but by this all I will accomplish in the end is possibly flush out or thin out the
factory grease/lube behind the x rings in the chain, looks like a short Kerosene bath and little brushing will do the trick followed by a good soak in lube or 90w for a while
-
I think the attached video will be a better explanation than I can give
-
Finished cleaning the sprockets and the EK MVXZ chain ( all of which looks in good shape ), so I am just going to use the set on it for this summer. When I removed the chain I of course
had to grind off the rivet master link and since I do not have a rivet chain install tool I am going to use this type of screw master link that EK has.

This screw link is rated for the MVXZ chain and everything I have read about these screw links sounds positive, I know this link would not be the ticket if I was on the track or dragging a knee somewhere but those days are over
Any Thoughts?
-
 1
1
-
-
I'd start afresh and shout it new sprockets and chain, along with all the normal maintenance items, fluids, plugs, air filter, oil and filter etc. I'd also dive into the electrics, solder up all the grounds in the dreaded orange earth block, solder the stator lead wires to the R/R and its output connector, upgrade the R/R if needed and make good the Main Fuse B 30amp fuse holder and wiring.
I did most of this last winter, just after I got the bike, also went through the front end ( bushings, dust seals, rotors pads ) and settled on Race tech springs and rates suggested by the Capt. ( one of the best things I could have done, what a difference in the front end ) also tore down the motor to the cams and checked all the valves, surprised to find they were within spec, removed the PAIR system while I was in there, rebuilt the clutch slave cylinder and flushed all the old brake fluid
out ( clutch and brakes ), had the injection system cleaned and replaced all the water cooling hard line O rings etc., surprised how bad they were, also new thermostat, I would never have guessed it by running the motor but the old one was stick wide open, new coolant, plugs etc
This winter I want to check out and update the rear systems such as chains and sprockets, I doubt I will pull the rear axle system as it rotates fine for chain adjustments and the bearings seem good
I like to think I have had a lot of different bikes over the years but this 99 is better feeling than even the 90 VFR750 I have, a keeper for sure
-
3
-
 1
1
-
-
Very nice indeed, I have not seen very more 5th gen's with that style of exhaust can, man would it be cool to see it with a black 3rd gen rear rim and with that Pearl Yellow paint
-
Amazing
You guys have put together the best dam real life examples of chain and sprocket wear I have seen in a long time, laughable ones as well
I looked for hours to find a picture of a front Honda sprocket and Grum flashes one up quicker than a knee dragging through corner 9, cool
This 1999 VFR chain and sprockets do look good to my old eyes, but I have been out of the loop for years and it has 50,000km on it so I was hard pressed to think the previous owner installed Honda parts
Keep it up
-
1
-
-
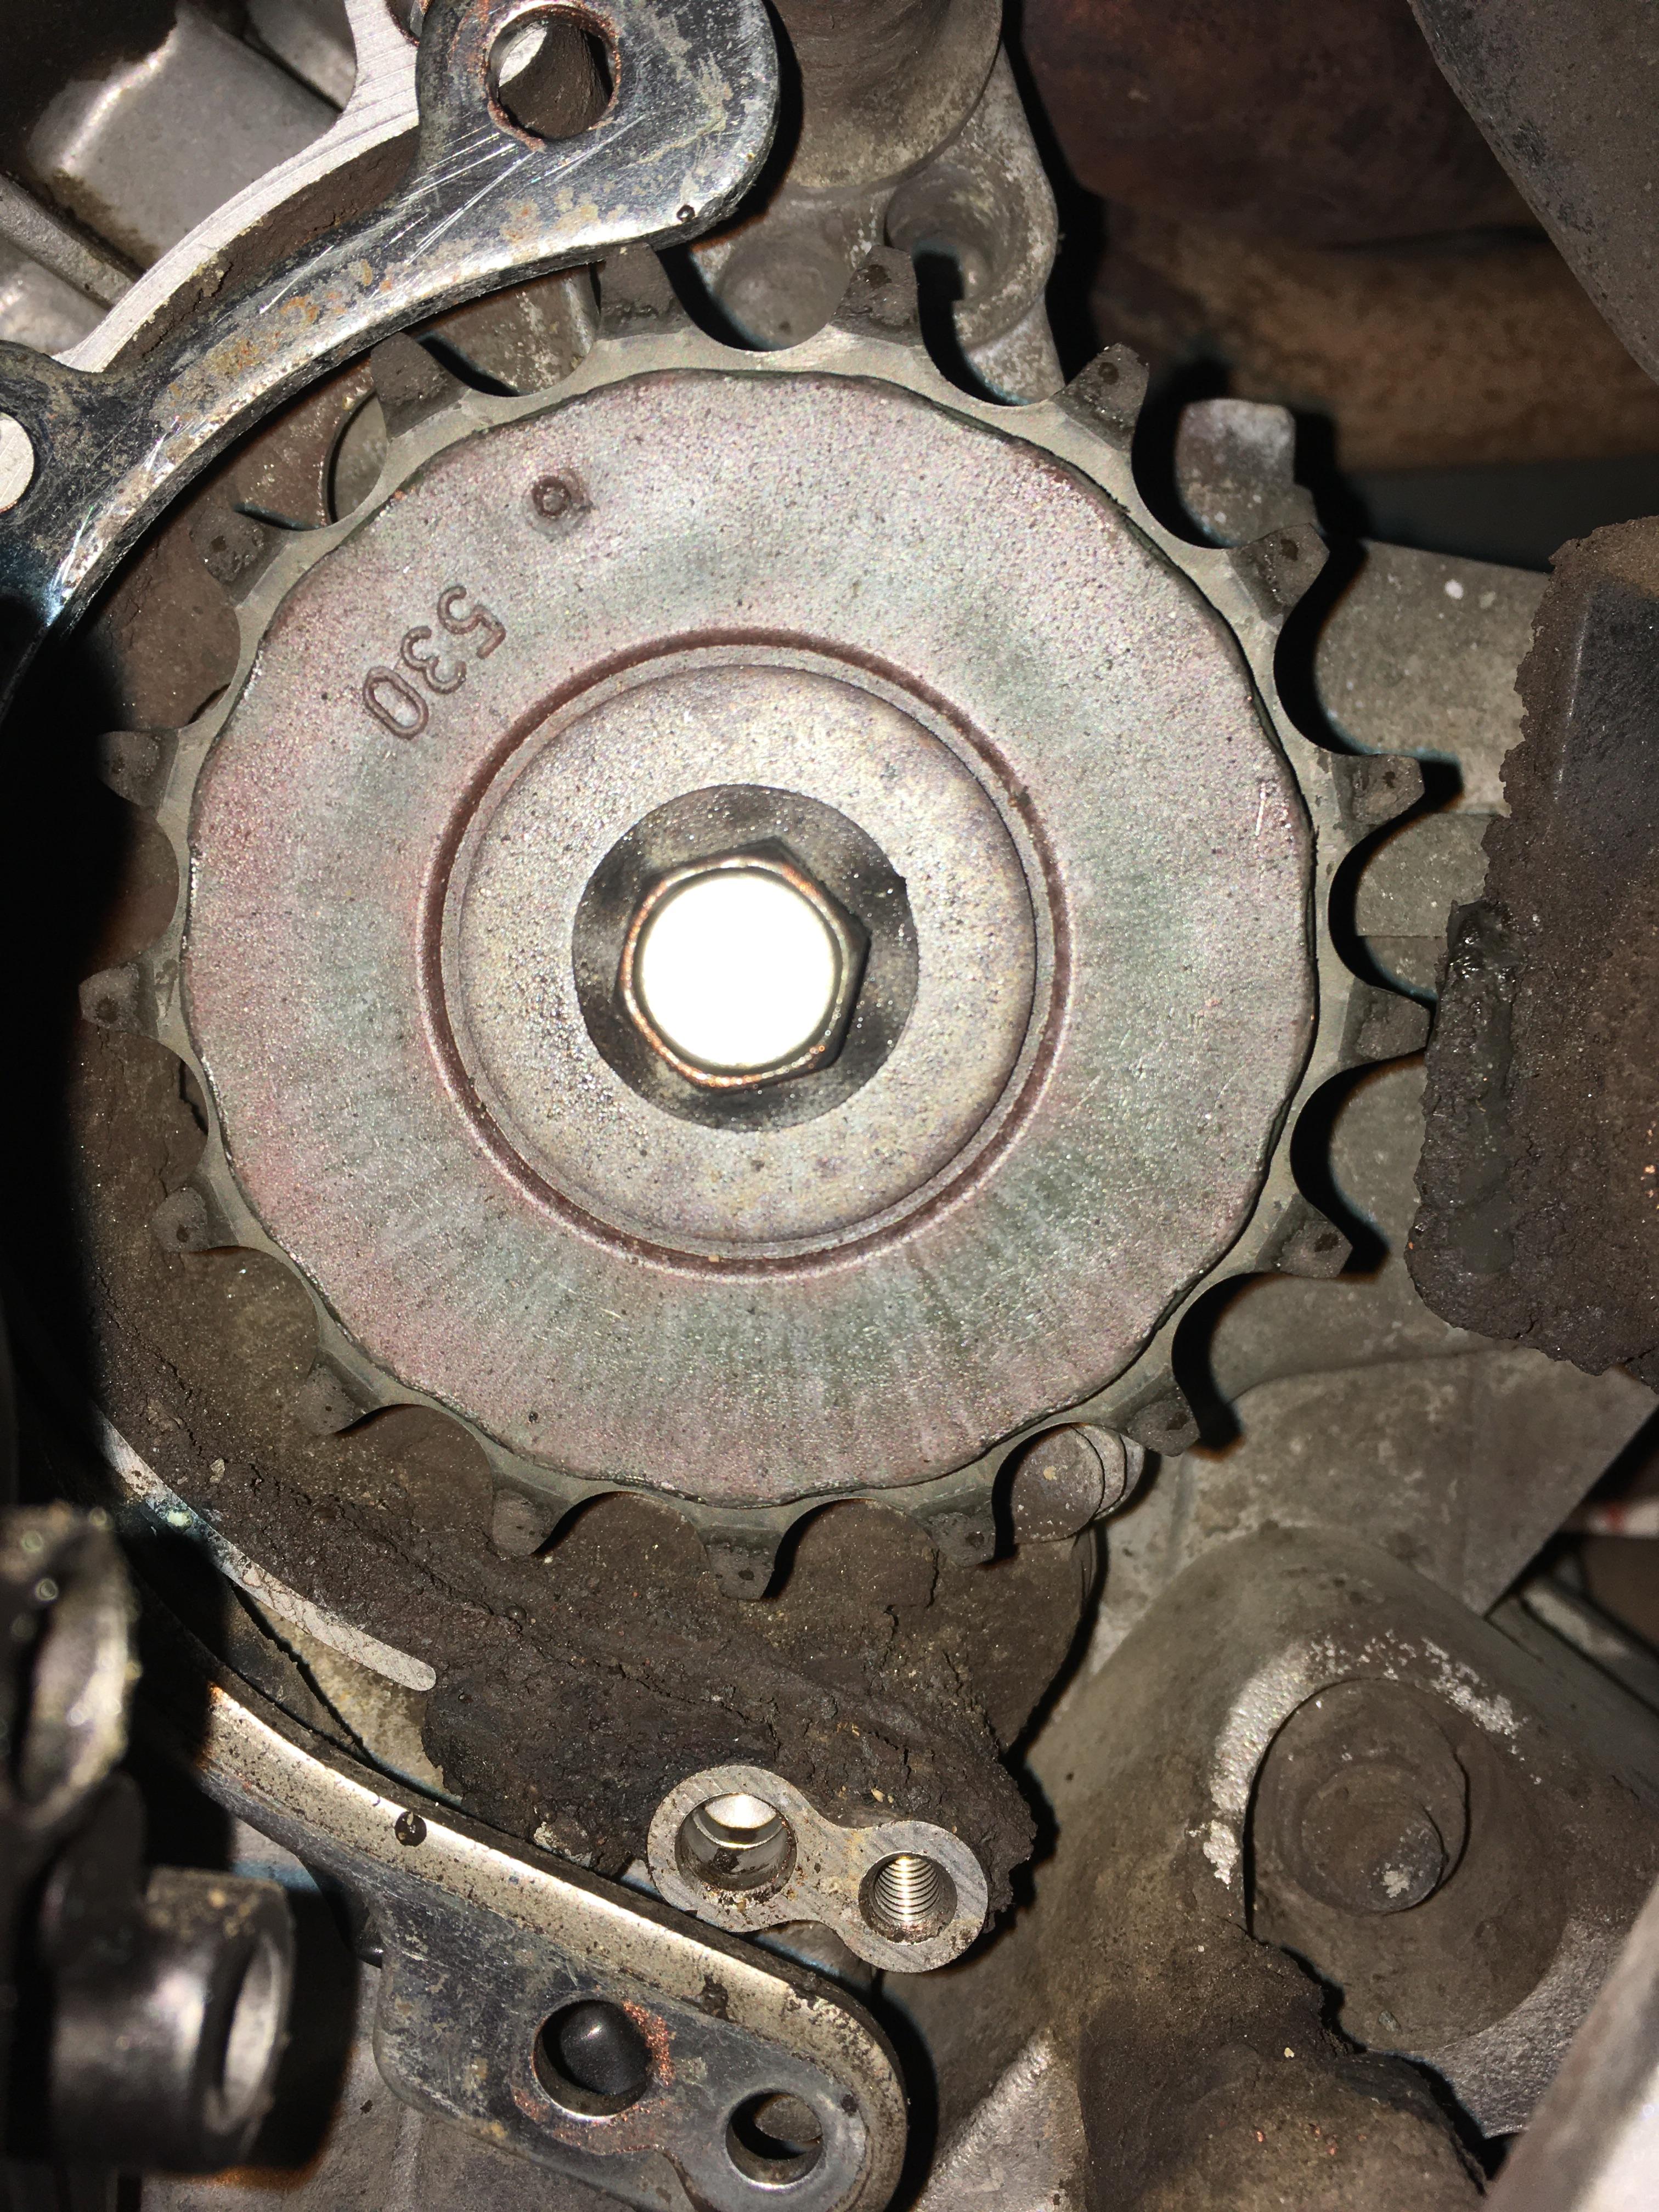
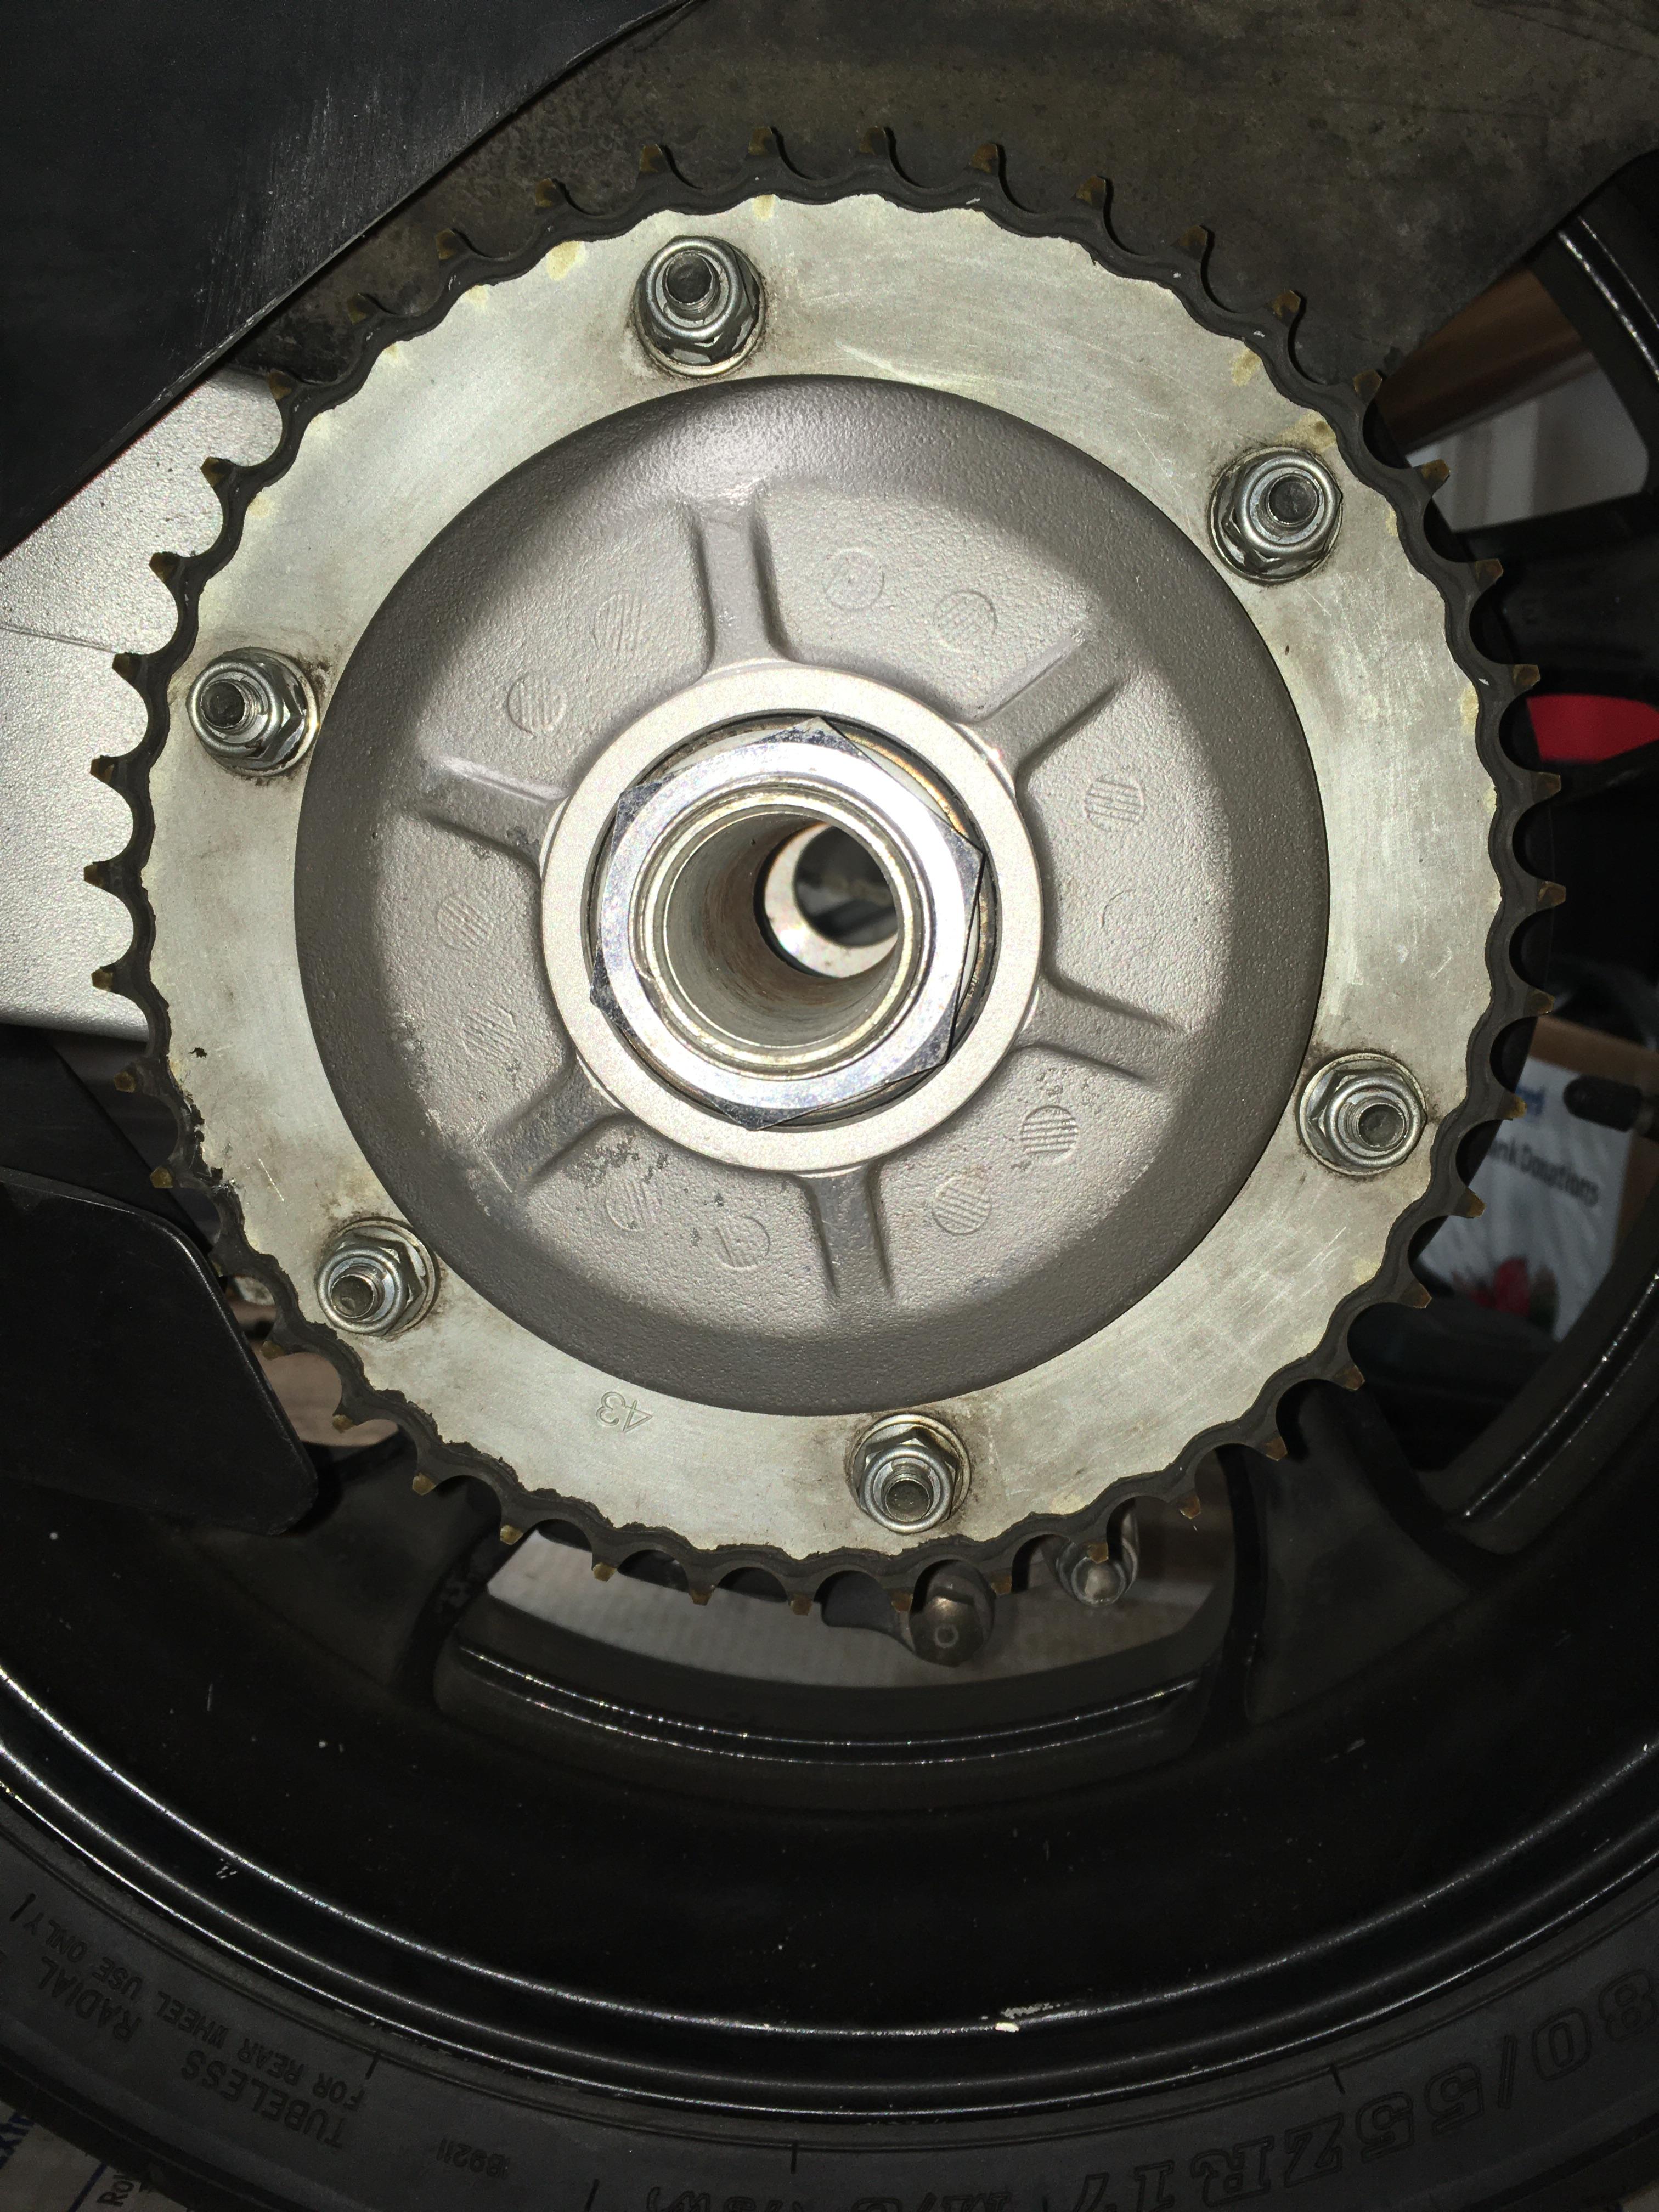
Afternoon guys, I was going through the chain and sprockets on the 1999 and I was wondering if you guys may know the answer to my questions
I was wondering if you think this front sprocket is a Honda part . I see that it has the rubber on it to help with noise and has the correct ( stock ) number of teeth but I do not see any Honda markings, the rubber ring looks like it has depressions around the edge, my guess is from the chain. What is the best way to know if it is worn out?, the back one sits fine on the chain with no air gap between chain and rear sprocket.

-
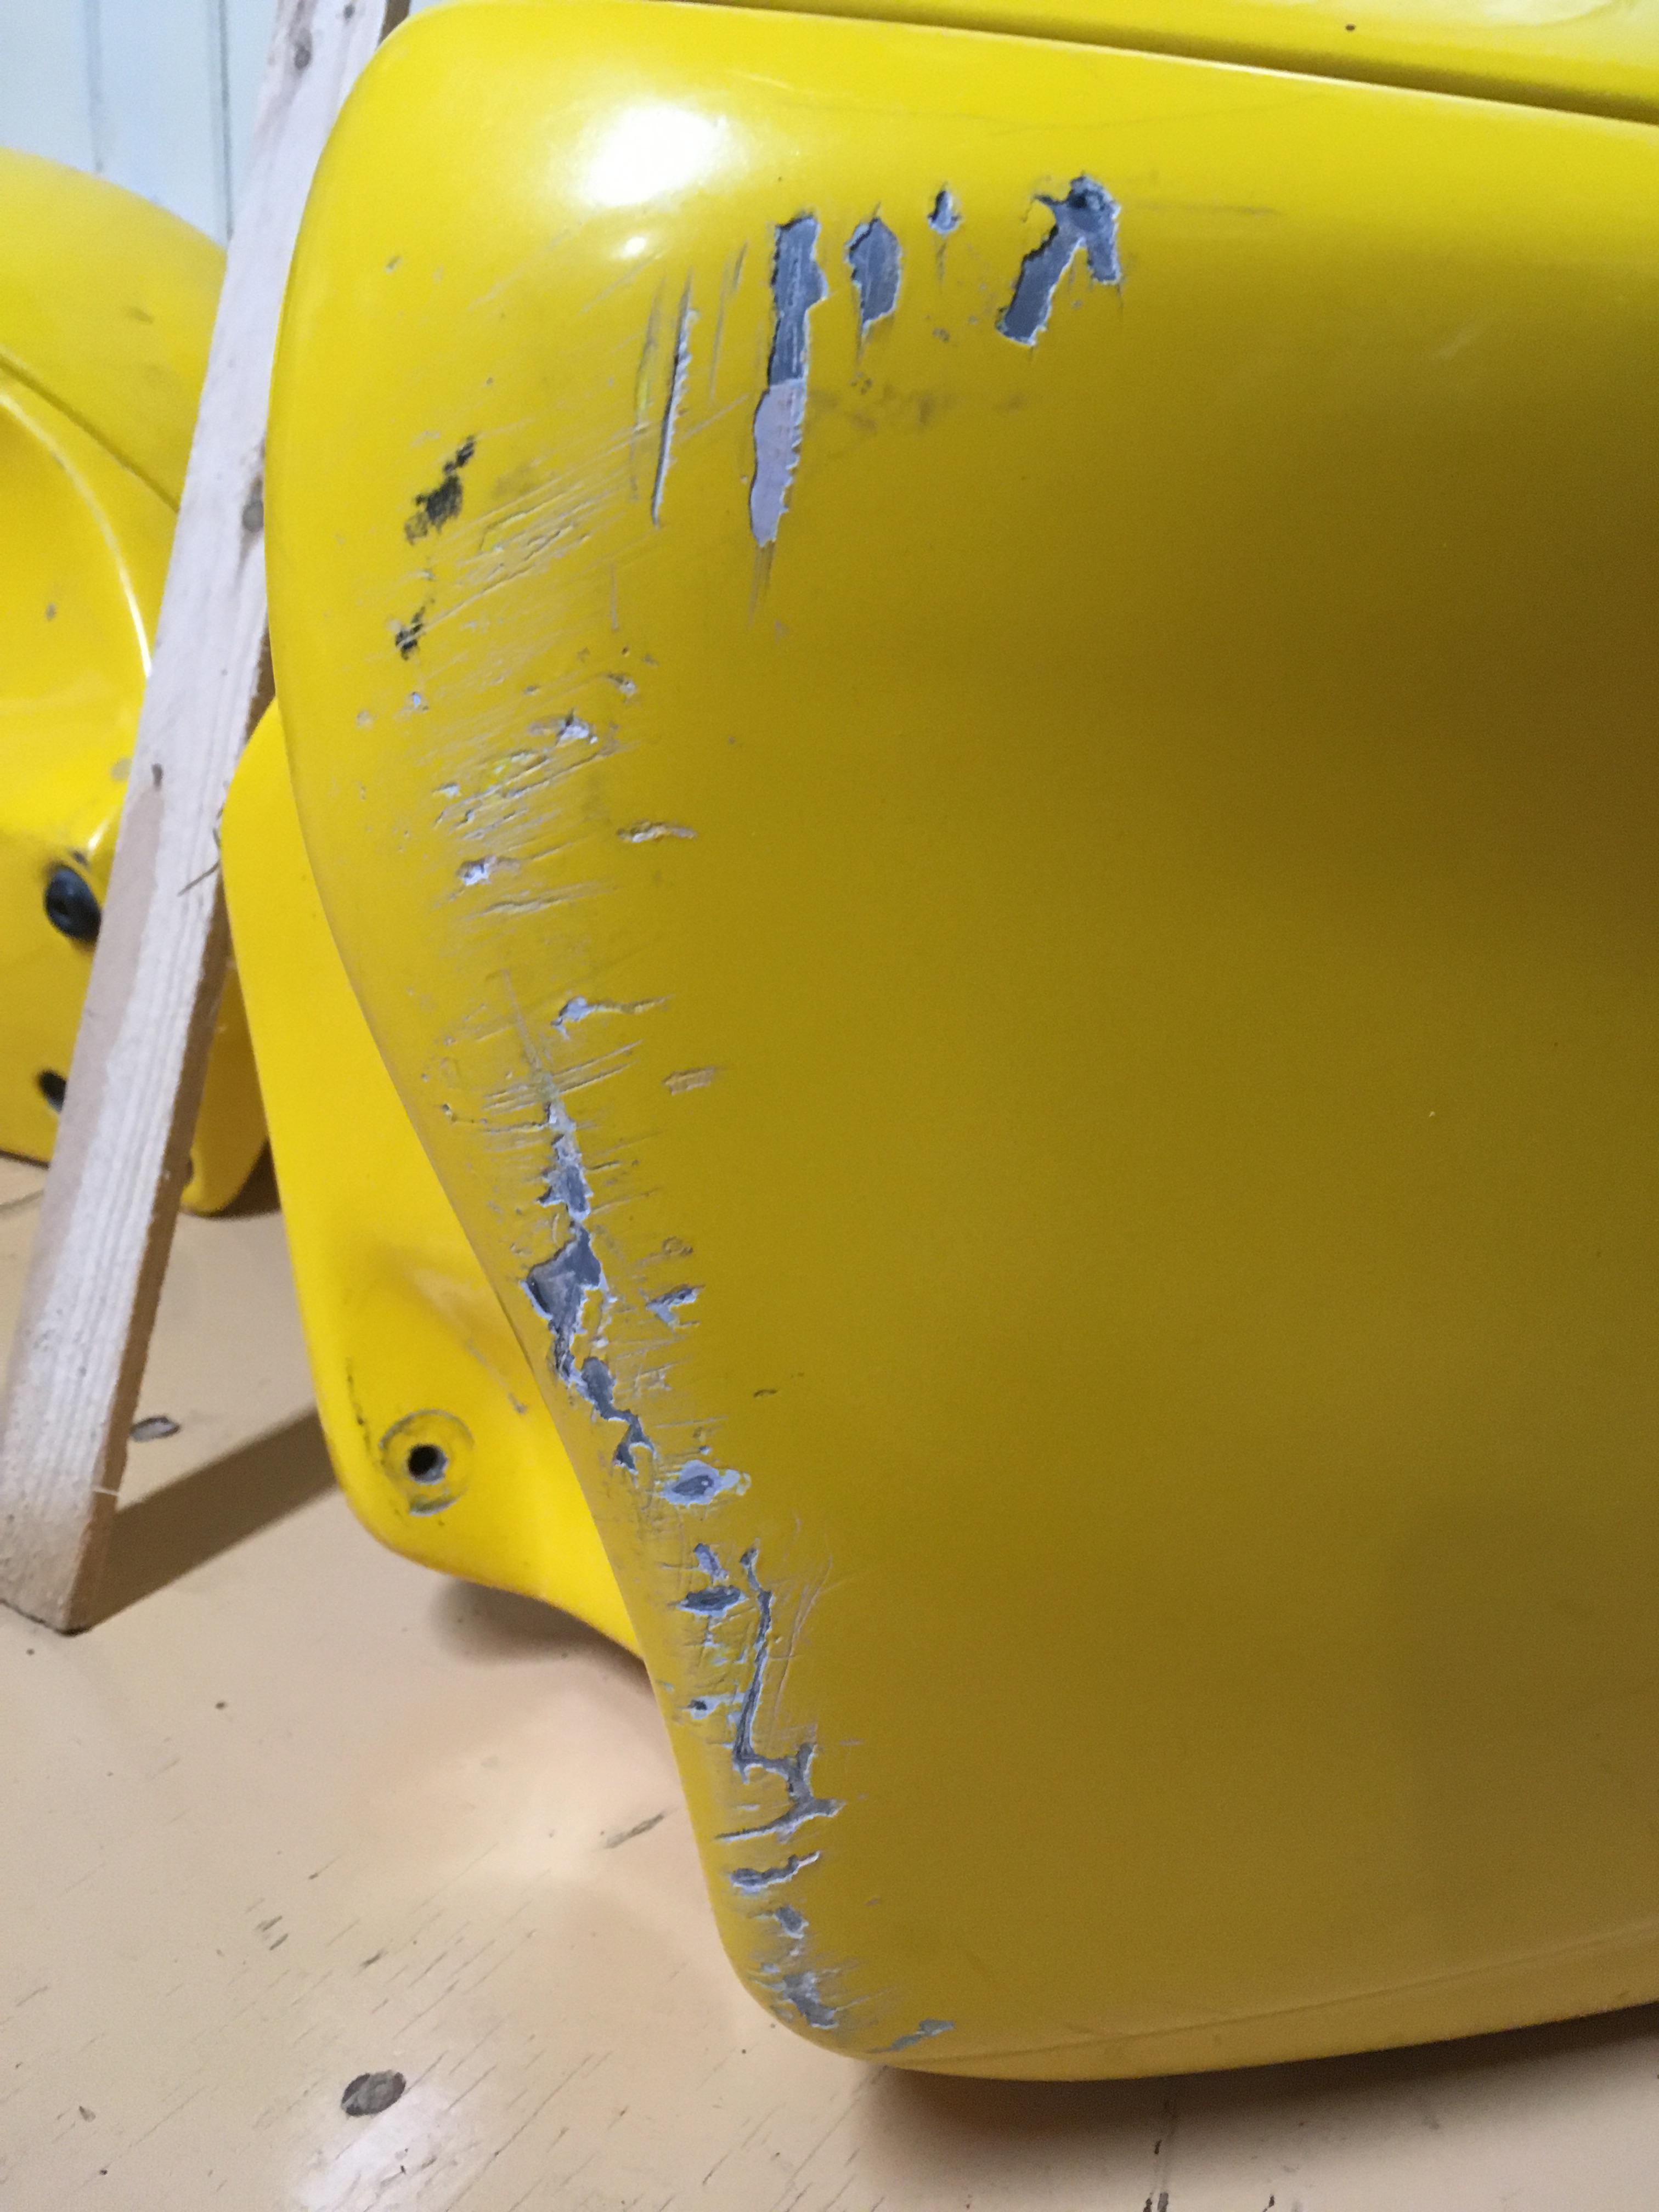
This is great information to help me decide the best way to repair the Corbin bags.
I will say that the Corbin yellow is not a perfect match to the VFR's Pearl Yellow, and this is not going to help with the color matching
Attached you can see the damage to the left bag, a larger area than I thought when I was sent the pictures before I bought the bike over the phone
Anyway it is what it is, I remembered there were a couple of custom paint companies years ago and I see they are still around, ( House of Kolor and Color Rite ), I checked out Color Rite and they list the correct Honda paint code but it is a two part paint, with a base color and top color, this falls in line with what I read about Honda paints years ago, that a great many of them were colored base coats with colored top coats to get the final color
It looks like I will have to take the bag and perhaps the tail section ( for true bike color ) and see what the local paint guys say, in this area I bet they are going to get a laugh when I ask if they can match or blend the paint in
-
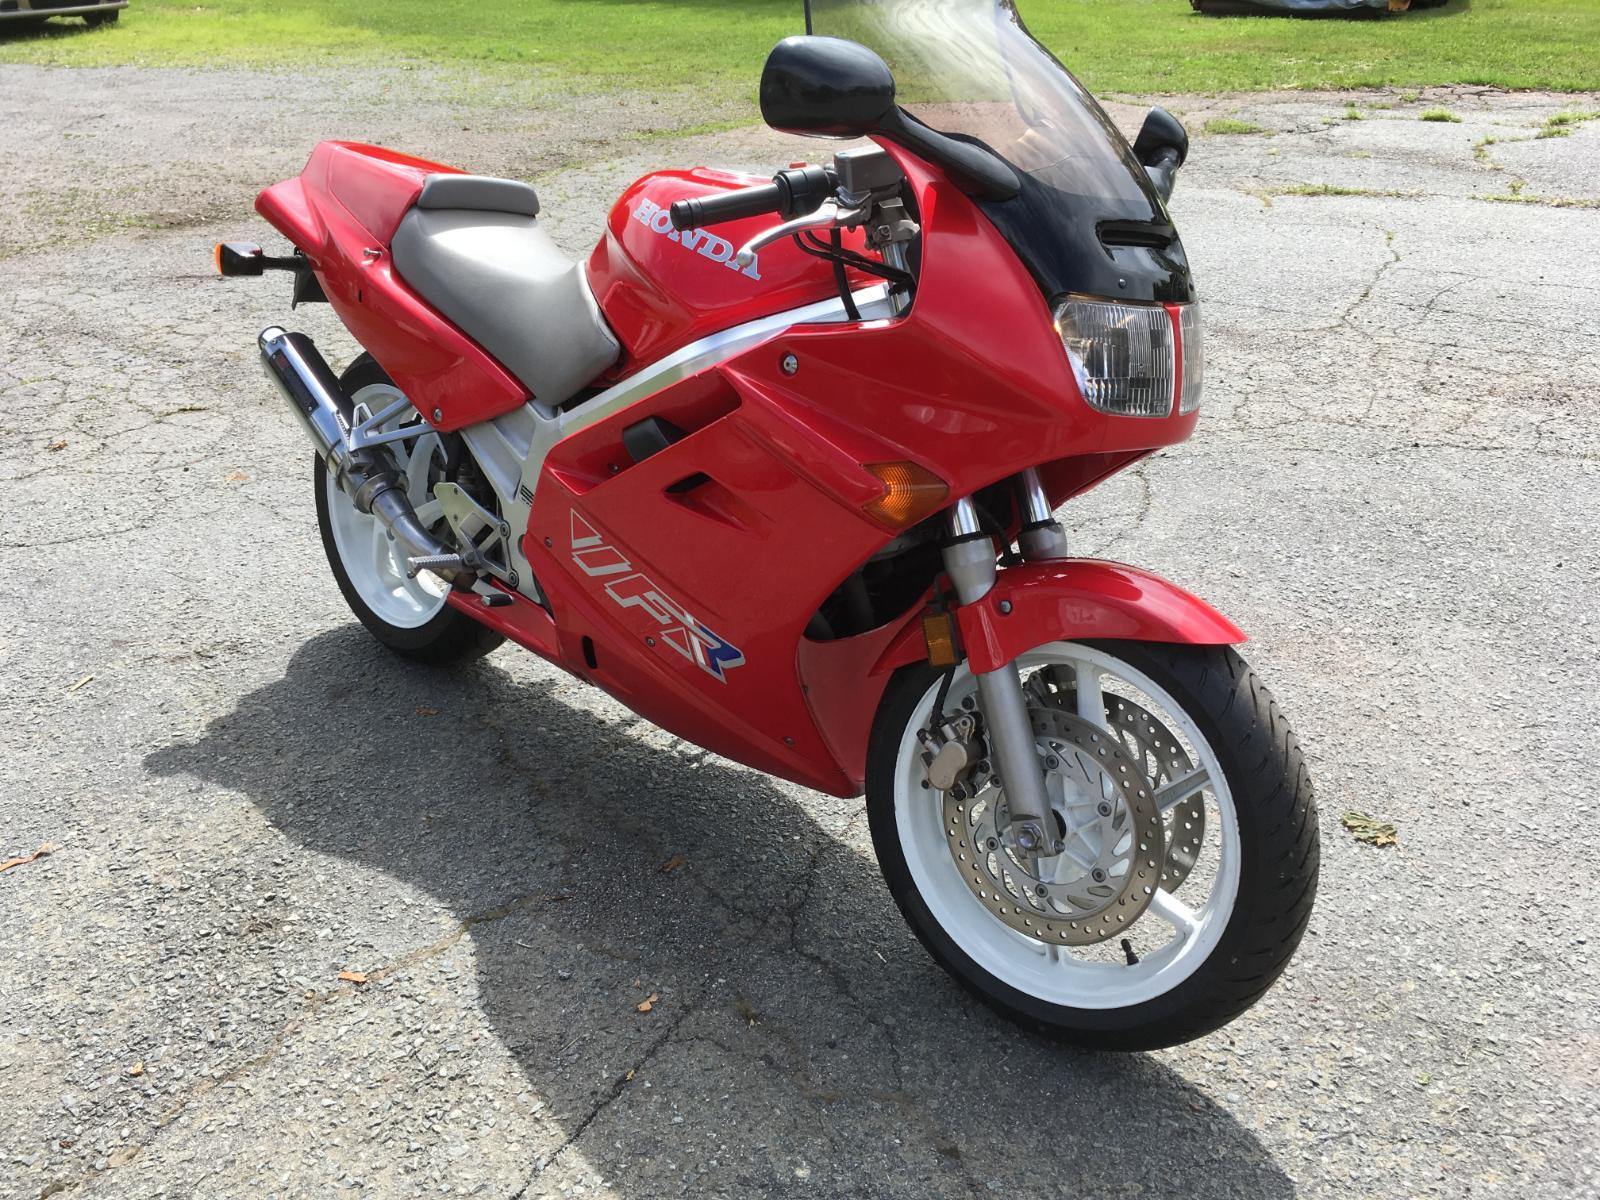
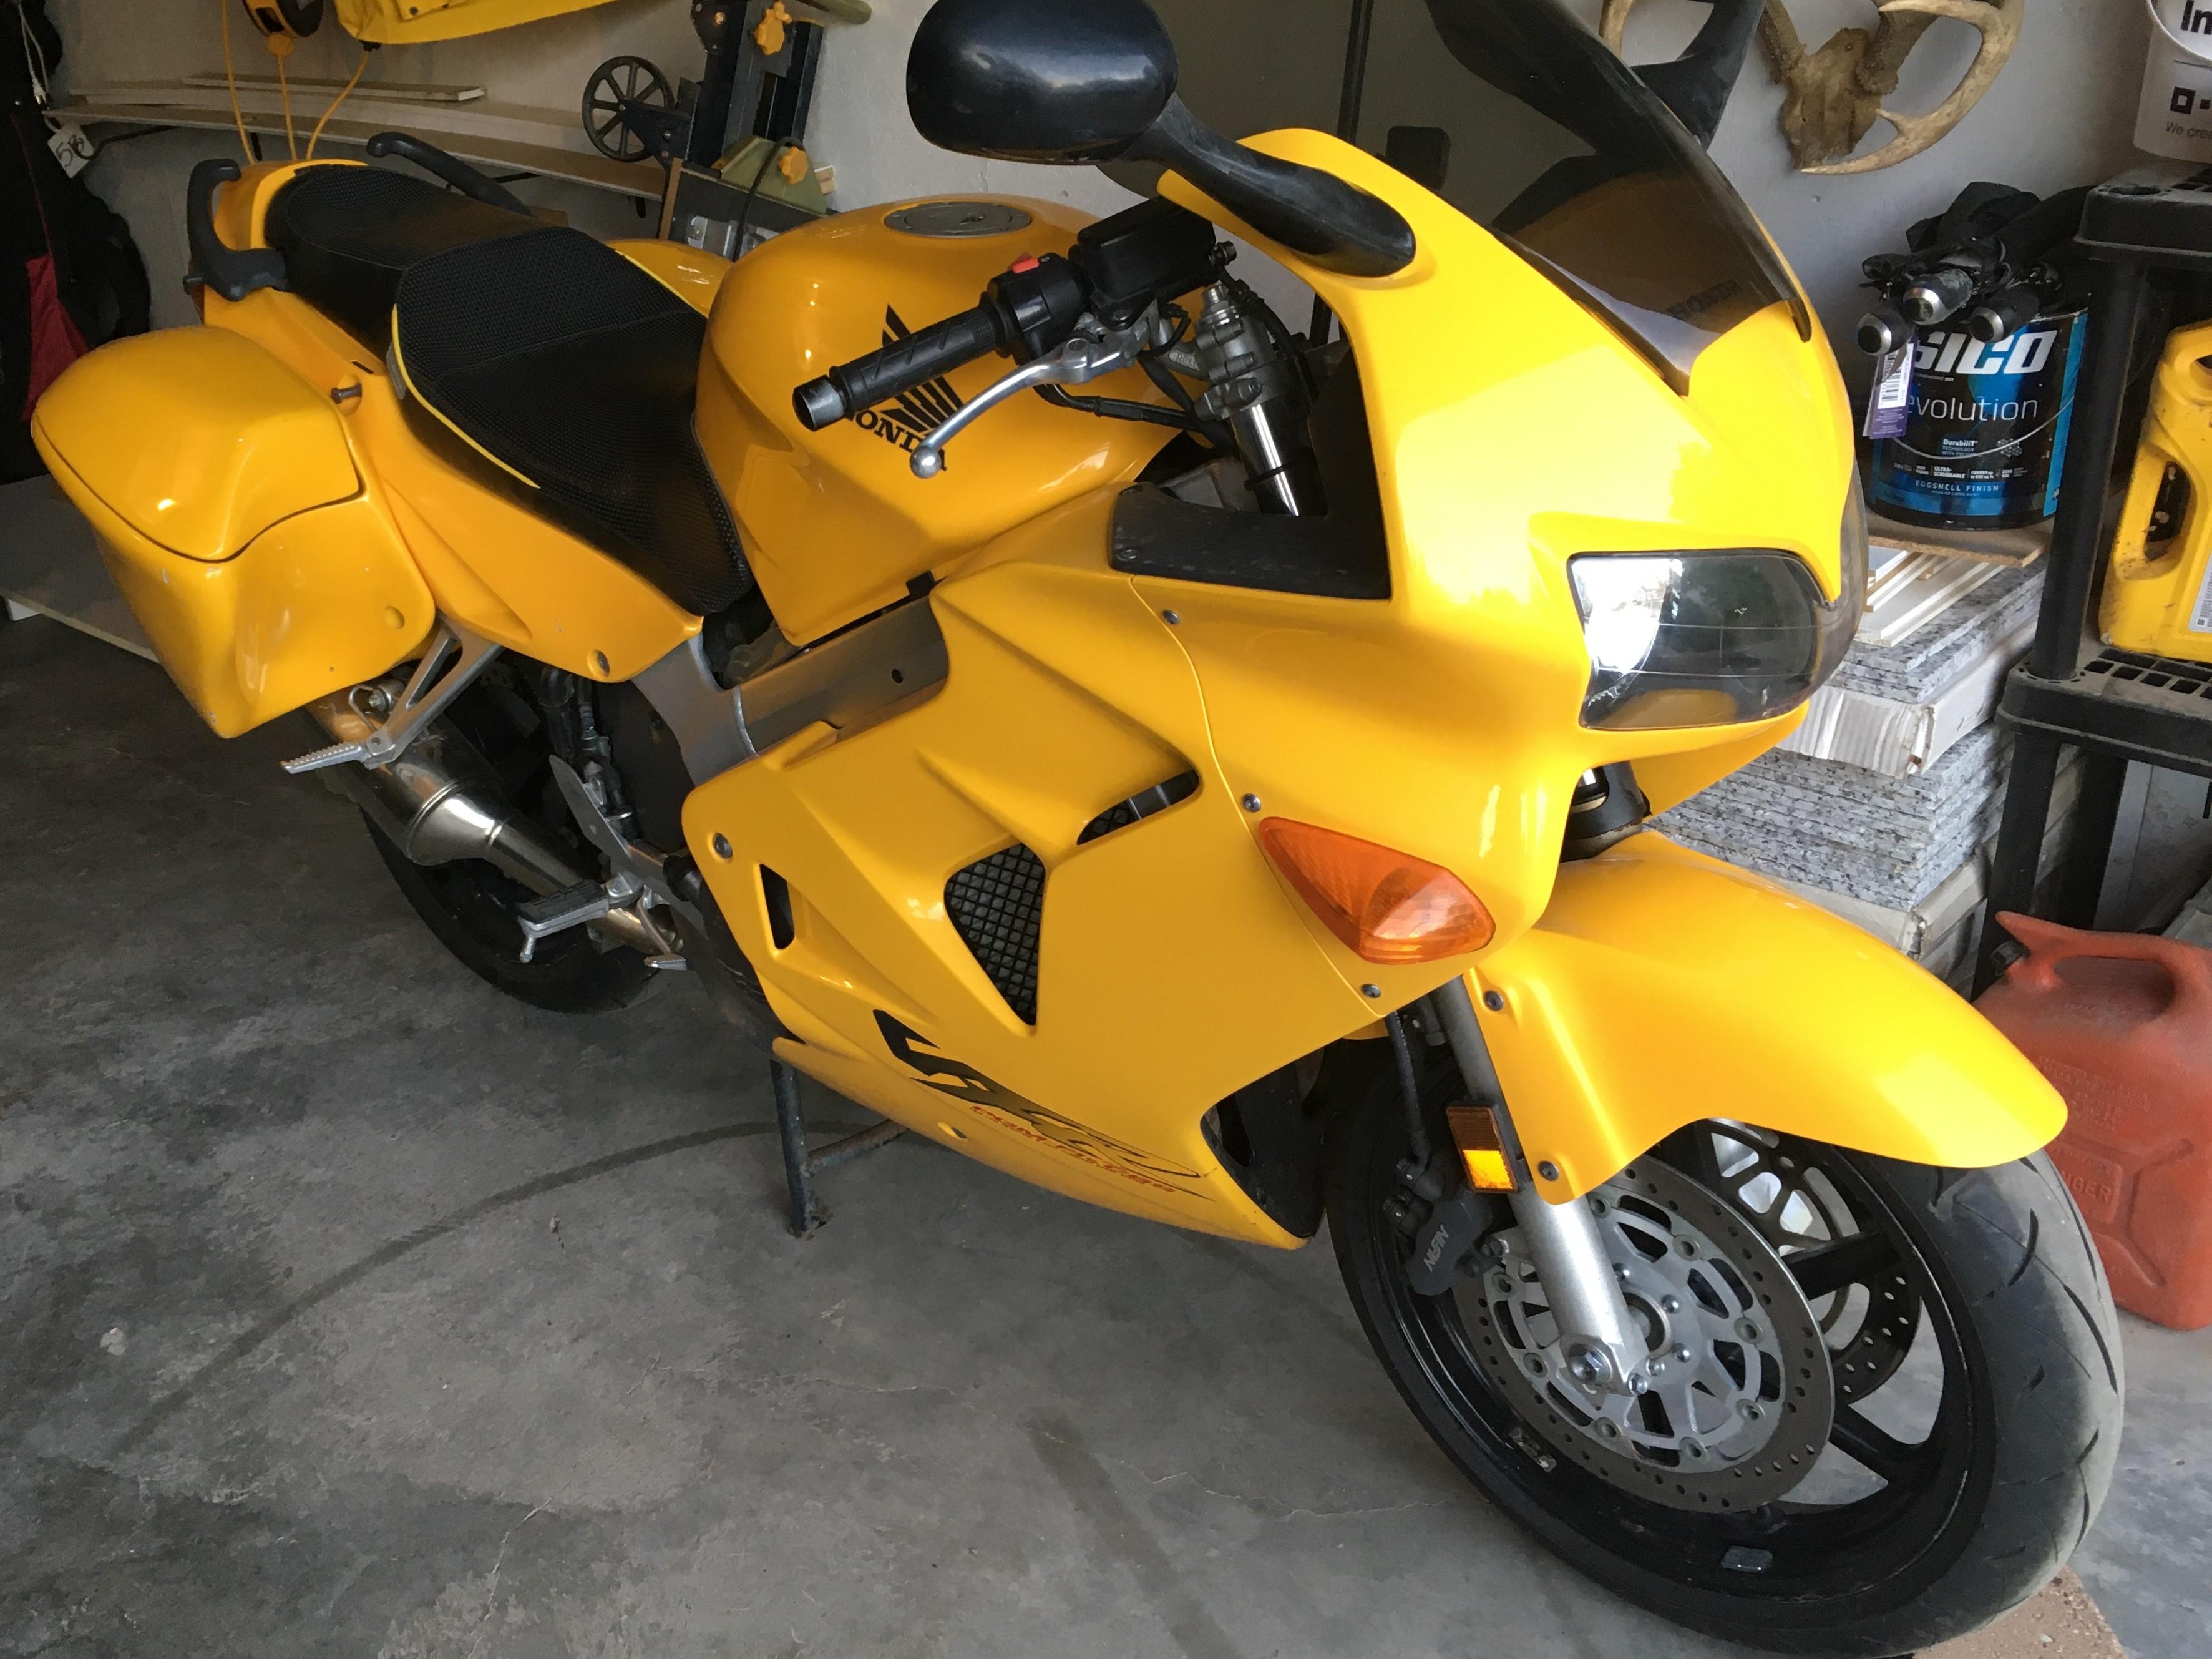
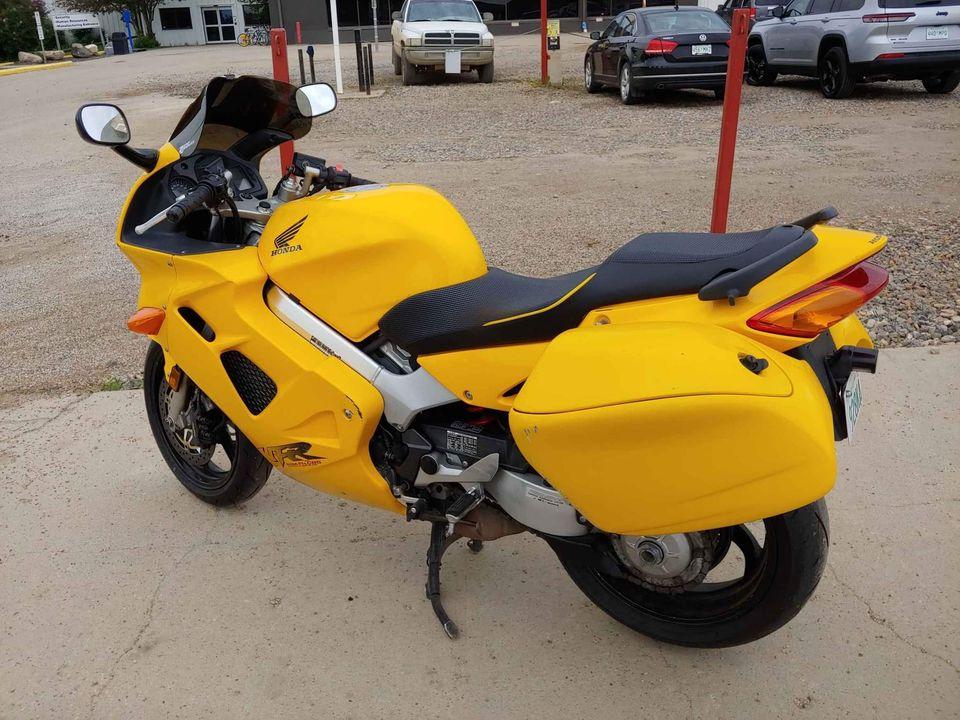
I have a 1999 Honda VFR800 in Pearl Yellow with a set of Corbin Beetle Bags.
The Corbin bags have some damage from a tip over sometime in it's life and I would like to have them repaired and painted to match the Honda yellow.
My question is have you guys that have painted using the Honda Codes had good luck matching existing paint ?
-
I hear ya on the quality of the mounts that were used on the VFR800 Beetle Bags, the way the bracket bolt tubes are made without a washer welded on the end is crazy,
it only allows the end of the bracket tube as a mating surface for the bags themselves.
Hard to believe this was all the thought Corbin put into the mounting hardware for such a great looking and expensive set of hard bags.
-
I have a question about Corbin Beetle Bags production. I tried talking to them and there was no interest at all in answering my enquiry.
I know that Corbin made different designed Beetle Bags for the following
vfr800 2002-2006 , massive and strange design
vfr800 1998-2001
And I think a small number of bags were made for the 1994-1997 vfr750
Has anyone ever seen or heard of Corbin making a set of Beetle Bags for the 1990-1993 VFR750?
-
- Popular Post
- Popular Post
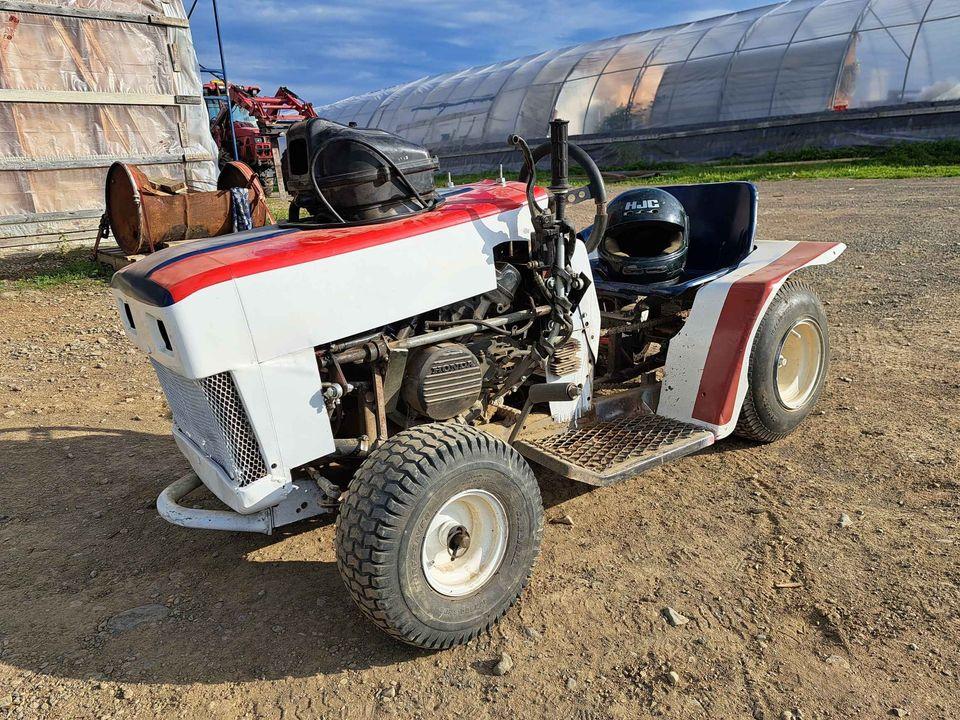
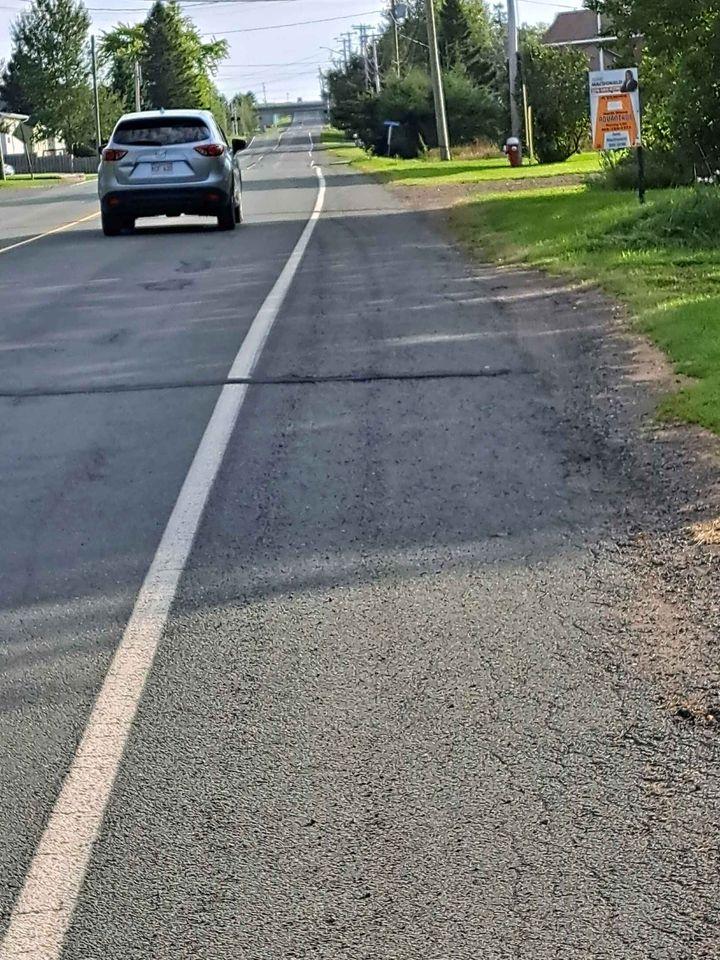
I came across this today in a local online marketplace, thought you guys might get a laugh out of it as I did
From what I got out of the ad the guy said it has a 1987 VFR700 engine that works great but would need a little work on the drive axle as it was twisting the axles he had kicking around
The second picture shows the torque strip he left on the pavement. God the mind can sure go to some dark places when you get bored
-
3
-
 9
9
-
I have a related question to this form
Has anyone ever synced the starter valves and found one valve to be very hard to get any movement on the balancing gauges, I came across this in the spring after
I went through a 1999 VFR800 last winter and have wondered since what would cause it. The bike seems to run fine just not convinced the starter valve balance is 100%
-
The Pearl Yellow looks good on that 93,
Do you know who made the left hand exhaust by chance
I got a 91 that needs a restore and I like your combination
-
Great to know there is a member with Corbin mounting knowledge
I will ask if you can give me a little guidance before I dive into getting the bags mounted correctly
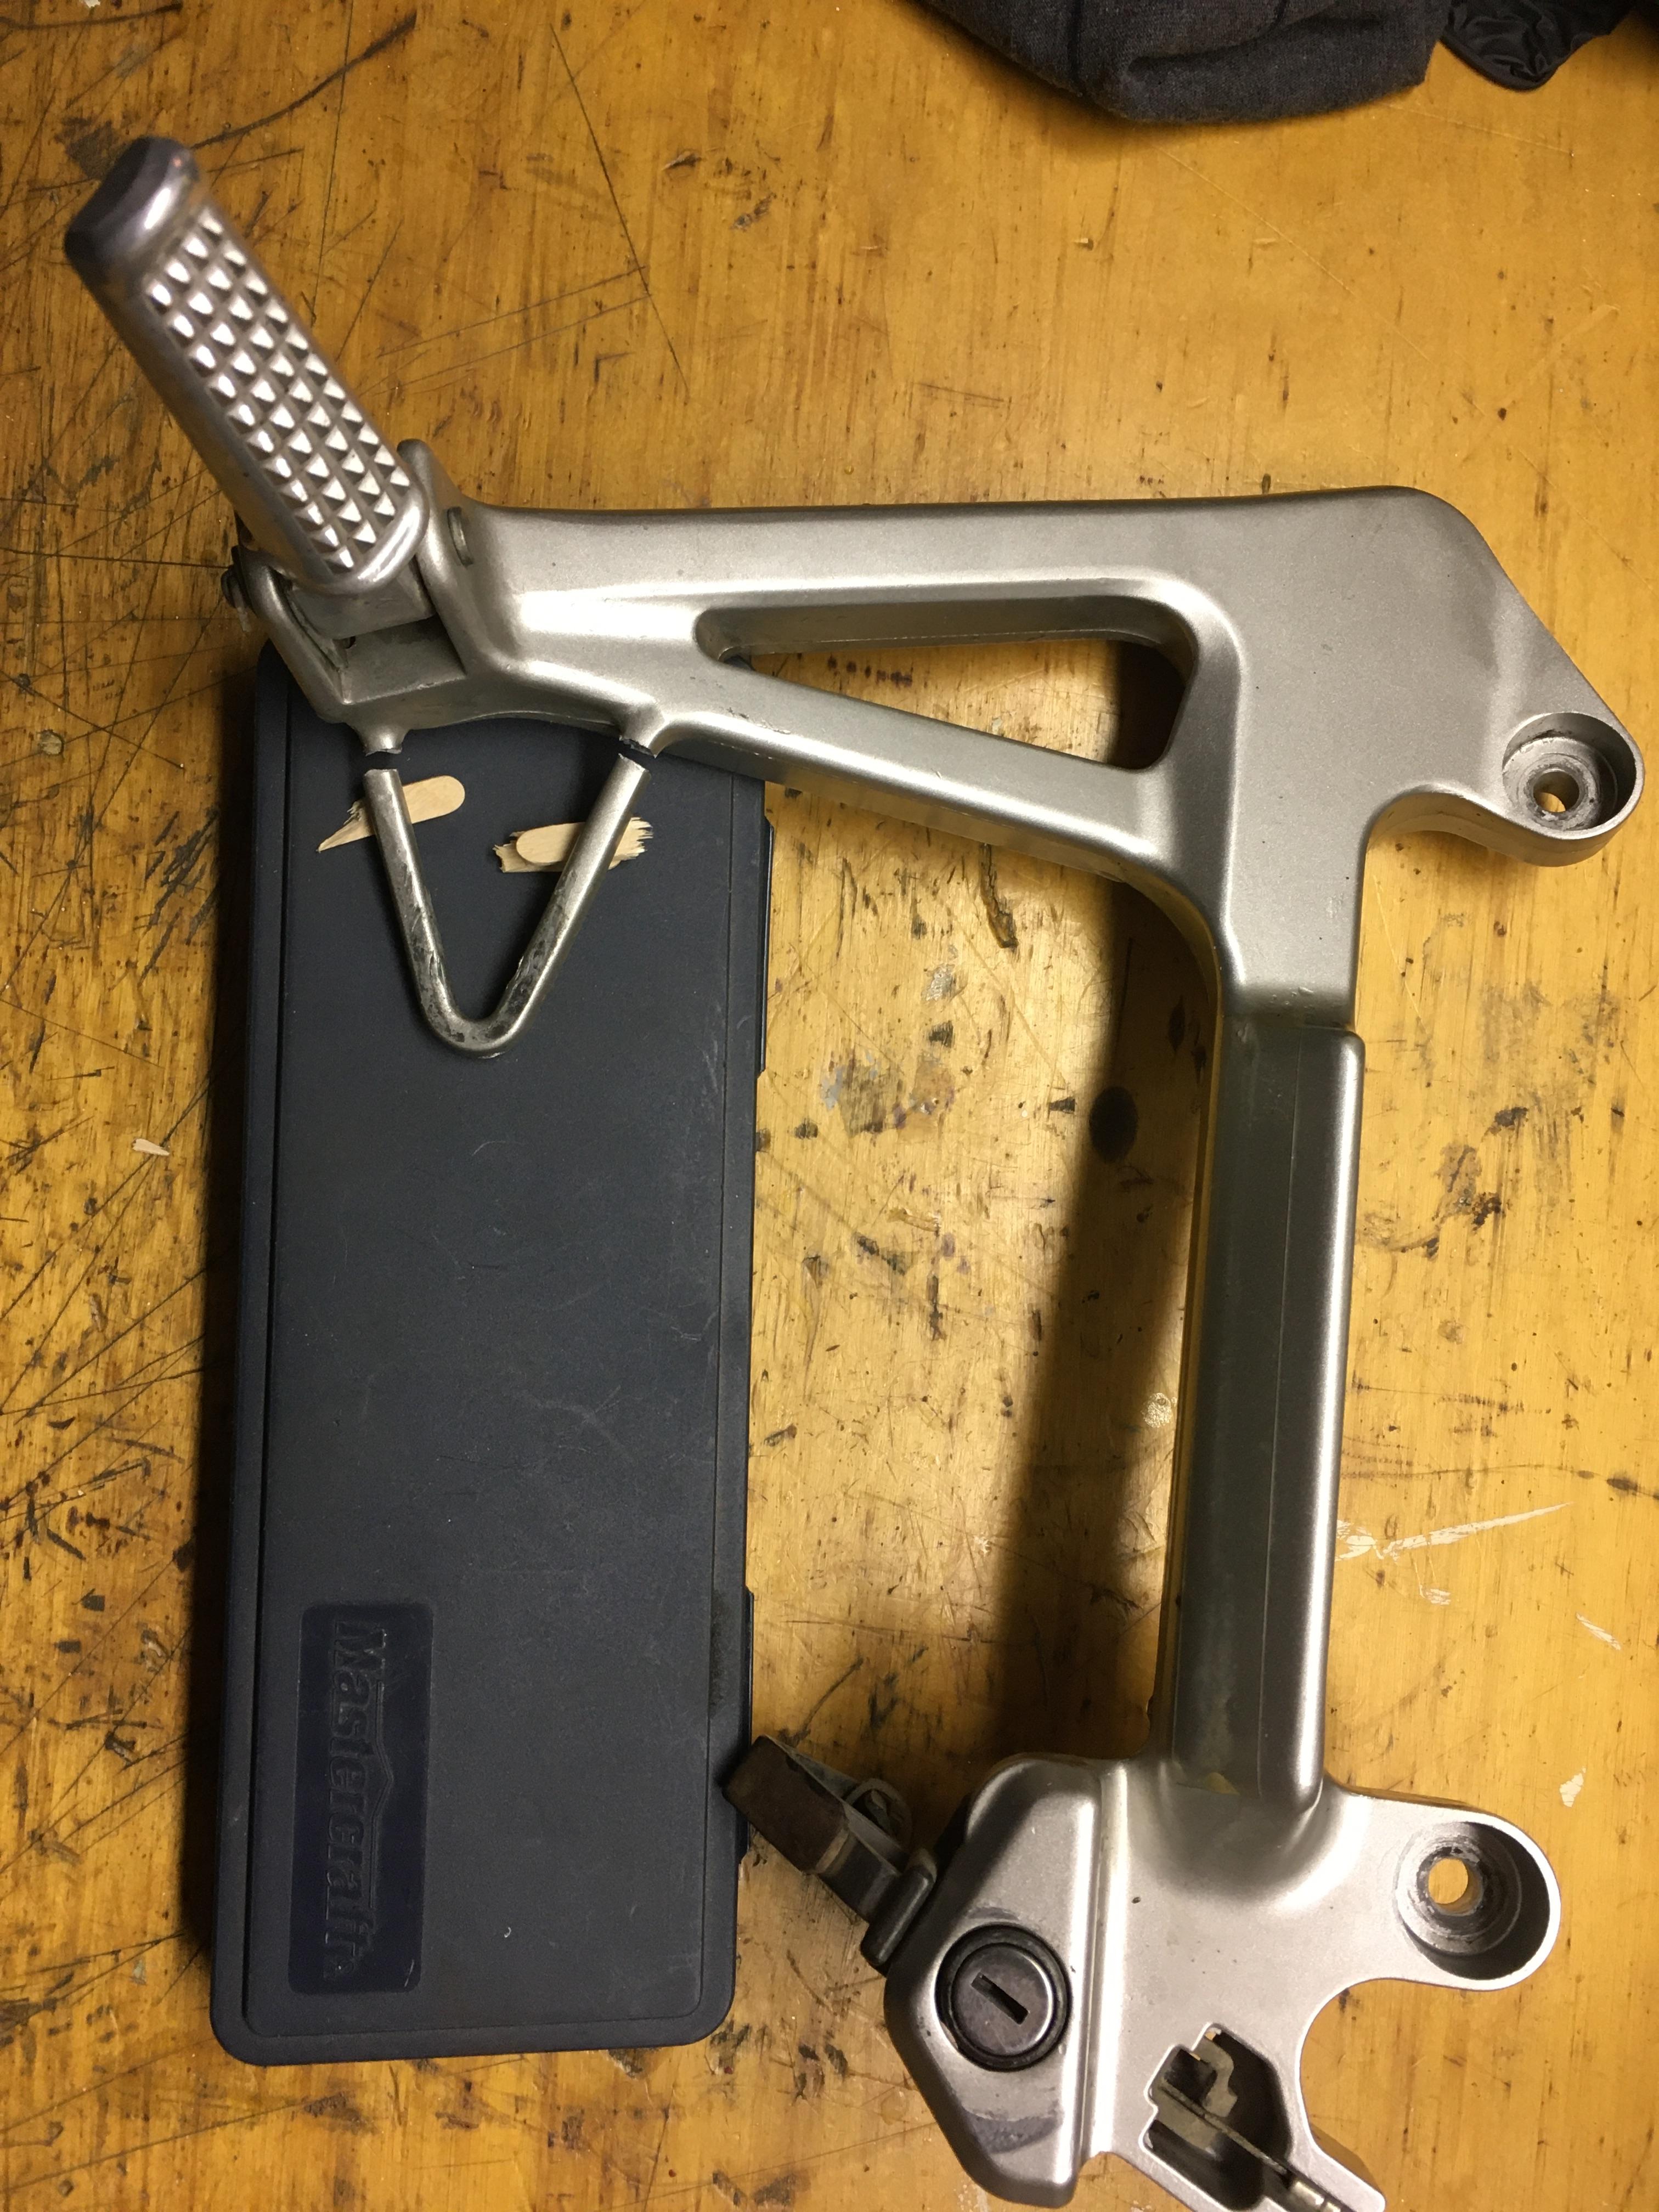
Attached is a picture when I first saw the bike, as you can see the left bag is not mounted right due to a tip over by the looks of it
I found that the left passenger heel protector was broke on one side and looks like the front mounting bolt caused the break during the tip over
I broke the other side trying the dumb ass move of seeing if it would bend back some
I have a new left passenger foot peg on order but I was wondering if you think that based on the pitch of the bag that the other mount might have a bend as well
Have you found these tube/bracket bag mounts are at 90 degrees from the plate to the bolt tube?
Any thoughts will be a great help, any tricks you know of ?
You by chance would not have a good clear set of instructions for mounting the bags ?
I have a PDF set but the image quality is poor and hard to see the components and where spacer washers go etc
-
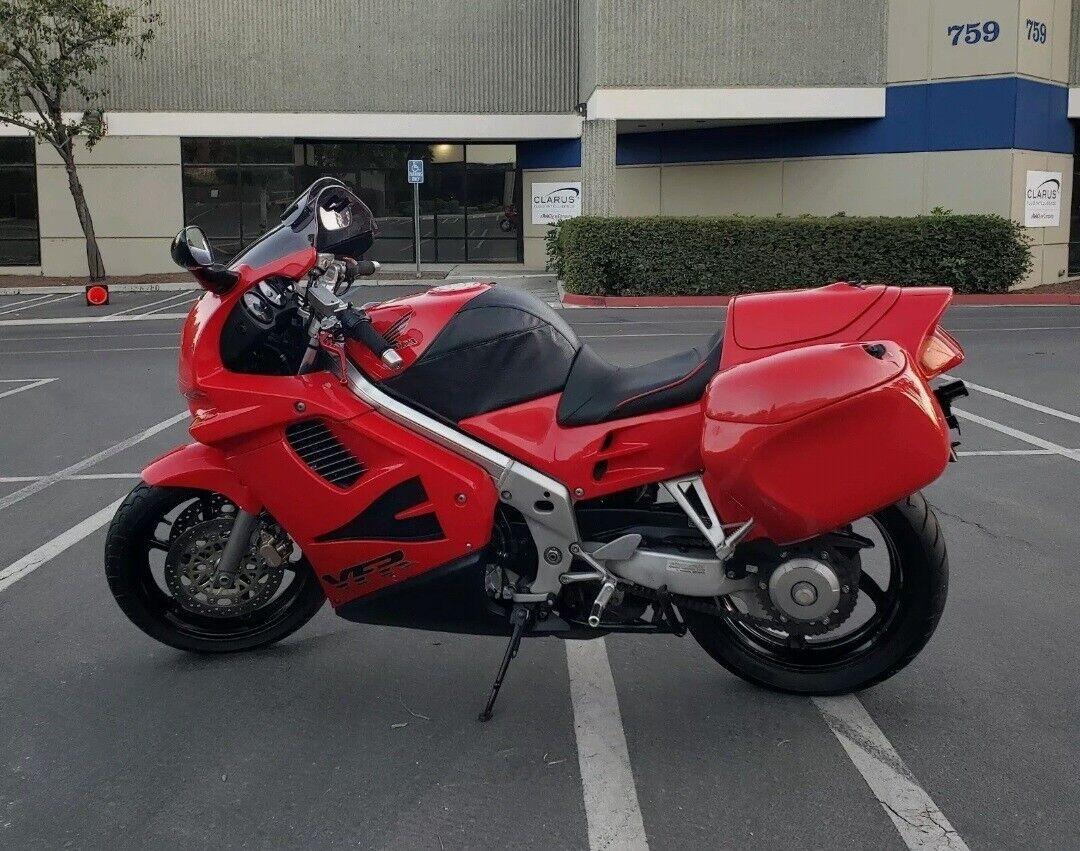
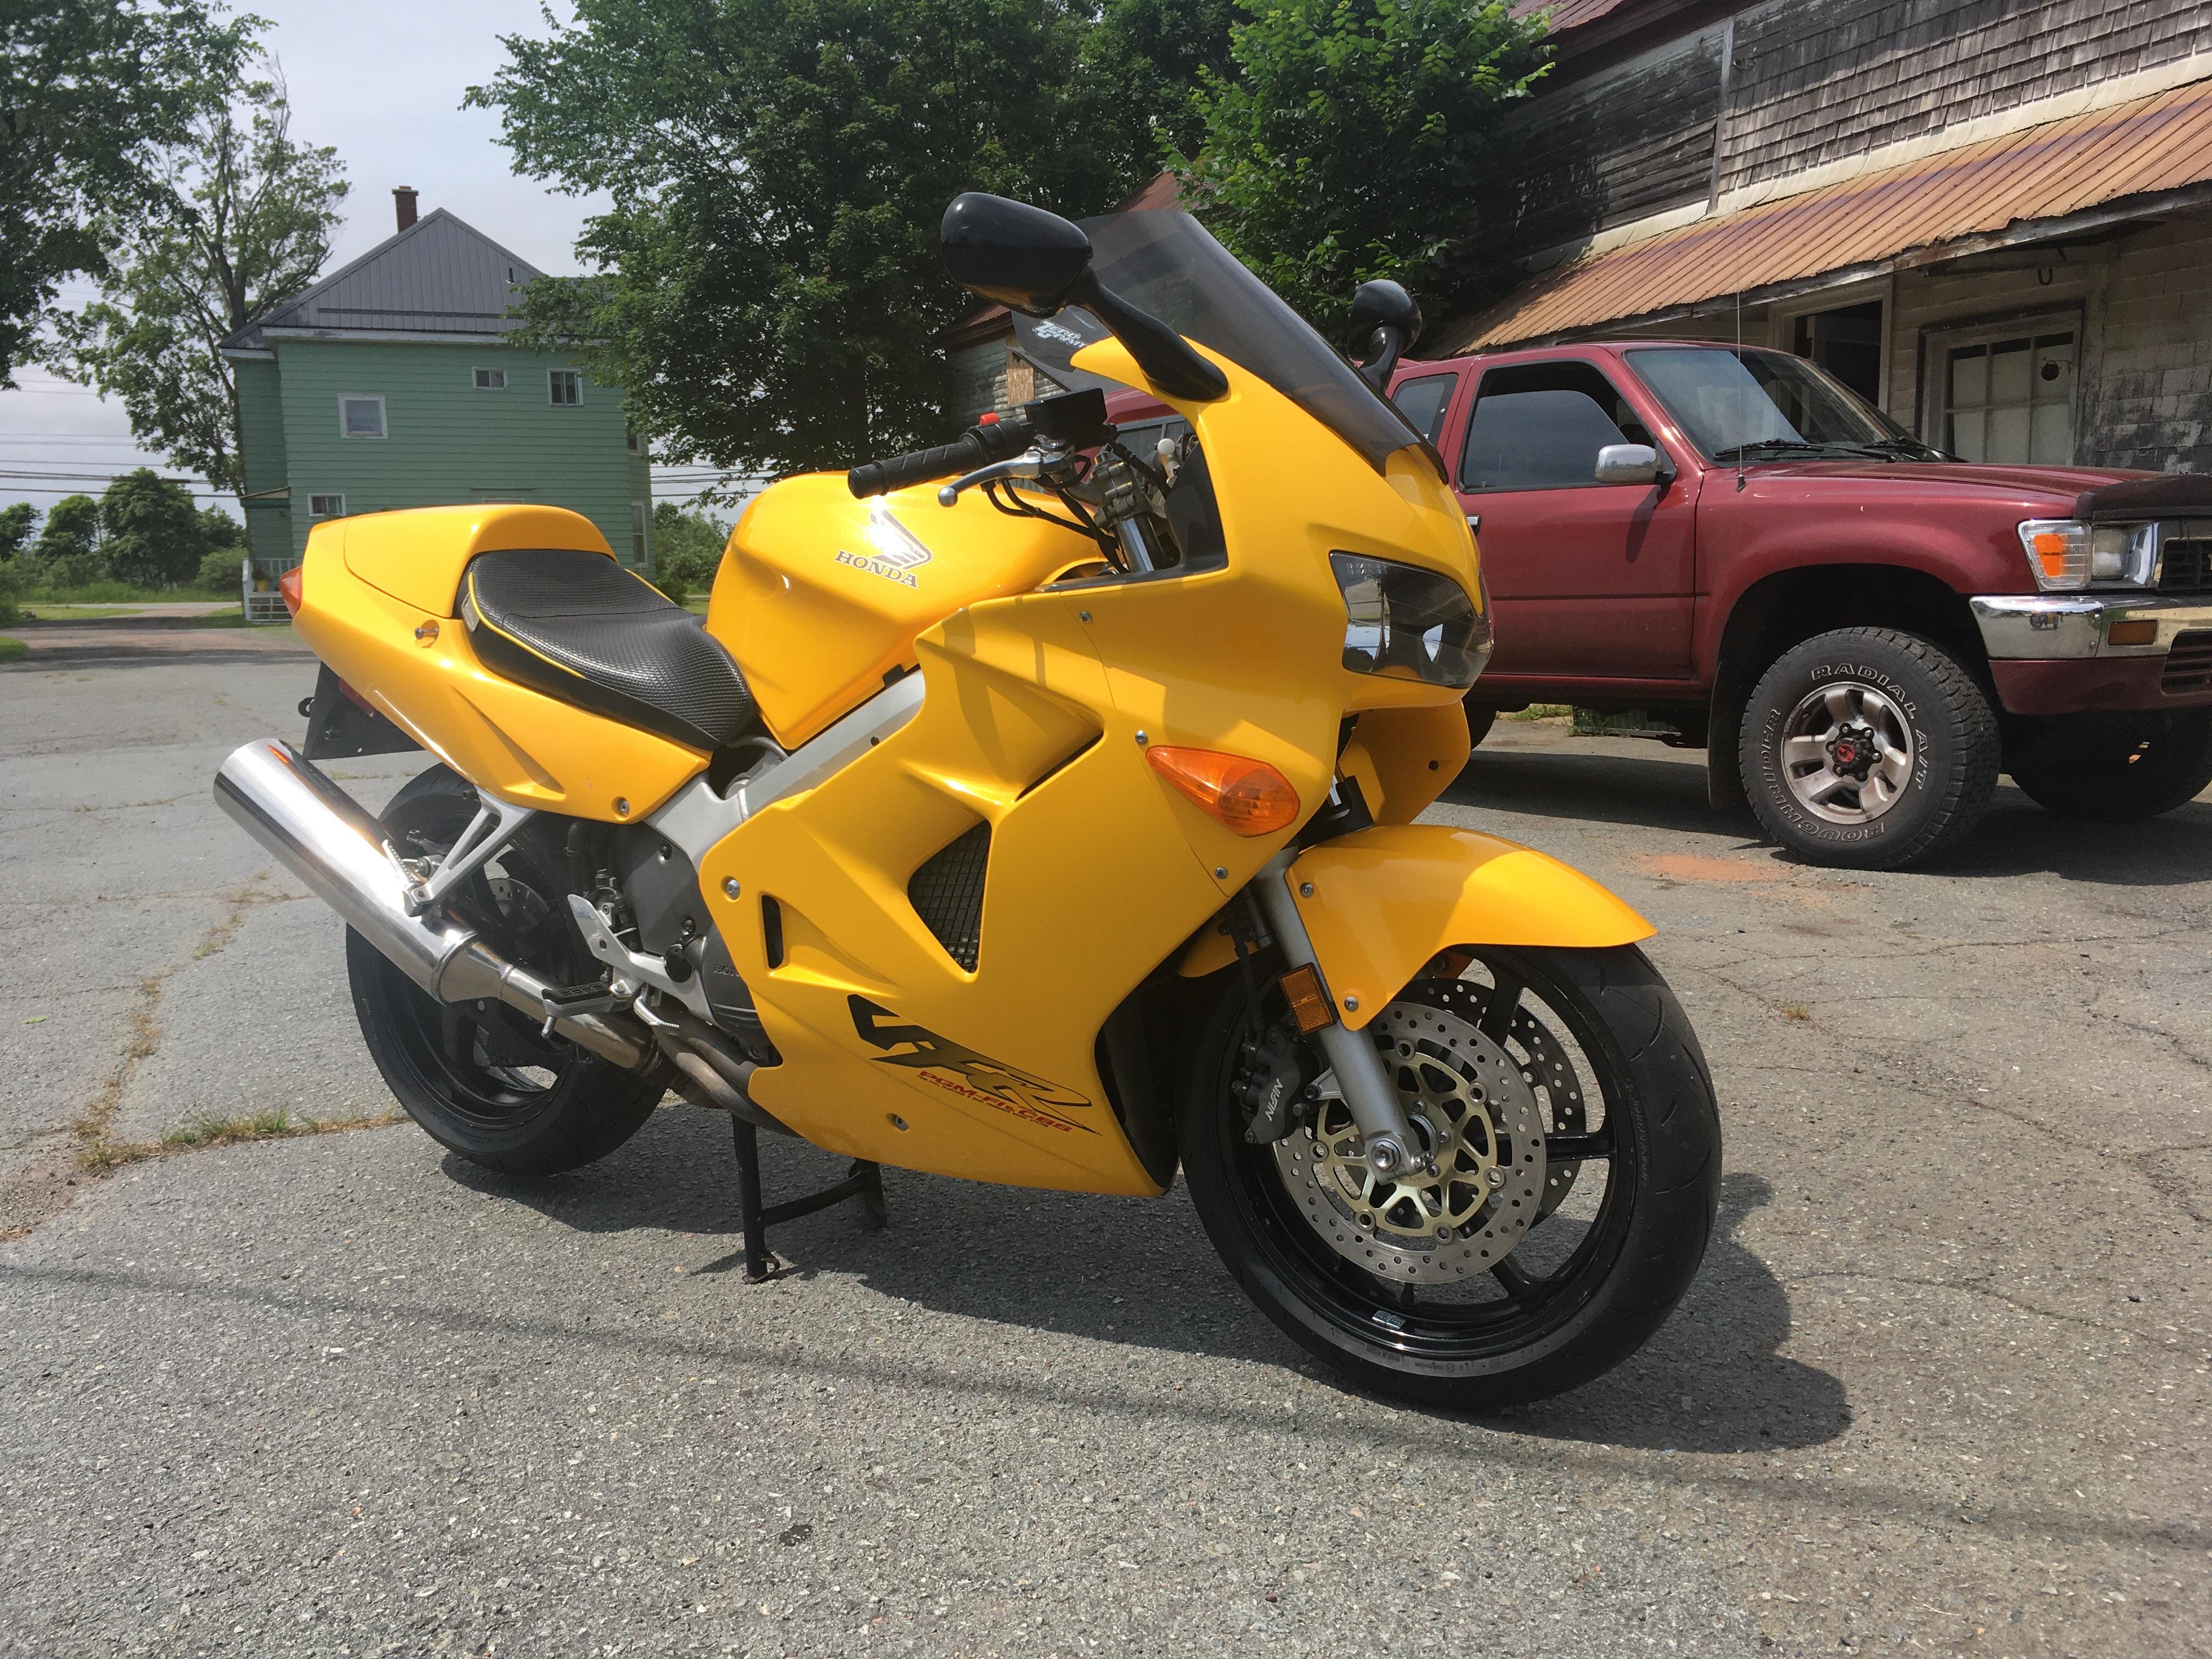
Just thought I would finish off the thread with a picture of how the old girl turned out after 8 months of updates and rebuilding the front end
Learned a lot and I would have been lost if not for your guys feed back and knowledge.
Now to get some insurance and drive the piss out of it, the install of the Corbin Beetle bags will have to wait for any other day
-
4
-
-
Agree mount flat on the frame...on mine I threw in one of my mount plates for a heat sink, (probably overkill)........as a BTW....ditch that thermal breaker....replace with a good quality 40 amp rated fuse holder.
My fav is a MetriPack 630, and typically I'll buy from CycleTerminal. Del City also has some good options
Perfect, frame heat sink it is, yes I was thinking I would switch out the thermal breaker for a good inline fuse holder.
Will use the breaker for now to give the bike a good shake down to see if I have an issues from the winters rebuild
-
1
-
-
Well I thought I would reply to the thread with an update since all you guys took the time to help me solve my low charging numbers at the battery
After a couple of you guys explained out the reasoning for testing the stator unplugged I clued in that I had screwed up and also did not need to remove the stator cover and have a look.
So, I reinstalled the old stator and cover, unplugged the stator connector and retested, turns out the stator was working fine since at idle she had almost 20 VAC and at 5000RPM she was putting out 60 VAC, so time to rethink, I rechecked all the wire leads and since ever thing checked out ( including the oem regulator ) based on the service manual specs, I figured it had to still be the regulator somehow, as luck would have it I had a shindengen regulator I bought years ago and a regulator harness from Roadstercycle. As part of this install I soldered the stator lines and sealed them with two layers of shrink tubing.
I fired her up last night and looks like all is finally well.
Battery voltage DC , OEM Regulator
Idle 13.2 +-
2000rpm 13.9 +-
5000rpm 13.0 +-
Battery voltage DC , Shindengen regulator with Roadstercycle harness
idle 14.4 +-
2000rpm 14.5 +-
5000rpm 14.5+-
Thanks for all the guidance guys, learned a lot about electrical wiring and current for sure
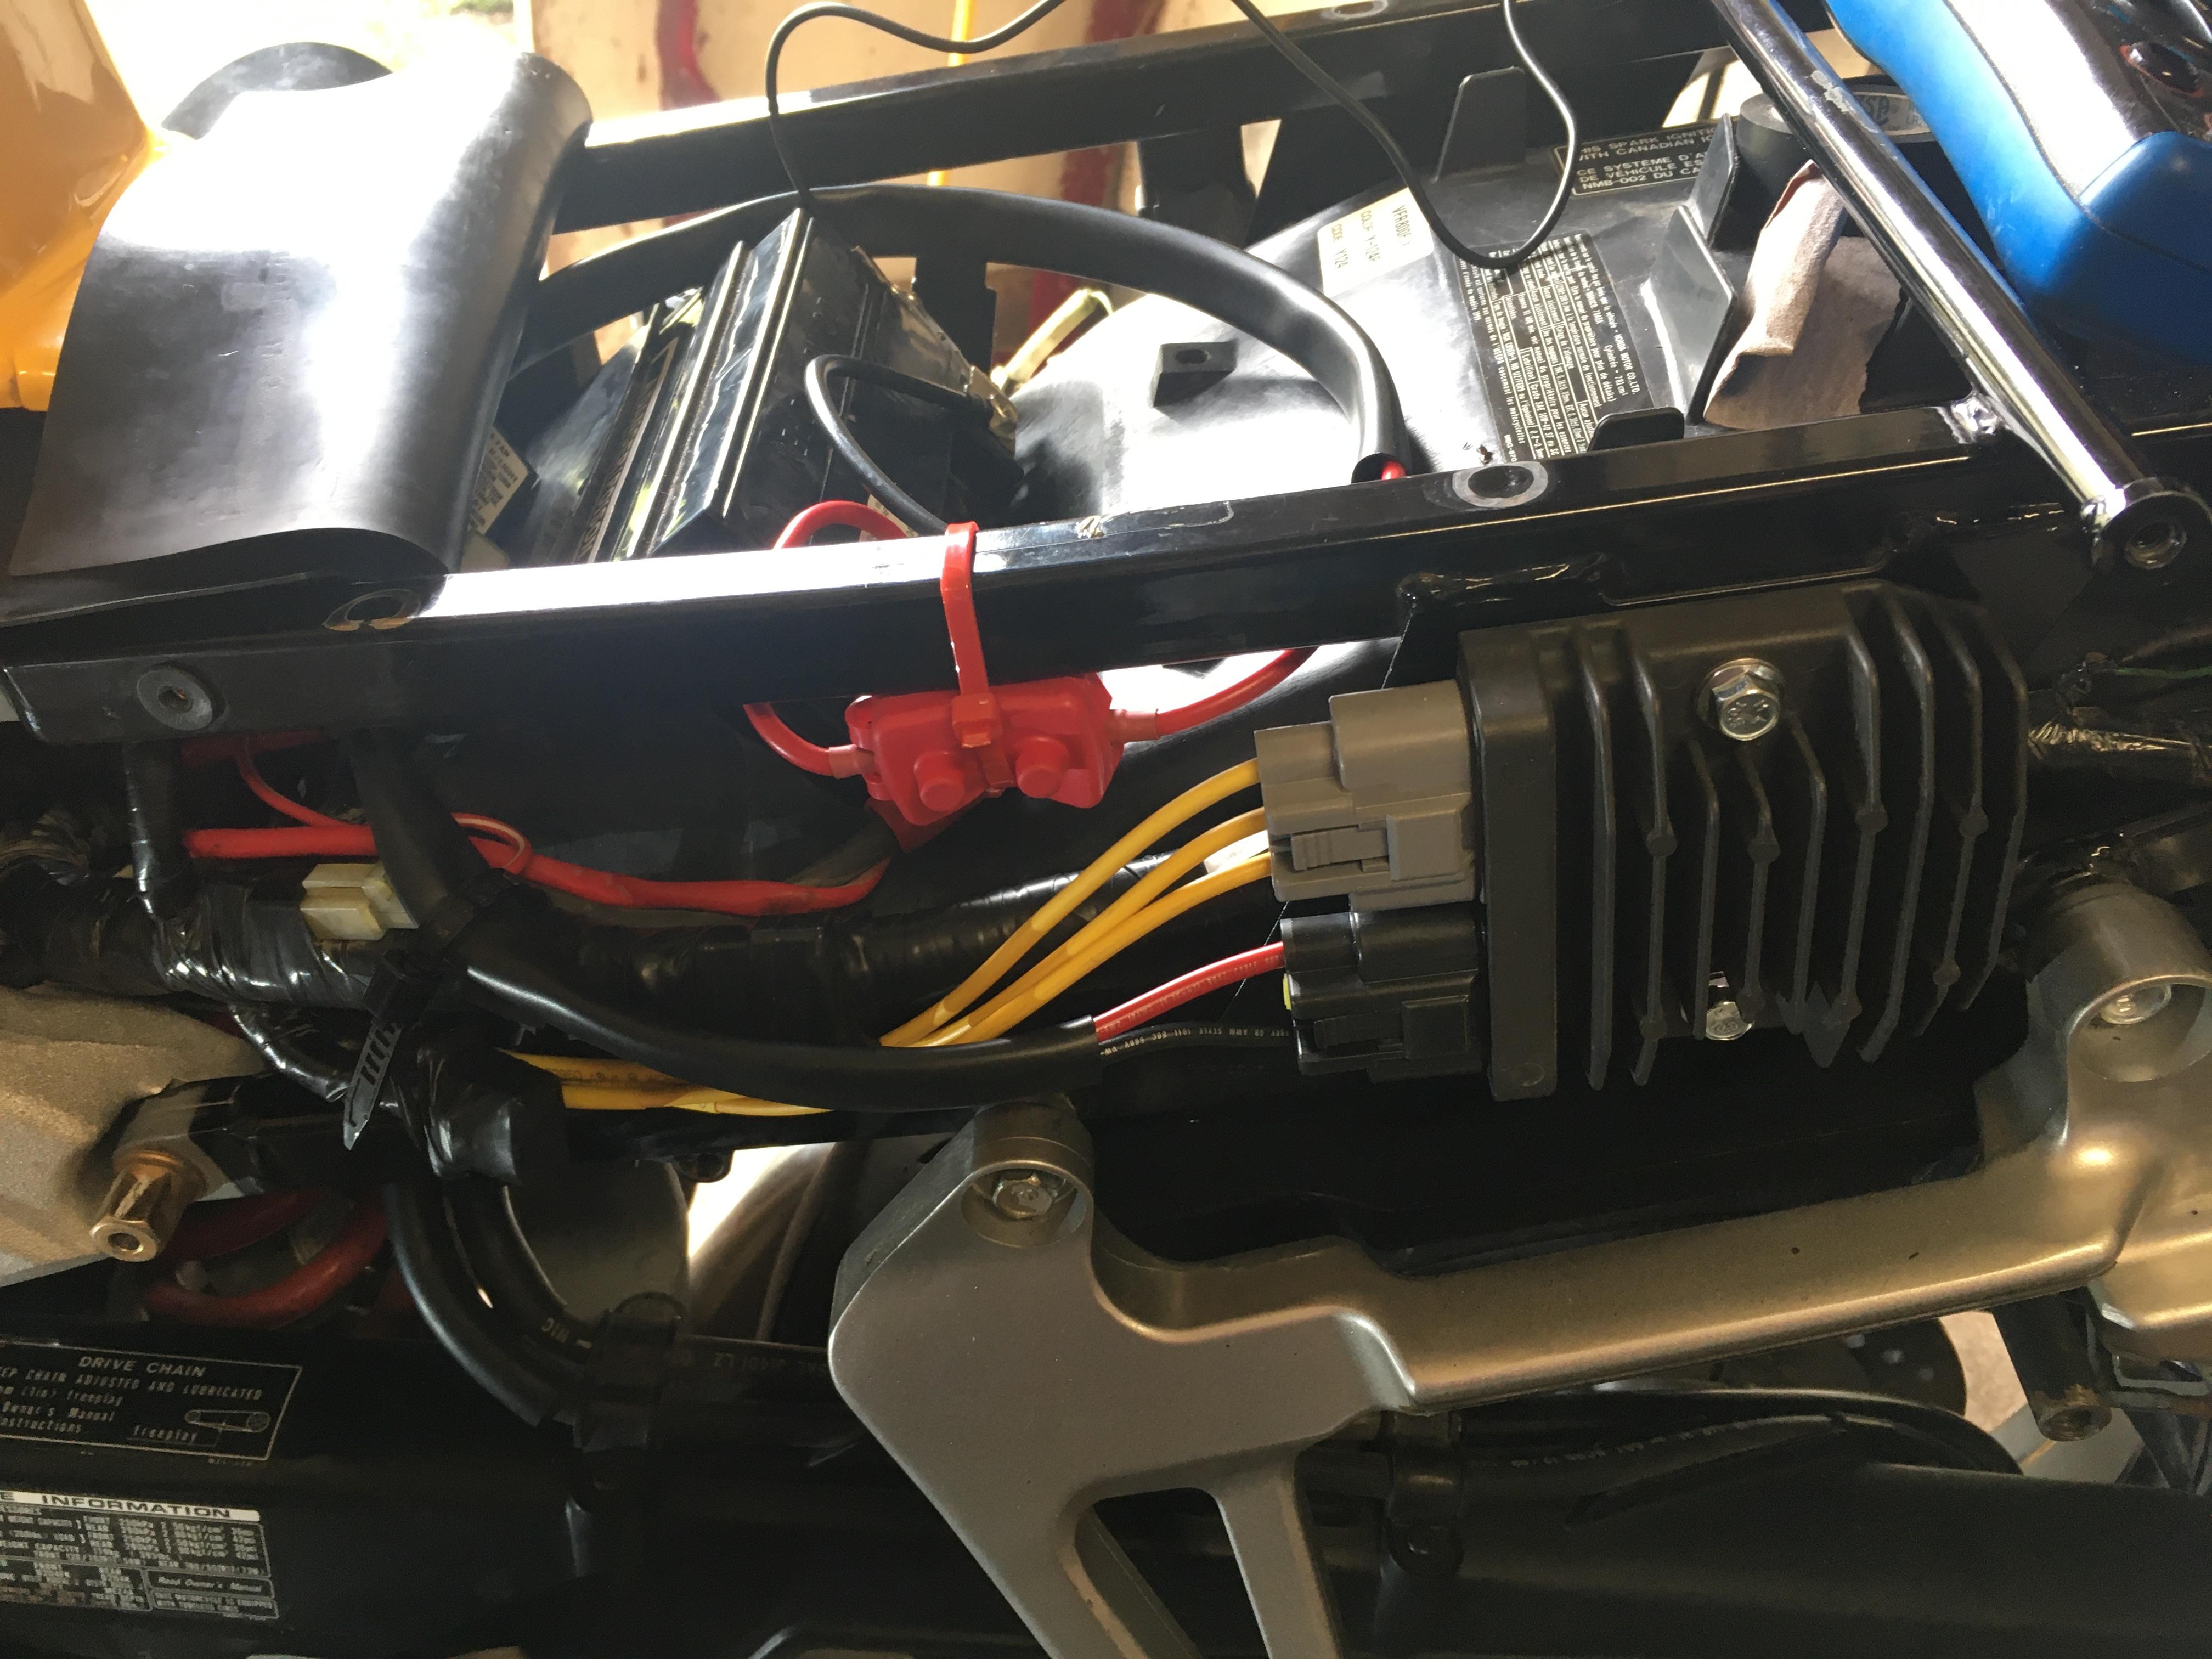
I will ask one last thing
What are the thoughts about how to mount the regulator, is it better to have it resting again the frame for hot absorption or to have a space behind the regulator for air flow like I tried by using a flat washer spacer?
Thanks
-
2
-


VFR Top 10 Again
in Third and Fourth Generation VFR's
Posted
My god, how cool it would be to have a factory cut away of the RC30 sitting in the living room under glass.