Woodie
-
Posts
307 -
Joined
-
Last visited
Content Type
Forums
Profiles
Gallery
Blogs
Downloads
Events
Everything posted by Woodie
-
 Very classy..... and the old tower looks good too.
 -
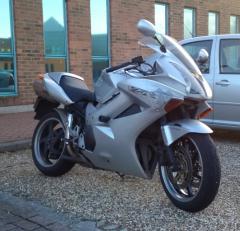
Not bad for £1500 crash write off.
-
-
From the album: Woodie
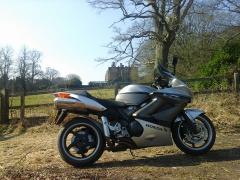
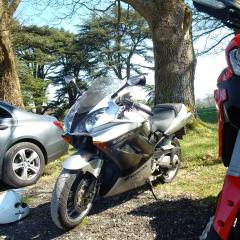
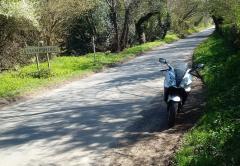
Little Sub zero run, stopped by one of the Neighbours country cottages for a short rest. -
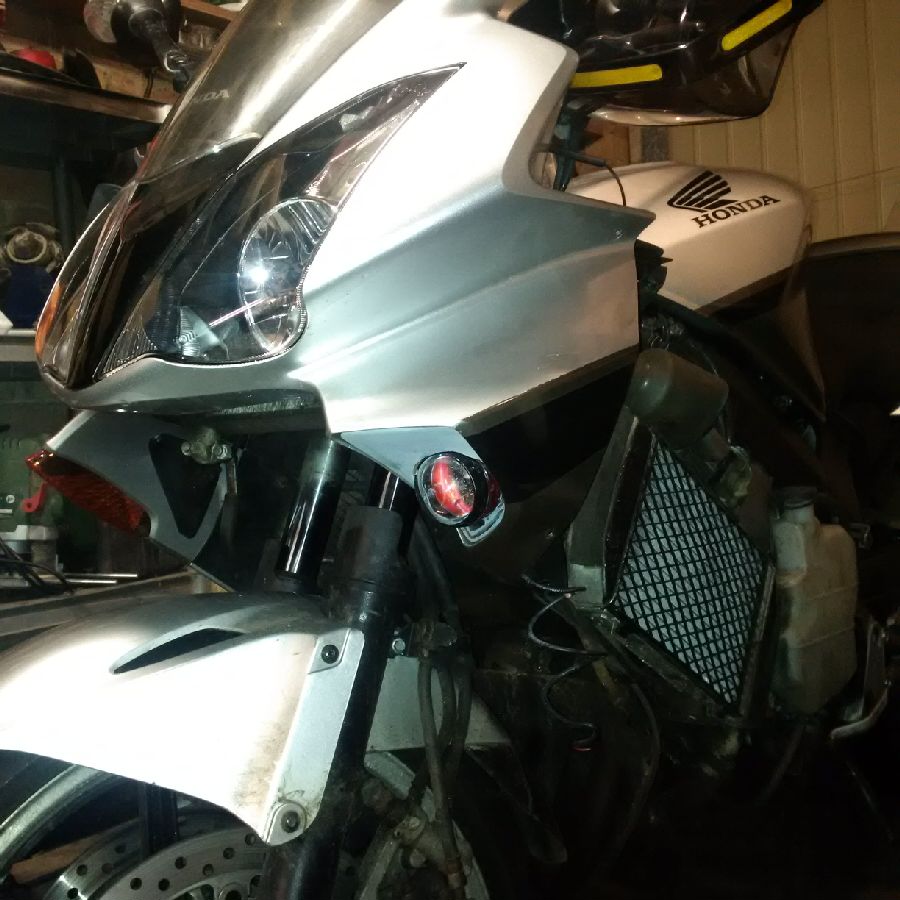
Hmm winter in UK, dark and potholed country lanes so time to upgrade the lighting. Built these from some 50mm spotlights and some old/redundant indicator units. Not wired in yet discovered I need to remove the whole top fairing for that. I'll report back when I have finished, painted, properly installed and wired them in.

-
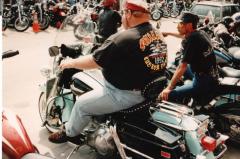 Now THAT's what you call a Harley Fat Boy !
 -

VF500F2 Aka MBD Incubation Period At Least 52 Years
Woodie replied to Dutchy's topic in Earlier VFRs
ahhhhh Accounting... Do you know Nick Leeson? -
VF500F2 Aka MBD Incubation Period At Least 52 Years
Woodie replied to Dutchy's topic in Earlier VFRs
Where is the tongue in cheek emoji when you need it. ? -
VF500F2 Aka MBD Incubation Period At Least 52 Years
Woodie replied to Dutchy's topic in Earlier VFRs
Whoose! .. Loads of life left in them! -
Yeah me too, it's the Scotsman in me... too tight to buy anything I can't fix unless I have to.
-
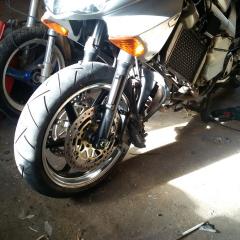
if the discs were warped then cleaning the bobbins wont do anything, but if the carrier is bent it might allow the steel of the disc to find it's own true by not pulling them out of shape. TBH I was prepared to go buy new discs but the bobbin clean cured it.
-
I had a pulsing brake on the VTEC, and read this. I decided to give this a go as I couldn't really afford to replace the (Discs) rotors. Every Bobbins was locked solid, I didn't over tighten the bolt through the bobbins and used plenty of brake cleaner. They all started to move very easily with little pressure and what came out with the fluid wasn't rust but road dirt. Floating or semi-floating discs work the way they do as they allow a small amount of lateral movement between the carrier and the disc. if the bobbins are not free then they won't do what they are designed to do I gave the discs a good clean down and took them for a test ride, instantly I had lost the slight judder on braking. I can see where people are coming from saying this could damage the bobbins or crush them but if you need to tighten an M5 bolt and two flat washers so hard that you flatten or warp the bobbins it would be 1 of 2 things.. 1) You are using far too much force to tighten the nuts, and if they are that hard to turn they are damaged anyway....2) Bobbins are usually stainless so if they do deform they must be too soft to withstand the mechanical strain usually in employed on brake discs. What does make me cringe is advocating straightening the disc carrier with a bar. IF the bobbins are free enough to allow the manufacturers recommended movement it wouldn't warp the disc and if the carrier is warped enough to add run out to the disc I certainly wouldn't try and bend them THAT far to get them re-aligned.
-
So I might have done a thing......
Woodie replied to Veefer800Canuck's topic in OTHER Motorcycle Talk (non vfr)
Fair point. Although I like them as they show up from the sides as well as from the front. -
So I might have done a thing......
Woodie replied to Veefer800Canuck's topic in OTHER Motorcycle Talk (non vfr)
Looks good, are you keeping those Indicators? is there any local legislation that prevents you using surface mounted indicators.. they stick out like my brothers ears! -
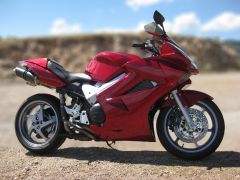 The background blur makes it look like a Plastic Model of a Viffer.
 -
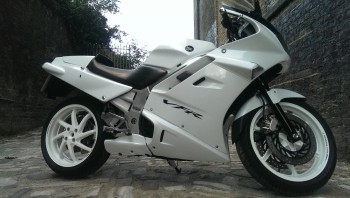 As a new Viffer rider I am not sure what Generation that is but I do like that model in white. Looks the Canines Testes.
 -
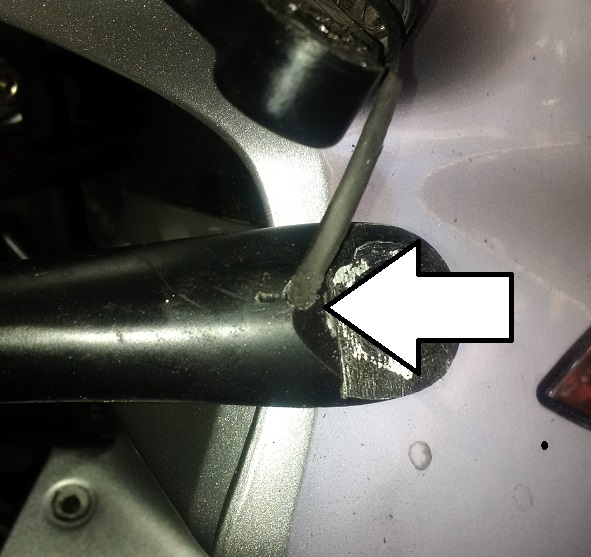
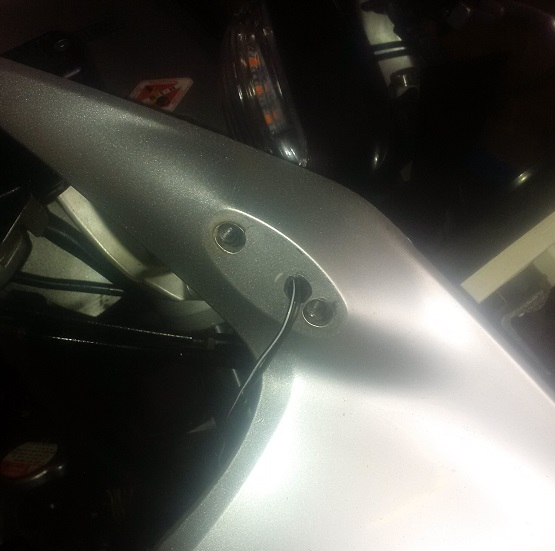
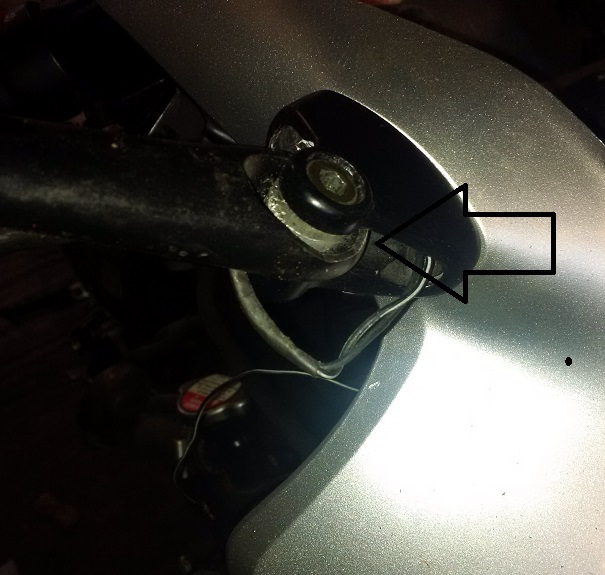
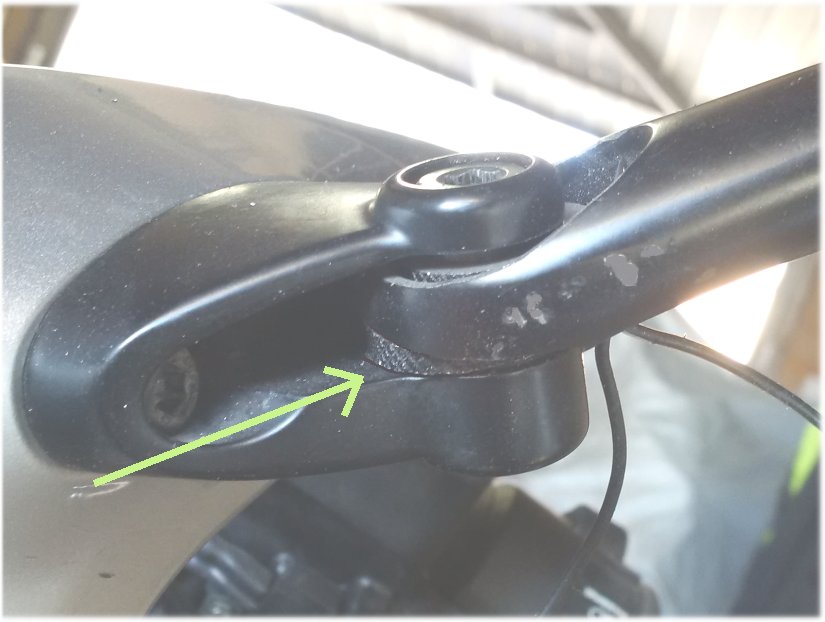
Sorry for the delay WGREGT.. Still chasing the elusive oil leak, found it at last but there seems to be a dearth of VFR Gaskets in the UK ! First I used the bracket to mark where the hole in the back of it was and drilled through with an 8mm drill. I then drilled a 3mm hole in the back of the indicator stalk and pulled the wires through, to protect them I slid a length of heat shrink tubing over them. Then fed them through the hole in the bracket, and then through the hole in the fairing . They drop down between the Fairing mount and the plastic and the cables are long enough to reach where I'd cut the original connectors off. I replaced these with Bullet Crimps and added a cheap LED resistor pack (£2.99 from ebay) Last pick you can just see the new spaces made from more substantial thick wall Aluminium tubing that replaced the old bits of Handlebars I had used originally. I have used it for the 70 mile commute, 70MPH+ Motorway work and they don't seem to move, although they do vibrate a bit at low rev's but this could just be incumbent resonance. Hope this helps.
-

From the album: Woodie
Sandham Memorial Chapel, a WW1 memorial in UK. very moving, scenes inside painted by WW1 vererans -
From the album: Woodie
-
From the album: Woodie
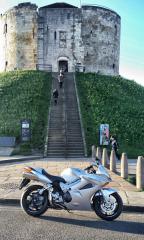
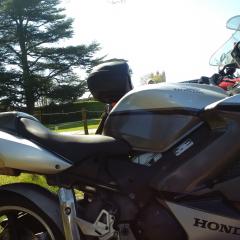
Little comfort break at Highclere Castle. If anyone seen the BBC Series Downton Abbey, this is where it was filmed. you can just see the top of the North Tower over my bike. they wouldn't let me any closer... -
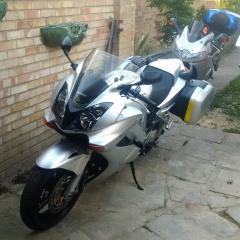
From the album: Woodie
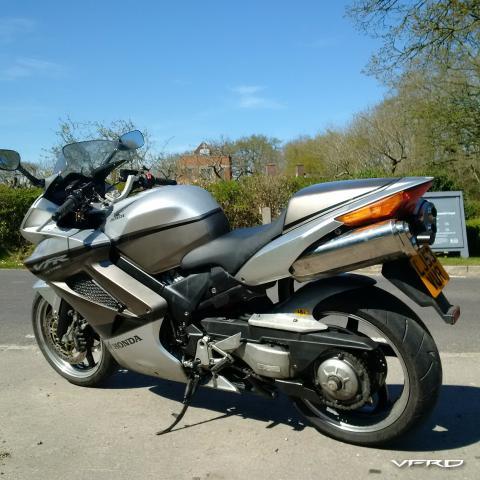
A little run out to test the new engine. Beautiful sunshine, dry roads would have taken more pictures but too busy enjoying the rare UK sunshine -
Would love to but currently chasing down an elusive oil leak. once that is sorted I will take it apart and do some decent photo's. I need to as I now have some tube stock to make some better spacers and when I do that I'll include the pictures.
-
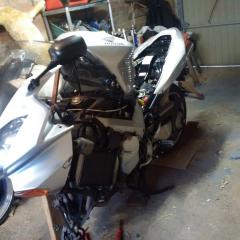
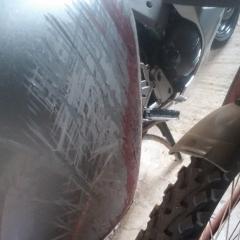
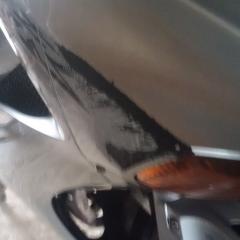
From the album: Woodie
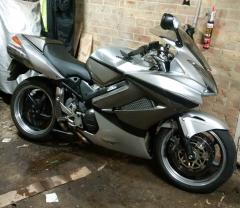
as it was ion bits for an engine replacement. I decided to repair the damaged fairing. New paint hides repairs without having to respray the whole bike. . . . and looks cool. -
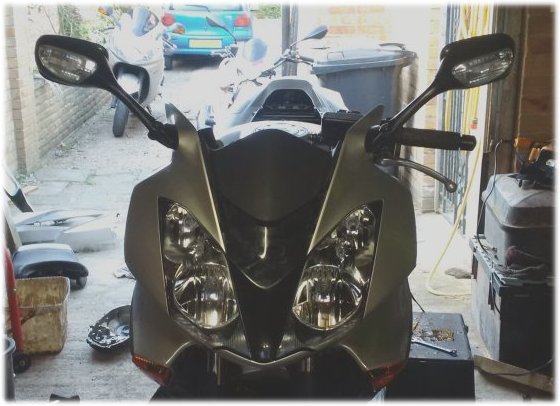
I fancied doing this modification but couldn't afford to get mounting brackets made up so I thought I'd look at seeing if I could do something without resorting to bespoke mounts. The mirrors i bought were cheap Chinese copies so wasn't to worried if it didn't work. After a look I thought the mirrors would fit with some modification. I drilled out the pin holding the existing mount and bolted them to the bike with the Honda mount. They fitted but stuck up at an angle. Rather than modifying the mounts I thought I could get the correct angle by using some angled spacers. I found some suitable tube (an old bent aluminium handlebar) and cut two angled spacers, Put above and below they worked a treat. The wiring was a little more challenging. a hole drilled into the arm meant I could pull the cables through. in the mirror mount there is a small square hole using this as an egress I drilled a hole through the plastic behind and threaded the wires through and down behind the plastics. A small length of heastshrink over the wires where they ran through the mount and it's all good. The lights are LED so they flash too fast but an inline resistor will fix that.
-
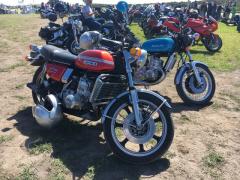 I love the GT750. Big Brother had one I ... 'ahem' borrowed once. in the UK we called them Kettles.
 -
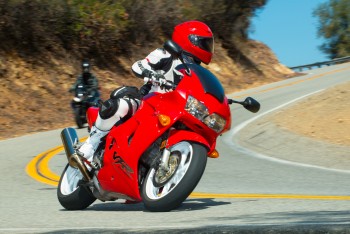 I love that red and white colour scheme. Great shot, very dynamic.