


Alan553
-
Posts
59 -
Joined
-
Last visited
Content Type
Forums
Profiles
Gallery
Blogs
Downloads
Events
Posts posted by Alan553
-
-
just to comment on your costco experience...here in NJ, they are fueling 16 cars at a time, the Trucks come 6 times a day to refill tanks. They have the lowest prices in the area
10 hours ago, Cogswell said:As above, joined the new tire club today. Got Road 2's (love these tires) from a vendor on Amazon. The ones coming off had 7,933 miles on them. They would have gone longer, but a long trip is upcoming and I wanted new rubber. I taught myself to DIY my tire changes, so that makes it go down easier. Plus I don't have to wait for a shop and make multiple trips to drop off / pick up.
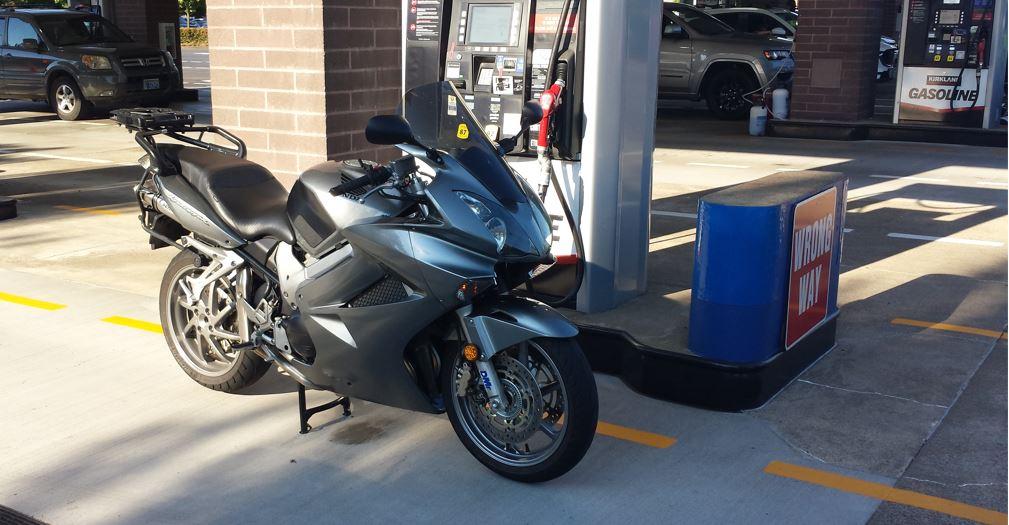
Filling up at Costco the day prior. For those of you that have not been to a Costco previously - some have enormous capacity - this one can fill 24 cars at a time - 8 lanes each 3 deep. This was in the a.m. so it was still slow. I asked once when an 18 wheel truck was there filling the underground tanks how many of those they get per week - maybe one every few days? The reply floored me - they told me that they get 3 or 4 delivery trucks every day!

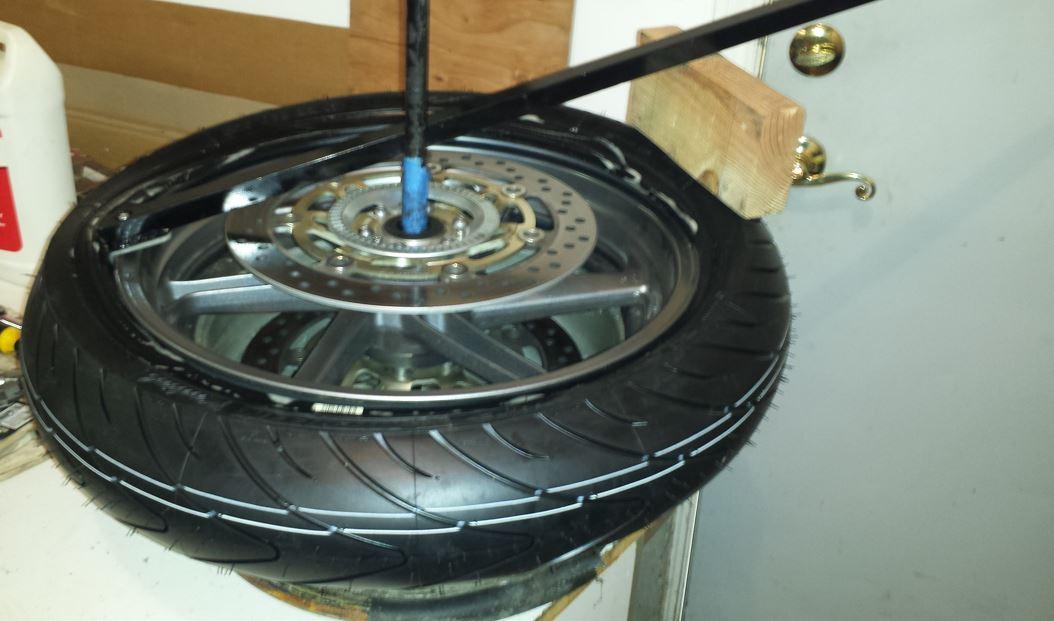
Installing the front. If you have the right tools, this is not a bad job at all. I've done around 15 sets now for both myself and friends. The block of wood was to keep the tire lever from resting on the rotor. Just after this photo was shot the lever came around the steel bar clockwise to finish it off - it was complete in under a minute. Note the lube on the tire bead - it would be nearly impossible without it. Levering the tire off is just as easy - just use the opposite end of the bar with the removal bit on it. The hardest part for me might be breaking the bead. I have a home-made setup using a 2x4 and some other wood pieces. It works, but it's by no means elegant - but it gets 'er done. Note the car rim underneath - kind of hard to see (there is heater hose around the perimeter so no wheel scratches) to keep the rotor from touching anything. I have not switched to metal stems - probably should - so I change the stems with every set of tires. Just like the tires - they break down with time.
Link to the tire lever - I consider it a good investment - very happy with it. (Looks like the price has gone up since I bought mine).
https://www.mojotiretools.com/mojoweb.htm
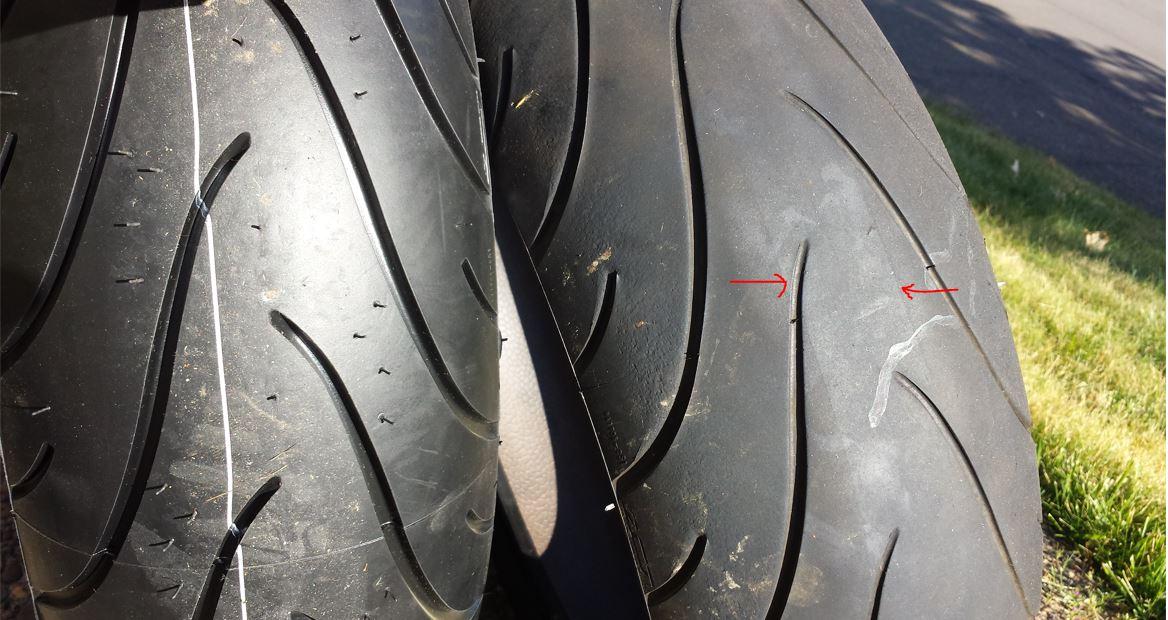
Comparison of the rear tire old / new. Not bad at all for that mileage. Note the arrows (added) showing the edge of the harder, center compound. That concept really works. I was very happy with the way these hold up.
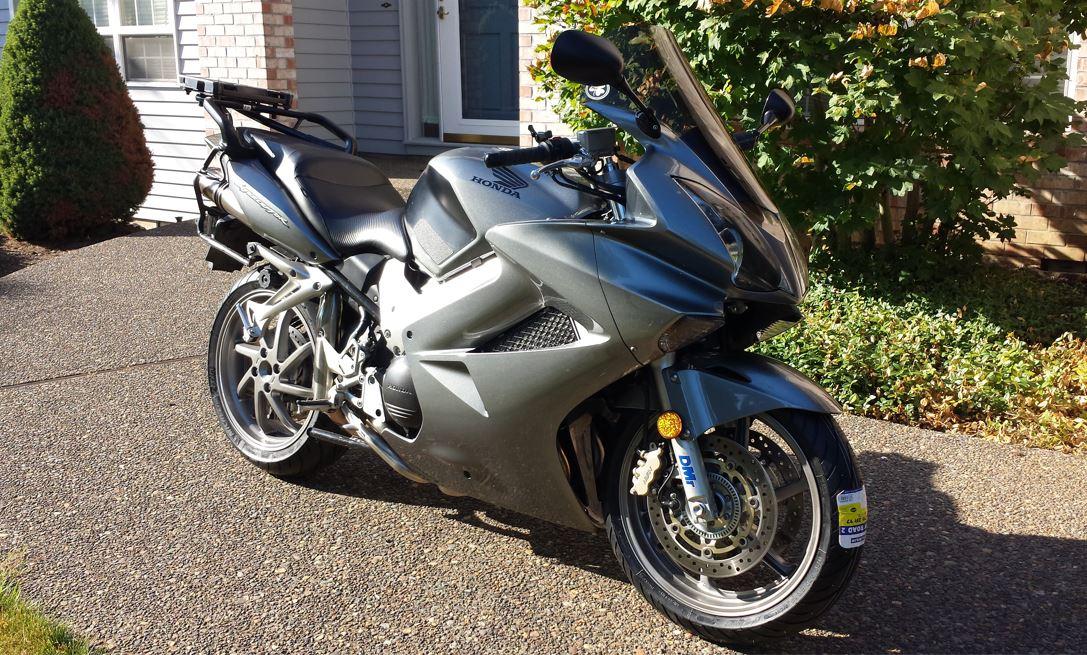
Baby's got new shoes . . .
While I was at it, I have some Colorite paint in the OEM color for the wheels. The rear was showing some chips from use and the front had a scratch, so I sanded and re-shot and cleared them before installing the new tires. The photos don't show it, but it just freshened things up nicely.
I'd guess I have around $225 total in the tire lever, Marc Parnes balancer, the car wheel ($5), and miscellaneous items like valve stem tool, a selection of weights and other things. That was probably paid for after the 2nd set of tires. These tires were $220 shipped, so that's my total cost going down the road.
-
 1
1
-
What did you do to your VFR Today?
in Eighth Generation VFR's
Posted
They leave motorcycles alone in NJ. They would dare want to be responsible for scratching someone’s tank or spilling gas, lol but the credit card thing can be different from stations to station…in and out, swipe, wait until it tells you to remove card…it has caught me off guard when I do pump myself…