Duc2V4
-
Posts
3,455 -
Joined
-
Last visited
-
Days Won
62
Content Type
Forums
Profiles
Gallery
Blogs
Downloads
Events
Everything posted by Duc2V4
-
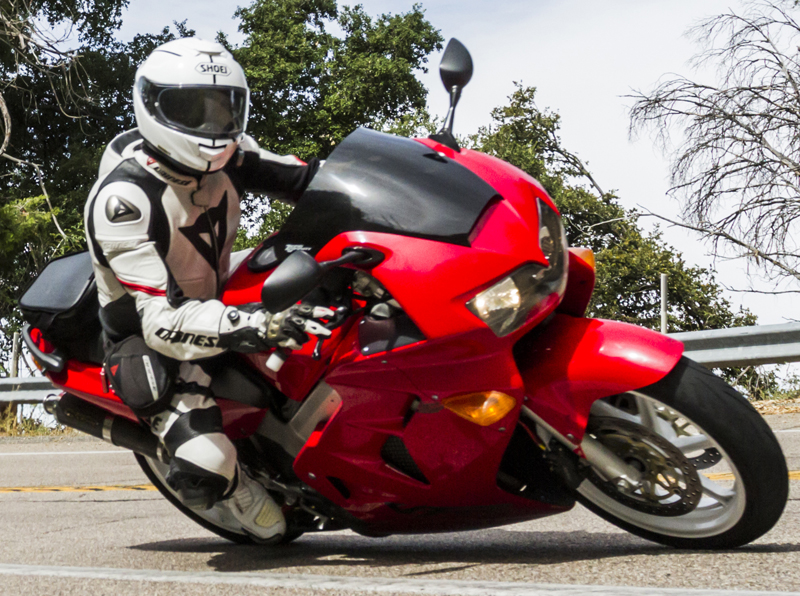
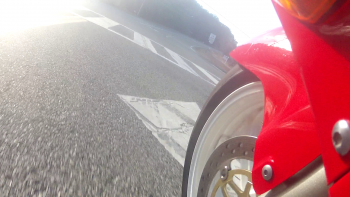
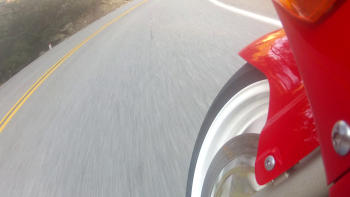
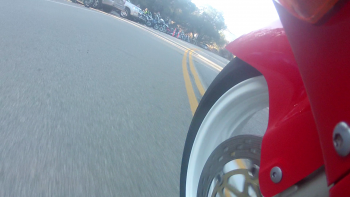
From the album: Malibu Ride 2013-12-21
Back at PCH waiting to turn right and head North to Neptune's Net for a secondary meeting point. -
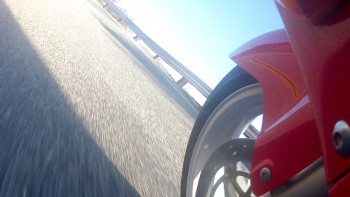
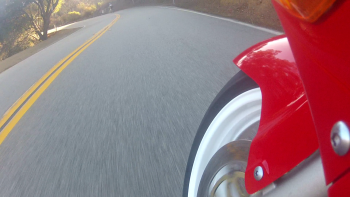
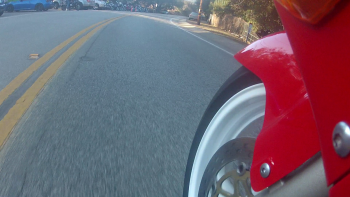
From the album: Malibu Ride 2013-12-21
Well almost all curves, a few short straight sections in there too -
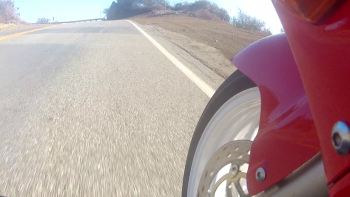
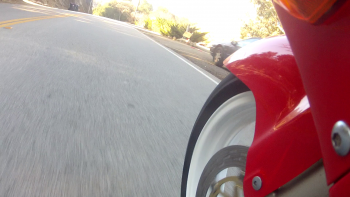
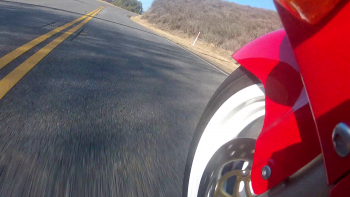
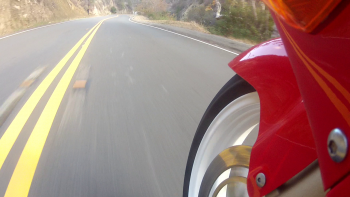
From the album: Malibu Ride 2013-12-21
Setting up for a nice right hand corner -
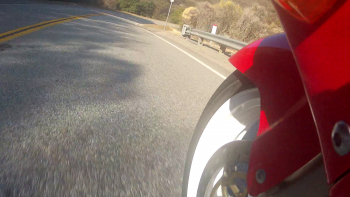
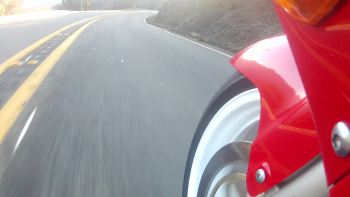
From the album: Malibu Ride 2013-12-21
Turning left onto my favorite road in Malibu. Latigo Canton. It's basically almost 10 miles of curves... -
From the album: Malibu Ride 2013-12-21
Mid way through the corner made famous by all of the wipe out videos on YouTube...I made it through just fine! -
From the album: Malibu Ride 2013-12-21
...the famous corner of 'The Snake'. You've seen the videos, right? -
From the album: Malibu Ride 2013-12-21
One right-hander away from...wait for it... -
From the album: Malibu Ride 2013-12-21
And in this corner...Typically you would find the 'Rock Store Photos' photographer sitting in that little crevice off to the left -
From the album: Malibu Ride 2013-12-21
Coming up on some traffic...well somewhat. -
From the album: Malibu Ride 2013-12-21
Leaving the Rock Store heading up onto 'The Snake' -
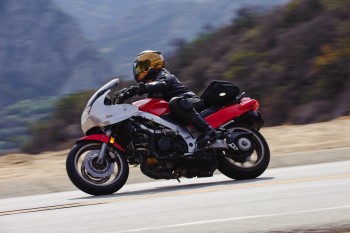
From the album: Malibu Ride 2013-12-21
One more bike shot... -
From the album: Malibu Ride 2013-12-21
Little better view of the bikes parked... -
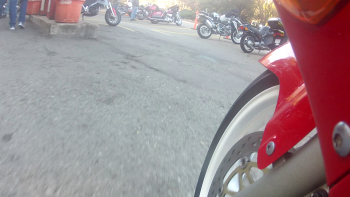
From the album: Malibu Ride 2013-12-21
Pulling up to the Rock Store... -
From the album: Malibu Ride 2013-12-21
Heading towards the Rock Store on Muholland Highway -
From the album: Malibu Ride 2013-12-21
Coming down Piuma Road -
From the album: Malibu Ride 2013-12-21
The first leg of the trip, going up Las Flores Canyon -
No. The duck tail is attached to the sub-frame, so as long as you do not loosen or remove the sub-frame bolts, the duck tail will stay put. However, once you get the shock bolts removed the swing arm will drop, so be prepared and use a scissor jack or other support device. I had a few different length 2x4s that I keep for just such an occasion. I think the next time I do a fork and/or shock replacement I'll have my wife or helper take photos, I would love to take pics of when I'm doing work, but it slows down the process and greasy hands/gloves and cameras are not the best mix.
-
There is a guide for a 5th gen: http://www.vfrdiscussion.com/forum/index.php/topic/6970-how-to-install-an-ohlins-shock/ I don't believe there is a significant difference between 5th and 6th gen for the shock, but I'm not 100% certain of that. If I recall, there really isn't much different between the two except maybe access to the top shock bolt, but I did find it easier to remove and replace the 6 Gen vs. 5 Gen. Also, although it would make the shock replacement easier to remove the headers like in the tutorial above, I was able to R/R both the 5 and 6 Gen shocks without doing so. This does require moving the swing arm up and down for easier/better access to get the shock in where it needs to go, in this case a helper would make it an easier job, but if you have a scissor jack like the one in the tutorial, that should work too.
-
Not so much 'linked brakes cause mushy levers', but 'linked brakes are a PITA to bleed to get a firm lever'. Maybe, but only for the rear IMO. The front as I mentioned is really an independent system. Having done four VFRs, three 6 Gens and one 5 Gen, this has always been my finding. YMMV
-
If you get to the point of saying --- "effe these linked brakes" -- swapping to VTR lower fork tubes (super hawk) and going to RC51/929/F4i brakes calipers and master cylinder is a great way to go. And no more linked system bleeding fun to boot. (pics in my gallery) To be honest, anyone who thinks it's the linked brakes, I say it's in your head, no offense, at least just regarding them being "linked" brakes. Some people like them and some people dont. I just offered an option..... Don't get me wrong, I wasn't taking a stance for or against linked braking systems, I was just pointing out that if someone thought that their "mushy" brakes were due to them being linked, that this wasn't necessarily the issue. I just used your post as the reply option as your comment of "effe these linked brakes" caught my eye. I totally get, "to each his own" but I think that proper bleeding and better lines is the key to removing the "mushy" feeling, not getting rid of the linked brakes themselves...
-
If you get to the point of saying --- "effe these linked brakes" -- swapping to VTR lower fork tubes (super hawk) and going to RC51/929/F4i brakes calipers and master cylinder is a great way to go. And no more linked system bleeding fun to boot. (pics in my gallery) To be honest, anyone who thinks it's the linked brakes, I say it's in your head, no offense, at least just regarding them being "linked" brakes. In both the 5 and 6 Gen, as they are a little different, the fronts are pretty much a "stand alone" brake system, with the exception of the secondary master cylinder on the left front that triggers the rear (single center piston on the rear caliper). If you look at the brake bleeding procedure, the fronts are pretty much bled and left alone, again with the exception of the left front secondary MC, that does not affect the front per se. Which means that you can just bleed and/or change the front lines without any need to touch the rear brakes, and as every rider knows, with the exception of maybe HD riders, that the front brakes provide a majority of your stopping power. The rear brake is where I would say that if you had an issue with linked brakes, I could somewhat agree, as the rear pedal only triggers one piston of the front brake(s), single middle piston on the left caliper on the 6 Gen and single middle pistons on the L/R calipers on the 5 Gen, not giving you much front braking power at all. This setup also changes the fronts a little, where as the 6 Gen has 5 pistons working with the front lever, the 5 Gen only has four, at least until the rear pedal is pressed. With that, I currently have SS lines on my 6 Gen (F/R) along with EBC HH brakes pads and I hove no issue stopping at all, nor do I feel my brakes are spongy. I can even stop just by using my rear brake lever only, with decent stopping distances too. On my 5 Gen, stock lines but same brake pads, it's a little different, although my fronts work well, still not as good as on my 6 Gen, I cannot get the same stopping distance out of the rear pedal as I do with my 6 Gen. Maybe because the bike is newer and/or the SS lines contribute to it, or perhaps the small difference in the two makes the 6 Gen just a little better?? On my list of mods for my 5 Gen, I plan on putting SS lines on, it's something all of my bikes have had, even my off road bikes, call it a piece of mind mod. Cheers
-
Pics on how you did that would be helpful. This is one job I'll more than likely do myself. How long did it take you? and how difficult/tight is it without the removal of both the forementioned components?
-
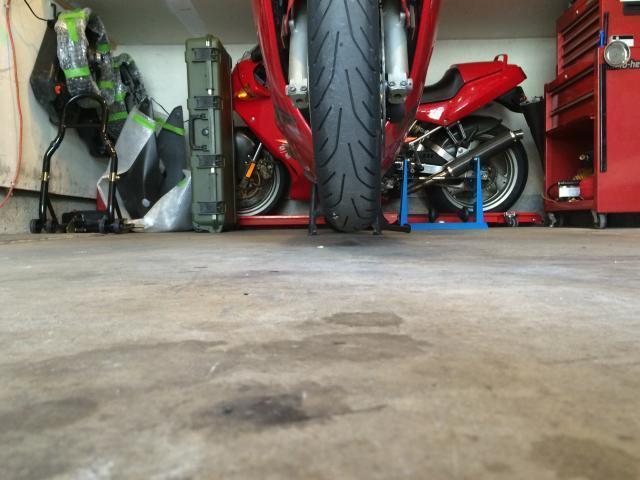
No worries, all ideas are welcomed IMO. I like this method because I can do it alone and there's nothing to take up floor space in the garage. I have a single car garage with 4 vehicles and a plethora of goodies that need to get crammed in there, so floor space is at a premium. I also found it a lot more difficult to knock the bike over. ZoomZoom's idea above is a take on "hanging" the bike from above, albeit lower to the ground and looks simple enough to build, another good option.
-
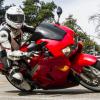
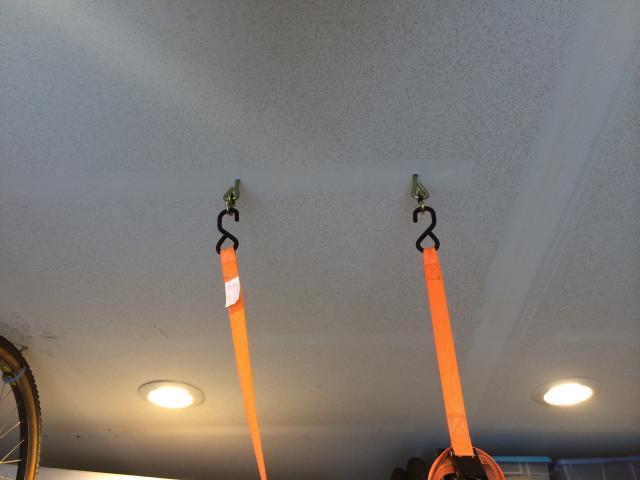
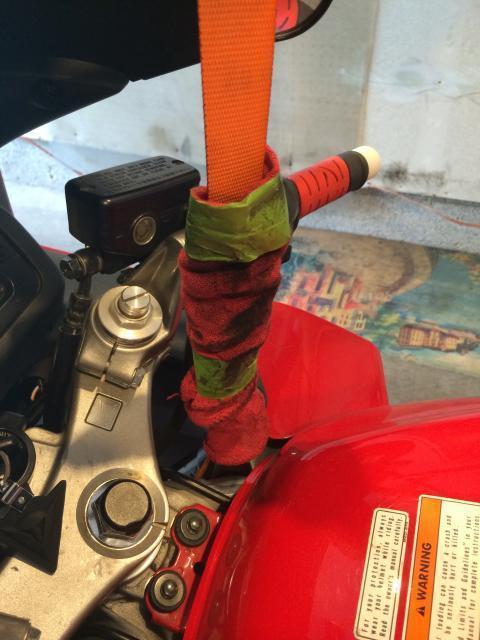
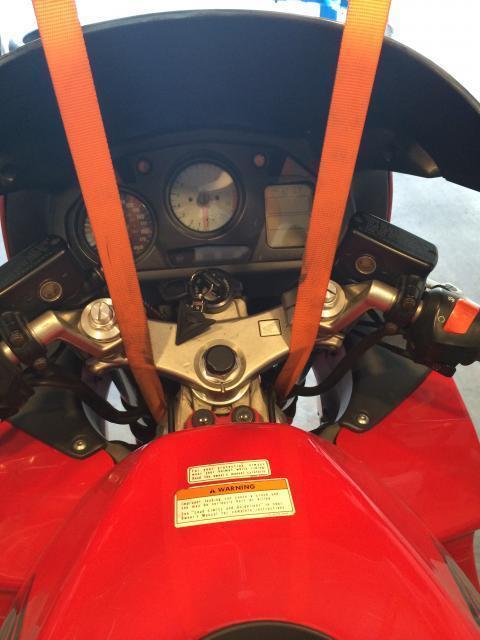
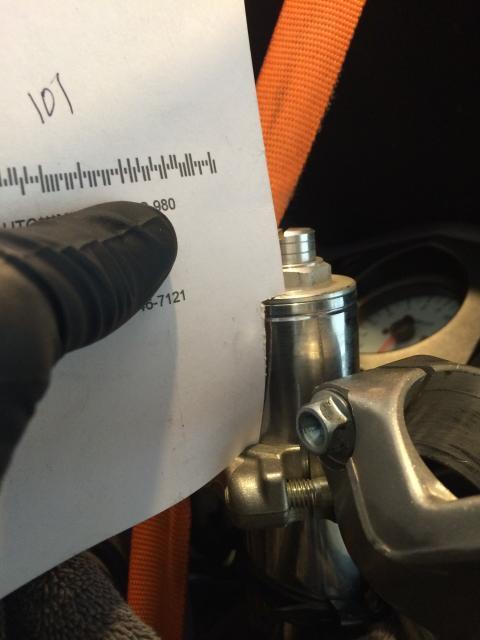
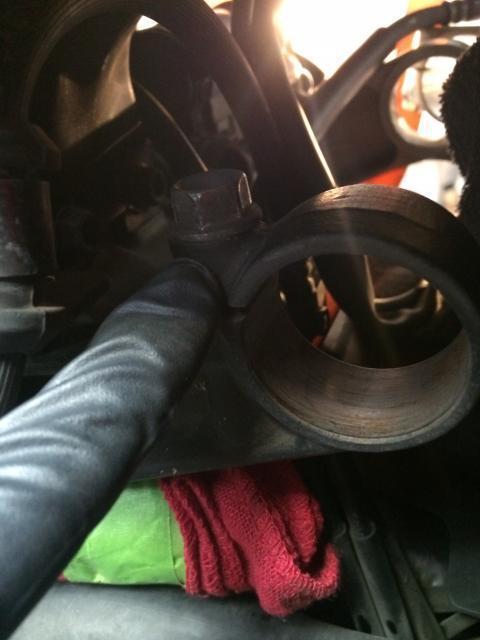
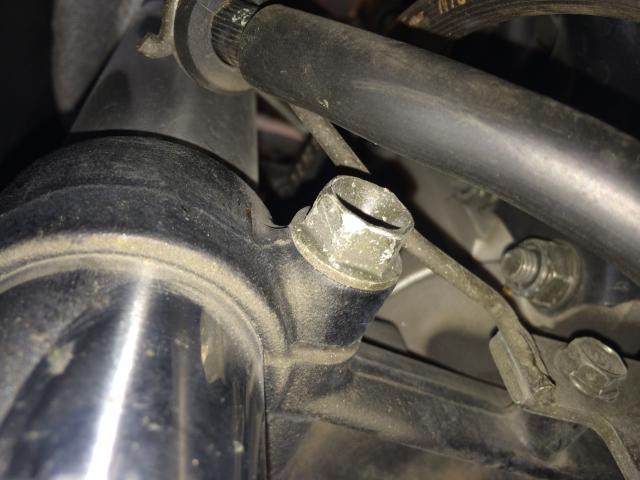
Being that a few folks here were contemplating removing, servicing and installing their front forks and were wondering how to raise the front end to do it, I figured I'd show how I did it this morning. In my case, I was just swapping out a pair of modified forks for the stock ones, sorry no how-to on the flush/fill of the fork itself. First, having a covered workspace, AKA garage, and preferably one with ceiling rafters/studs, is a start. I bought some "swing" hooks from Home Depot and put them into the ceiling studs in may garage. I went with the "swing" hooks as they had a weight rating, I thought it was like 200lbs. each, but whatever works I guess. I use a ratcheting tie down to loop underneath the frame just behind the triple clams and just ratchet the strap and up comes the front end. For removing the front wheel you'll need, a 22mm socket (for axle nut), 10mm socket for brake line brackets and "delay" valve, 4mm 5mm (correction) hex for fender bolts, and a 12mm socket for right brake caliper and axle pinch bolts and a 6mm hex wrench for the left brake caliper. For the forks, you'll need a 12mm socket (clip-on bolt), a 14mm socket (lower triple clamp bolt) and a 6mm hex wrench (upper triple clamp bolt) to do the job. Undoing the forks, after removing the front fender and wheel, is fairly straight forward. Loosen the three bolts that hold the fork in place; clip-on, upper triple clamp bolt, lower triple clamp bolt and remove the cir-clip at the top edge of the fork. Be careful, when you loosen the bolts, if you loosen them all a little too much, the forks just falls straight to the floor. You can always leave the cir-clip on until you're ready to pull the fork, this way if you do loosen them all a bit too much the fork won't fall out, it'll stop at the top of the clip-on. The rest is gravy as they say. Here's the swing hooks. These are screwed into the two parallel studs that follow the drywall seam to right of the photo, so these are 16" on center apart. I put a shop rag around the strap to prevent the strap from getting cut/frayed and to keep dirt/grease off of on it. Top view of straps in place. Although the straps are in front of the clip-on bolts, you can easily move the strap to access them. Here's how much lift I get with the rear wheel still on the bike. If you leave the front cowl on, the left lower (lower right when facing the bike) triple clamp bolt is some what assessable. However the lower right (lower left when facing the bike) bolt is blocked by the front brake line. Removing the brake line support bracket bolt allows you to maneuver the line out of the way to allow a socket to be used to loosen/tighten the bolt. Here's a couple of shots of the bolt and brake line while in the way. A simple way to ensure the forks go back in with the same amount above the triple clamps, I made this little gauge out of a piece of thin cardboard. Here I was holding pressure on the card while pushing the fork upward, as soon as that little bend in the card was straight, I was at the same height as before.

-
 That's on good ole Mulholland Highway, goes right through the heart of the Santa Monica mountains in Malibu. It'll take you to The Rock Store, through The Snake and to PCH. A road worth riding at least once.