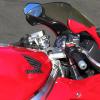
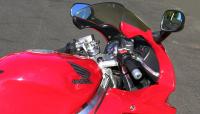
I hadn't planned on making a VFR how to do posting, until I was about 15 minutes into my project. I began by rolling my bike out of my garage, removed two screws then later the cover was off, and a few minutes later I had made my initial repair work completed. I did some quick filling in the damaged areas, it was not until then had I thought of the idea of posting on repairing a plastic body part. One of my first my first photos shows my cover glued, being filled, and being fit checked. I apologies for my lack of initial planning. I also must state this is my first post on this exchange. I hope my photos were able to be apart of this posting?
The cover was repaired by using these basic outline steps.
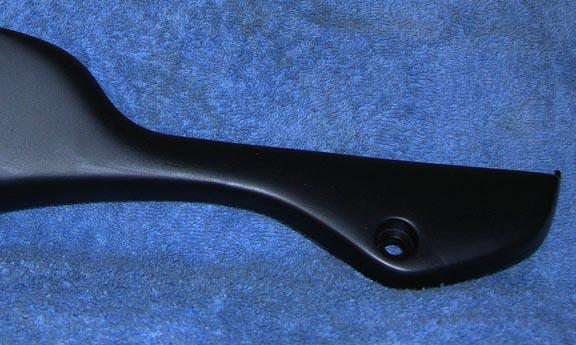
Clean and fit your parts back together, and do a fit check. Once the fitting has been completed, I cut a few small strips of the black electrical tape, then I tape all broken parts together. NOTE: Cut your tape, don't tear the tape! You're not painting a house! Good news your glue will not stick your black tape. Now tack glue your broken cover back together. I tacked just one small edge with my Ca glue I bought at the local hobby shop, then I used the kicker to accelerate my glue drying time Don't glue your whole cover back together at this time. Once the cover has dried, you'll be able to examine your tack glue. If your part wasn't attached to your satisfaction, pop the glue joint apart, clean and reglue your part. Note: Use thin Ca for all hair line cracks, and use a thicker CA if required for all parts that don't fit very well. A word of caution, All accelerators cures your gluing joint faster, but your glue joints are never as good as those joints that weren't accelerated.
After fit checking your gluing , remove your electrical tape, fill any cracks with baking powder, then apply
another application of CA by wetting out your baking powder. Now watch the magic! In seconds your gluing is
done. Repeat your fit check, and always perform a light bending test on your repaired areas. You do this to
insure your part is strong enough. If you think your part may need more strength, I suggest adding small
pieces of scrap plastic of similar type of material, or you can even segment a small metal rivets. then fit your
cut metal rivet, and then glue everything in places as braces.. Pieces of carbon cloth can be substituted for
plastic, or metal. For large repaired areas, You can use slow cure epoxy laminating resin, but I wouldn't
recommend using polyester resin. Always do some form of stress test on all repaired areas, before putting
your part back into usage.
Note: Your added material is normally added to your unexposed side of your part!
If you require your part to be painted, then you'll prepare your part for painting in the normal approved ways. NOTE: 80% of my time was spent on painting!
I hope you found my posting of value?


")


 Good looking bike!