.JPG.2a770a136838c8e36b0df2f3f67da10e.JPG)
ShipFixer
-
Posts
644 -
Joined
-
Last visited
-
Days Won
38
Content Type
Forums
Profiles
Gallery
Blogs
Downloads
Events
Everything posted by ShipFixer
-
.thumb.JPG.d5f9f3254e93aa21cc9838c8de0dada2.JPG)
New 5th/6th/8th gen performance header now in production in USA
ShipFixer replied to sfdownhill's topic in Exhaust Systems
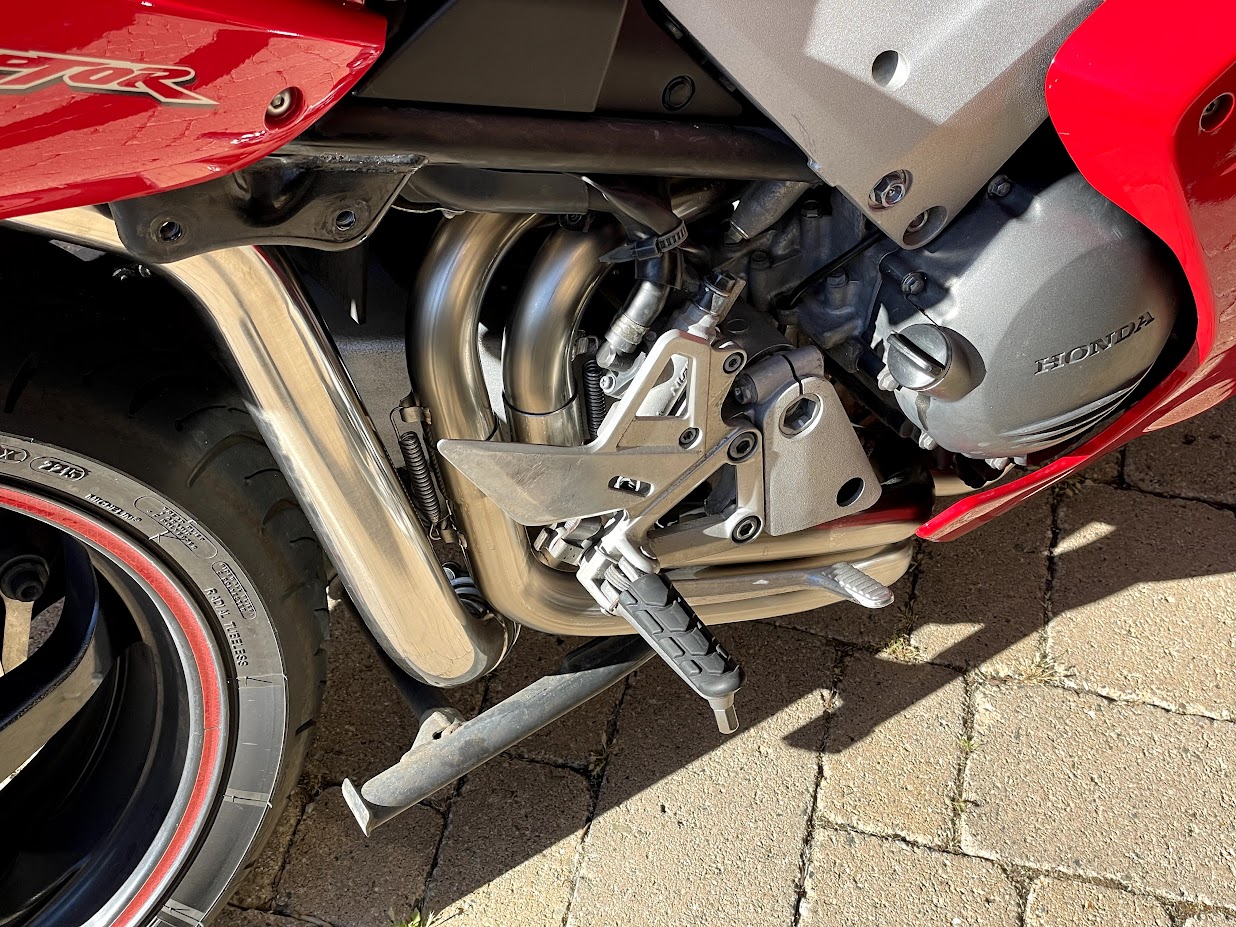
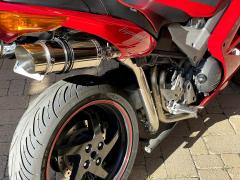
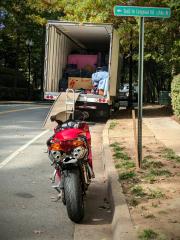
I did not remove my center stand to replace my 6th gen headers. Bike stayed on the center stand the whole time. I don't recall thinking it would make a difference, either. The header comes in three pieces - the front exhaust exits and merges as one piece, and then the two rear exits are separate pieces, but they route around the center stand. The post-collection exit to the up-pipe for whatever muffler system you have (Delkevic pipe shown here) routes through the middle of the center stand. You can see it in this photo of my bike right after I finished the install. Note the springs fastening the two rear cylinder exhaust pipes to the main header assembly, and where the header connects to the up-pipe heading to the mufflers. If and when another group order comes together, if your bike has some miles on it, I would consider pre-ordering the studs and nuts for the exhaust flanges from Honda ahead of time. At least a few of the nuts on mine were fused to the studs, which of course is better than fusing to the engine block I suppose. And of course, they were backordered everywhere. This added a week or more of downtime to my install, and I ended up ordering from three different places and waiting to see which ones would get here first. There is someone on eBay in the UK who sells stainless VFR exhaust flange studs, but doesn't ship them to the US.
-
New 5th/6th/8th gen performance header now in production in USA
ShipFixer replied to sfdownhill's topic in Exhaust Systems
The headers take a bit of patience. You won't be slapping these on as quickly as a slip on. It takes a combination of ratchet extensions on a torque wrench to get the rear exits seated correctly, and as you methodically tighten each lug down a bit at a time, all around the bike, to the final number, you also have to make sure the header is not contacting the frame (I used wood shims). There is nothing particularly difficult about it, it's just a little fussy. You will want a garage or spot where the bike can be worked on for at least several hours, maybe a few days depending on your pace. And one or two universal joints and an extension set for those rear pipes. Also...it's totally worth it 😁 The bike is waaaaaay more open above 7K RPM. -
New 5th/6th/8th gen performance header now in production in USA
ShipFixer replied to sfdownhill's topic in Exhaust Systems
What did he do to make them decide he shouldn’t have access to header buys, that’s the question… 😜 -
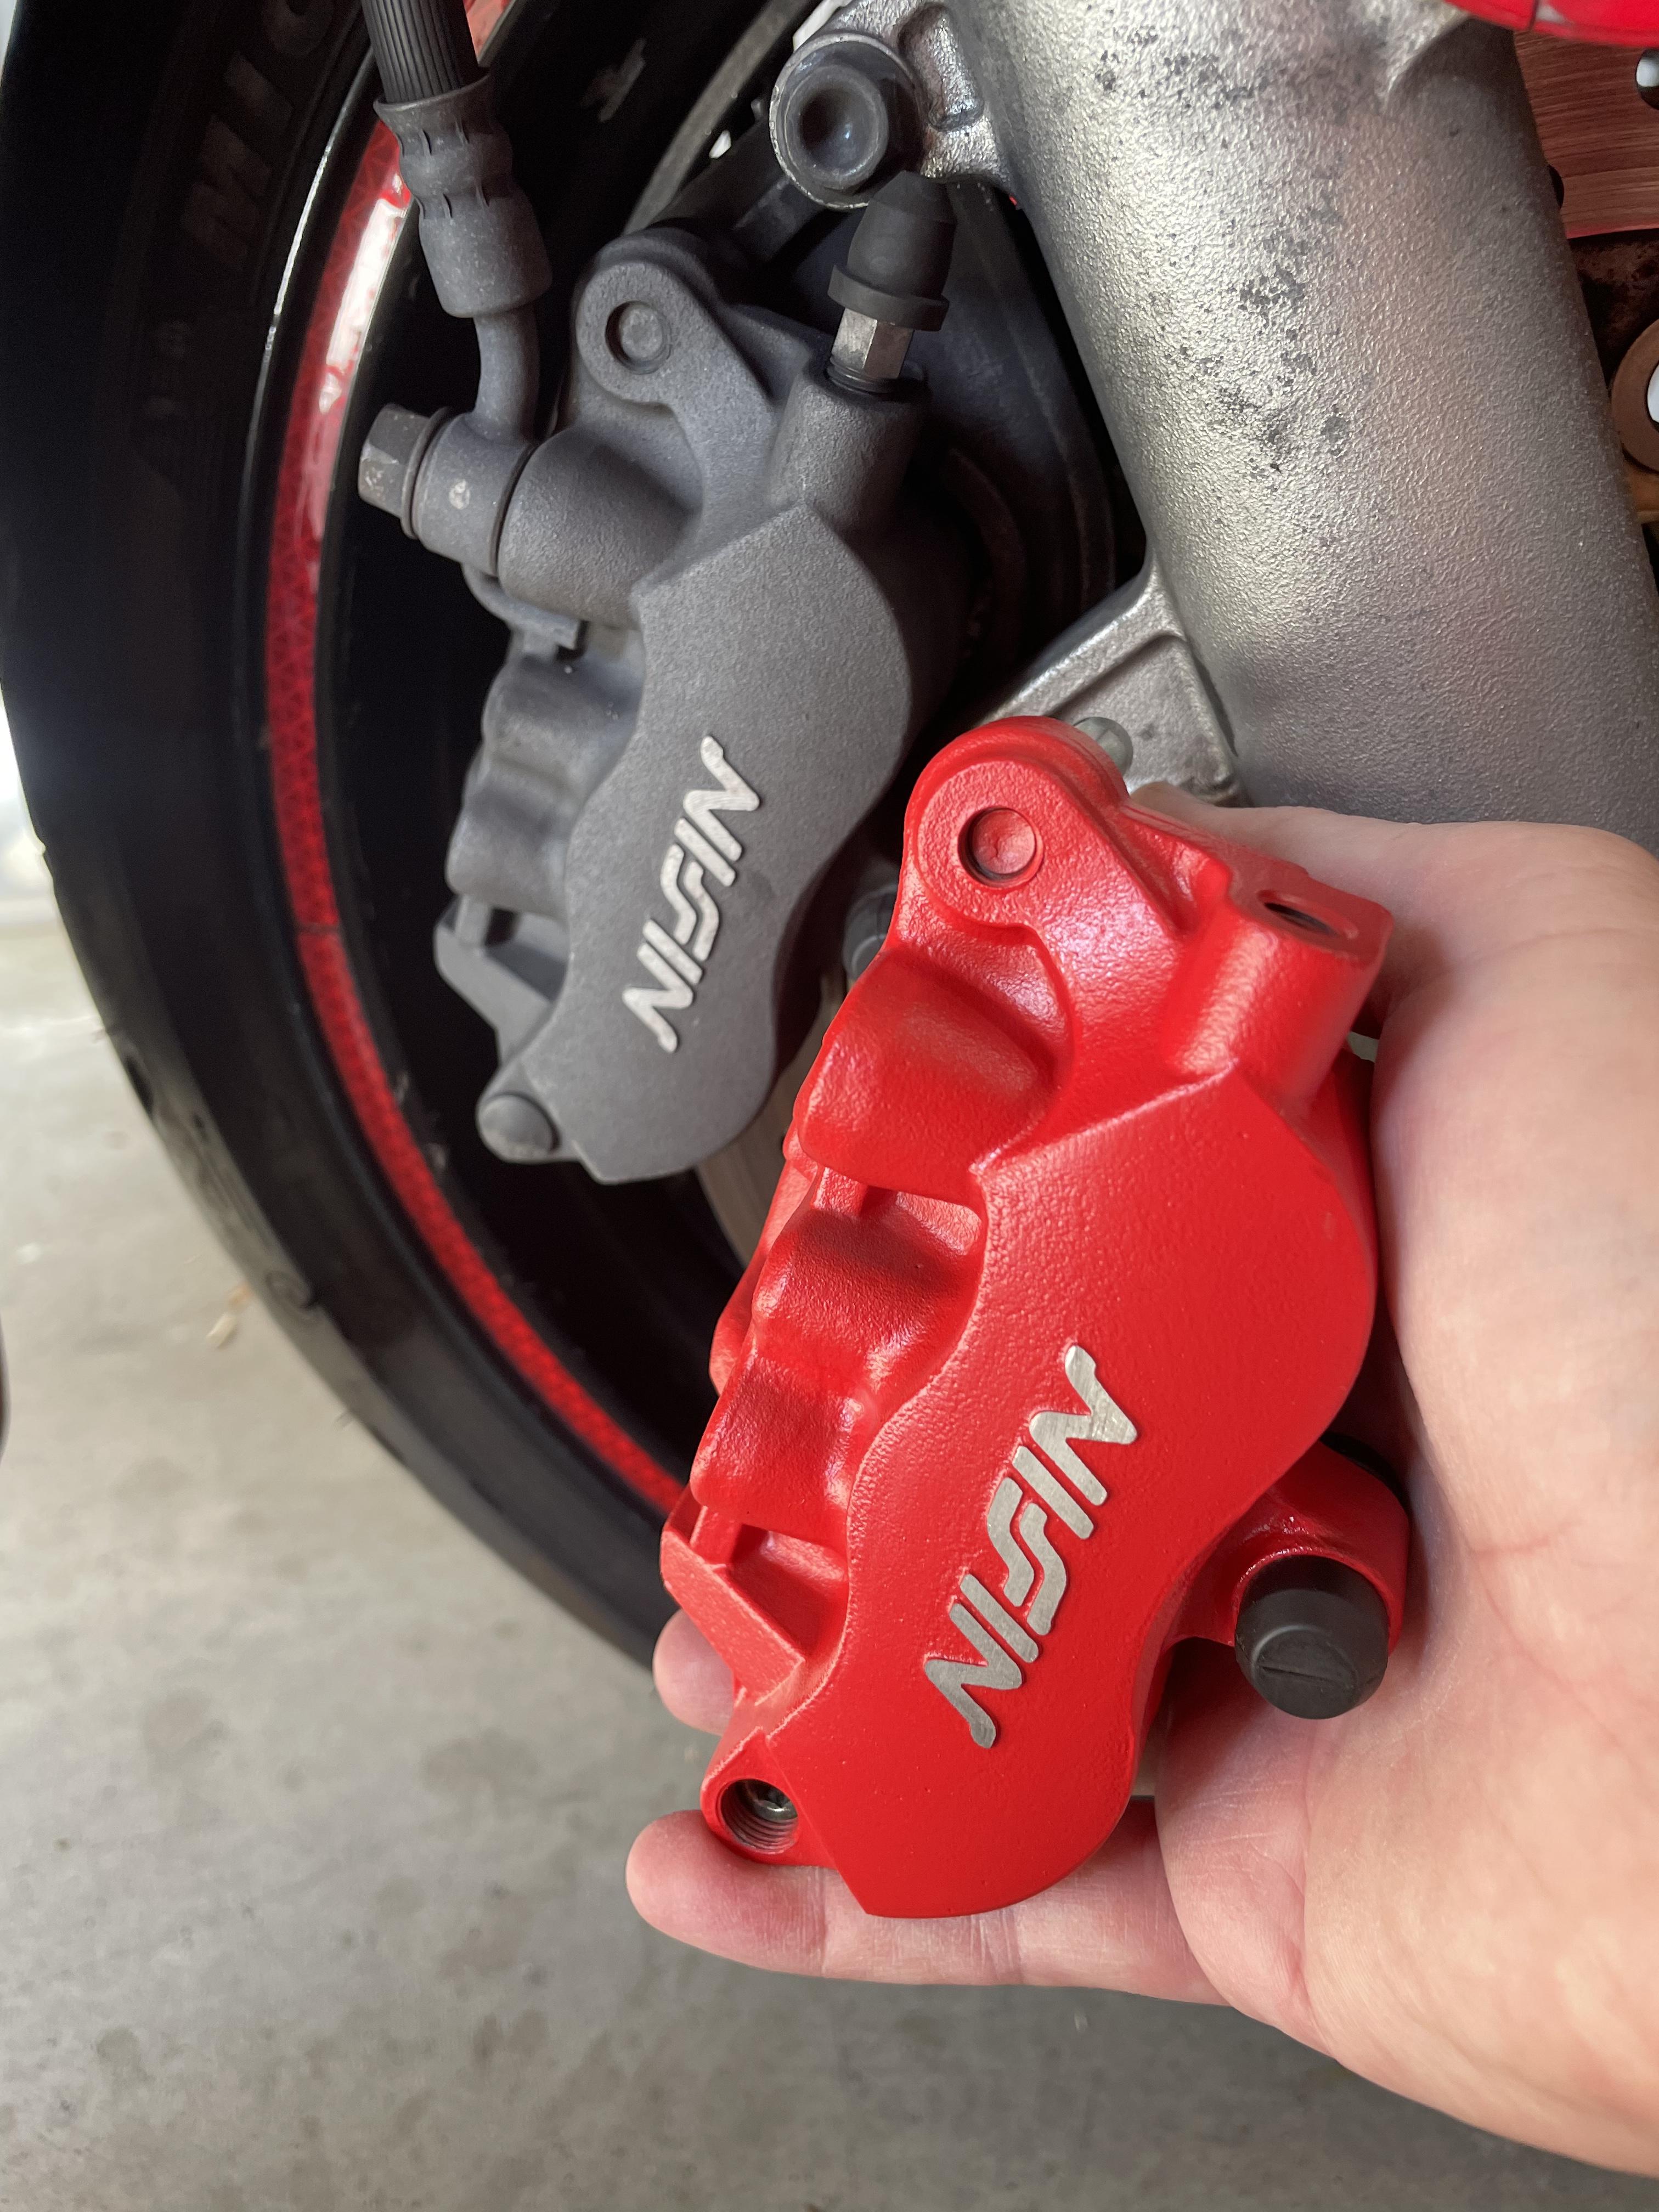
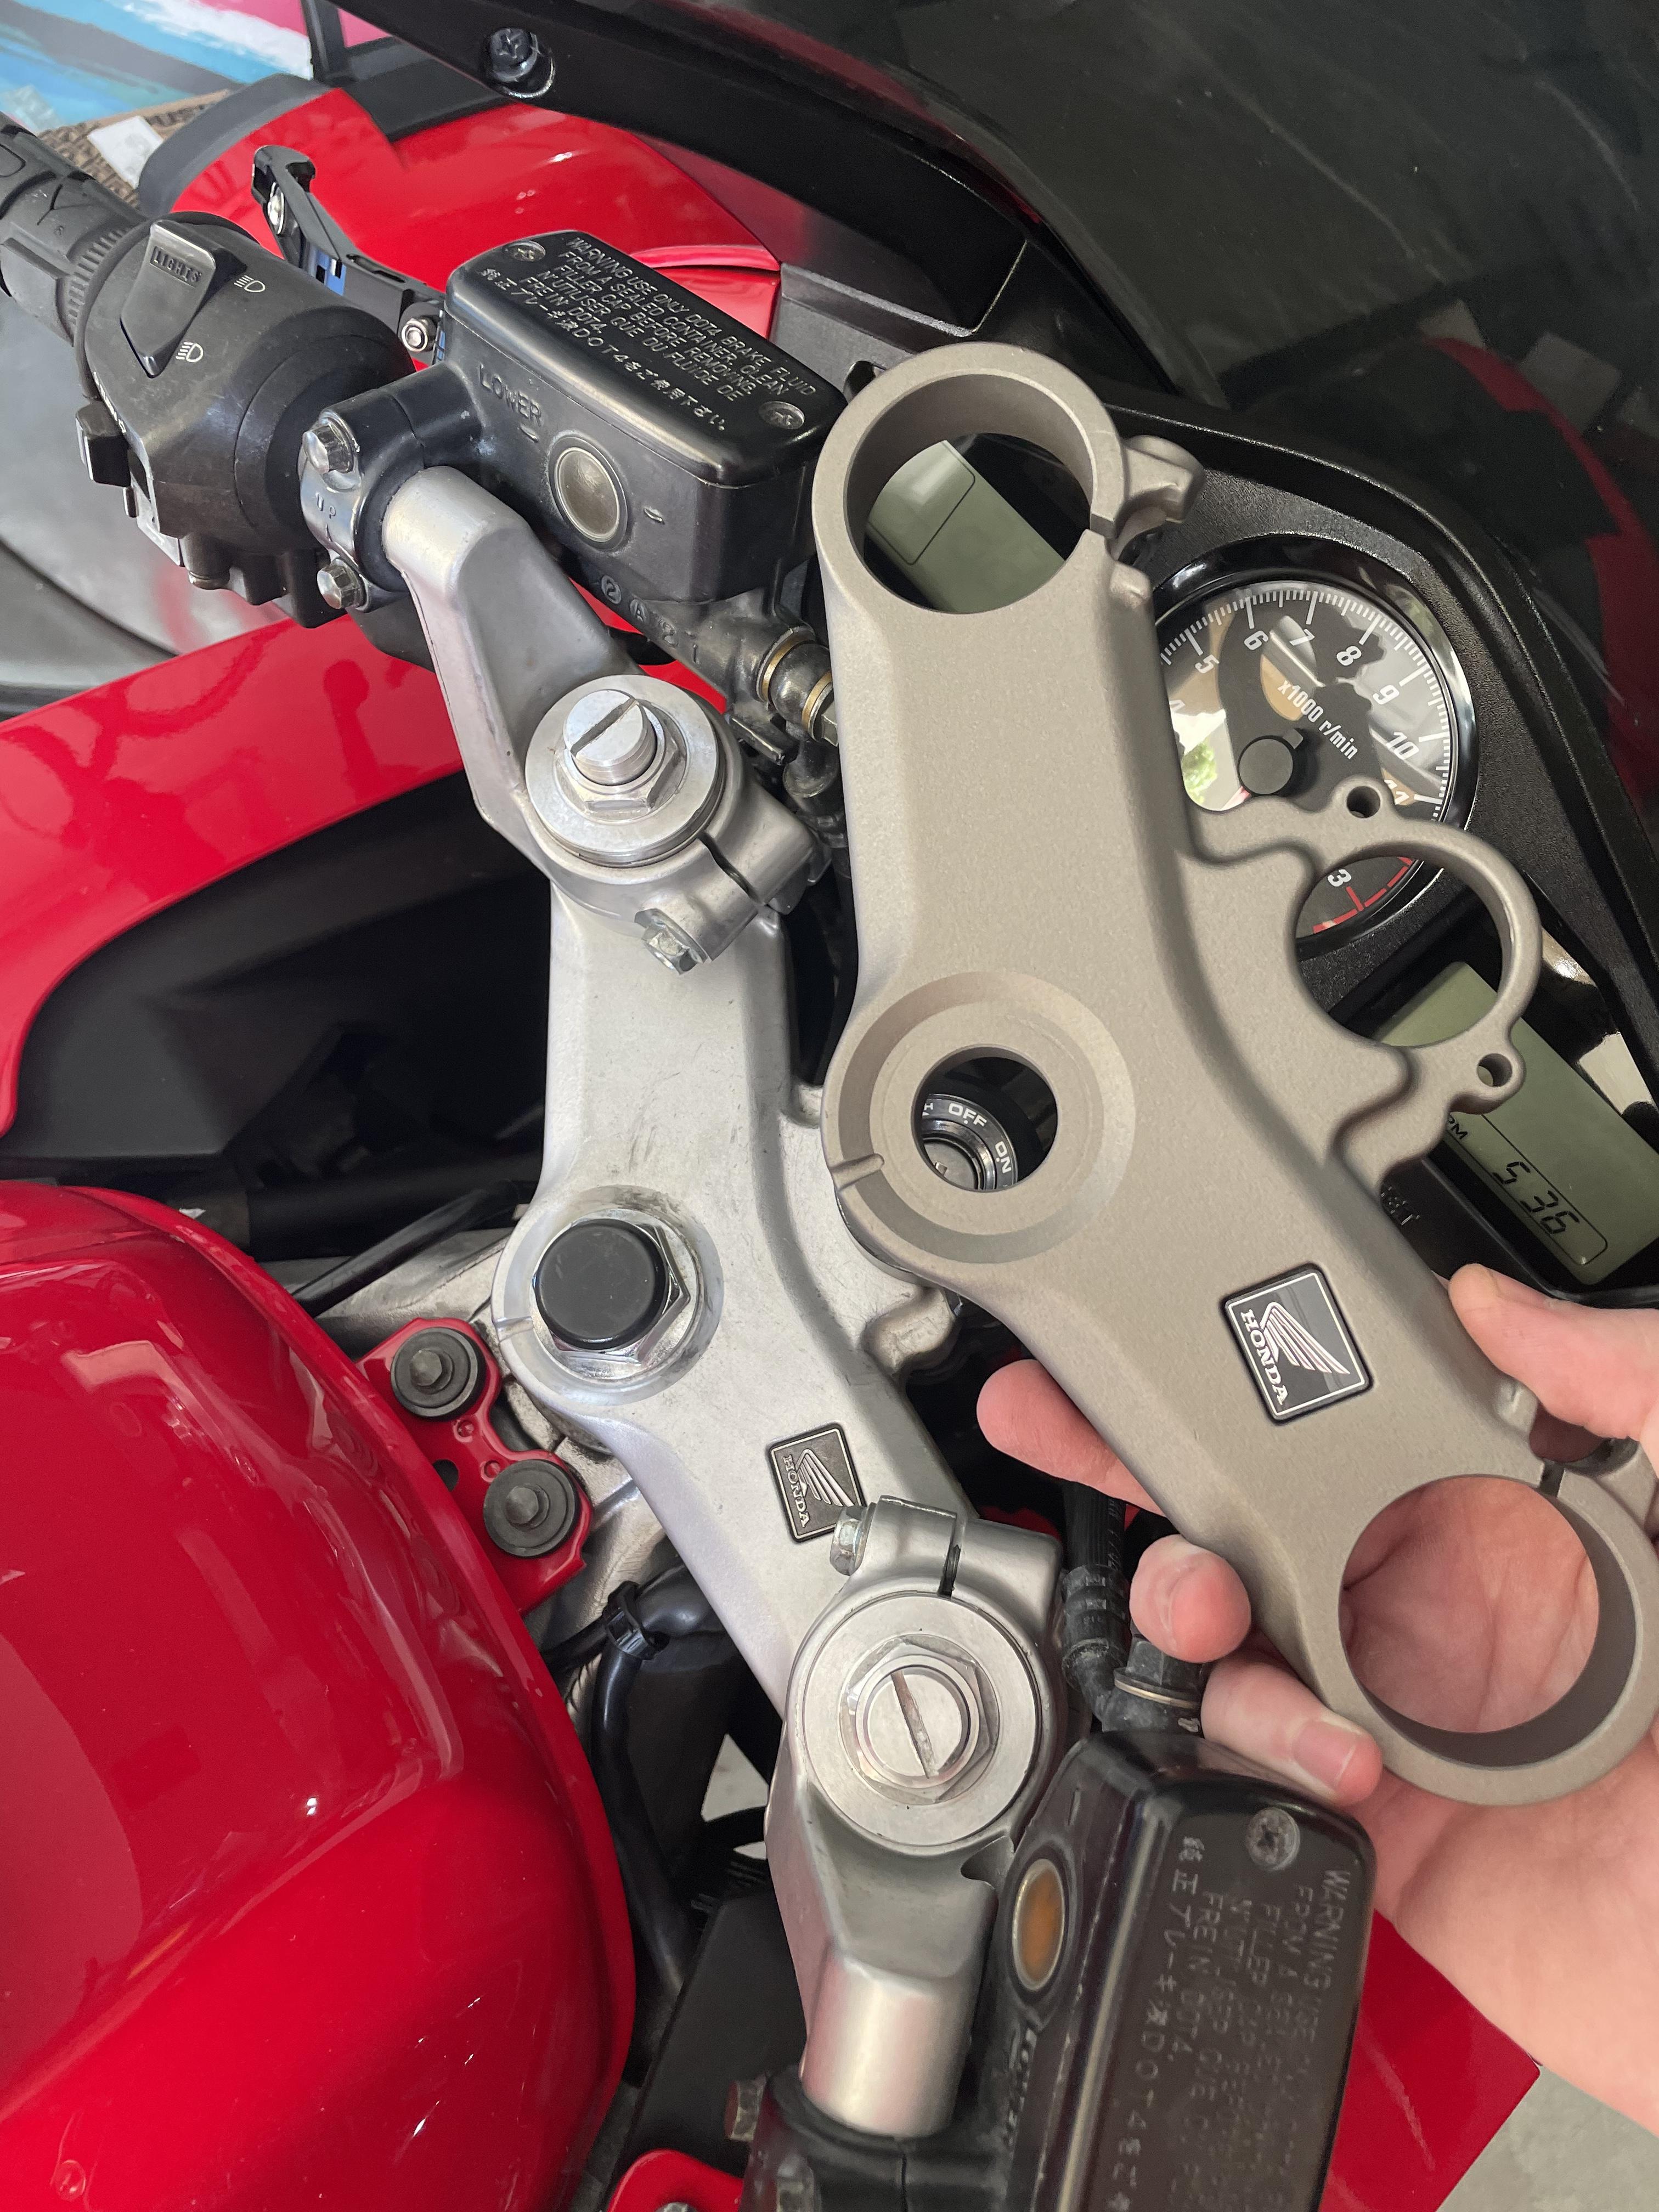
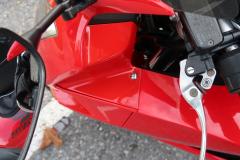
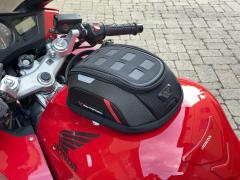
Okay and this is “something @SEBSPEED did for my VFR that I haven’t installed yet.” Cerakoted upper triple clamp and brake calipers. I have red Galfer stainless steel brake lines to go with them, as we all as a red Oberon clutch slave piston upgrade.
-
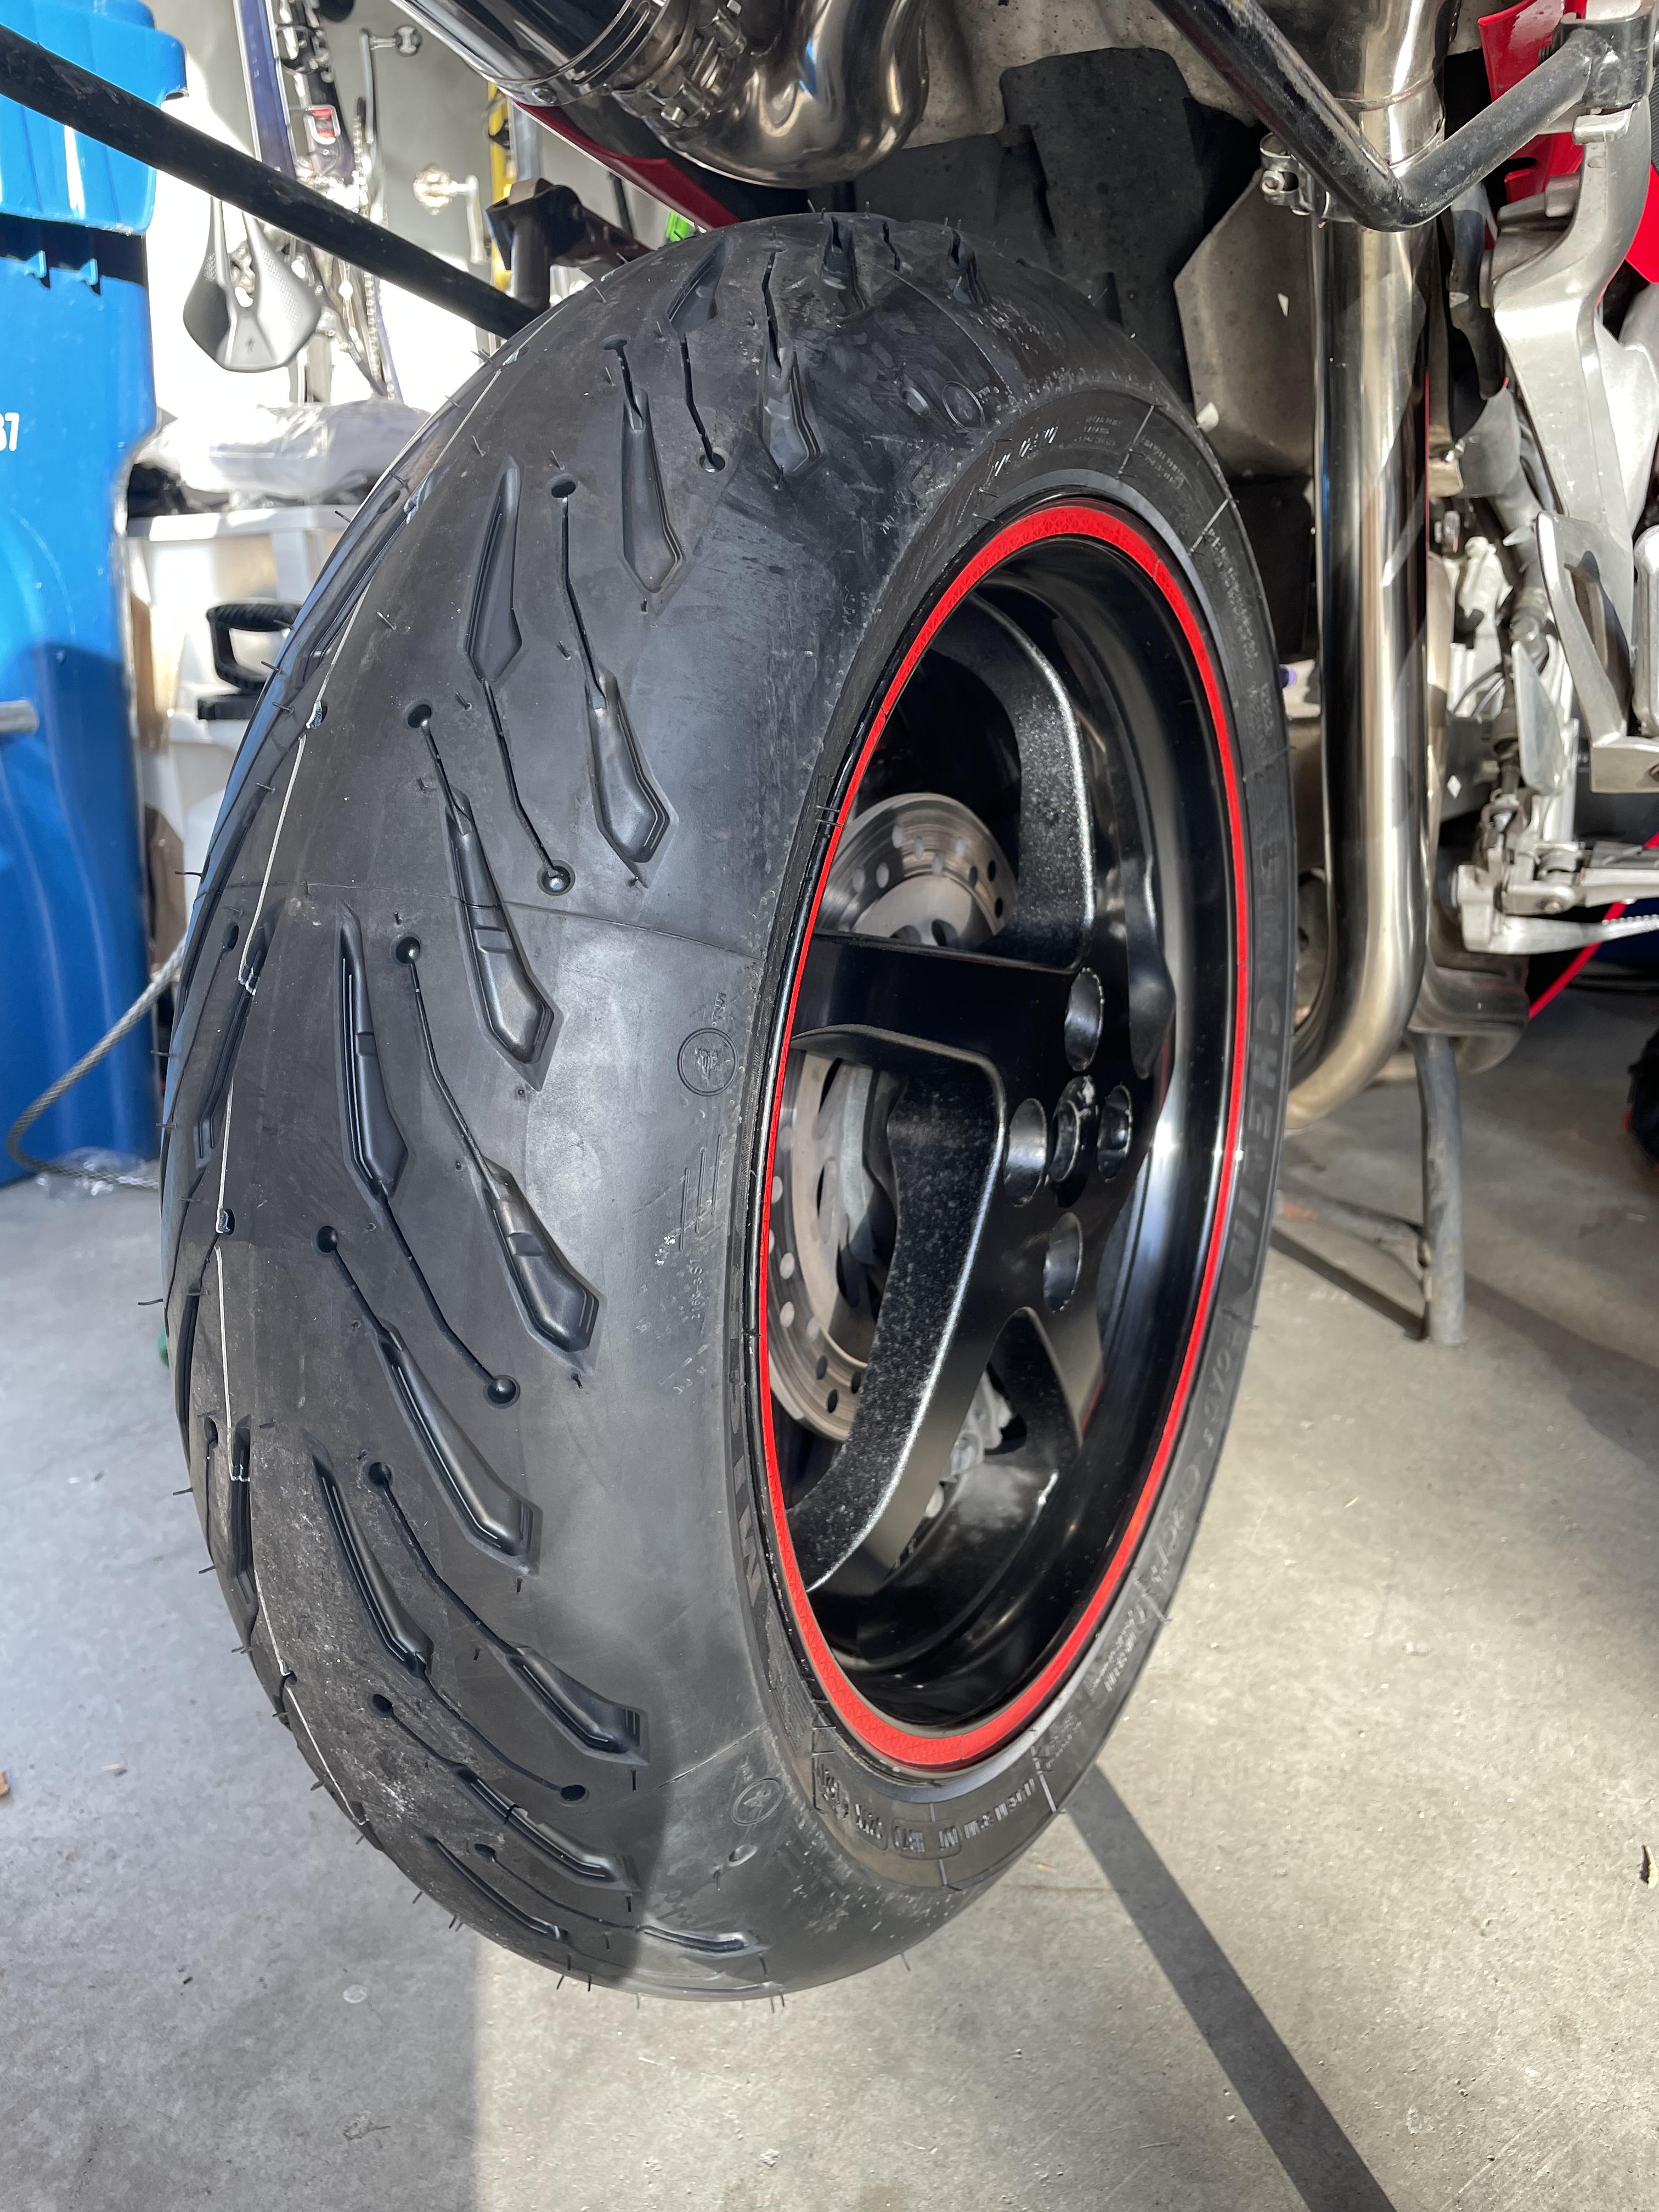
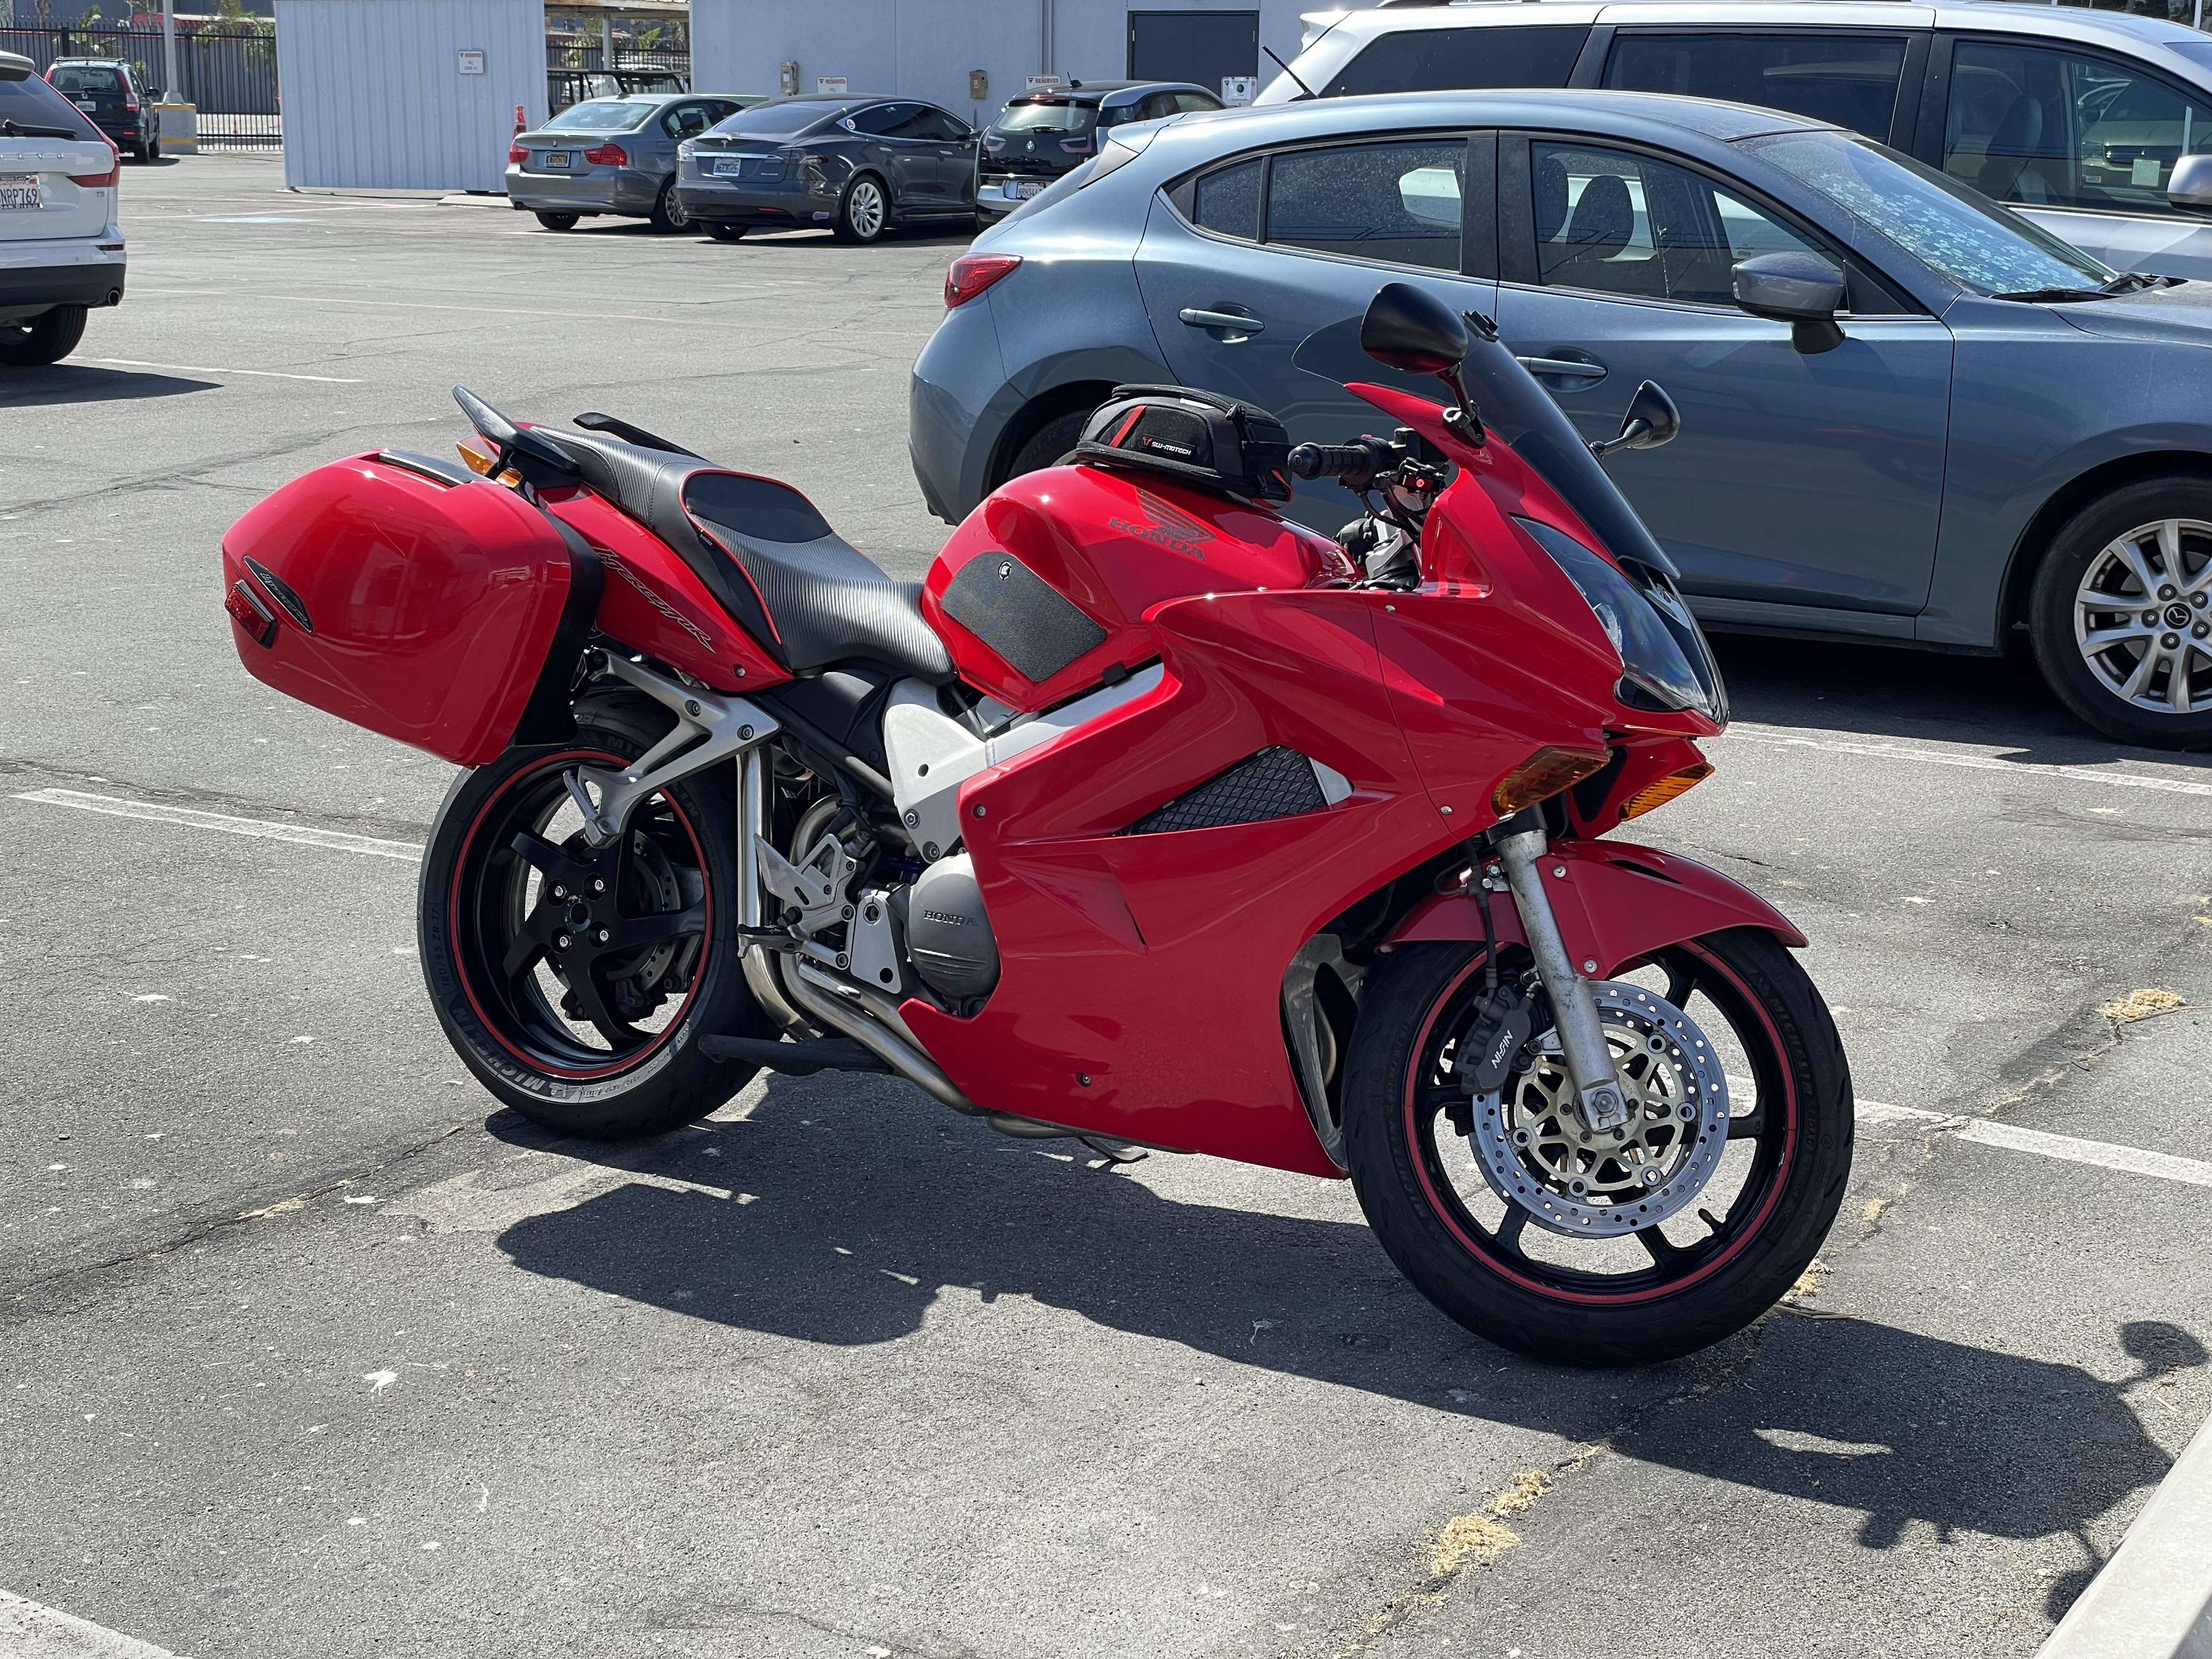
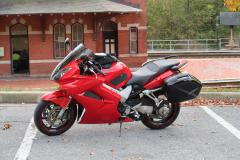
Last week…but new Michelin Road 5 and a whole lot of cleanup on the rim. I also hit a lot of the trim pieces with Cerakote ceramic trim wipes. Highly recommend them!
-
Hi ShipFixer, Thank you for your donation of 50.00 USD. We look forward to improving the forums with your donation. Thanks VFRDiscussion
-
From the album: ShipFixer's Album
-
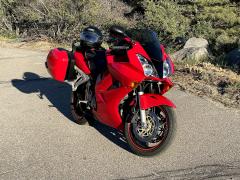
Photos by ShipFixer!
-
-

From the album: ShipFixer's Album
-
From the album: ShipFixer's Album
-

From the album: ShipFixer's Album
-
From the album: ShipFixer's Album
-

From the album: ShipFixer's Album
-
From the album: ShipFixer's Album
-
I got some of those Emgo replacement mirrors and replaced the mounts on my stock mirrors. The Emgo ones "look stock" and probably work but I didn't like something about them. Stock mounts had chips in the paint and the aluminum was bubbling. Now looks new...
-
Rapidbike Evo And Racing Related Questions !
ShipFixer replied to RapidBikeUSA's topic in Modifications
PSA: clean injectors and a new fuel filter plus RBR is pretty swell! With the full exhaust, once my RBR settled my mileage was just "okay" and the bike really liked bottles of Redline SI-1 fuel system cleaner. I haven't refilled yet but past the time where the RBR should have re-settled and I'm going to guess it's easily 40+ with saddlebags. Bike starts like it's new and is a lot smoother across the board. -
Similar...on my 6th gen I put a 20 lb or so dumb bell in each saddlebag, and a tool case or another weight on the back seat. Since there is a tiny chance of earthquakes here, if it's going to be a long time, I will put something under the front of the engine case as well.
-
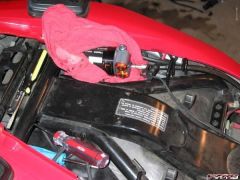
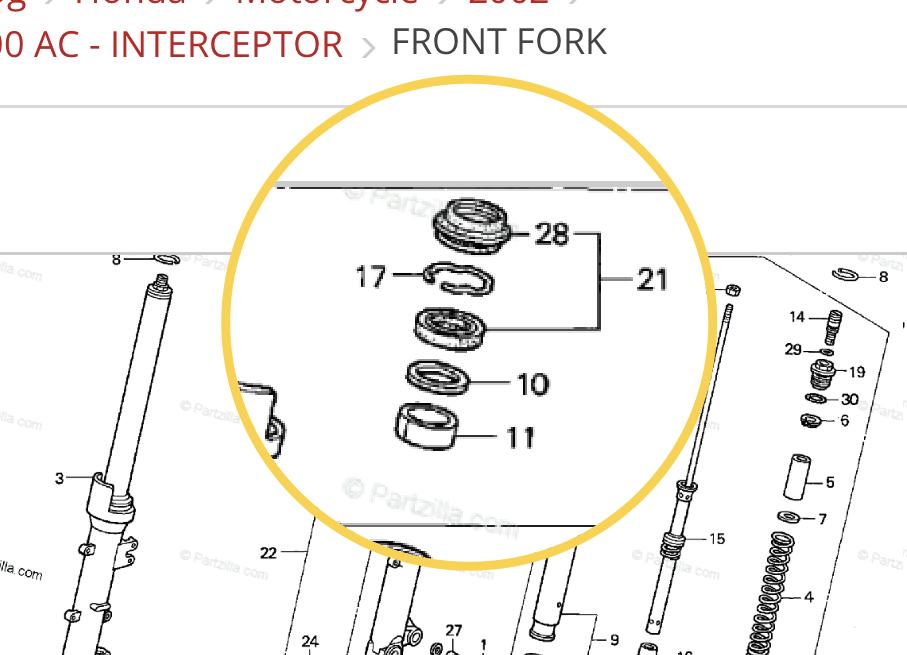
I suspect the dealer changed the outer seal but not inner. Some oil film gets past my new seals but not like old seals. See part 21: One other reason "why" is the original seals could have just aged out, and in addition to grit allowed water and other contaminants in. And whatever is still in there is still in there. It occurs to me the dealership could have (don't know why they would do this, but...) just replaced the seals or just upper and not oil and whatnot. Or, they could have replaced the oil but not cleaned out the bottom. FYSA, when I got my bike back in 2020 and serviced the forks, the last time they had been apart was in 2007 when I revalved them. I want to say the other two owners put about 10,000 beginner and commuting miles on it past whatever I did after that. The bottom was something like crude oil and the seals were not awesome. (Bike was clearly parked outside in the weather and the upper seals were cracking...so there is that.) I only know this because I completely disassembled the fork and looked at the damper and bottom of the lowers to clean them out. There are two dozen different versions of "servicing" forks for oil change or maybe outer seal swap that would not lead you to clean out the bottom of the fork. I think I've even done the oil change with a siphon method without removing the forks. Let alone a technician who's doing a bunch of things today and maybe isn't going to take the time you or I would to make sure it's clean and grit-free after removing the sludge. I guess it's possible that your bushings are bad enough to misalign your seals enough to let oil out and other things in. But even my bushings weren't that bad after pumping sludge, and I think you would notice other problems.
-
Looking around for the how-to. Meanwhile, are you able to remove your forks yourself, and leave the bike balanced on the center stand wherever you park it? If so, hardest part is really over. The seals and bushings are actually really easy to change. Goes something like this if you want to consider DIY, and I'll add some extra steps: * Buy the parts you need first: seals, bushings, and the gasket/crush washer for the bottom of the fork. - Loosen the top caps before you remove the forks from the upper triple crown. - Remove the forks (remove front wheel, front fender, brakes, and make sure something is holding up the brakes so they're not stretching the lines...I put mine on a 1' tall tool case). - Remove the stanchion protectors (plastic shields). - Remove the top cap, push stanchion down. The top cap should pull up the damper rod. You should see some flat sections you can get a wrench around, along with the upper spring perch (has a notch so you can just take it out). Remove spring perch, unscrew top cap from damper rod and put all of these things aside. - Pull springs out. - Invert fork and dump oil in a container. If your dealership did their job...oil shouldn't look that bad. - Possibly using an impact wrench, possibly not, unscrew the 6mm Allen bolt at the bottom of the fork. The damper rod should come out. Here comes the surprisingly easy part! Pull up on the stanchion, and the bushings and upper seals will come out. May have to knock it a few times like a slide hammer. Clean out all of the parts really well. This is a good time to consider revalving with Racetech if you haven't done it, or changing fork springs. If you revalve, one OBTW is polish the damper rod really well while you've got the damper apart. But no reason to disassemble damper if youre not revalving, just blast it clean with something like White Lightning. Bonus steps: I forget who told me to do this, but now is a great time to resurface your stanchions. Clean off the rust and wet sand (I used isopropyl, steel wool, and 1000 grit) the pits flat. Then use phosphoric acid to convert the rust, and then seal with expoxy ( I wiped it over, then wiped it off real quickly several times until I got it very flat. Did not leave it on the chrome long enough to turn hard and require sanding or something later).
-
My 2002 has no problems with altitude. It is a little reluctant to restart at 5,000 feet but I blame dirty injectors. It also sometimes needs a little throttle to start when cold.
-
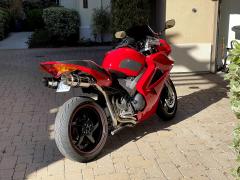
Ha...I have dual 8" Delkevics, they sound really good. But I had to go with the "quieter" baffles. With the stock baffle and catless VFRD header it was waaaaay too loud. I was really looking at whether I could take two 13" Delkevics and have them cut down to 10" or something 😕
-
Seconded...my Road 5's are amazing!
-
New 5th/6th/8th gen performance header now in production in USA
ShipFixer replied to sfdownhill's topic in Exhaust Systems
I tried both a giant breaker bar and my impact wrench. The Delkevic bent the pipe expander sections instead of expanding. No joke. Tossed out the expander. 🙃 -
New 5th/6th/8th gen performance header now in production in USA
ShipFixer replied to sfdownhill's topic in Exhaust Systems
We never left this topic... 🤣 -
New 5th/6th/8th gen performance header now in production in USA
ShipFixer replied to sfdownhill's topic in Exhaust Systems
In response to @boOZZIE 's experience here, the do it yourself pipe expanders made no change at all to my Delkevic pipe and my impact wrench is no shrinking violet. Had to be done on a hydraulic machine in a shop. Two tries and it was done.