Leaderboard

Popular Content
Showing content with the highest reputation on 05/27/2021 in all areas
-
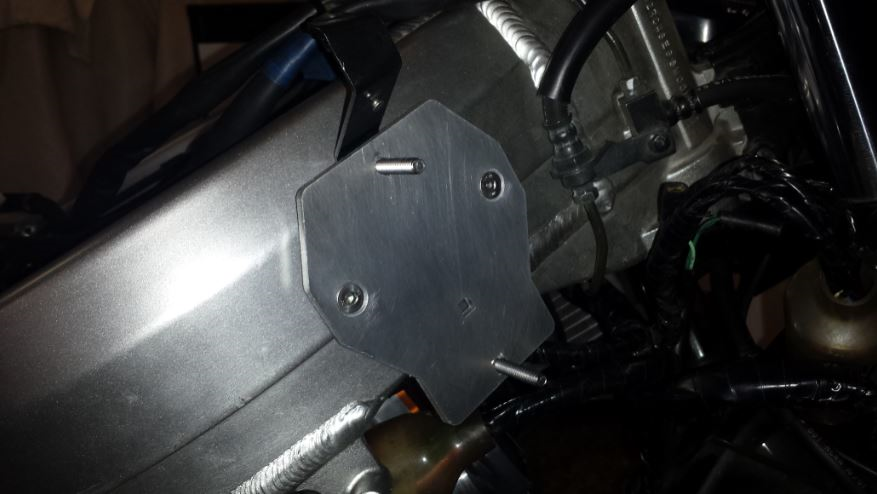
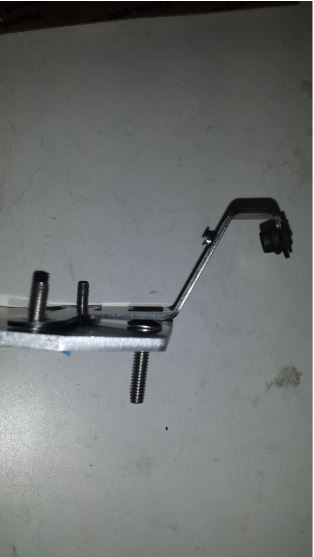
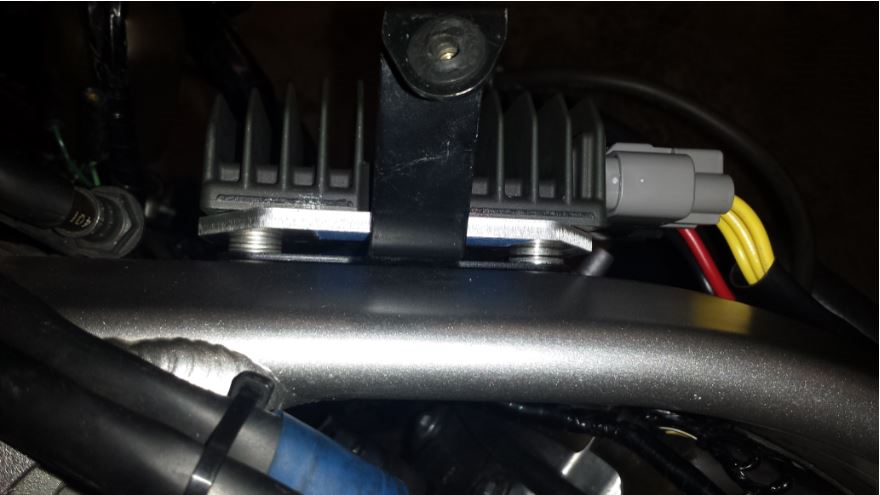
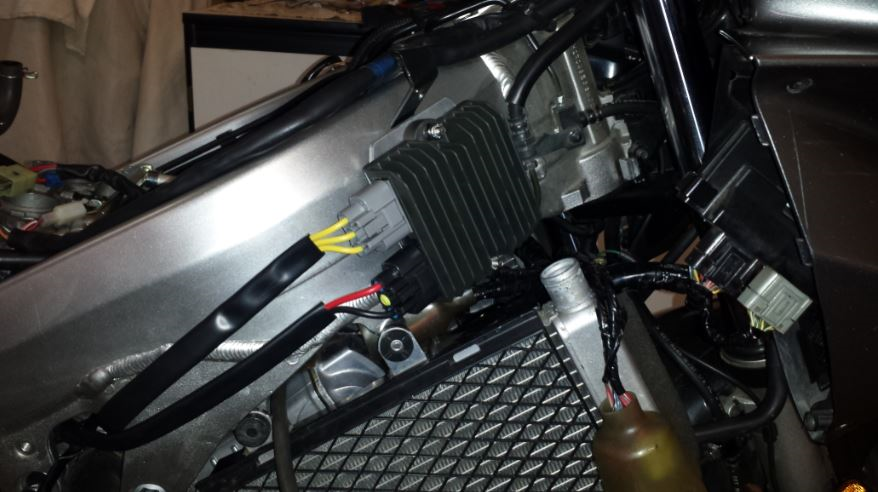
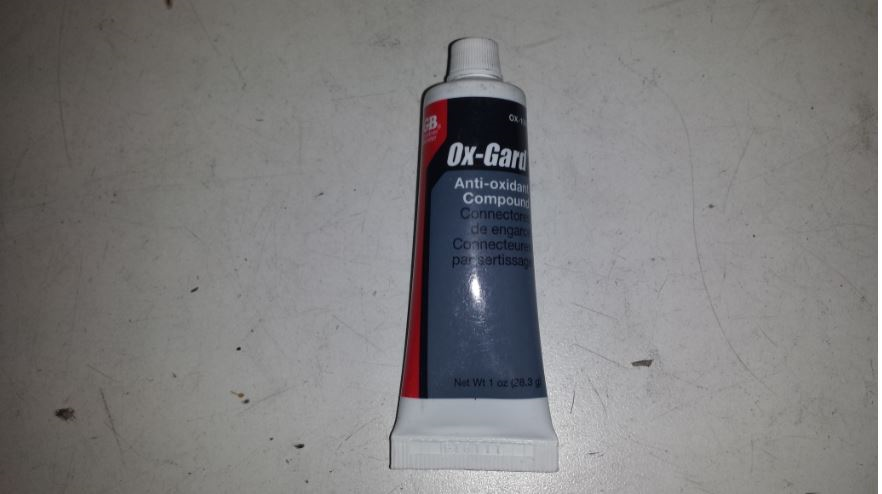
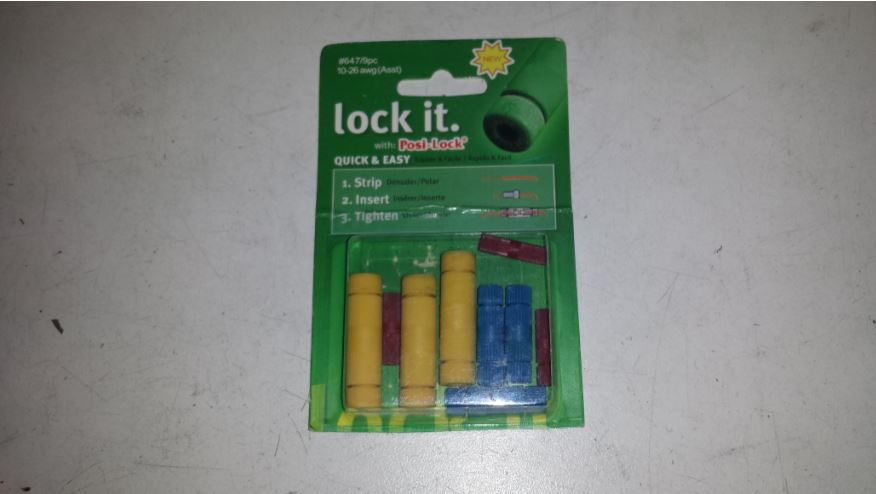
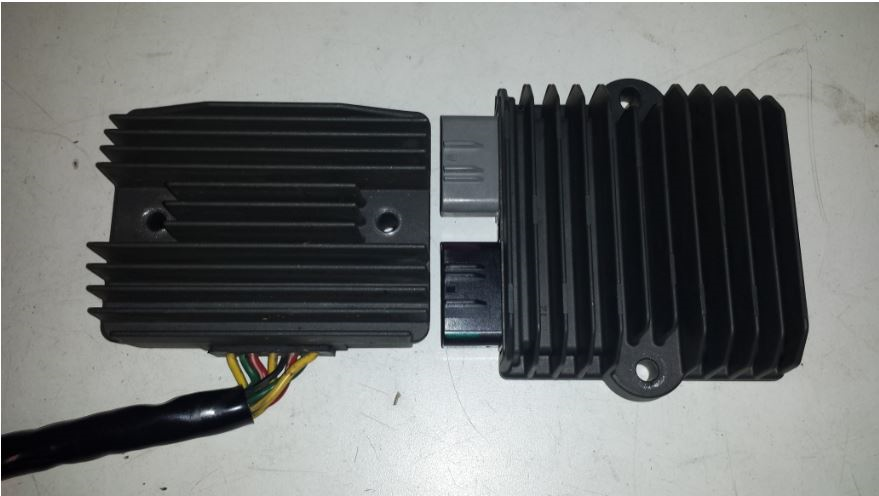
Finally got around to fitting an 847 today. I've had no problems with the 6th gen OEM R/R but after 32,000 miles its output had become less stable. I have a Datel voltmeter and where it used to run at a steady 14.6v, it was moving around more between about 14.5v and 14.8v. The latter was making me uneasy b/c if it begins to fail and spikes too high it can possibly affect the ECU. This is an easier swap than I think widely believed and a great upgrade for the stator's life. Got it from Jack at Roadstercycle. The kit is really clean and very robust. If you're not familiar, the 847 is a series regulator that only turns the stator on as needed vs OEM which runs the stator flat out at all times and shunts excess current off as heat. There are more details on that topic on the Roadster website. This is Mello Dude's flip plate. The 2 protruding bolts are carriage bolts that secure in square holes in the plate and mount the 847. The 2 chamfered holes with the flathead screws mount to the stock 6th gen R/R mounting holes. A minor issue on a 6th gen is the fairing stay (below). If installed over the carriage bolt head, the stay will be pushed slightly out of position. To keep the stay in the correct place a stack of 3 washers was added to clearance the plate so it doesn't interfere with it. View of washer insert. Final install, below. Once the 847 is bolted to the plate it covers the 2 chamfered mounting bolts preventing them from backing out, so no need for Loctite or similar. For the 847 mounting bolts I had 2 nuts with nylon locking collars laying around. Once snug, this install is rock solid. Note the wiring - very robust. The connectors come crimped and sealed so very clean. Note that now the stator connector will be on the stator side of the bike. I ordered the 847 with 4 feet of battery wire and 3 feet of stator wire and sheathing for the stator wires. The sheathing is not necessary, but does keep the wires bundled when threading them beneath the throttle body. I trimmed the stator wires but left enough for a short loop inside the frame so that in the event of any damage to the wires or connectors I can pull a bit more through and re-connect. The battery wire turned out to be too long, so rather than cut and re-connect, etc, I created a loop of wire behind the rear cam cover and zip tied it. The stock R/R connector can just be seen under the black 847 connector tucked behind the radiator mount post. Just tape it off and leave it. This is a comparison of the stock R/R with the 847. The stock R/R initially confused me and I'm sure others with its multiple wires. The two pair of red/white and green are duplicate wires as the gauge of the wires is less than desireable. The 847 uses much heavier wires allowing for a single strand run of wire. Part of my electrical system maintenance routine is to treat connectors with Oxgard and these were no exception. My stator connectors are done with Posi-locks. The nice thing about them is that their locking collars screw in to the connector barrel, making them field serviceable without tools and makes stator removal a snap. I've run these on my stator for years with no issue. This is a spare set of various sizes I carry. Co-incidentally the yellow ones are the gauge needed for the stator wires. The 847 kit wiring has thicker insulation than typical, so I had to use a drill to open the collar diameter slightly - makes for a very rugged and tight fit. The 847 is an easy bolt-on upgrade and IMHO would probably solve many owners' electrical gremlins.
 1 point
 -
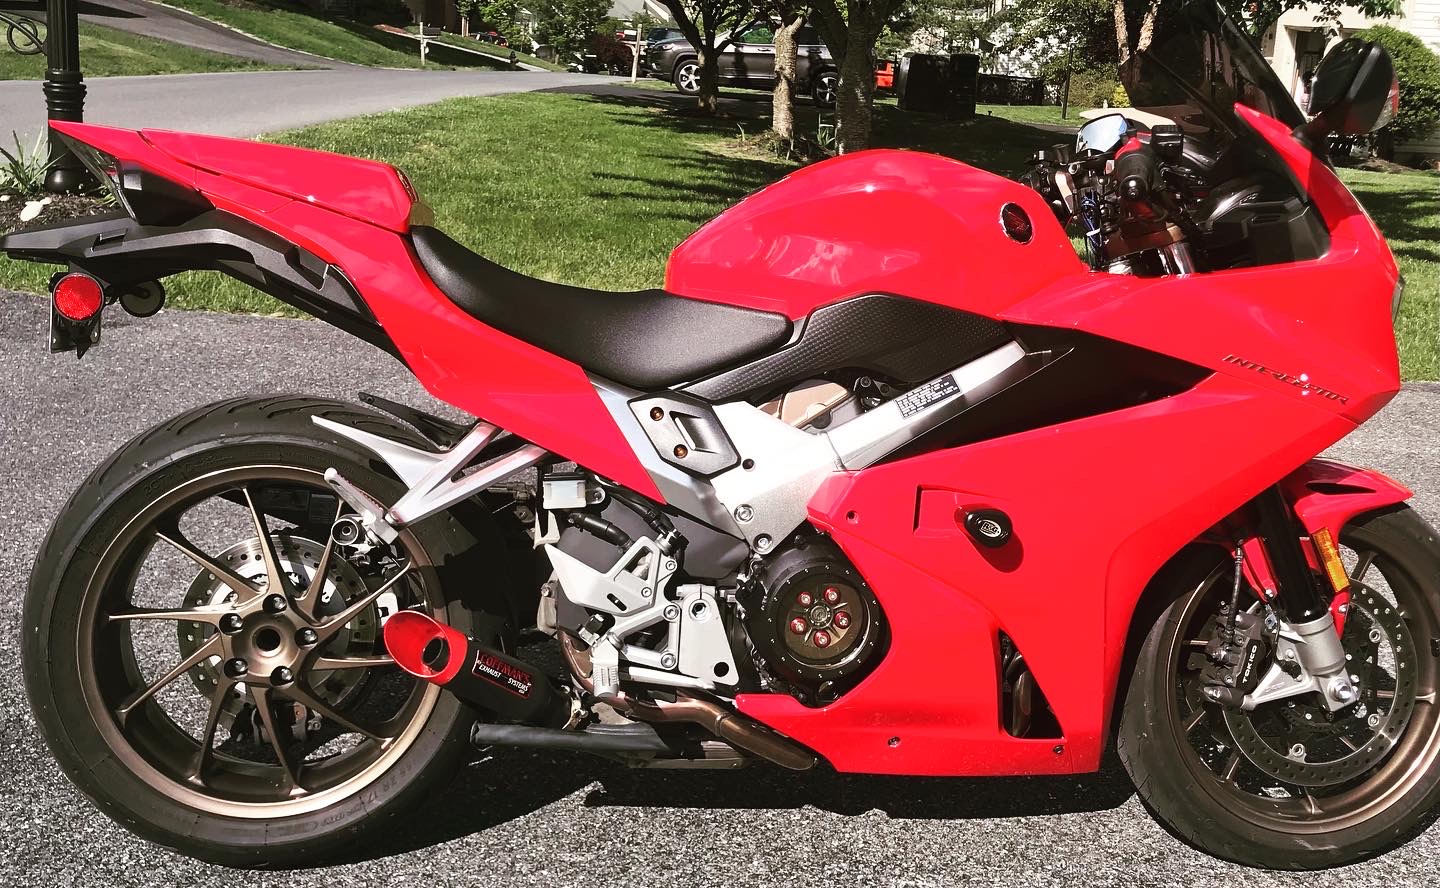
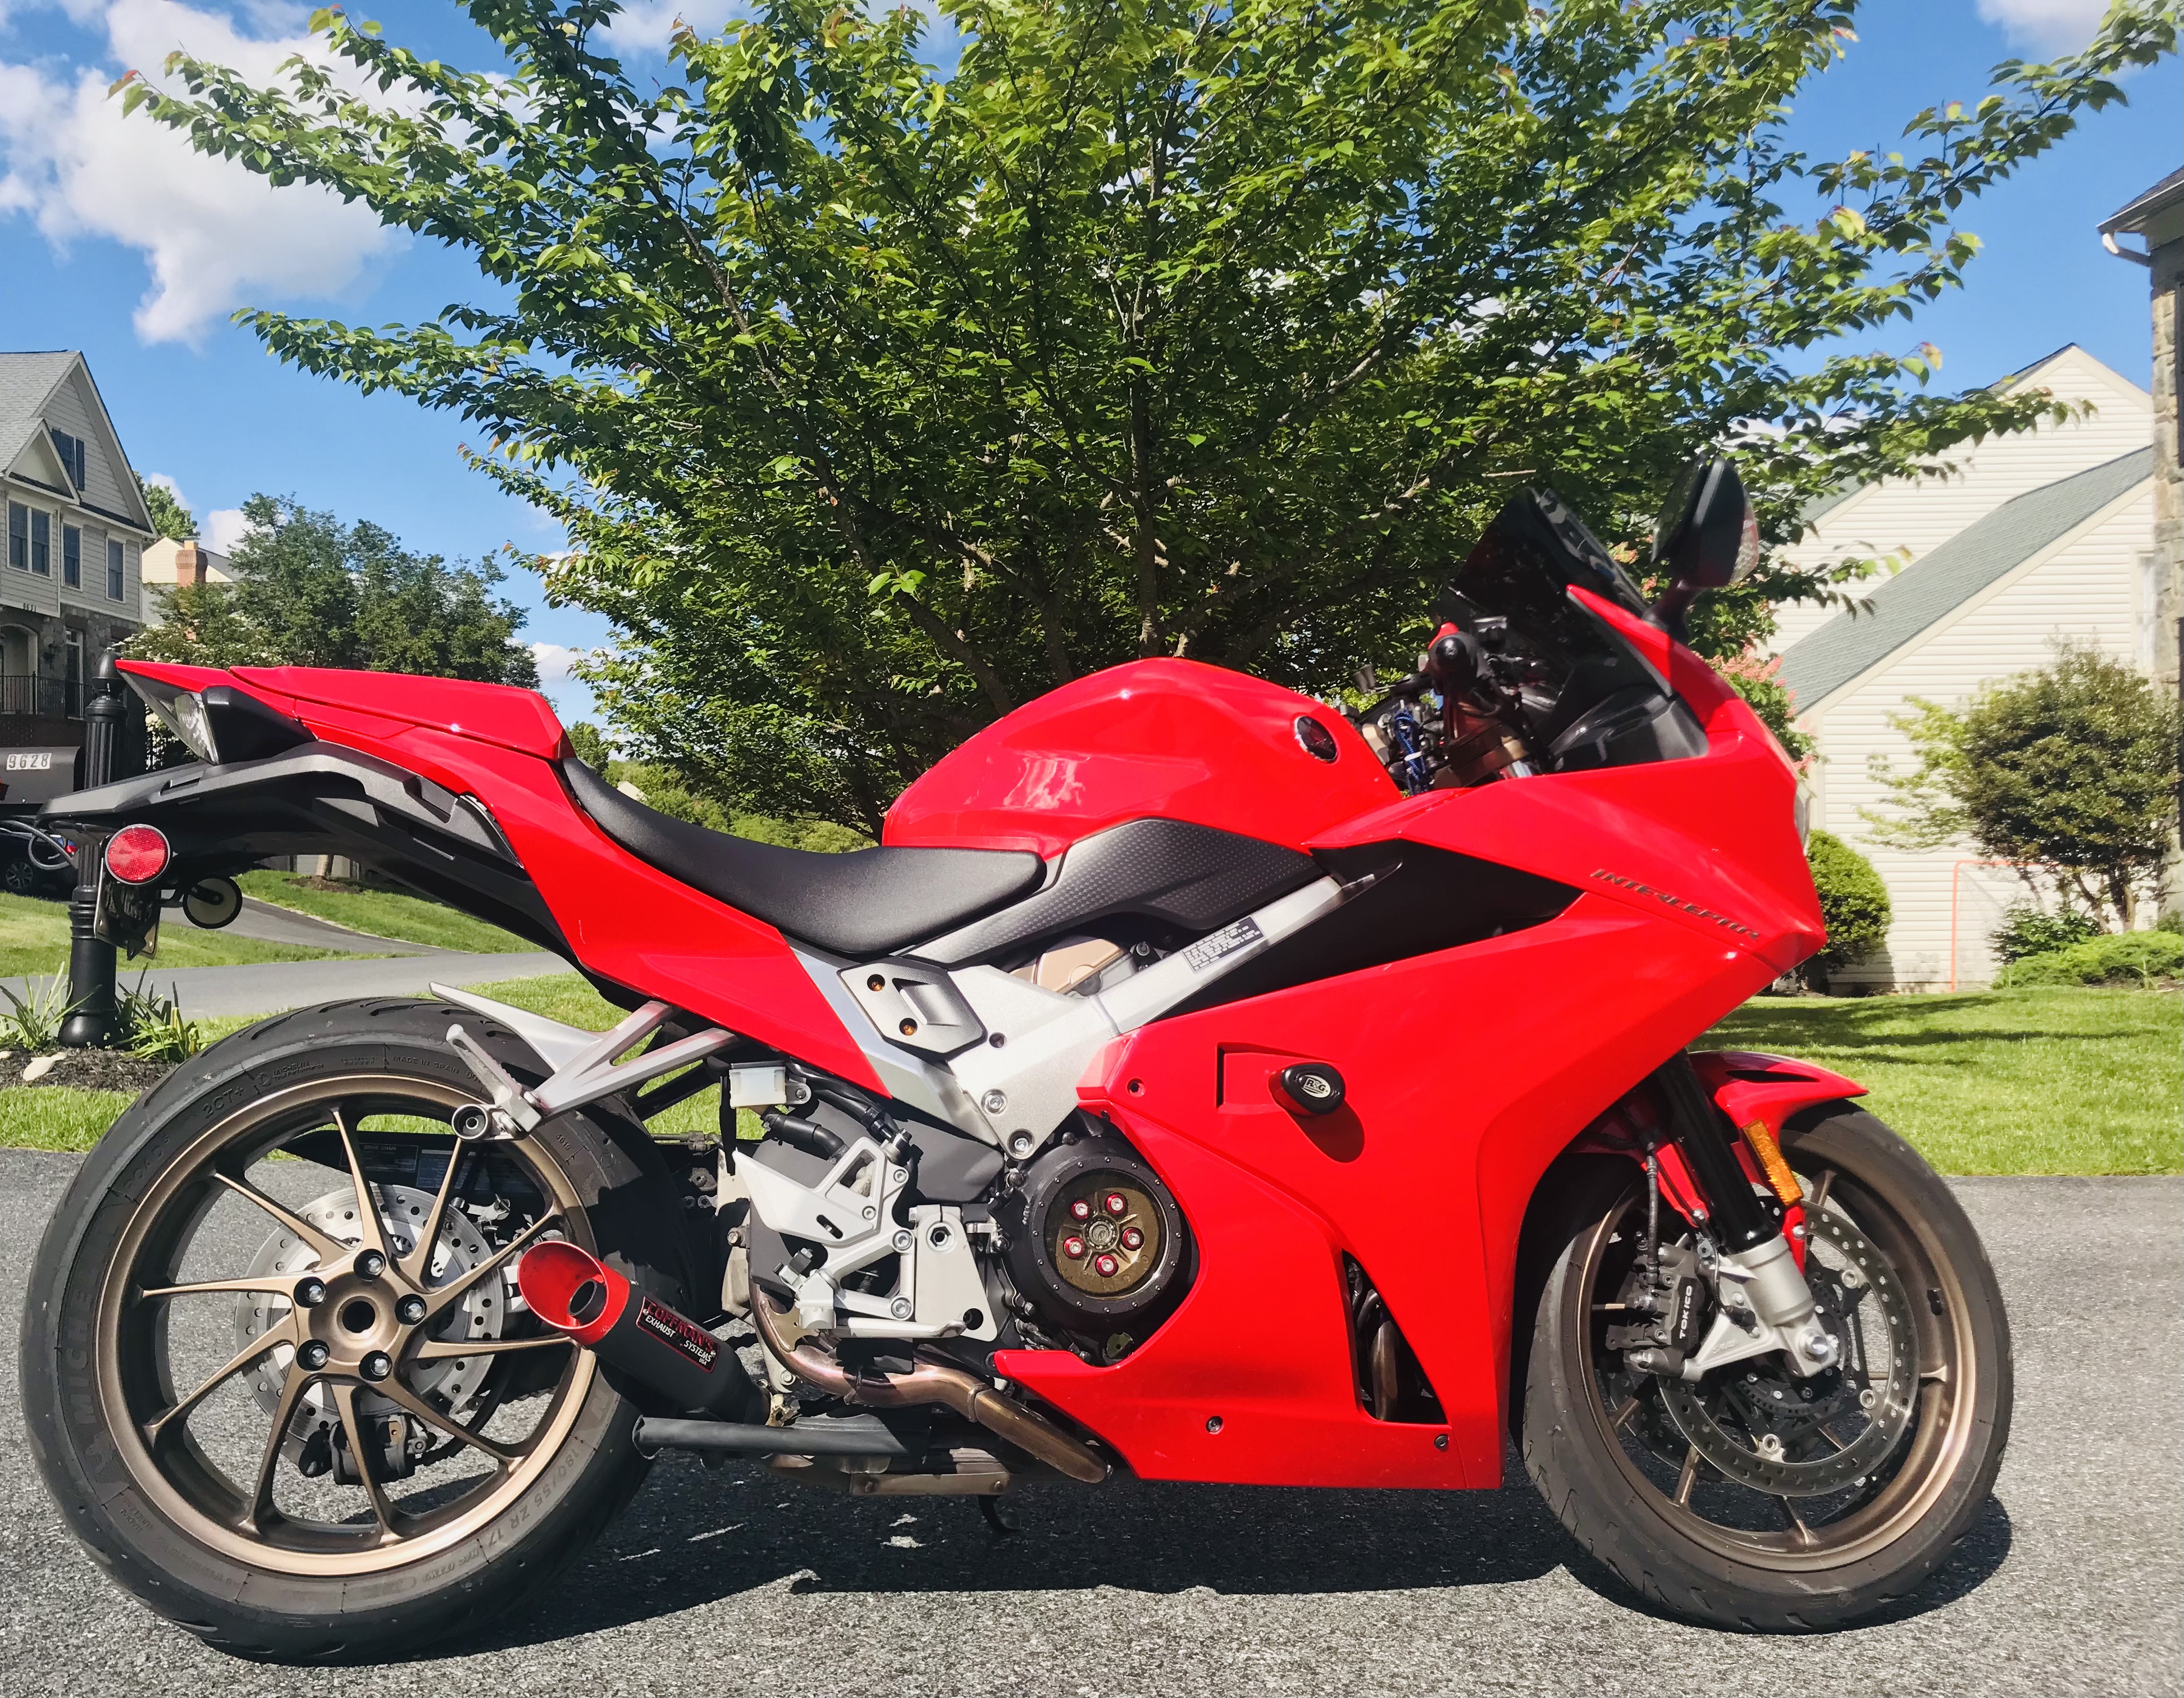
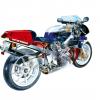
Excuse the little bit of oil that splashed on the window... I had just hopped off it and snapped a quick iPhone pic... And there appears to be a gigantic tree growing out of my gas tank. THAT part was not a SebSpeed custom part.
1 point