Leaderboard


Popular Content
Showing content with the highest reputation since 07/05/2019 in Blog Comments
-
I don't think that I posted this before. My first track day came about when I was the "fastest" guy on our street rides. I led a lot of rides and felt I was pretty excellent at riding. I signed up for my first track day expecting to be pumped to advanced pretty quickly. During my first day, I realized how little I knew...particularly when I was passed by a guy who looked like Santa, on his BMW R-bike, complete with saddlebags...like I was stopped. The hook was set!4 points
-
I had a similar moment that still makes me laugh. I was Ricky racer on my 1200 (150rwhp ish) going into a sweeping right hander, giving it the beans (I thought), and an unnamed forum member here on a 40hp kawasaki versys on DOT knobbies passed me on the outside while waving at me. Thats the day I really started asking questions. Hahaha4 points
-
Brilliant and makes me feel really good. Why? I have a VFR750 I bought new in the UK in 1988. About 338,000kms, or 210,000 miles and I have couriered on it, raced at Brands Hatch, been all over Europe and then bought it with me to New Zealand, where I now live. Bought and engineering business afew years back and we do bike and car engine rebuilds. Classics, V8s, diesels, trucks, anything. And the guy who runs it is a mad biker, with 13 bikes. So who better to work on it? Back in the UK I had a bike shop specialising in VFRs are started the VFR Owners Club back in the mid 1990s. SO I know a little about them. Took it into be looked over and anything that needed fixing was going to be done. Like you, everything checked. Very slight wear on the barrels, just need a hone out. Rings fine, compression fine, carbs fine. Been dynojetted pretty much since new and got a race Renegade system on it with K&N air filter. So we'll do the hone, replace the rings, (be silly not to) and replace the clutch basket bearings as they are a little rattly. But apart from that, everything is fine. So moral of the story is use your VFR. They can take it and their reputation as one of the best made over engineered bikes ever made is well deserved. I'll do many more miles on mine, I reckon I'll stop before it does! And I had a new 1998 VFR800 as well. Much quicker, smoother etc, but prefer the old 750. Like a pair of old slippers, after 32 years, we're kinda mates now and can't see me binning it! Thanks for your story, makes me feel that we haven't missed anything on mine. These really are frigging good bikes......4 points
-
https://youtu.be/mYOh5IOyawA And the ducks (or are they geese?) crossing the road with the young 'uns.2 points
-
I've never done a track day but still hope to. I ride better now at 63 than I ever have. I give all the credit to my riding friends that I've met here. I have several that are nice enough to set a pace that I can handle and then pull me up without me knowing it. Now, I find myself laughing at things that used to make me cringe. When I ride alone, I slow down and work on being where I want to be through a turn rather than my speed. Faster every time and more relaxed. It is interesting to feel my age slowing me down at the same time that I'm improving my skills. That track day needs to happen soon!😀2 points
-
I appreciate the comment in the OP about being humbled by being passed by a coach or other rider that's two up, or on a small bike, etc. That happened to me - I had some time at a local track and thought I was cutting a pretty good line until one of the coaches blew past me on another G6 VFR, disappearing through the next turn before I could get there . . . I felt like the slack-jawed Coyote watching the Roadrunner disappear. It was a lot to process in the moment as my stupid ego deflated - I had to process that I'm not even close to as good as I think I am and that I have a lot of development that needs to be done. (I recall thinking "how is that even possible??") I couldn't rationalize that he was on a better / lighter / more powerful (pick the adjective) bike than mine - it was the SAME!! - it was NOT at all about the bike, but WAS about my lack of skill. I haven't done any track time since, but have not forgotten that experience and often think of it prior to departing on a ride to remind myself to stay within my abilities. Riding on the road is not a race - the only prize is to pull the bike back in the garage with it as nice as it was when I left. If only we all had the time / money / facilities available to get to that next level. One other thing I took from that was that good ride leaders don't tell everyone to "keep up" - they rather tell them that "we'll wait for you at such and such a junction / landmark - whatever. Ride your own ride and be safe." Great write up - thanks for sharing.2 points
-
Little buggers, how dare they cross double lines! Go for it!1 point
-
Similar: Perfect day on a perfect smooth Swiss engineered road on a K100, getting adventurous with shaving the footpegs and sliding the front tyre a little. Then blown away by several Jappos - a Honda 750 four K1!!, GS750 etc. Talk about ego deflation....till I caught up with them at a cafe, took a closer look and slowly began to understand. All of them shared a common theme - Fritz Egli frames.1 point
-
Thoughts? Specific questions? I took a bunch of classes, and had some coaching and it helped a lot. I was still getting frustrated, and could not get much faster. Rode (for fun, not commuting) almost everyday for two years during that same time period. Had incremental improvements, but eventually "gave up" not giving a shit how fast I was. Once I did that, everything I learned clicked, and I was relaxed enough to put it all together without thinking about it. When I look back I realized my fixation with being good kept me too stressed to improve. I was always trying to evaluate my riding position, throttle position, apex, riding lines, braking, hands positions on the bars, and where I was looking. Too much to process. Once I let go, I was able to do all those things without thinking about them. Be loose on the bike, and relaxed - my best days were when I wasn't trying, and next thing I know I was keeping up with the fast guys in the turns. If you're tense then you are going too fast. When I'm riding around the track, not thinking but just "doing" - from muscle memory, I many times have an out of body experience, like Bmart said when I come back in my eyes are as big as saucers, and I'm laughing and smiling halfway until the next session. Very surreal and cleansing experience!1 point
-
One of my old track buddies was really fast and capable, but he went though a few pair of $300+ gloves a season. There's a message in that! Loose on the bars and hold like a screwdriver, not straight on. For me, the best I've found is loose on the bars, medium pressure on the pegs, and nearly all of my pressure on the bike against the outside of the tank. Leave enough room between you and the tank to easily transition from side to side naturally and without weighting and unweighting when you do it. Sliiiiide. A big challenge for me is going from bike to bike and gear to gear. The bars are in different places. The grips are different material and different lengths. The seats grip more or less. My gear grips more or less. Some bikes have tank grip while others don't. And none of that touches on the differnet size tires, different compounds and shapes, braking components, fuel load...you get the idea! One of Rossi's greatest strengths, and one of Lorenzo's weakest points, was the ability to adapt. This skill can't be overstated. You guys are getting me excited for track days this season. I don't start until April, but I do have three options for my favorite track! (Two tracks that can teach the most are rarely attended: VIR South and Patriot-no rest for the wicked here.) https://www.youtube.com/watch?v=k-0p_EGuIUw A no charge favorite!1 point
-
I've found parking-lot exercises really helped me improve on track. Such as being able to go from upright to full-lean quickly. And speedy transitions from side to side. Relaxed is key! Helps your brain work faster analysing data. I wear HRM while on track. If I get too tense, my HR goes up. Signal to take it easy. My fastest laps don't even feel like I'm pushing it, everything's smooth and in sync, almost boring. I only started racing 5-yrs ago, but have improved more in that time than all previous 40-yrs combined! Wish now I had started sooner! And I've actually learned most from kids! We were lucky to have couple of MotoAm Junior Cup racers in our club every year. Speedy little suckers! 🙂1 point
-
I'll keep thinking on this, but here are a few big things I see from folks. A comfortable rider will tire long after someone who is tense (grip on bars, tight arms/shoulders) and twisting joints (causing inflamation making it all worse), etc. This is bigger than you might think. Comfortable means different things to different people. I am light on muscle mass and have more than my share of medical stuff. Still, working on this. I can ride 2-3 day track weekends, double sessions all day and go home not sore. We always get folks who give up after 2-3 session exhausted. THAT is expensive track time. Being loose on controls is huge. The bike has to be able to move around a bit, and in a way that you shouldn't be fighting it. This goes along with trajectory. And body position is critical. Every group, including mine, will teach a right position. Again, modify to what works for you. Also worth noting, controls aren't switches, but rheostats. Modulate, modulate, modulate. I ride on the track using more street skills than most. I look at the exit I want in any given corner, and in any given circumstance (am I alone, trying to pass someone, etc.), and work backward for how I want to enter, from where I want to enter, what entry speed, etc. You will find that dirt guys dive to the inside WAY early. Inexperienced street guys do the same. As you gain experience, you realize that you can balance the time and line on the way in, with the same on the way out. VIR South last turn to first turn is a great example. I am on an ancient 600 and spend all day going past people on the way into turn 1, despite the looooong straight and 1/2 the HP. (And I'm not Rossi-skilled...I'm just a regular guy trying to lean on the bike's strengths and push my personal skill level.) Back to body position. There is a rockin' thrill about getting a knee down. That thrill fades some with time and as you get faster, you're actually pulling your knee in out of the way. That's a big step in your skill set. Half butt cheek off in every corner is a great place to start. Remember you're already loose on the bars. As those becoming muscle memory, add moving your torso with it. That is where your weight is. By having your head off to the inside before turn in (if you can see your dash...you're not over far enough), the rest of your body will follow, and the bike will feel the best. A few safety things, never, ever follow someone on their line exactly, always have an escape path. I've followed fokls who have dropped oil, blown engines, lost chains, and so much more. If you have to ask "can I make it past", wait. You'll have all day to learn. For higher skilled in the turns folks you can pass easily in the straights, don't. Hang behind them and then learn in the corners. 300 vs. 600, 600 vs. 1000. I learn so much from the "kids" on the 300s. Back to work! Thoughts? Specific questions? This is not me showing off, but you can see the variances in riding skills and decision making in this video. Sadly the guy crashes in the end. I'm on the blue bike, black helmet, not coaching.1 point
-
Man, I'd love to pick your brain. I've been looking in to doing some stuff with N2, and I don't even know where to start. I just want to get my skills sharpened up, and I really think a good weekend of focused training/coaching would be a huge step. Cheers for the writeup.1 point
-
Extremely well presented and written. Thank You.1 point
-
With your positive attitude, you'll get through this no problem. Glad the bike is there to help you!1 point
-
I finally got the last of my issues sorted out yesterday and took her for a test drive. Came back home with a ridiculous grin on my face. I drove her to work this morning even though it was crazy windy and in the mid 30's F. This week I am doing an oil change and then she's all set for the riding season. As for the house, they just started on it this week. I need to get in touch with the contractor for more details. I will keep everyone up to date on both the road adventures and the house progress. Thanks for all the well wishes and for those of you who think the back end of that tow truck driver needs some dents, you should have heard what my wife and 9 year old daughter had to say on the matter. 😆 The insurance company took care of all the damages though so I took the high road and focused on getting my VFR back on the road. Crest Road take 2 this weekend after the oil change!1 point
-
Horrible news! Sorry to hear about your troubles! Glad you and family are OK and bike looks great! Yeah, that tow-truck driver needs his knee-caps kicked in!1 point
-
Glad you are all OK! Tow truck driver needs his ass kicked...1 point
-
Wow. Sorry for all the bad news, but of course the most important thing is your family is okay. Bikes and even houses come and go, but I'm glad your VFR survived both the fire and that idiot tow truck driver. Why on earth would a guy to treat someone else's prized possession like that?! Anyway, good luck with the house rebuild, and I hope you find some time to ride this year! 👍1 point
-
WOW..so sorry this happened to you, and the tow truck driver needs to be fired! I hope the rebuilding of your home is going smoother.1 point
-
Glad you could save her. That's the worst part of my job, knowing someone has just lost everything.1 point
-
The weather here in NE Ohio is starting to really turn. I rode to Cleveland and back the last couple nights, and Monday the temp as I got home dipped down to 40. We'll still have a few decent days in the 50s where I can get a good ride in, if I'm free one of those days. I'm hoping to get at least one more long day in, but if I don't it's still been a good riding season!1 point
-
Good pics! Ride while you can. Days are numbered here, too.1 point
-
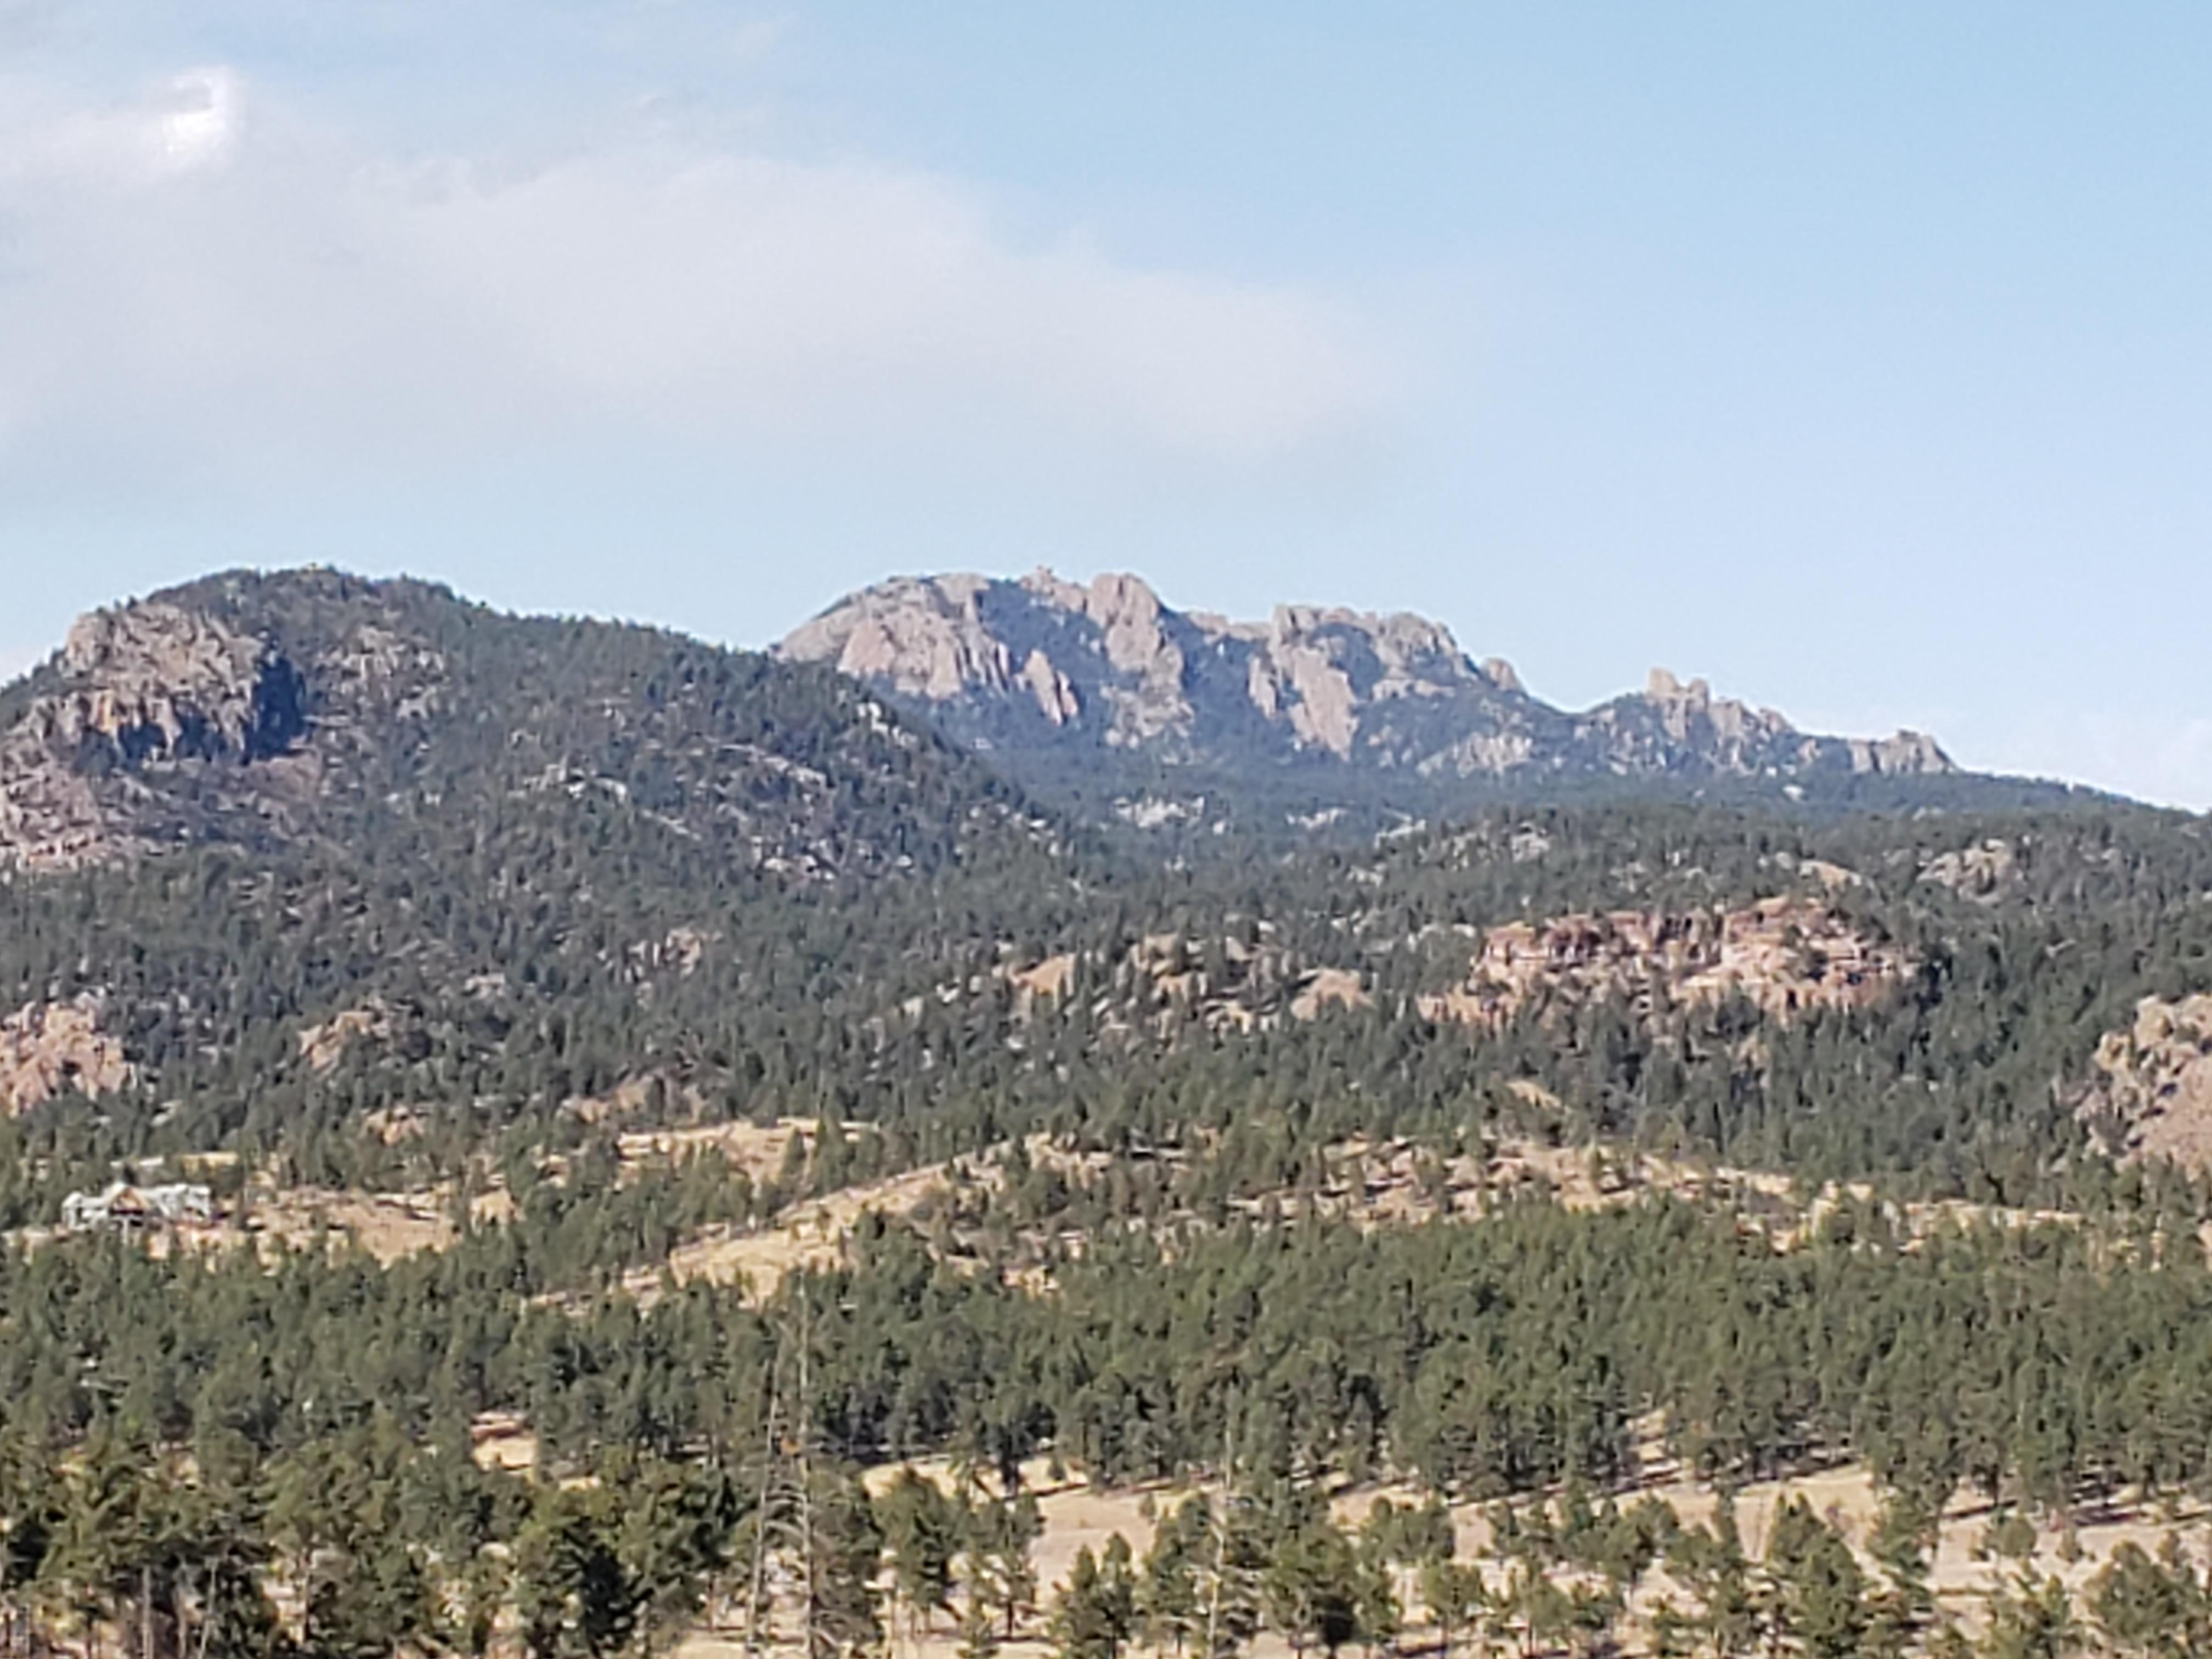
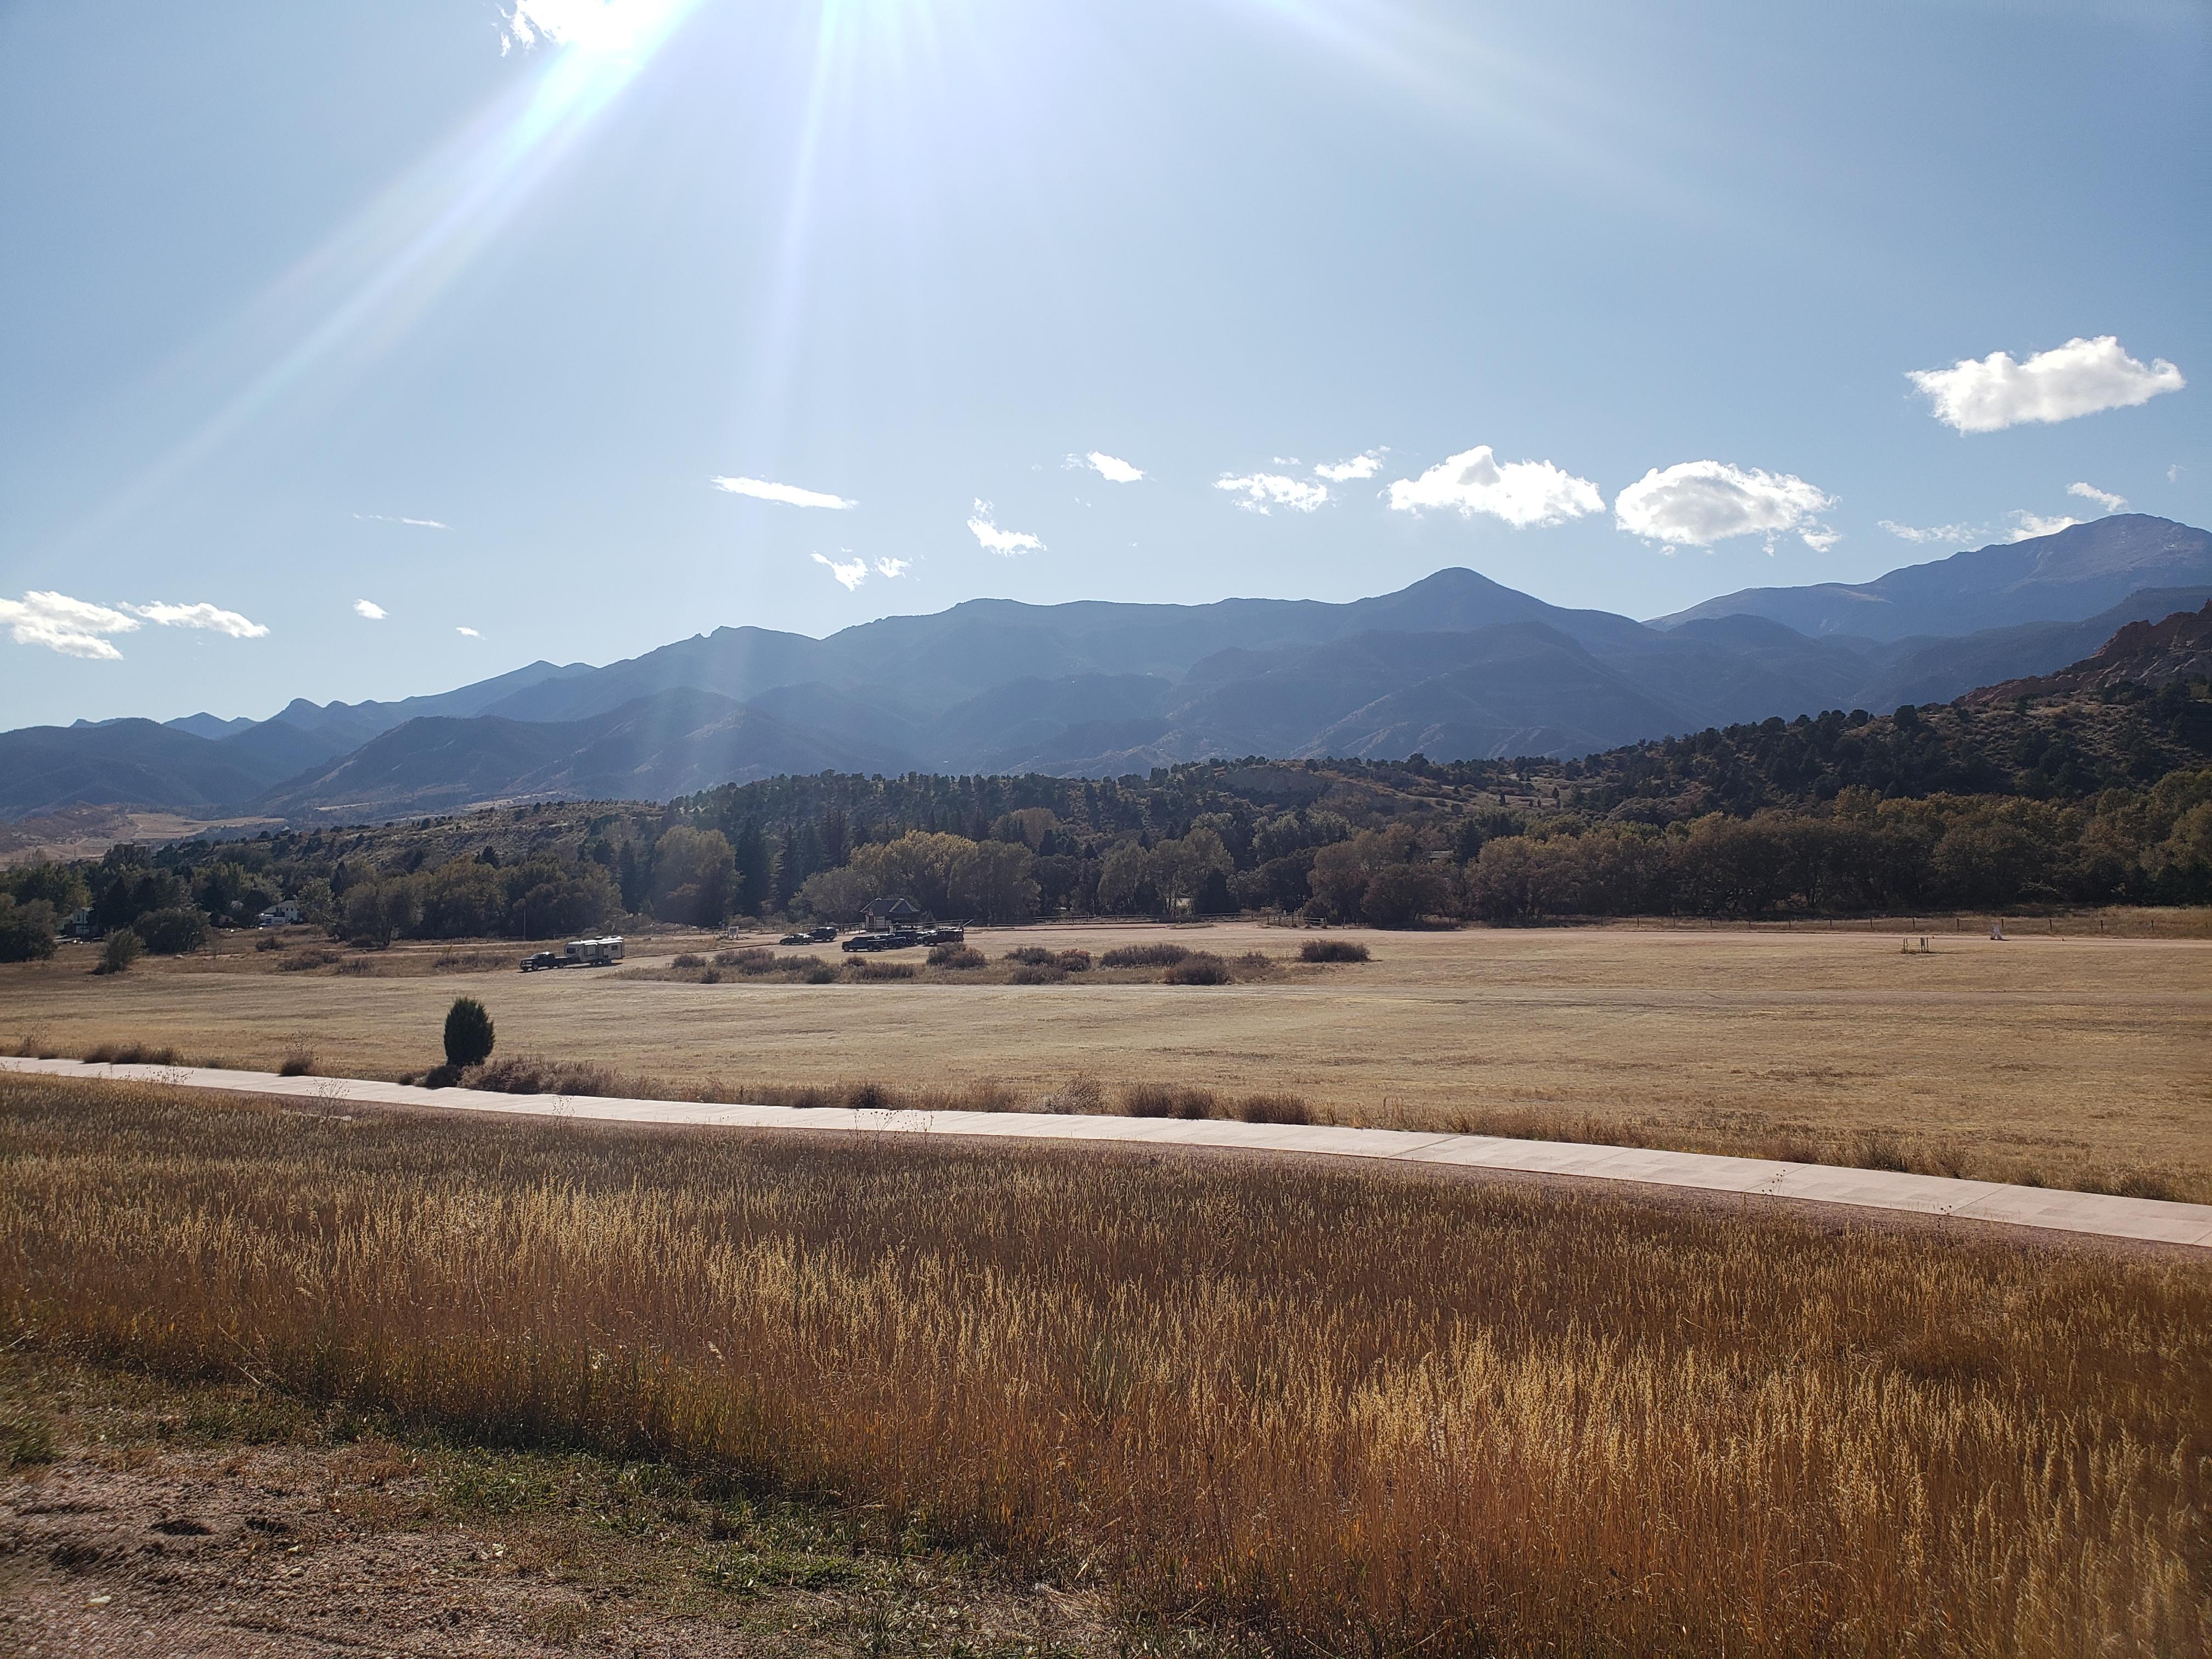
I went from Castle Rock to Monument via Perry Park road, did I25 to Garden of the Gods then up to Woodland Park.. from there up 67 to Pine. Took 285 to Morrison and then headed home on 470 and Santa Fe road....
 1 point
 -
Last year I bought some proper commuting MC gear; all CE approved protectors and GORETEX. Did 2,000miles a month....
1 point
-
If the carb fuel pipe O rings do not need replaced...this first part is not really necessary for your case. Just the removal of the tank, plastic air box lid, filter and lower plastic section. ***AND while youre at it..if you have a reuseable air filter...clean it PROPERLY and re oil it. DO not blast compressed air into it trapping dirt in the foam. Usually the oil is special and there is a special soap sold to wash the oil out of it. DO not blast it dry with high air pressure. tap it gently and allow it to air dry. Soak it well with oil and blot out any excess. You will need to remove the rubber hoses( make sure you KNOW were to replace them afterward) from the airbox and be careful with the front large plastic pipes, one broke on my airbox front and needed reglued. It may not even be necessary to remove the plastic surround box other than the top and the air filter. ***WHILE YOU ARE WORKING ON THE CARBS.... ITIS EASIER TO HAVE AN EMPTY GAS TANK ....AND DO NOT FILL IT WHEN CHECKING IT OUT AFTERWARD. IT IS MUCH EASIER TO HANDLE without damaging anything IF IT IS NOT FULL. DRAIN EXTRA GAS INTO A GAS CAN USING A HOSE AND THE PETCOCK OUTLET NOZZLE. The entire 4 carb bank comes out much easier than I imagined... in one big hunk. ***Allow yourself a couple of cans of carb cleaner and at least 2 hours to clean the bank of 4 carbs up and lubricate the linkages. An air compressor with a Harbor Freight small air nozzle is necessary to make sure the carb jet openings are clear. You will need to remove the fuel and air lines before removing the carbs. ***Make a diagram before removing them. There is one hose that remains open to the air. Tag it! Get confused here and you will have a devil of a time. *** Labelling the lines and where they go to is crucial. Even the Honda VFR Factory manual is not really clear on this detail. You can document also with a digital camera. You need to loosen the hose clamps on the carbs and you will NEED to have the factory service manual to see how to position the hose clamp adjustment screws ..upon reassembly. ***OR.... make yourself a diagram BEFORE loosening the hose clamps and rubber carb boots....Insure you have a guide to exactly where the upper and lower clamps are positioned for each carb. This is crucial to be able to reach those screws from under the carbs and from behind them above. Take note of how far the idle cable is screwed into the carb linkage.( It sticks about 1/8 in past the threaded opening to lift the throttle linkage by that amount.) Use the idle adjustment knob to UNSCREW the adjustment cable from the bottom of the left rear carb. keep a hand close to catch the washer and spring that is at the end of the cable. Keep a magnet pickup tool handy ( Harbor Freight) You will need to remove the choke cable from the FRONT of the carbs. There is a cable clamp screw. watch how far it is clamping the cable end before you loosen it Try to put it back the same amount .Easy. if unsure you can always actuate the choke lever and set it to full enrichment and slack at no choke. You will also need to remove the throttle cables once you unseat the 4 carb assembly from their intake rubber boots. Mark which throttle cable is top and which is bottom with a tag. One pushes and one pulls. Then remove the throttle mounting bracket held with 2 screws from the side of the carbs. Once this is loose you can easily get the cable ends out of the round wheel they are mounted into. *** You might need to wedge something carefully to get some upward leverage to prise the carbs from their boots. Be very careful with what you pry against. do not break anything. Go gently and lift at the same time. Once you have done this you will have the 4 carbs resting as one unit in your hands. Make sure the gas is safely drained before proceeding. There are drain screws on each float bowl. Turn the carbs over to make sure any other gas drains out. When working on the carb assembly, Have an old towel on a table to catch any screws that accidently fall. Use some carb cleaner to remove any grease on the linkage and bottoms and from the hose clamps and intake boots. Wipe and clean everything off. Use some spray lube on the linkages afterward so everything moves clean and freely. Loosen each float bowl one at a time and clean each bowl out of any brown residues. A phillips screwdriver may not work so well on these screws. Use a socket and ratchet. There is about a 1/4 inch by 1 in spring nestled on the throttle linkage on the rear section in the middle between the carbs. It can get knocked loose, especially if the carbs are seperated..which you shouldnt need to do. Make absolutely sure the float bowl drain screws are retightened after cleaning. With the float bowl of one carb removed... carefully unscrew the main jet from the underside of the carb with a suitable screwdriver. Clean it with compressed air and carb cleaner spray. You must be able to see a point of light THROUGH the jet and also through each tiny opening on its sides. Blow some carb cleaner spray through the opening from where you removed the jet and follow with compressed air. Reinsert the main jet tube. Do the very same with each other jet ..one at a time. If you do not change any of the screw settings your carbs should keep their same adjustments from previous running. YOU will want to remove the pin axle for the float hinge pulling it free from the unhindered side. You will need to give it a start from its boxed in end with something like a jewelers screwdriver or something tiny and pointed. The float will come off..and the float valve will come out of its seat. Watch how the valve hooks into the receptacle on the float hinge. And also observe the float orientation. It will go on wrong upside down. Once the valve is out squirt some cleaner into the hole and follow with compressed air. This will clean out a filter screen you cannot see. CLosely examine the rubber Tip on the float needle. Replace if worn. After the float/ valve/ pin is reassembled, replace the bottom bowl with the 4 screws. Follow this same routine with each float bowl removal. Blowing every jet out so you can see through every tiny opening in the jets before reinstalling them. You may want to look at the rubber water lines UNDER the 4 carbs and replace them NOW..while you have such wonderful access. I think they are a standard ¾ in water hose.Mine came from NAPA. Allow yourself about 1 hr to replace the hoses. You might need to loosen some bracketted parts to get the necessary clearance on the hoses. You wont loose much coolant if you use a coat hanger to keep up the radiator hose lifted up to the handlebar. You will need someone to assist and hold fingers over the housing openings while you slide on the new rubber with clamps already placed on them. Then just quickly push the hose over the housing and tighten. Reinstall any brackets removed for access. Make sure you install the rubber carb boots on their intakes securely before trying to set the 4 carbs down in them. . Tighten the hose clamps on the lower bands positioning the rubber boots and clamps correctly ....first. Use some lube on the top inside of the boots to make insertion easier. The carb bank should go back in with some downward pressure. First one side then the other. Tighten up hose clamps. Do not over tighten. It will distort the working of the clamping screw and twist the band awry. Once I reconnected the cables and hoses and installed the filter and lid, connected the gas tank lines, and fresh gas, It ran as perfectly as it always did. Make sure you do not readjust any of the cables in any way other than they originally were or you may find the throttle to pick up speed at full lock turn of the handlebars. Check FOR this before mounting down the gas tank. THIS IS ALSO THE VERY BEST TIME TO LUBE ALL YOUR MECHANICAL LINKAGES TO THE CHOKE MECHANISMS AND THE CABLE wire ENDS. It sounds worse than it is. If you go carefully taking your time you can get it done in about 3 1/2 hrs. DOnt lose any hardware! keep a magnet handy and put old towels on the floor and table to catch anything **** Goodwill stores often sell pillow cases full of towels for $2. Wash any cleaner and gas off your hands quickly. Kerosene makes a good grease cutter using an old toothbrush or small paint brush. This will loosen most grunge so it will quickly spray off with cleaner. I have found that if you don't remove the slow jet screws and blast cleaner/air though the carb bodies. Then most likely you wasted your time pulling and cleaning the rest of the carbs. The little holes in the carb throat are what typically clog up before the actual jets, and that is the only way to get them clean. Count the number of turns to seated before removing the screws. Though I've found Honda's are typically 2 3/4 turns out, but 3 turns is usually better since the factory sets them lean. Ed Tman1 point
-
Dearest Martina, Like you, I only began this sport about 3 years ago. And while I love it ... I understand, all too well, how accidents and losses of people we care about can turn that love into trepidation and fear. Having said that, I'm so glad to see you coming back to the fold. ~Shannon p.s. does this mean we can get our female endurance race team together now??? :P1 point