Leaderboard


Popular Content
Showing content with the highest reputation on 02/16/2019 in all areas
-
That's looking pretty darn good right there!2 points
-
Agreed, very tasty.......1 point
-
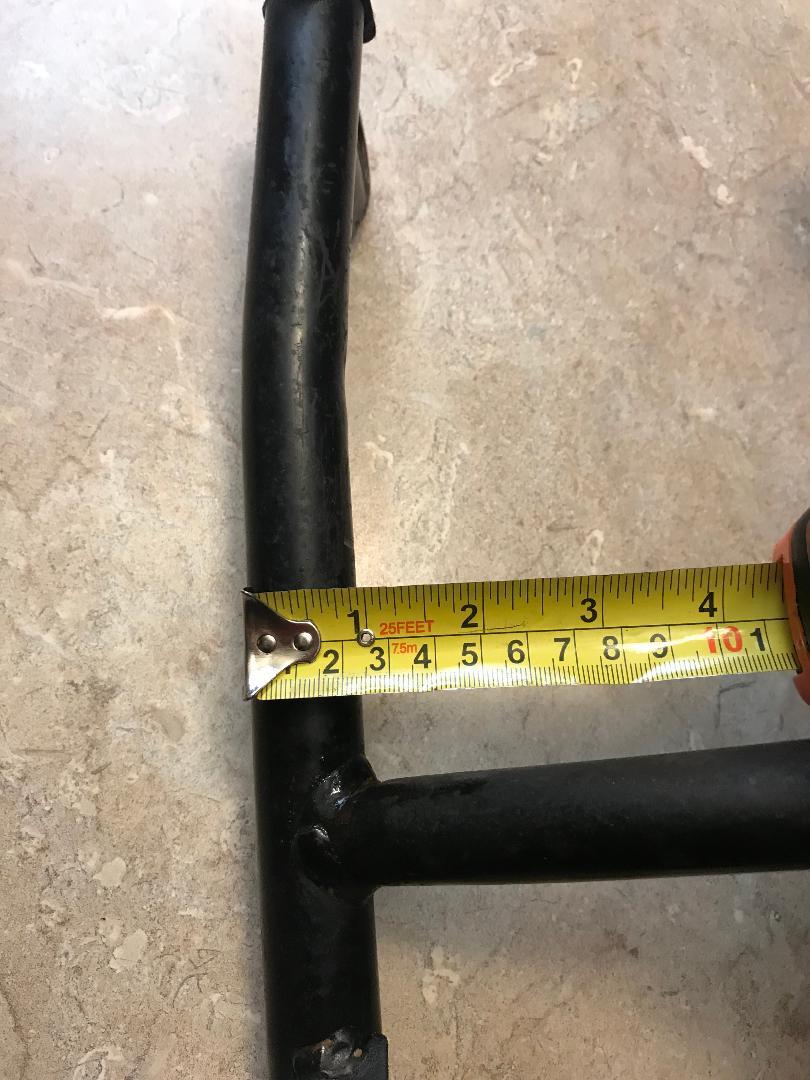
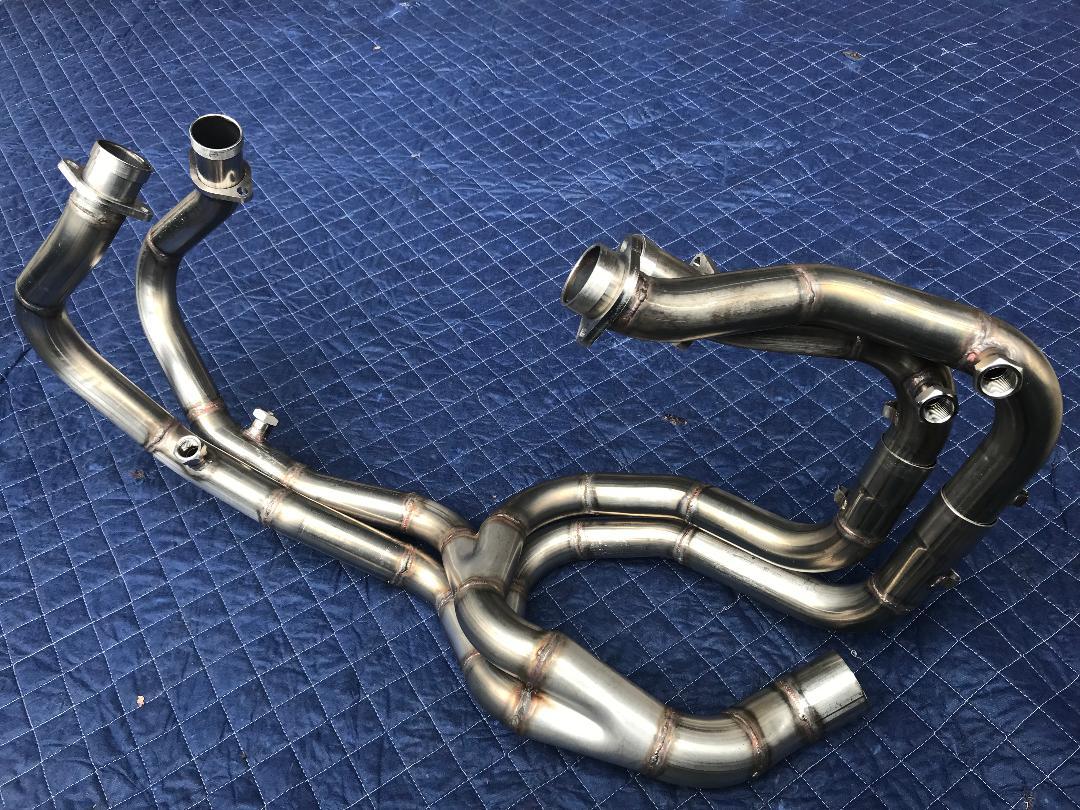
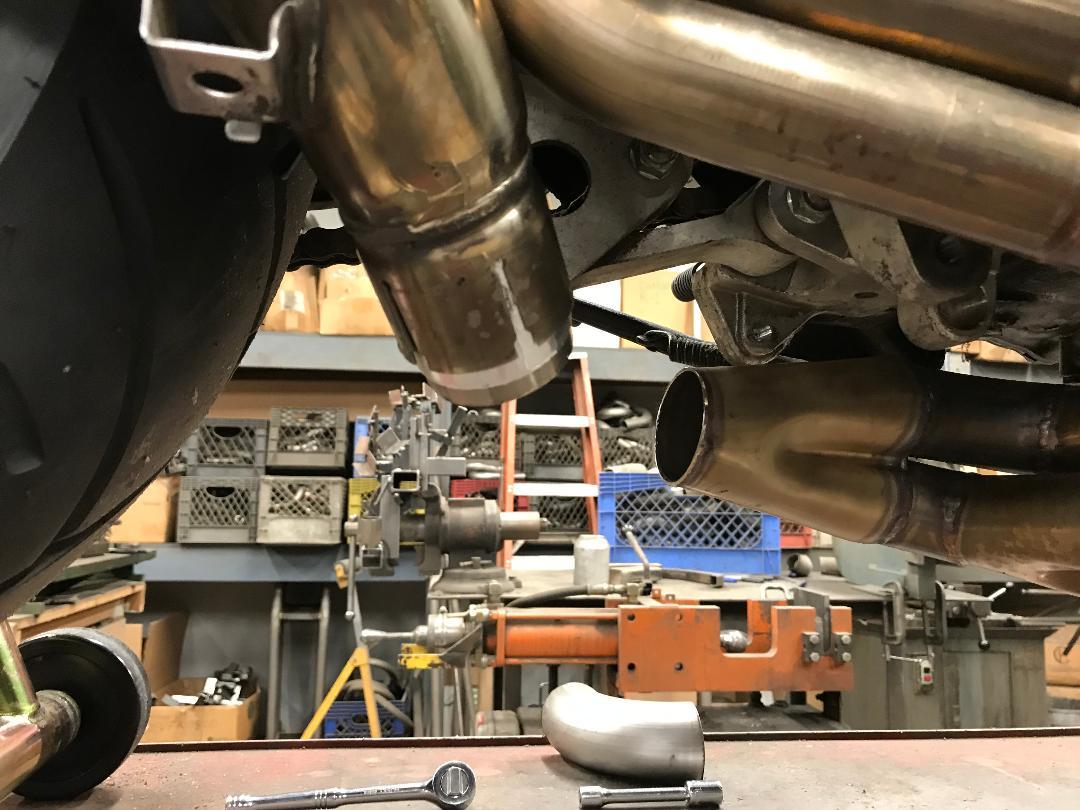
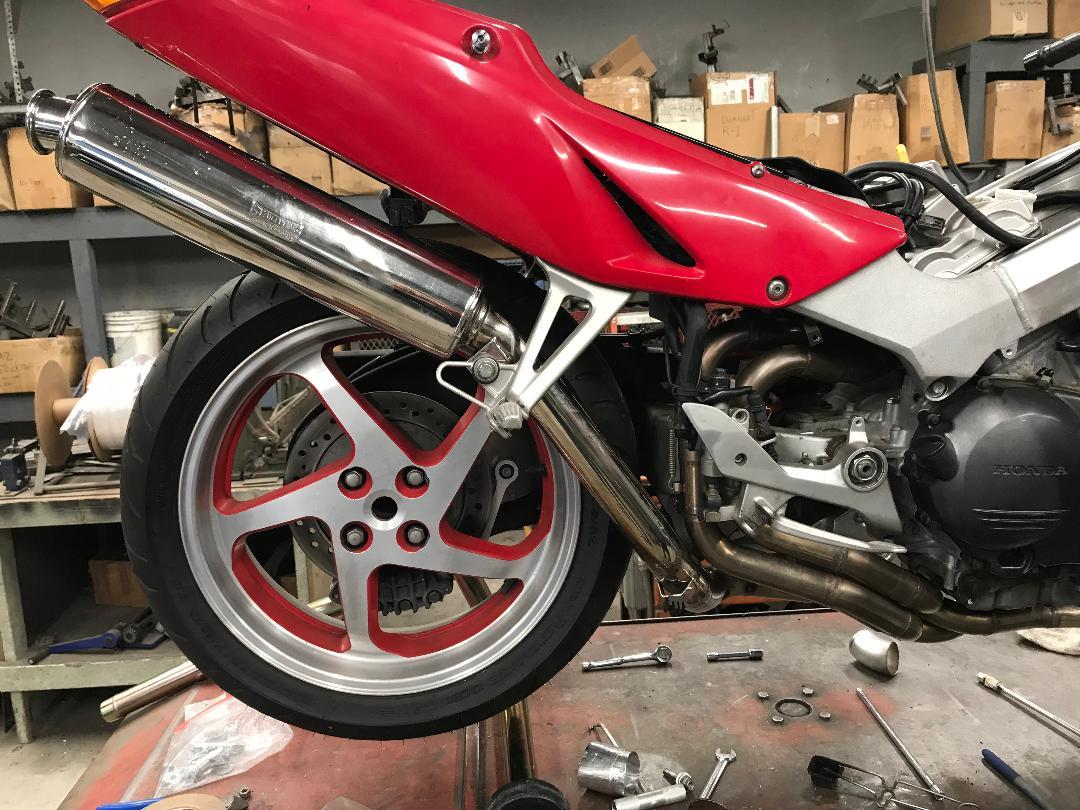
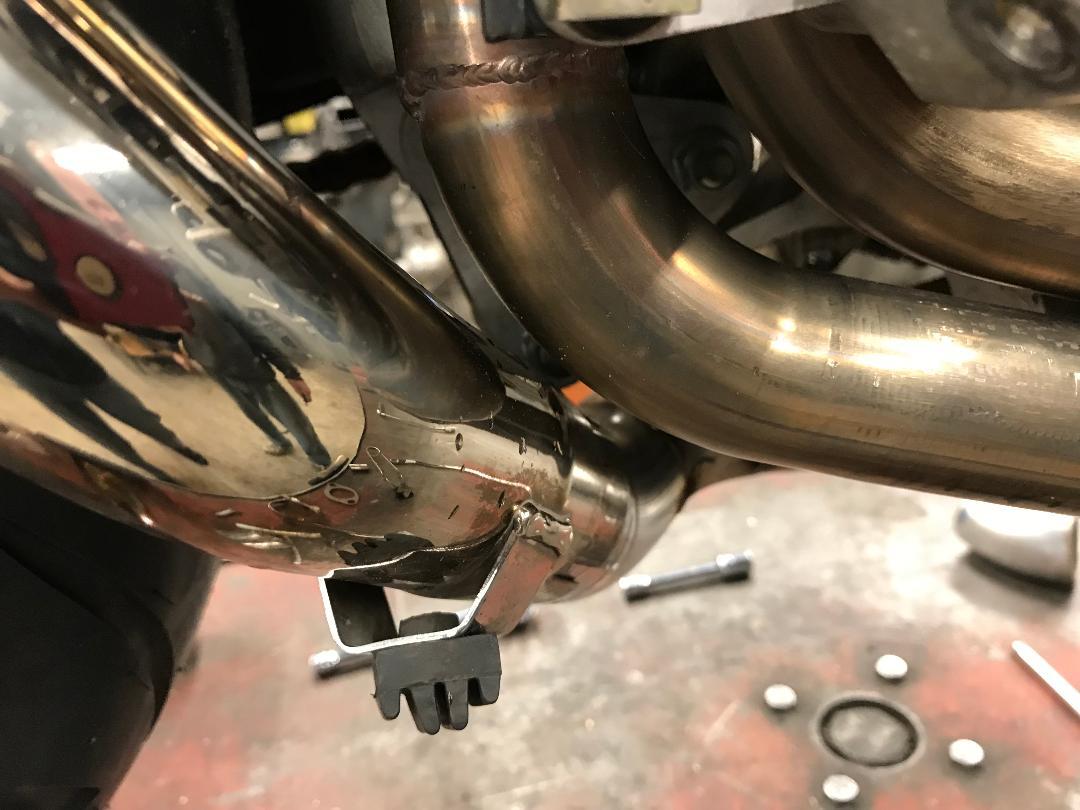
Center stand findings: Here is CornerCarver's original TBR header with strategically placed measuring tape to show the size of the gap between collector exit and cylinder #1 primary: Here is the right leg of a 5th gen center stand: TBR headers and replicas of them have a space between their collector exit pipe and the #1 primary that is too small for the headers to be installed over the VFR's center stand while the center stand is still installed. Once the headers are installed, the center stand fits and functions normally. Deconstructing the #1 primary and rebuilding the jig carries the risk of decreasing the header's performance because the primaries' shape and length are a critical components of a header's function. Making these changes would also incur a considerable expense. The production replicas will have the same spacing and interaction between their tubing and center stand that the original TBR has. Here is how we've successfully installed these headers [And sometimes OEM 98/99 headers] with center stands: [1] Put the bike [With headers removed] on a sturdy rear stand. [2] Remove the center stand. Keep the stand's left and right side spacers, washers, and bolts in their correct stacking order and located on their respective sides of the bike. [3] Place the right leg of the center stand through the loop made by the headers' rear primaries and collector exit pipe. [4] Leave the headers hanging around the stand and move the loosely connected headers and stand into position under the bike. [5] Bolt the stand into place. [6] Install the headers. [7] Connect the center stand's springs. A method we discourage requires bending the header collector exit pipe's trailing edge inward enough to allow the center stand's right leg to pass between the exit pipe and the #1 primary. After placing the bent section of the exit pipe over the still-installed stand, install the headers, then straighten the exit pipe's trailing edge. This method risks permanently deforming the collector exit pipe. On to passivating, which as discussed earlier in this thread, is dipping in acid to remove ferrous welding contaminants. The process also etches, which removes heat damage to the surface layer. Here is prototype 1 after passivating:
 1 point
 -
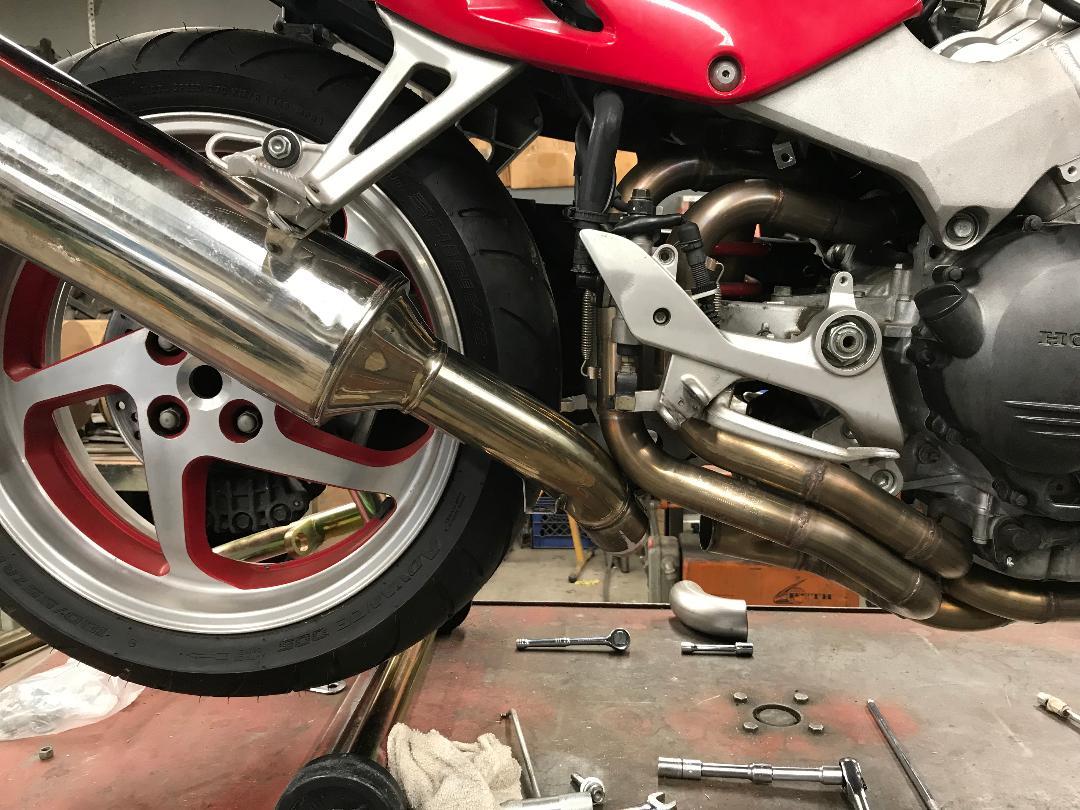
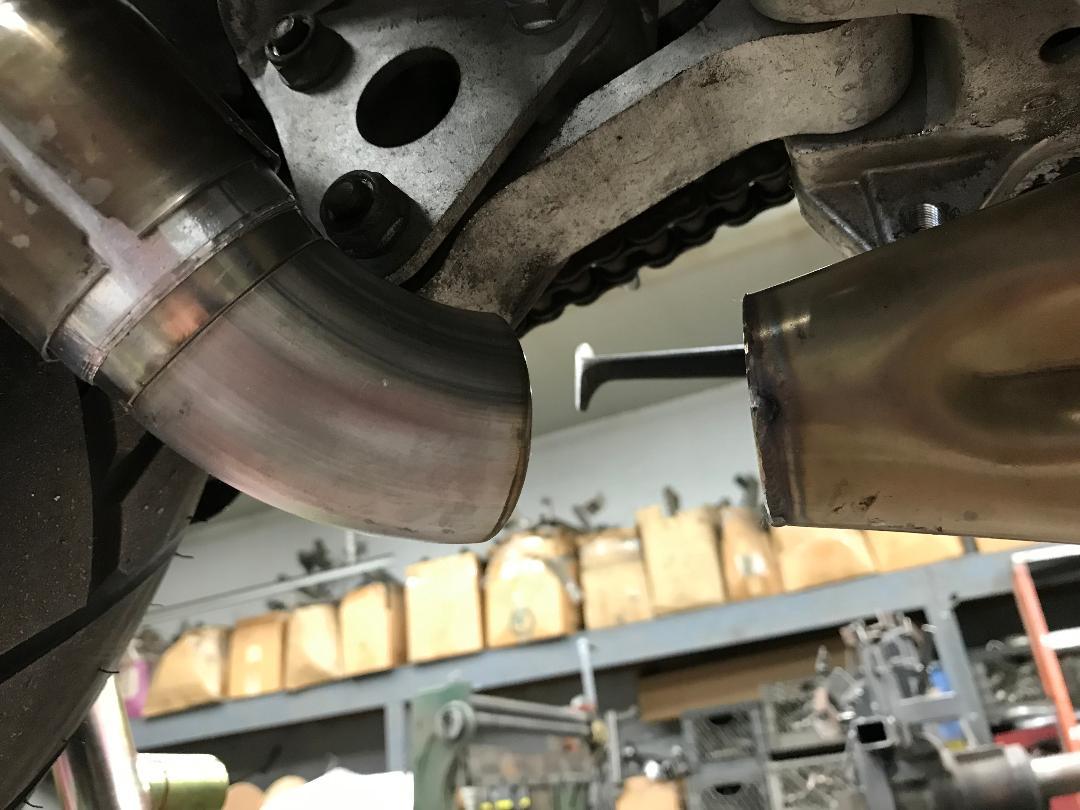
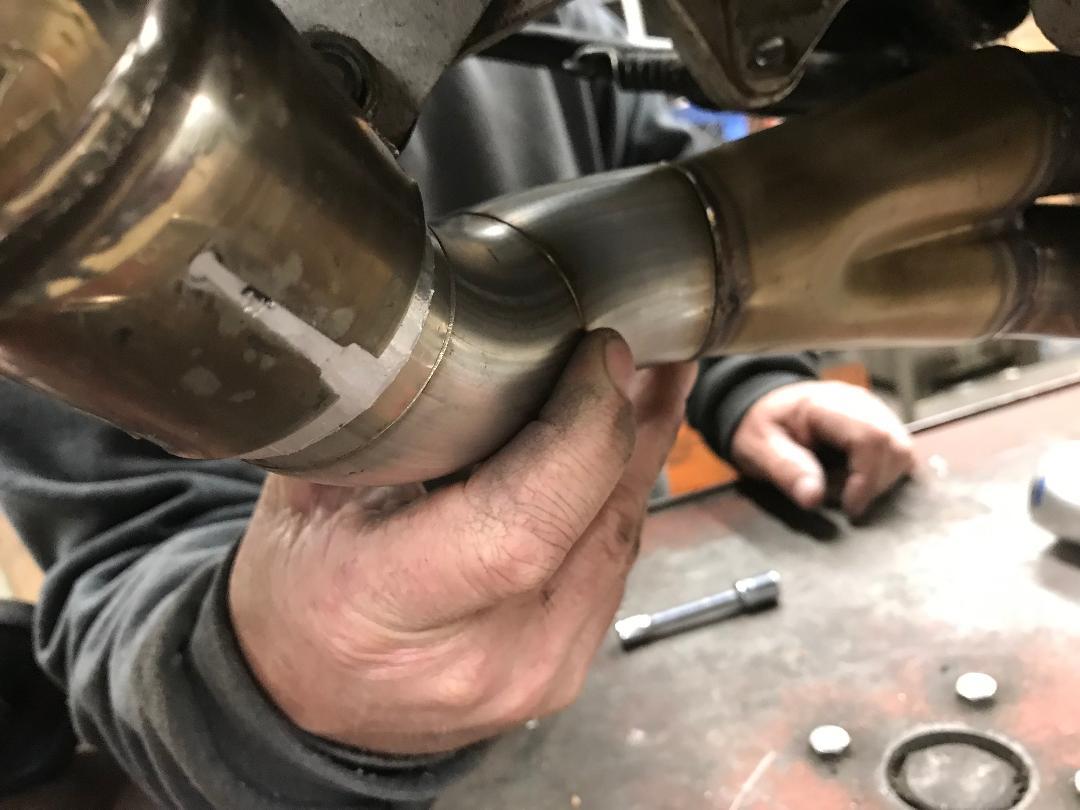
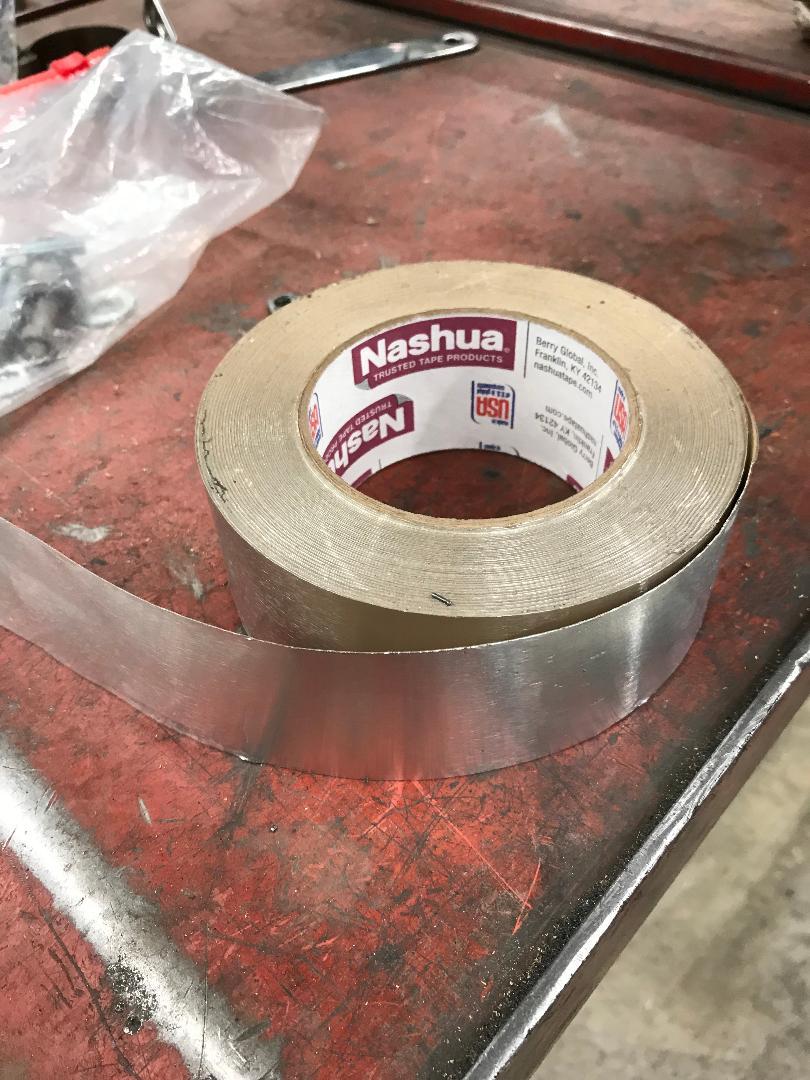
First of all, the good stuff: We are 4 weeks from shipping finished product. We thought finished units would be trickling out 3-5 at a time, but Wade's process is pure undiluted assembly line philosophy: he does the first phase prep and assembly for all the headers, then the second phase prep and assembly to all the units, etc until they are all done on about the same day. ***Please take note: If you have not sent a deposit, but want in on the first production run of 5th gen/6th gen headers, send a $200 deposit with your vfrd or vfrw username in the note section to the vfrheaders@gmail.com paypal account and PM us [in that order]. Do it post haste [real fast, right away]. Wade will be happy to make more than 15 headers in this first production run, but he has purchased materials and is having tubes bent for deposited orders only. I've gotten him to accept additional orders until 4pm pacific this Monday February 18 [Edited]. The second production run is going to be 8th gen headers. It will be 4 months until another run of 5th gen/6th gen headers is ready to ship. Second, the so-so stuff: I had a misconception that Wade would be shipping the headers from his location, but have learned that his price is FOB. We will have to pick up all the headers in the first production run, bring them home, box and ship. Crap. It was sounding so nice to just email him paid shipping tags and know the pipes were on their way to their eager new homes. Duc2V4 has volunteered to take on management of the shipping exercise - praises be! If I was going to have a first-born child, I'd definitely name him [or her] Duc2V4. Thanks Stray flya750 - check out the post after this one to see whassup with closed-captioning for center stands. I met with Wade Tuesday and yesterday. The second trip [yesterday] was entirely my fault - I hadn't gotten the picture on what his game plan was to reset the collector exit angle/position, and I didn't bring the prototypes with me Tuesday. Recall that the miscue on the prototype was that the jig was built from the TBR headers stem to stern - no adjustment was made to obtain OEM exit position/angle. Here's Wade's simple four-step plan to reset the collector exit position/angle to OEM: Step 1 - cut the offending collector exits off of both prototypes Step 2 - install OEM 5th gen muffler and trimmed prototype 1 sans collector exit on 5th gen fitment bike Step 3 - fabricate a collector exit pipe that joins the prototype header to the OEM muffler with smoooooth flowing bends [Rinse and repeat with Staintune slipon and prototype 2 - total of four fitment exercises] Step 4 - cut apart the collector exit portion of the header jig and rebuild it to fit the prototypes with their shiny new, fully armed and operational OEM-like collector exits. All production headers will have collector exits that are mandrel bent from a single piece of tubing. The segmented collector exit pipe seen in the photos below was welded in sections only for the prototypes. Sebspeed, thanks for suggesting Nashua aluminum tape as material for making a custom donut gasket to fit between OEM-style slipons and larger-than-OEM exit pipes. The aluminum tape worked great, but you have to be sure to get the tape made of actual aluminum sheet with adhesive backing because Nashua makes a bunch of different tapes, many of which are called 'foil' but are not aluminum, just clear flexible plastic-ish sheet with a metallic sheen. Stay away from any tapes advertising flexibility. Ask me how I know this [Thank you Home Depot for making returns so easy]. I think the correct tape is called 'Extreme Weather' but I can't be sure because the roll I bought was the last one of its kind on the shelf, had no wrapper, no barcode, and I couldn't find a price or skew on the shelf that matched its 1.88" width and aluminum sheet construction: It's easy to relate the photos below to the process described above. Note - the OEM muffler's midpipe at 2 3/8" od is the fattest of the fat midpipes [as far as any of us can recall] so it does get pretty dang close to the #1 cylinder primary, but there is a whisker of space there. The Staintune's midpipe uses more standard 2" od tubing and clears the primary with room to spare. For fitment, Wade volunteered my Staintune over the other two aftermarket slipons we had on hand because its canister and midpipe are built in one solid piece and its mounting points are fixed threaded brackets [Not bands looped around the canister] so it provides more precise alignment. I had been stubbornly waiting until some time way in the future to expand the front end of my Staintune's midpipe to fit the new headers, cuz there's no going back [Just ask RVFR]. I know members Tirso, wholepailofwater, and one other I can't locate in my memory were worried about permanently modifying their 5th gen Staintunes...it doesn't hurt a bit, and I'm glad I did it! It is possible to slip a stack of as many as two sheets of paper between the OEM midpipe and the cylinder #1 rear primary: The Staintune's spacious fit:
1 point
-
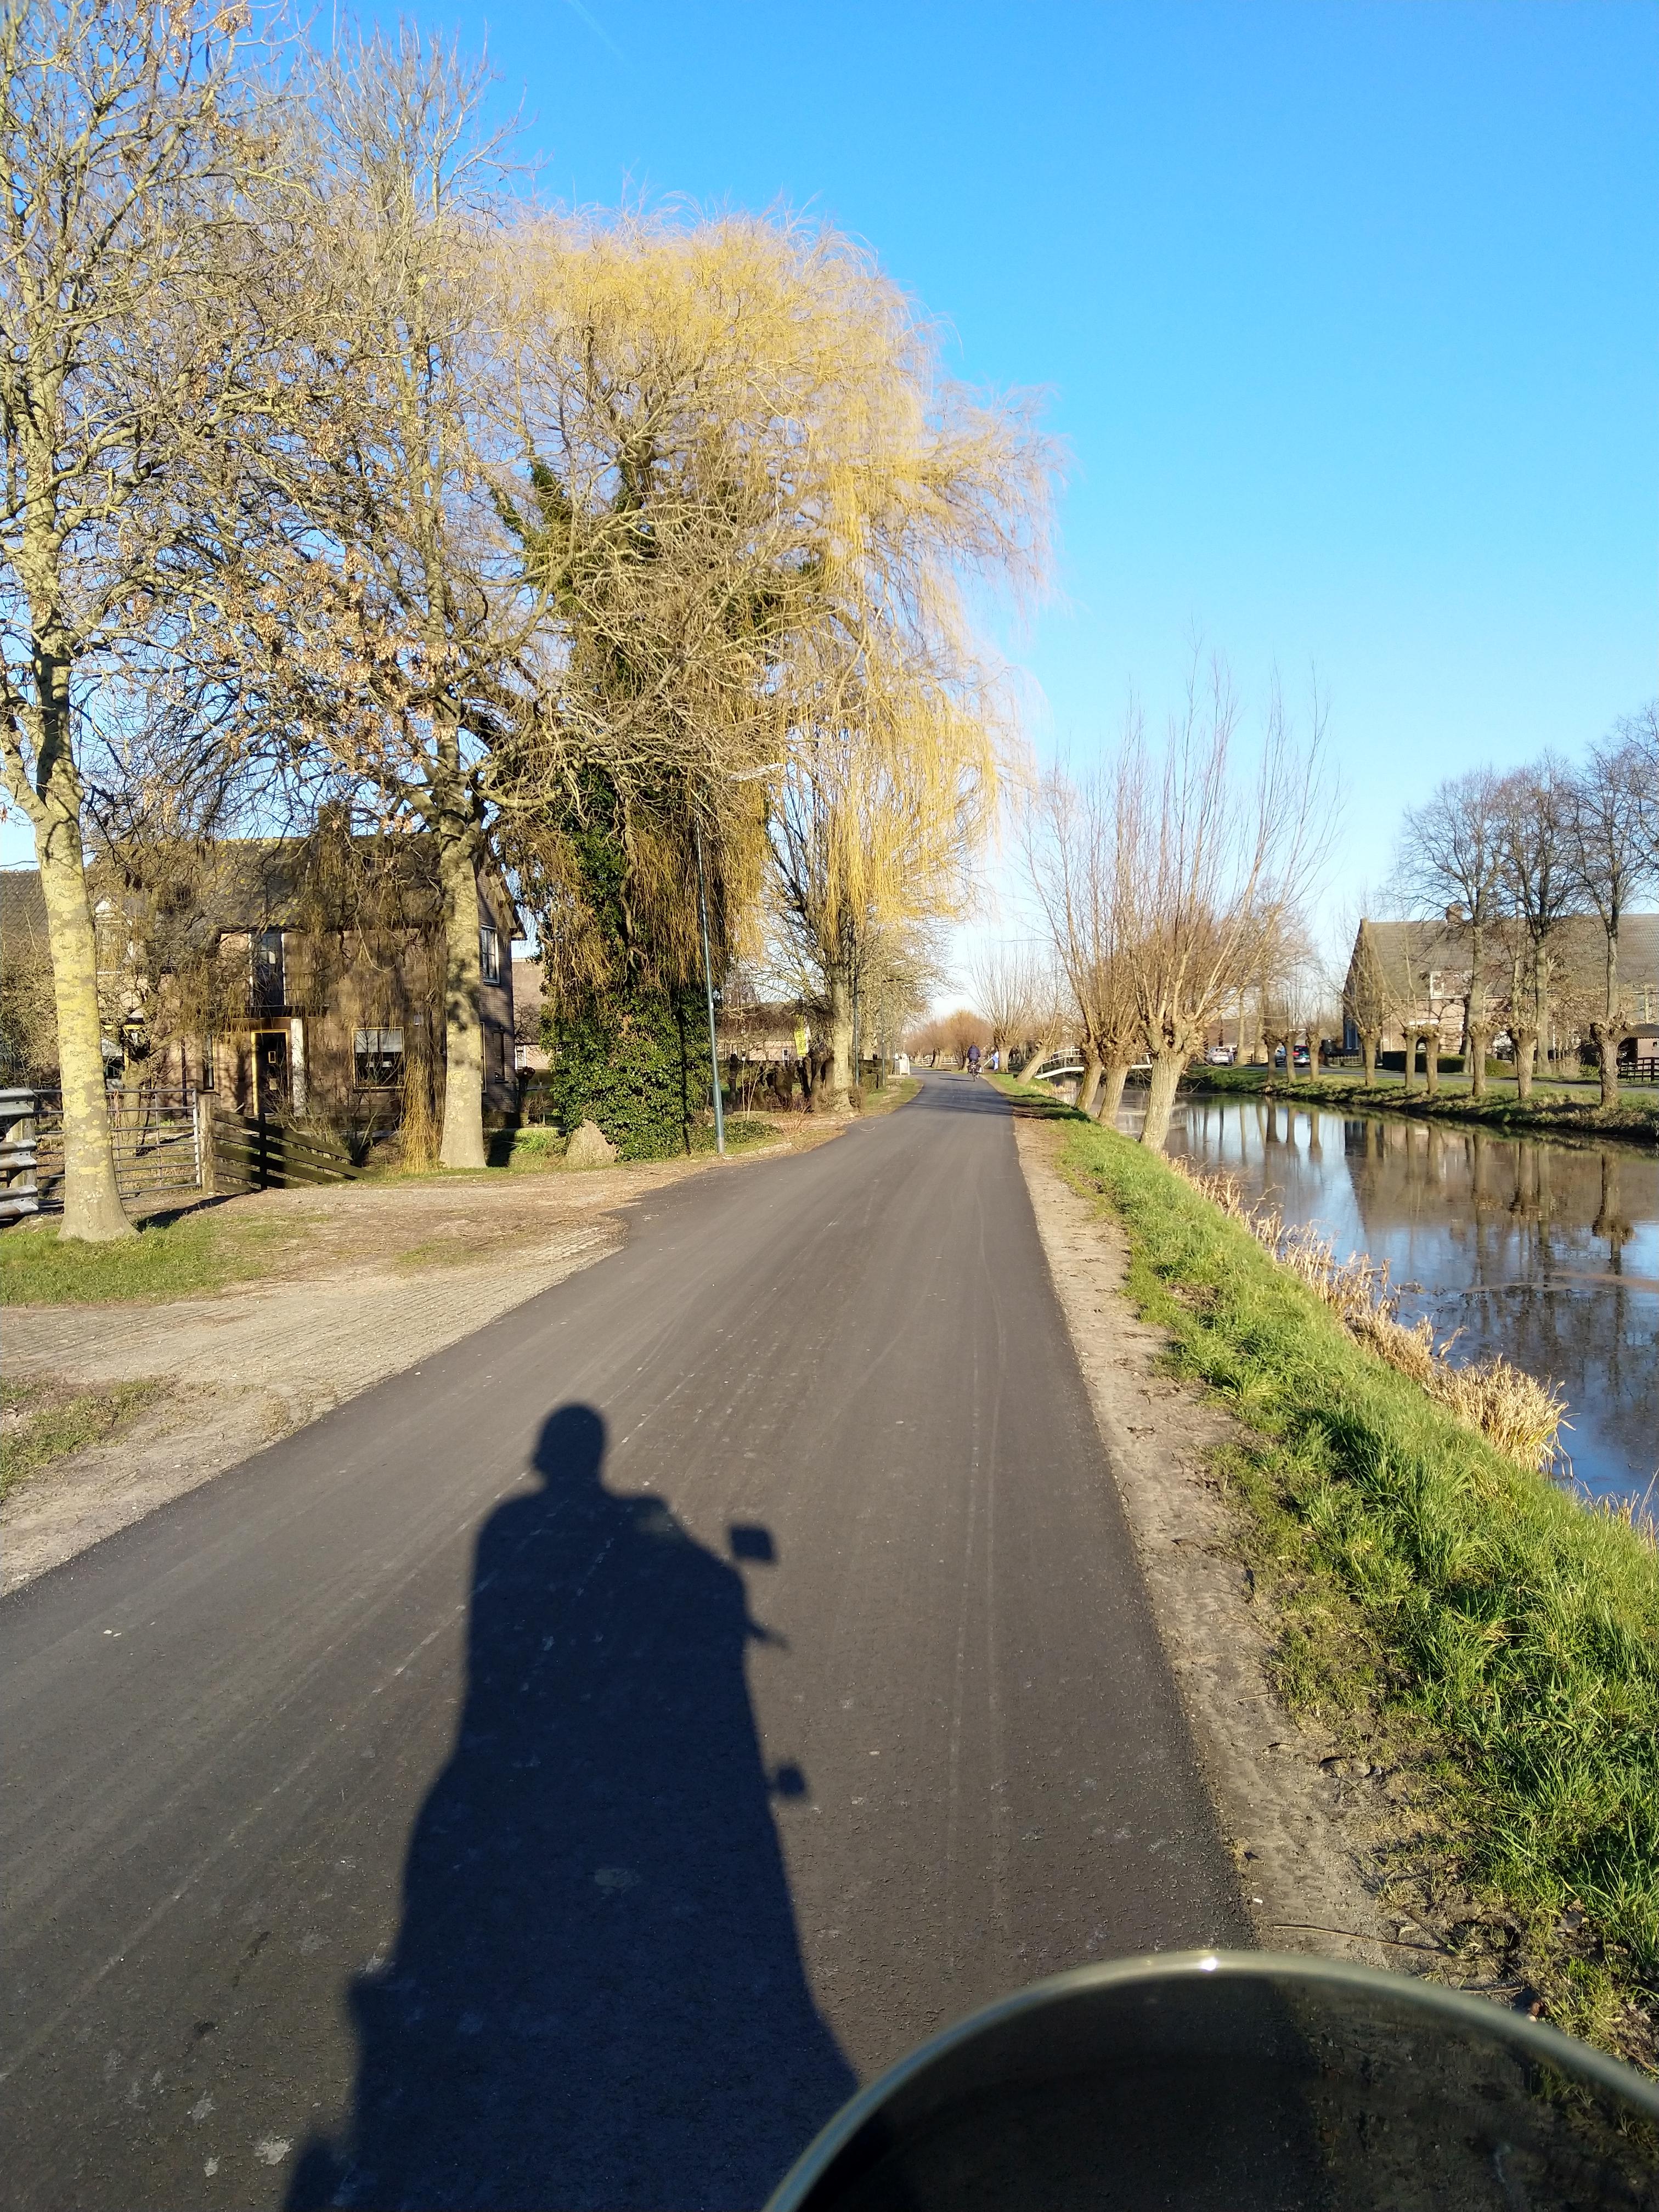
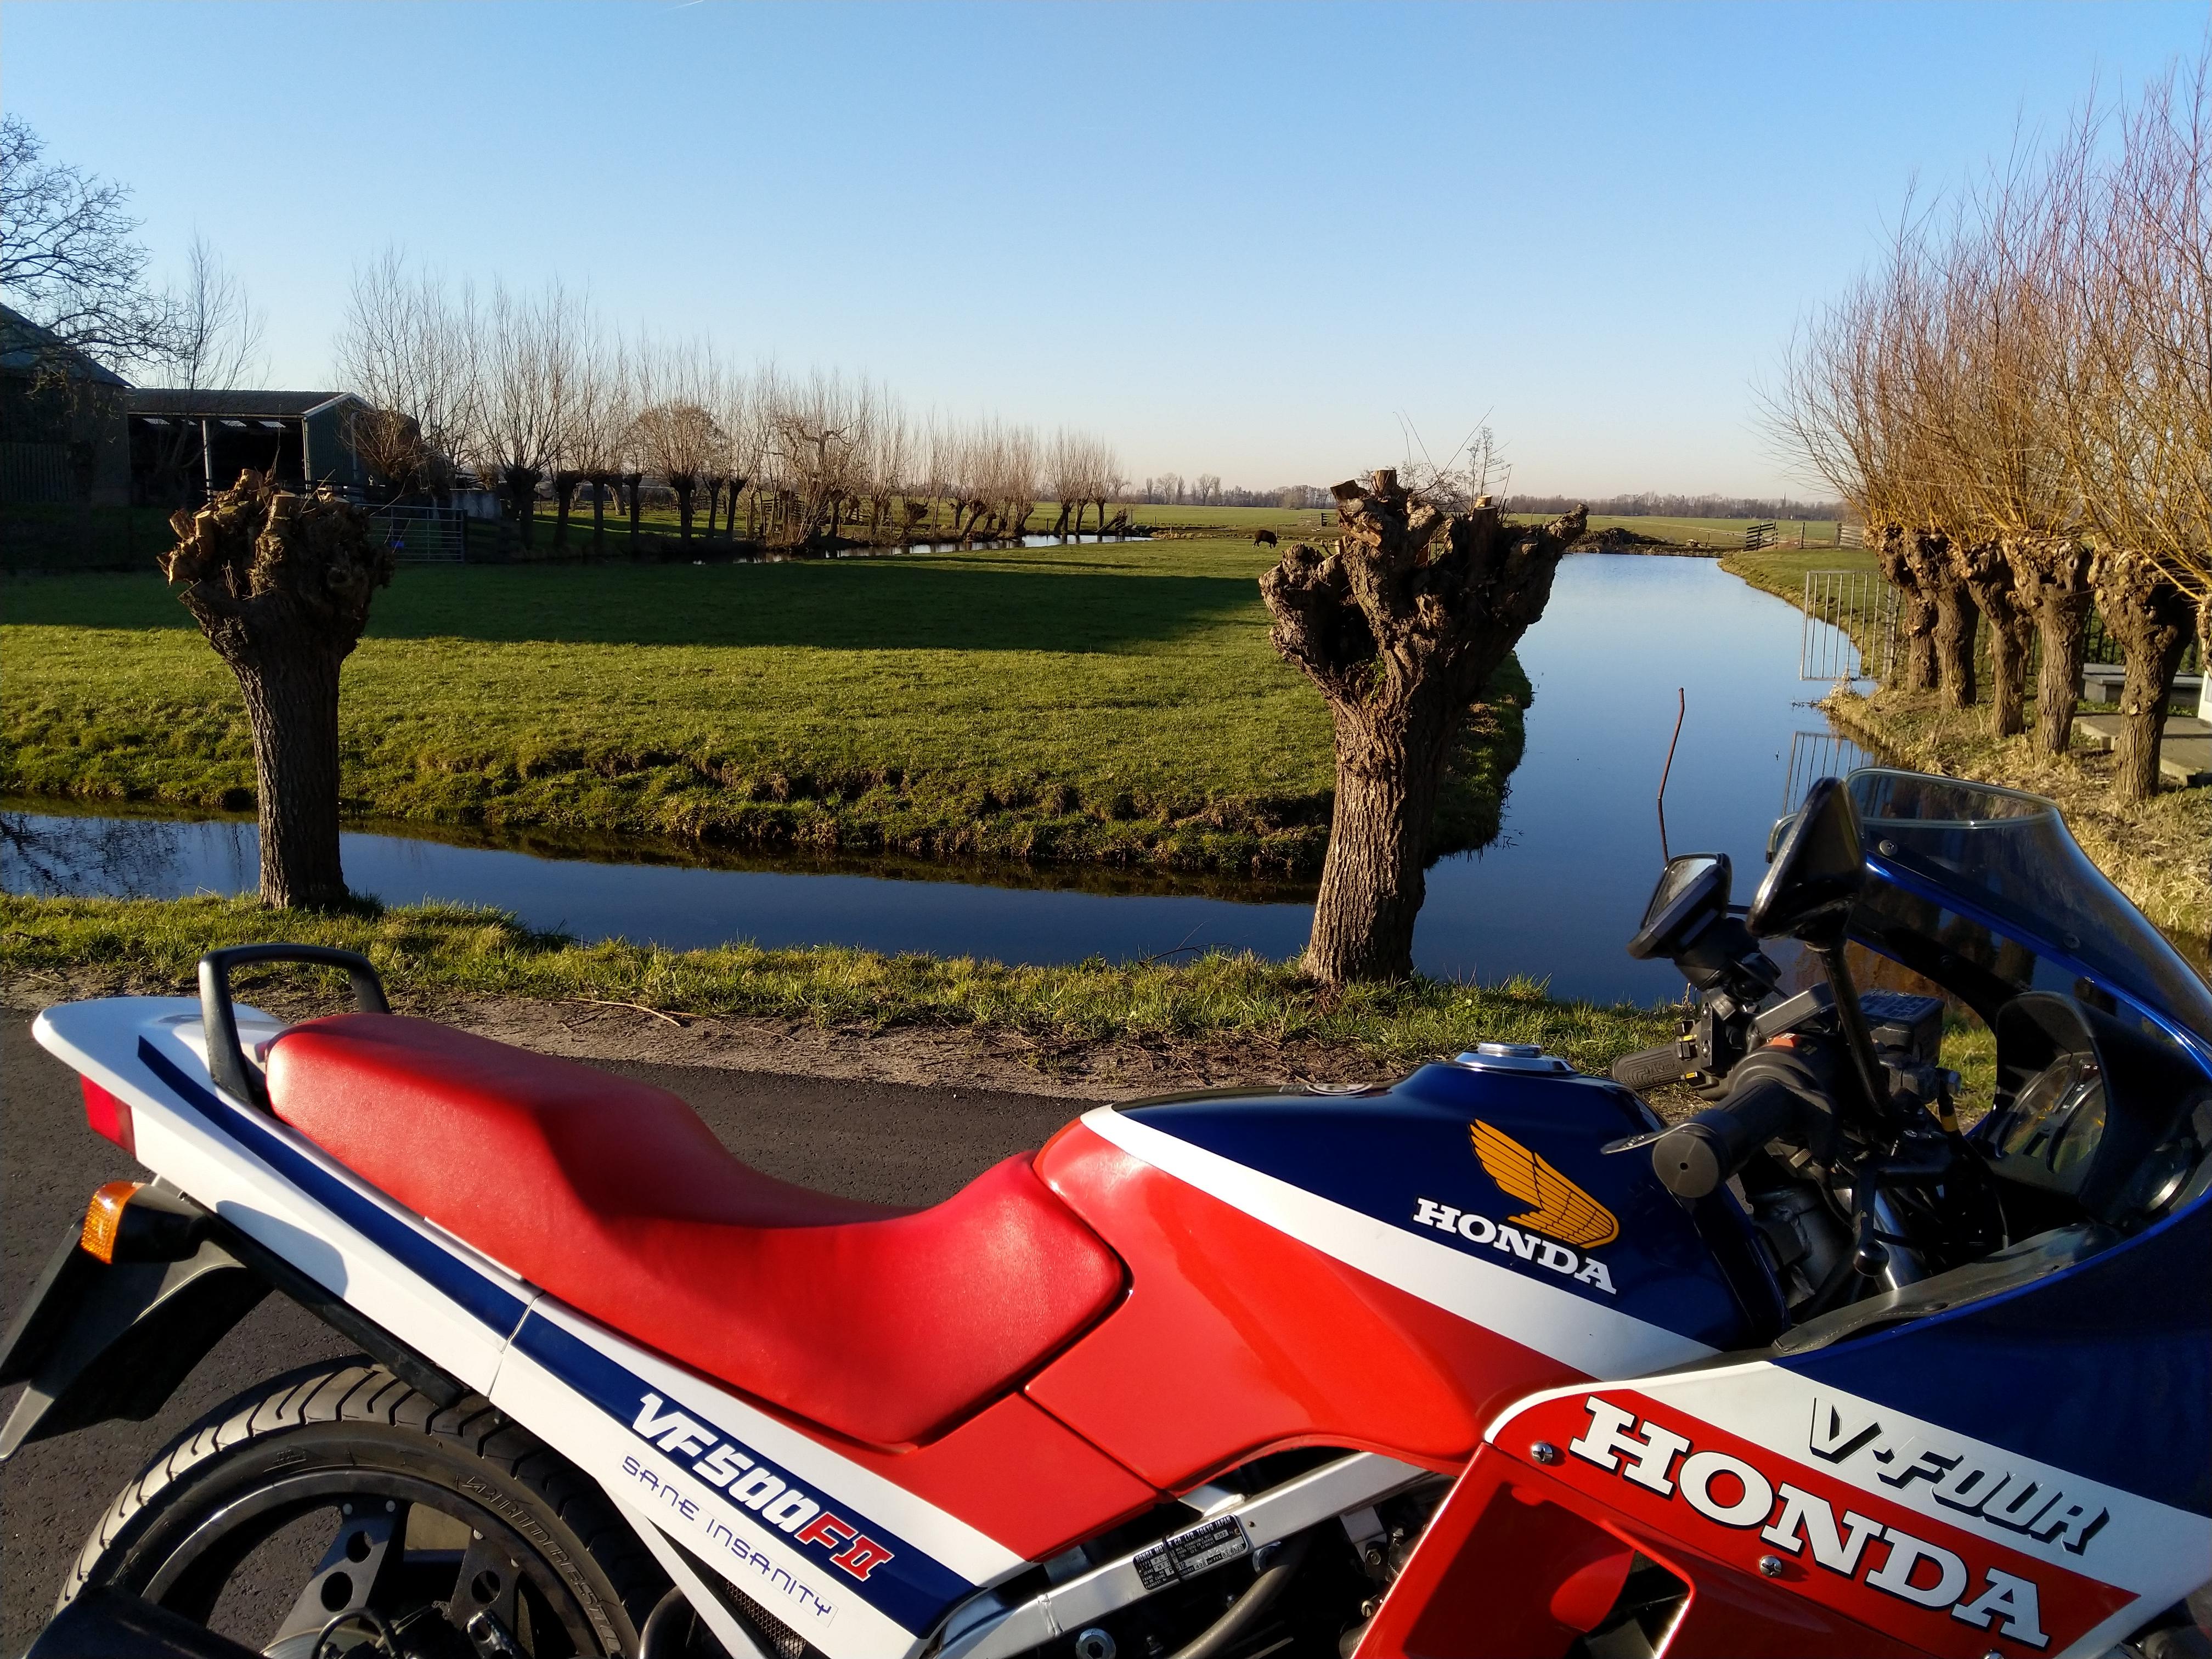
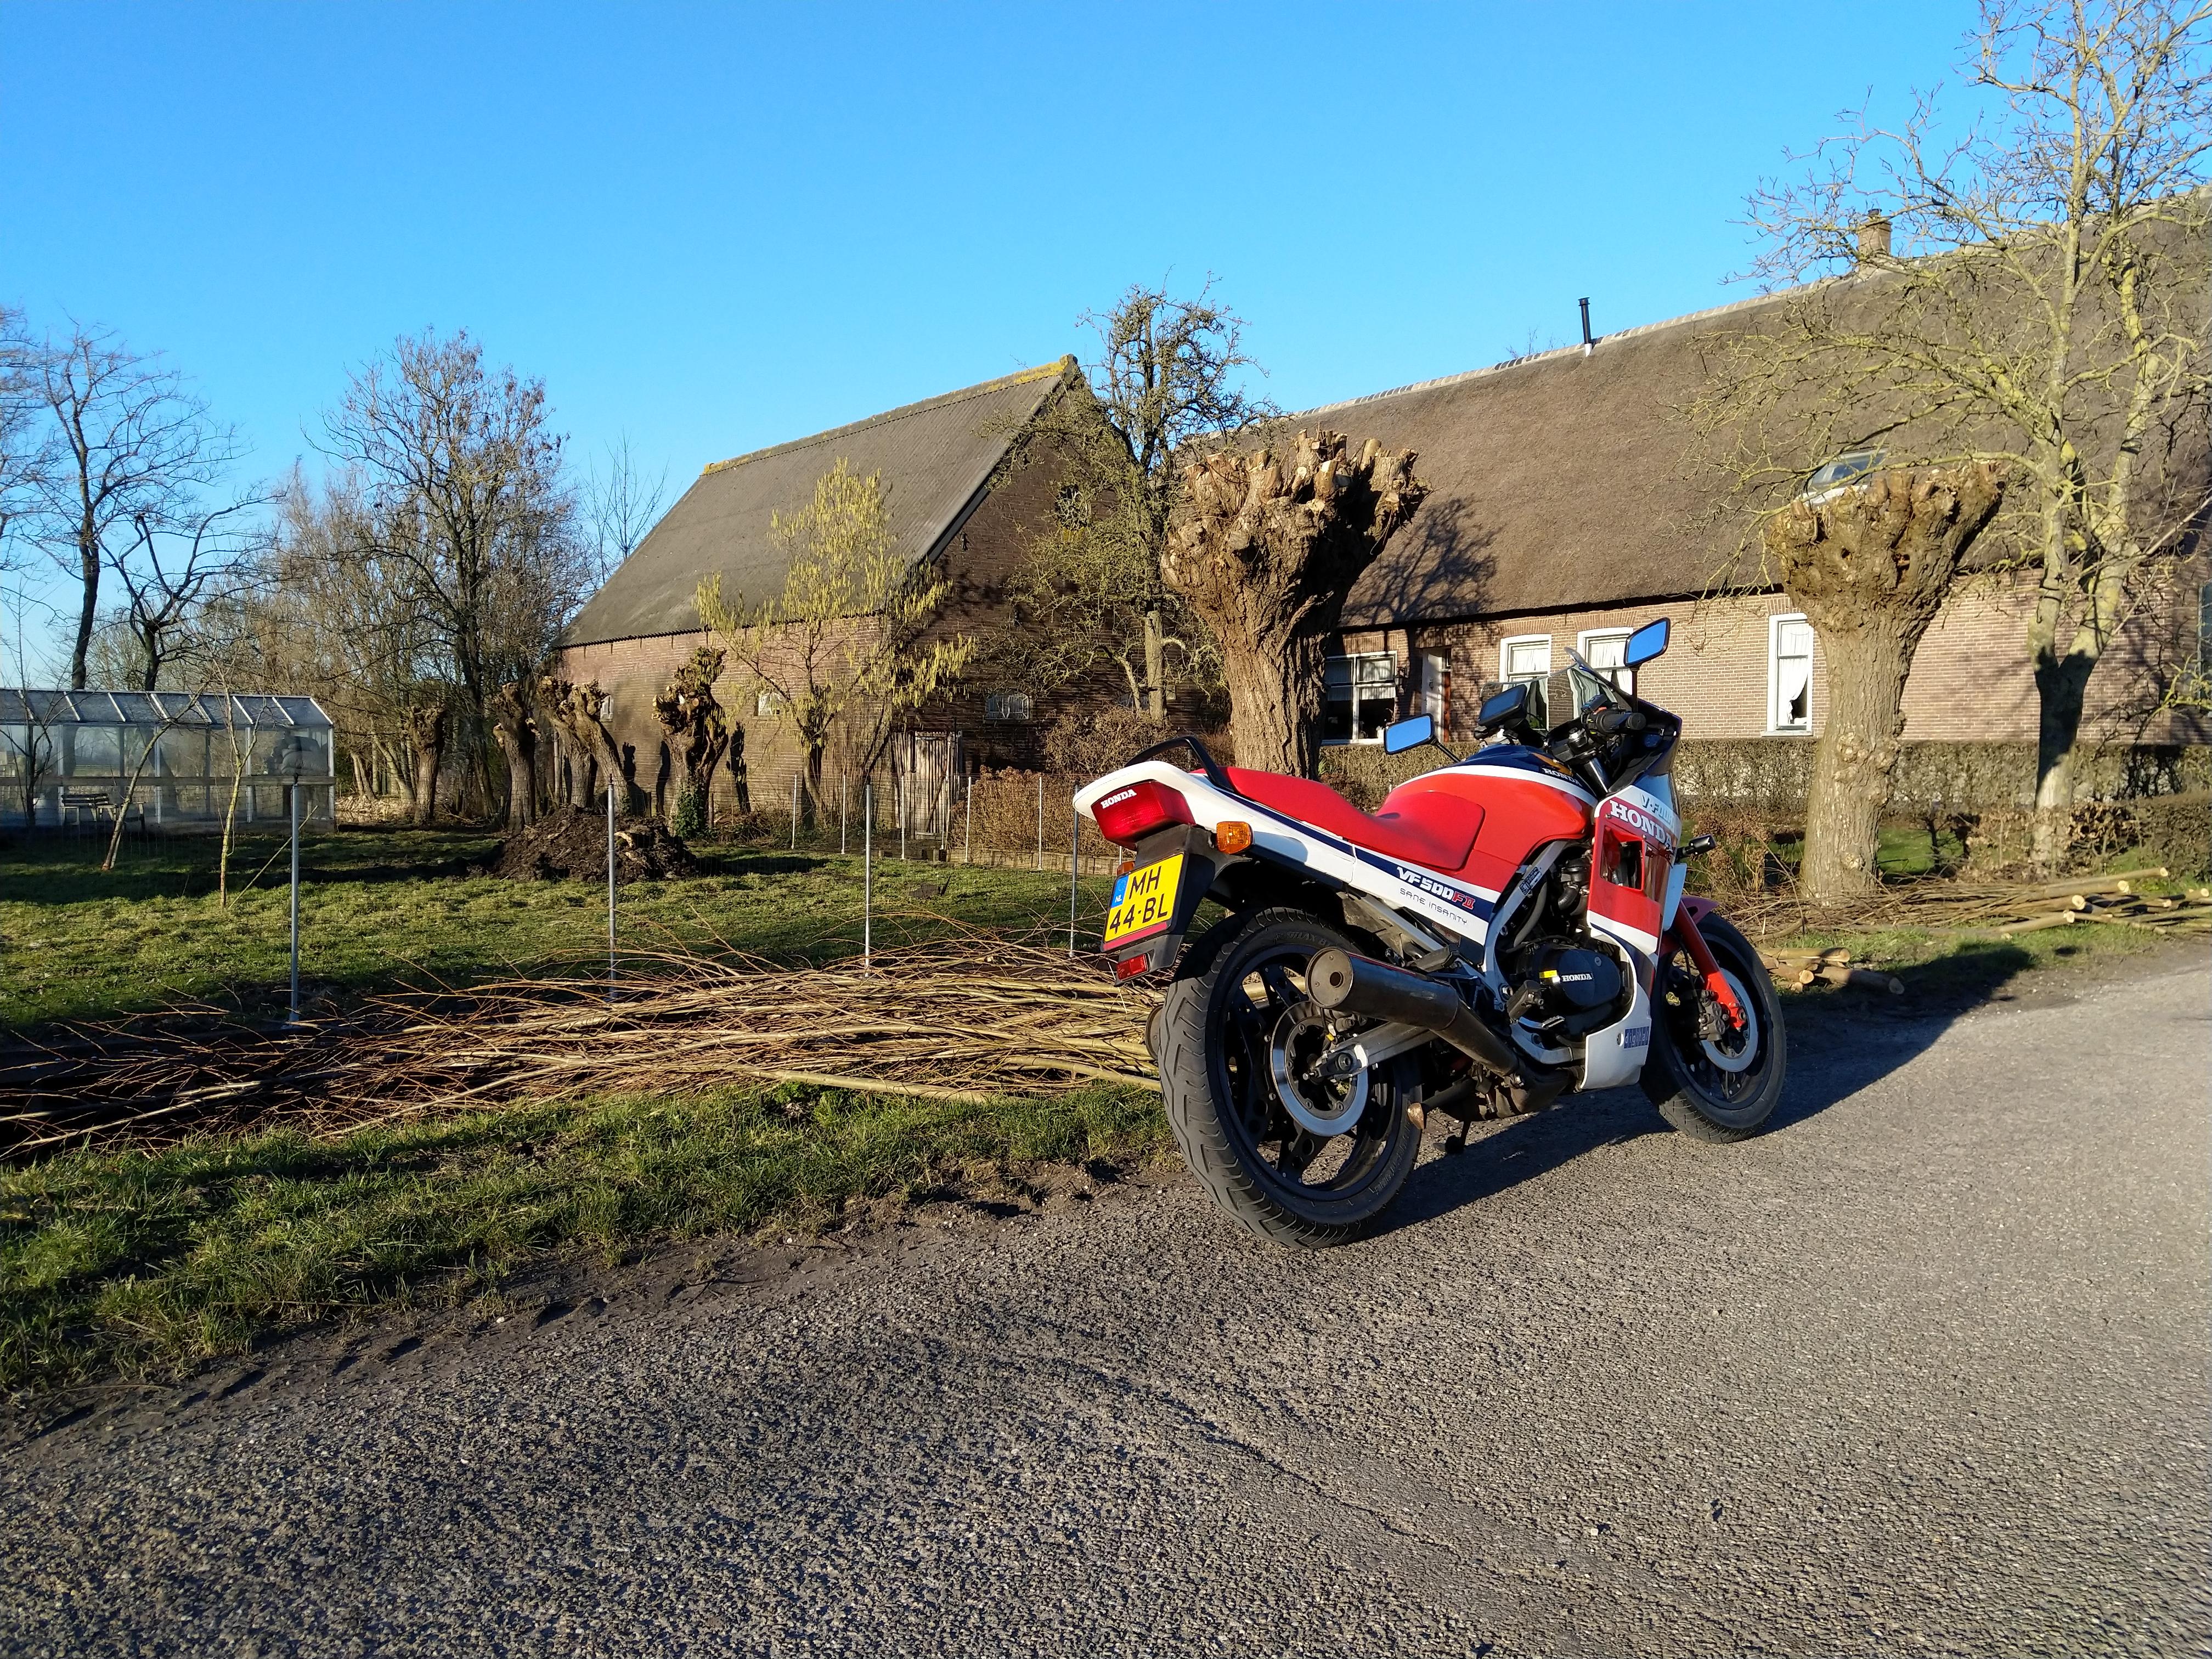
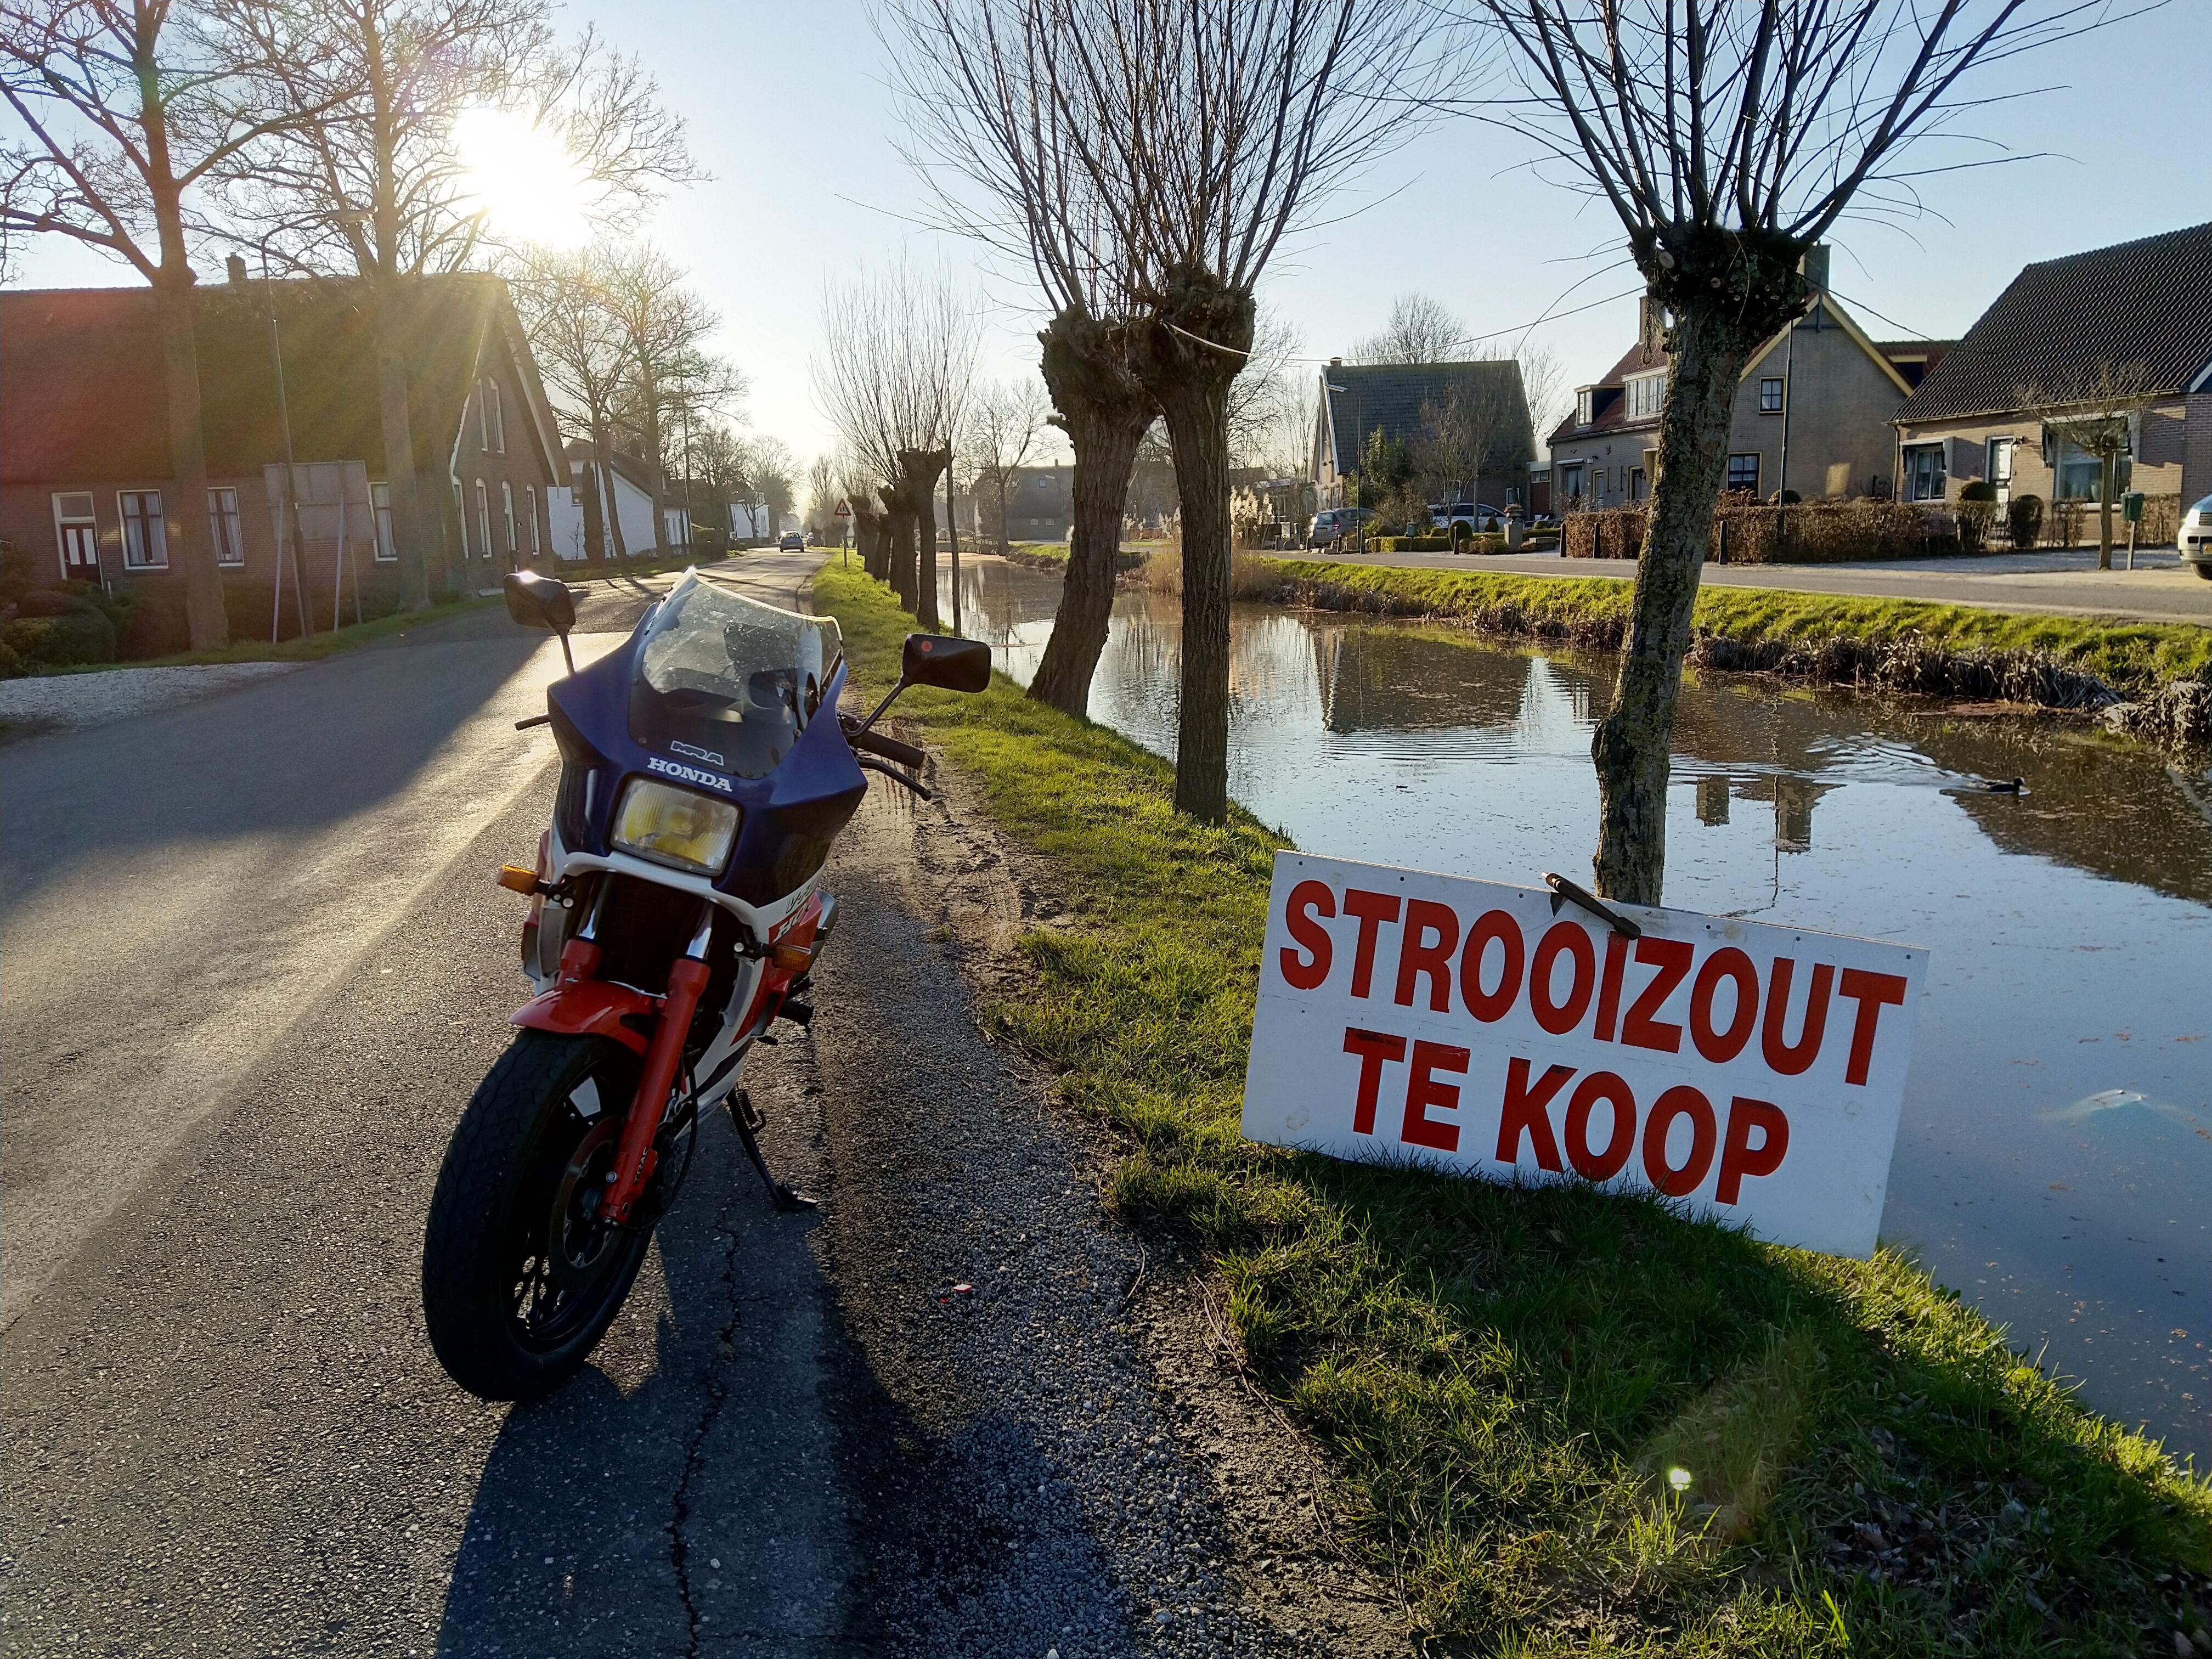
Lovely day, clear skies, 14 celcius One distinct feature in our Dutch landscape are pollard trees. They are "high maintenance" cos if left alone, they will eventually topple. Especially since the water is omnipresent Why then keep them then? cos they grow nice straight twigs that are flexible for making baskets for instance. Or lace them into fence-work. Like I said, sunny and 13C. So timing wise, this vendor is a bit out of season for his road salt.....
1 point
-
Lance, you and DucV4 are SMASHING it! Thanks for the effort you’re putting into this. Stray1 point
-
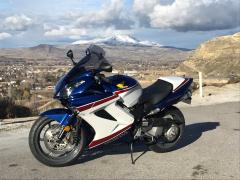
From the album: My RWB jan 2018
1 point -
Thanks for the update. Appreciate the attention to detail you guys are performing. I'm not in a big hurry, and really need center stand compatibility for my '99 commuter/touring bike. Great job so far!1 point